Acrylic Rods Hair Product Shoot
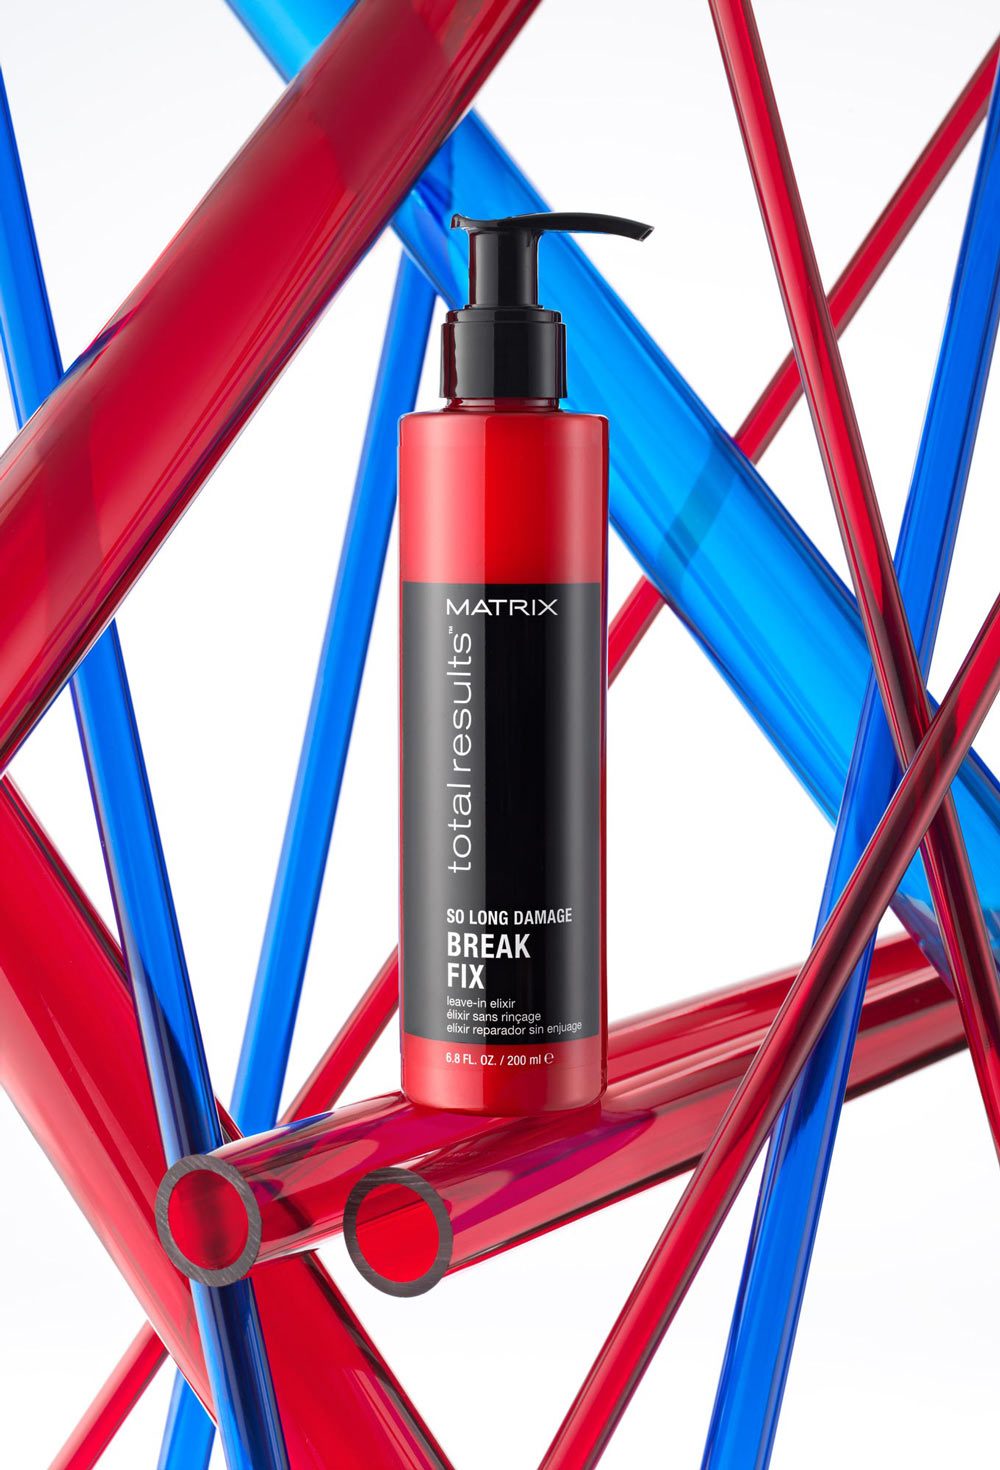
In this product photography class, Karl and the team pull out all the stops to execute his clever concept: glossy acrylic rods representing strands of hair that have been ‘fixed’ by the Matrix product.
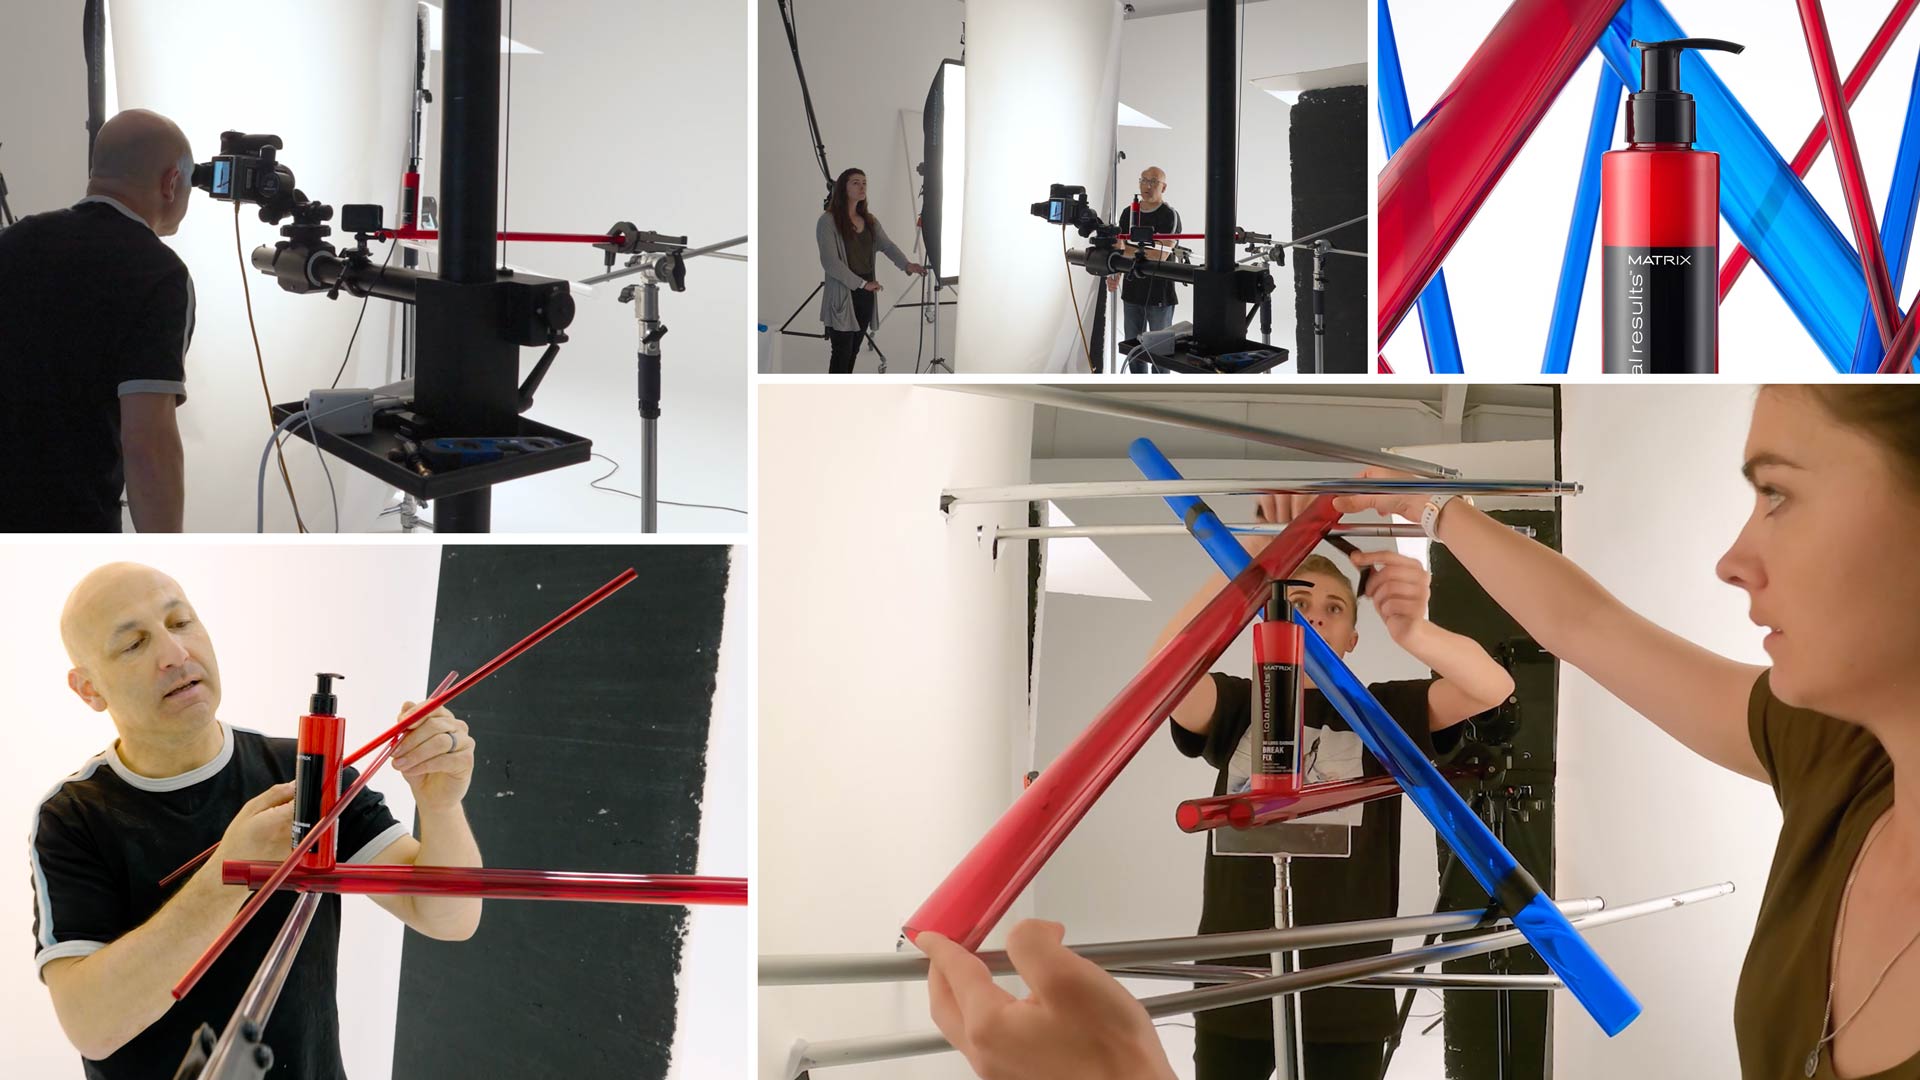
As Karl, Ash and Georgie work together to style, compose and light the shot, you’ll see an amazing display of creative problem-solving, lighting expertise and teamwork.
A top priority is achieving a perfectly uniform pure white background. Discover which lights and props Karl uses to do just that.
You’ll also cover the lights and modifiers you need to create gradient lighting on a glossy product like this one, as well as how to capture the various shots you need in preparation for bringing them together in post-production.
The final result is a stunning and unusual product photo, well worth all the problem-solving and perseverance!
In this class:
- Lighting techniques for product photography
- How to use a scrim
- Using a strip box for product photography
- How to create gradient lighting
- How to achieve a pure white background
- Photographing glossy products
- Capturing multiple shots for compositing in Photoshop
Once you’ve watched this product photoshoot, discover how Karl brings it all together in Photoshop by watching Acrylic Rods Hair Product | Post-Production.
If you enjoy this class, you may also like to check out Chanel Soap and Bubbles Shoot and Cosmetics Product Shoot Using TV Background.
Questions? Please post them in the comments section below.

© Karl Taylor


Comments
love the air drumming in the beginning 🙂
Thanks Karl, that’s very helpful.
Regards
Simeon
Hi Karl
Super cool shot, and I really enjoyed watching you problem solve the lighting – lots of great info there!
There’s one part I’m not quite clear about though and would be grateful if you could shed some light on it (so to speak!). You explained the lighting for the highlights, but other parts of the product have a decent exposure too. Where does that light come from? Is it that the material of the product provides an element of diffuse reflection (the white text and red parts), or is something else happening?
Many thanks
Simeon
Hi Halidean, thank you. Please can you watch these classes and then if you have the same questions do not hesitate to come back to me:
https://visualeducation.com/class/understanding-inverse-square-law/
https://visualeducation.com/class/angles-of-incidence-and-reflection/
https://visualeducation.com/class/gradient-light-for-products/
Hi Karl
I had watched those classes, but couldn’t see that they addressed my question.
Logically, since the parts of the product I’m talking about are not within the family of angles of the lights used, it seems to me that either: (1) they may be displaying some diffuse reflections (on the basis that no material actually provides 100% direct or diffuse reflections) which the angle of the lights would not prevent; or (2) direct reflections are being picked up from other sources, such as the studio ceiling/walls. There may be something else going on though that I’ve not thought about.
If you could please explain it, I would be grateful.
Regards
Simeon
Hi Simeon,
In relation to your question: ‘You explained the lighting for the highlights, but other parts of the product have a decent exposure too. Where does that light come from? Is it that the material of the product provides an element of diffuse reflection (the white text and red parts), or is something else happening?’ So what you are asking is how are the parts that are not direct image forming reflections (the highlight stripes) getting lit, where is the exposure coming from. So imagine you have a glossy object in front of you and lit by a window to your left. Depending on the surface gloss and the subsurface below then you will have varying degrees of exposure due to diffused reflections from the light source. For example if you used a polariser to remove the image forming reflection (the gloss highlight) then there would still be exposure below that, I call this resonance, as this is exposure that is bouncing around underneath and still be emitted but it is hidden by the brighter exposure of the image forming reflection of the light source. Wherever you can see the red of the product outside of the gloss highlight is simply diffused reflection because the gloss part is outside of the family of angles but the diffused part isn’t. How bright these areas reflect diffused light will be dependent on how much bounce of light there is around the studio, how big the light source is; which will also dictate the ability for the diffused reflections to reflect more exposure. If we go back to the window analogy, the product in your hand would have a gloss highlight on it’s left side because that is the angle of reflection of the light source but some of the front of the product would be exposed but without the image forming reflection of the window because it is outside the family of angles but still within the direction of the light source. The right side of the product may or may not have any light at all depending on whether the room you were in was matt black or white.
Thanks Karl, that’s very helpful.
Regards
Simeon
👍