Compositing in Photoshop: An Introduction
This class forms part of a series of tutorials with professional retoucher Viktor Fejes detailing how to create composite images in Photoshop. Throughout the following classes Viktor shares his workflow and advice while creating a professional level composite of a firefighter.
Class objectives:
- Define ‘What is composite photography’
- Composite photography ideas
- Show where to find and how to use reference images for ideas
- Useful stock photography websites
To begin, this chapter provides an introduction to compositing as Viktor and Karl start looking at the different elements required for creating the firefighter composite. You’ll be able to follow as Viktor explains how to use reference images to formulate ideas as well as where to source stock images to use as part of the composite. For this particular composite, Viktor and Karl decide they will need a background image as well as some additional flames. After collating the different options, Viktor downloads the final images to start putting it all together.
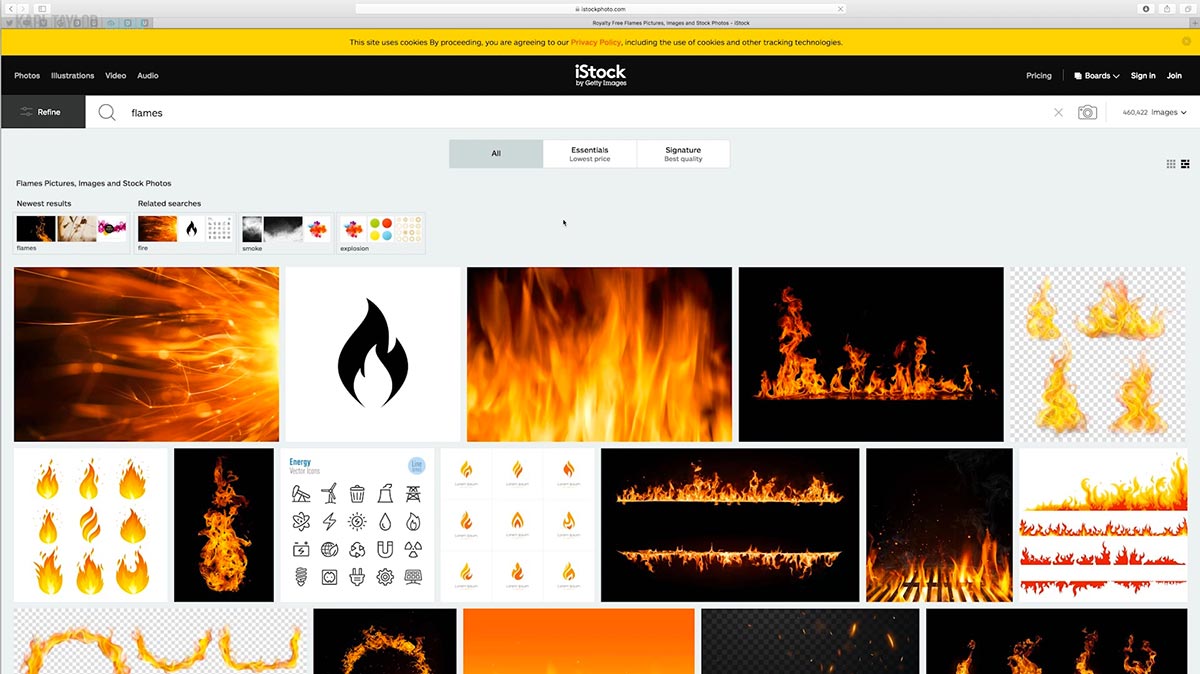
Finding stock images for compositing:
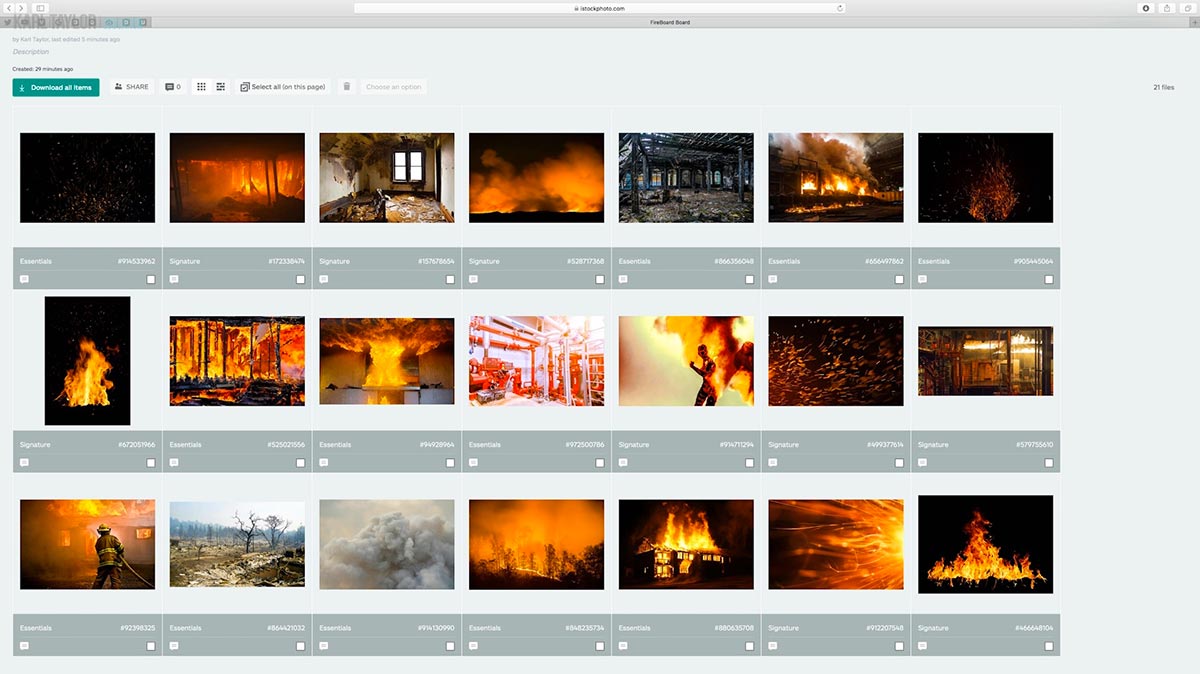
A final selection of backgrounds & flames to use for the composite:

The final selection of stock images that may be used for the firefighter composite. In the end, only two of these were used — one for the background and one for an additional fire explosion.
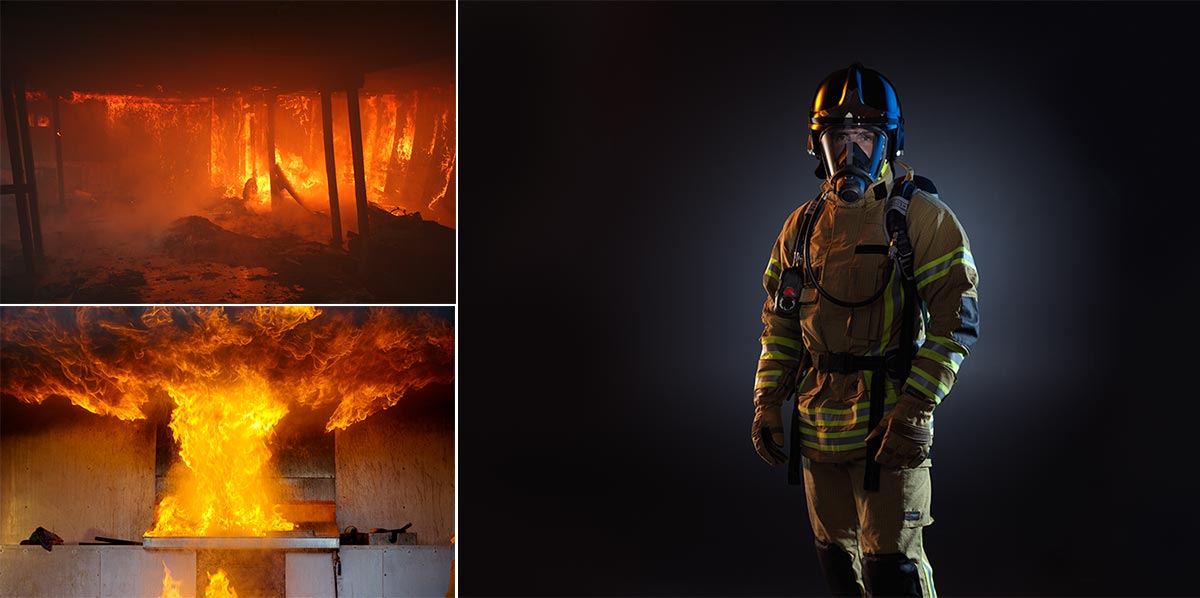
Images used for the final composite:

The three images used for this compositing course: two stock images and one professional photograph provided by the client.
Later in the course you’ll see as Viktor demonstrates useful tools and techniques for compositing, including how to select and cut out objects, which blend modes to use when, how to use custom brushes to add elements such as smoke and fire and how to bring everything together with colour grading and adjustments.
For more tips on creating composite images in Photoshop, read our ‘Top tips for compositing‘ article.
If you have any questions about this class, please post in the comments section below.?


Comments
Hi Karl, there is a very great YouTuber which is doing amazing composites named Benny Production, it’s worth to see he’s video but it’s more like entertainment rather than a course like you.
OK thanks I’ll check it out
When will these be available?
Never mind, I see they are available now!
Enjoy! 🙂