
CGI: Getting the Shot and Adding Animation
Welcome to part two of Corey Rive’s amazing LIVE CGI workshop! (Missed part one? Check it out here.)
Corey (raw24.co.uk) is an expert retoucher and CGI artist with a knack for explaining complex techniques in a simple, easy-to-understand way. Whether you're a photographer looking to expand your skillset or a CGI enthusiast keen to elevate your techniques, this class will provide you with the knowledge and inspiration you need to start producing truly impressive results.
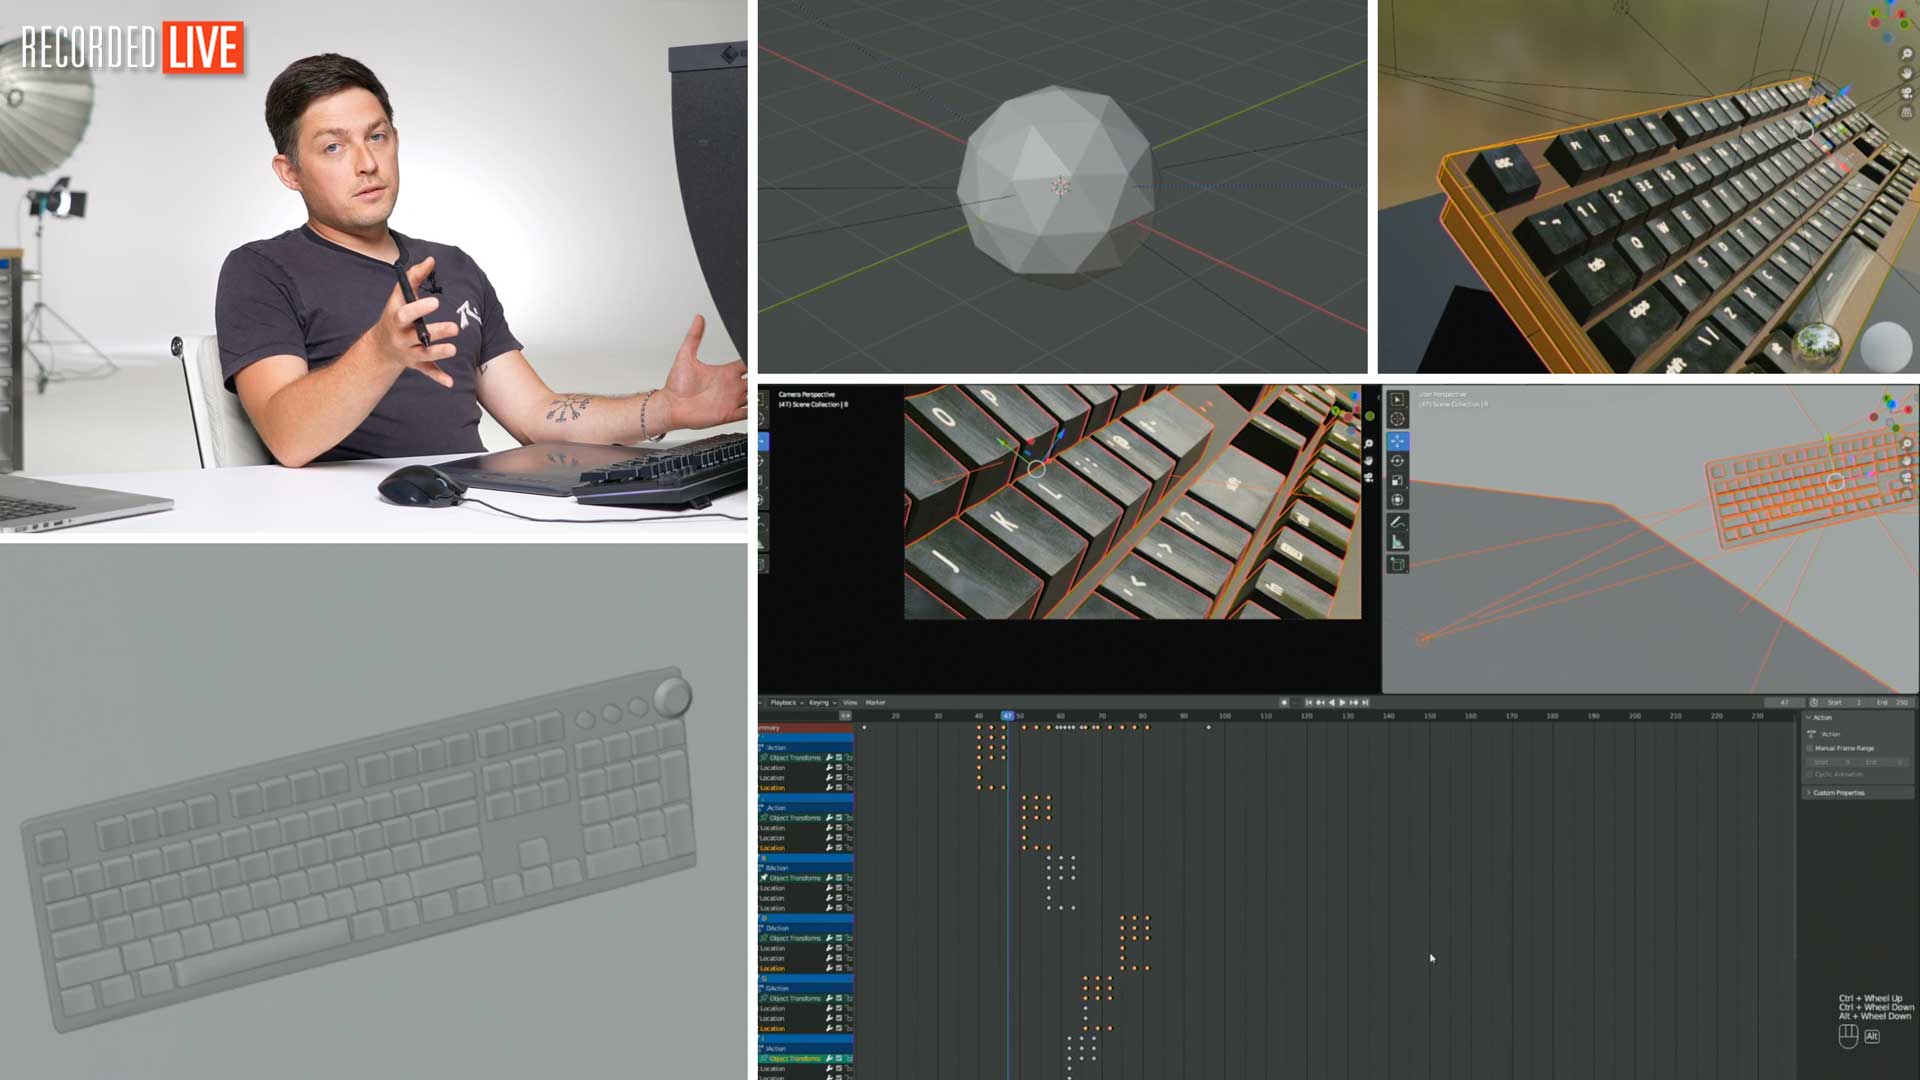
In part one, Corey built an awesome 3D model of a Razer keyboard using the amazing FREE software, Blender. (Want to follow along? Download the file.)
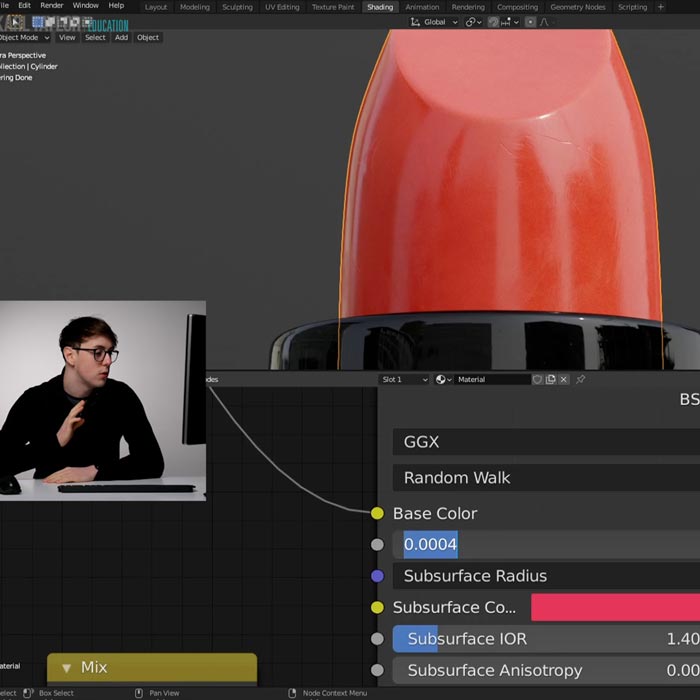
In this follow-up, Corey shows you how to light and render your model to create a polished, photorealistic image. Then you’ll move on to animation as Corey shows you how to add animated elements to create a truly captivating piece of digital art.
Using these simple techniques, you’ll be able to produce impressive CGI assets for your clients or your private portfolio.
In this class:
- Lighting a 3D model in Blender
- Rendering an image in Blender
- Creating 3D animations in Blender
Download the file to follow along Download Razer Keyboard V1
To see the first part of this workshop series, watch CGI: Modelling and Texturing a Product.
If you enjoy this class, check out Creating and Using Custom Textures and 3D Animation in After Effects.
Questions? Please post them in the comments section below.
Recommended content:
Comments
where is the final animation video?