Packshots: White Background Product Photography
Packshots can be a reliable source of extra income – if you know how to set them up and shoot them to perfection in minutes instead of hours.
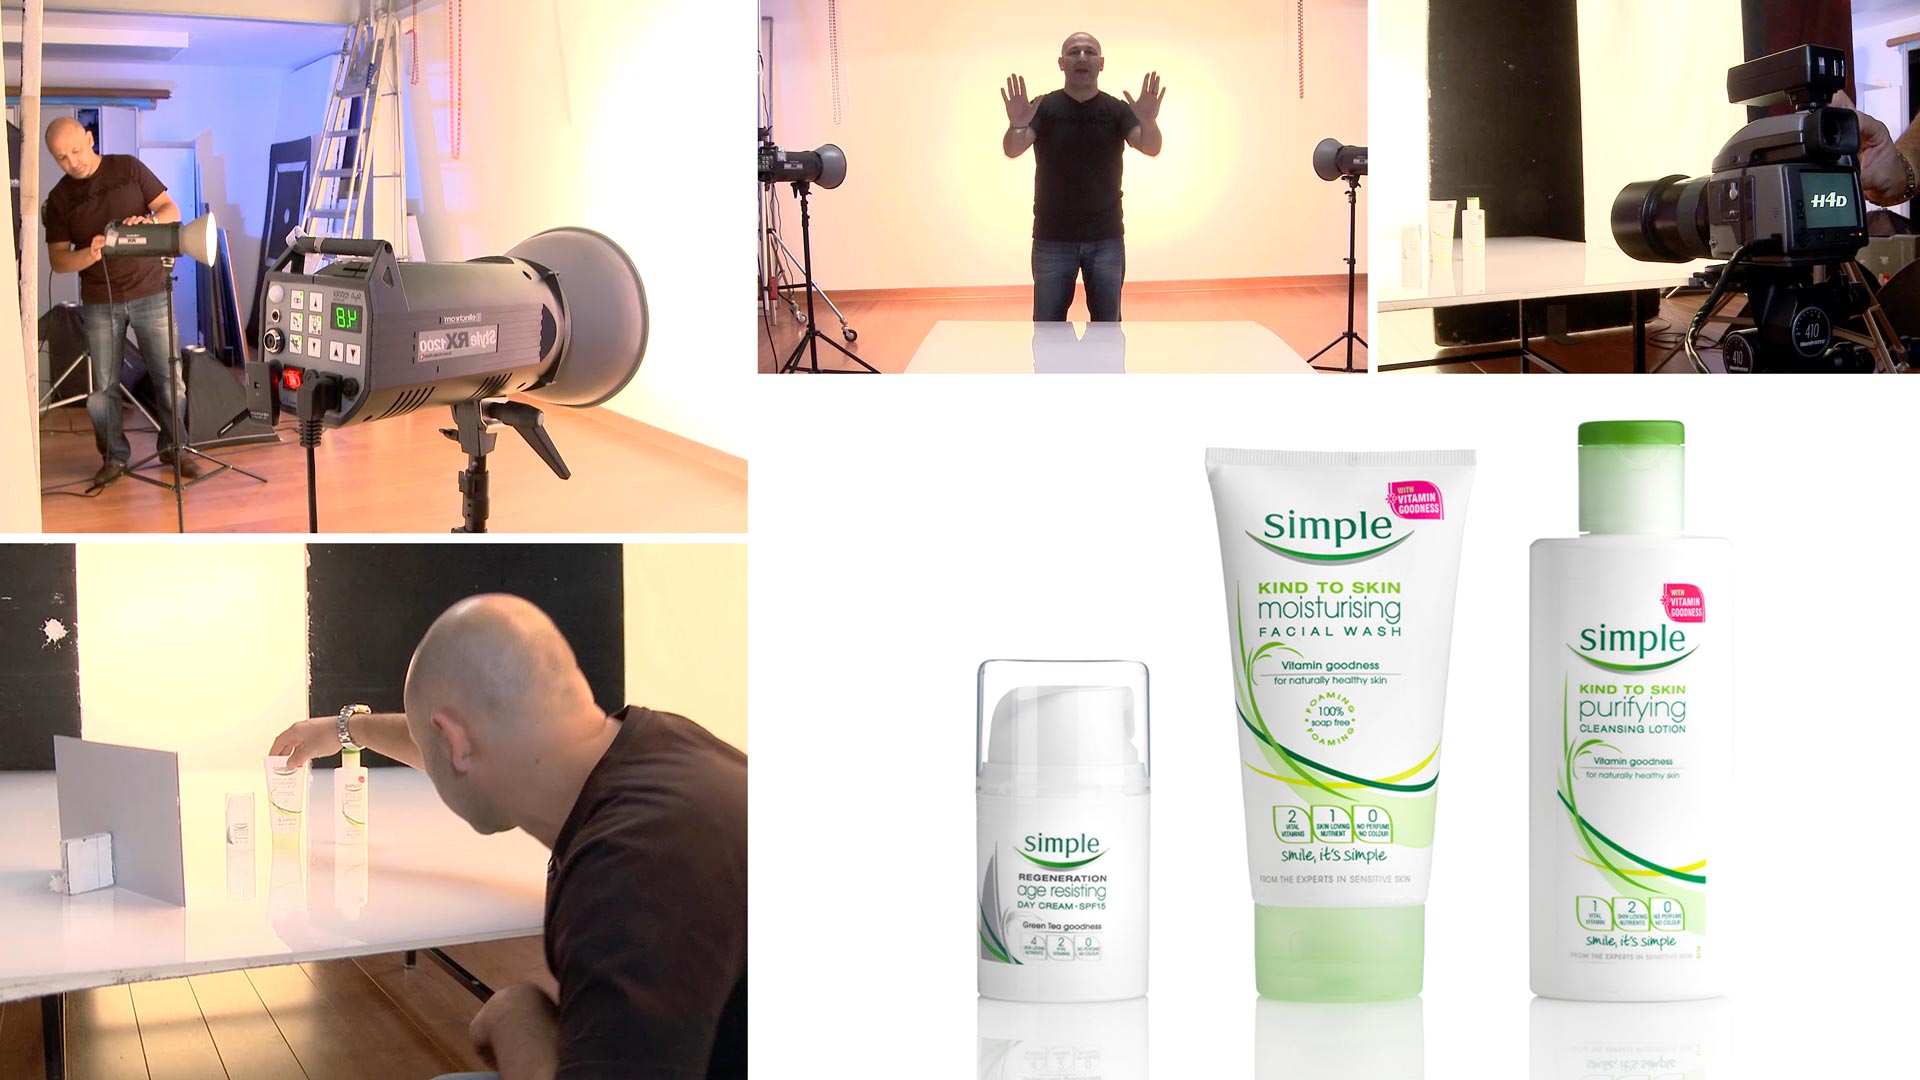
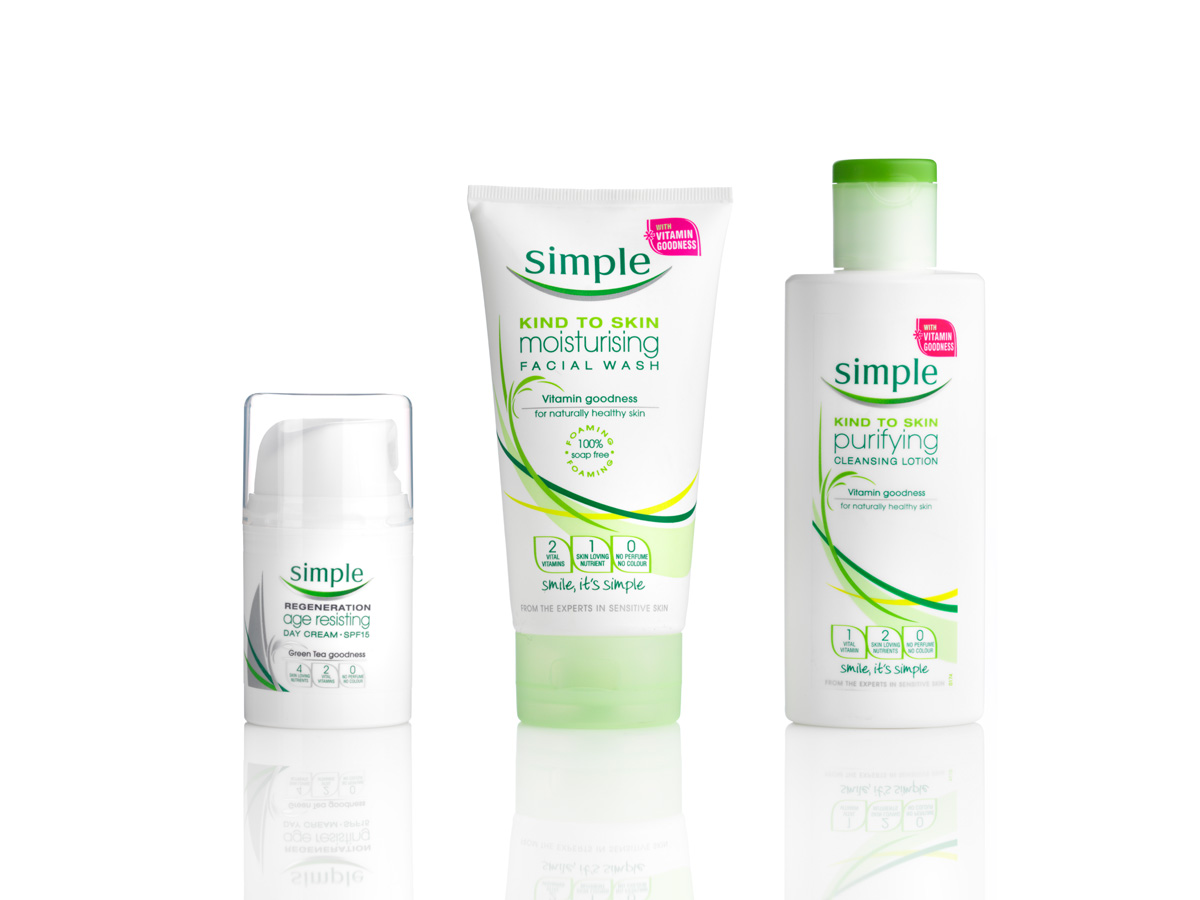
In this packshot photography class, Karl discusses his preferred backgrounds for these white-on-white product shots before getting into the simple but effective three-light setup he uses for this type of work.
You’ll see how he achieves white backgrounds for product photography, how he avoids flare and controls excess light, how he prevents overexposing his shot, and how he uses just one light and a reflector to light the product itself.
In this class:
- How to photograph packshots
- Creating white backgrounds for product photography
- Techniques for photographing white products on a white background
- How to prevent flare
- Using reflectors
To see Karl’s retouching process for this shot, check out Packshots: White Background Product Photography | Post-Production.
If you enjoy this class, be sure to check out Packshot Product Photography and How To Use Continuous LED Lighting For Packshot Photography.
Questions? Please post them in the comments section below.


Comments
Hey Karl,
first thank you so much for your always so professional Content. Always a pleasure to watch.
I have a question that maybe fit into this kind of Video. I often do Packshots like you do in the Video.
Sometimes i have ( i think because of the smallness of my room) some flares. Now i saw a Video with you and Urs from Broncolor, where he shot an Bron flash and i saw that he used a Flare Blocker. What do you think, is it sensible to do that with packshots too? And if yes, was the side that shows to the product, white or black?
Thank you for your Answer.
greetz from Germany, Alex
Hi Alex, flare blockers are great as long as your background exposure isn’t too great that the flare blockers don’t work. You will see other videos in this section where I use flare blockers either near the product or via a window mask in front of the lens.
Hi Karl, thank you. I will have a look at the other Videos and try it 🙂 LG Alex
Hi KArl, can you maybe tell me, in which classes you use the flare blocker? Thank you so much
Hey, Karl, how do you check the whites in Lightroom? Thanks.
Hi, you can use the eye dropper tool to show the values as a percentage but in Lightroom Classic you used to be able to display the values from 0 to 255 if you turn on the ‘Soft Proofing’ checkbox on the toolbar.
Hi Karl
Perspex is like acrylic? If not, what are some of advantages over acrylic?
Hi, in the USA acrylic is called Makralon or Perspex or Plexiglass so yes it’s the same thing as acrylic.
Hi Karl, What size is the white prespex you used? Thanks!
Hi, I have various sizes but about 1m x 1m is good.
Karl.. I am putting together a bid for a job and I wonder if you might offer some advice. The job is for a warehouse looking to create catalog e-comm images.. they have approx. 350-400 products, 80% could be captured on a 3′ x3′ tabletop in the studio, white seamless backdrop. I’ve shot a dozen or so products but this many is a daunting task. I’m just trying to wrap my head around giving a quote. The products range from screws to cabinet knobs and handles to kitchen hardware. The one issue with say 20% of the products is they require a placement image, like wine racks attached to walls or pull-out ‘this’ or swivelling ‘that’.. situation placements. For a quote, I figure I will do a per product calculation, plus a setup fee, for that 80%. I’m concerned about that other 20% which I think has a lot of unknown risk. I don’t even know how many, or likely, how much work. There are some larger items.. and I will have at least one day on location. Easier to bring lights to the warehouse than large items to a small studio. One of the things I believe I need to do is create a style sheet mood board, specially if I get the contract, that has specific targets for how each class of item is presented to create consistency. Do you have any other suggestions that may be essential to know going into a job like this?
Hi Gary, The screws, knobs, etc sound like a perfect job for the Light Cone on a matt white acrylic then you could plough through them really quickly. These are what we call pack shots and what you need to do is try and find a way to shoot them that they don’t need retouching otherwise the retouching time is going to take much longer than the shooting time so it’s far better to get the shooting setup perfect even if that takes many hours so that you can just then run through all the product shots one after the other knowing there is no (or very little retouching needed). At your fastest with a perfect lighting set up you would take 2 mins to shoot each product just from the placements, move it, focus etc so that would be 400 x 2mins = 800mins without stopping – That’s 13 hours without set up time. Now imagine that you had to do that all again in retouching but allowing 10 mins to open each image and clean up and save then that would be 4000mins (that’s 8days of 8 hours) So you can see how important it is to get it right in camera! For the other stuff that isn’t pack shots I can’t give you an estimate because it’s not really my job and I’m not privy to the full extent of what is required and also my speed may be different to your speed, so that one you are going to have to work out your self. But it sounds like that could be 50 or 60 items that are more stylised shots? That’s several days work depending on the level required.
Oh yeah.. I have learned to take that time to get the shot as perfect as possible, just to reduce or even forgo the photoshop hell of “adjustment” work that might entail. On an aside.. I had shot a macro video of a cognac. I had cleaned and polished the product as best as I could but of course there was still bits of magnified dust. 1000 frames of simple dust touch ups.. 2.5 long days frame by frame.. brutal but essential. I learned my lesson. Perfect it in camera, even if it takes extra effort.. will save 10 fold in post – is the best idea. I put in the quote, much as you had described in essence pricing 80% as an assembly line and 20% as more involved.
Hi Karl,
where do you get the board you used for the surface? thanks
Hi, Acrylic is available from plastic suppliers or often your local sign service company.
Hey Karl,
How do you deal with glossy/reflective labels on cylindrical products? With a setup very similar to this, the light and mirror lighting the product results in white strips, usually where the logos / details are. At this point is it just comp time with multiple shots with the softbox at different angles, or do you have a better way of dealing with it?
Hi Andy, this course will help you understand the physics of how to solve that problem: https://visualeducation.com/class/photographing-wrapped-packaged-food/ and the second part of this class will help you too: https://visualeducation.com/class/wine-bottle-product-lighting-with-karl-taylor/