
Tools and Techniques for Colour Grading Adjustments in Photoshop
As Viktor nears the finishing stages of this composite image, this class focuses on colour grading the subject to make it better match the rest of the scene.
In this class:
- Colour adjustments in Photoshop
- How to use selective colour adjustment layers
- How to use Hue/Saturation adjustment layers
- How to use Curves adjustment layers
- How to create light rays in Photoshop
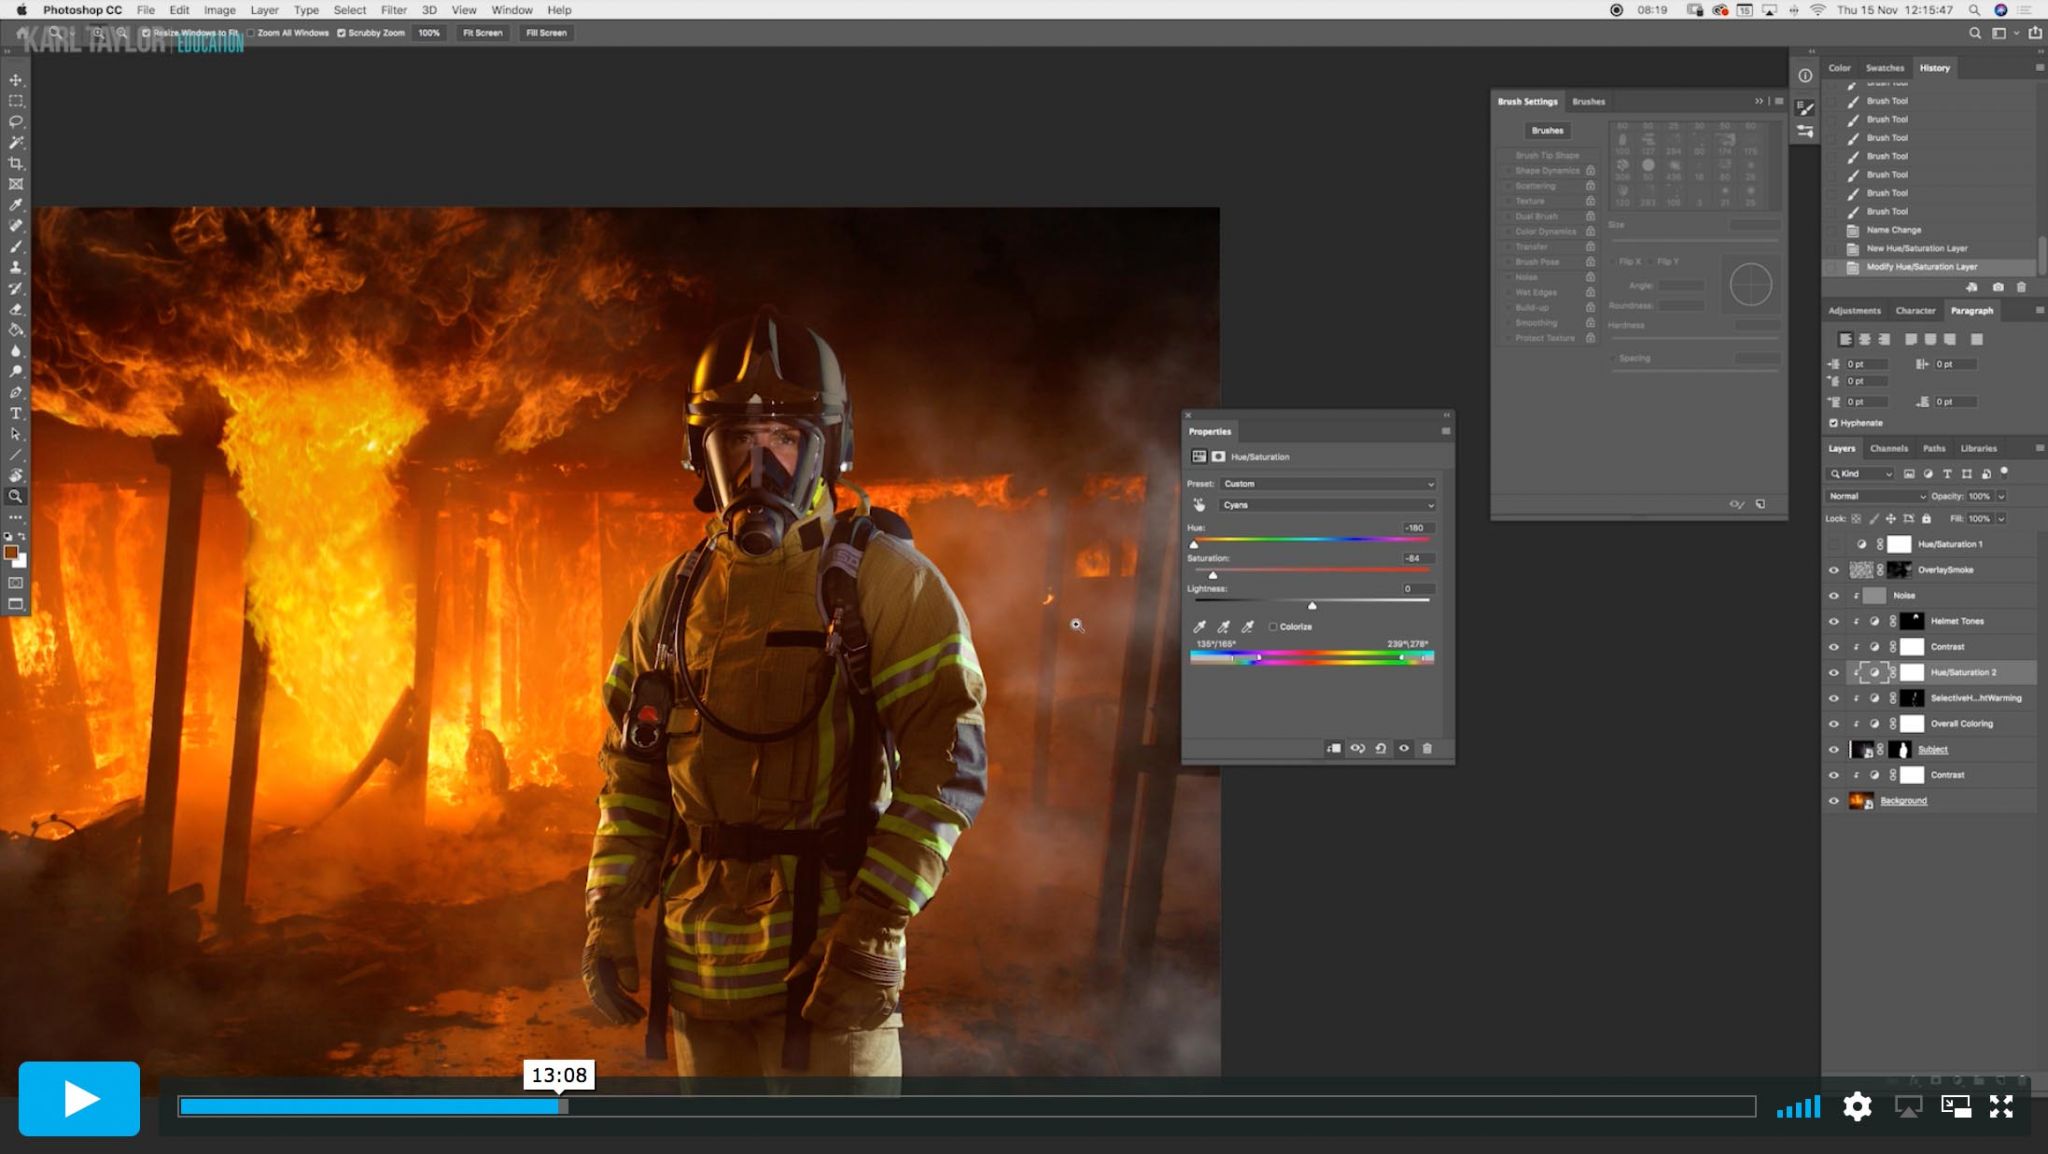
This class covers one of the most important aspects of any composite — colour grading. With this particular image, where there is a clear difference in image quality and colour tones of the images, colour grading is vital. To make the subject better match the background, Viktor uses a number of colour adjustment tools, including selective colour, hue/saturation and curves adjustment layers. You’ll see how he uses each of these, along with layer masks, to make adjustment to particular areas and how you can use additional techniques such as Blur filters and Blend modes to better match the different elements. In addition to the colour grading, Viktor also demonstrates how to create light rays in Photoshop.
Before initial colour grading:
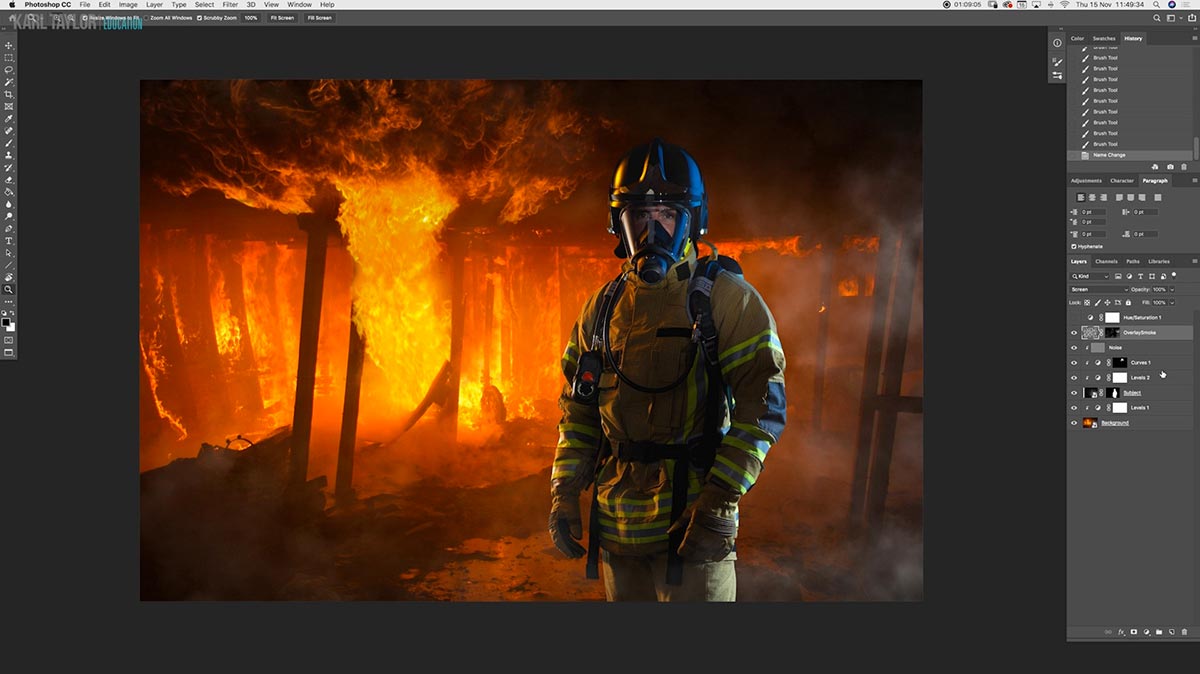
The composite so far without any colour grading, where the subject clearly stands out from the background, shadows and highlights don’t match and colours need adjusting.
After initial colour grading:
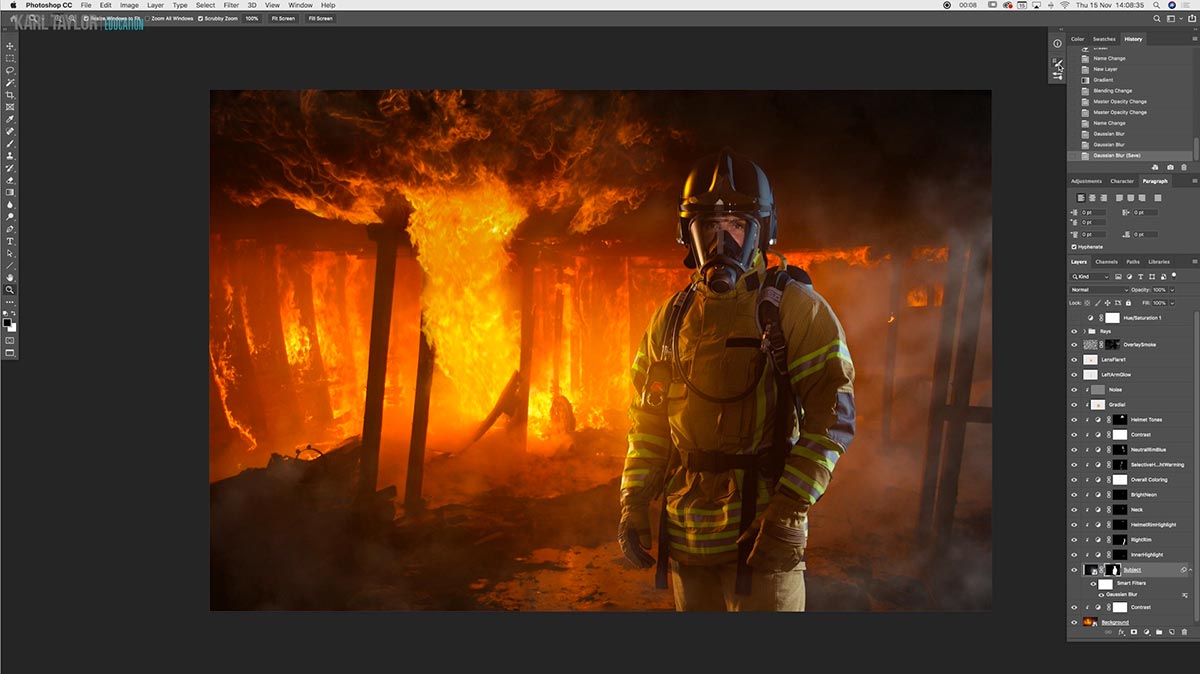
After initial colour grading the subject blends into the background and matches the rest of the scene. Adjustments included colour adjustments on the helmet, adding light rays through the smoke and adding lens flare onto the left side of the firefighter.
For more tips on creating composite images in Photoshop, read our ‘Top tips for compositing‘ article.
Questions? Please post them in the comments section below.