


Beauty-Style Advertising Photography
Learn how to create a classic beauty shot.
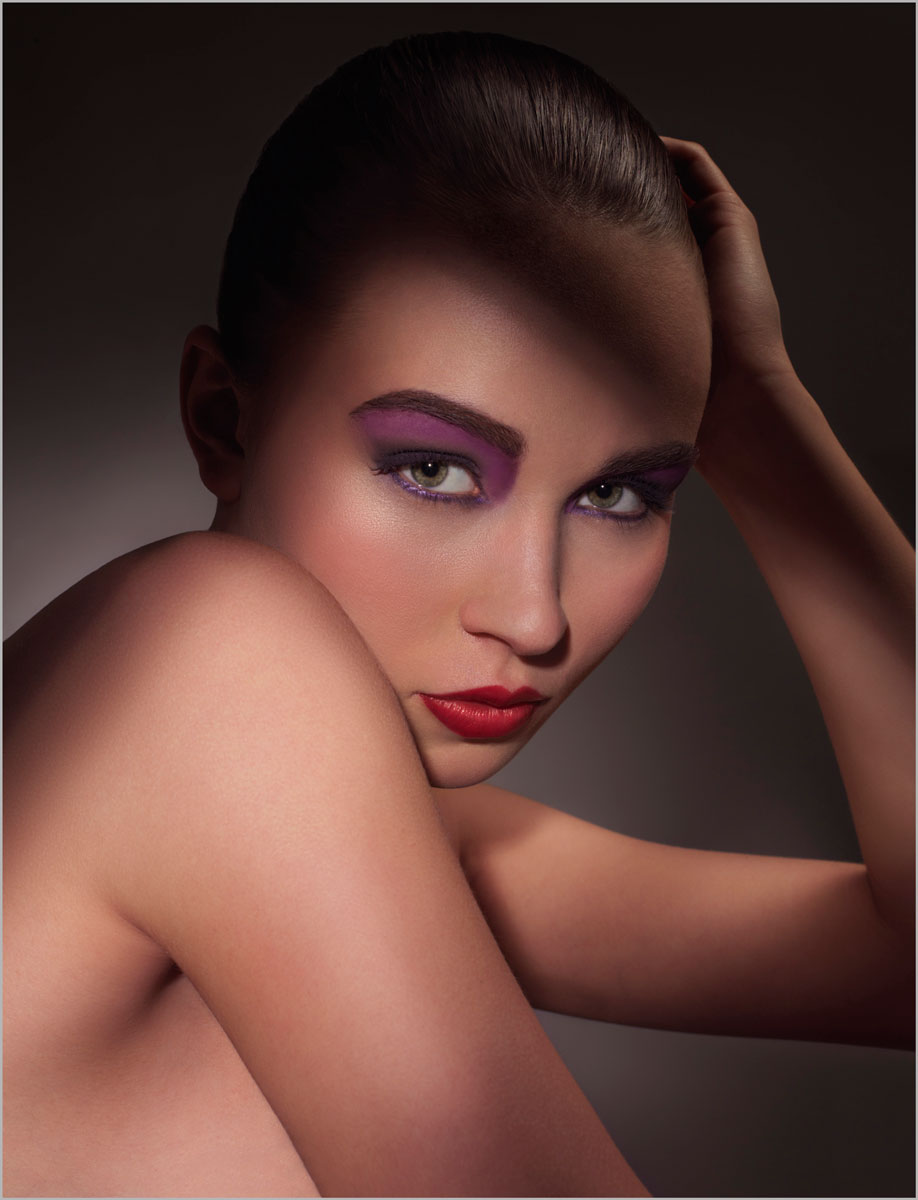
Unlike portrait photography, which typically requires soft lighting, classic beauty/makeup images need hard light. In this class, you’ll discover three important considerations for making these shots work, before getting to grips with two different lighting setups.
For the first setup, you’ll use a couple of lights as Karl walks you through the necessary modifiers and accessories. You’ll also learn how to use fill light to control shadow density. In the second setup, you’ll need nothing more than a single bare bulb as you learn how to create striking hard shadows across the model’s face.
In this class:
- How to photograph beauty images
- Creating hard light
- Lighting setups for beauty images
- How to control shadows
Want to learn about retouching beauty images? Check out Beauty-Style Photography Retouch: Getting Started.
If you enjoy this class, you may like to watch Introduction and Beauty Lighting and Beauty Lighting Techniques.
Questions? Please post them in the comments section below.
Comments
Karl
Absolutely beautiful simple clean shot. Love the lighting. Perfection
Great tips. Hope to be in studio next 24 months.
Brill, thanks Karl!
Hi Karl,
Great tutorial . Would this shot be possible with a dslr camera with max shutter of 200 as you had yours at 500? I’m guessing it would have been a case of increasing aperture and flash power?
Many thanks
Craig
Hi Craig, yes absolutely. Remember not to confuse shutter speed with exposure when using flash, in this instance i could have used 1/60th or 1/200th or 1/500th and it wouldn’t make any difference on exposure because I was using studio flash. Please watch the first 15 chapters on studio lighting theory in the ‘Portrait’ section on the course ‘Light Source’ this gives you the solid grounding you need for everything to do with studio flash.