
Creating DIY Photography Backdrops
Learn how to craft professional-quality backdrops from scratch.
In this class, Visual Education Creative Director Tim Gaudion shows you how to make your own DIY photography backdrops similar to those you’ll have seen throughout our food photography classes.
This step-by-step tutorial is ideal for photographers wanting to add an element of unique creativity to their shots as it shows you how to get creative results and outlines important considerations when choosing a background.
In this class:
- How to create a DIY photography background
- Creating/selecting a background for photography
- Tools for creating a wooden backdrop for photography
What you’ll need:
- Untreated wooden planks
- Drill and screws
- Blowtorch
- Wood dye
- Paint
- Wax crayons
- Acrylic paint
- Water
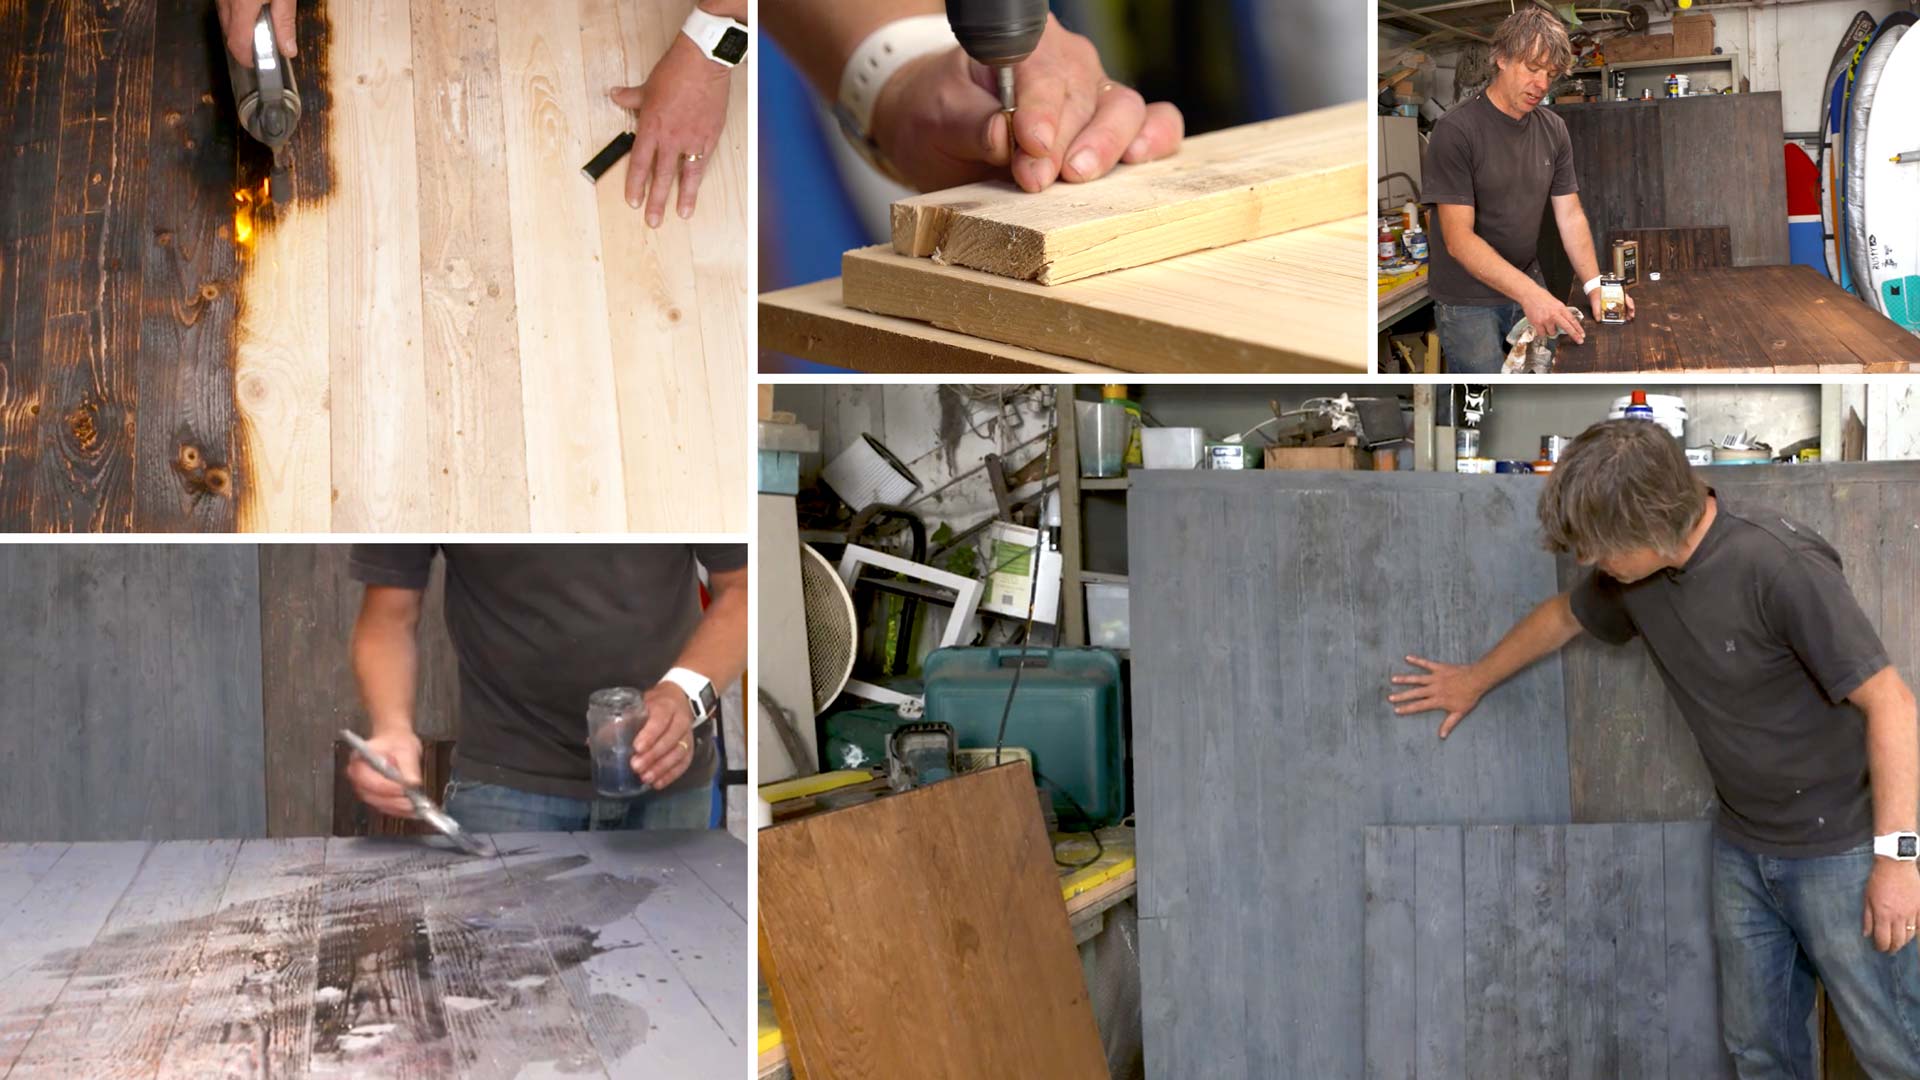
Backgrounds and backdrops are an important part of any image (whether you’re photographing food or fashion) and having the skills to create your own backgrounds opens a whole new world of possibility. Using simple tools and equipment, Tim guides you through the process, from start to finish, showing you how to create your own board, accentuate texture, add colour and enhance depth.
Step 1
Decide on what background you’d like to create.
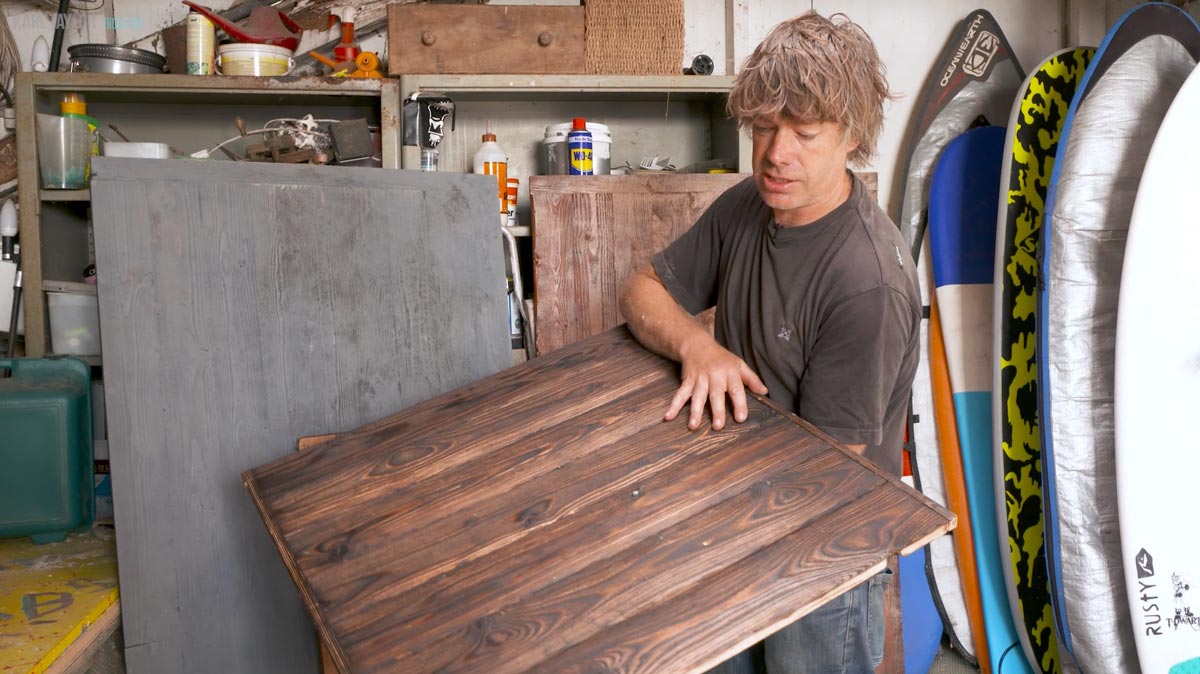
An example of a previous DIY backdrop for photography.
Step 2
Create a board.
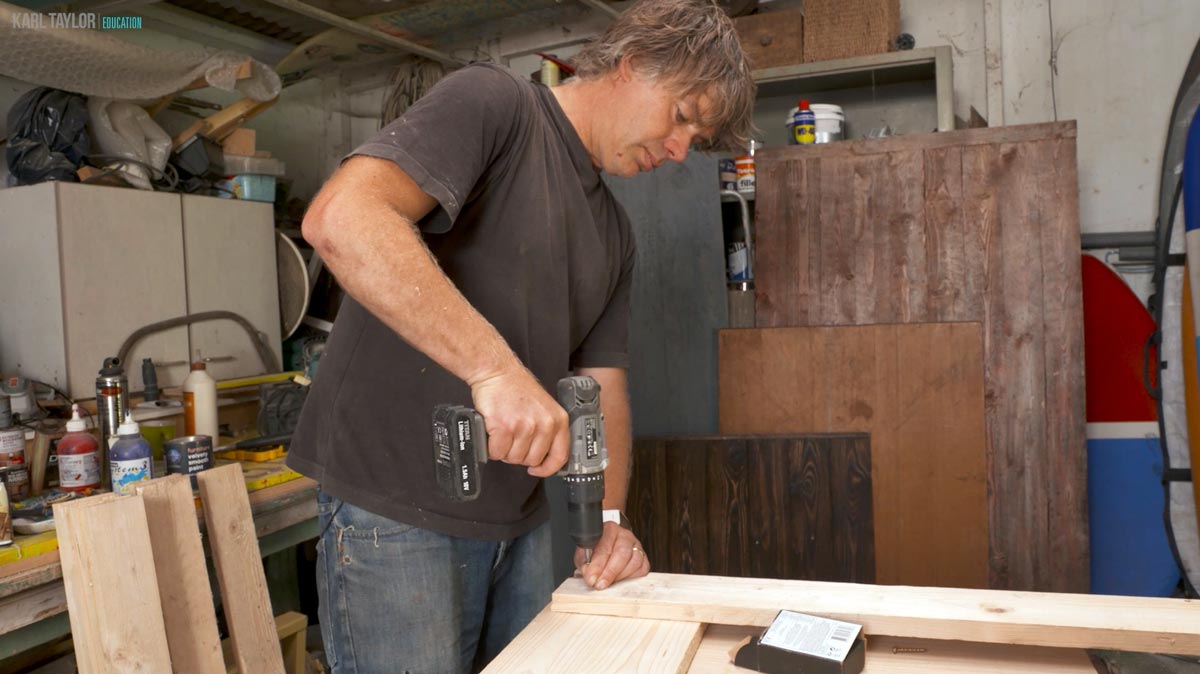
Joining boards together.
Step 3
Age the wood.
Ageing the wood uses a couple of techniques.
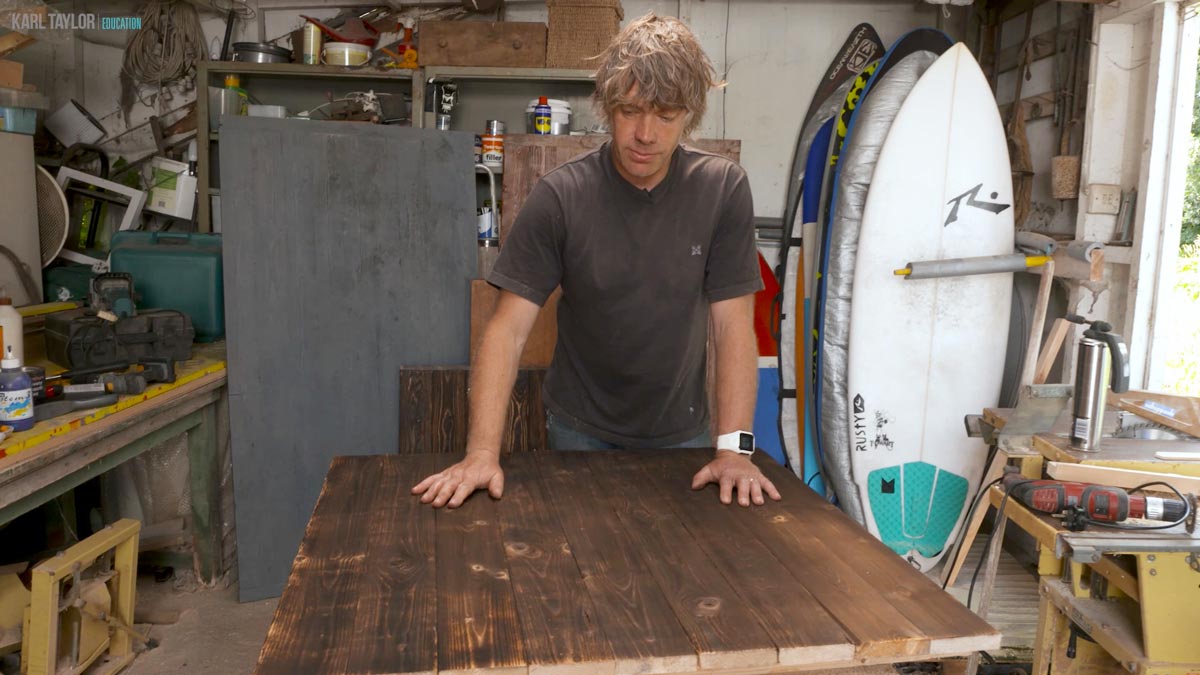
Step 4
Apply a base colour.
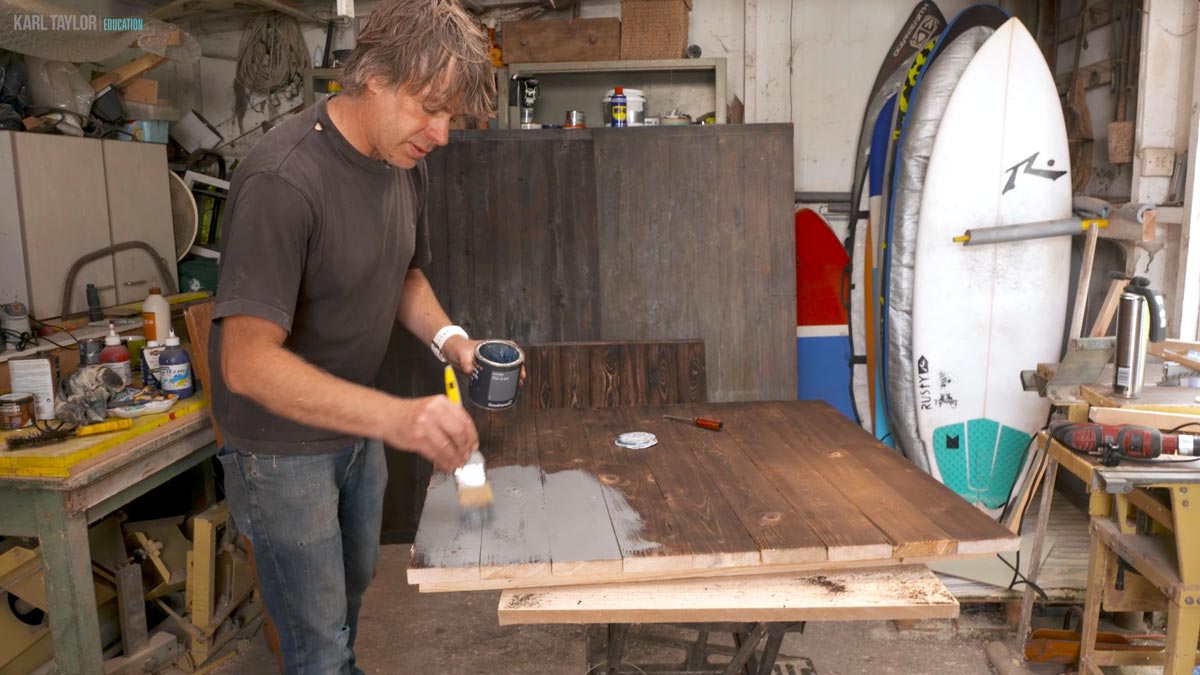
Applying a base coat of paint.
Step 5
Apply final colour effects.
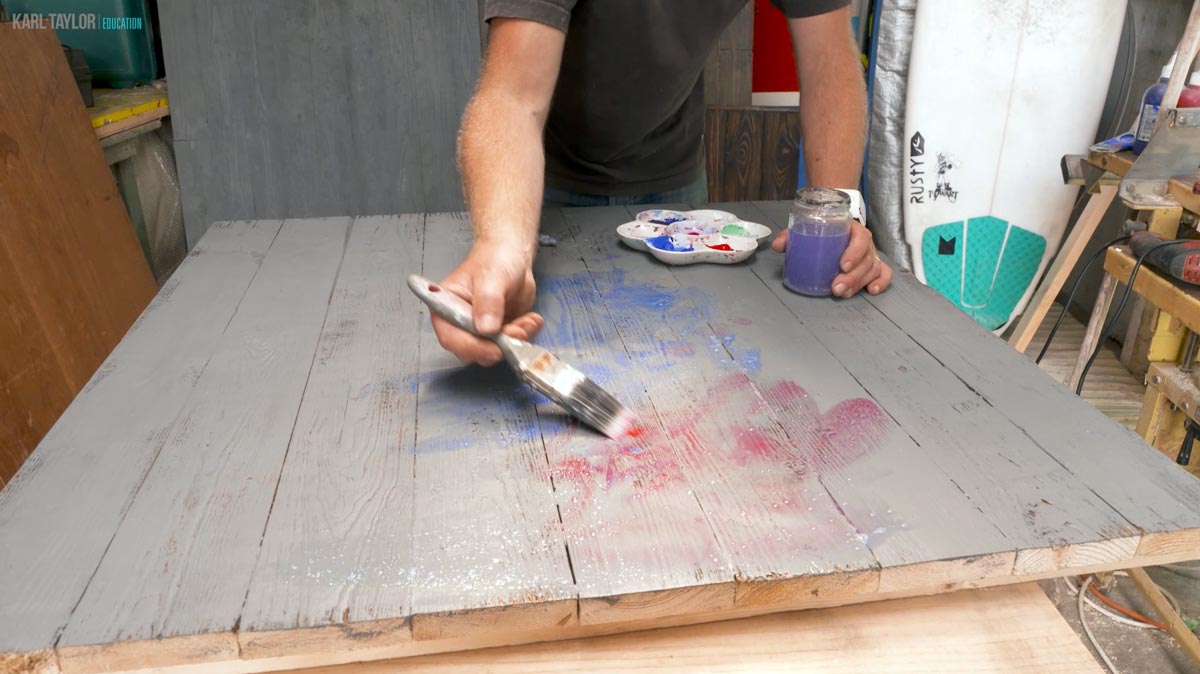
Using different colours to add depth.
You can also create your own canvas backdrops for photography – Tim shows you how to do that in Making a Canvas Backdrop.
Questions? Please post them in the comments section below.
Comments
Very intuitive video. Thank you Karl, Ben.
Interesting
Excellent tips in the video. Thank you Tim. It’s time for your own creativity !,, Sweet.
Can’t wait to try. :0)
Hi Karl & Tim, Awesome tips in here! it seems this may be in the wrong category? It’s only showing up in the Food photography one. I knew I’d seen it and was trying to find it but took a while as was thinking would be in the equipment area since the painting canvas one was. Anyway just a thought 🙂
Hi Karl
can you make a video on how you painted the mdf backgrounds
Hi Henrik, there are lots of our product videos where we show painting MDF backgrounds. Just use emulsion and a roller it’s very easy.
Hi! was the panel used on the fresh fish video also custom made by Tim? It has a stone-like finishing. Thanks
Hi, no that was made by Anna’s suppliers in Moscow but we’ve also purchased grey slate stone and then enhanced it by spraying it black.
Thanks! Where and why would you spray it black?
Hi Diego, I’d spray grey slate with a light coat of matt black or chalkboard paint because I’ve found grey slate always looks to light and dirty in photos.
Hello, thanks a lot for the video it was very useful and lots of great tips. I wonder If Tim doesn’t ever finish his backgrounds with some kind of product for water and other protection purposes, or you find that its not necessary? Thank you.
Hi, no as far as I know he doesn’t, I think it all just contributes to the ‘wear and tear’ look to the surfaces in the long term.
Nice video thank you! I’d like to send over some shampoo for Tim…
👍
Hi Tim and Karl, thanks for this great video. It’s answered a lot of questions I had in relation to product shots for my one-man-band company.
Could you subtitle the video, please? tks!
wow.. very beautifully crafted.. the background..
THANKS GREAT VIDEO SHOWING HOW ITS DONE GIVEING US ALL THE DETAILS
ENJOYED IT
WELL DONE TIM
Thanks for this video, Tim.
I think it is important to note that the quality of the finished photo is also reflected in the background and props.
There was one detail I felt was missing… that of time scale.
For this sort of exercise, time spent is important; too short and the job would not look right.
How long would you have taken to create some of the larger backgrounds. 2, 3, 5 hours?
Longer?
Cheers
Hi Ted, Tim’s away at the moment until the end of August but I will ask him to reply when he’s back, I think it was about 2-3 hours per board.
Hi Ted, Thanks for your comments. Regarding the time taken to create these boards the burning of the wood (that gives it the aged look) takes the longest as you can only do a small area at a time, for the 2 ft square board in this class this stage took about 30 minutes. A larger board would take double the time and this is the stage that gives the texture so important to not rush it. When painting the boards the larger backgrounds don’t take much longer than the smaller backgrounds just the additional time it takes to paint the extra area. I normally allow 2-3hrs to make one of these panels but depending on how fast the paint dries you may need to wait for for one stage to dry before proceeding to the next step. The more time and care taken the better the end result, you can also repaint the same board to use in another shoot to get a different look. Cheers Tim
A great demonstration! Excellent ideas. For me part of the fun is making/preparing the props and backdrops for a shoot. Is there a limited amount of times that you can repaint the surface, meaning a different look for a different shoot?
Hi Geoff, I’ll ask Tim when he’s back from holiday.
Thanks Tim… really enjoyed this video!