
Tech Devices Product Photography
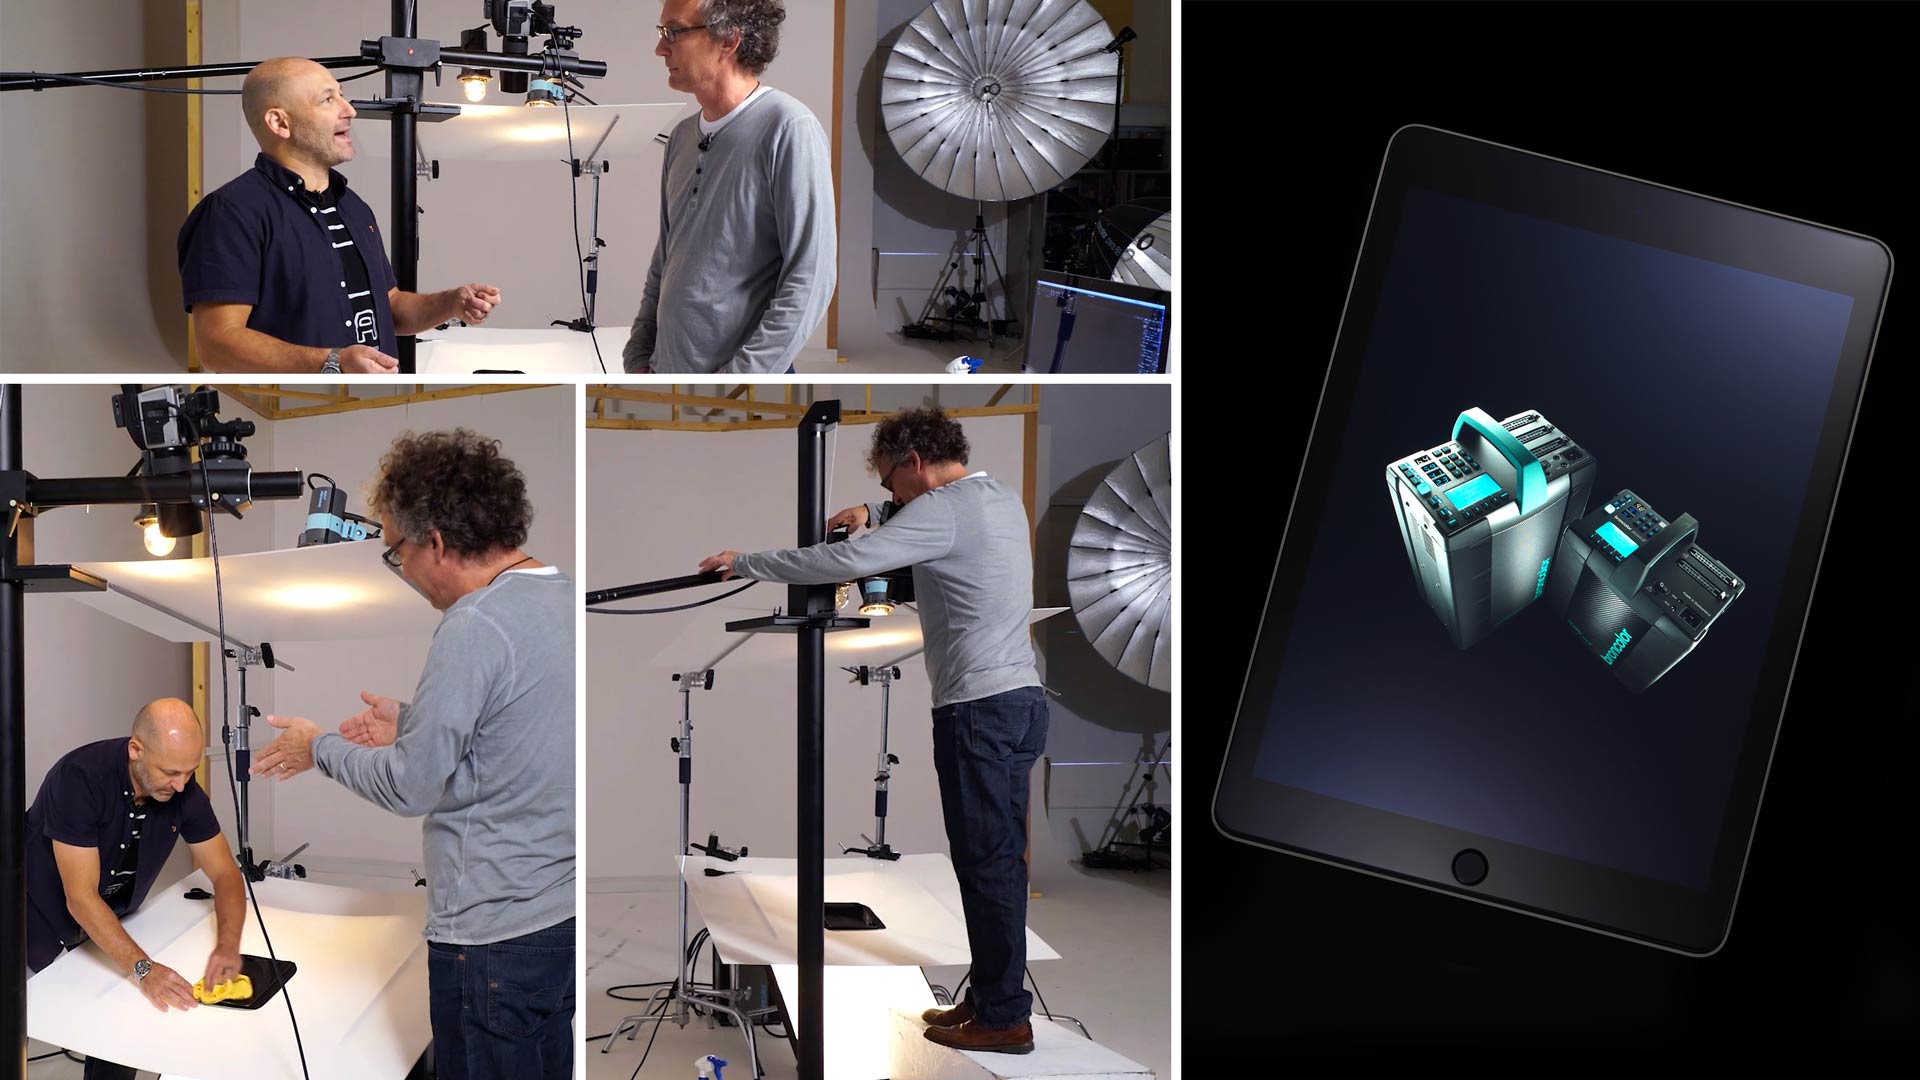
As part of his work with broncolor, Urs Recher is often tasked with photographing electronic products, which often have illuminating screens or buttons. When photographing these items, it’s important to achieve the perfect exposure in order to capture the images on screen.
In this product photography class (a summarised version is available on YouTube) Urs and Karl show you a quick and easy way to photograph an iPad using just three lights and basic modifiers. Urs shares a few useful tips and tricks, reveals a useful accessory and explains his lighting setup and ratios so that you too can capture the perfect product shot.

In this product photography class we cover the following:
- Product photography: How to photograph electronic products
- Product photography tips
- Long exposure photography
- Mirror lock up mode
- How to create gradated light
Comments
I love unique lighting and that was excellent work.
Thank you guys.
and how do I get the 3/4th view or the half side view of the product as it is done in e commerce , of a sleeping product.
Hi, Stand the product upright, stick it to something or if you are shooting it on it’s back then create a wedge to go under the product to angle it.
Thank you , Now I understand the grey reflector use for getting the silvery edges get exposed properly. But I did not understand one thing how you are getting a full straight view of the product without placing the camera right on top of the product. Yes I have seen that you are using a long lens but I still fell it will give a perspective view and not a full straight view . Basically what is the angle of camera that is giving a full straight view of a sleeping product without lifting the product or placing the camera right on top.
Hi, We are not in a perfectly straight view on this product, you can see that in the video.
Further on this line of questions.. shooting an iPhone or iPad at a pronounced 3/4 view (I see you already are shooting a little off axis – the floor is angled as well as the camera) .. I would imagine once you establish the view and set the product clamped or locked into place, then the black cut out should be trimmed down somewhat. Because the iPad is up away from the bottom lit floor surface, are there any other issues that then need resolving that would likely present themselves in that kind of a situation? I have not yet tried this technique yet, but will shortly.
1.since this picture is shot in a black background , the side edges required a reflection to bring out the edges. What should we do if it was to be shot in full white background like e commerce?
2.For products like mobile and ipads or any flat devices do we take a top shot always or we take a straight table top shot?
Hi,
1. White is white, if you want your product edges to stand out then they can’t be white too. You would have to consider a grey reflector
2. That depends on what you or your client want to see of the product or what makes the product look best, there is no rule other than making the product look its best.
How would you shoot the display of a smartwatch. Obviously you can’t stop the second hand so a longer exposure will not work.
Hi Vincent, without seeing the timepiece my guess would be that the digital display could be illuminated enough to obtain a relatively fast shutter speed. Otherwise I’d shoot the digital numbers that I needed from the minutes and then copy them and scale them in post production to fit over the seconds display.
Hi,
I’m looking at the Manfrotto 806 Mini Salon camera-stand. You think this is a good option for a small home studio?
Hi Vincent. I’ve not used that one. I’ve got the 809 Salon which is good but it’s not as good or as smooth as the Foba but it is solid when it’s all locked.
Ciao Karl, was the acrylic sheet a general transparent matt or milky white? Are you using the same on top? Thanks and have a lovely evening. Matteo
Hi, milky white type, same as the top of lightboxes.
thanks Karl, I was wondering how the surface can be hard. I think then you put those paper filters on top of a transparent piece of Plexiglas or something similar. Now it is clearer 😉 Best
Hello Karl,
Quick question
Why are you using acrylic as a diffuser on top of the object and not diffuser paper?
Thanks a lot
Hi, in this instance it only needed a relatively small diffuser so it was easier to use a rigid piece of acrylic that make a new frame for a smaller paper diffuser.
Hi Karl,
thanks you so much and I really enjoy, it’s appreciated if you let us know about the electronic devices that needs more complicated lighting setup.
thanks in advanced.
Hi Karl,
Thank you very much for your answer! Fair enough, the inverse square law and also the way the light gradation looks like.
I was asking about power settings because I have only (maximum) 600 Ws lights, and I was wondering if they can manage through 5-mm Perspex or I should better buy some thinner 3-mm sheets.
600s should be OK through 5mm.
Hi Karl,
Lovely teaming-up with Urs, as usual!
Can you please share the final power settings on the 3 x broncolor Unilite 3200J Heads?
Thanks and best regards,
Bogdan
Hi Bogdan, i’m afraid we didn’t record those settings but remember the power settings on the lights is not very useful unless you also know the exact distances of the lights from the subjects.
Hello Karl
Do you have any advice on styling cables for electric devices, headphones, et al? I’m never happy with how they look when I try to style them. Are there any best practices for how to position them, set them up for the shot, etc? Thanks in advance.
Hi, no they are a nuisance unfortunately. I often glue gun stuff if it doesn’t stay where I want it.
Great video. Very clear and useful. Many thanks. Looking forward to exploring more on the site.
Another really good and informative video. Clear explanation and the step by step approach really helps me to learn. Great!
Thank you Martin.
Really enjoy it when Karl teams up with Urs!
Very useful technique in this video… thanks!
I agree! Listening to two experts work together is highly educational.