


Golf Clubs Product Photoshoot
Photographing reflective products can be difficult enough, but what about when there are three of those products, all with curved lines and unusual shapes to deal with?
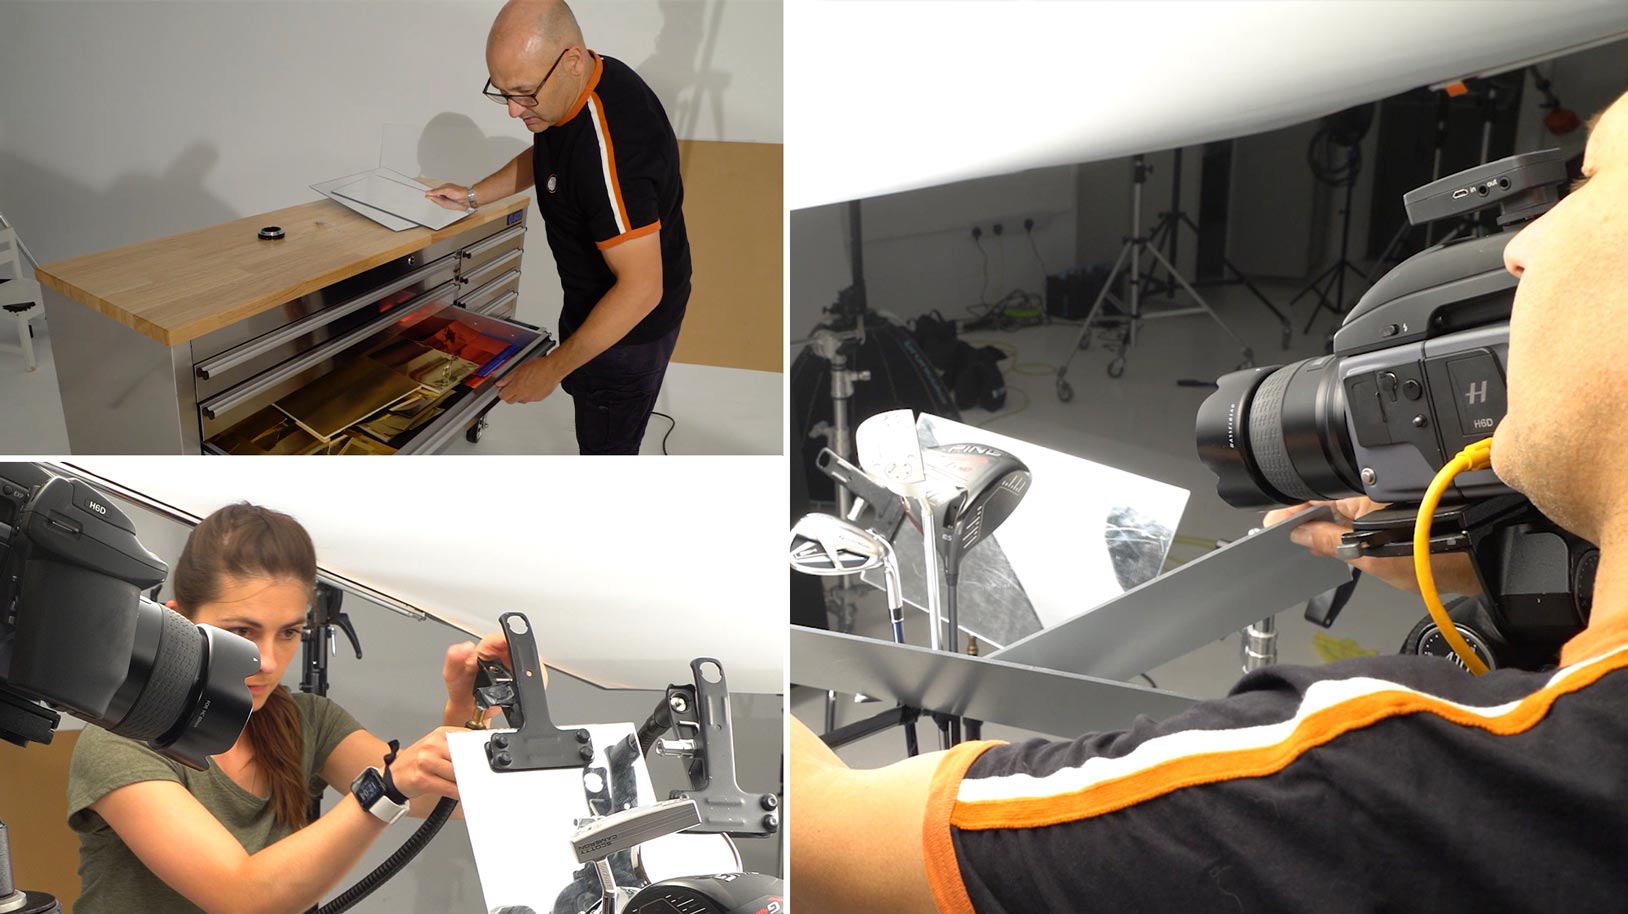
Part of our series on how to photograph sports equipment, this class focuses on how to photograph mixed-surface texture products with complex shapes. Throughout the step-by-step shoot you’ll see how Karl overcomes these challenges as he shoots a trio of golf clubs.
As Karl works through the shoot you’ll see how he finalises his composition, lights the metallic surfaces of the clubs, uses reflectors and flags to enhance and control the lighting, and uses focus stacking to overcome depth of field issues.
Class objectives:
- Photographing reflective products
- Techniques for photographing multiple products together
- Using reflectors for additional lighting
- Gradient lighting for product photography
- Focus stacking for greater depth of field
If you enjoyed this class, take a look at some of our other popular classes:
If you have any questions about this shoot please post in the comments section below.
The value of mirrors when photographing products
As a commercial photographer, I often use mirrors when shooting products, and there are a few good reasons for this.
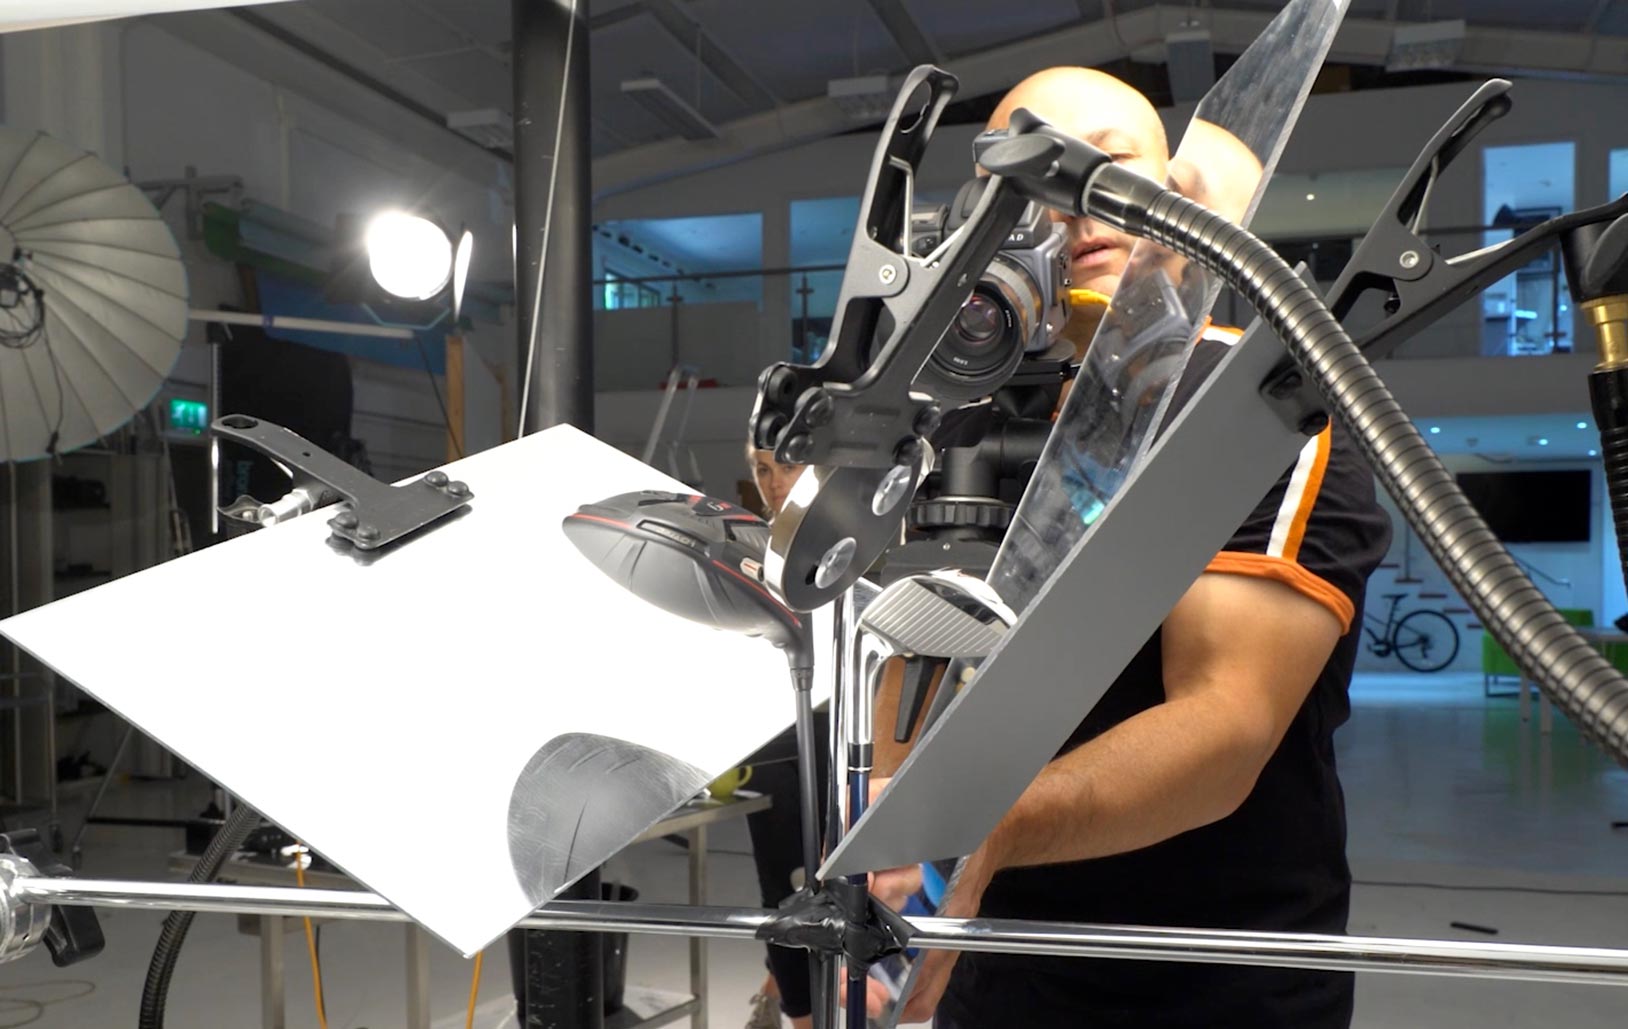
As you’ll see in the full class, a big part of this golf clubs shoot included using mirrors to reflect the overhead lighting.
Mirrors were a useful part of this product shoot.
Not only did these allow me to replicate the beautiful gradient lighting from above, but it also saved me having to use additional lights. This shoot ended up using four fixed lights (plus an extra light for the final club), but without the mirrors, this had the potential to be much more.
A further benefit of using mirrors is their size and manoeuvrability. Attached to bendy arms like the ones we use in the studio, it’s possible to get mirrors in all sorts of tight places where lights wouldn’t necessarily fit.
Mirrors were used to add light on each of the three golf clubs.
Overall this was a fairly complex shoot and it was necessary to focus on lighting and shooting each golf club separately, but in the end the final result turned out really well.

The final image of three golf clubs.
Comments
At 34min you do focus staking with a mirror hand held, are you not afraid that a slight movement could move a reflection in the 3 shots??
What about ream lighting for these clubs, to separate from the background and give it more 3D dimensionality ? I didn’t finish the video yet so if later you did introduce ream light for the clubs then ignore this question obviously.
I will have to check other product photography courses and see what I can learn from your CGI courses next 3 months to a year. Thanks for having the courses.
Thanks for the very useful course. I’ve a new client seeking product photos for his line of golf clubs. Future sessions will also involve using models too.
Hi Karl,
Watching you work and solve lighting problems is very instructive. This video is great and worth the subscription by itself! Thank you for the great and diverse content on this site.
Thank you Robert.
AWESOME! BEAUTIFUL ❤ THANK YOU VERY MUCH 😁
Fabulous final product Karl.
Thanks Andrew.
When will it be released?
Hi, I don’t think this one is due until next year as there are other courses due for release first and this one hasn’t been edited yet.