Diamond Necklace Photoshoot
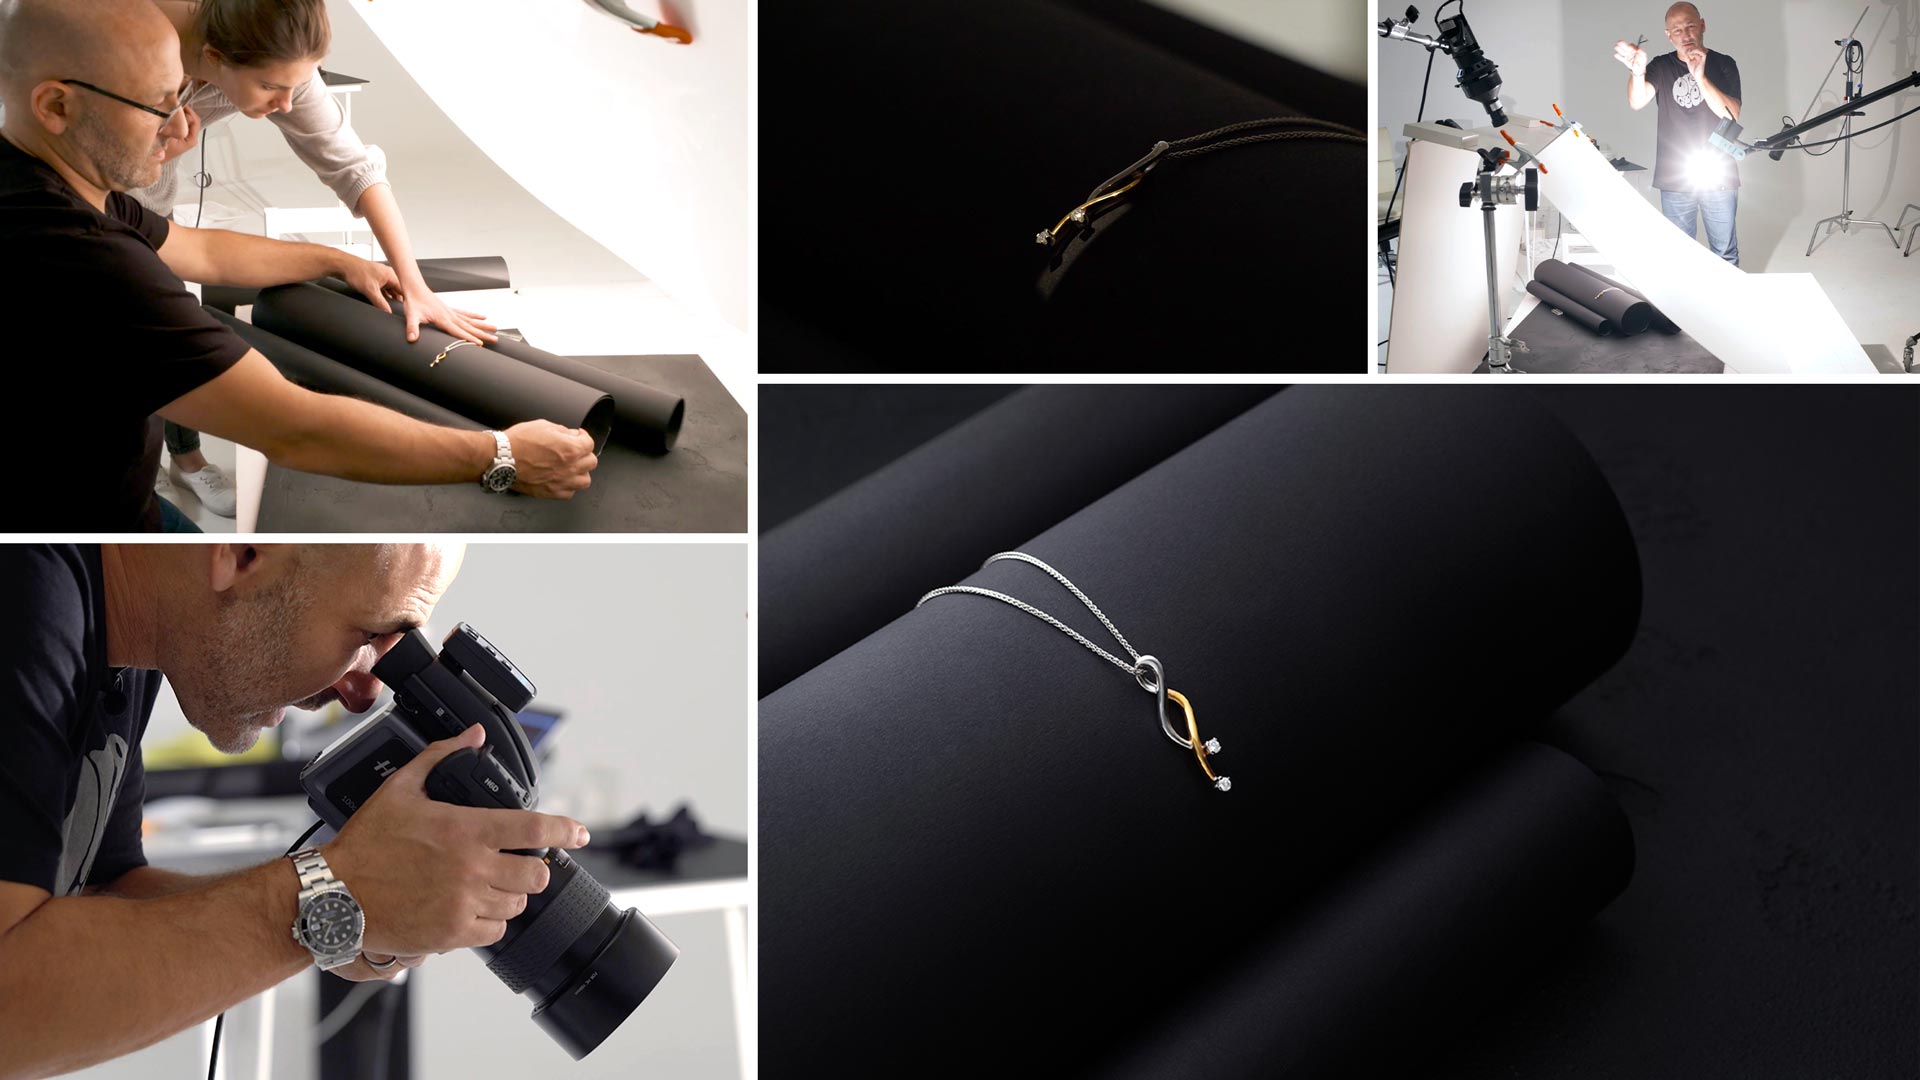
Karl photographs a diamond necklace for the second class in our series of jewellery photos shoots.
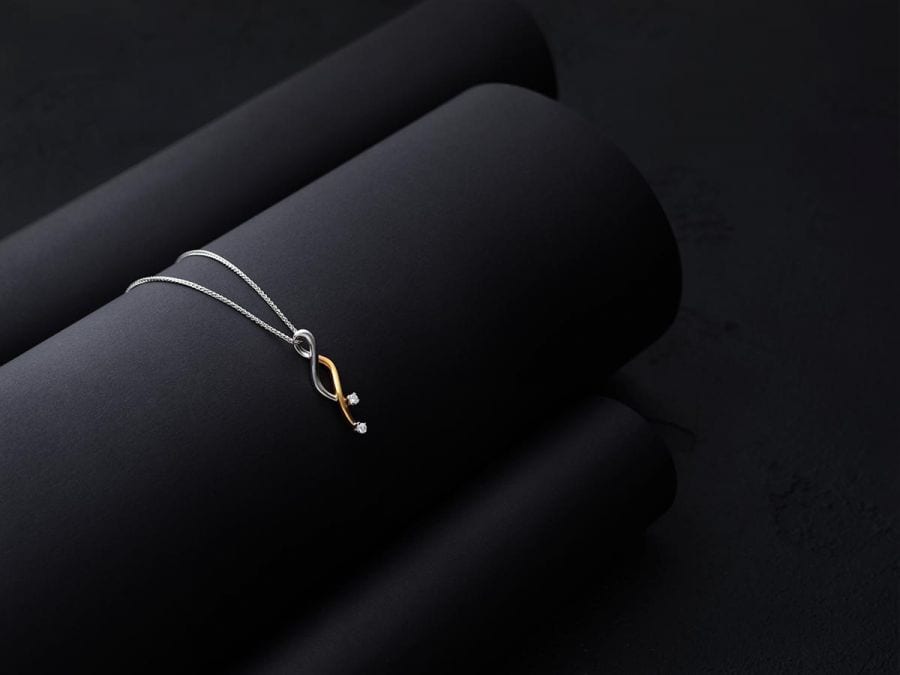
Using a simple lighting setup, Karl demonstrates how to light shiny metal surfaces and highlight important details in precious gems such as diamonds. Using one bare bulb, Karl shows you how to make use of reflectors to create a soft wraparound light, a technique that was key to achieving this stunning image.
You’ll be able to follow each step as Karl tests his individual lights, experimenting with lighting ratios and positions before reaching the final shot. You’ll also learn a few simple tricks that will help you make products such as diamonds truly sparkle.
In this class:
- Product photography: How to photograph jewellery
- Jewellery photography tips
- How to photograph shiny metal surfaces
- How to create soft wraparound light
- Using reflectors for product photography
- Selecting backgrounds and props for jewellery photography
If you enjoy this class, be sure to check out Gemstone Necklace Photoshoot and Diamond Rings Jewellery Photography.
Questions? Please post them in the comments section below.
© Karl Taylor


Comments
Brilliant stuff Karl. Thanks for this.
Could you also do a catalogue style jewellery shoot on white background. Something suitable for an e-commerce website.
Really keen to know how you’d set it up.
Hi Shafiq, like this or something else? https://visualeducation.com/class/jewellery-photography-rings/
This courses is giving me ideas. Thanks Karl .
Hi Karl
First I want to thank you for the perfect videos . I want to ask if I can use only 2 Speedlight for jewelry with Impact Digital lighting shed, I have a tine space nd I can’t close the windows or turn off the lights how I can deal with that issue also I am using sony camera with 90 mm macro lens will it be enough ?
My Speedlight is godox sk300ii
Hi Karl,
Once again, I’m a new member and you website and videos are great. Thank you!
I’d like to know if it would work well with a couple of Speedlites and tracing paper wrapping around instead the acrylic board.
I need to photograph dental burs which are cylindric and very small, made of steel and with diamonds on the head. I though it would be a good idea to pay attention on your videos about jewelry. The problem is that I have to set up a mini studio at home with low budget.
Hi, Yes speedlites work equally well through diffusion however you just need to figure out the best distance for them from the diffusion material. The downside for speedlites is that they usually don’t have a modelling light which makes it difficult to see what the light is doing without a test shot.
I been photography jewelry for a while and I had some problems with too much light. Thanks for the suggestions on this course to reduce light and props.
Hi Karl,
As a new member, I was browsing through the available content and came across this video on photographing a diamond necklace. It was very informative and I look forward to watching the other tutorials on this series. I have one question, re the your use of lens choice plus extension tubes. Is your lens a macro and are the e.tubes to get closer focus? Further, in this type of photography, do you aim for front to back focus? Please advise including your choice of f.stop. Thanks and Regards,
VJ
Hi, thank you. My lens is not a macro, extension tubes with a non macro lens do not give as good a result as a dedicated macro but this doesn’t matter if you are shooting a focus stacked image or where the corners of the image are not important. Please see this live show for further information, the techniques shown will also help you with jewellery photography – https://visualeducation.com/class/live-workshop-focus-stacking-shoot/
I have been doing quite a bit of wine bottle product work and lately some jewelry shots. Just as a side mention, the space where I can work is somewhat limited in size and I have been fighting with reflections of white ceilings and other walls which seem to reflect the stray light as it bounces. Often I have to drape black fabric wherever I can to reduce those issues. I first started with vellum paper scrims that were maybe 5 feet high and 3 feet wide, but I noticed they stop in the bottles as they appear vertically. I’ve ordered some nylon fabric what will give me 5 feet width and 12 feet length, but have not received them yet. I am going on the premise that to get continuous reflections I need to extend the scrims as far as possible and let the light naturally fall off. For jewelry, the reflections seem more to be about width, at least so far in the items I have been working with. I notice you are using a very wide flat white surface. Is that all about getting those nice reflections that don’t seem to stop abruptly and fall away? I guess where I’m going here with a question is the size of the scrim, or flag, or reflected surface.. is the approach to use, as large as manageable a surface, as a mostly universal solution or is it quite variable in circumstances that depend on the situation?
Hi Gary, a large white base surface is essential for some shiny items like jewellery or glasses depending on your camera view point as a lot of the base surface is going to bounce into the product so the bigger area it is sat on can help. As for the scrims, my scrims are 2.3m x 1.5m so I’m not sure why you’re struggling with your sizes. For your room black fabric around the walls and black foam board stuck to the ceiling will all help as will painting the room dark grey or black.
I recently heard a bit of advice from another photographer using a practice of reflecting light using a grey surface to help in creating softer fall off reflections. You did mention using grey surfaces in the presentation. Are we just talking white card with a coat of paint (or similar result) ? I haven’t tried that yet with bottles. Perhaps I will post an image in the facebook group to point out the issue. I haven’t seen an example here, but I am a new member and just scratched the surface on the content.
Hi, yes some photographers use off white or grey for quicker fall off, for example Tim Wallace car photographer who is a friend of mine recommends a 10% grey (off white) for car coves. However I prefer white and I just angle my lighting accordingly or change beam on a fresnel or grid to change the fall off. If you can post some pics in the group and write with arrows the problem and take a BTS of your setup we can take a look at it. Email it in or bring it up on the upcoming weeks chat show. Please email Sara at the site with the image to pass on to me.
Hey
I would like to know will snoot act the same as the pico light?
If not, then what can be done to get the effect?
Hi, a snoot can be similar in results to a picolite with a projection attachment but not quite as precise.