
How to Create and Photograph Cosmetic Swatches
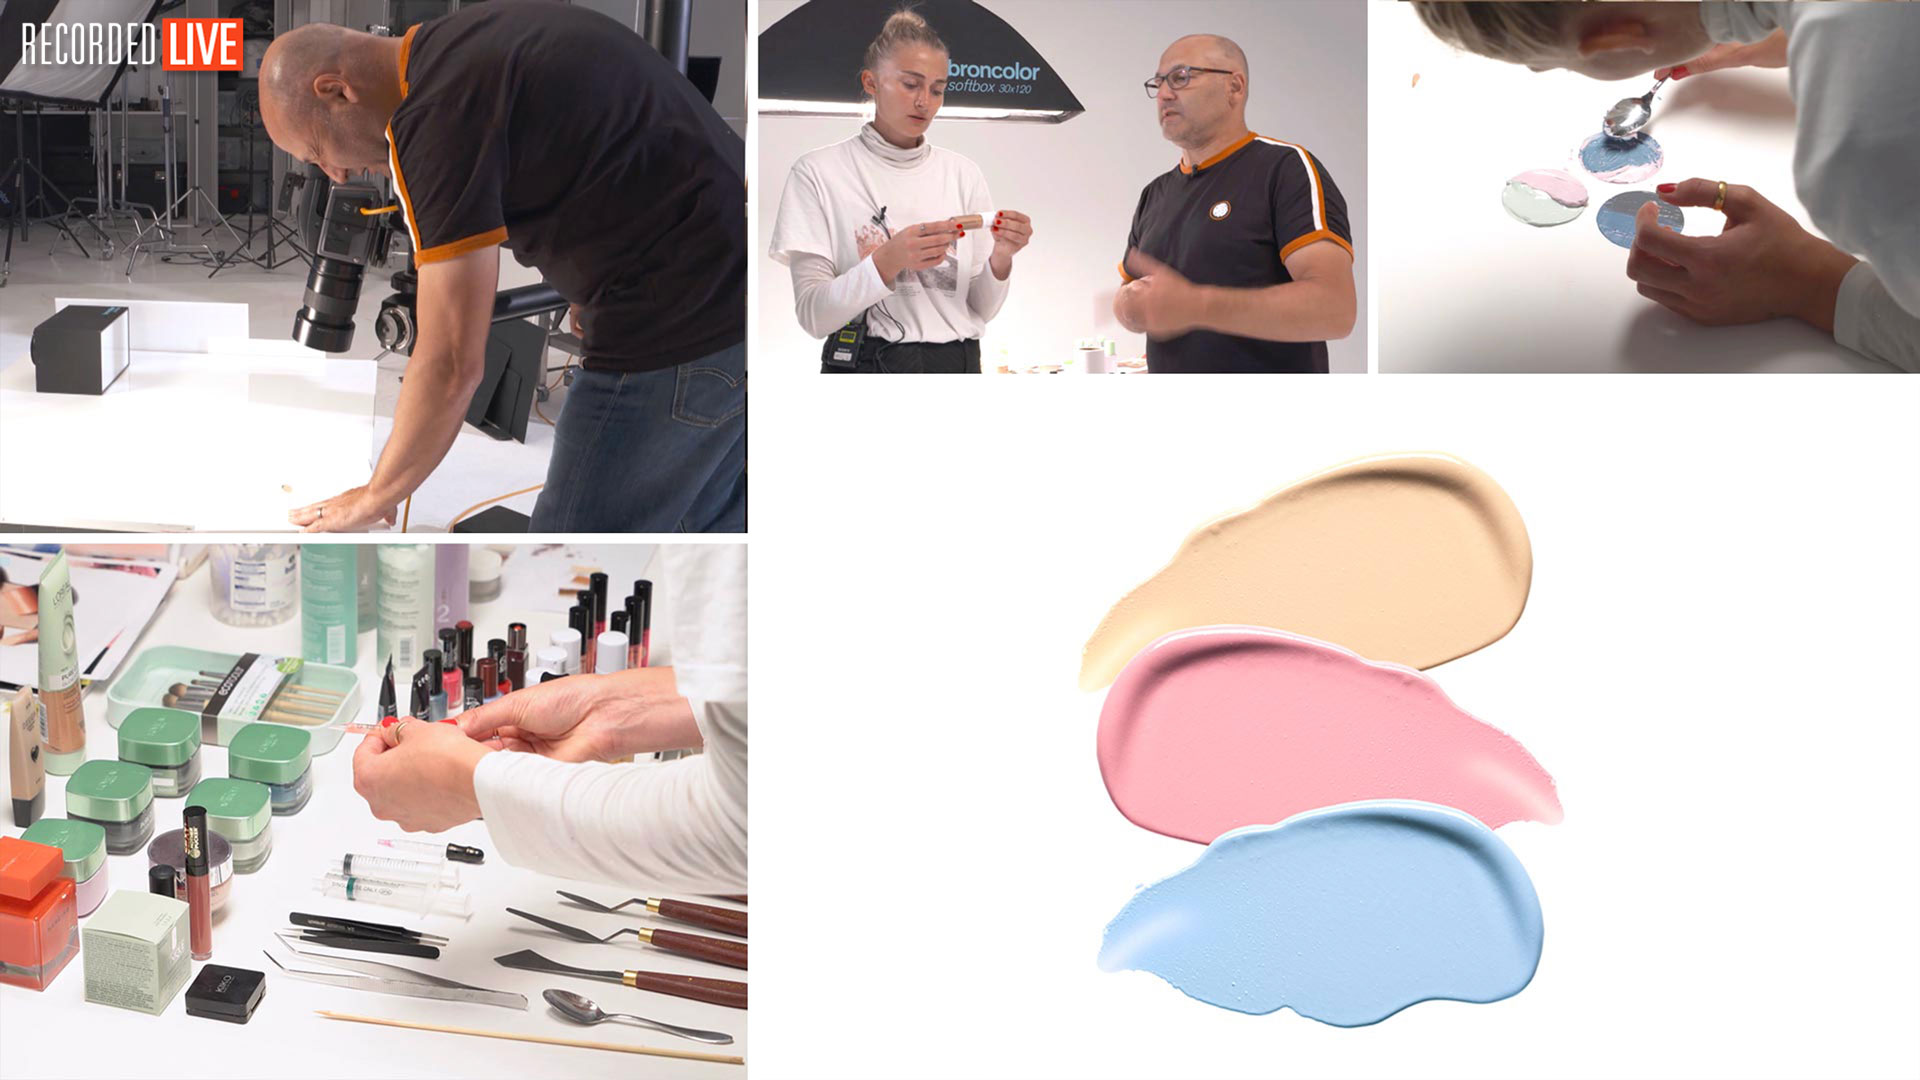
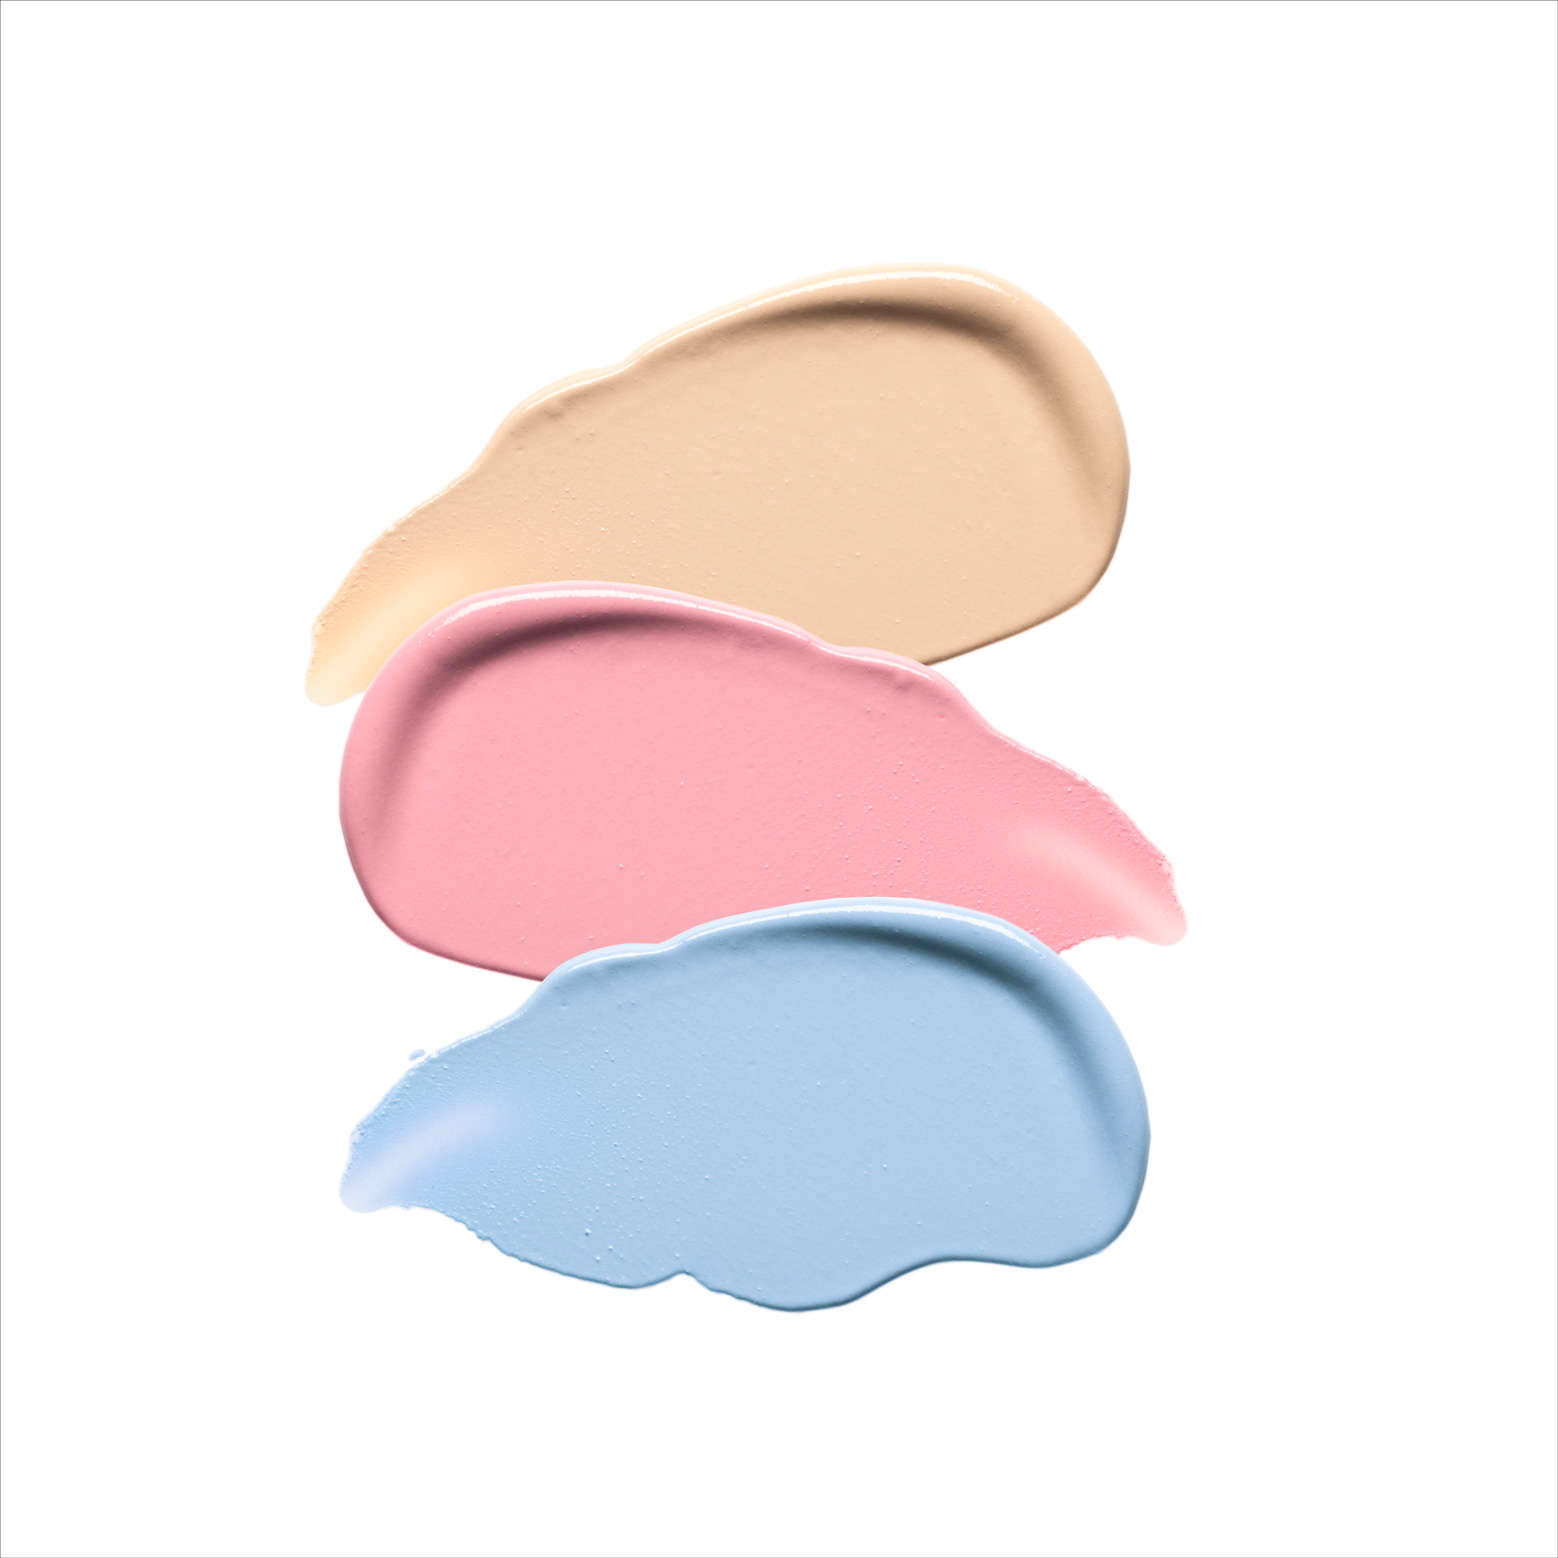
In this live show, Karl took a slightly different angle on cosmetics photography as he demonstrated how to photograph creative makeup swirls and sweeps — something you often see in magazines and online adverts.
Working with his assistant Georgie, the pair demonstrated the start-to-finish process of creating and photographing cosmetic swatches using just a one-light setup.
Georgie covered exactly how to create eye-catching designs, what tools to use, and creative techniques to get the best results while Karl focussed on the technical elements of the shot such as lens choice, camera settings, and lighting.
Throughout this show, you’ll learn how to photograph close-up shots without using a macro lens, what backgrounds to use for cosmetic photography, how to control reflections, and how to create and control gradient lighting.
Topics covered in this show include:
- How to photograph cosmetic swatches
- How to create cosmetic swirls and sweeps
- Tools & techniques for creative results
- One-light setups for product photography
- Using reflectors to control light
- How to create gradient lighting
- How to control reflections in glossy products
If you have any questions about this show, please post in the comment section below.
Comments
This was a great show! Thank you for doing this class. I’m looking forward to the module you and the team will create.
Hey Karl, thank you and your Team for this great Education. I´m working with hasselblad 80mm and i was wondering, wich extension tube you are working with? Don´t wont to spend money for their macro 🙂
Hi, I use the 13mm and the 26mm the most – https://www.hasselblad.com/h-system/accessories/extension-tubes-h
Glitter tip from my travels: A thin line of glue using a straight edge and a syringe, then pour glitter on it. Blow the excess away. Any design can be achieved of course, it’s up to the fine motor skills and a little ingenuity.
I would have liked to see more swatch styling in the video which was the reason I signed up for the class not many videos talk about the actual styling but they all talk about lighting for example the video did not show how georgie layered the swatches it just cut to the part where they were already layered. Seeing up close footage of her actually layering and handling the product where her hand is not covering what she is doing would be very beneficial many of us beginners do not have stylists on set so I want to learn how to style the swatches as when I try to layer it always smudges the swatch below. Maybe a video only about the styling aspect only would be helpful. Thanks
Hi Angie, thanks for your feedback. We have been asked for this and it is in our schedule to make a new class on just the preparation of the sweeps and swirls.
AWESOME! ❤ BEAUTIFUL! ❤ Thank YOU very much 😁
Hi Karl, my first message here 😅. I feel always struggling with acrilico boards…they seems always not enough “neutral”. Can you point out a brand you trust color-whise?
Thank you Karl! It was very interesting. It would be great to continue this topic.
Hi Karl, great class, I enjoyed the tips.
I’m assuming the acrylic sheets become unusable after these types of shoots? Or does the makeup clean off O.K with a bleach type product?
Hi Karen, thank you. It’s very difficult to get the product off of the matt side of the acrylic but OK on the gloss sides. With soaking and bleach it will go but it is a bit of work. As the space needed is small my suggestion is to purchase many small squares of acrylic which are less expensive and can more easily be washed and placed in the dishwasher.
Thank you.
Hi guys!
Amazing show! I had a question regarding the small soft box used on the concealer shot. Could I achieve a similar result by shining a light (either bare bulb, a reflector or barn doors) with a small home-made diffusion scrim (using a picture frame)?
Thanks so much,
Sarah
Hi Sarah, yes through a small home made scrim or piece of acrylic would be fine. You can also use a bigger softbox such as a 35x60cm and move it further away or mask it down with black card.
I’d love to see a video showing Georgie (not sure how she spells her name) styling these sorts of things. Perhaps and overhead camera looking down as she works and talks through what she’s doing.
Hi Tim, we’ve decided to do more of these in an edited course rather than live, that will give us a lot more ability to film it from more angles etc.
Great Show!
Thank you.
If you were doing this for a client, would you be able to get the product removed from the packaging by the client? Presumably, they have factories that bottle these products and could get it in a more easily accessible form for this type of shot by not putting it in a bottle to begin with.
Best regards,
AP
Hi AP, yes that’s a good point, you’d think it was possible but to be honest it wasn’t that difficult and at least you know which product you’re shooting.
Hi Karl
great show as always, you prefer to shoot on a low shooting table (about knee height) as opposed to normal desk heights, is this mainly for convenience so that you can see the products through the viewfinder, or does physics have a part in this decision?
Amit
Hi Amit, only for convenience.
Hi
What type of base the stylist was using? Thank you
Hi Aby, white matt acrylic.
Why you not using a transparent glass? This is more practice and allows you to get a clear white background without blowing edges and postproduction in Photoshop. I use it and get great result.
Hi Evgeniy I have used glass for many product shots with white or other colours as a base below but the white matt that we use gives a good grip for laying down the swipes and is still very reflective to give a good white. However we will test using glass to see how it is for the cosmetics when we come to creating a module on this, thanks for the reminder.