


EarPods Product Shoot
Have you ever wondered how Apple make their products look so desirable in their ads? It’s all about the lighting – and this class shows you how.
Watch Karl take on our fourth ‘Working to a brief’ assignment as he teaches you how to photograph EarPods like a pro.
You’ll try and compare two different lighting setups — one with studio lights, one with speedlights – as you learn how to create the perfect rim and fill lighting.
You’ll discover how to create and control gorgeous gradients, as well as how to create perfect black backgrounds for product shots like this.
You’ll also learn how to achieve sufficient depth of field using focus stacking PLUS see Karl demonstrate the post-production work required to perfect the final image.
By the end, you’ll be ready to capture EarPod images good enough to grace a giant Apple billboard!
In this class:
- How to photograph EarPods
- Rim lighting for product photography
- Creating black backgrounds for product shots
- How to focus stack images
- Retouching techniques for product photography
- Rim lighting using speedlights
- Post-production techniques for product photography
If you enjoy this class, try Rim Lighting for Product Photography and Creative Product Photography with Speedlights.
Questions? Please post them in the comments section below.
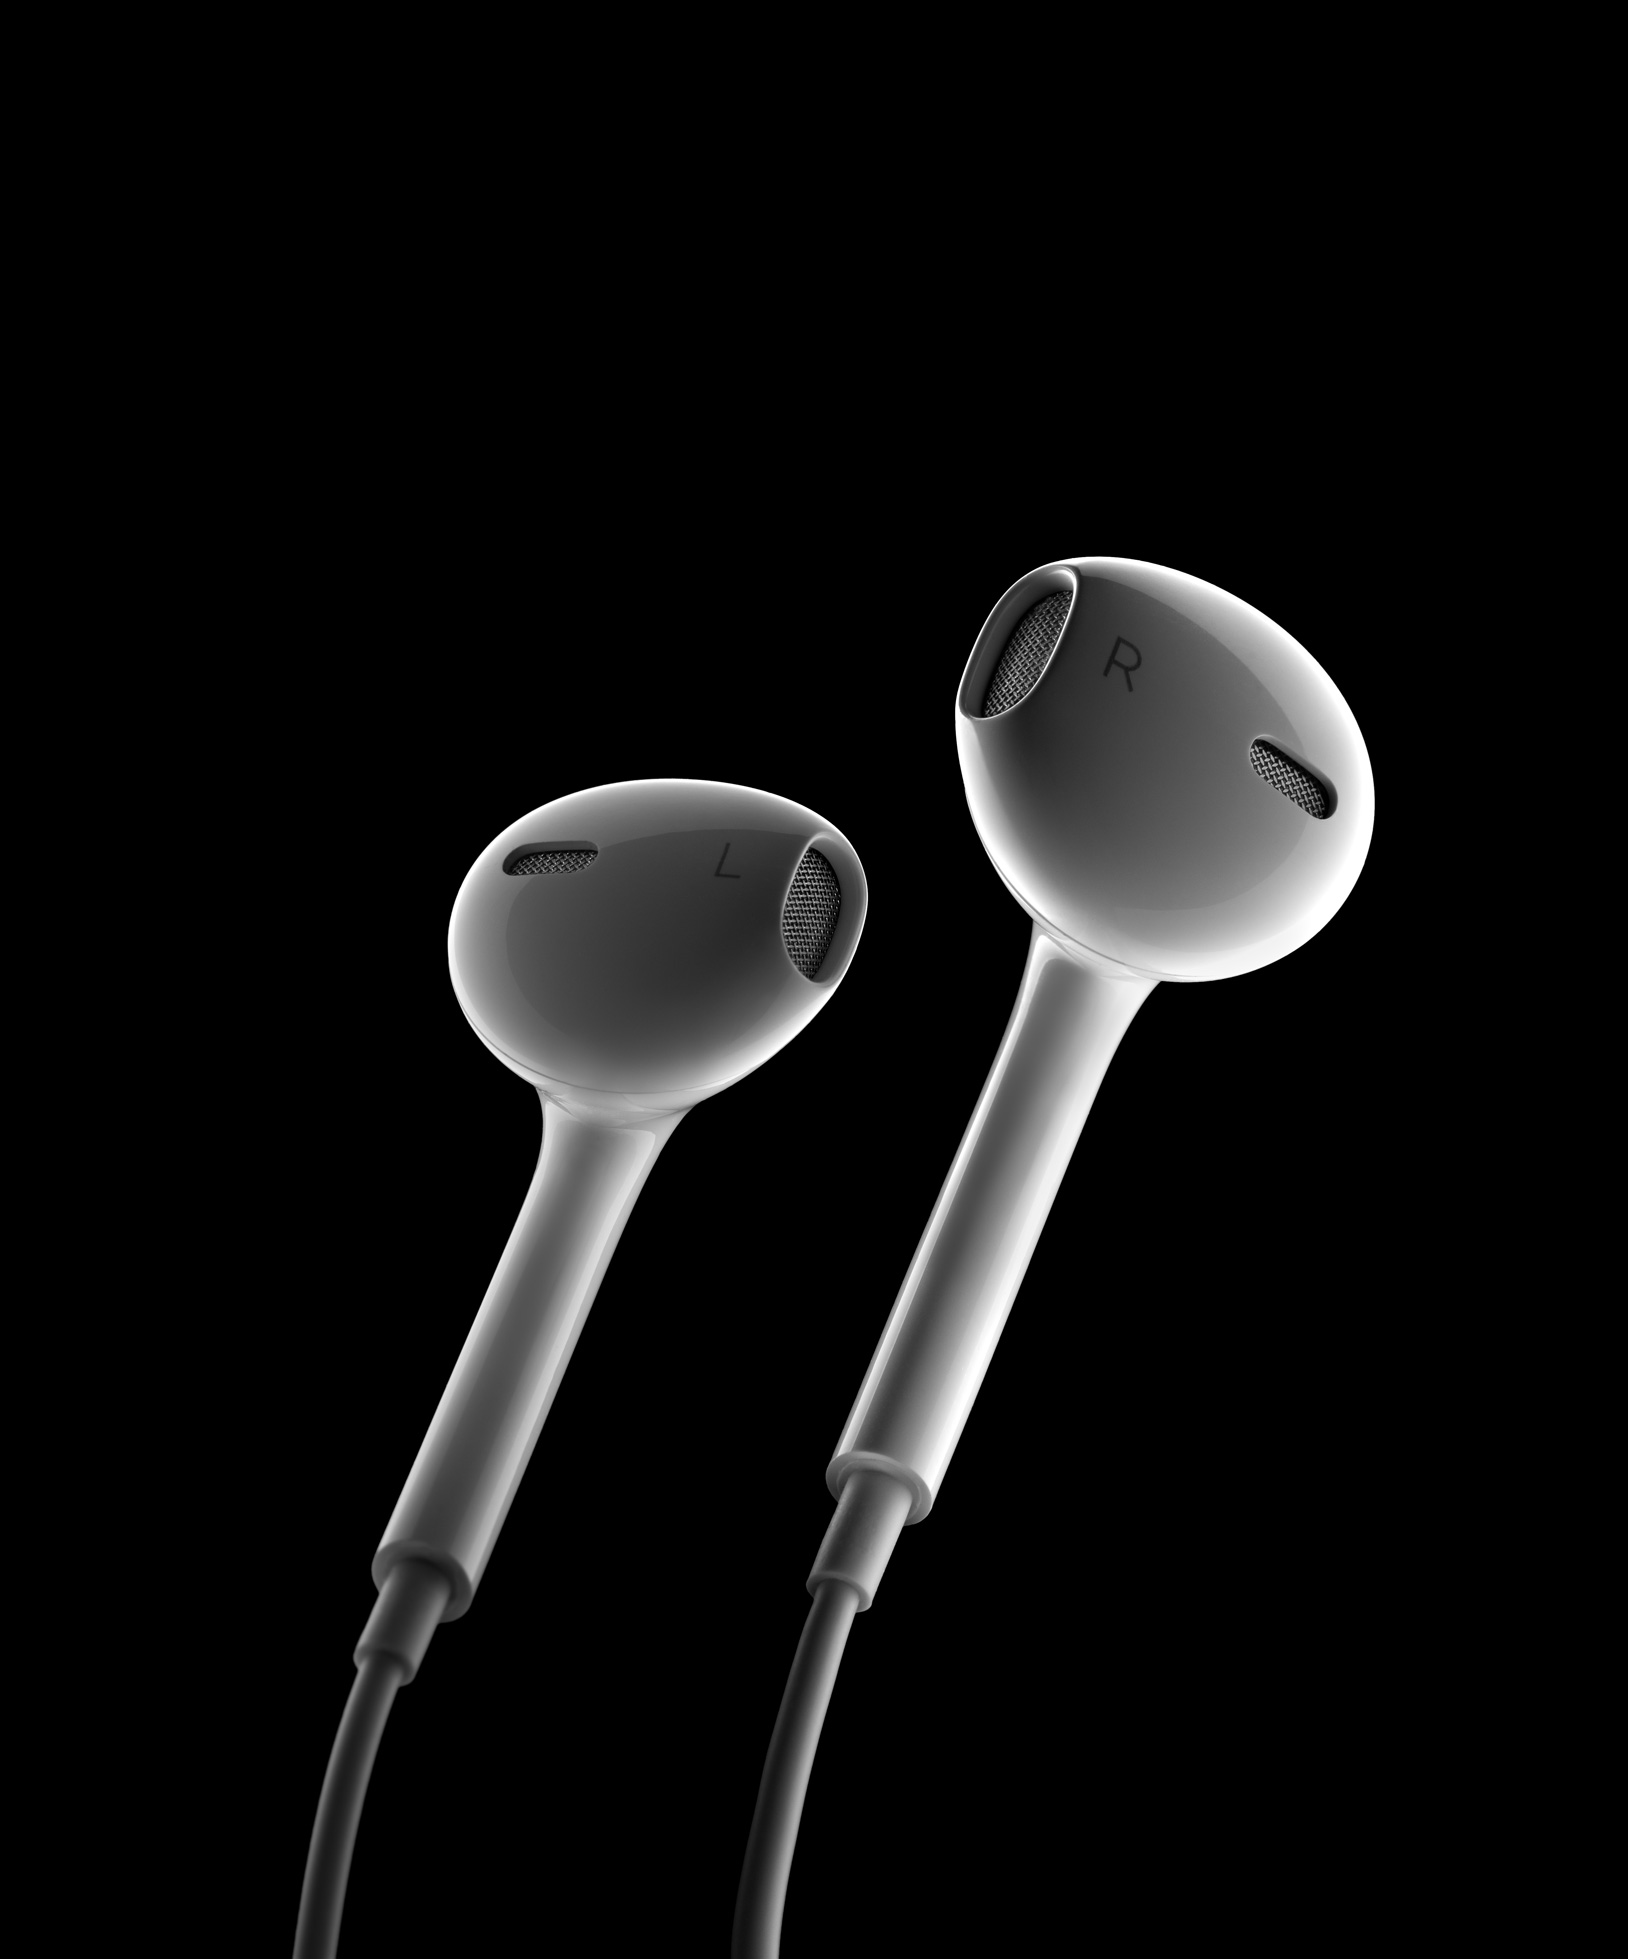
Final earphones product shot captured using speedlights.
Comments
hi how have you done the gradient on the earphones? I don’t see any scrim. The little piece of paper has done the gradient? I have done this with the Magic Mouse but it has no gradient…
Hi, In this case the light is coming from below the product and hitting the paper that is surrounding/curled around the product. The light on the paper is brighter closer to the table surface and weaker at the top of the paper which is what creates the gradient. You don’t always need a scrim to make a gradient, they can also be created with light onto a white diffused reflector. See our car photography tutorials to see exactly how we create gradients using large white panels and gradient light on those panels.
Hi Karl,
I enjoy watching this video and I tested it and had similar results, but I have one issue which is with the focus stack, I have both Canon Remote and Helicon Remote, and I have difficulties with the focus stack of both apps. Where do think you my mistake is? I shot the AirPods at around 110-degree angle, ISO 100, F/11, 1/200, and power 3 with Siros 800 S, lens 24-70 Sigma, and the distance between the camera and AirPods is 41 cm away.
Hi Ahmad, it is impossible to say based on this information only as there are so many variables but the science of focus stacking requires the following:
1. Incremental focus points where the DOF from one shot will overlap the next (this can sometimes mean lots and lots of shots on very small objects)
2. The product must not move (including the table, floorboards etc)
3. The camera much not move or shake (better with mirror lock up)
4. Each exposure should be lit the same.
If one of these goes wrong the whole thing goes wrong.
Hi Karl, thank you for replying, it seems to me (like you said) that with a 50mm lens I have to shoot lots and lots of shots to get the photo as sharp as possible, but with 100mm macro it’s already pin-sharp even the grills and I took like 3-4 shots, The mirror lockup did the wonder.
Keep up the great work, can’t wait for your new videos 🙂
Thank you, Karl.