
Parabolic Reflector Beauty | Post-Production (Part 2)
In this post-production class, professional retoucher Viktor Fejes continues to work on the raw files Karl captured in Parabolic Reflector Beauty Shoot.
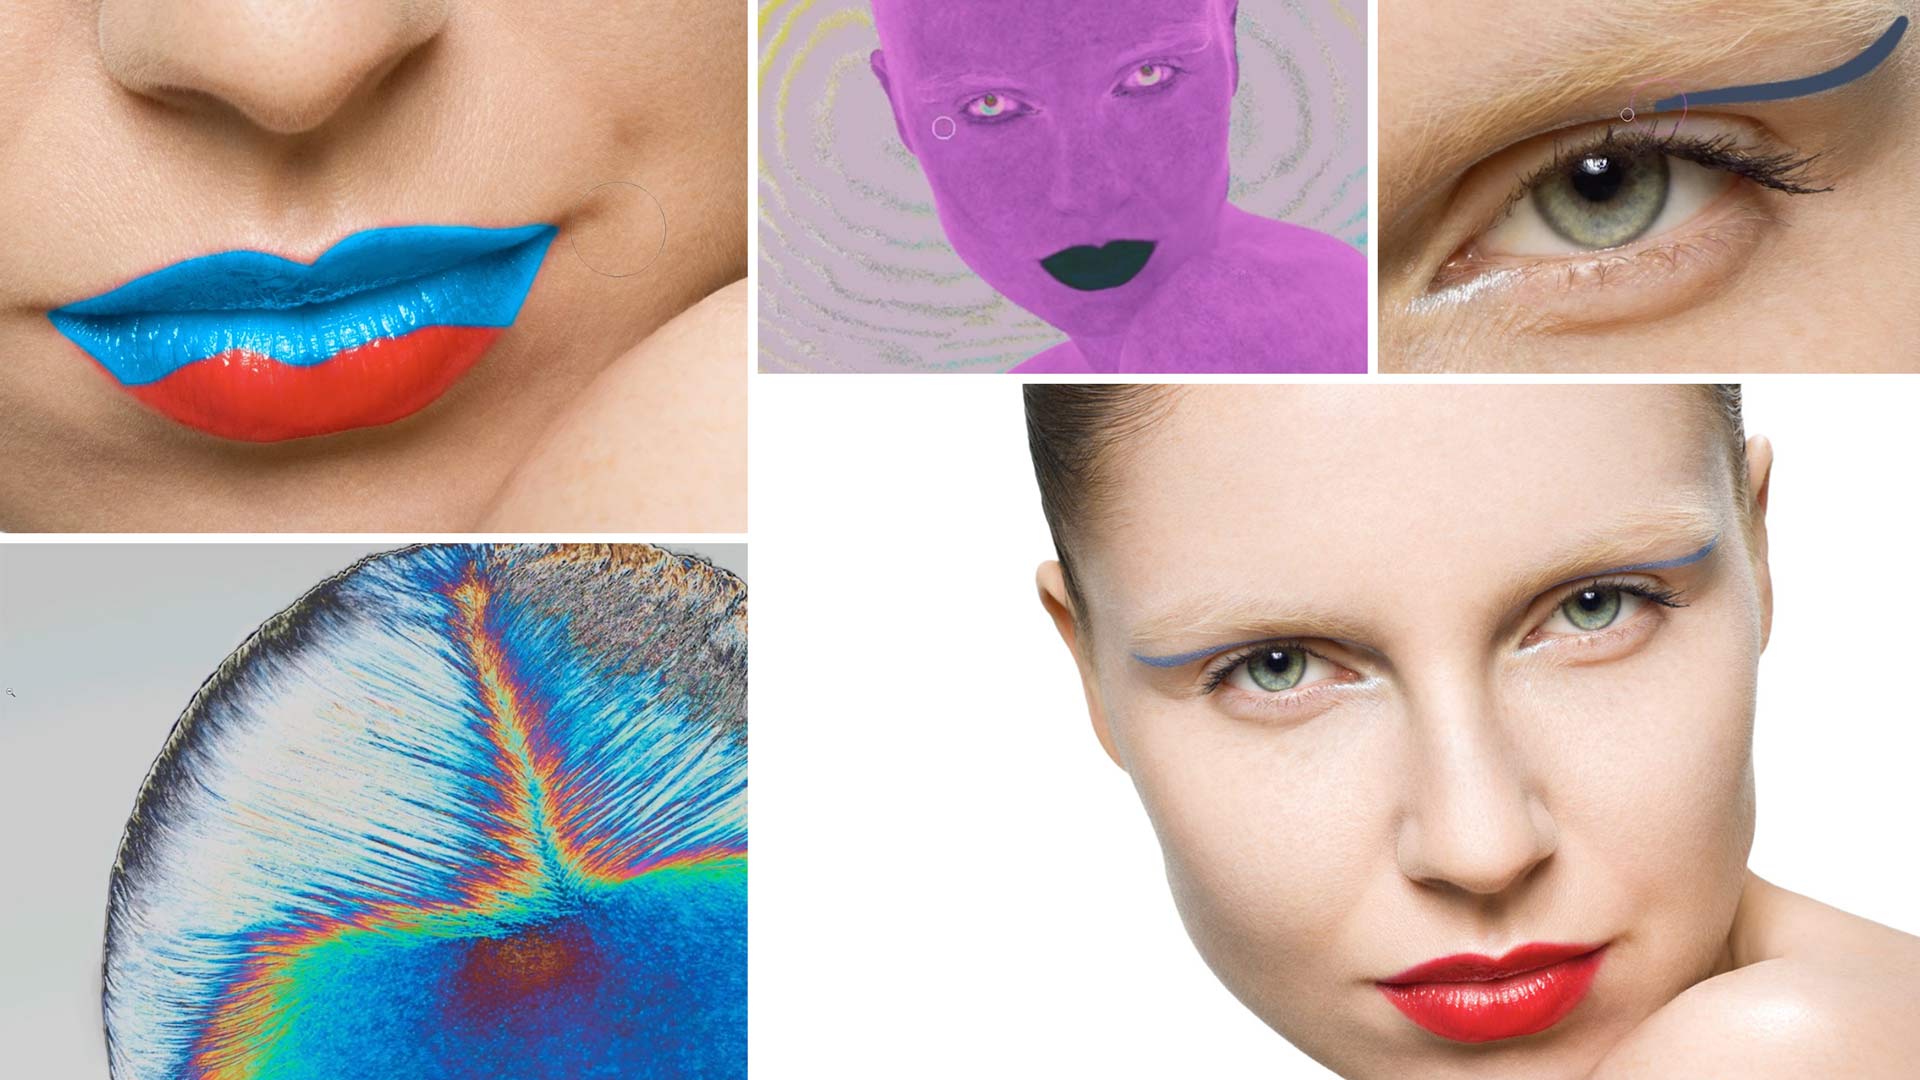
As he retouches the hair to smooth out distracting imperfections, Viktor uses tools including the Healing Brush, the Spot Healing Brush and the Clone Stamp Tool.
The next phase is burning and dodging – local first, followed by global. During this phase, you’ll see Victor demonstrate layer masks and curves adjustment layers, plus luminosity alterations.
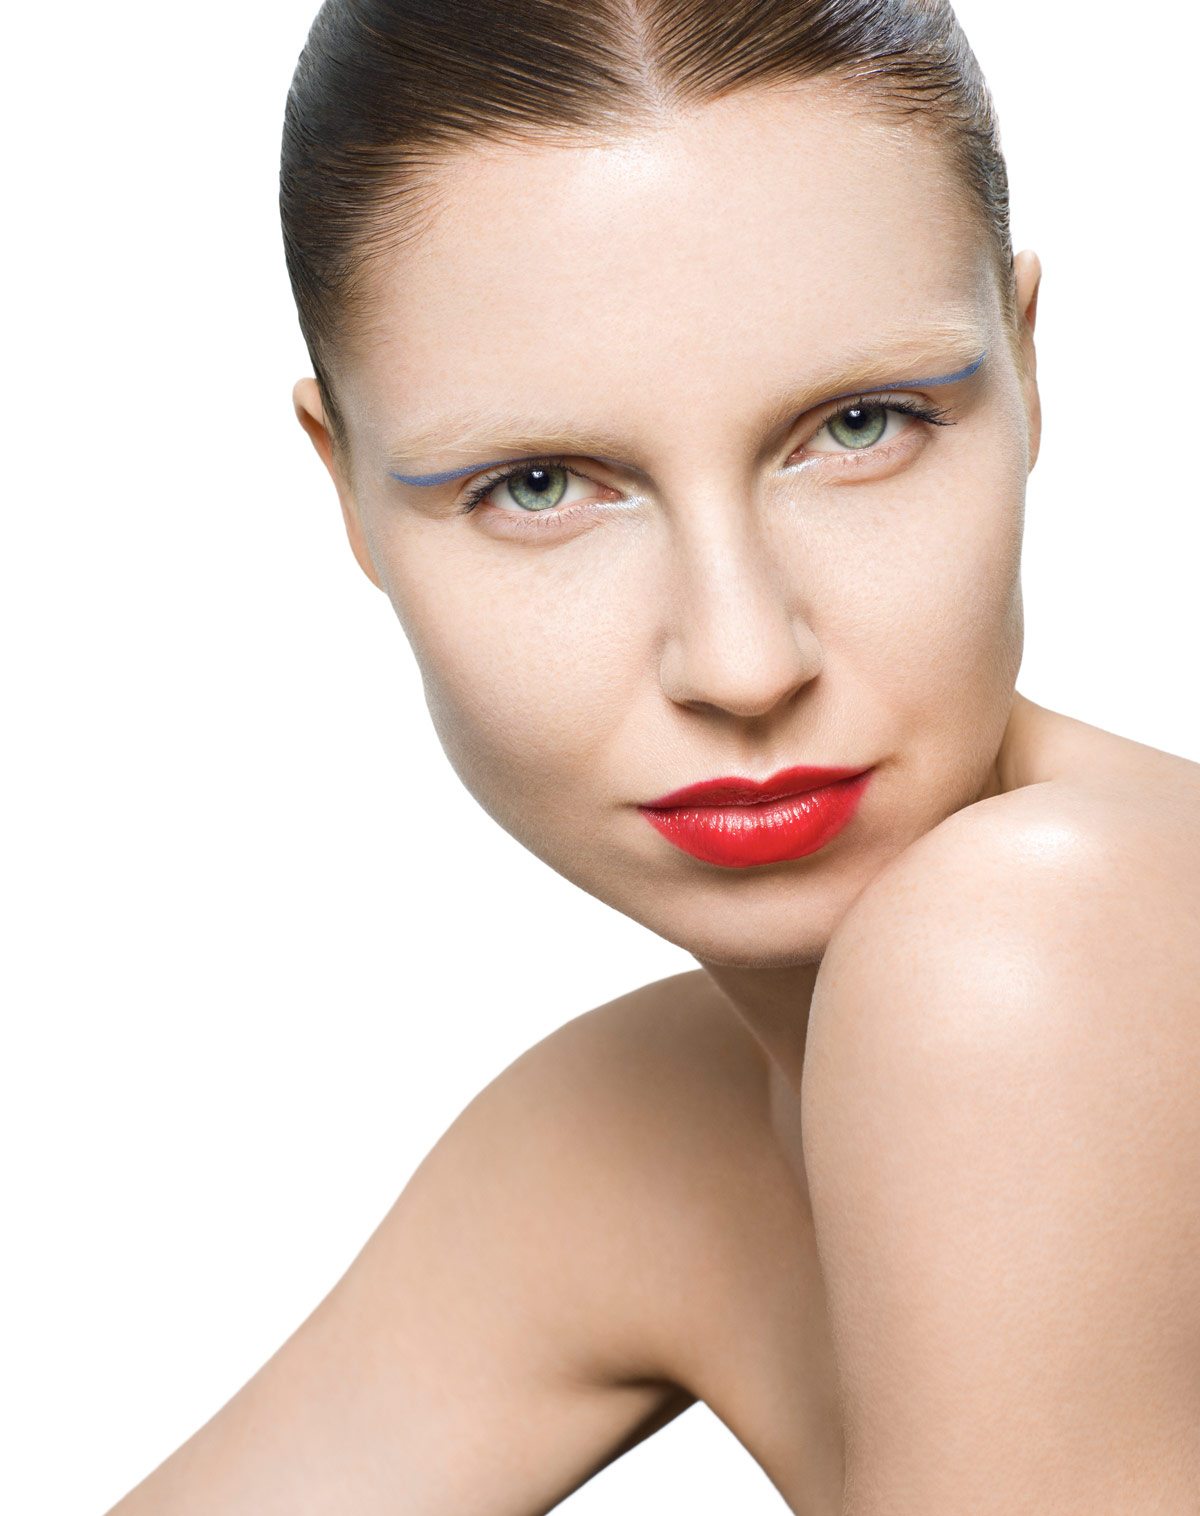
Moving on to colour grading, Viktor tweaks the hue and saturation in key areas, focusing particularly on the eye makeup and lipstick.
Wrapping up, he uses the Liquify filter to fix up the silhouette of the subject and adds noise to the image to ‘cover’ his retouching.
In this class:
- Post-production techniques for beauty photography
- How to retouch hair
- Burning and dodging in Photoshop
- Layer masks and curves adjustment layers
- Colour grading in Photoshop
- Adding noise and Gaussian blur
- How to use the Liquify filter in Photoshop
To see Viktor’s initial work on this shot, be sure to watch Part 1. To see Karl finish it off, watch Part 3.
Questions? Please post them in the comments section below.
© Karl Taylor
Comments
Hello Karl, hello Viktor. How do you set the brush cursor in Photoshop to red. Standard program options do not allow changing the color.
Hi, we don’t, that is part of the video screen record settings so that when we record our photoshop screen for tutorials then you guys can see the cursor more easily to know where it is, that’s not part of Photoshop.
Great work Viktor, it was super clear and lots of useful informations step by step. Especially the last layer with adding noise was super! Now I can’t wait to retouch my next photo with all the new knowledges I learned from you. Cheers!