


Photographing Candy Using Colour Theory
Food photography classes don’t come any sweeter than this!
In this photography class, Karl works with professional food photographer Anna Pustynnikova to show you how to create this colourful arrangement of macarons and sweets using just three lights.
Colour theory, food styling and studio lighting all come together in this class as Anna and Karl combine their knowledge to produce this bright, beautiful image. You’ll learn how to carefully use shape, colour and texture to guide the eye as well as see how to carefully control your lighting to achieve a particular result. If you’re looking for creative food photography ideas, this food tutorial is the perfect place to start.
In this class:
- Learn how to photograph food
- Understand colour, colour theory and how it impacts your image
- See how to use shape, colour and texture to guide the eye
- Food photography lighting setup examples
- Learn how to control the depth and direction of shadows
- Food styling tips and tricks
To ensure the success of this image, we spent some time carefully selecting the colours of our background and subjects (you can see another example of how I’ve used colour theory in our live handbag product shoot here).

We used a colour calculator to determine the best colour combinations to use for the shot.

Background selection for food photography is important.
Once we’d decided on our background colours, Anna started work on the composition, sharing some great food styling tricks. She used the different sizes and shapes of the candy to create depth in the image and guide the eye.
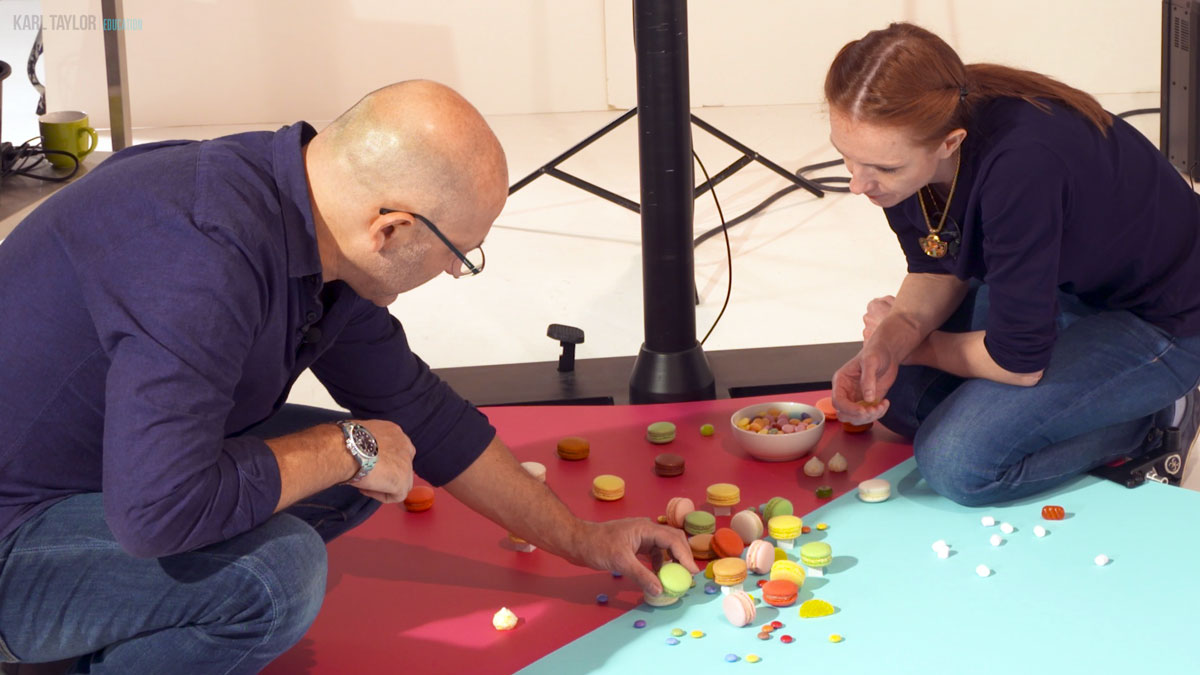
Anna shared a number of useful food styling tips.
Once the styling was finalised, I was able to start work on the food photography lighting setup for this shot. For this image, I used only three lights: my main key light was a bare bulb point light source from above and I used two other lights bouncing off my studio walls to soften the harsh shadows from my main light.
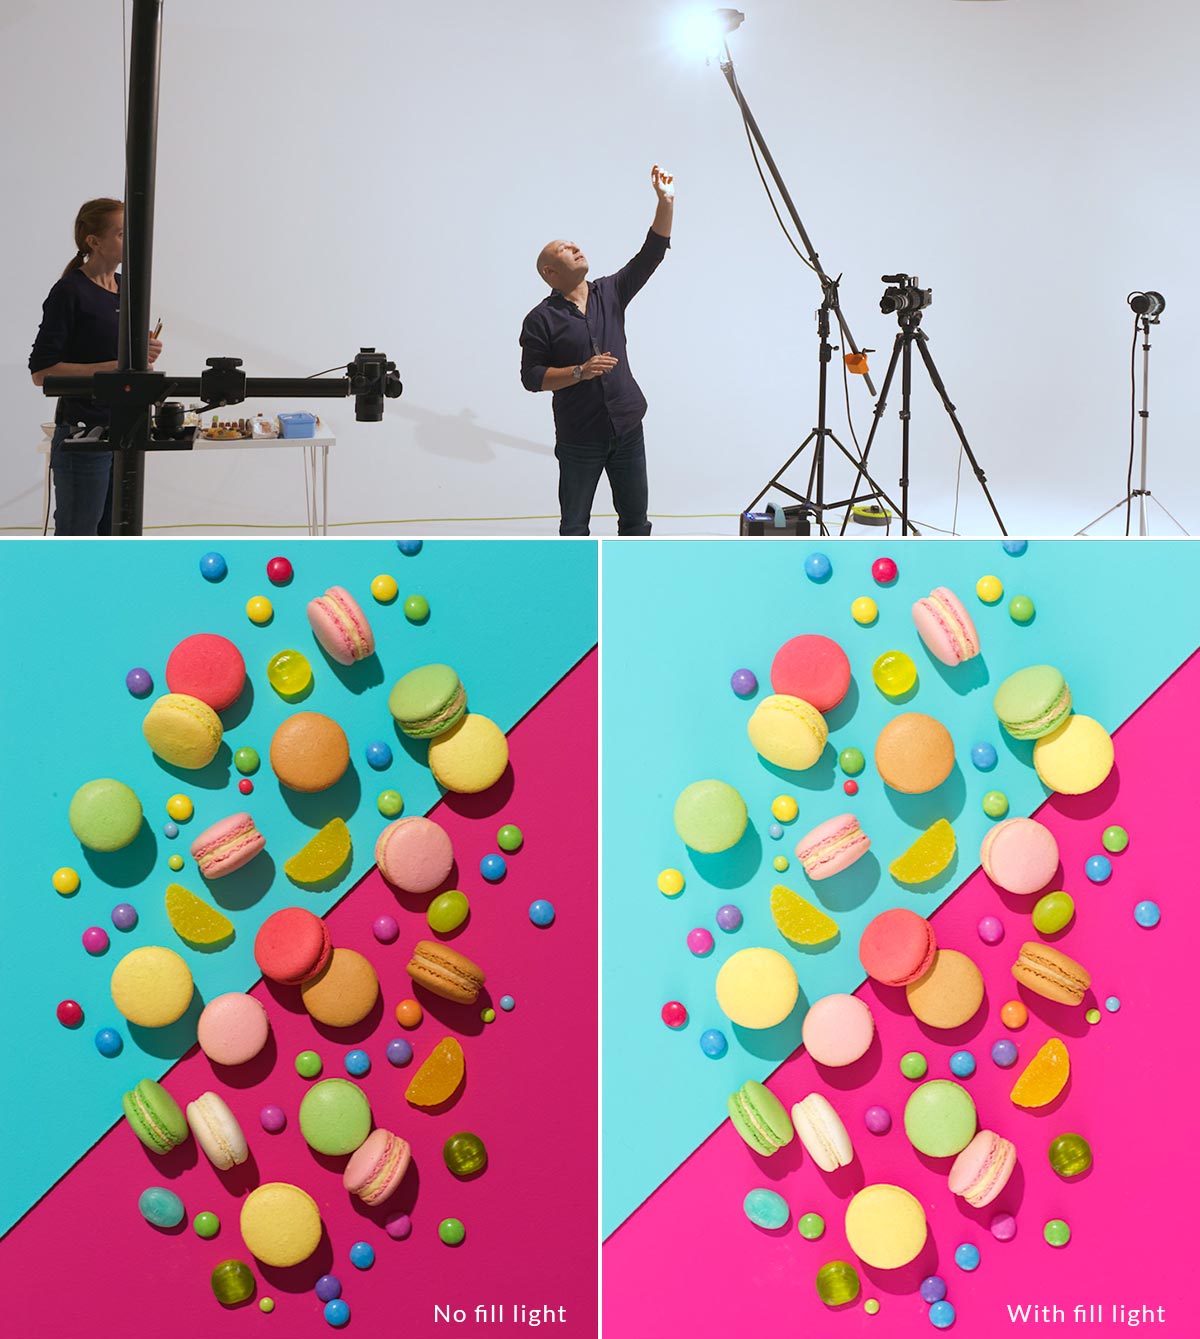
The food photography lighting setup I used involved just three lights.
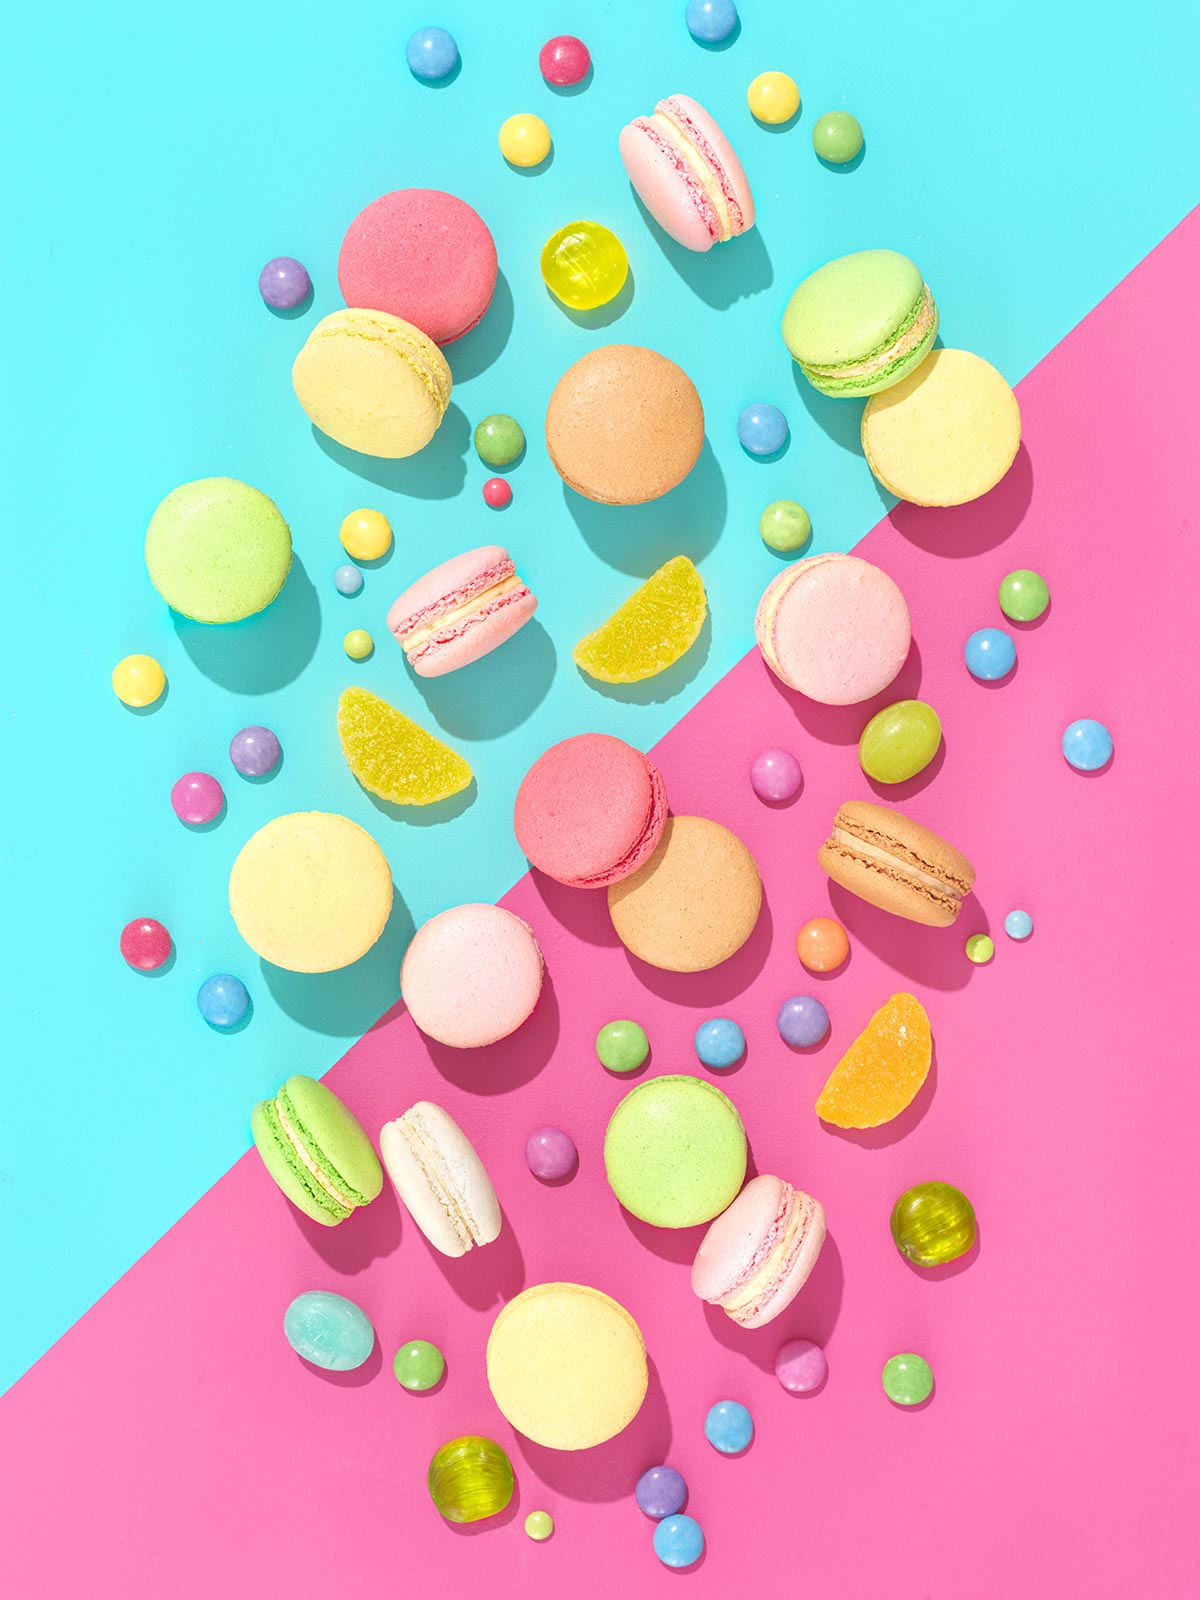
The end result is a dynamic combination of colour and texture, all of which works together to create a really eye-catching final piece.
The final image:
If you enjoy this class, you may also like to watch Healthy Living Flat Lay: Raw Vegetables, Fine Dining Food Photography: Photoshoot and Ginger and Lime Tea Shoot.
For more tips and tricks, check out our Food Photography and Styling section.
Questions? Please post them in the comments section below.
Comments
hi, karl just asking where did you buy those cardboard backdrop? thanks
Hi, those would have been sheets of 3mm hardboard which were then painted with matt paint to the colour that we require, they are from DIY/hardware stores. We also use large sheets of coloured card called ‘mountboard’ which is used by picture framers. You can find out more in the backgrounds classes in this section: https://visualeducation.com/lighting-theory-and-equipment/
I wanted to know at what point did you decide that your shadow would fall from top left towards bottom right?
Also the blue jelly bean that is cut in half on the top right of the image has been bothering me in this shot the entire time, I feel it attract the eye wrongly, did you forgot removing it or you actually like it this way??
Hi, the blue bean didn’t bother me, often things can look too conformed if everything is within the bounds of the frame. Also with something small like this if it bothered my later it would be a very quick removal in PS. For the shadow I can’t remember but it is likely it would have been a subconscious decision so that the shadows were not competing with the diagonal line of colour.
Excellent thank you -:)
hi how have you deleted the shadow of the paper on the red background? thanks
Hi, at what time in the video please?
I mean in the final result, the shadow that was created from the blue paper on the red pink paper( because the light was coming from the left)
Ah OK I understand now sorry. I retouched the shadow out with the clone tool in PS.