
Beauty Retouching: Practical Demonstration
Beauty retouching can take a great deal of time, especially if you are unfamiliar with the frequently used tools and techniques in Photoshop.
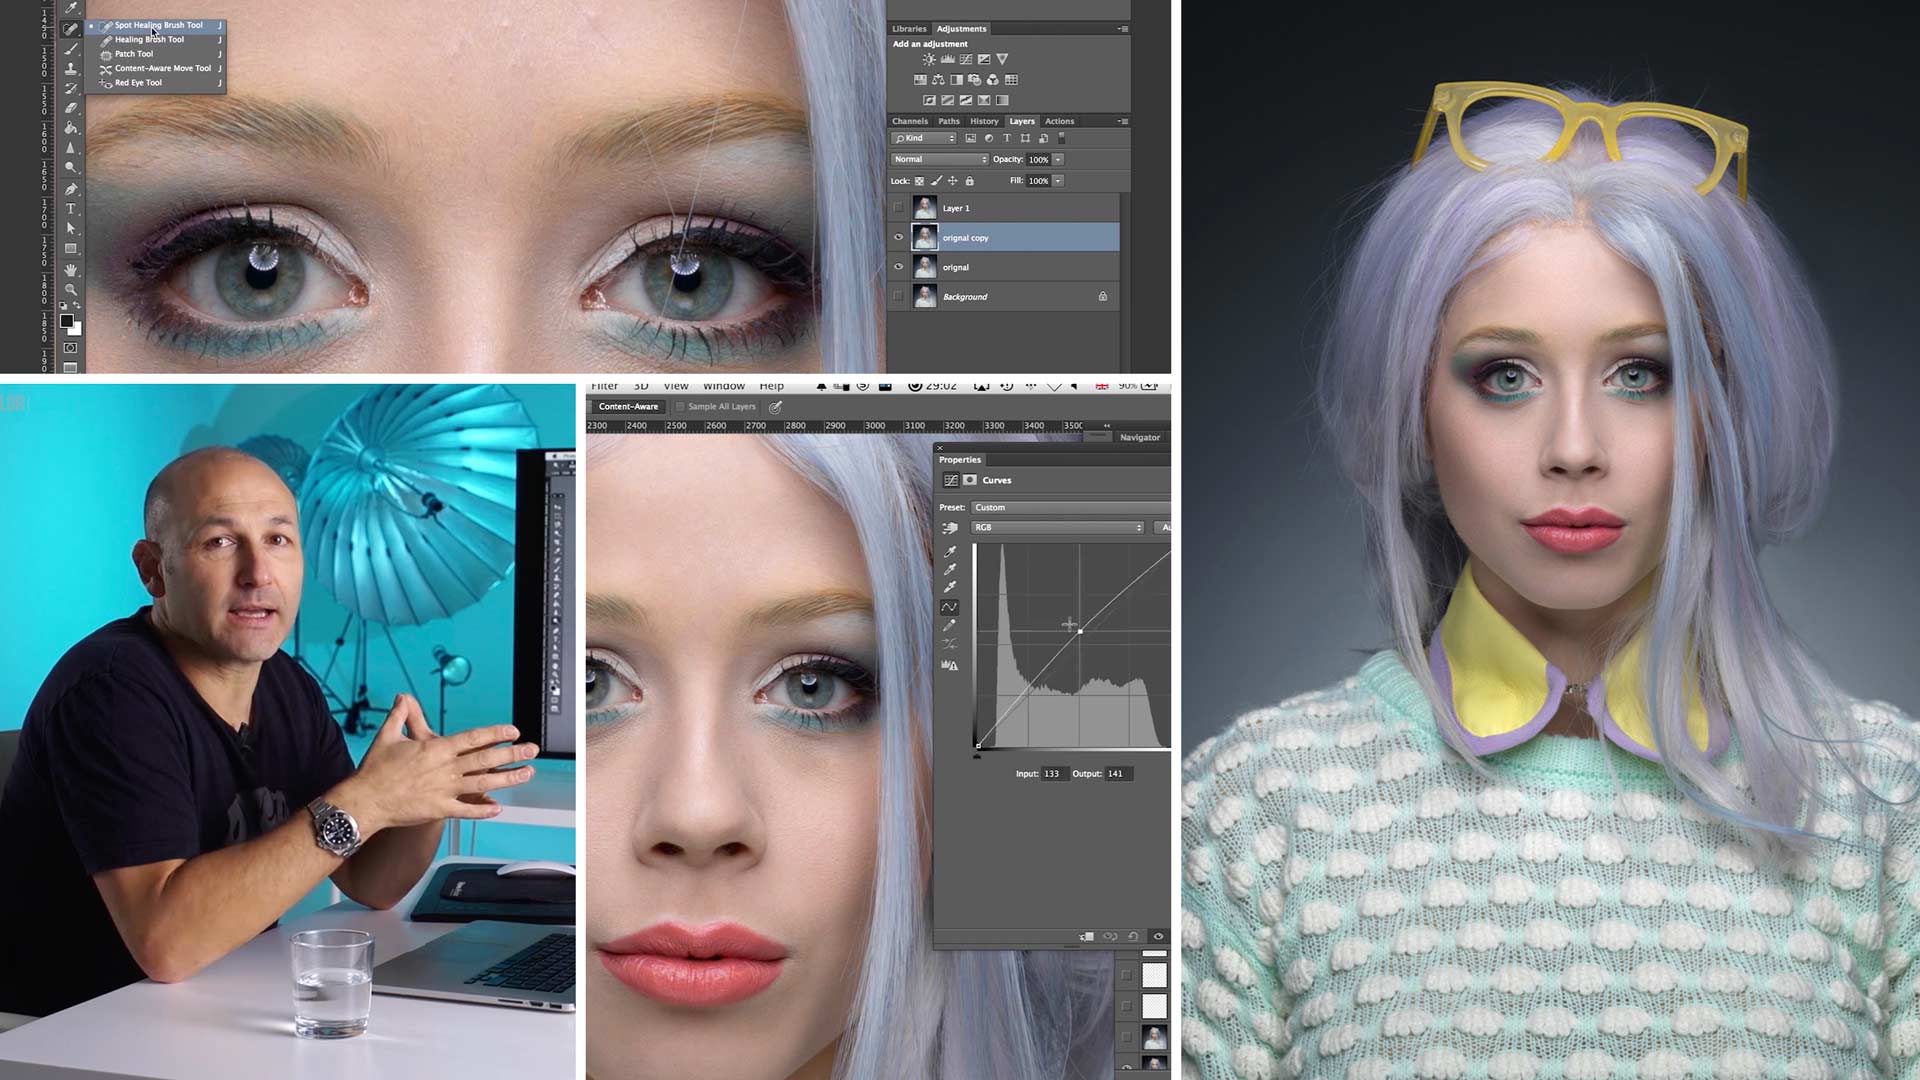
In this Photoshop class Karl does a practical demonstration of a beauty retouch, explaining the most common Photoshop tools and effective techniques. He also reveals a number of useful tricks that can help optimize your workflow and save you time.
In this class:
- Beauty retouching in Photoshop
- How to remove blemishes in Photoshop
- Photoshop keyboard shortcuts
- How to use the Healing Brush tool for beauty retouching
- Using layers and layer masks
- How to use burn and dodge for skin retouching
- How to use Photoshop liquify tool
For more in-depth classes on beauty retouching, visit our Advanced Photoshop for Photographers section.
Comments
These videos are just helping so incredibly much! Learning a lot of new stuff i did not think much of before and are going full on learning burning and dodging. Thank you so much for doing this work and being such a good teacher to listen to!
Thanks Mike.
Hi Carl , great tutorial learnd a few things to . Just a question . What if you already put on a layer with shift – command – alt – E and you continue to work but then you see something you have mist on a previous layer you want to fix ?
Hi Marco, one option would be to put a layer mask on the new layer and then rub through to reveal the layers below on the area you wanted to fix, and then make the necessary adjustments and then redo a new sandwich layer.
God did not make anyone perfect or anything perfect for that matter. Photoshop is man’s answer to make things perfect and you Karl is a great teacher that makes boring subject so interesting! Great tutorial, I can’t believe is sat over an hour for ‘click click’ and a monologue and loved every minute of it.
Great tutorial to follow along. I very much enjoyed this one.
Excellent instruction on this one! I really like this form of burn and dodge; I have found the standard tools by those names to be less controllable and a bit “clunky” to use. What I really like is how it keeps the integrity of the skin textures instead of bleaching them out to porcelain doll status.
This has helped my editing ability to reach a huge learning curve, and I haven’t even hit the advanced editing modules yet!
Thanks Peter, it gets even better as you go on 🙂
hey Karly
i wanted to ask if there’s a way of downloading this video?
Hi Davies, sorry i’m afraid there is not our service is a monthly rental streaming service only.
thanks Karl, really enjoying this.
Thank you Karl!
thank you Karl.
1. do you think magic mouse is better than using the Pen?
2. what is the brand and model of your TV/Display to be sure that is showing perfect res. same as Retina on your Macbook?
Hi Art, I prefer a wacom tablet and pen compared to using the mouse as it makes burn and dodge easier and I find it more natural. The best screens you can get for colour accuracy are the NEC or Eizo colour edge but it depends on your budget. Some of the new Imac screens are pretty good but maybe a little too contrasty.
Thank you Karl.
Well executed tutorial and easy to follow. Thanks Karl
Thank you sooooo much Karl.
Very interesting. Didactic and very useful. Karl, enormous patience to show us these secrets that become incredible tips and contributions. Very thankful.
Thank you Fernando
Lovely use of dodge and burn..:)
Lots of helpful information and workflows. I like the skin texture detail that still exists after the retouching here. Alot of retouching I see nowadays ends up looking very fake like porcelain or plastic that I greatly dislike.
Just wawww!!!!!Thanks Karl for sharing your experience. Very informative and very well explained. It will bring my works to the next level from now 🙂 Just AMAZING tips – you have answer my questions I had for years !!! Cant wait to watch your next episode
Thank you Laimonas.