
06. Get Creative Shooting in Manual Mode
Now that you understand the fundamental concepts of shutter speed, aperture and exposure, you’re ready to start using your camera in manual mode.
The best thing about working in Manual mode is that you’ll be in full control. By simply adjusting shutter speed or aperture, you’ll be able to fine-tune each little detail of your image. If you want to achieve beautiful images with soft bokeh backgrounds, blur motion to get silky smooth water shots or get crisp, sharp action images, all you need to do is adjust your settings.

How to shoot in manual mode
The good news is that using your camera in manual mode couldn’t be easier. All you need to do is switch to ‘M’ on your camera dial. Now, you have full control. But, “With great power, comes great responsibility”. Any changes you want to make to your settings will have to be made manually — your camera will no longer automatically adjust anything for you.
The first step is to think about what it is you’re shooting. Are you photographing a landscape where you want a large depth of field? Or are you photographing motorbikes, where you need a fast shutter speed to freeze the action?

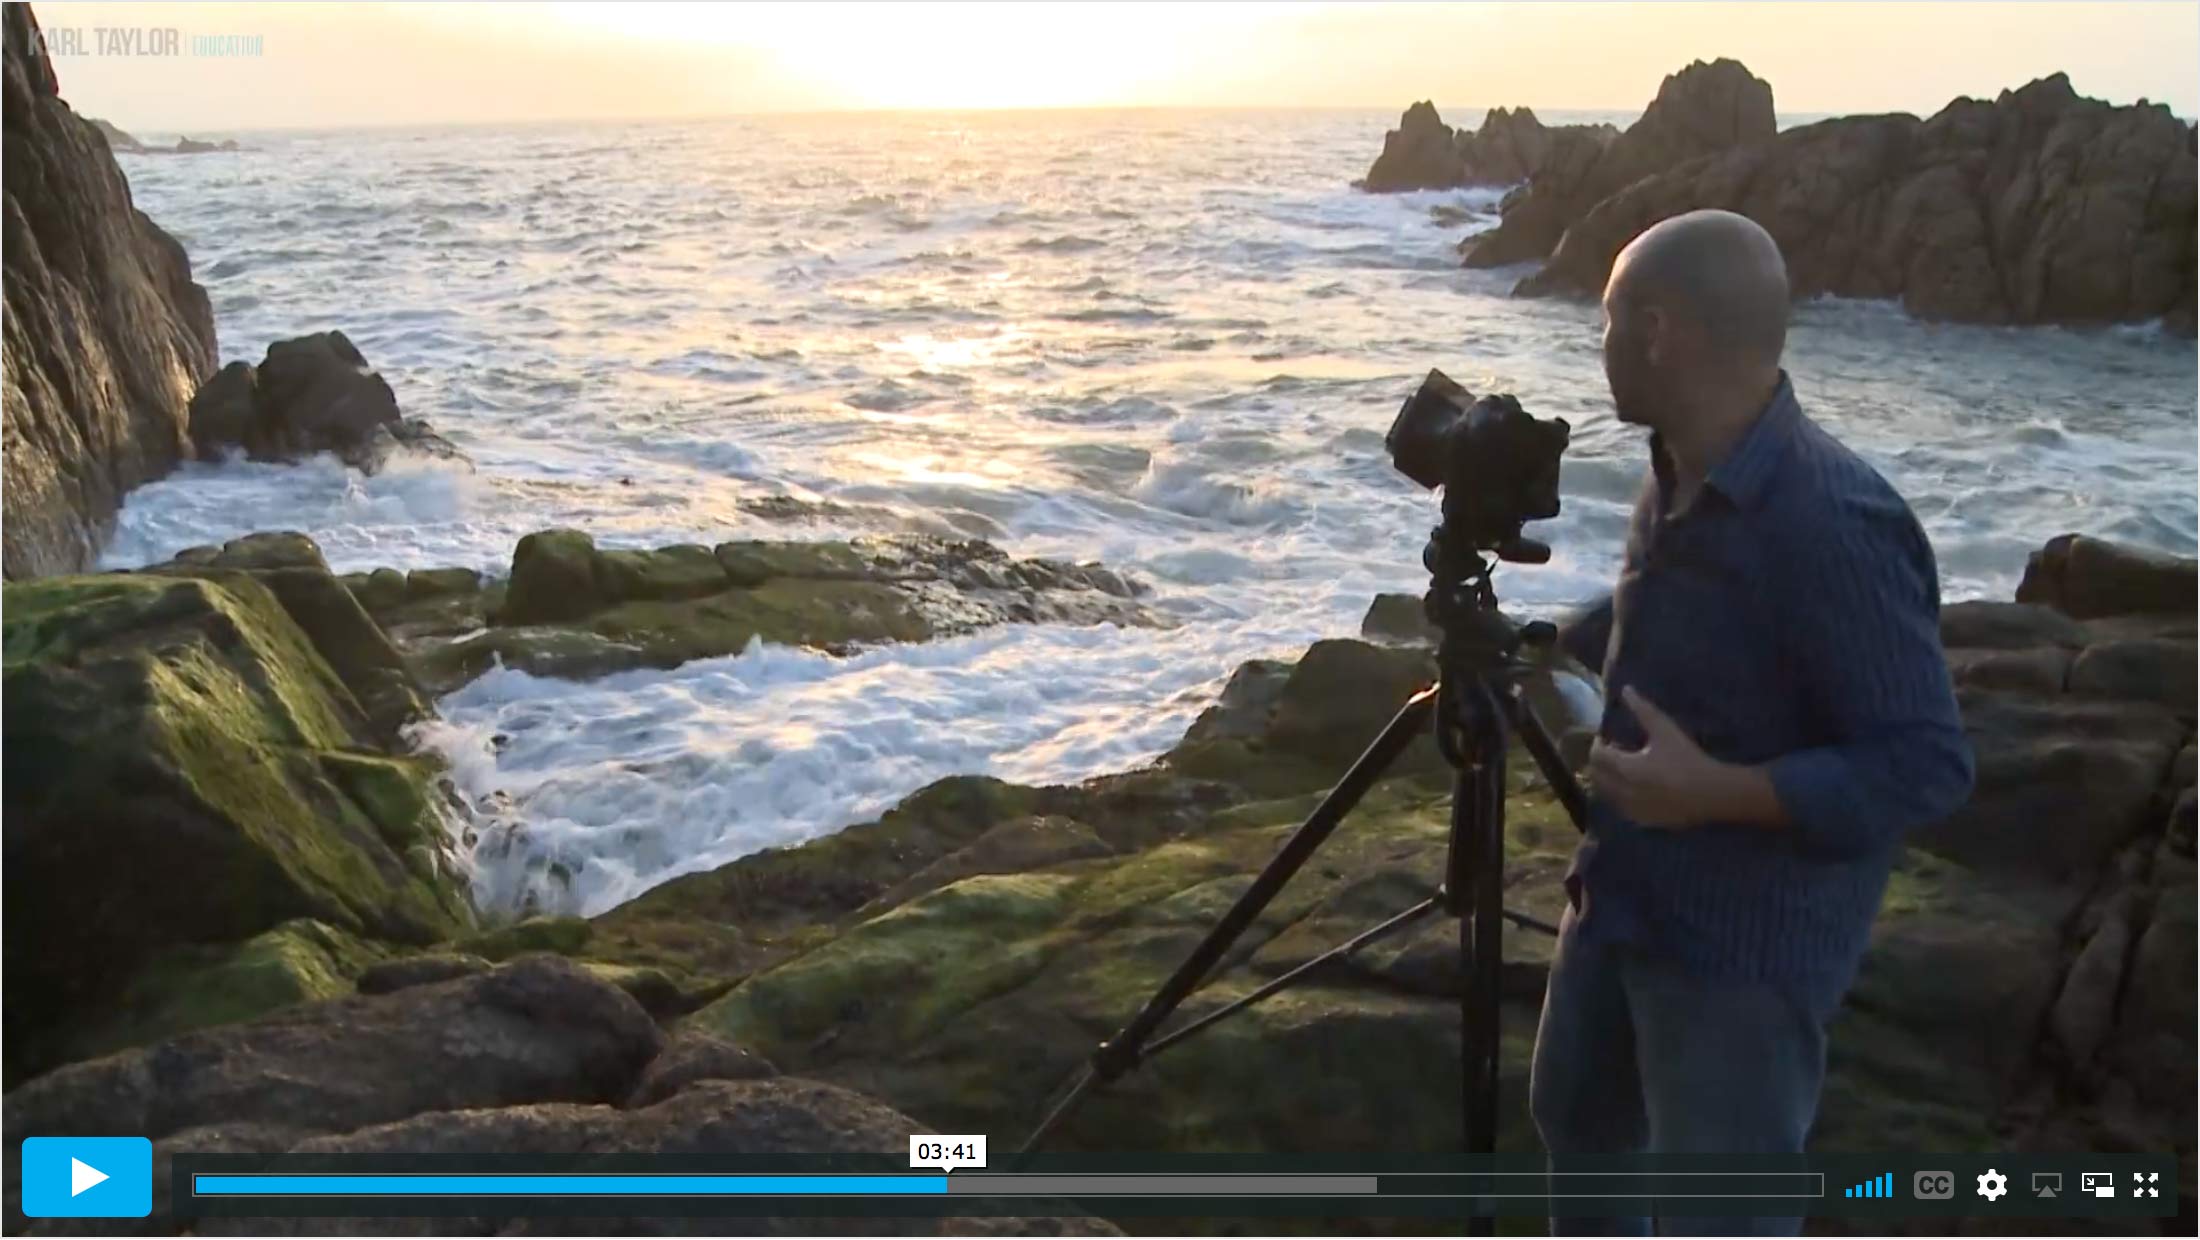
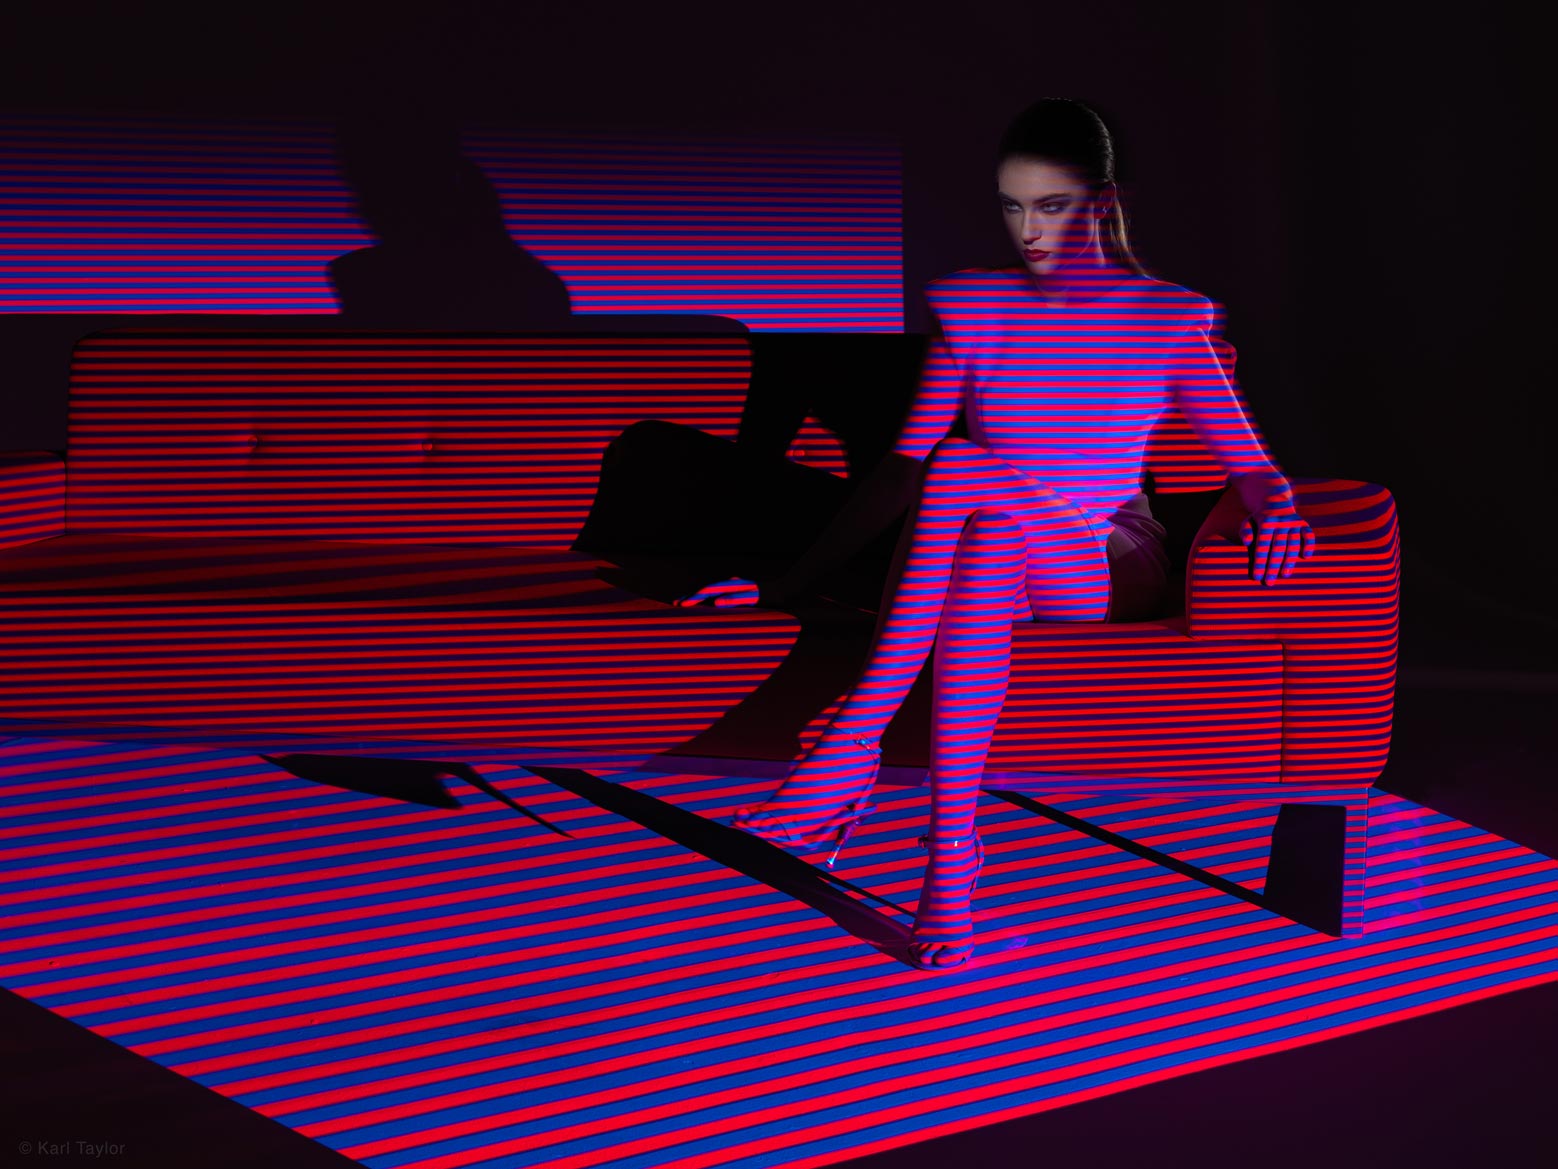
Full image.
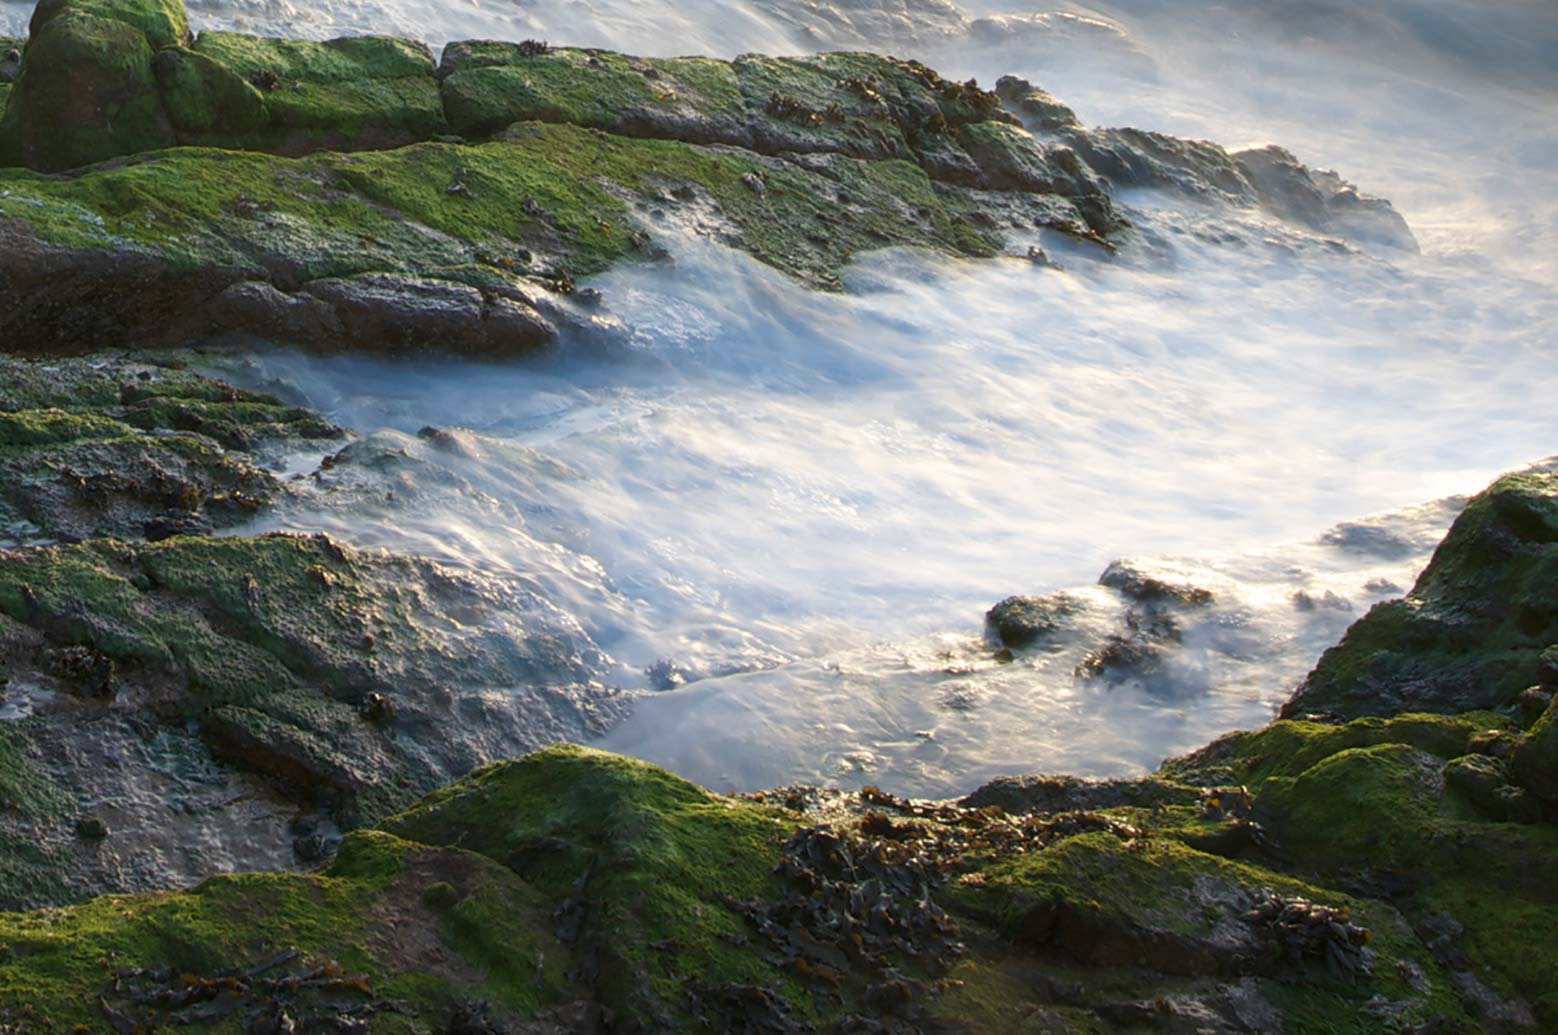
Cropped image.
In the landscape image above, which I shot in this chapter, I decided to use a shutter speed of four seconds, as this allowed me to capture some motion blur in the waves. As the light decreased with the setting sun, I had to adjust my aperture in order to maintain the four second exposure. While I could have adjusted the shutter speed, I knew that if I slowed it any further I would get too much motion blur.
You can clearly see the effect of that four second exposure in the cropped image. The slower shutter allowed me to capture some of the movement in the water to create a smooth, silky effect. This was a creative decision that I could only have achieved by shooting in manual.
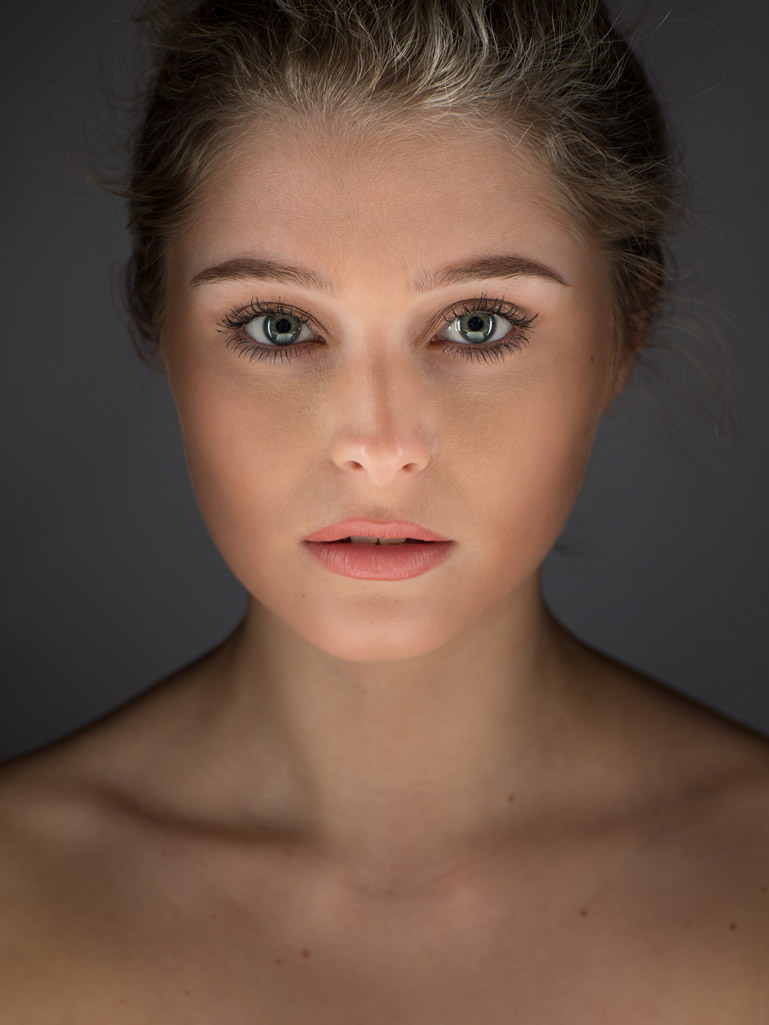
Interested in portrait photography? Click here.
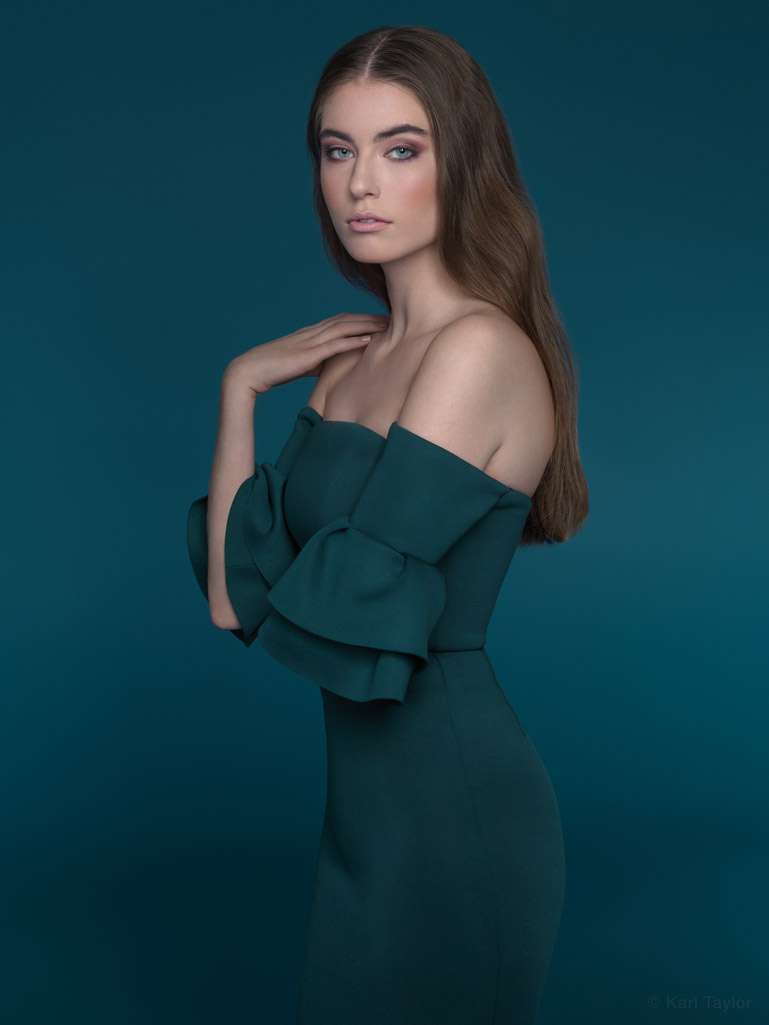
Interested in fashion photography? Click here.
These examples show the difference between a shallow depth of field, which is a common choice for portrait photography, and a greater depth of field for a more fashion-style image.
Throughout this course so far you would have seen how I make a number of creative decisions regarding aperture and shutter speed. Whether it be using a slow shutter speed to allow for panning, or a shallow depth of field to isolate the subject, each decision should be controlled by you, the photographer. By shooting in manual, we have far greater creative control than if we used an automatic mode.
Interested in fashion photography? Click here.
The advantage of shooting in manual is that it gives you precise control over your images. You can select the exact exposure, depth of field or amount of motion blur, without leaving anything to chance.
But by making these decisions yourself, it's important that you understand how to compensate for any adjustments you make. Any change in exposure, whether this be done with shutter speed or aperture, will need to be balanced with an equal change in the other setting too (as you would have seen me do in a number of previous chapters already in this course).
To begin with, while you’re still getting to grips with shooting in manual mode, you may need to check your images from time to time to see that you’re achieving the correct exposure. This you can check using the methods discussed in chapter two.
If you need to adjust your settings, remember the exposure seesaw (also covered in ‘What is exposure in photography?’). In order to get the best exposure, you need to balance your shutter speed and aperture. If you find your image is too dark, you need to either slow your shutter speed or open your aperture (the reverse also applies if your image is too bright).
Now that you understand how to control the different settings on your camera and shoot in manual, the next step is to take a look at how different lenses can influence your shot. Later, we'll also be looking at ISO, which can also be used to adjust exposure (but is not necessarily the best practice).
All content © Copyright Karl Taylor Education.
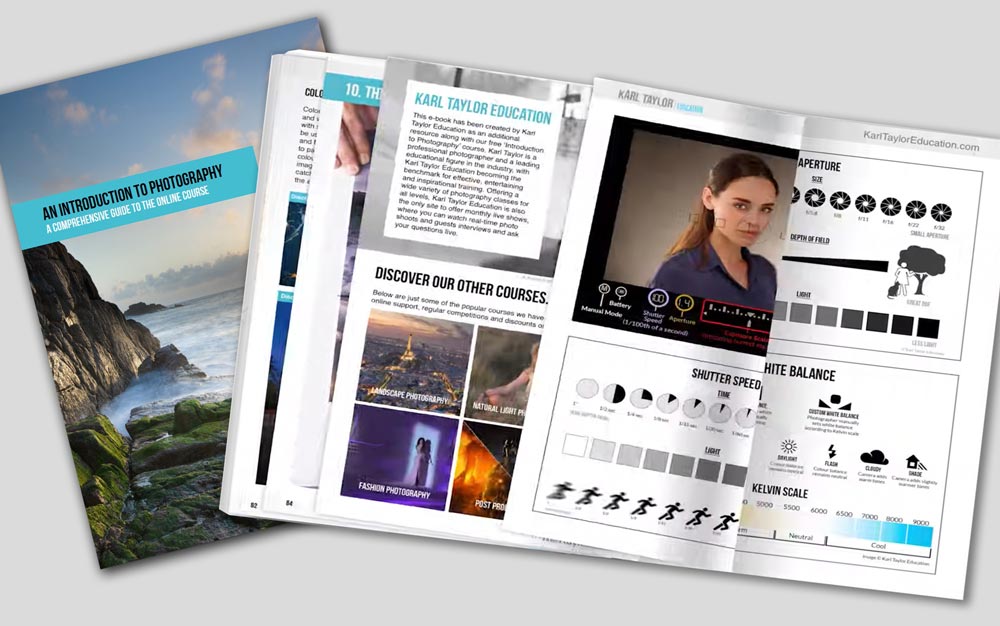
Get the e-book!
Introduction To Photography
To get your copy of this 90 page e-book click the download button below.
Comments
Hello Karl,
My name is JC, and I was curious as to what type of focus you used when shooting the landscape (ocean and rocks) in the video. Did you use auto-focus? Or did you lock onto one point and focus that way, or did you eyeball it and use manual focus ? Please let me know. That is if you are still replying to this video’s comments and questions.
Sincerely,
JC
Hi JC, yes I answer all training questions to all our customers on all videos! If you watch the video at 6:14 onwards you’ll learn where I focused, which mode and why. All the best Karl.
hey karl how do you lock focus on a crop sensor
Hi, It should be exactly the same. You have a button to focus and you have a choice of using single focus instead of continuous focus. You also have manual focus.
hey karl when using your camera in manual mode can you put your lens on auto focus mode or vise versa my answer is do you have to change it on the back of the screen and if you didnt will it affect your camera
Hi, if you just want it in MF the switch on the lens should do it. It doesn’t matter if the camera is in manual mode you can still choose to use AF if you want to.
Dear Karl,
Thank you again for this professional course.
When you say that the best way to take and learn photography it’s to set the camera in manual mode, do you also focus manually or do you use Autofocus with the manual mode?
Thank you
Lili
Hi Lili, I regularly use manual focus but I also use autofocus if I think it will be beneficial. It doesn’t matter in it’s relation to using the camera in manual mode.
Greetings Mr. Taylor,
I am a new student of yours and need some guidance. I saved for over a year and purchased a used 1DS Mark III with less than 50K actuations, 24-70 2.8 L USM II lens and a 430EX flash, all in mint condition (not even a scratch) for around $1000 from a private party. I understand the camera is over 10 years old but I am still able to take some clean /sharp shots based on your courses and in manual mode (Thank you for that). Without your course, I doubt I would ever buy such camera and would have went for the newest and latest of camera gear. My goal eventually is to do some real estate/commercial shoots for income and landscape for fun. I am trying to mimic your above shot on my 24-70 using a Lee filter but I can see some limitations. I wonder if you recommend I save and get a 16-35 2.8 II or III lens or get a used 16-35 4 IS lens now (save money and use it to buy accessories like better tripod lights etc.) and accomplish my short and long term goals. Thank you. Leo
Hi Leo, the camera you’ve got is very good I used to use one. Yes a 16-35 would be a good tool but the f4 one is also very good and I mostly use them at f11 so if it saves you money then that would be your best choice.