
Beauty Retouch (Part 4)
In this Photoshop class, you’ll see as professional retoucher Viktor Fejes completes his beauty retouch demonstration, adding the final finishing touches to the skin, hair, eyes, lips and background.
He shows you how to make adjustments for local contrast control, hair retouching, skin retouching, eye retouching as well as provides further demonstrations of how he uses his visual aid layers (which you’ll learn more about in the following class).
This class also provides clear examples of how to use the Liquify tool, Burn and Dodge and Smart Objects, all of which can easily be applied to a multitude of images.
Download the visual aid layers action
In this class:
- How to retouch a beauty image
- How to retouch skin
- How to retouch hair
- How to retouch eyes
- Using Photoshop Liquify tool
- Liquify tool – Forward Warp vs Push Left
- How to Burn and Dodge in Photoshop
- How to use the Clone Stamp in Photoshop
- Photoshop Smart Objects
To fully understand this process, please watch the previous classes or, if you’re unfamiliar with the tools and techniques used here, visit our Photoshop for Photographers course.
Questions? Please post them below.
Comments
Amazing Lesson Karl and Viktor. Thanks for the detailed Overview of Retouching. Just Superb.
Thank you.
Fantastic job guys.
Quarantine days seem easier like this…
Excelent technical advises, very good empaty, and results beyond spectacular.
You were born to do this!
Congrats.
Thank you 🙂
Hi Karl,
Thanks for this tutorial, learnt a lot, been using clone stamp for years, it gave me a bang on the head.
But still i have something bothering me in the end. I know you both said this picture was meant to be looked upon from far away, but if you look at a big print of the picture, some details might stand out. The model has small grey dots on the nose and under, isn’t it something we need to take out ? Or if ever a client wants to crop the picture a bit to print in a mag, these might seem “bad skin” ? What do you think ?
thanks,
Benjamin
Hi Ben, glad you enjoyed it. Let me know at what time in the video you are referring to and I’ll see if I can see what you mention? Cheers Karl.
Thanks,
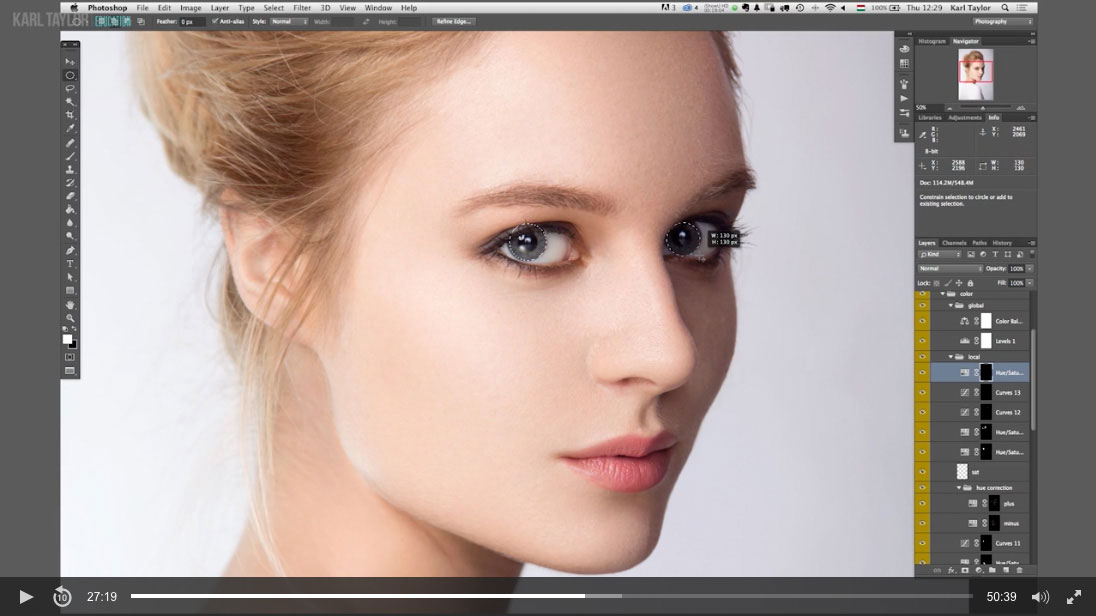
We can see it very briefly at 30’46” on Chapter 1. There are dots on the point of the nose and the same type of dots a little bit higher on the side of the nose (especially those, once the retouch is finished). You can see them also on the cover picture at 00’00” of chapter 4.
Best,
Benjamin
These lessons have been amazing to me. I have learnt so much. Now I need to go and practice. Thank you.
Thanks to you Karl and Viktor for making the download of Viktor’s Visual Aid Layers. I downloaded them and they popped right into Ps for me. I’ve made a coupe of actions myself but not to this extent. That was generous of Viktor to share. This part of the retouching blew me away. I see that Viktor has found a fast way of retouching for clients but still keeping great quality to the image. I’ve learned many things through this part. I’m excited to see the rest now. Merry Christmas to you all and Happy Near Year.
Thanks Gina, wishing you all the best for the New Year.
Thank you.
Hi Karl.
Thanks to your photoshop courses I’m editing and understanding concepts at a completely different level. A very big thank you to Viktor too.
However I have a question:
How do you deal with clients who have a warped understanding of what they look like?
Meaning, they seem to think they are instagram models, when even instagram models don’t look like that in real life, and expect your edited images to look like them?
Jaden
Thank you for your comments Jaden. I must say I had to have a little chuckle regarding your comments. It is often true that some people have a warped perception of themselves and what they look like but unfortunately it is just one of those things we have to deal with when photography real people and not models. Obviously you need to apply the best lighting techniques and consider the persons attributes and what lighting style might suit them and then of course you apply your new photoshop skills, especially the Burn and Dodge techniques. Good luck 🙂
I think im on the 3rd or 4th attempt at watching these…picking up new things each time. That said, I seem to miss the bit where Viktor explains the visual helps layers, how to create them etc….Both you and Viktor have been inspirations of mine since I began portraiture 3 years ago and opened my new studio this year, keep up with the amazing content Karl!
Hi Alastair, glad you are enjoying them. The visual aid layers are available as an action from our downloads section so you can automatically load them into photoshop and then you can work along with us watching the video. It does take a few times to get your head around it properly though.
Many thanks for these awesome tutorials.
Would you do this (colour) workflow if your final process is going to be in Black & White?
I see the concept to do these, steps/corrections in colour, then later convert to B&W. Then you have the possibilities of two images.
How would you do this? or would you choose not to conduct the workflow in colour?
Obviously you could do this convert in RAW of ACR first?
Hi Gary, personally I would work through on the color image and then convert as you never know if you may want to use the color image and to be honest the B&W conversion is not that time consuming. So if you had the time to spend on the hue adjustments then nothing lost you just gain a good color version too.
Karl, thank you once again. Would you do this process every time even with Hassey (fff) files?
Hi Gary, yes but not always to this level. The fff file is just the Hasselblad RAW file format so I process this in Phocus software or LR and then export it as a 16bit tiff to continue working on it in photoshop. Depending on the type of shot, product, beauty, skin etc will determine how much retouching is needed.
Great course on advanced retouching, thank you so much. Question though, unless it is explained further on in one of the other courses: with my first retouching attempt, I bashed ahead using a frequency separation technique simply cause I wanted to give a base retouching session a go. One issue I found with a specific model (friend of mine) was blotchy red cheeks. Is there a better way of smoothing out the red on the cheeks? I used the spot healing brush with many random movements on the colour layer. It worked but I wonder if there is a better way. I can supply a image as reference, both retouched and untouched.
Hi Frants, I think it’s covered in this course but it sounds to me that you should be using a Hue/Saturation adjustment layer and using the Visual Aid Layers as covered in this course and reducing the saturation and shifting the hue. By working with the Luminance only first then you will get the tone to the right level before you adjust the hue.
I’m gonna give it a bash with that approach and see where it takes me. I’ll try and frequency seperation again but rather local adjustment as oppose to the global image. Thank you for the advice on my issue.
“Your adjustments need to be very subtle”
Karl Taylor, “LIQUIFY”
LOL
Well it was subtle up to that point 😉
These are unbelievably good lessons in advance photoshop work. I have watched them at least three times as there is a ton of information and work flow suggestions to absorb. At first it was intimidating, but after working with it for awhile, it’s flows and it certainly results in a KILLER image. Thank you Karl and to Viktor for sharing.
Thank you Milton.
Ahh! that’s what I meant! Luminosity. [I’m Dutch with a Dutch Photoshop version; I translated “Lichtsterkte” [the last mode in the row on the bottom] the wrong way…
Sorry about the confusion.
Ha no worries, your English is much better than my Dutch! 🙂
Thank you for this excellent tutorial!
I have a question:
As Viktor explained during Saturation adjustments: Dodging and Burning with curves [done previously] are likely to change saturation.
Why not put these Curve layers [Dodge and Burn Curves] in Lightness mode? [For as far as I know they will not influence saturation then…]
Hi Peter, yes that would be a solution although I’ve not tested it, I do mention in another tutorial somewhere on here that I change the blend mode to ‘Luminosity’ to also avoid the problem. Regards Karl.
Many thanks for these very instructive session with Viktor.
Jyrki
Thank you.