
Beauty Retouch (Part 4)
In this Photoshop class, you’ll see as professional retoucher Viktor Fejes completes his beauty retouch demonstration, adding the final finishing touches to the skin, hair, eyes, lips and background.
He shows you how to make adjustments for local contrast control, hair retouching, skin retouching, eye retouching as well as provides further demonstrations of how he uses his visual aid layers (which you’ll learn more about in the following class).
This class also provides clear examples of how to use the Liquify tool, Burn and Dodge and Smart Objects, all of which can easily be applied to a multitude of images.
Download the visual aid layers action
In this class:
- How to retouch a beauty image
- How to retouch skin
- How to retouch hair
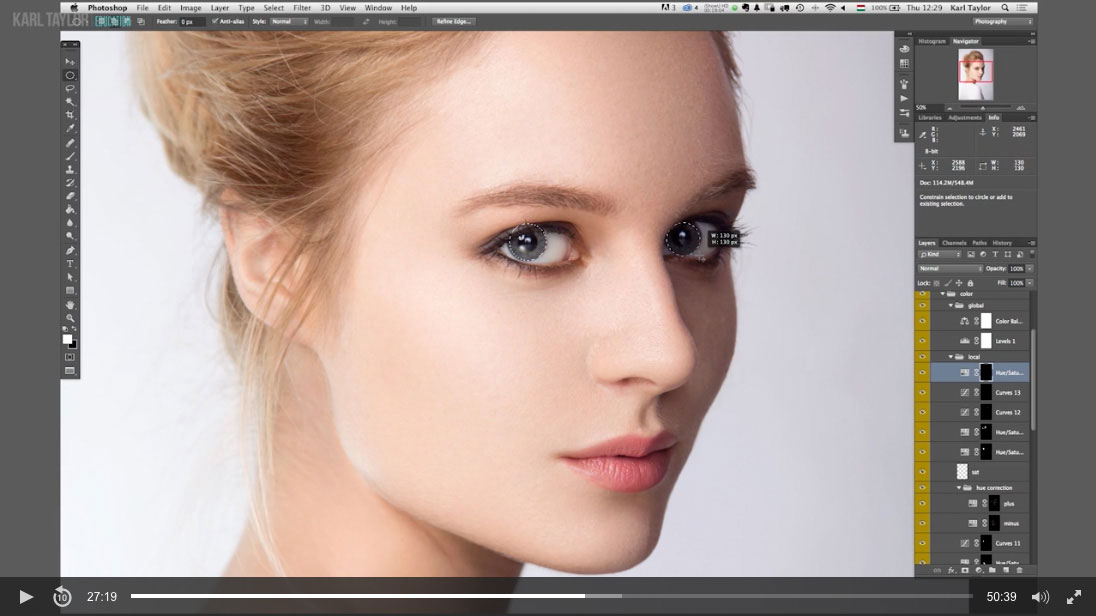
- How to retouch eyes
- Using Photoshop Liquify tool
- Liquify tool – Forward Warp vs Push Left
- How to Burn and Dodge in Photoshop
- How to use the Clone Stamp in Photoshop
- Photoshop Smart Objects
To fully understand this process, please watch the previous classes or, if you’re unfamiliar with the tools and techniques used here, visit our Photoshop for Photographers course.
Questions? Please post them below.
Comments
Incredible course!I can’t thank you enough for this!one thing I didn’t get was how do you decide what feather number to choose?
Hi, the feather amount is variable depending on the resolution, magnification etc but if you are using a mask such as a curves adjustment layer then you can change the feather amount of the mask in the curves adjustment layer settings.
Hi Karl,
Will you be providing a chapter list with timestamp so that members can go directly to the area they need to review?
Thanks,
Excellent. No sharpening though? not even eyes?
Dear Karl and Victor,
Hello,
Thank you so much for the wonderful tutorial, I learnt a lot from that and of course other tutorials as well.
I would like to kindly ask you if it’s allowed to install and use the “Visual Aid Action” on my Photoshop and use it in my workflow for commercial projects as well?
Thank you so much again!
God bless you all!
Best Regards,
Ali
Hi Ali, thank you. Yes the Visual Aid action is available for you to use.
Hello Karl,
Thank you so much for your kind reply and permission!
Good luck!
Ali
The before and after comparison is simply stunning! This whole course is so much better than any free course I’ve seen on youtube. I split it across several days and practiced each new step before moving on. With Viktor’s clear way of working and explaining, there’s nothing left to question.
Thank you, Karl, for putting this together!
No problem, glad you enjoyed it!
Hi there, amazing tutorial! Really learnt a lot just with these videos also in terms of having a strategy and organisation, call it efficient workflow.
Thanks!
Stefano
Thank you Stefano.
I’ve come back to this video because I agree with Viktor, that Frequency Separation can be a bit overly strong in effect. I will use this method more and more in the future. It looks more organic and gives even more control with Viktor’s visualisation methods of HSB which I find really very useful.
Thank you Karl and team for finding the best advanced methods in Ps.
– And thank you Viktor, I hope to see more of your techniques.
Thanks Geoff.
Very informative video.
Question concerning professional retouching. What would one expect to pay for a retouch similar to the one Viktor performed in this video?
Hi DG, it varies between retouchers around the world and it depends on the original shot and how much work is required but expect between £250 – £1000 for a day’s work. A good full beauty retouch could be between 4-8 hours.
Incredible. What is seen cannot been unseen. I will never look at a beauty image the same way again.
Hi Karl,
I spent a couple of days on these tutorials, they’re amazing ! I’ve never seen such an interesting and well explained session on skin retouching !
Even though I love frequency separation with “Apply Image”, I feel these techniques return a much realistic result. It’d be very interesting combining both techniques, I think that using frequency separation for the brightness part of the process could reduce significantly the retouching time.
Thank you for this one and for all of the other excellent sessions on KTE !
Egidio
Thank you.
After watch all the 4 video of retouching…..This make all “Retouching master class” looks like a dummies tutorials. What a complete explanation of retouching techniques, I never see something like this before. That “Predator vision” (the hue mode) to find and fix minor detail blow my mind. Viktor and Karl my respect.
Thank you glad you enjoyed it!
These tutorials are next level. They go much further in depth than anything I’ve previously seen on beauty retouching. Wondering if Karl thinks it is advisable to take Viktor’s techniques and combine them with frequency separation. I suppose Viktor prefers dodging and burning over frequency separation for healing, although I personally think frequency separation works really well for isolating texture. I really like the way Viktor sculps light and uses the visual aids for hue and saturation, I’m going to try to incorporate those techniques into my own workflow.
Hi, Thanks. Viktor doesn’t like FS but I use it from time to time via the ‘Apply Image’ method. You’ll see me use it the class on removing creases from clothes.