
How to Photograph Products With LED Lights and Illuminating Screens
A common challenge that many photographers face these days is how to photograph products with LED lights or illuminating screens. In this live photography workshop Karl guides you through each step of such a product shoot.
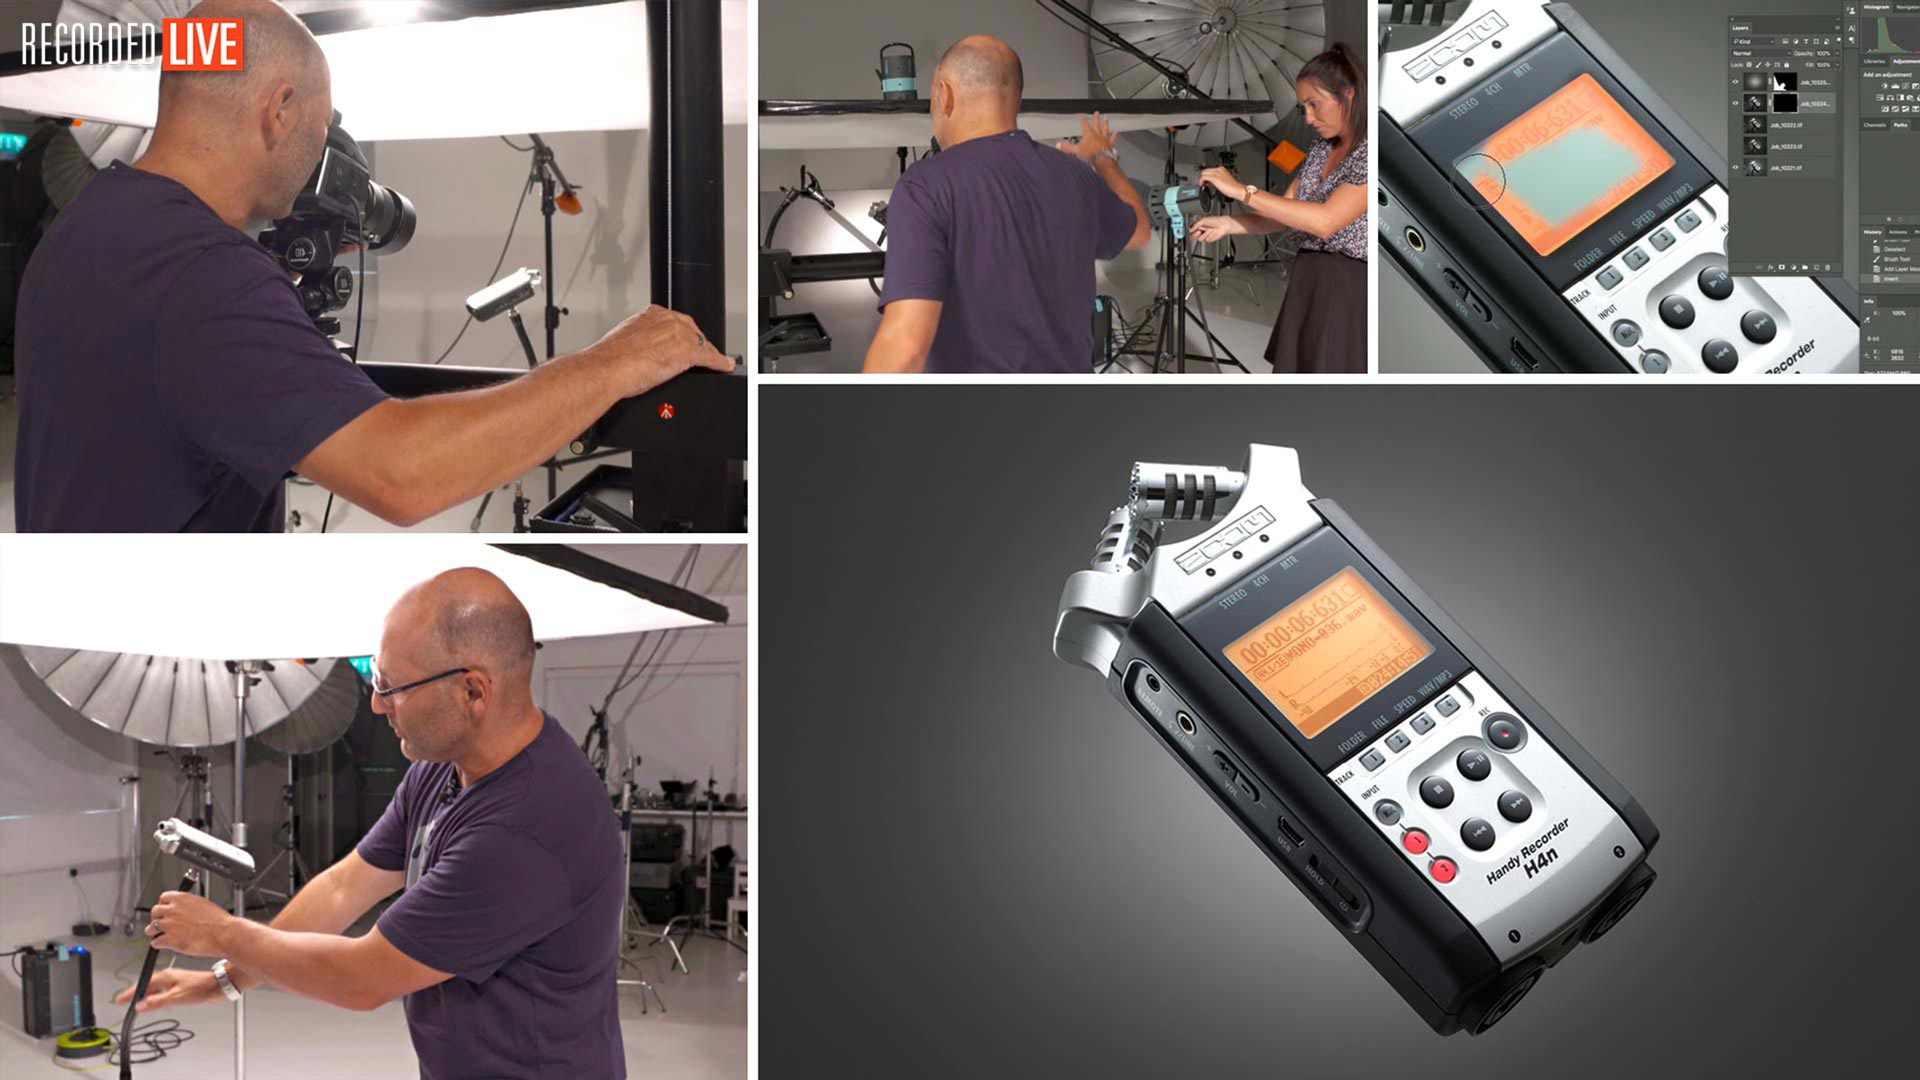
Lighting is key when it comes to photographing products like this and this is what Karl focuses on throughout the show. He demonstrates useful lighting setups and also shows how changes in light can influence the shot. Once satisfied with the lighting on the product, he then explains how to capture the illuminations on the product.
Shooting live, he then shows useful retouching techniques to finish off the final shot.

In this class:
- How to photography products with LEDs and screens
- Product photography lighting techniques and tips
- Determining correct exposures for capturing on-screen illumination
- Basic retouching techniques for product photography
Questions? Please post them in the comments section below.
Comments
Hi taylor,
Did you get exposure change in the final shots because shutter was first curtain sync instead of 2nd curtain sync ?
Hi Karl, I’m late to the party watching this workshop – one of my last to watch in your product section. They’re all outstanding and I’ve learned more in 2 months than in full years prior it seems.
But your intensity and excitement in this particular video are so infectious and amazing to watch. Just makes me want to go photograph a product straight away… any product will do! Thank you for all the energy you’re putting into these courses. Brilliant.
Thanks Kane. 🙂
Hi Karl,
please could you tell me which colour your dark grey painted solid background is? Is it a RAL colour?
I only found RAL 9004 (RGB 43-43-44), which is the most neutral dark grey, but am not sure if it gets too dark for a gradient spot.
Thanks for your help!
Jens
Hi Jens, I’m not 100% sure as I always just use a paint that closely matches the colour of one of the darker grey Colorama Papers, I think one was called Granite. I’ll see if I can find a paint reference and come back to you.
HAHAHAHAHAHA…..that’s a hoot.
What is a minger?
Ha ha, that’s a british urban slang term – here’s a link 🙂 – https://www.urbandictionary.com/define.php?term=minger or more politely http://onlineslangdictionary.com/meaning-definition-of/minger
…and thank for the great work you’re doing for us.
Hi Karl which video indicate to to remove the holder at the back. I have been straggling..I also seen the portrait videos when you put the background light how to do remove in post?
Hi Simon, if you are not familiar enough with photoshop then I would start here and work through https://visualeducation.com/class/retouching-recommended-equipment/ otherwise this will also help https://visualeducation.com/class/post-production-floating-cosmetics-splash-shot/
Thank you so much Karl.
This was a great seminar! Loved the tips using the mirrors and the second light. Very inspiring.
PS. I believe that the (bendy arm) is called a goose neck.
Thanks Geoff. I found it on their website https://www.manfrotto.us/520mm-flexible-arm-for-small-accessories
Karl, best one yet, really enjoyed this one, sorry was not around for the live show as I had a few questions whilst watching it back. Think this would be pretty easy to do with speedlites as you said.
Glad you enjoyed it Jason.
Thanks Karl, love the energy you maintain during the entire workshop
Thank you Raul.
Great to watch thanks 🙂
Cheers Saul
Thanks Saul.
great show, Gday to your new Aussie helper Jess!!!
great detail and info thanks again Karl
frank
Karl, thank you very much. This was really amazing live show. Seeing the whole process of taking a products image was very informative.
Thanks Arwin.