Under Glow Lighting
Lookout below! Give this unconventional lighting technique a try.
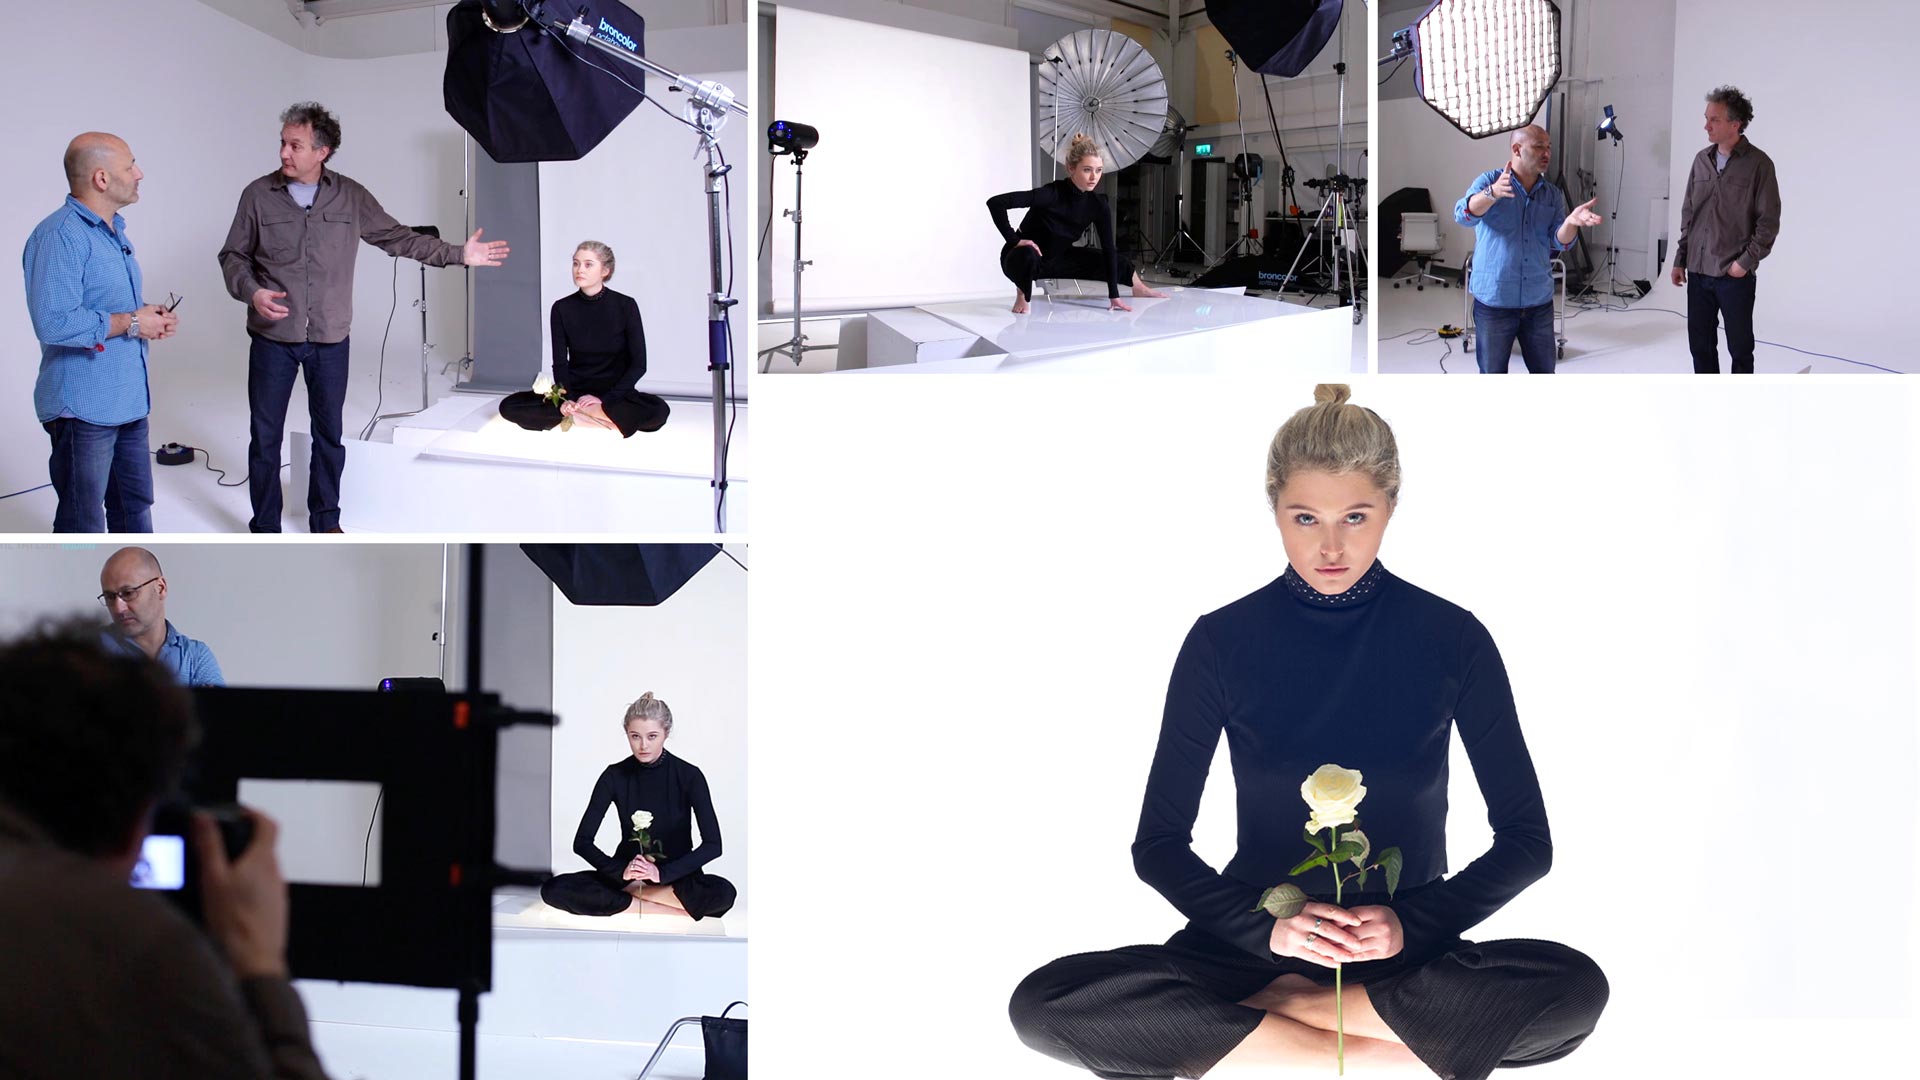
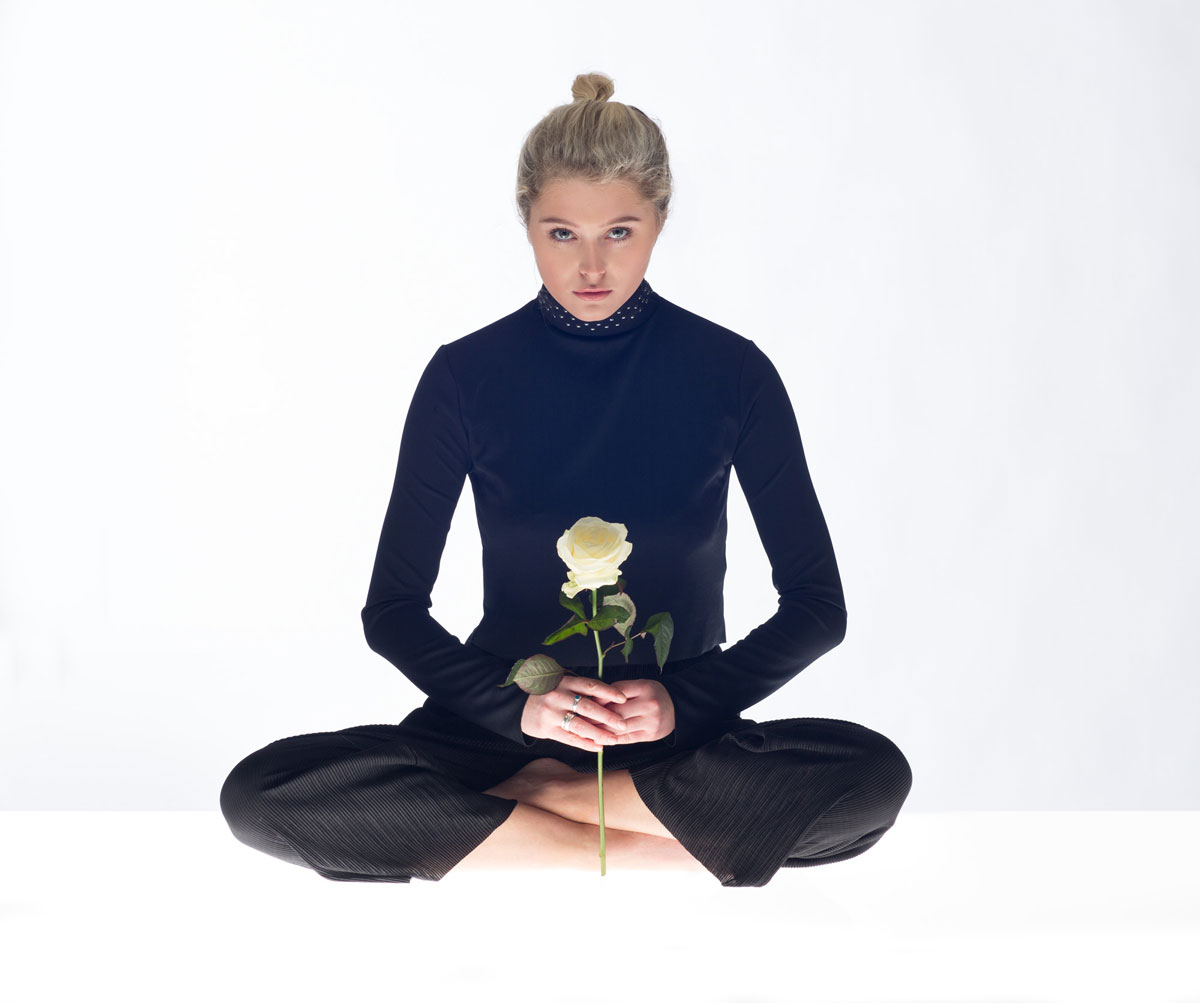
In this photography class, Karl and Urs try something slightly unusual. Going against common lighting conventions, they make use of a low-level light source to create this final image.
Lighting from below is traditionally avoided as it causes unflattering shadows. However, Karl and Urs find a creative way around this as they use four carefully positioned and well-thought-out studio lights with simple modifiers to achieve this shot. Watch as they make some final adjustments and discuss the setup, explaining why and how it works and how it could be adapted for a small studio before they finally reach the beautiful end result.
In this class:
- Studio photography: How to shoot portrait images
- How to shoot creative portraiture using four lights
- Softbox modifiers
- How to create soft light
- The importance of creative problem solving in photography
Questions? Please post them in the comments section below.


Comments
Hi Karl
Do you have to do this lighting setup before, then record a video tutorial. Or you can both instruct and record a video.
Thanks.
Hi, I’m sorry I don’t quite understand the question?
Hi Karl,
It seems like there was a flare coming in the picture but I can’t figure where it came from. Could there be a small opening under the acrylic causing this? I would like to know so I can troubleshoot if this ever happens to me in my near photoshoots.
Thank you!
Thank you for the reply! I contacted a local supplier here in Seattle and they responded:
We do have a variety of white plastic acrylics at our store with different light opacities. Acrylic by its nature is normally glossy so even the black acrylic we carry is glossy in nature. For the white we cat Opaque White(1% light transmission), Sign White(9% light transmission), Lighting White 40(40% light transmission), and Lighting White 60 (60% light transmission). If you want you can come in and get small 4”x4” samples of each.
Any clues as to which variety you are using?
Thanks!
Martin
Hi Martin, well we do have a matt black version here in Europe too. But my guess is the 40 or 60% light transmission would be the one. The opaque one if you are using it as a base surface but I’m suprised they don’t offer matt opaque too.
Hello Karl,
Could you provide a bit more detail on the white Perspex (and the black Perspex you used in some other shots)? I tried to google it but got back so many results it’s hard to tell what to purchase.
Thanks,
Martin
Hi Martin, Perspex is also called acrylic, or sometimes Makralon in the USA. It’s most commonly available from Sign manufacturing companies or plastic suppliers.
Hi
I’ll like to know if this setup works only on white background or can be used with other backgrounds.
Thanks you expand my knowledge on how to work with light.
Hi Allen, of course this set up can be used with any colour background.
I could see this type of look and setup for some athlete photography sessions. Very interesting.
hi karl,
what is the material where she is sitting on? Is it plexiglas?
Hi Doris, yes in the UK we call it perspex or acrylic, I think in the US it is also known as Makralon and Plexiglass.
Tanks for the answer, yes I did see the live showe too, keep theme coming I liked it very much thanks!
Cheers Trond
Hi
How are the measurements on the black card for lens flare in cm?
For full frame camera and mediumformat..
And I have to say dis education tutorials you make is excellent!
I am looking forward to se the food tutorials, as well.
Best regard Trond
Hi Trond, I’m glad you are enjoying the training. Be sure to remember to check out our live shows too! Ok for the window masks to reduce flare it’s quite simple, first you need to establish the camera format you are using and the size of the sensor, so for example full frame 35mm is 36mmx24mm dimension if you then scaled that up by say 10x you would have a window mask aperture needed of 36cm x 24cm or if you wanted to work with a slightly smaller one then x8 = 288mm x 192mm. You then use stiff black foam board or card and a very sharp scalpel to cut it out. Make sure you leave plenty of border to reduce flare and to have something to hold too. Cheers Karl.