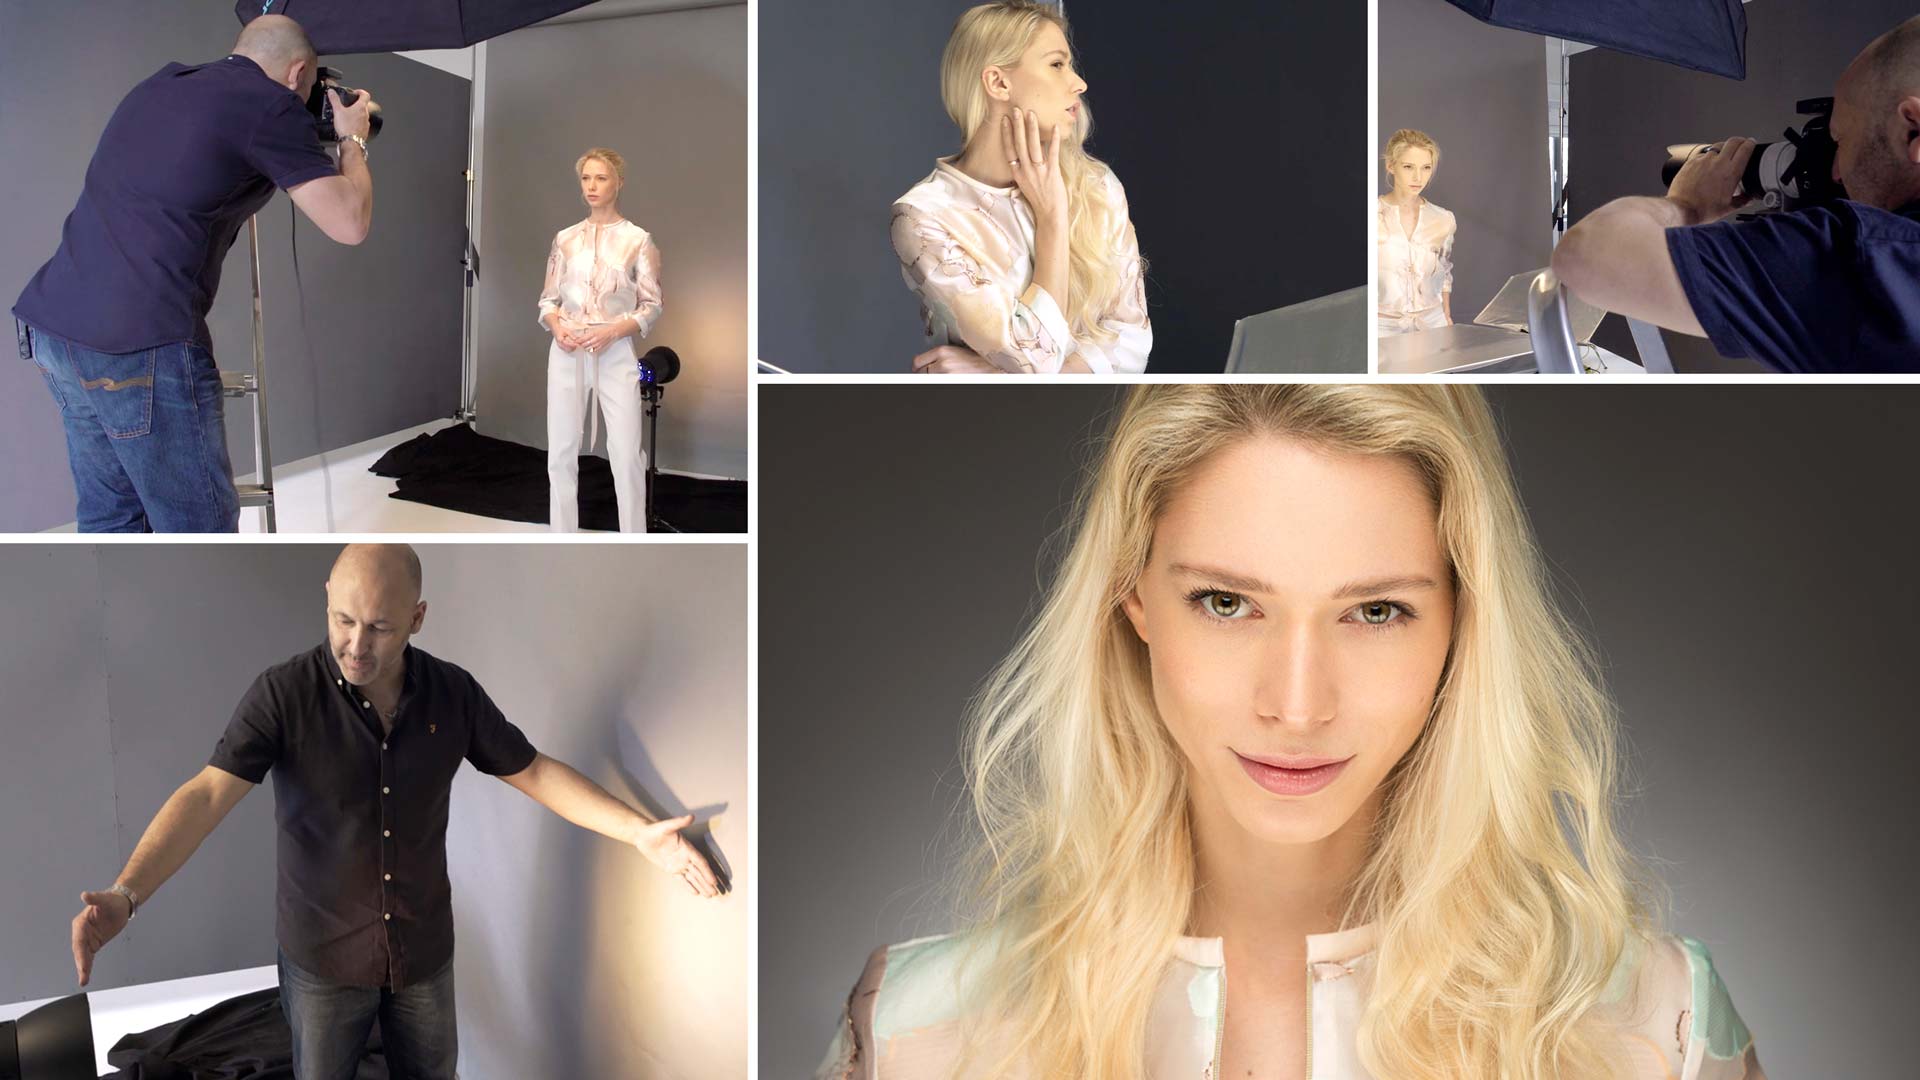

Stunning Two-Light Beauty Set
Two lights are all you need to produce perfect portraits like these.
In this easy-to-follow portrait photography class, you’ll learn how to capture incredible beauty-style portraits images with just two studio lights, using a setup that is as simple as it is effective.
As Karl walks you through his shooting process, he first shows you how to set up the simple background light. Next, he demonstrates how to position your key light and adjust its power settings to achieve the right exposure. As the shoot unfolds, he also explains why positioning the camera, subject and lights correctly is crucial.
In this class:
- Studio Lighting: How to set up multiple studio lights
- Two-light setup for beauty photography
- Background light for portrait photo
- Basic modifiers for studio lighting
- How to control light in a small studio
- Portrait photography tips
If you enjoy this class, check out Enchanting Two-Light Result.
Questions? Please post them in the comments section below.
Comments
How can you eliminate the reflection of the tri reflector in your models eyes?
Hi Aaron, you know the answer because you just have to think about what is happening. The eyes are glossy so they will reflect. If you polarize then you will also affect the skin. So you are left with only three choices, remove the tri-reflector (then you have no fill). Change the angle of the tri-reflector (then you have less fill). Retouch the eyes in post.
Great tutorial sir! Will I achieve the same result if I use an MDF board instead of the seamless paper backdrop?
Hi you will probably achieve a better result on your background because the gradient fall off on the background will be better.
Hi, I would like to know if i can achieve this type of shot with my one speedlight and one strobe setup?
Hi, yes you can but you will also need the tri-reflector, the octabox and the background.
Thank you for the quick response, i have all the listed equipment. I just joined this amazing family and it has been fun so far.
Great stuff thanks!
Hi Karl,
When using a backlight like you do in this video, would you recommend using barn doors or a lamp shade dish for controlling light?
Thanks,
Ariel
Hi Ariel, in this instance the background light is used to create a gradient ball of light on the background, if you put barn doors on it you would interupt the ball of light if the door were slightly closed. If the barn doors are almost fully open you may be OK but you wouldn’t benefit much as the P70 refelctor on the lamp is already stopping the light coming out of the sides. It’s always to do with angles, if you are ever concerned about light hitting a white side wall etc then simply go to that position and see if you can see the light source if you can then consider covering that white wall with black fabric to absorb the light.
Hi Karl! Can you help me with something? How can I remove the highlights from the skin? Thanks!
Hi Leonard, matt make up, recovery highlights tool in the raw software, mulitply blend mode painting in photoshop and following and understanding the physics of the lighting technique here – https://visualeducation.com/class/studio-lighting-setups-portraits-one-light-setup-21/
Thank you for answering!
Can you recommend a class to learn the multiply blending tehnique?
Keep up the good work!
Hi Leonard, what would you like to know about it? And it what context do you expect or are anticipating to use it. We cover it within other post production tutorials but it might be easier for me to explain based on what you are trying to do?
Firstly You could use bigger modifier closer to the model or secondly You could use polarising filter (rotate it to when you see the difference). Another factor is what kind of make up has been used – speak with you make up artist. Last source of dealing with it is photoshop.
Heve fun and try it 🙂
Hi Karl,
Does the modeling lamp affect the lighting ratio on the subject?
Hi, it can if you are shooting with a large aperture setting. This is why if the lights are very close to your model you should have your sync speed at maximum and your modelling lamps on low power.
Hi Karl,
I am using basically my lounge in my apartment for now. The area is around 8m x 3m with only a 2.4m ceiling with everything white and thinking I should black out the area. Problem is I can’t paint the walls etc so thinking of using black fabric on stands. My question is I’ve seen all sorts of ‘black out’ fabric which is quite expensive and heavy so does it matter what sort of black fabric is used? Am thinking just black cotton fabric or possibly black velvet and wondering with the price difference so wondering if that would do the trick or what sort of fabric should be used if it matters other than just being black?
Hi Cameron, black velvet is the best but more expensive. Black felt is cheaper and usually adequate for this.
Hi
Why do you take the shot from higher angle and angle down your lens?
Why don’t take it straight at eye level ? Is there a reason behind that?
Thank you
Hi, In this instance I also turned the models head down slightly and I’m from above slightly this means the models eyes have to open wide to look up. Nothing is set in stone though as I also shoot from Models eye level too, it depends on the model, the lighting and what you feel works.
what if i want the backgroud darker? (ok, maybe this is a bad idea because of a greater chance of banding later on…)
Can i move the background (and also the light) further away from the model?
i think then the octa will spit less light on the backgroud? is that correct?
Hi Mamophoto, yes you can move your set further from the background, due to the inverse square law and the fall off power of light relative to your subjects exposure then yes that would help, moving the background light further away won’t help as you will simply spread the light out over a wider area. Also you can use a darker colour background, either painted or paper.
thank you Karl!
Wow..!!! That nice, next time come to Zanzibar island, its feel like heaven there…!!!
Thank you so much Karl, all the way from Africa, Tanzania…!!!
Thank you. I went to Tanzania once, it was great. Arusha, Serengeti, Lake Manyara, Ngorongoro – it was about 30 years ago though!
Am learning new things everyday, thank you Karl for great course…!!! Am in fixed budget, i bought sigma lens 70-200mm f 2.8 can i achieve the same look as great as yours?? Am using Nikon d610.
You should be able to, the 70-200 2.8 is a good lens.
hi
just a small question, you see over the nose a white line personaly i do not like this but
is this normal for portrait? Or is it not seen 🙂
regards
Harm
Hi Harm, yes this is very common as you will see in my work here https://karltaylor.com/people/ the question is how intense it should be, it shouldn’t really be a very bright highlight it should be controlled but each shot is different and it may be better less or more. It is not always possible to control it during the shoot because of the lighting effect you want to achieve elsewhere. It is usually overcome by the light being closer as you will see in this chapter https://visualeducation.com/class/studio-lighting-setups-portraits-one-light-setup-21/ or it is controlled in post.
Hi Karl , love all your videos and learned tones from them. I remember in one of the previous videos (and I think was live show for business portraits), you explained that key light should be closer rather then further a way from the subjects face. Taking that in consideration just wondering should key light be closer to the model ? Your image came out fantastic even with light further a way but just trying to understand this whole light – model distance relation.
Hi Iva, this all depends of the model, the contrast level you wish to acheive, the hardness of the light and the retouching you are happy to do. No two shoots are the same or need to be the same as you will discover more in the fashion sections. The live show on business portraiture taught you the basic physics for effective lighting, those were the rules but we are free to break them!
Hi Karl,
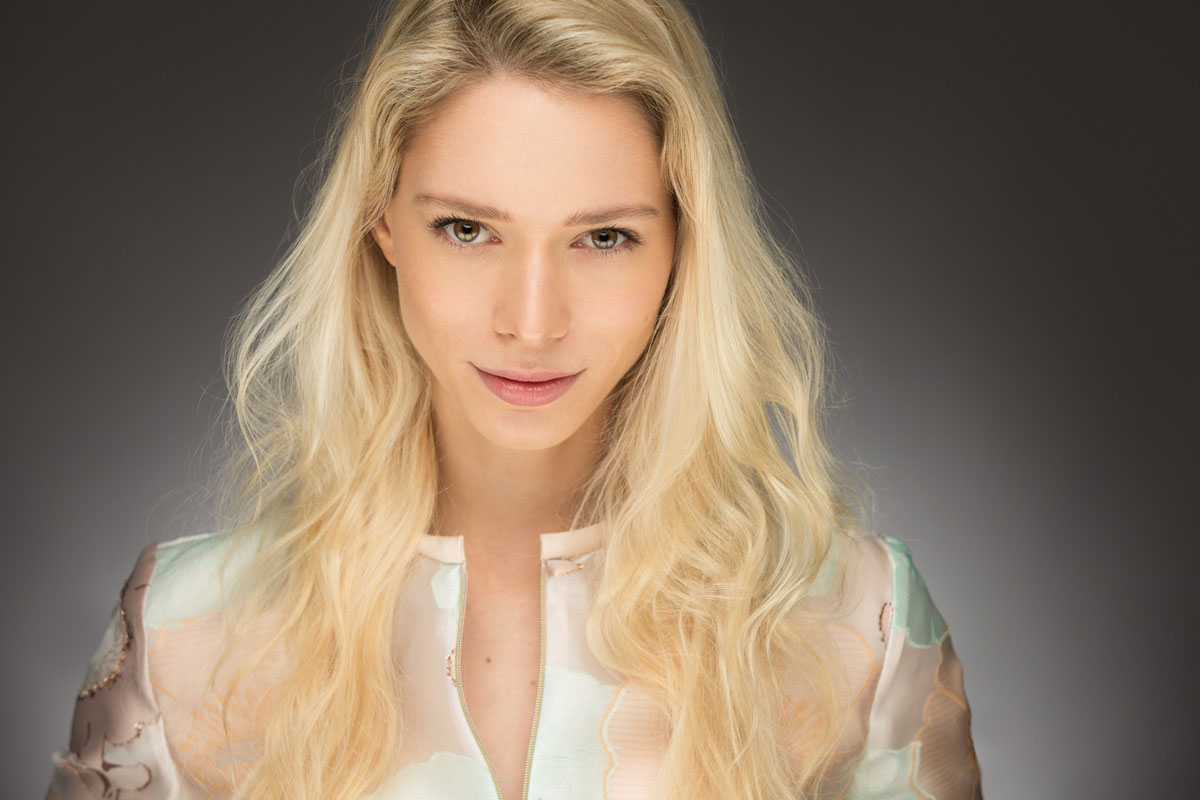
Great example of soft lighting. It’s also nice to have Deborah on set; gives me a good idea of how a professional, experienced model works during a shoot.