Photoshop: Where To Get Started
If you’re looking to learn how to finish off your images and really polish the final results, knowing your way around Photoshop is key. We have a broad range of post-production classes that cover everything from the basics right through to advanced — from selecting objects or working with masks to making advanced colour adjustments and creating complex composites.
Our courses provide you with all the knowledge and skills you need to confidently use Photoshop, and you’ll also gain valuable insight into how the professionals work.
Guided by Karl and professional retoucher Viktor Fejes, you’ll not only learn how to correctly use some of the most important Photoshop tools for photographers but also gain valuable insight into how the professionals think and work.
Getting Started With Post-Production
If you’re new to post-production and retouching, we’d recommend watching our Photoshop for Photographers course from start to finish. Here are three of the initial chapters to get you started.
Retouching Recommended Equipment
To get started, Karl provides an overview of the equipment he uses when working with Photoshop, including his laptop, storage solutions, and specialist tools like Wacom tablets.
Key concepts: Course introduction • Equipment for retouching • Storage considerations
Understanding Digital Images
This class focuses on image files, as Karl provides detailed explanations about important concepts such as different file types, resolution, bit depth, colour profiles and colour modes.
Key concepts: Understanding file formats • What are pixels & resolution • Colour profiles - RGB vs CMYK • Resizing images
Photoshop Interface & Tools
Find your way around Photoshop’s extensive interface and build a solid foundation with this comprehensive class, which covers everything from customising your workspace to identifying the most common tools.
Key concepts: How to use Photoshop • Customising Photoshop workspace • Photoshop keyboard shortcuts
Photoshop Tutorials
Basic Retouching Demonstrations
Landscape Retouch
In this demonstration you’ll learn how to work with Camera Raw and Photoshop as Karl shows you how to use adjustment brushes, straighten horizons and use masks to enhance your landscape images.
Key concepts: Using adjustment brushes in Camera RAW • Techniques to straighten horizons • Working with masks in Photoshop
Business Portrait Retouch
This retouching class focuses on how to change the background colour in a business portrait and you’ll learn how to use specific Photoshop tools to change the colour and smooth the background.
Key concepts: Adjusting colour in Photoshop • Using Colour Replace tool • Smoothing background textures • Retouching tips
Wedding Retouch Demonstration
In this class Karl highlights and explains how to remove small distractions to bring the focus on the bride and groom, using tools such as Transform tools, Clone Stamp and Curve adjustments.
Key concepts: Wedding retouch tips • Using Transform Tools • Removing distractions in an image • Adjusting colour using Curves
Packshot Product Retouch
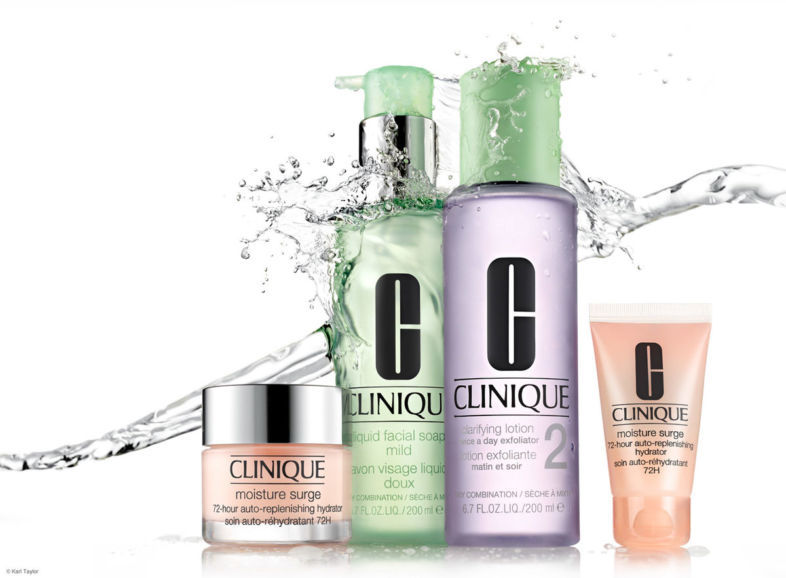
Learn how to effectively retouch product shots in this class, where Karl demonstrates how to create and extend a pure white background, select objects, and work with layers & masks.
Key concepts: Creating white backgrounds in Photoshop • Selecting objects in Photoshop • Using layers & layer masks • Adjusting exposure using Levels
Advanced Retouching Demonstrations
Once you’re confident using Photoshop, our Advanced Photoshop for Photographers course features further in-depth demonstrations from pro retoucher Viktor Fejes. You can work your way through the course, or pick and choose the classes most relevant to you.
Wedding Couple Retouch
Learn how to create a ‘hero’ wedding shot as Viktor demonstrates how to adjust colour by controlling highlights and shadows, balance different tones, adjust contrast, and how to smooth skin tones.
Key concepts: Adjusting colour • Working with visual aid layers • How to retouch hair, skin & clothes • Tips for retouching wedding photos
Beauty Retouch
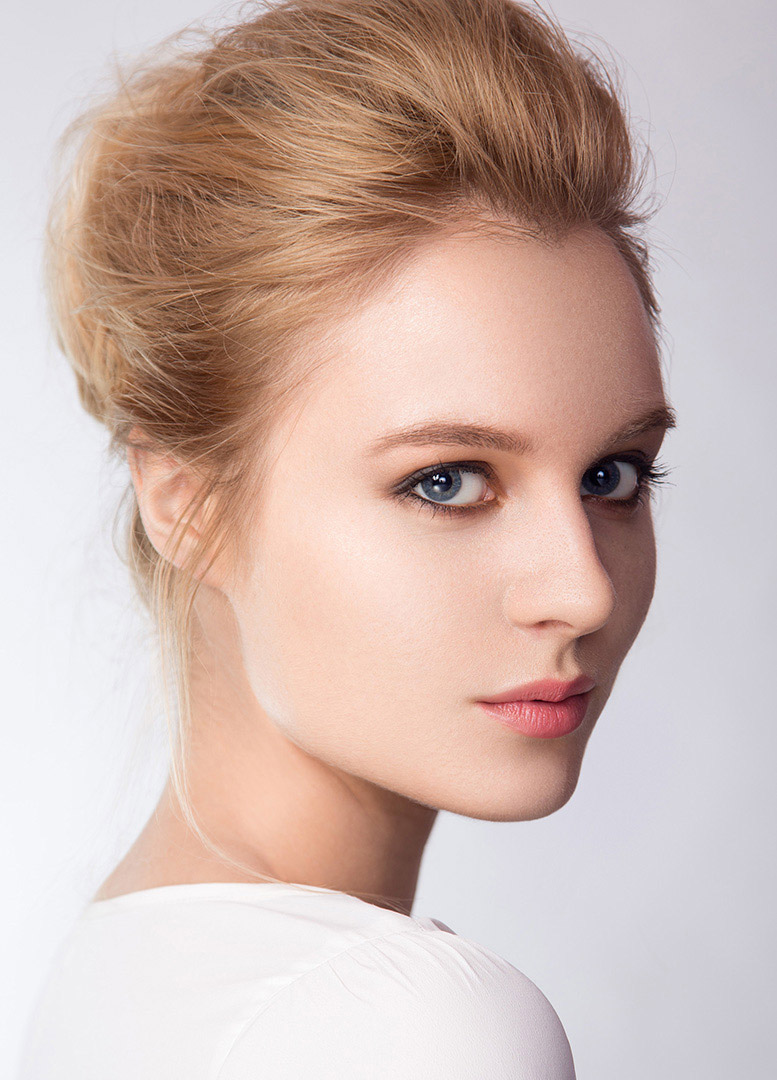
Find out how to retouch beauty images to the highest standards as Viktor demonstrates how to professionally retouch skin. Covered in these classes are colour adjustment techniques, using visual aid layers, balancing shadows and highlights, and much more.
Key concepts: Skin retouching techniques • Burning & dodging • Opacity vs flow • Liquify • Colour adjustment techniques
Home Interior Retouch
Learn how to balance tone and colour to guide the viewer’s eye, correct image distortion, and remove objects from a photo in this demonstration, as Viktor uses tools such as the Clone Stamp, Patch tool and various filters.
Key concepts: Correcting lens distortion • Adjusting hue, saturation & luminance • Using Healing Brush tool & Clone Stamp tool • Guiding the viewer’s eye in an image
Product Retouch
Learn how to retouch product images as Viktor and Karl demonstrate techniques such as focus stacking, removing dust and scratches, changing the background, and accentuating colour and contrast.
Key concepts: How to focus stack in Photoshop • Removing dust & scratches • Correcting saturation & tone • Working with smart images • How to change the background of a photo
Key Retouching Skills
To brush up on key Photoshop tools and techniques with dedicated, bite-size classes, take a look at our Individual Photoshop Tools course. Below is a selection of the most popular tutorials to help get you started.
How to Burn & Dodge in Photoshop
Working on two examples, Karl explains what burning and dodging is and looks at three different methods of burning and dodging. You’ll see how to control exposure to add form and shape to an image simply and easily.
Key concepts: Using Burn & Dodge tools in Photoshop • Using Curves for Burning & Dodging • Using selections for Burning & Dodging • How to Burn & Dodge skin & clothes
Master the Pen Tool
Karl demonstrates how to easily master the Pen tool, showing you how to create straight lines as well as curved lines and corners. You’ll learn how to add, remove and move points and how to use the Pen tool to cut out objects.
Key concepts: Making selections with the Pen tool • Adding/removing points • Using the Pen tool to cut out objects
Converting Images to Black & White
Karl demonstrates different techniques for converting pictures to black and white, using methods such as the Black & White adjustment layer, Channel Mixer and Gradient Map.
Key concepts: Converting images to black & white • How to use the Black & White adjustment layer • How to use Channel Mixer • How to use Gradient Map
Removing a Person
Learn how to how to completely remove a person in Photoshop as Karl demonstrates the best tools for the job (including Curves adjustments, masks, the Clone tool, and Healing Brush) and explains important considerations to achieve a realistic and believable result.
Key concepts: Removing a person from a photo • Matching perspective using Transform tool • Using the Clone tool without repetition • Using the Brush tool to remove objects
What To Do After Post-Production
Looking to display your retouched images online, on social media, or as printed pieces? Here is a small selection of classes that cover what to do with your images post retouching.
Preparing Images for Web
Learn how to resize images for web and online use using two different methods in Photoshop. This class covers the important considerations, how to find a balance between image size and quality, and what colour space is best for web use.
Key concepts: Resizing images in Photoshop • Export As vs Save for Web • Sharpening images • Colour profiles for web
Preparing Images for Print
Learn how to prepare your images for print as Karl explains his techniques, including sharpening, contrast adjustments, and colour profile choice, before comparing the printed results from different adjustments.
Key concepts: Printing digital images • How to sharpen images • Colour profiles for printed images
Photographic Printing with John Fitzgerald
Karl is joined by professional printer John Fitzgerald who explains how to get the best out of your printed image as he discusses colour, displaying your work, monitor calibration and the pros and cons of different printing papers.
Key concepts: Printing profiles • RGB vs CMYK • Paper choices for printing • Printing sizes • Display considerations
Further Post-Production Skills
If you’re looking to take your post-production skills even further, take a look at our courses on compositing images in Photoshop and 3D modeling.
Compositing using Photoshop
Karl teams up with pro retoucher Viktor Fejes to present this compositing course. Together they guide you through the process of creating a composite picture, from sourcing images to cutting out objects, creating smoke and sparks and applying final colour adjustments.
What you'll learn: Creating composite images • Photoshop blend modes • Creating special effects using brushes • Selecting & cutting out objects • Merging multiple images
An Introduction to 3D Modeling & CGI
Learn how to create your own 3D models as pro retoucher Viktor Fejes introduces you to CGI and guides you through a practical example of creating your own 3D image using the popular modeling software Cinema 4D, showing you how to create a 3D model from start to finish.
What you'll learn: 3D modeling software • How to use Cinema 4D • Lighting 3D objects • Adding texture to 3D models • Render Engines • How to use Arnold renderer


Comments
hi sir my name Rashida iam working ministry of home in kuwait photo grapher iam fallowing every class for you i need lern table top photographey only flower bouquet shooting please check this site .www.bleems.com 0096592253039