


Learn By Doing
A simple setup. A powerful lesson in light.
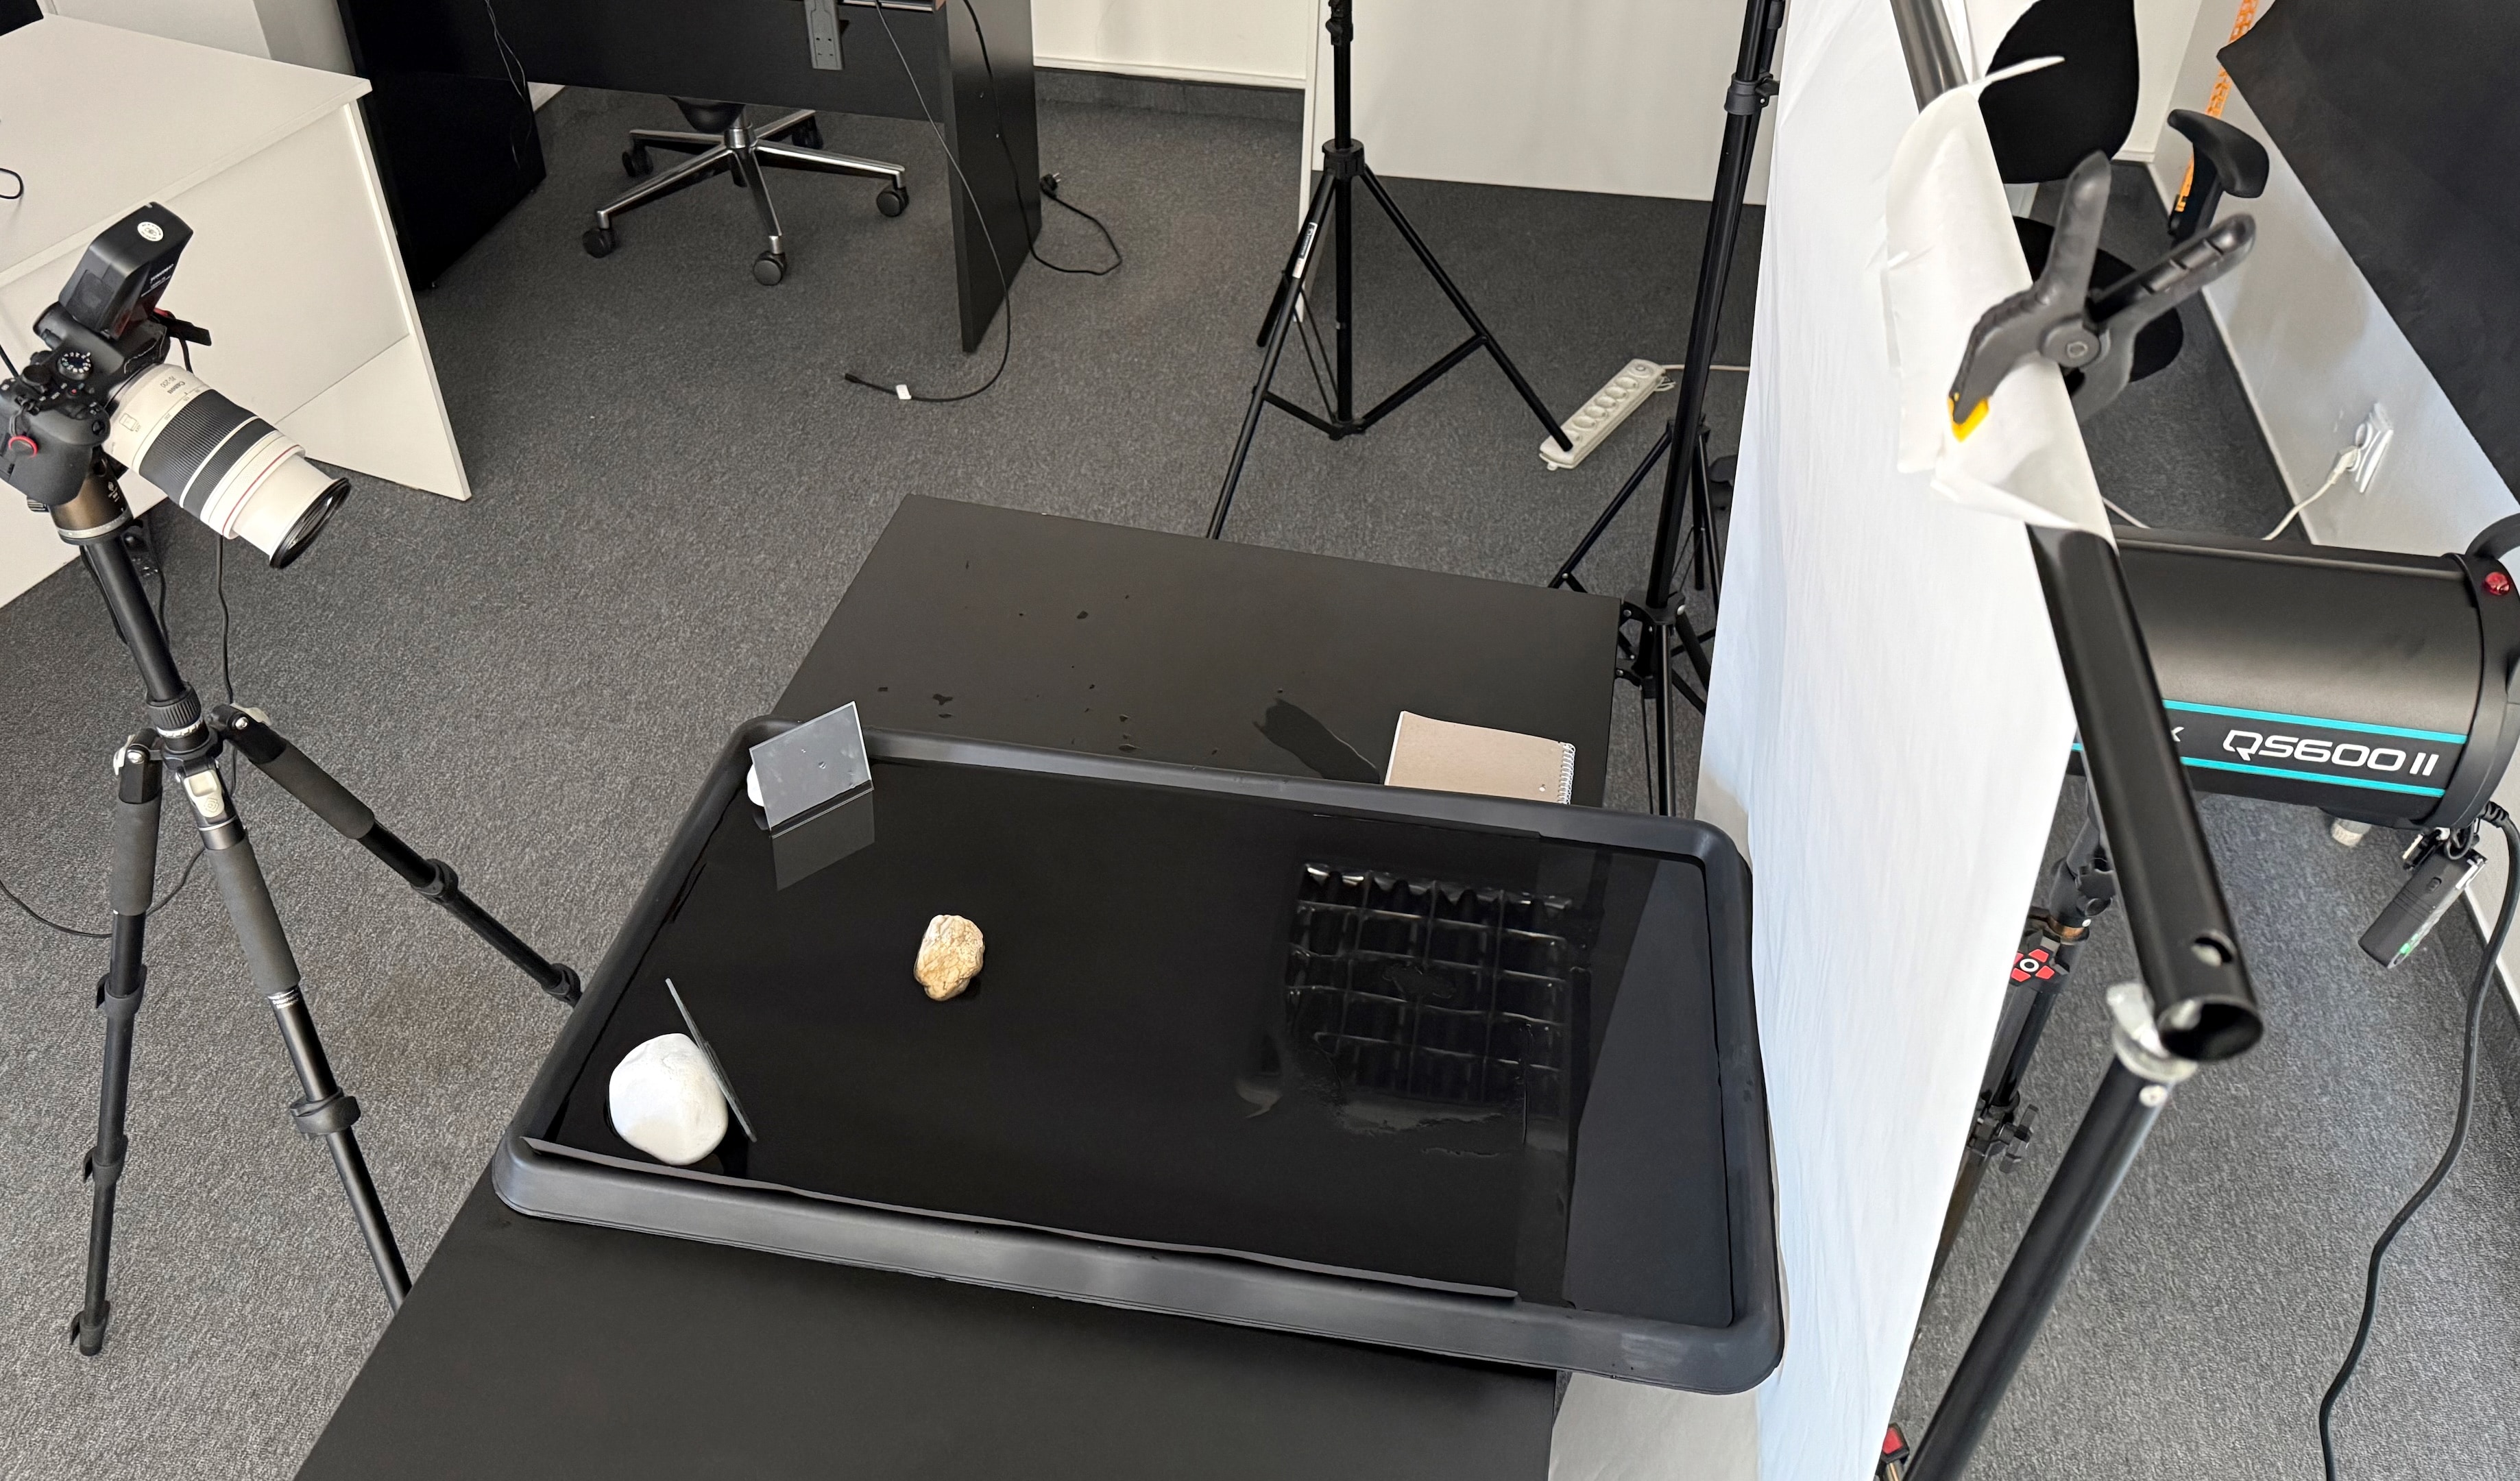
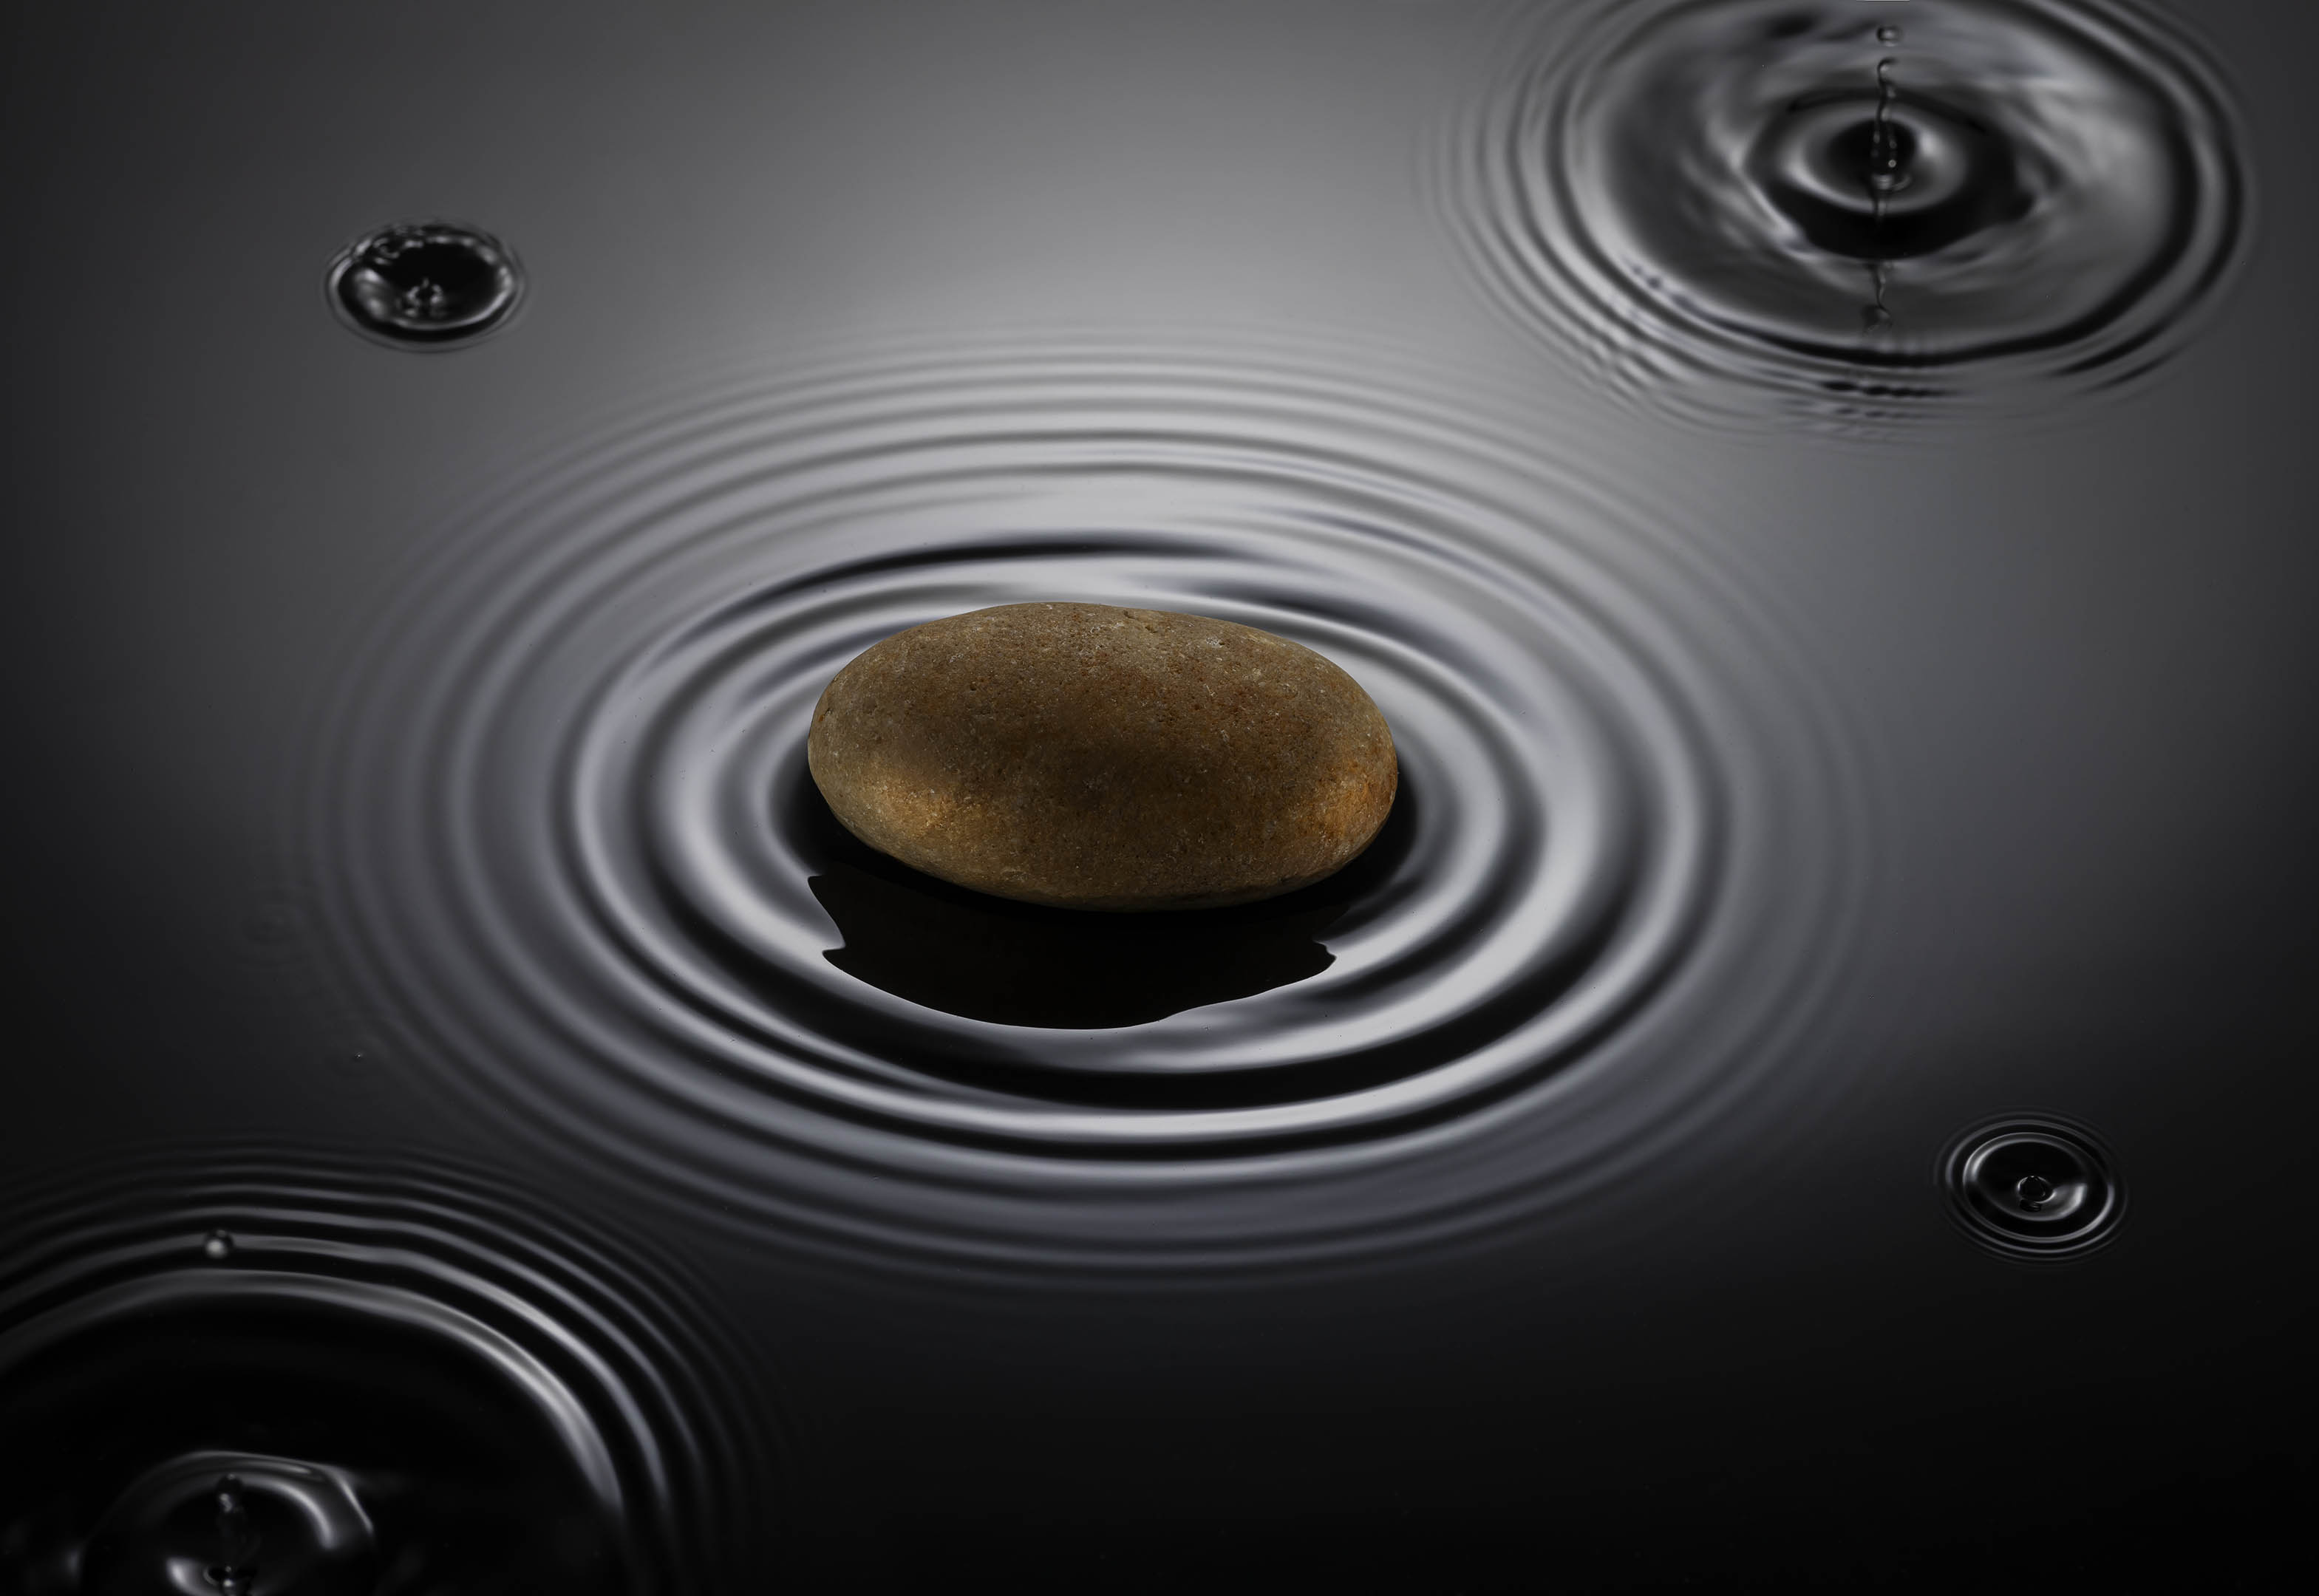
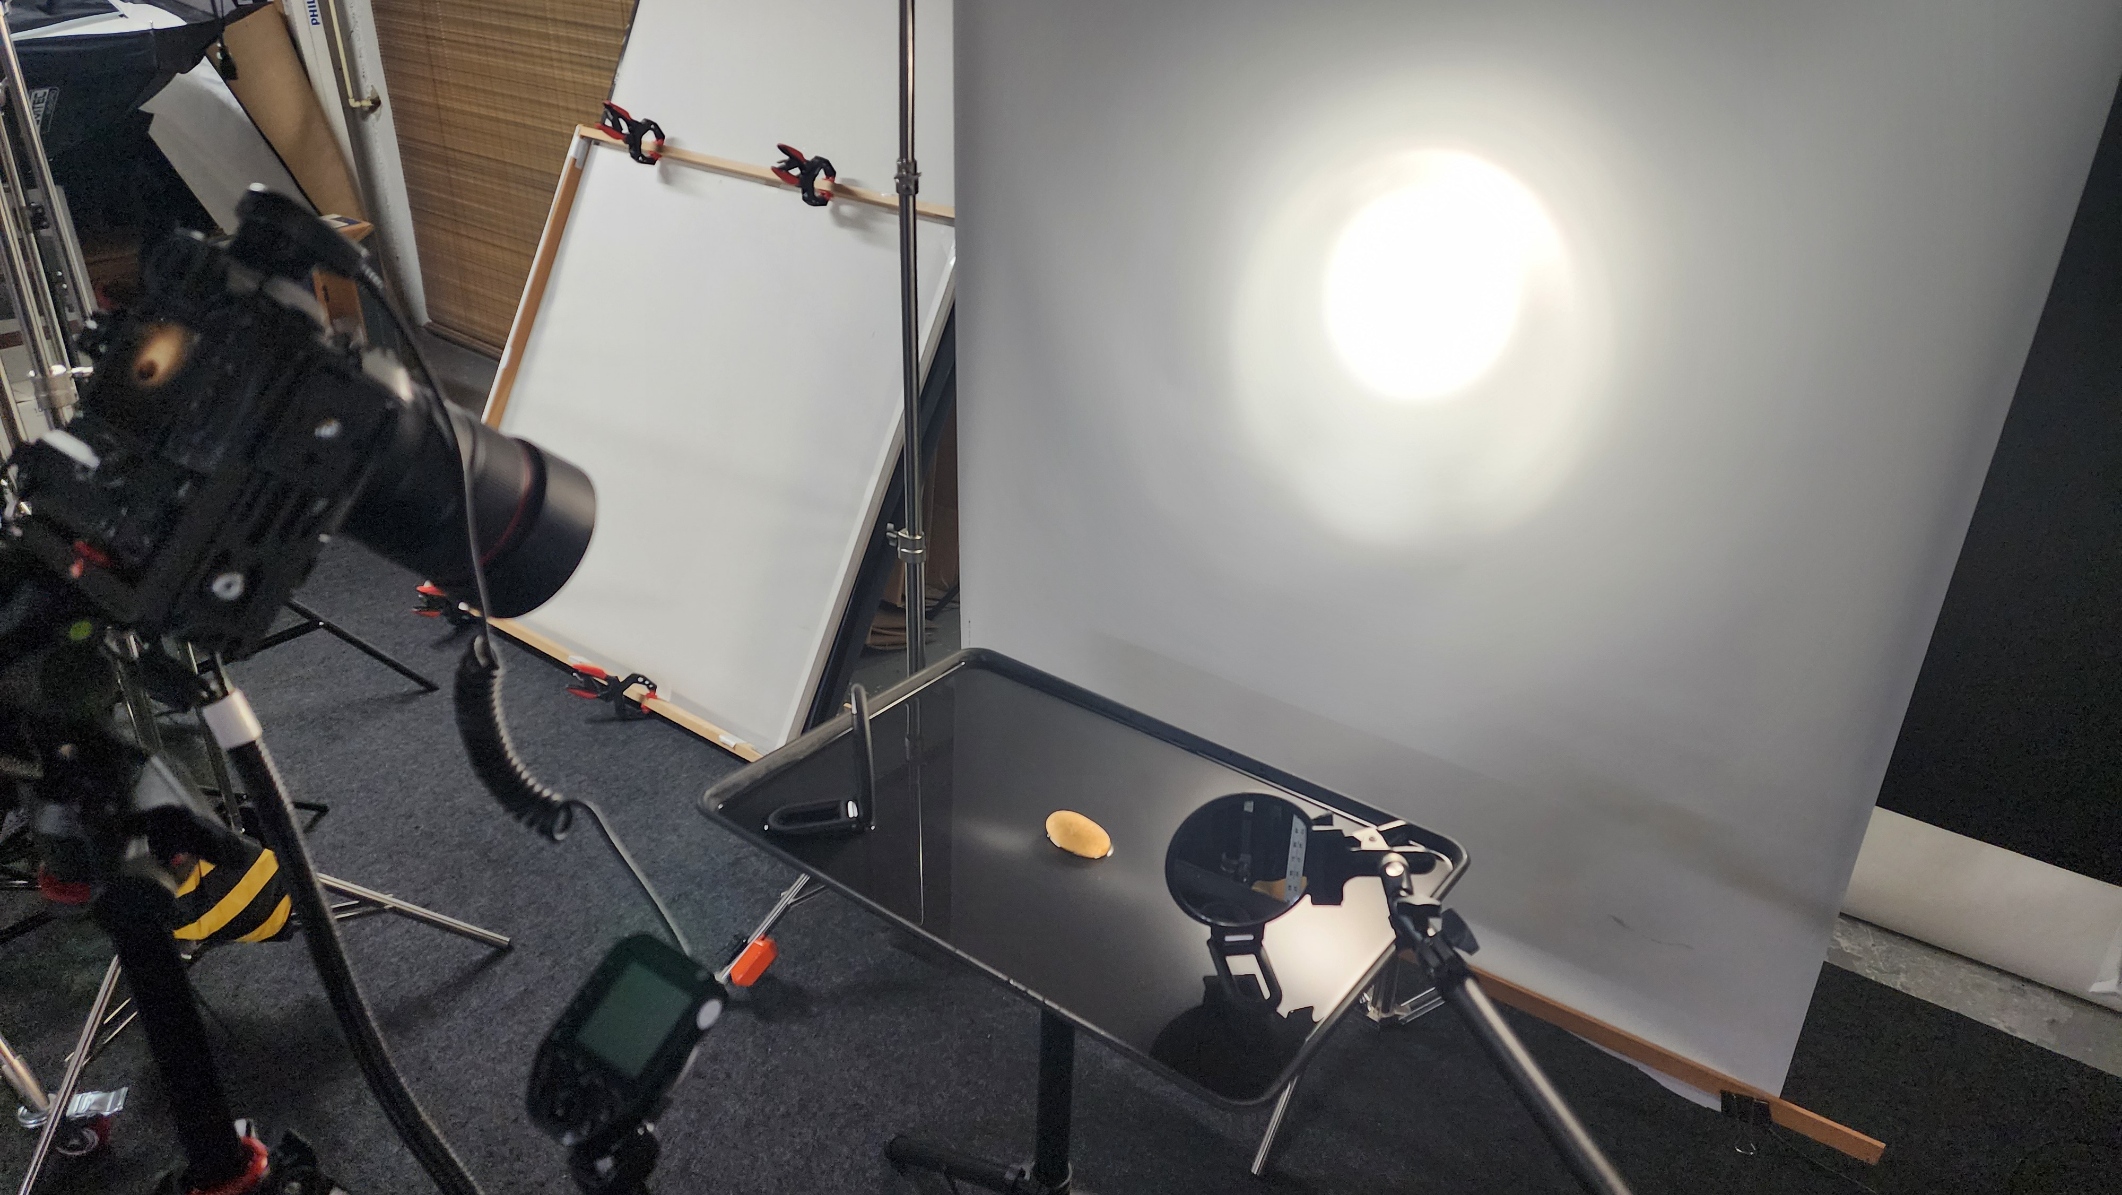
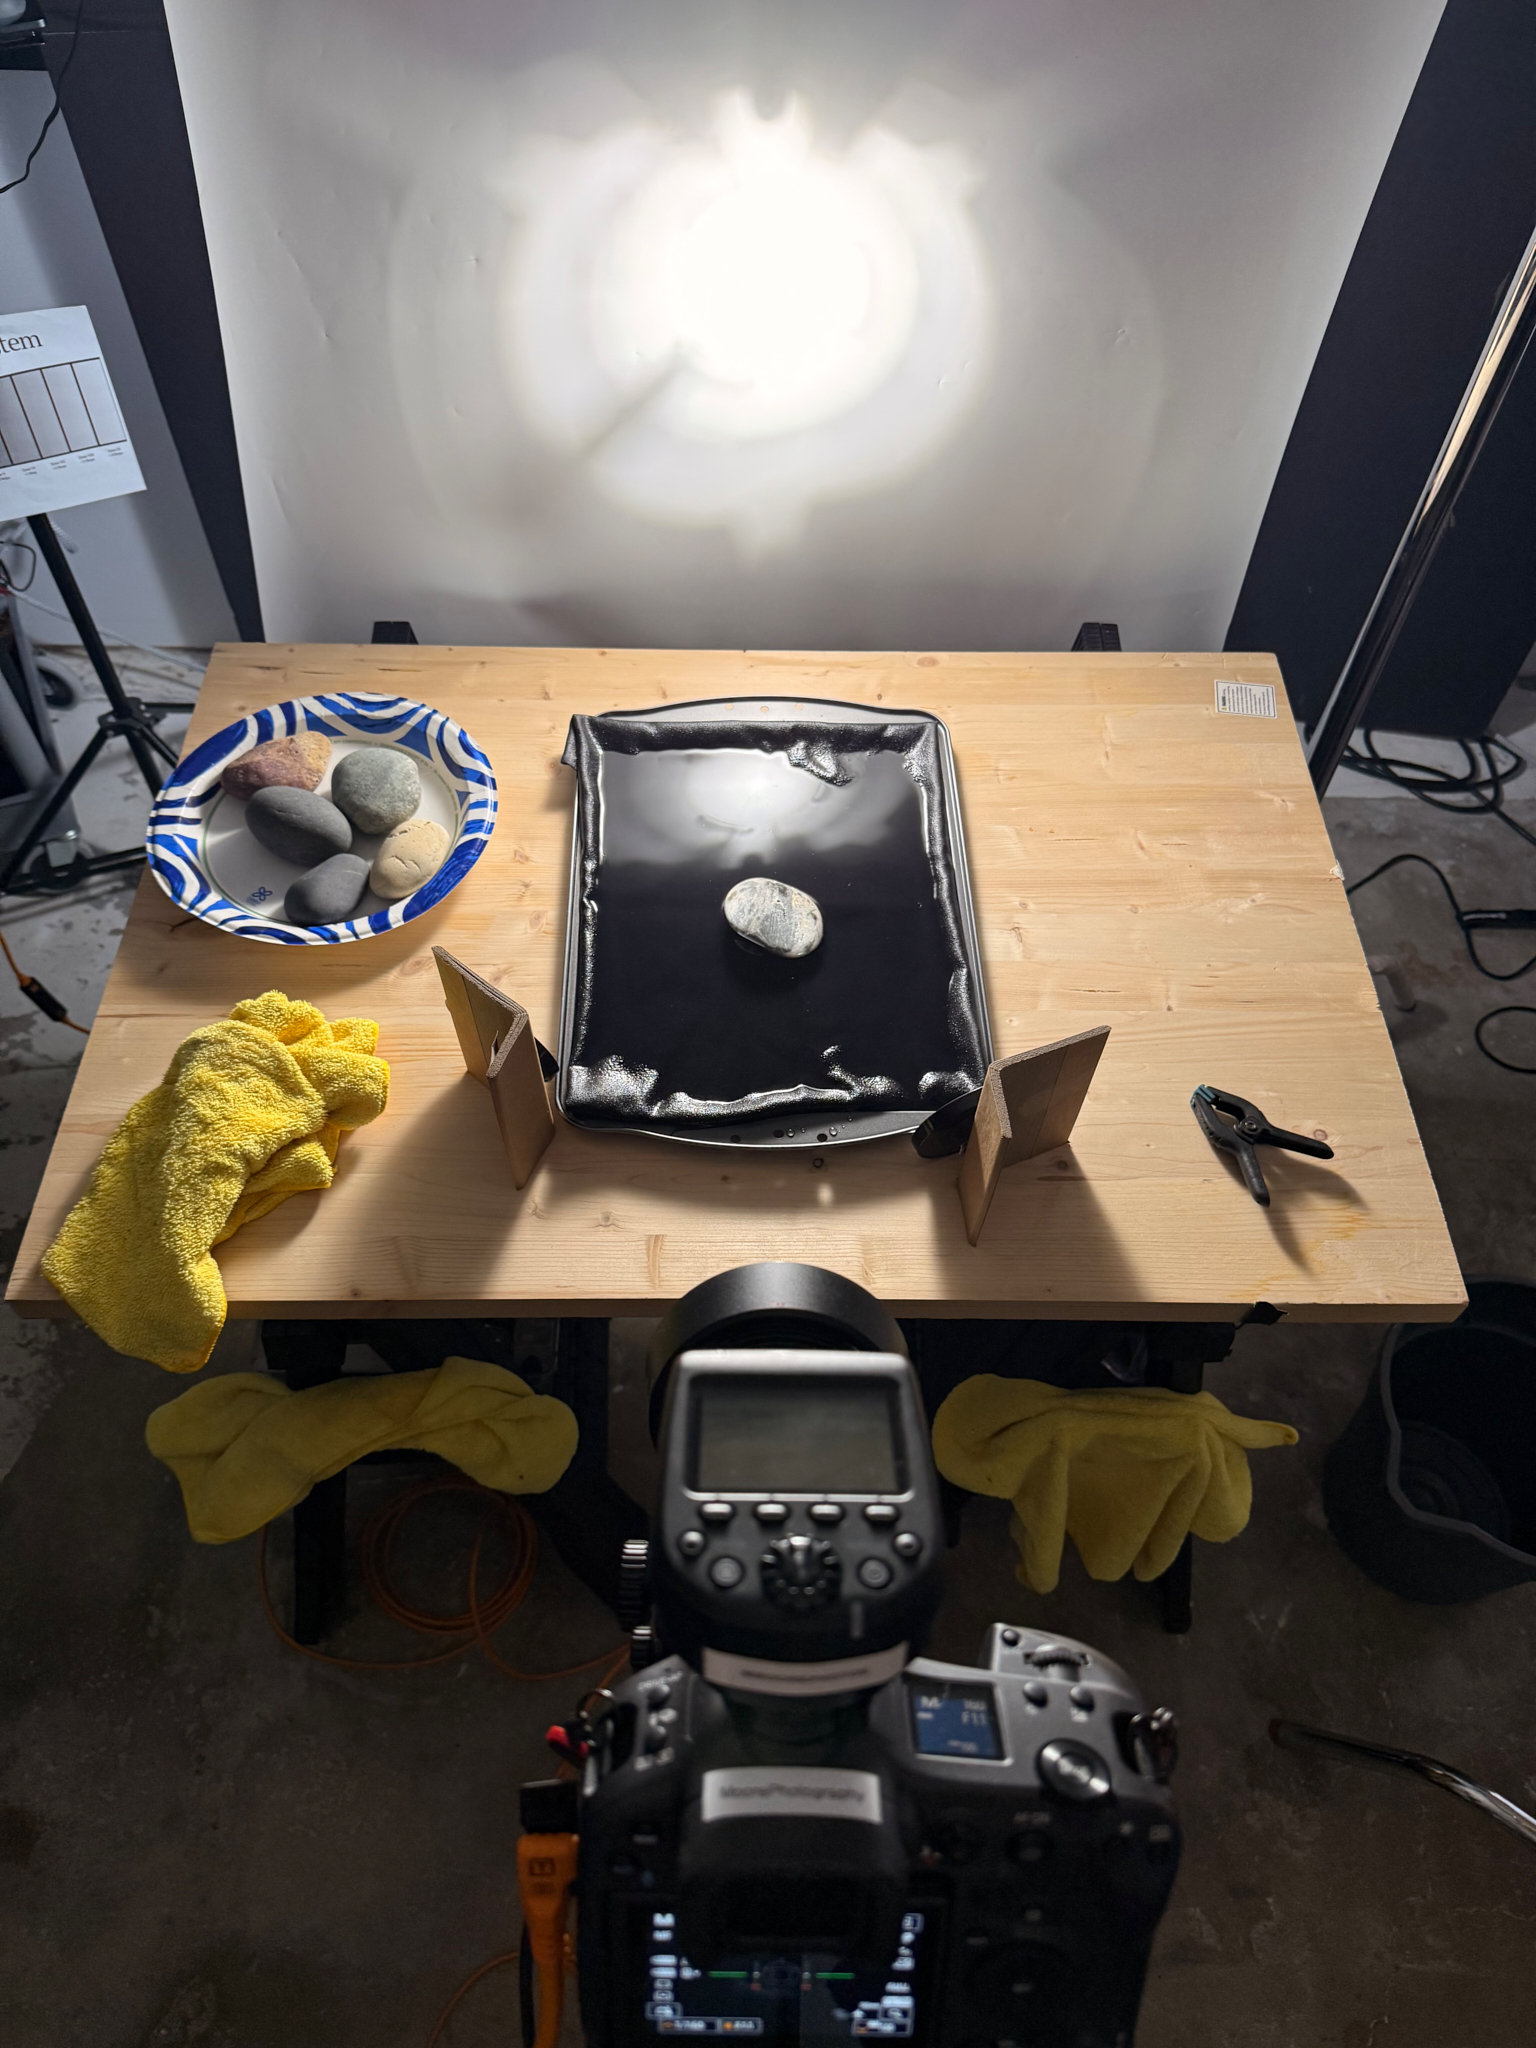
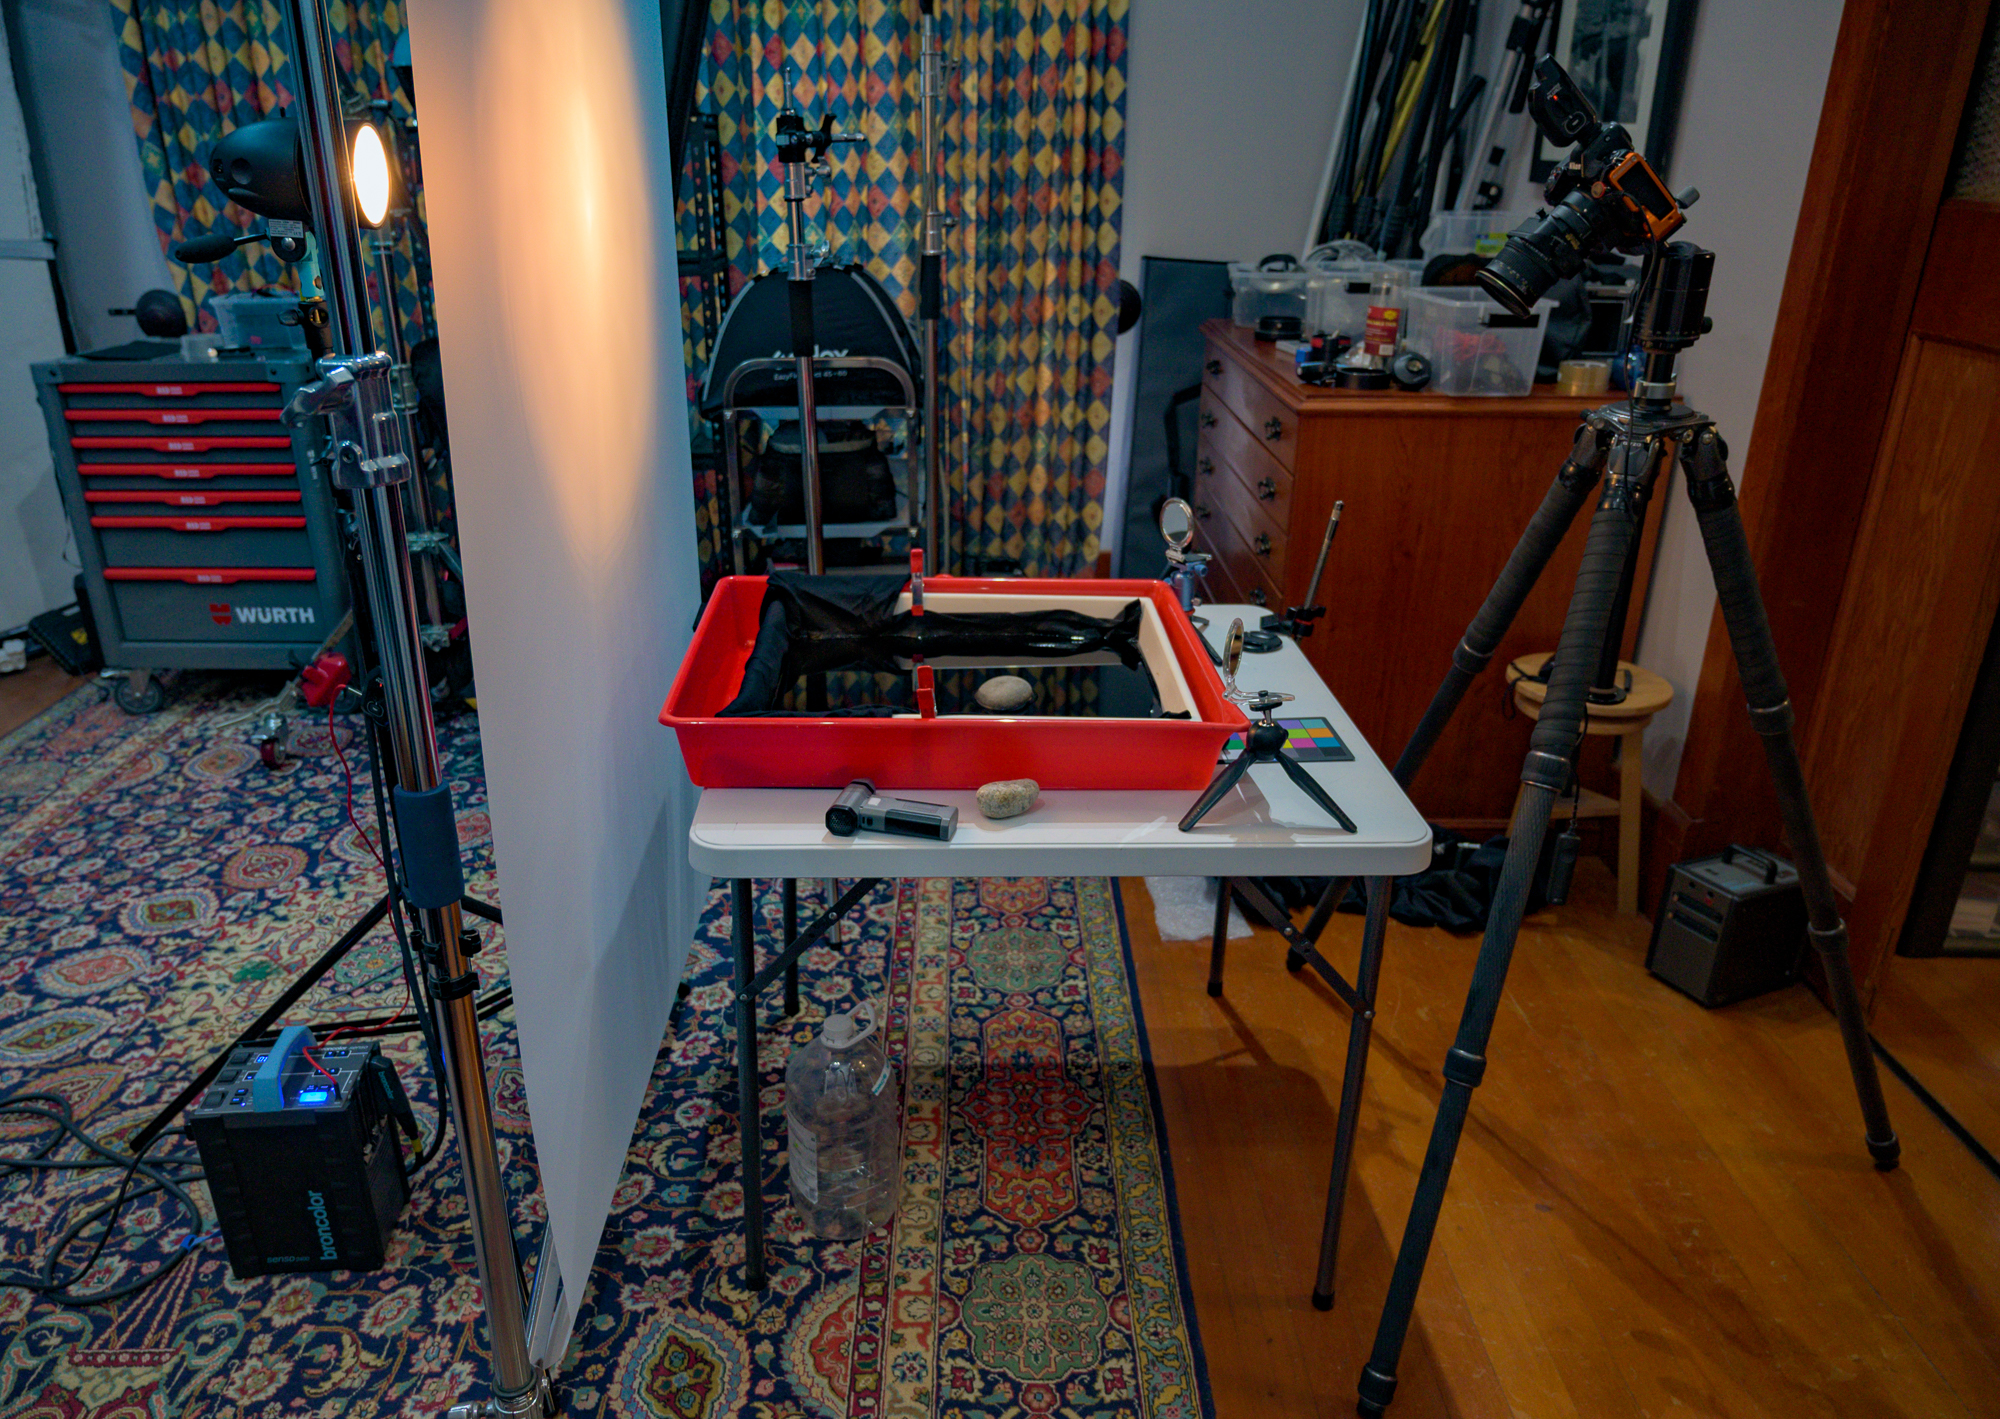
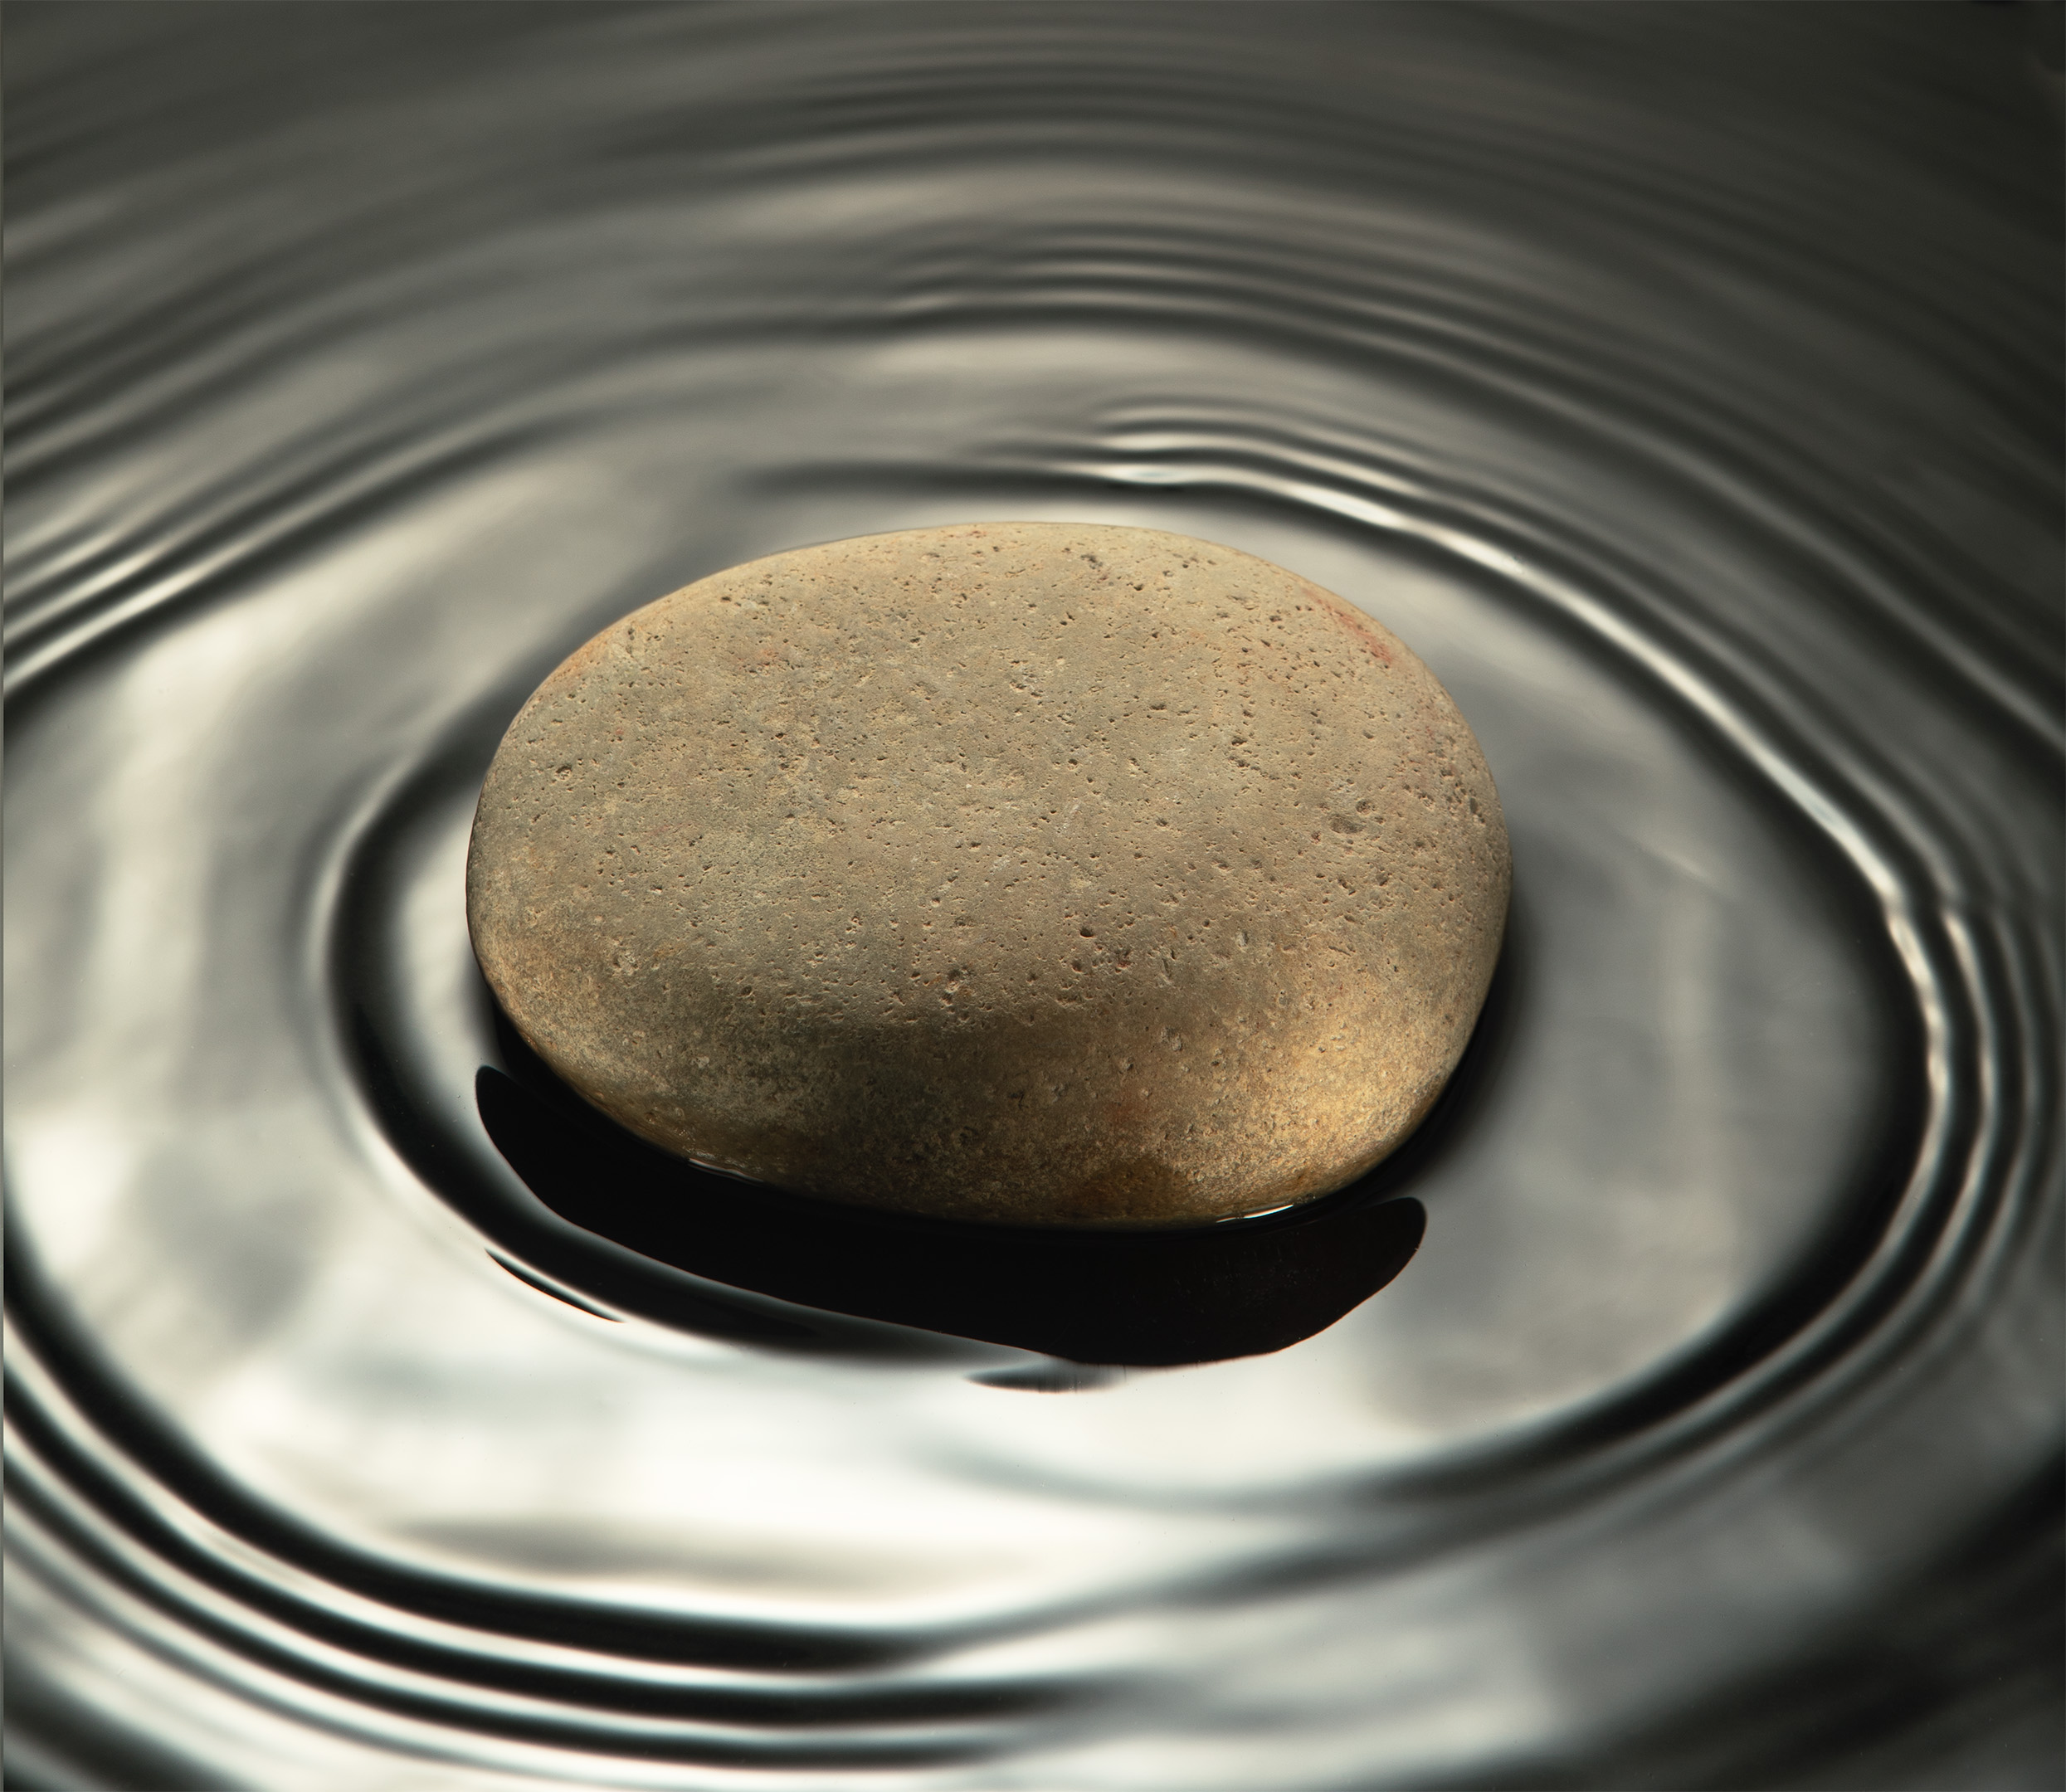
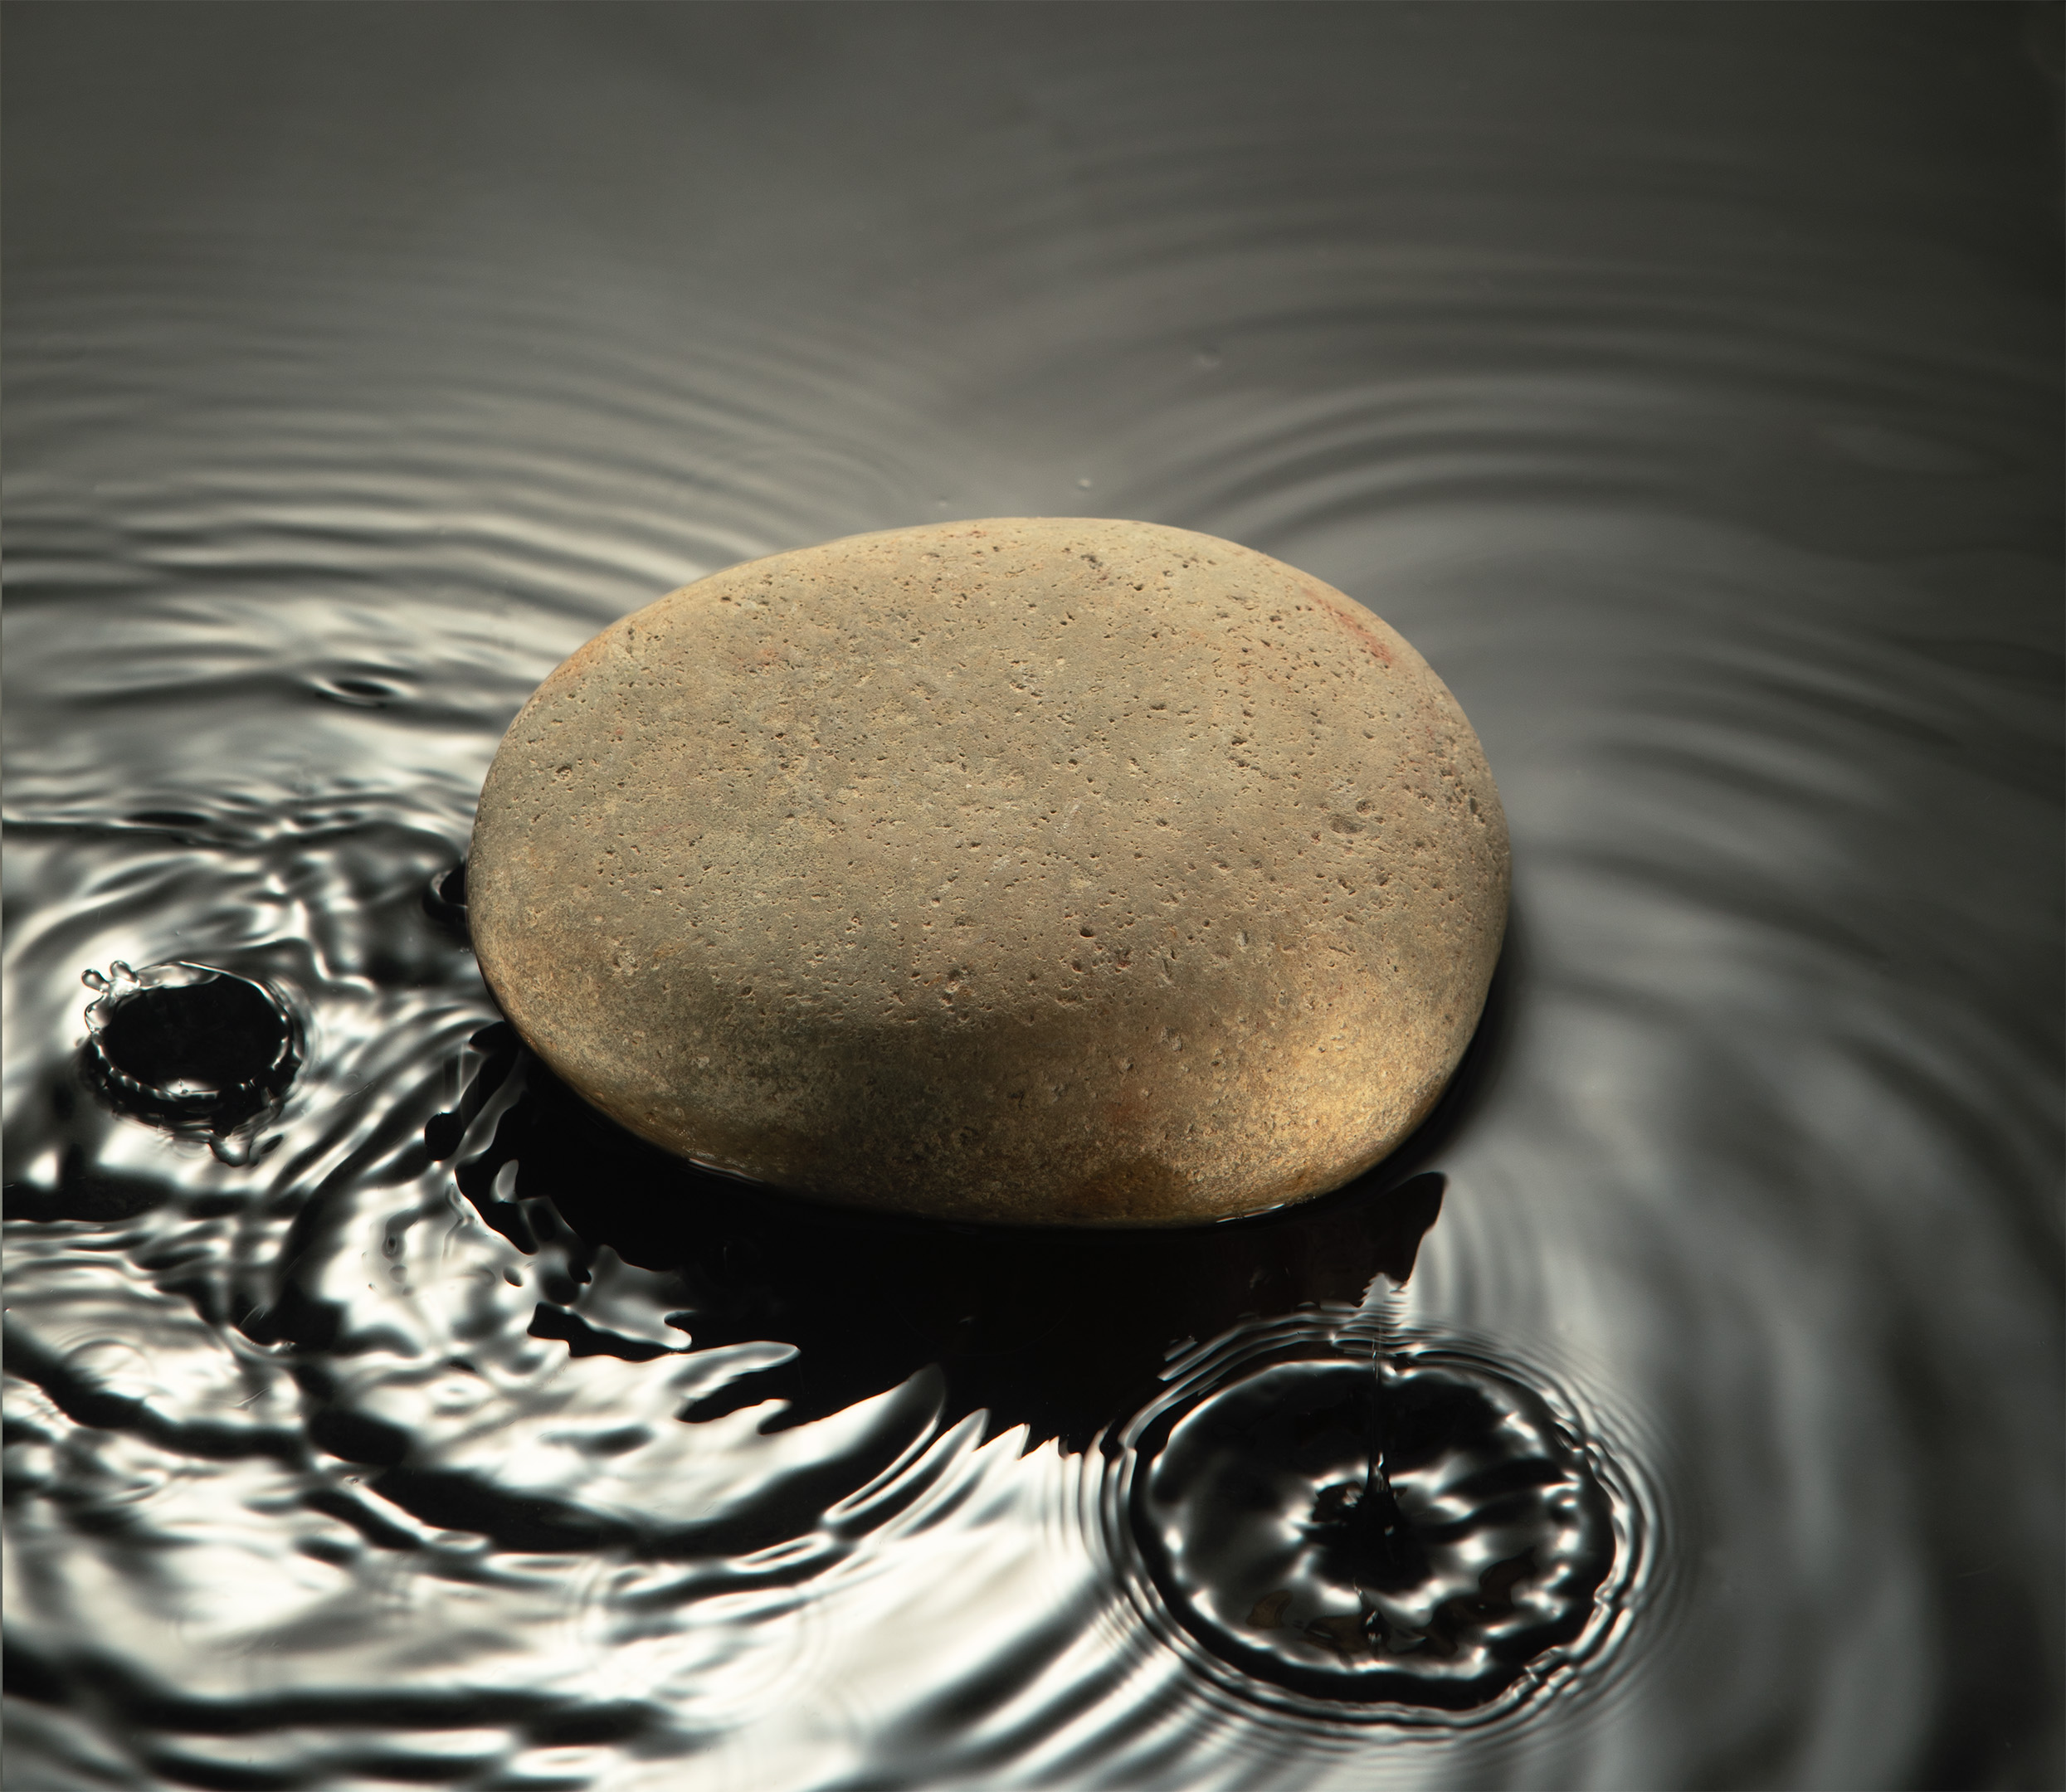
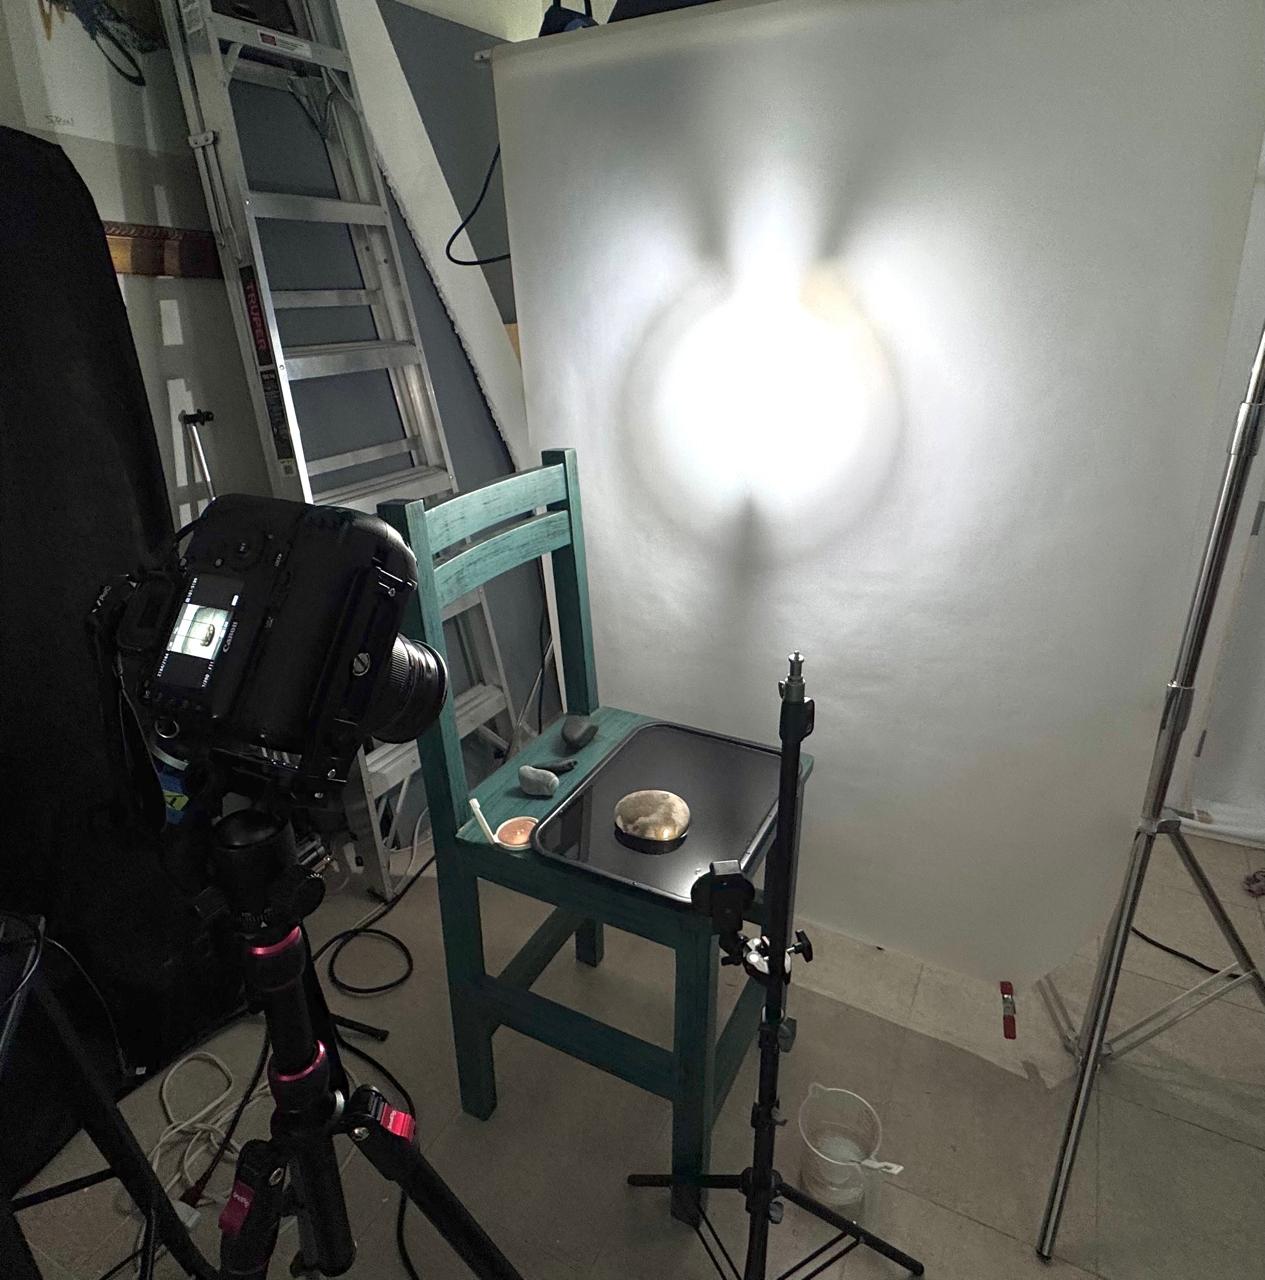
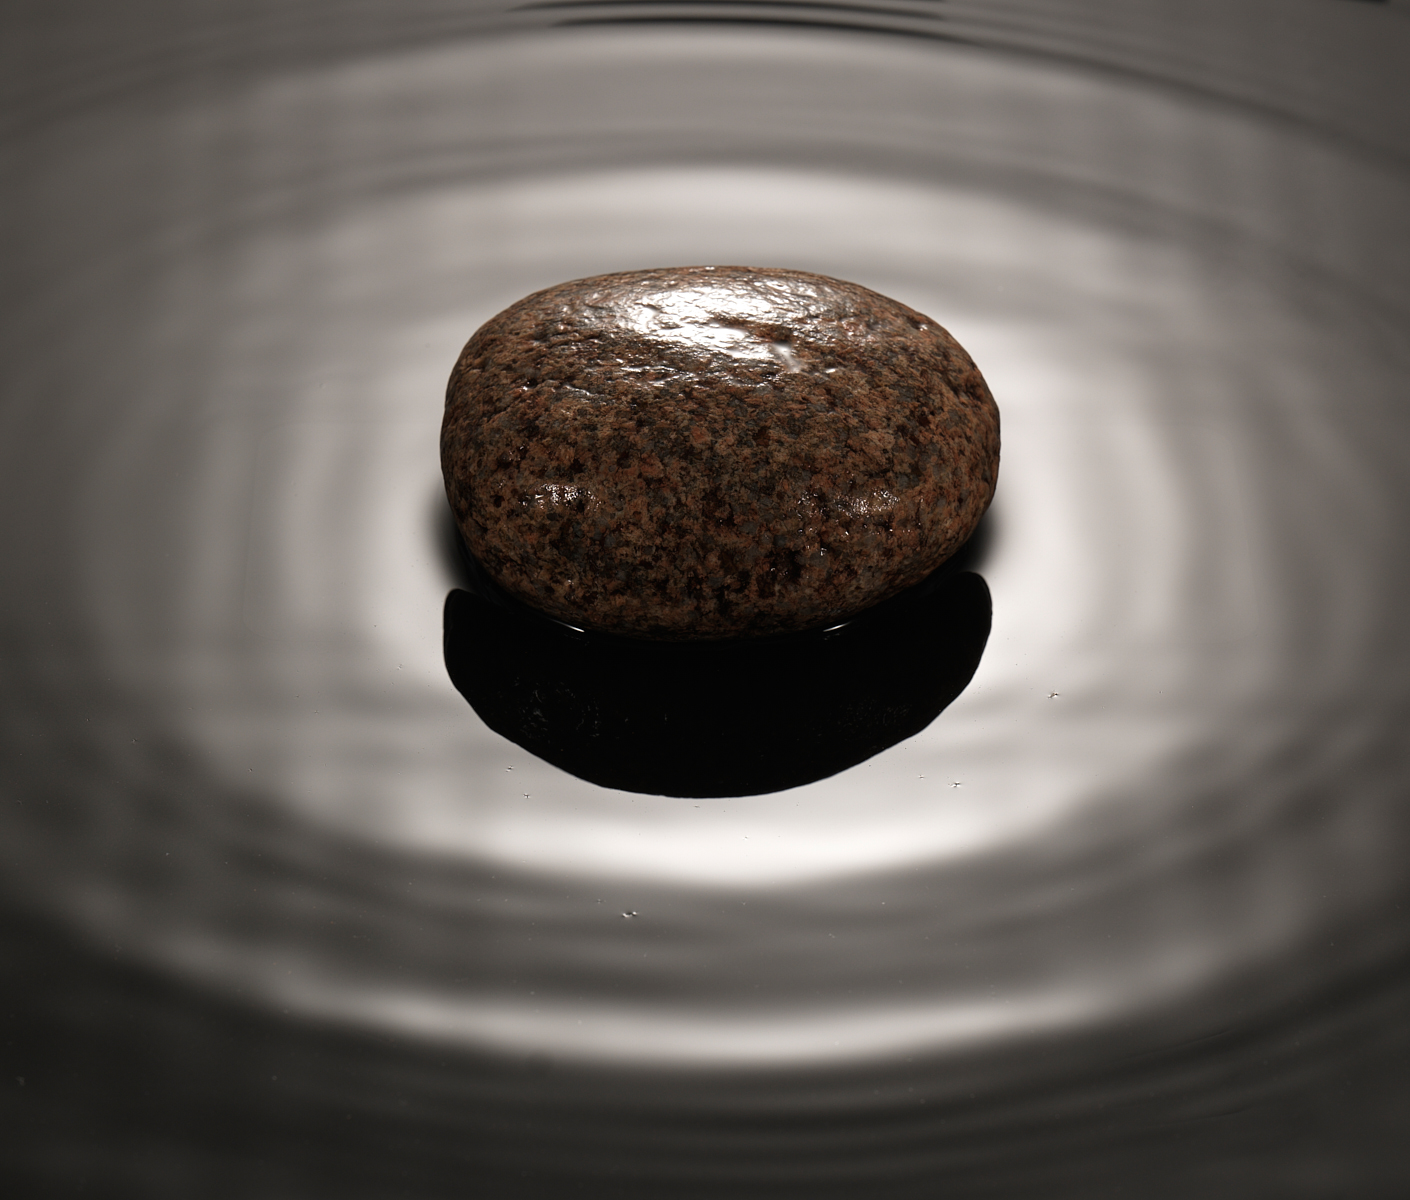
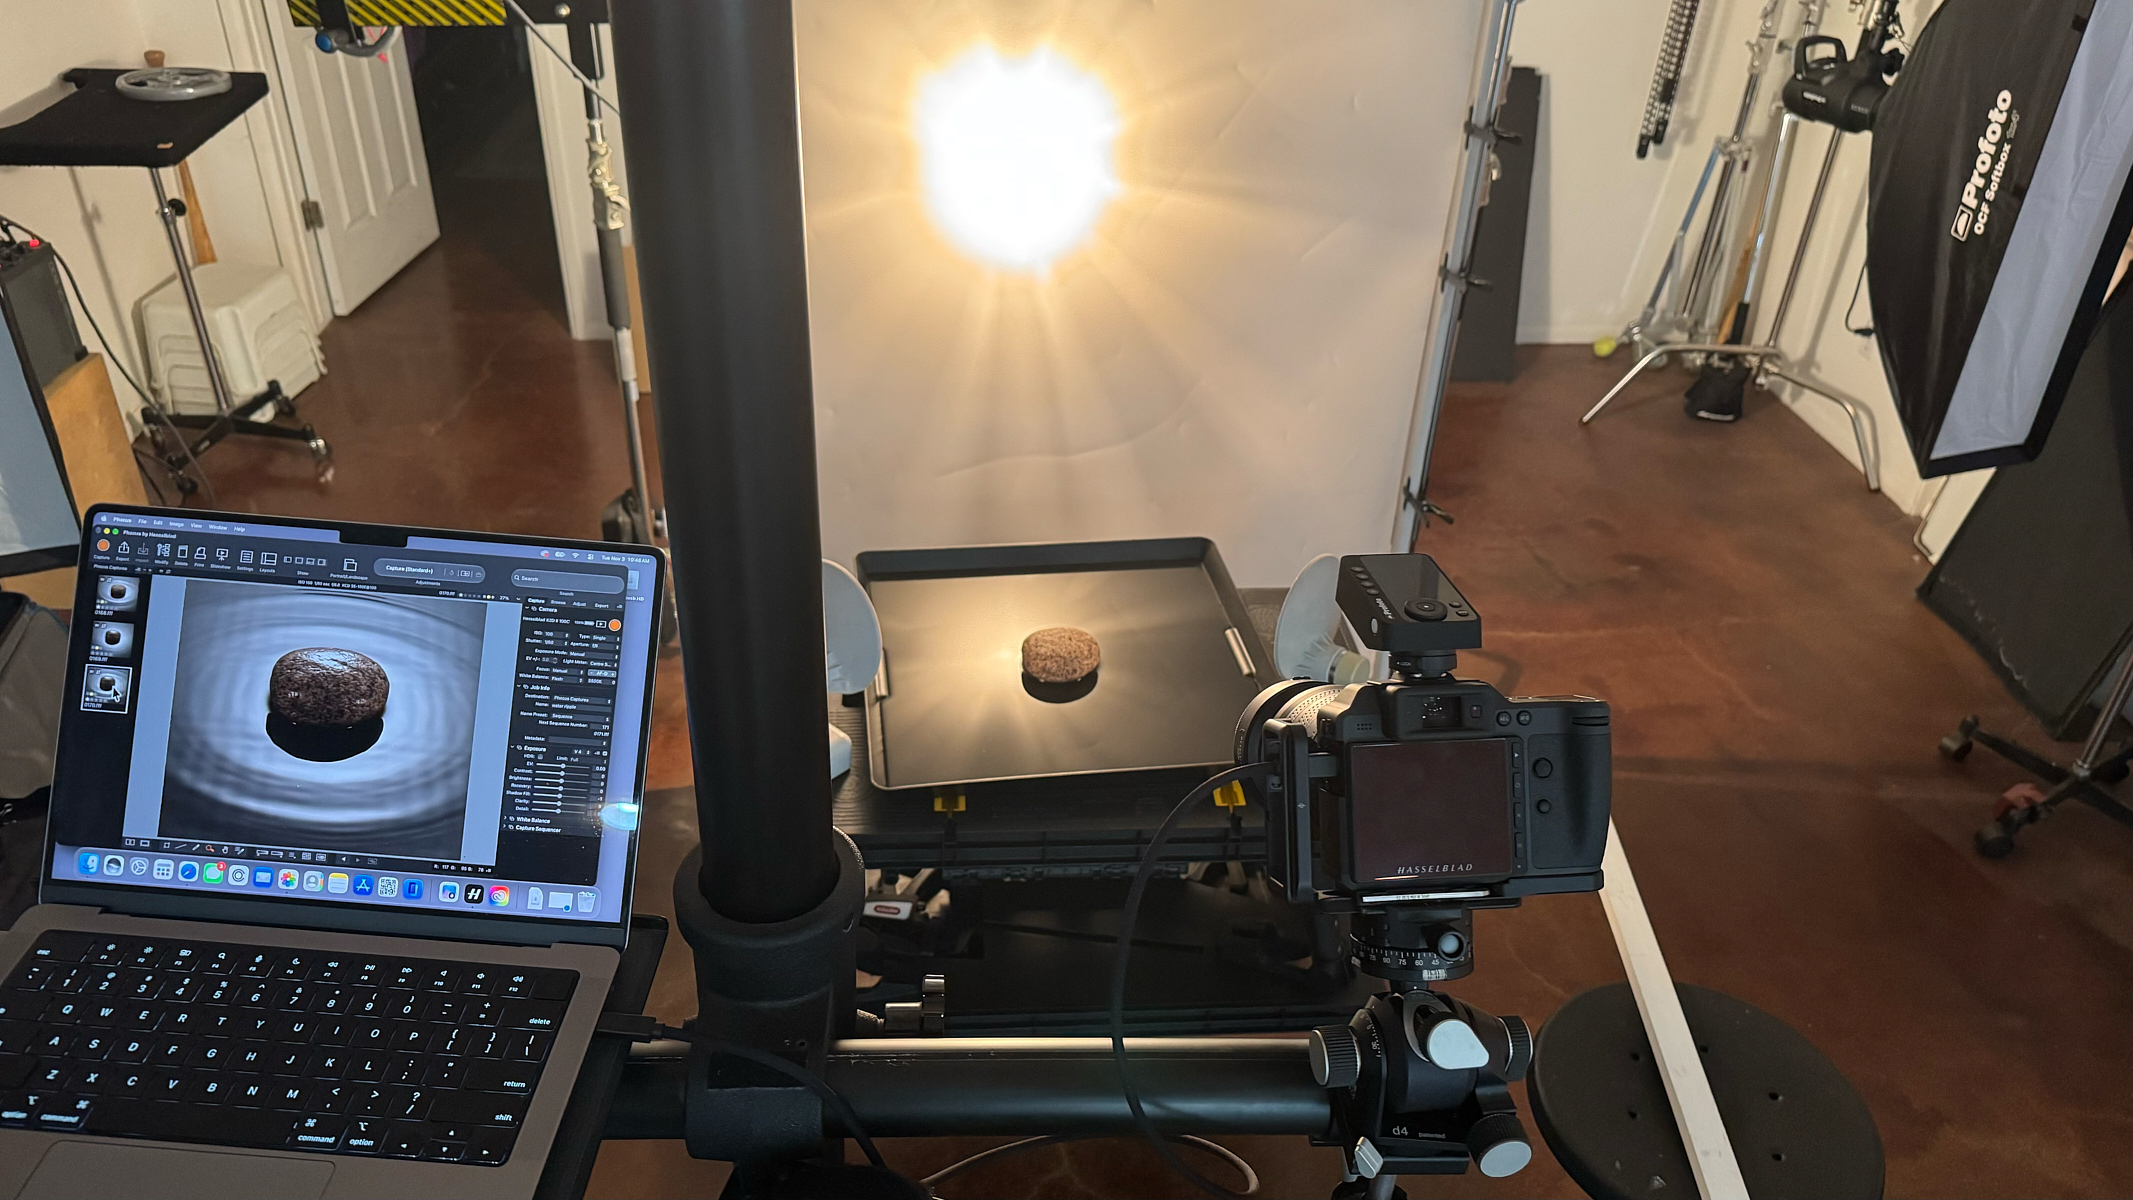
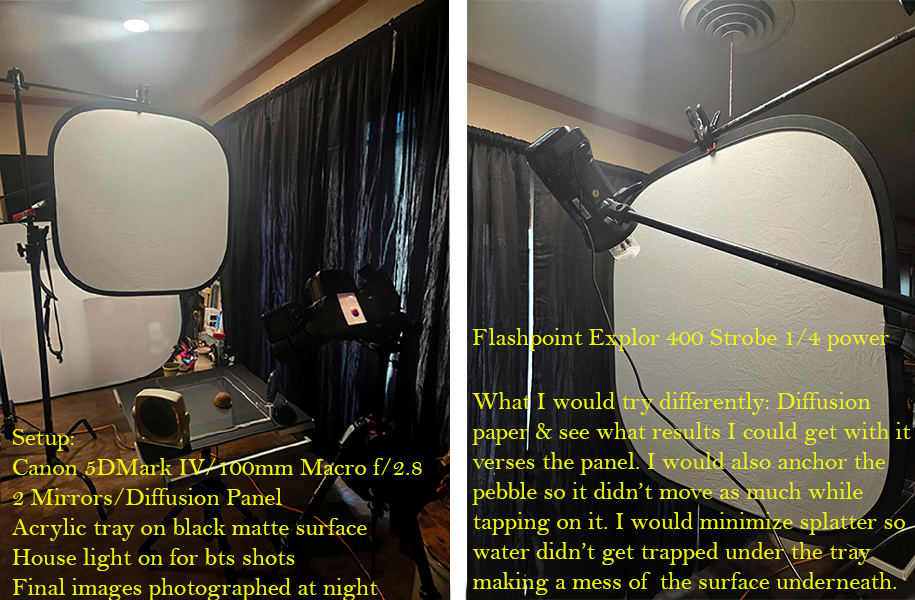
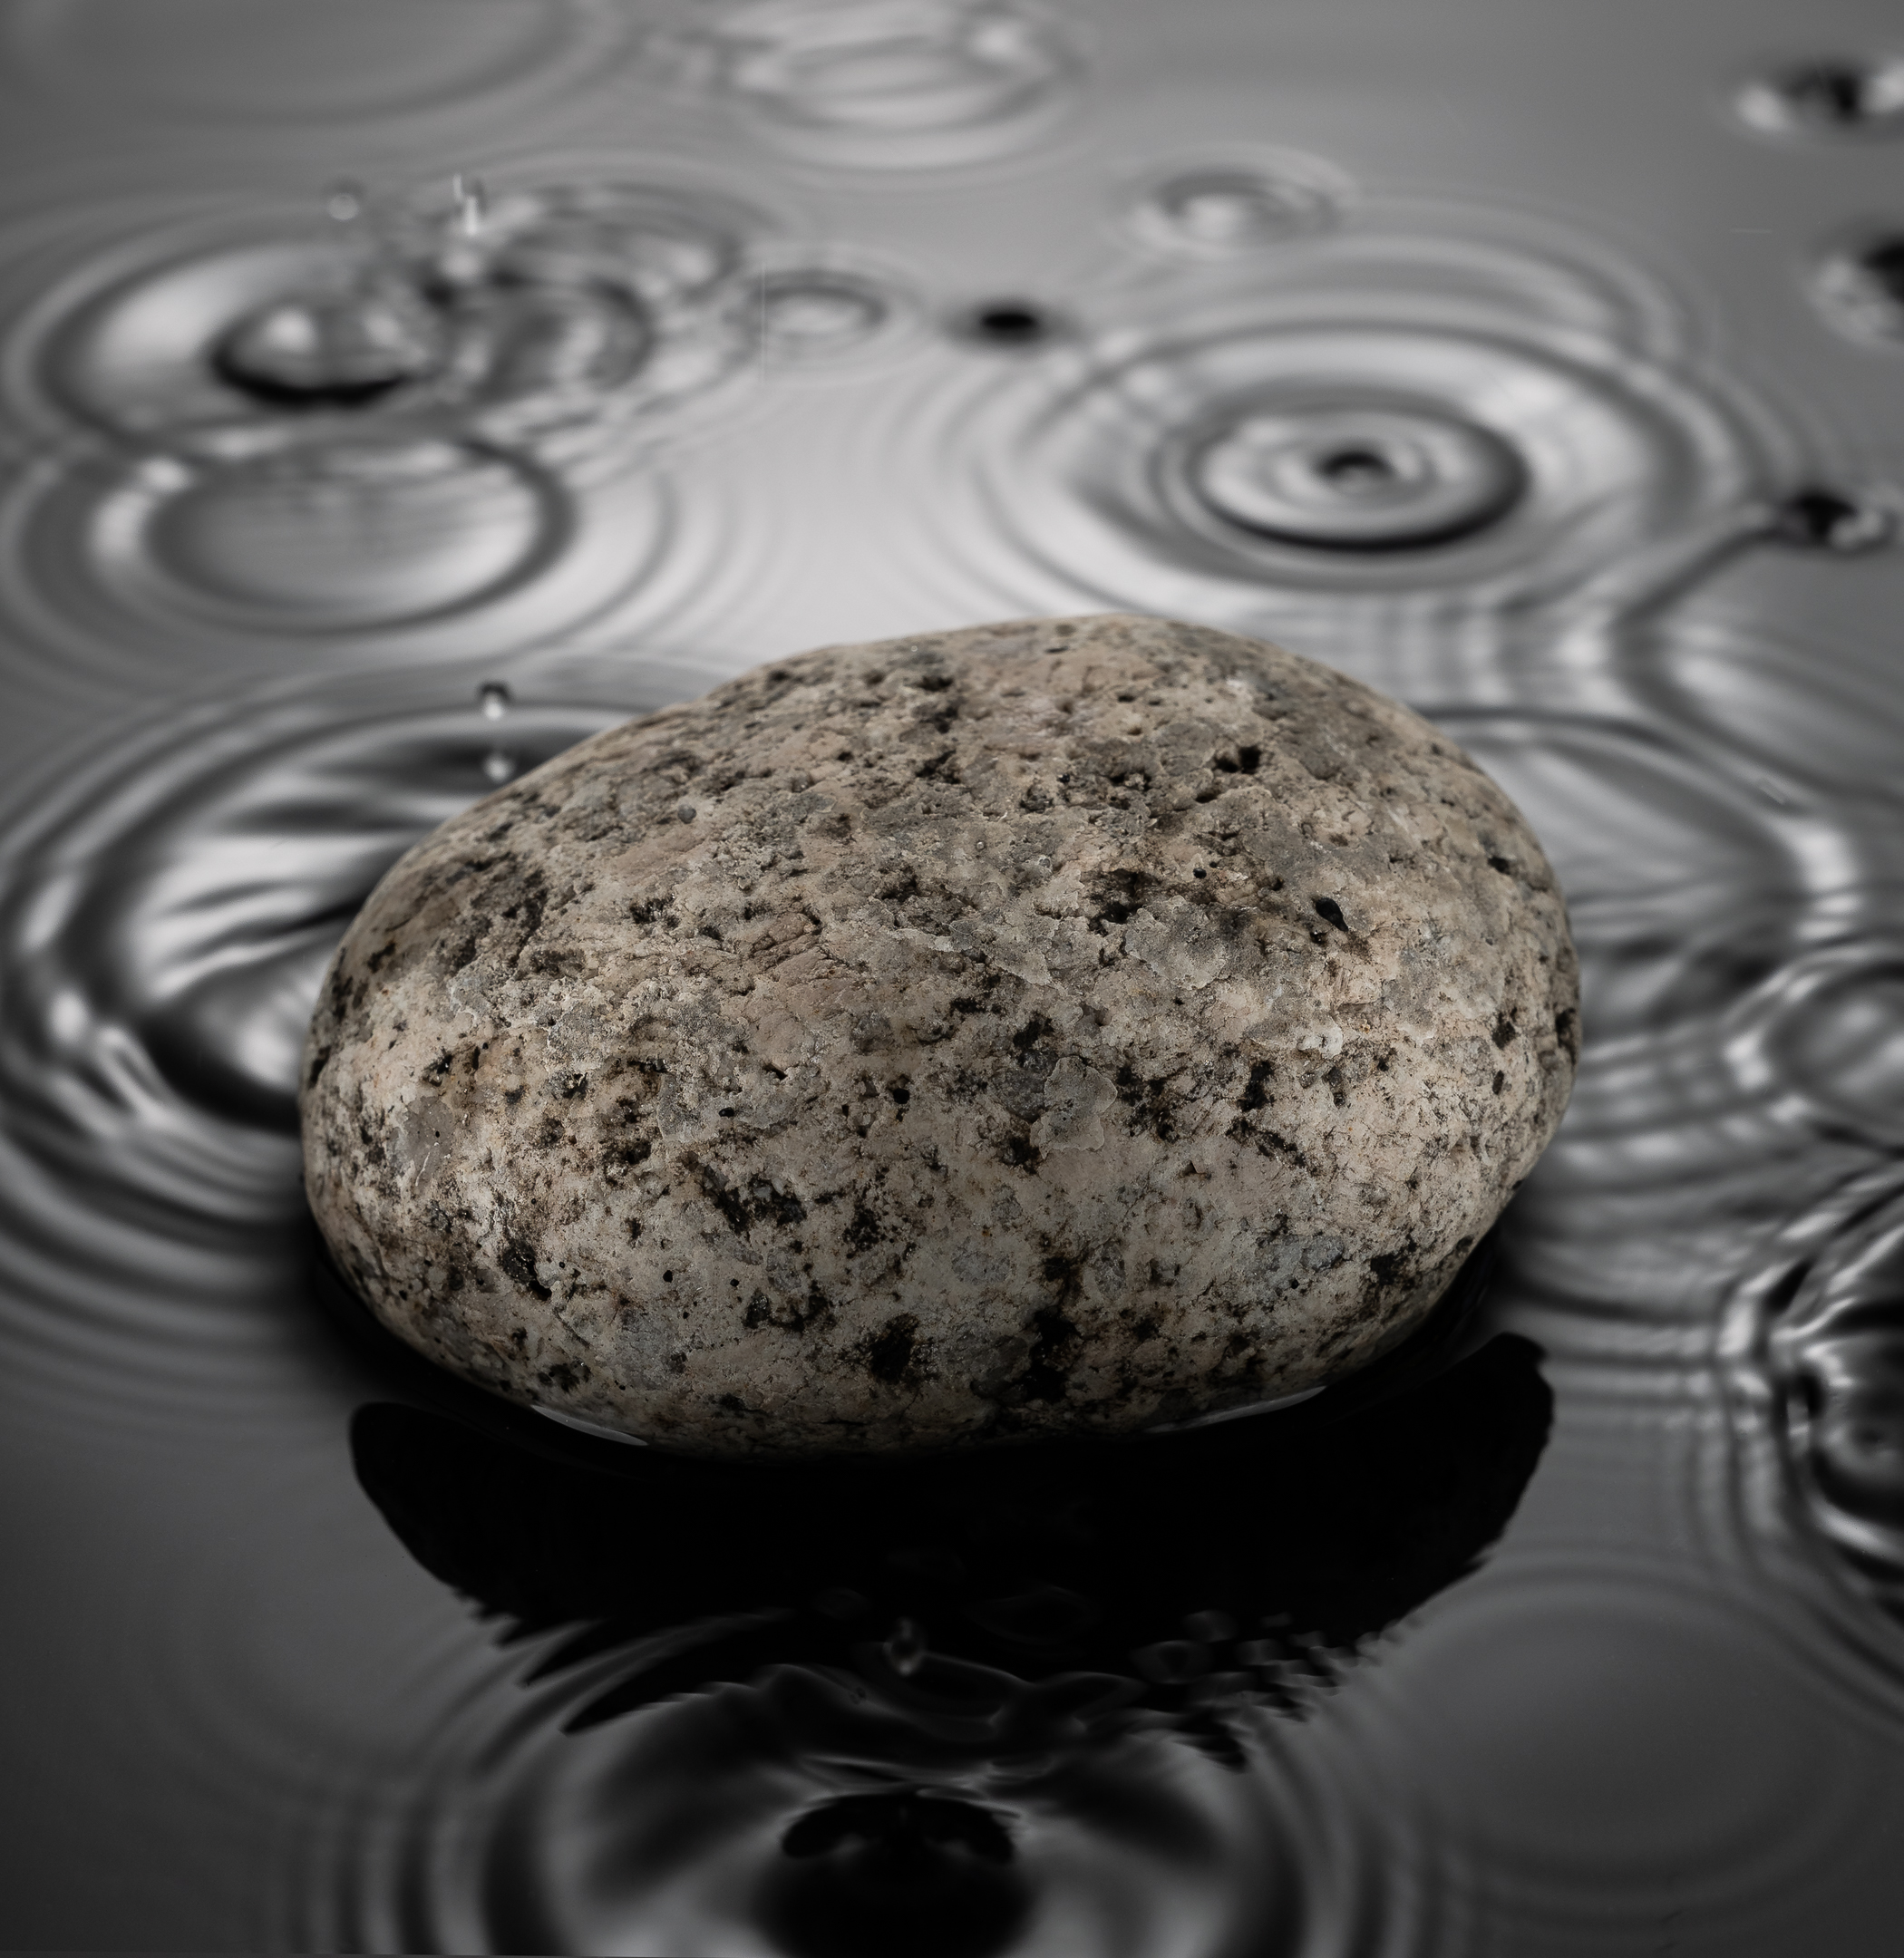
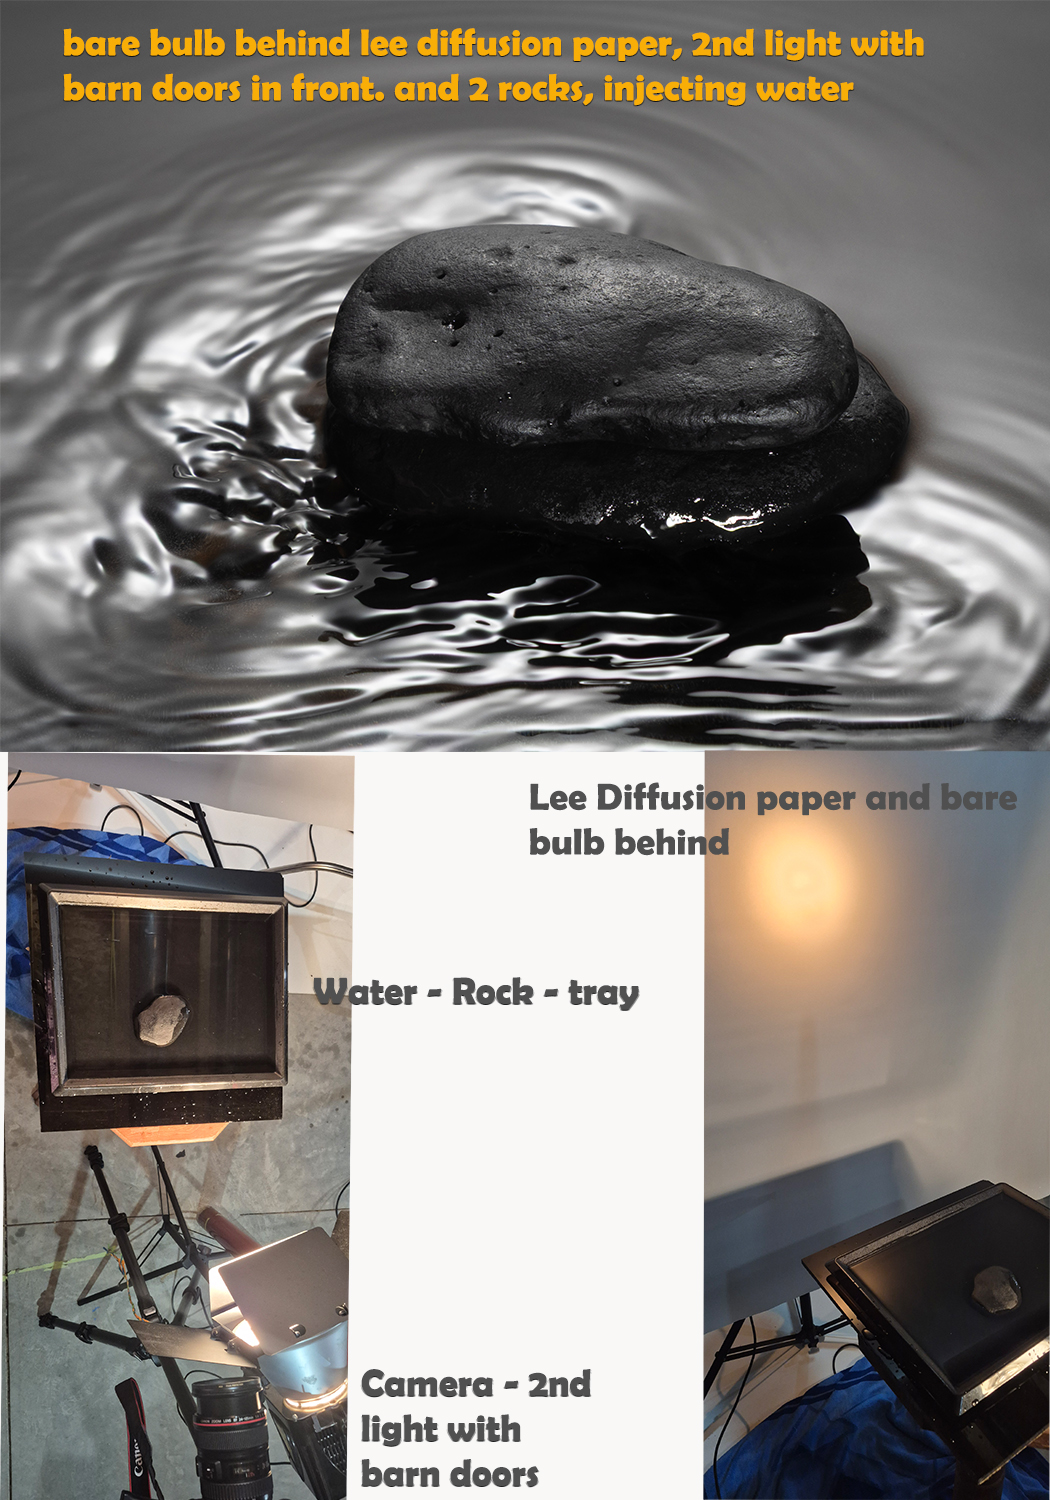
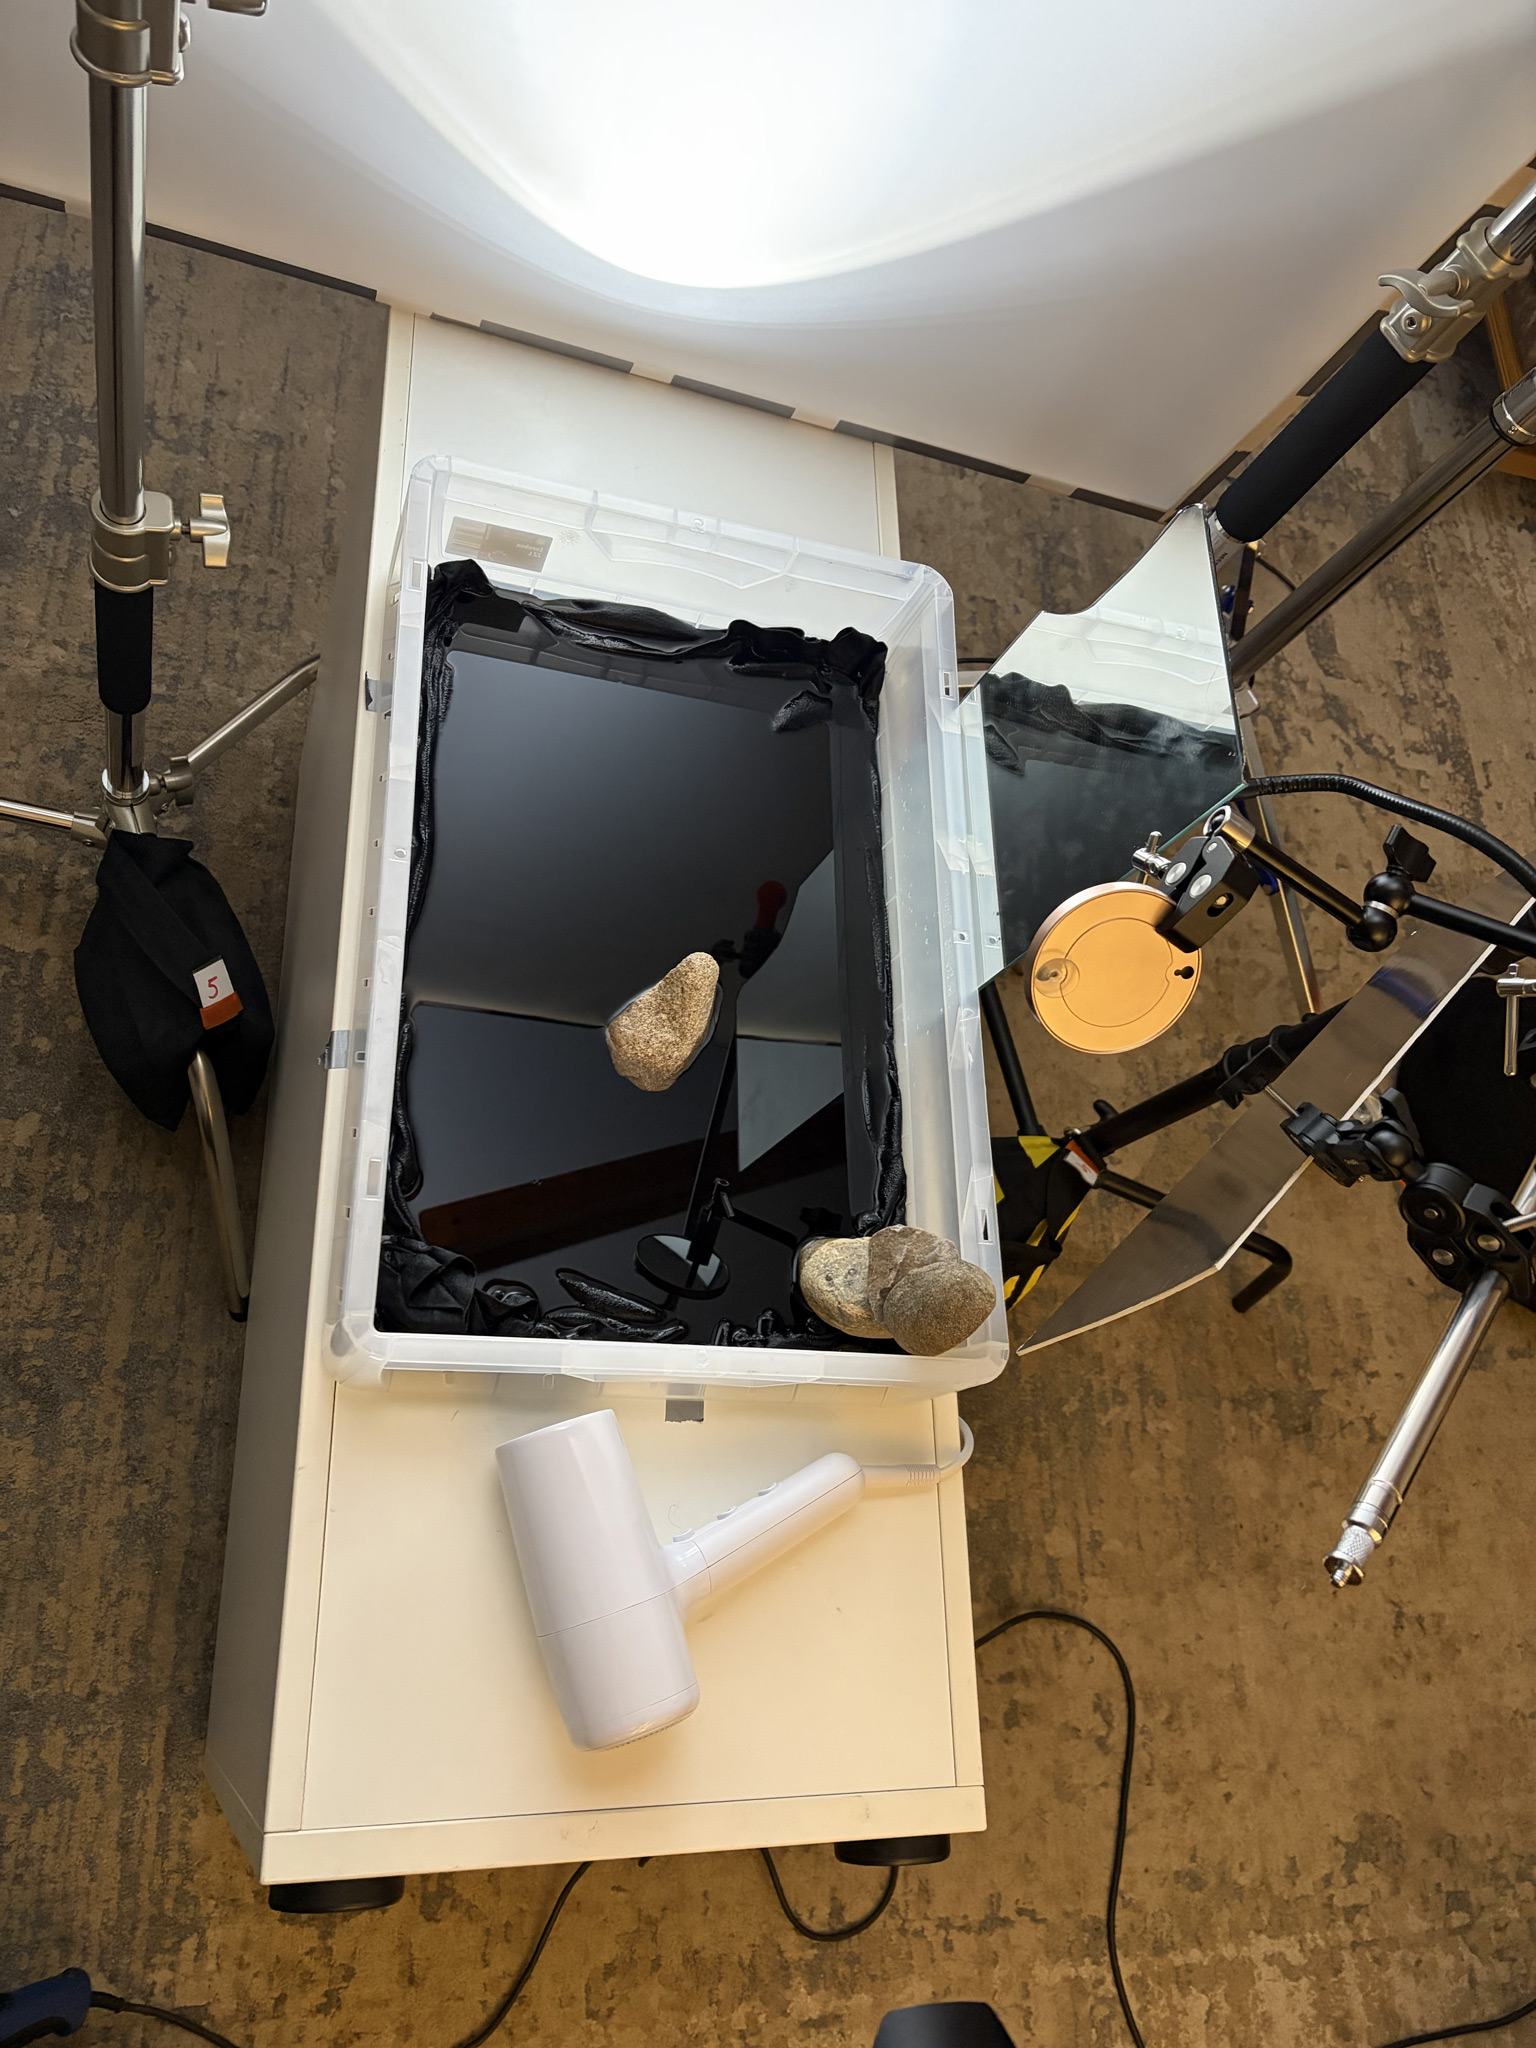
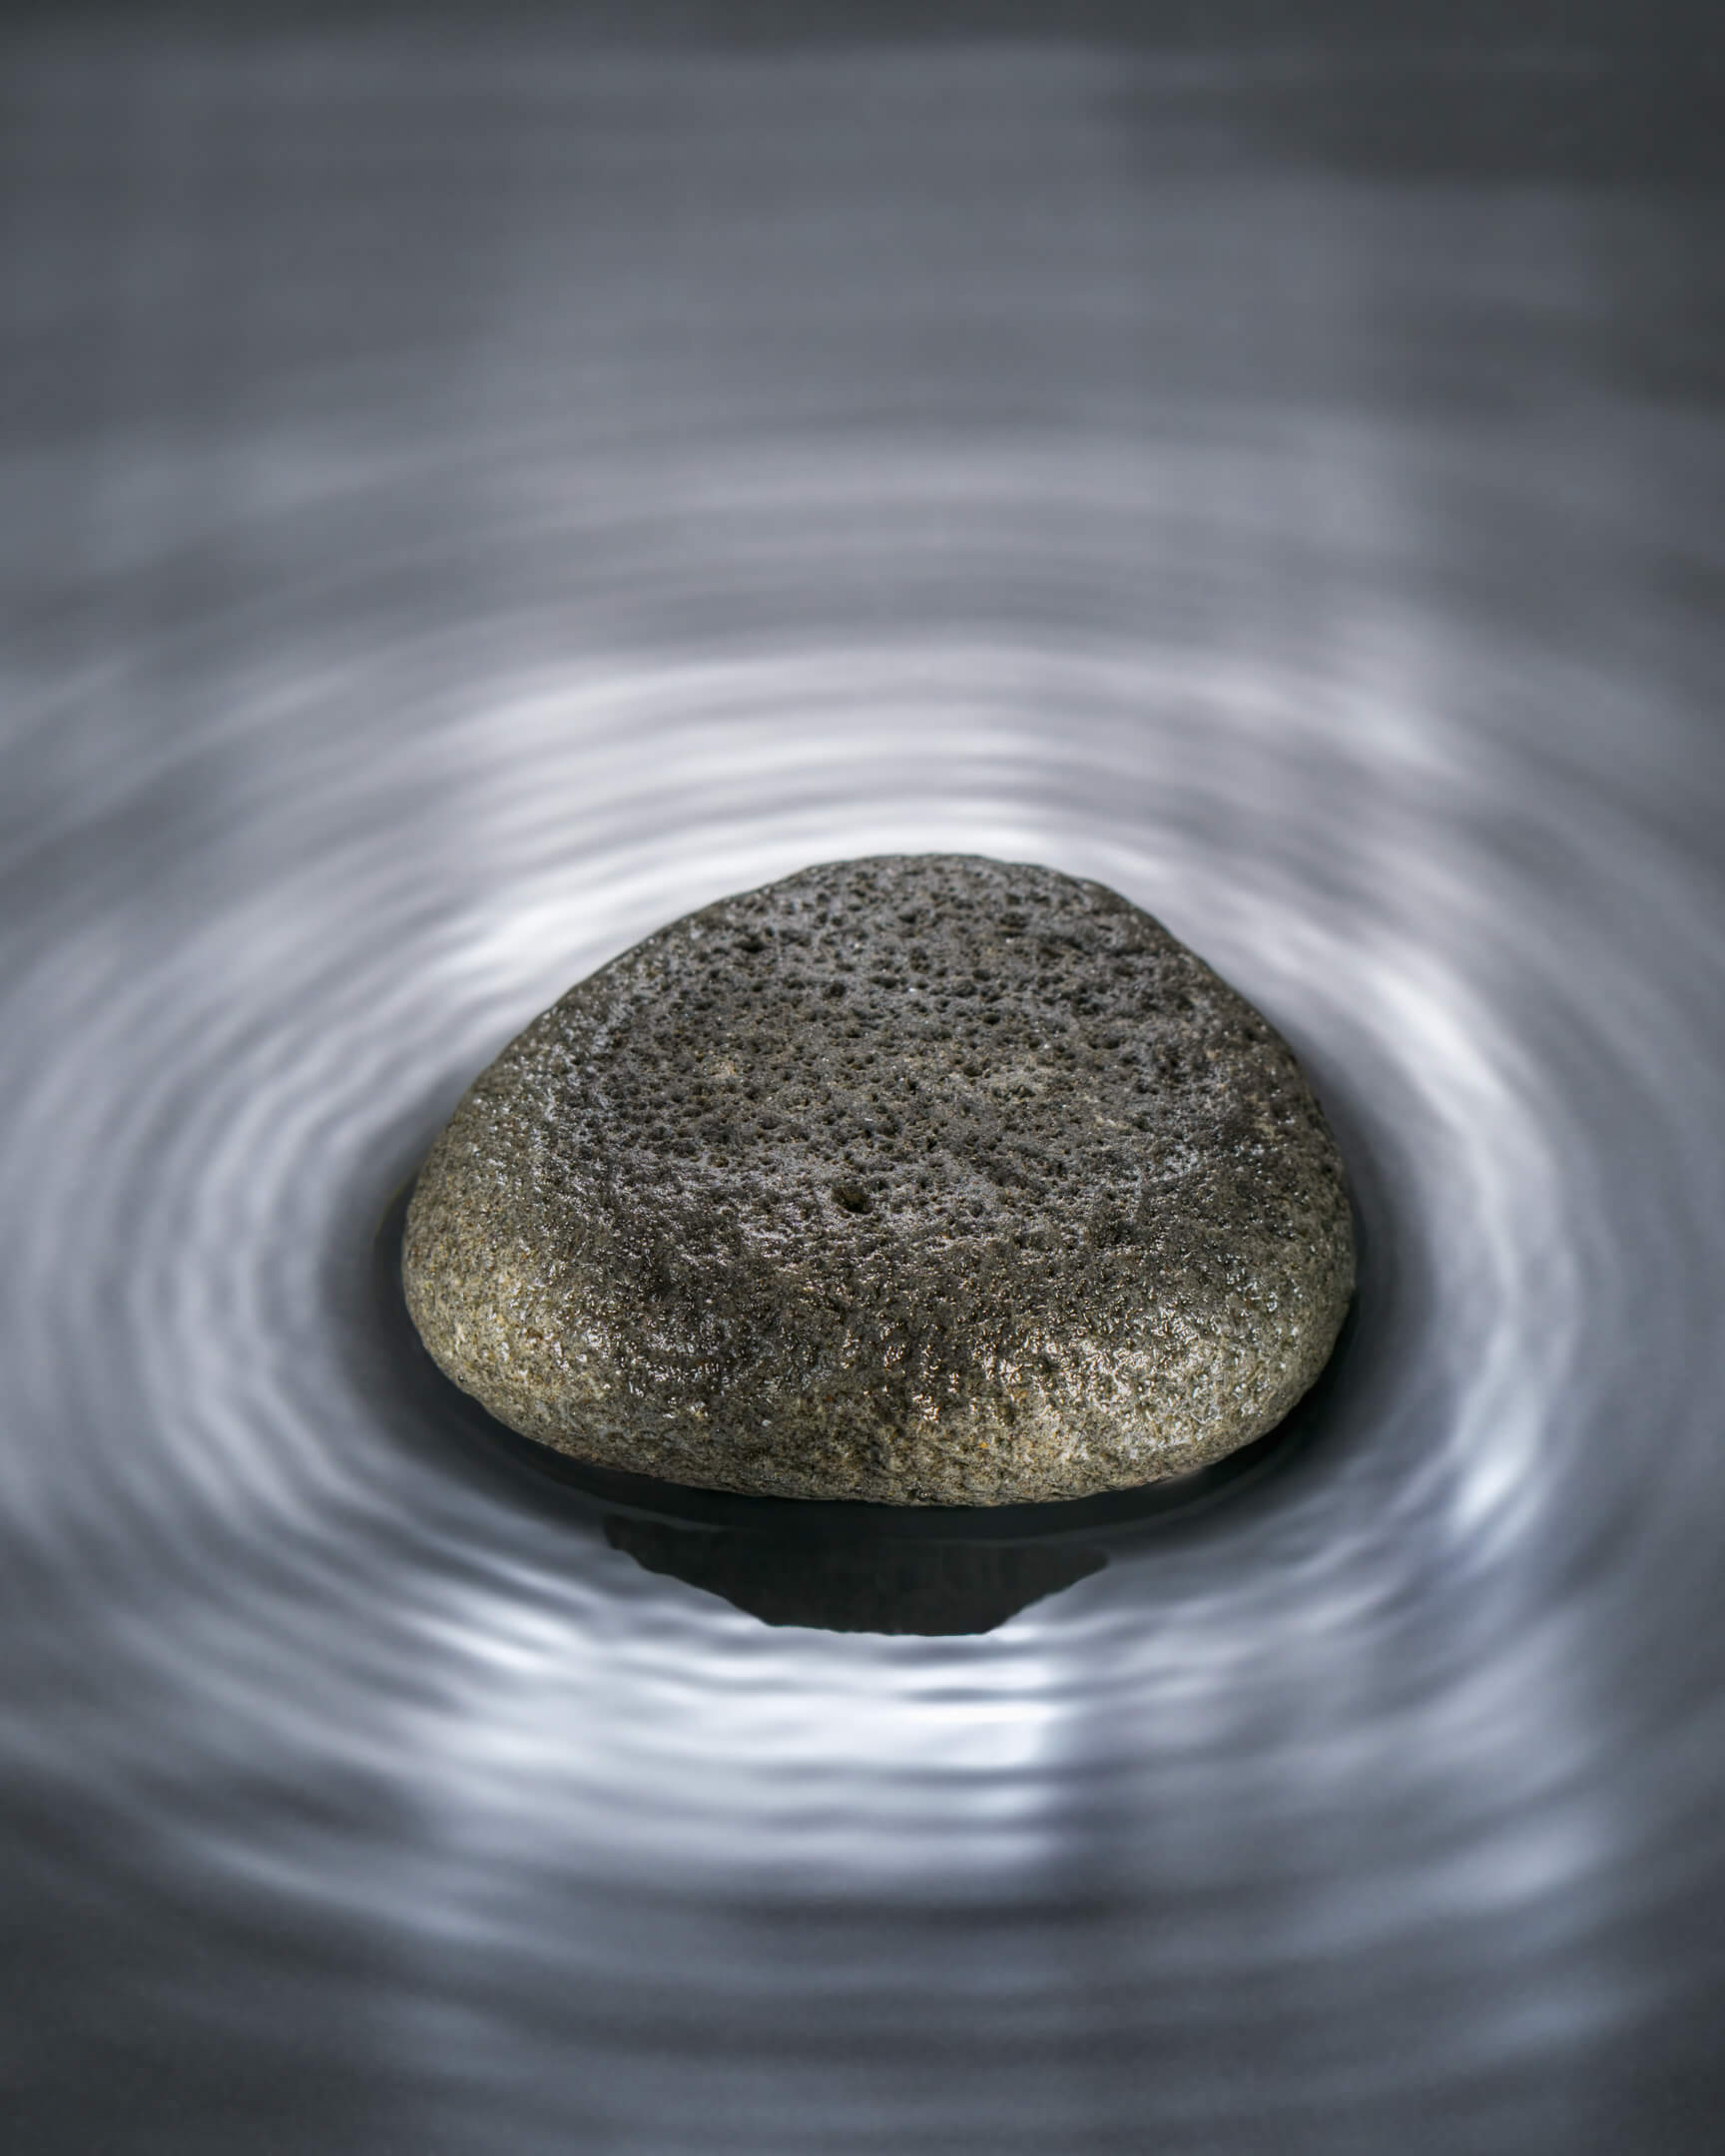
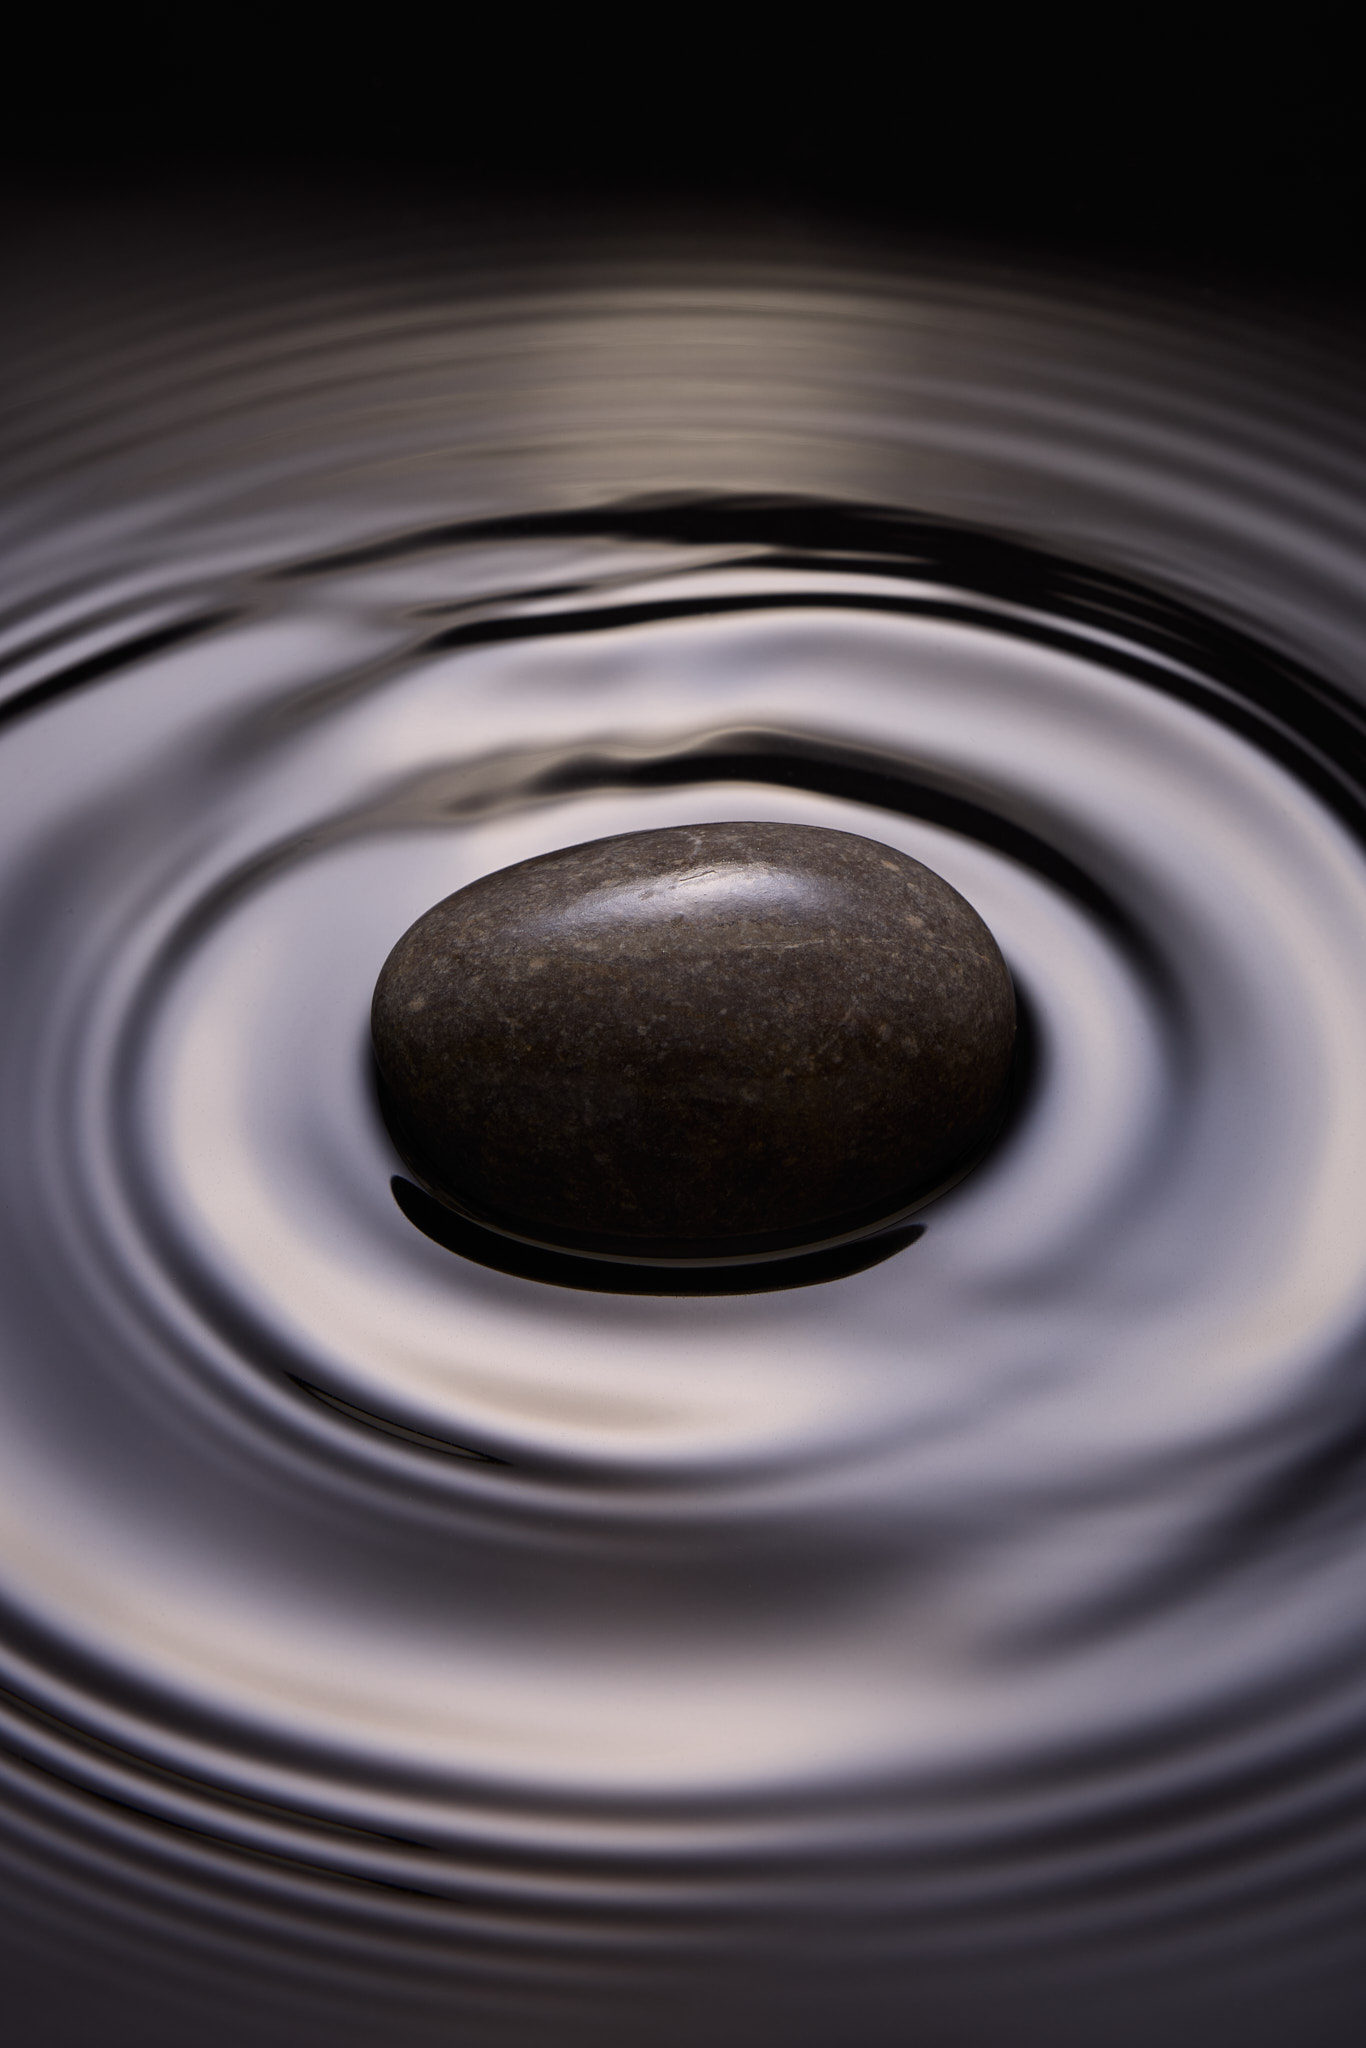
I’ve deliberately kept Pebble Ripples accessible. With a pebble, a tray of water, your camera and one light, you’ll explore reflection, movement and timing, then use what you’ve learned to experiment and create your own abstract images.
The aim isn’t to copy mine. It’s to understand what the light is doing and start making those decisions for yourself.
"Once you’ve got the basic setup working, this becomes really good fun. I just kept trying different ripples, droplets and pebbles to see what happened. That’s exactly what I want you to do with it." - Karl Taylor
How the project works
1
Live Launch Show
I’ll introduce the project, show you what we’re aiming for and explain the thinking behind the challenge.
2
Follow the Training
Work through the dedicated tutorials with me as I develop the idea, test the setup and solve the photographic problems along the way.
3
Create Your Own Version
Take what you’ve learned and put it into practice using the equipment, space and resources available to you.
4
Join the Mid-Project Live
Come back live with Karl partway through the project to ask questions, share your progress and get help with anything that’s holding you back.
5
Share Your Work
If you want to, upload your finished image to the Project Gallery and see how other photographers have interpreted the same challenge.
6
Review With Karl
Come back together at the end of the project as I look at the work, discuss different approaches and pull out useful lessons we can all take into future photography.
One Setup. Endless Variations.
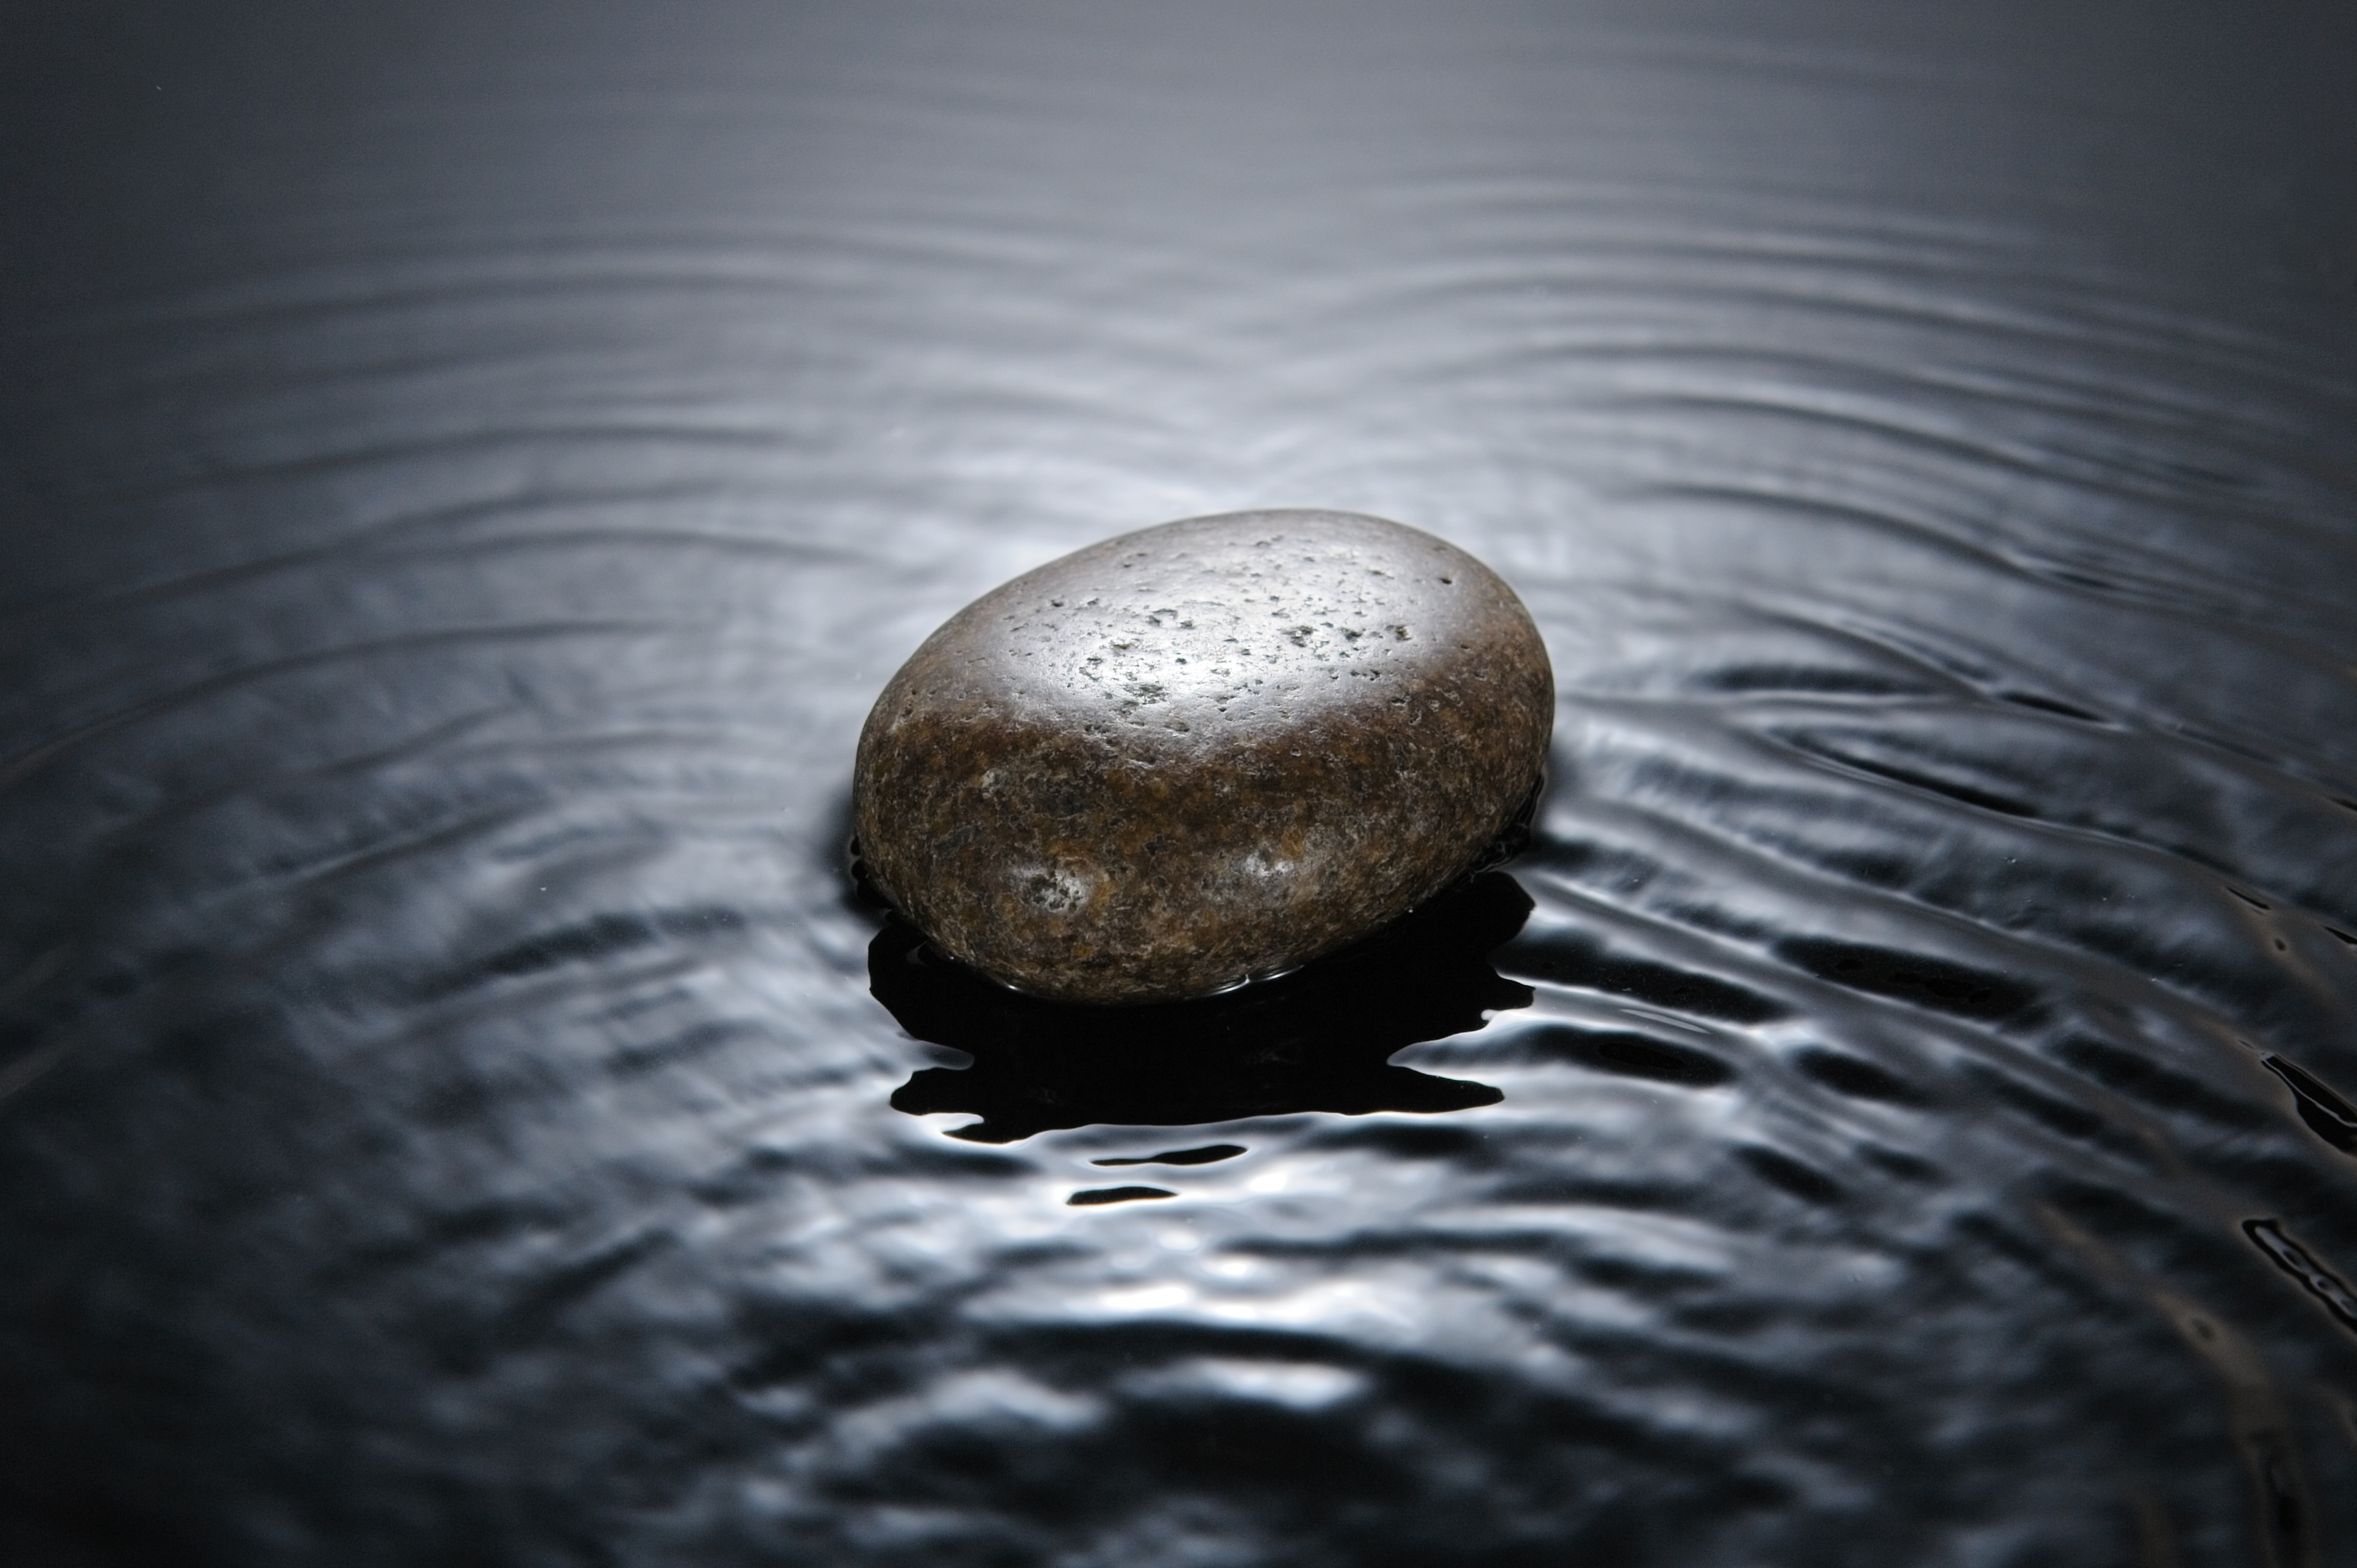
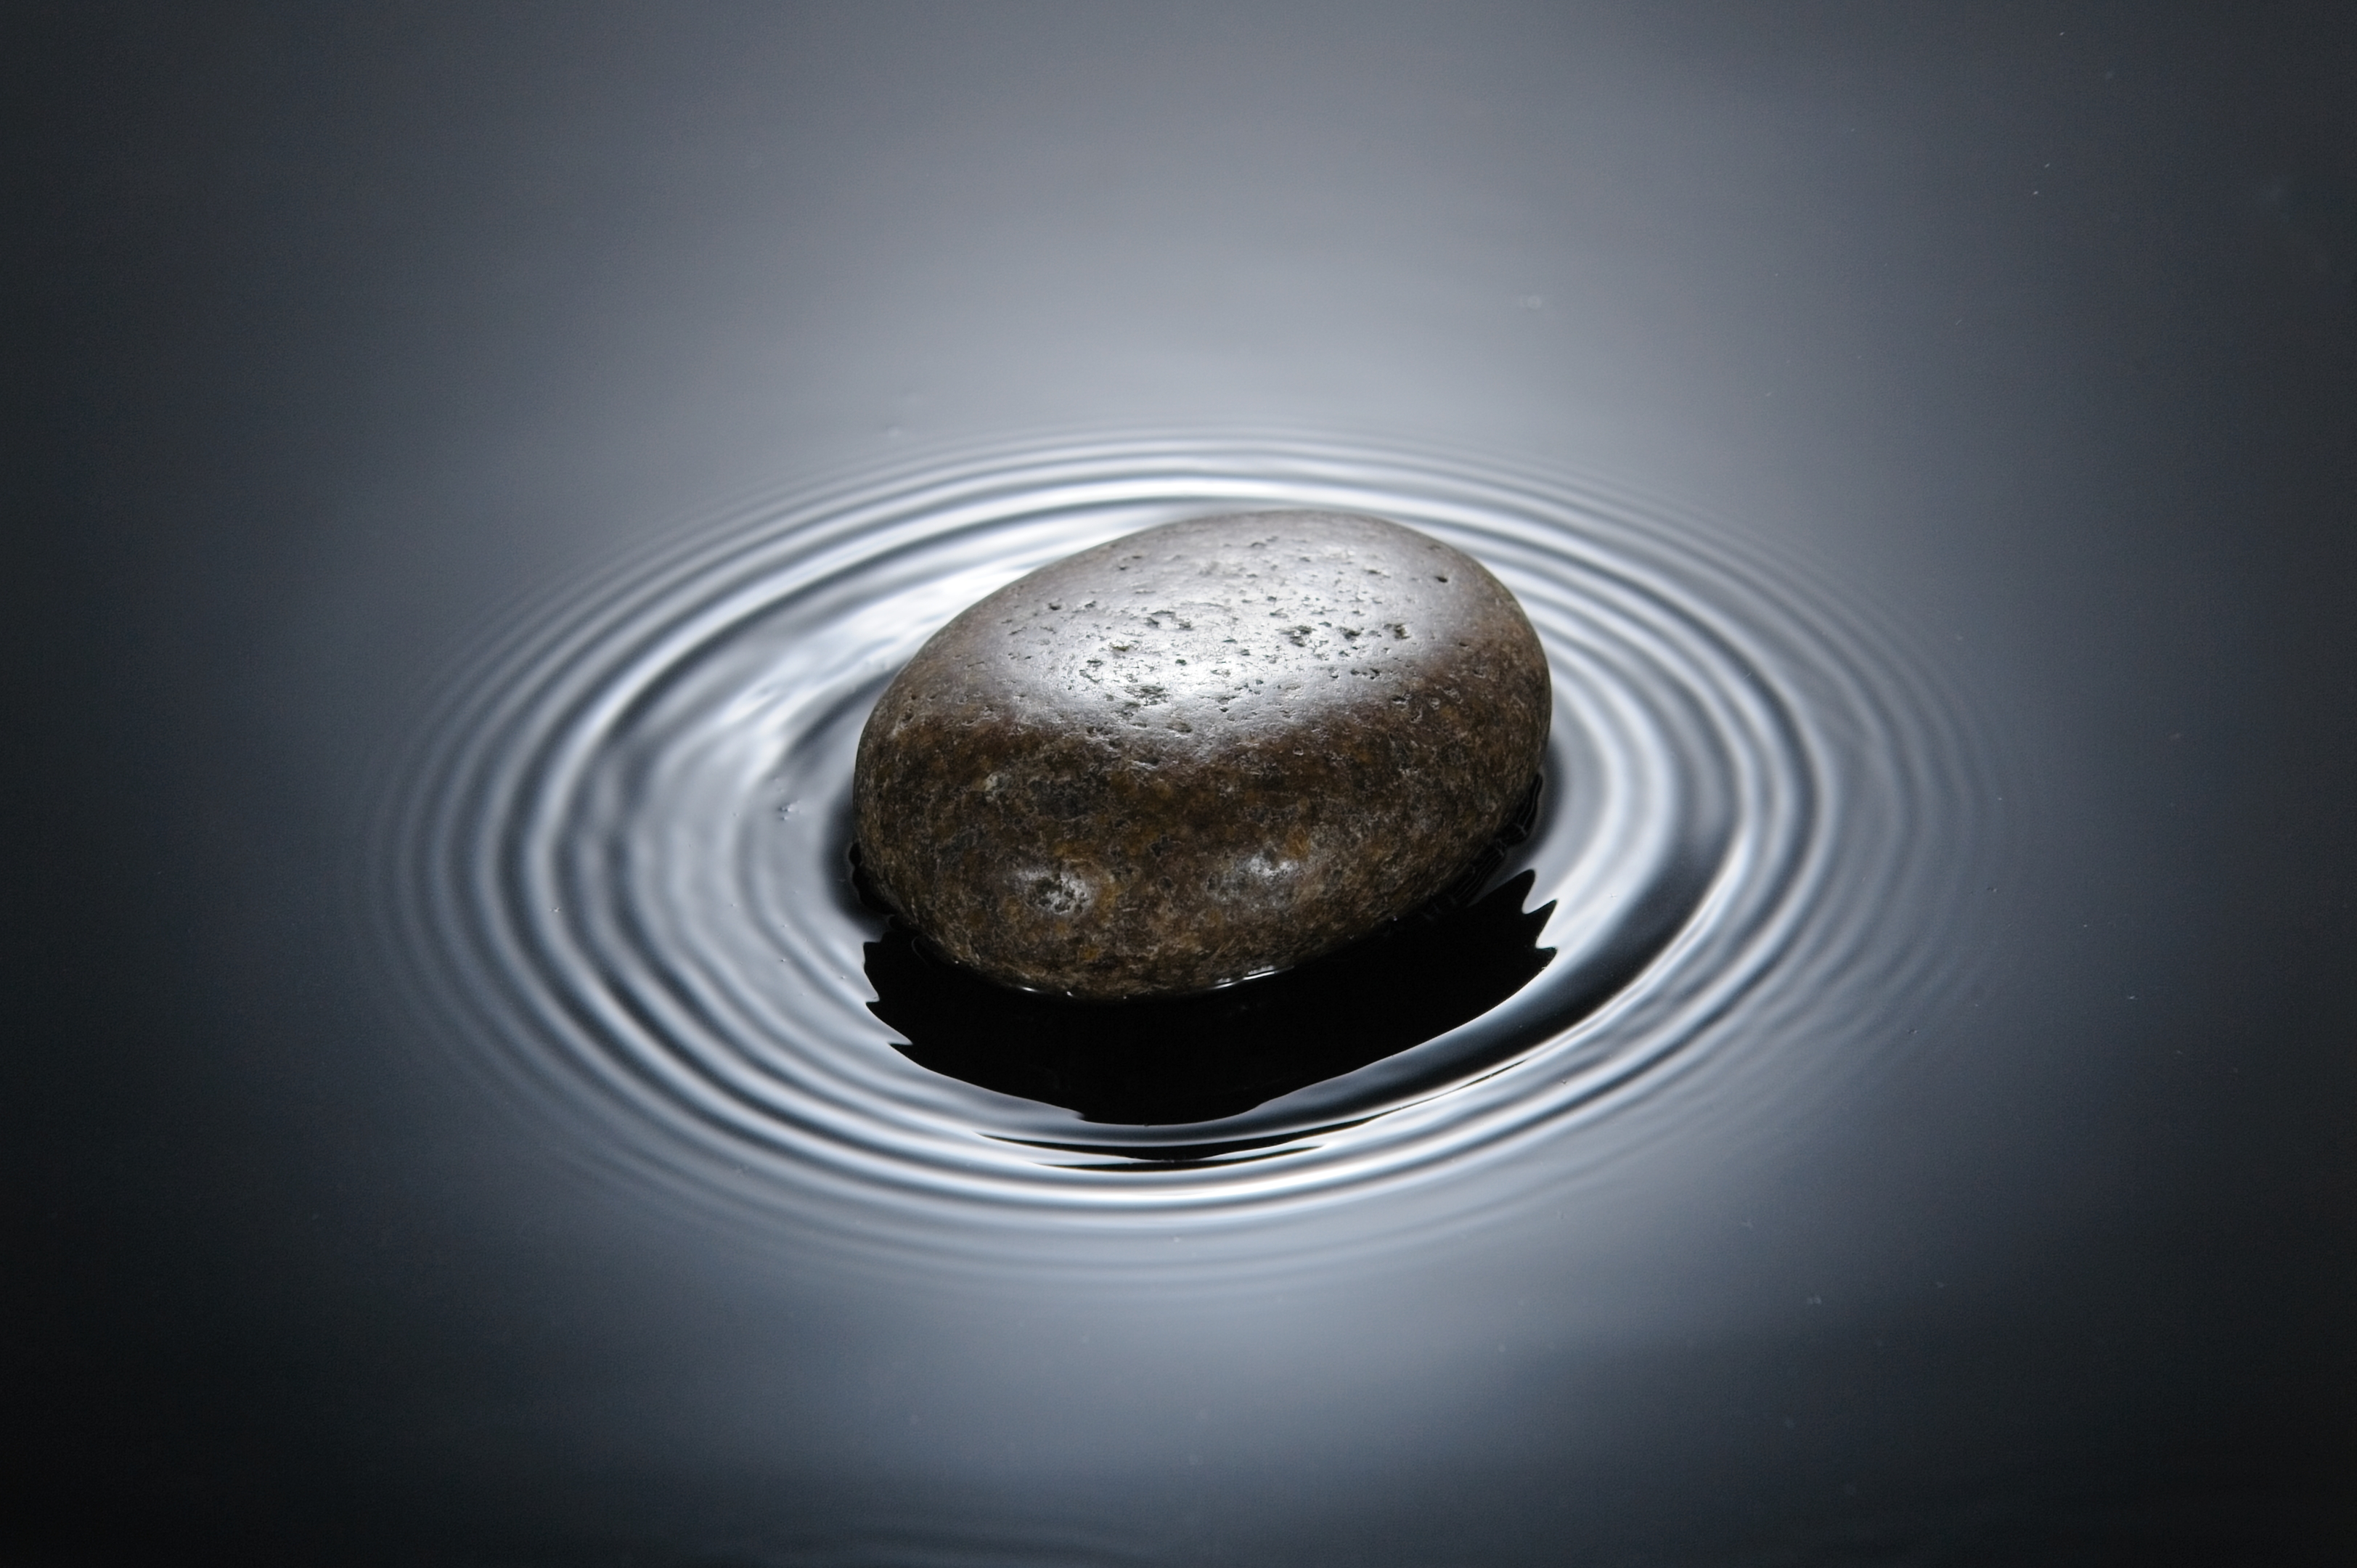
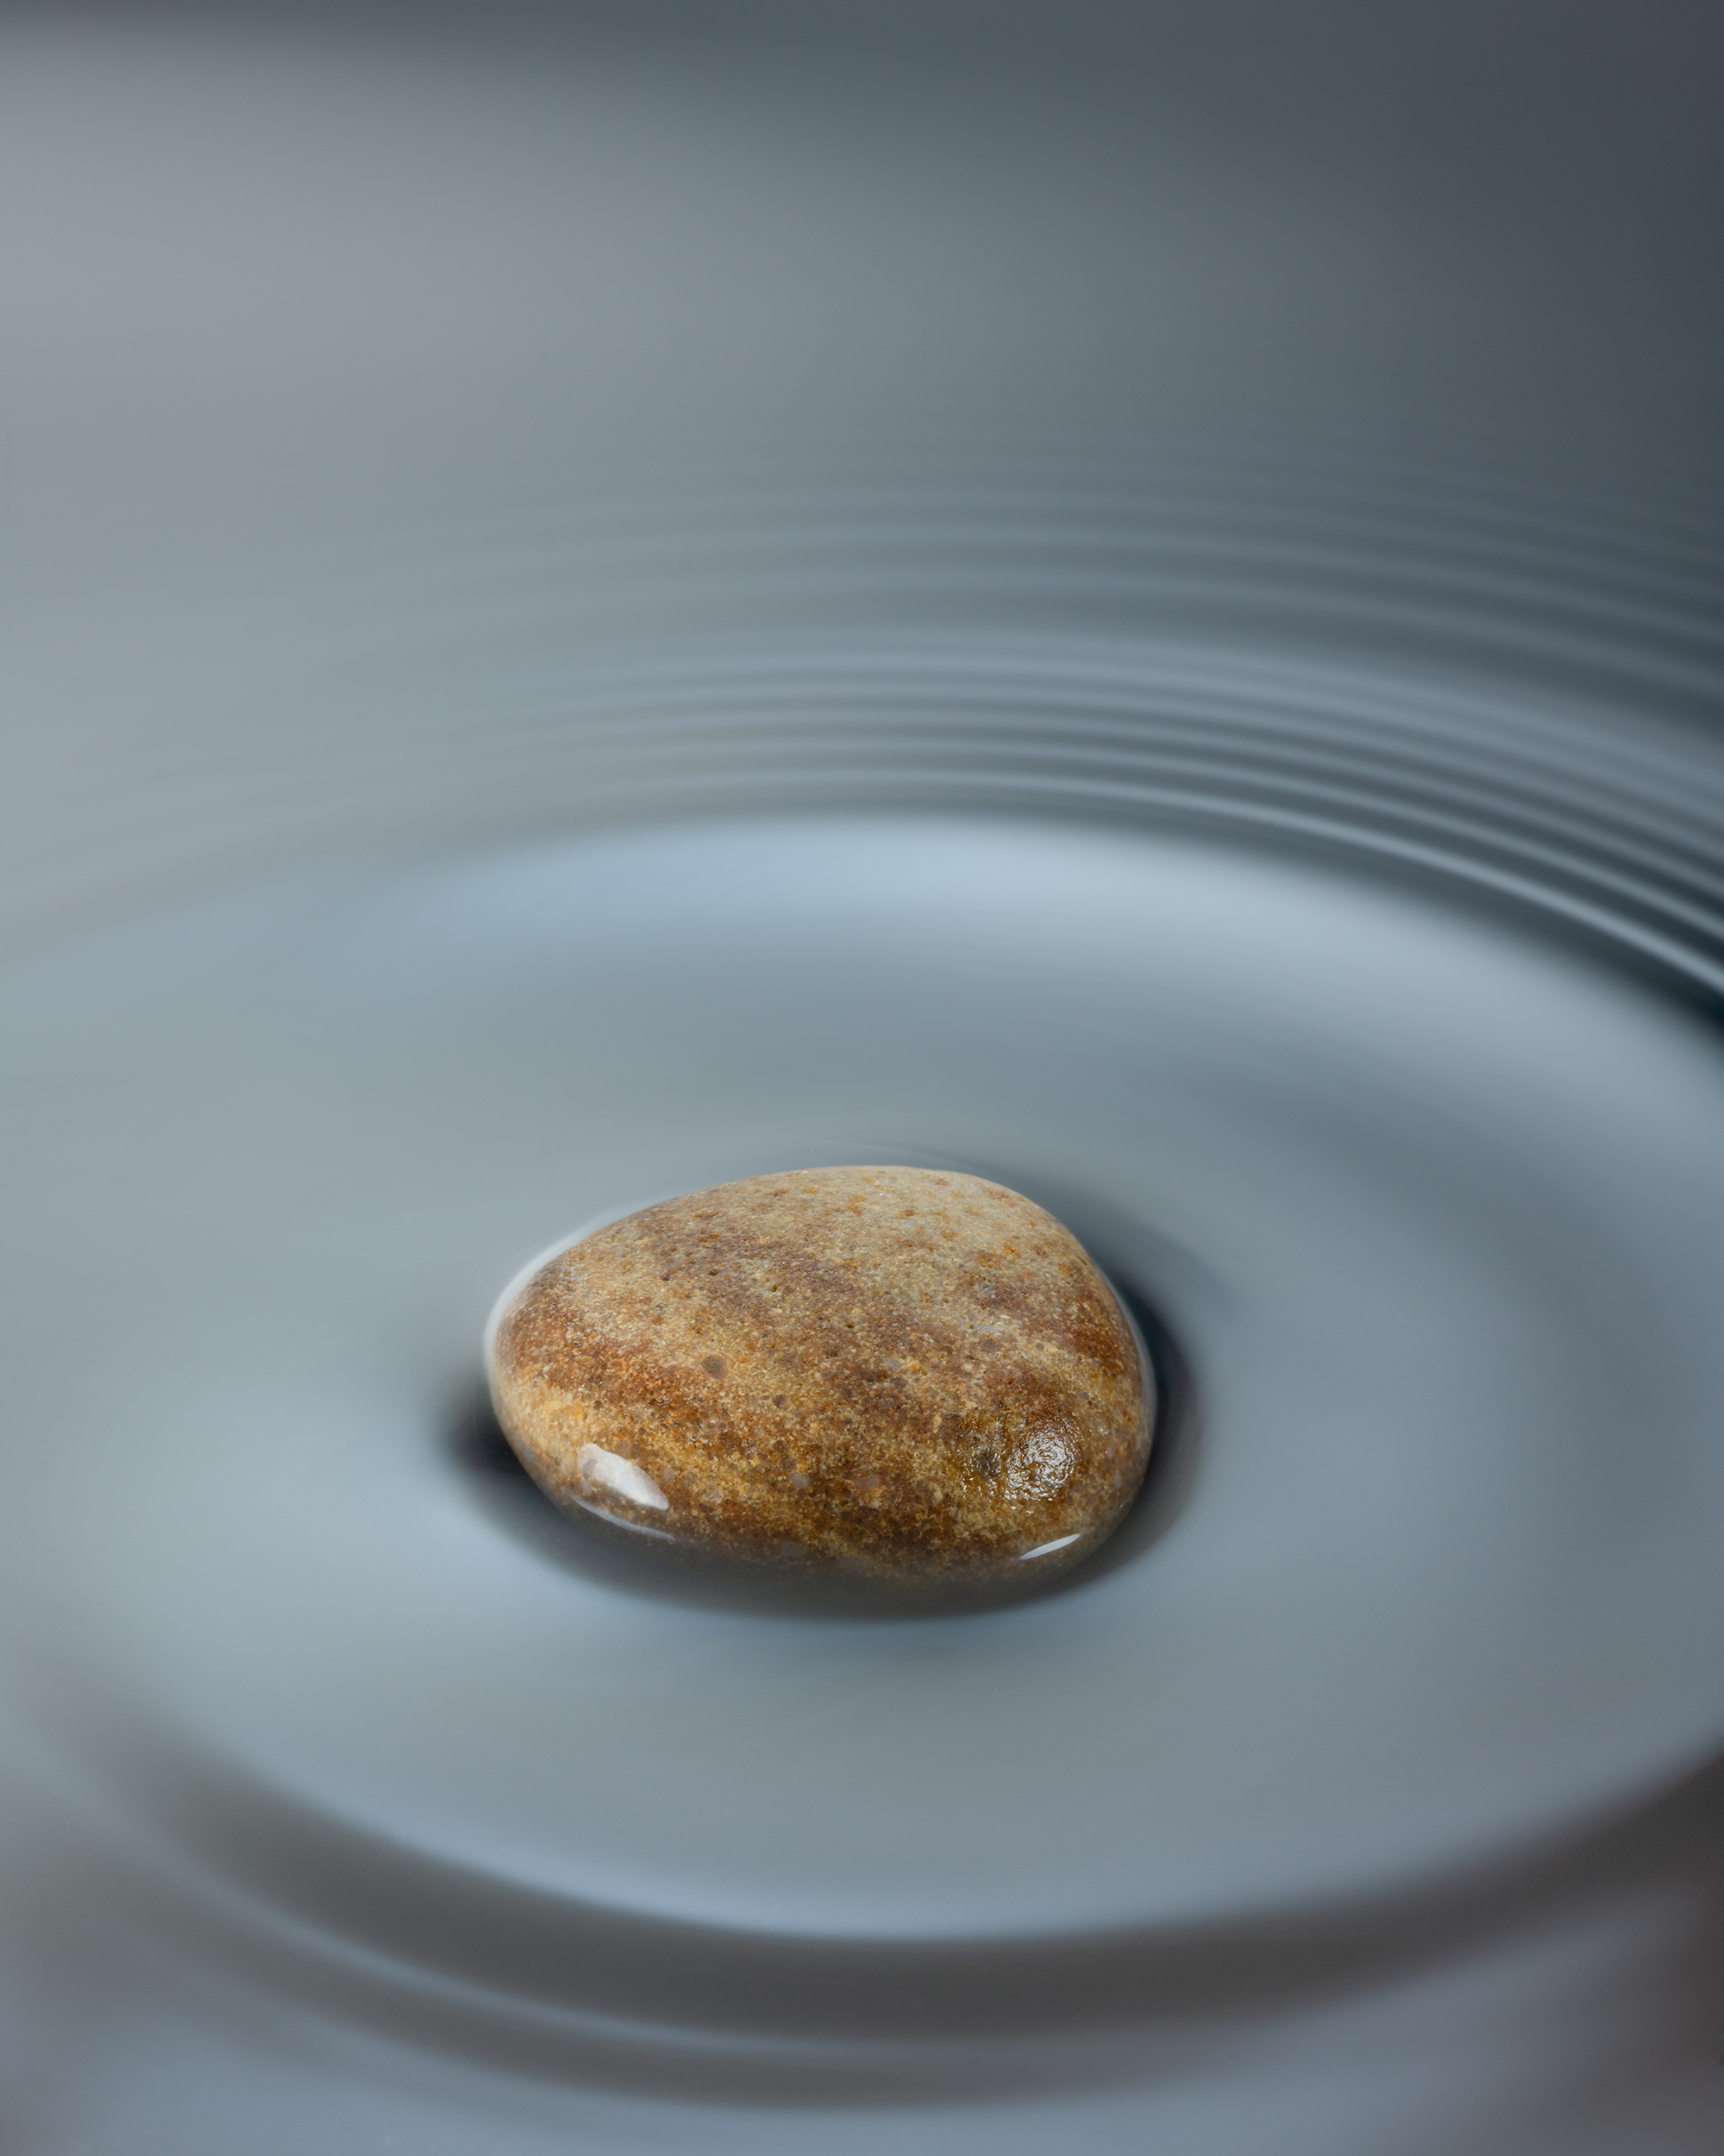
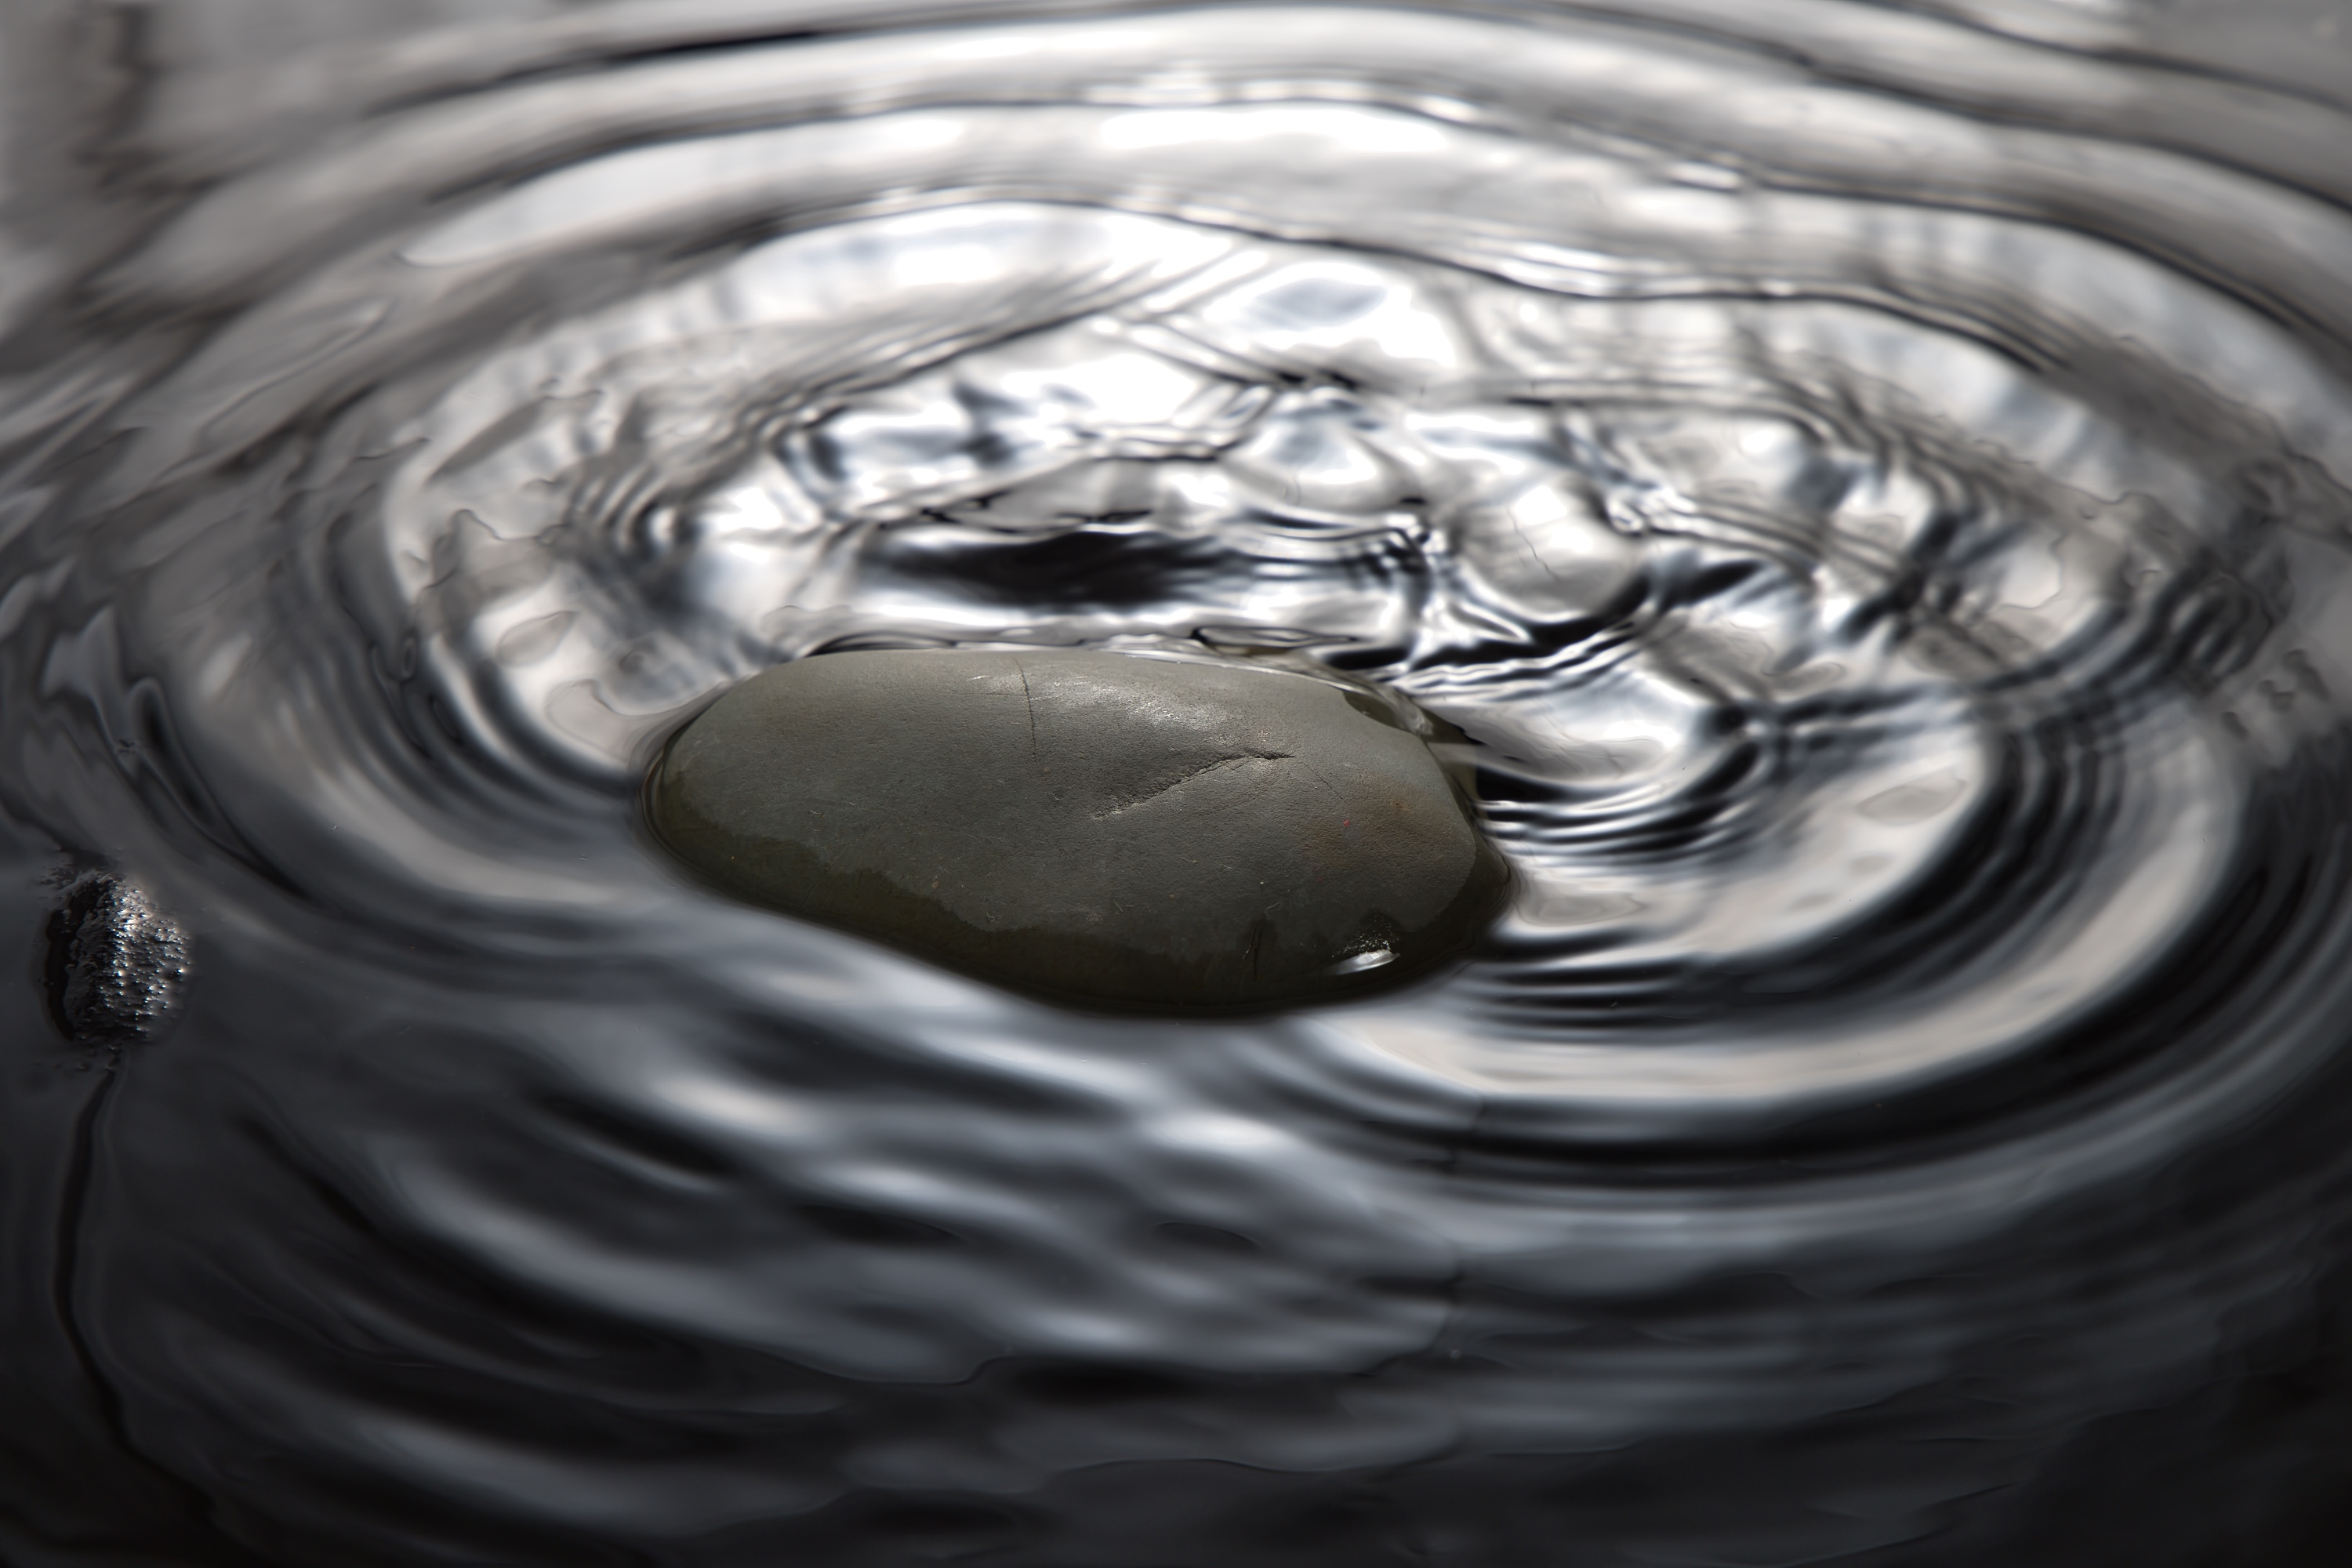
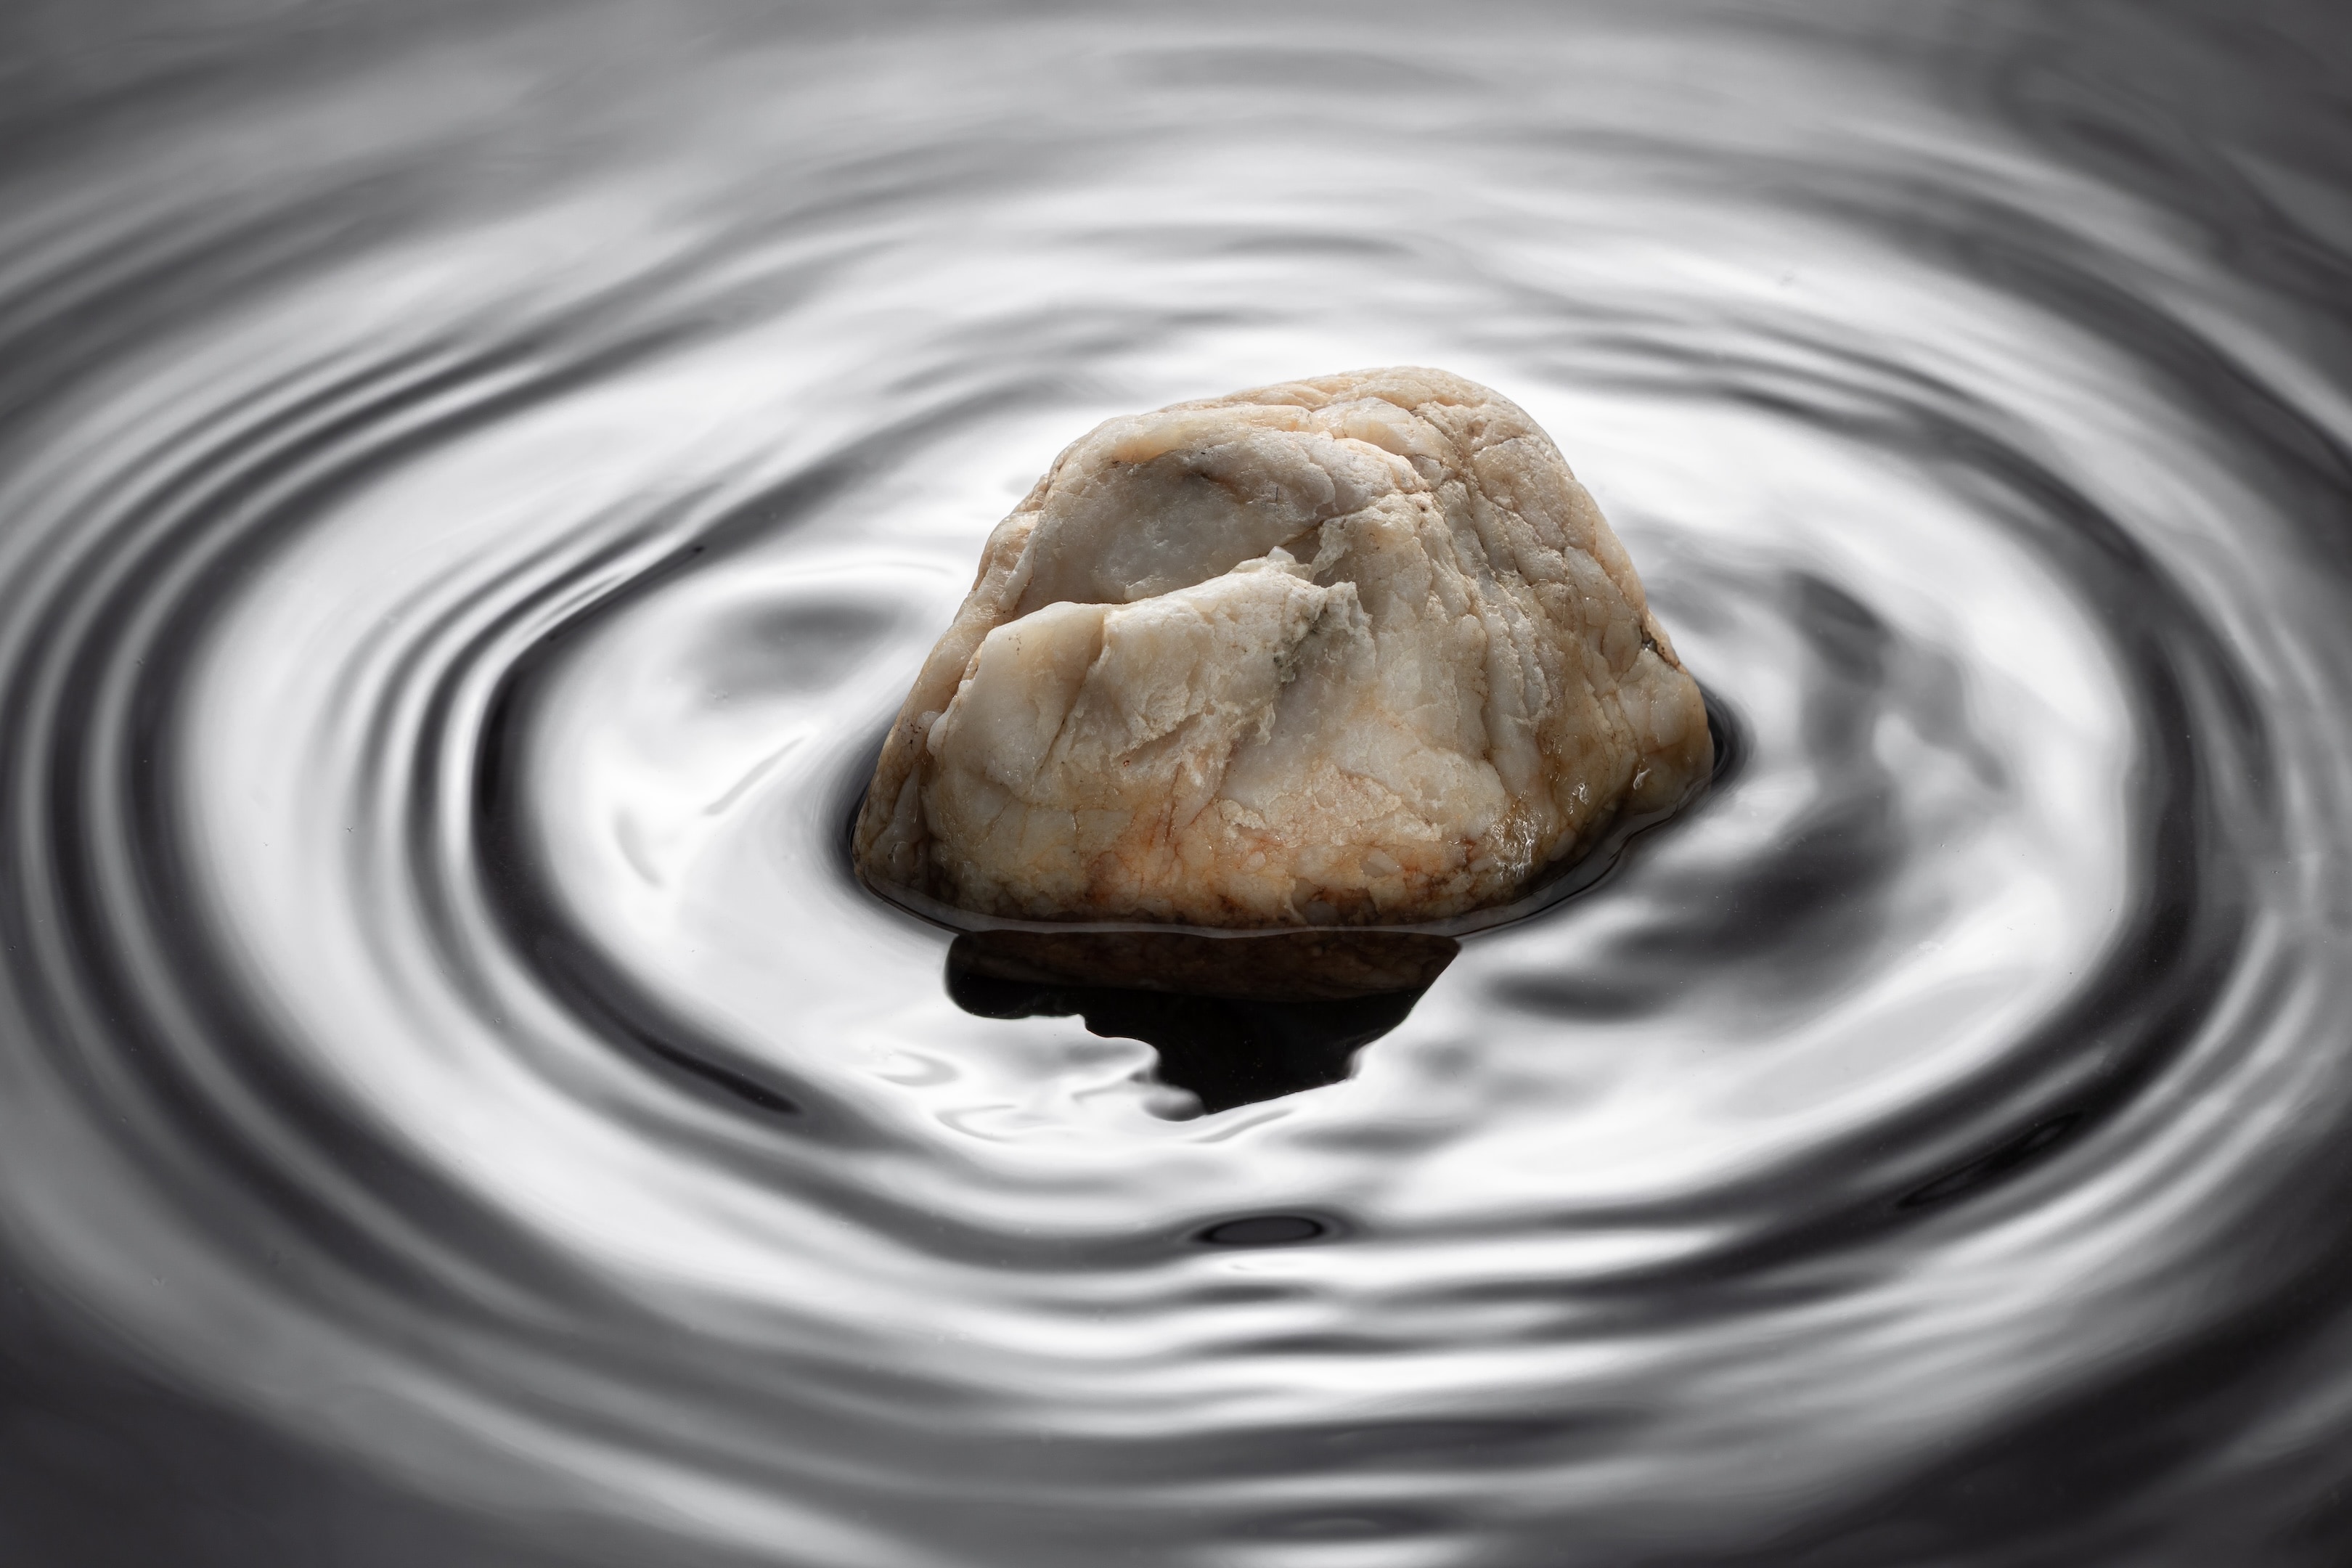
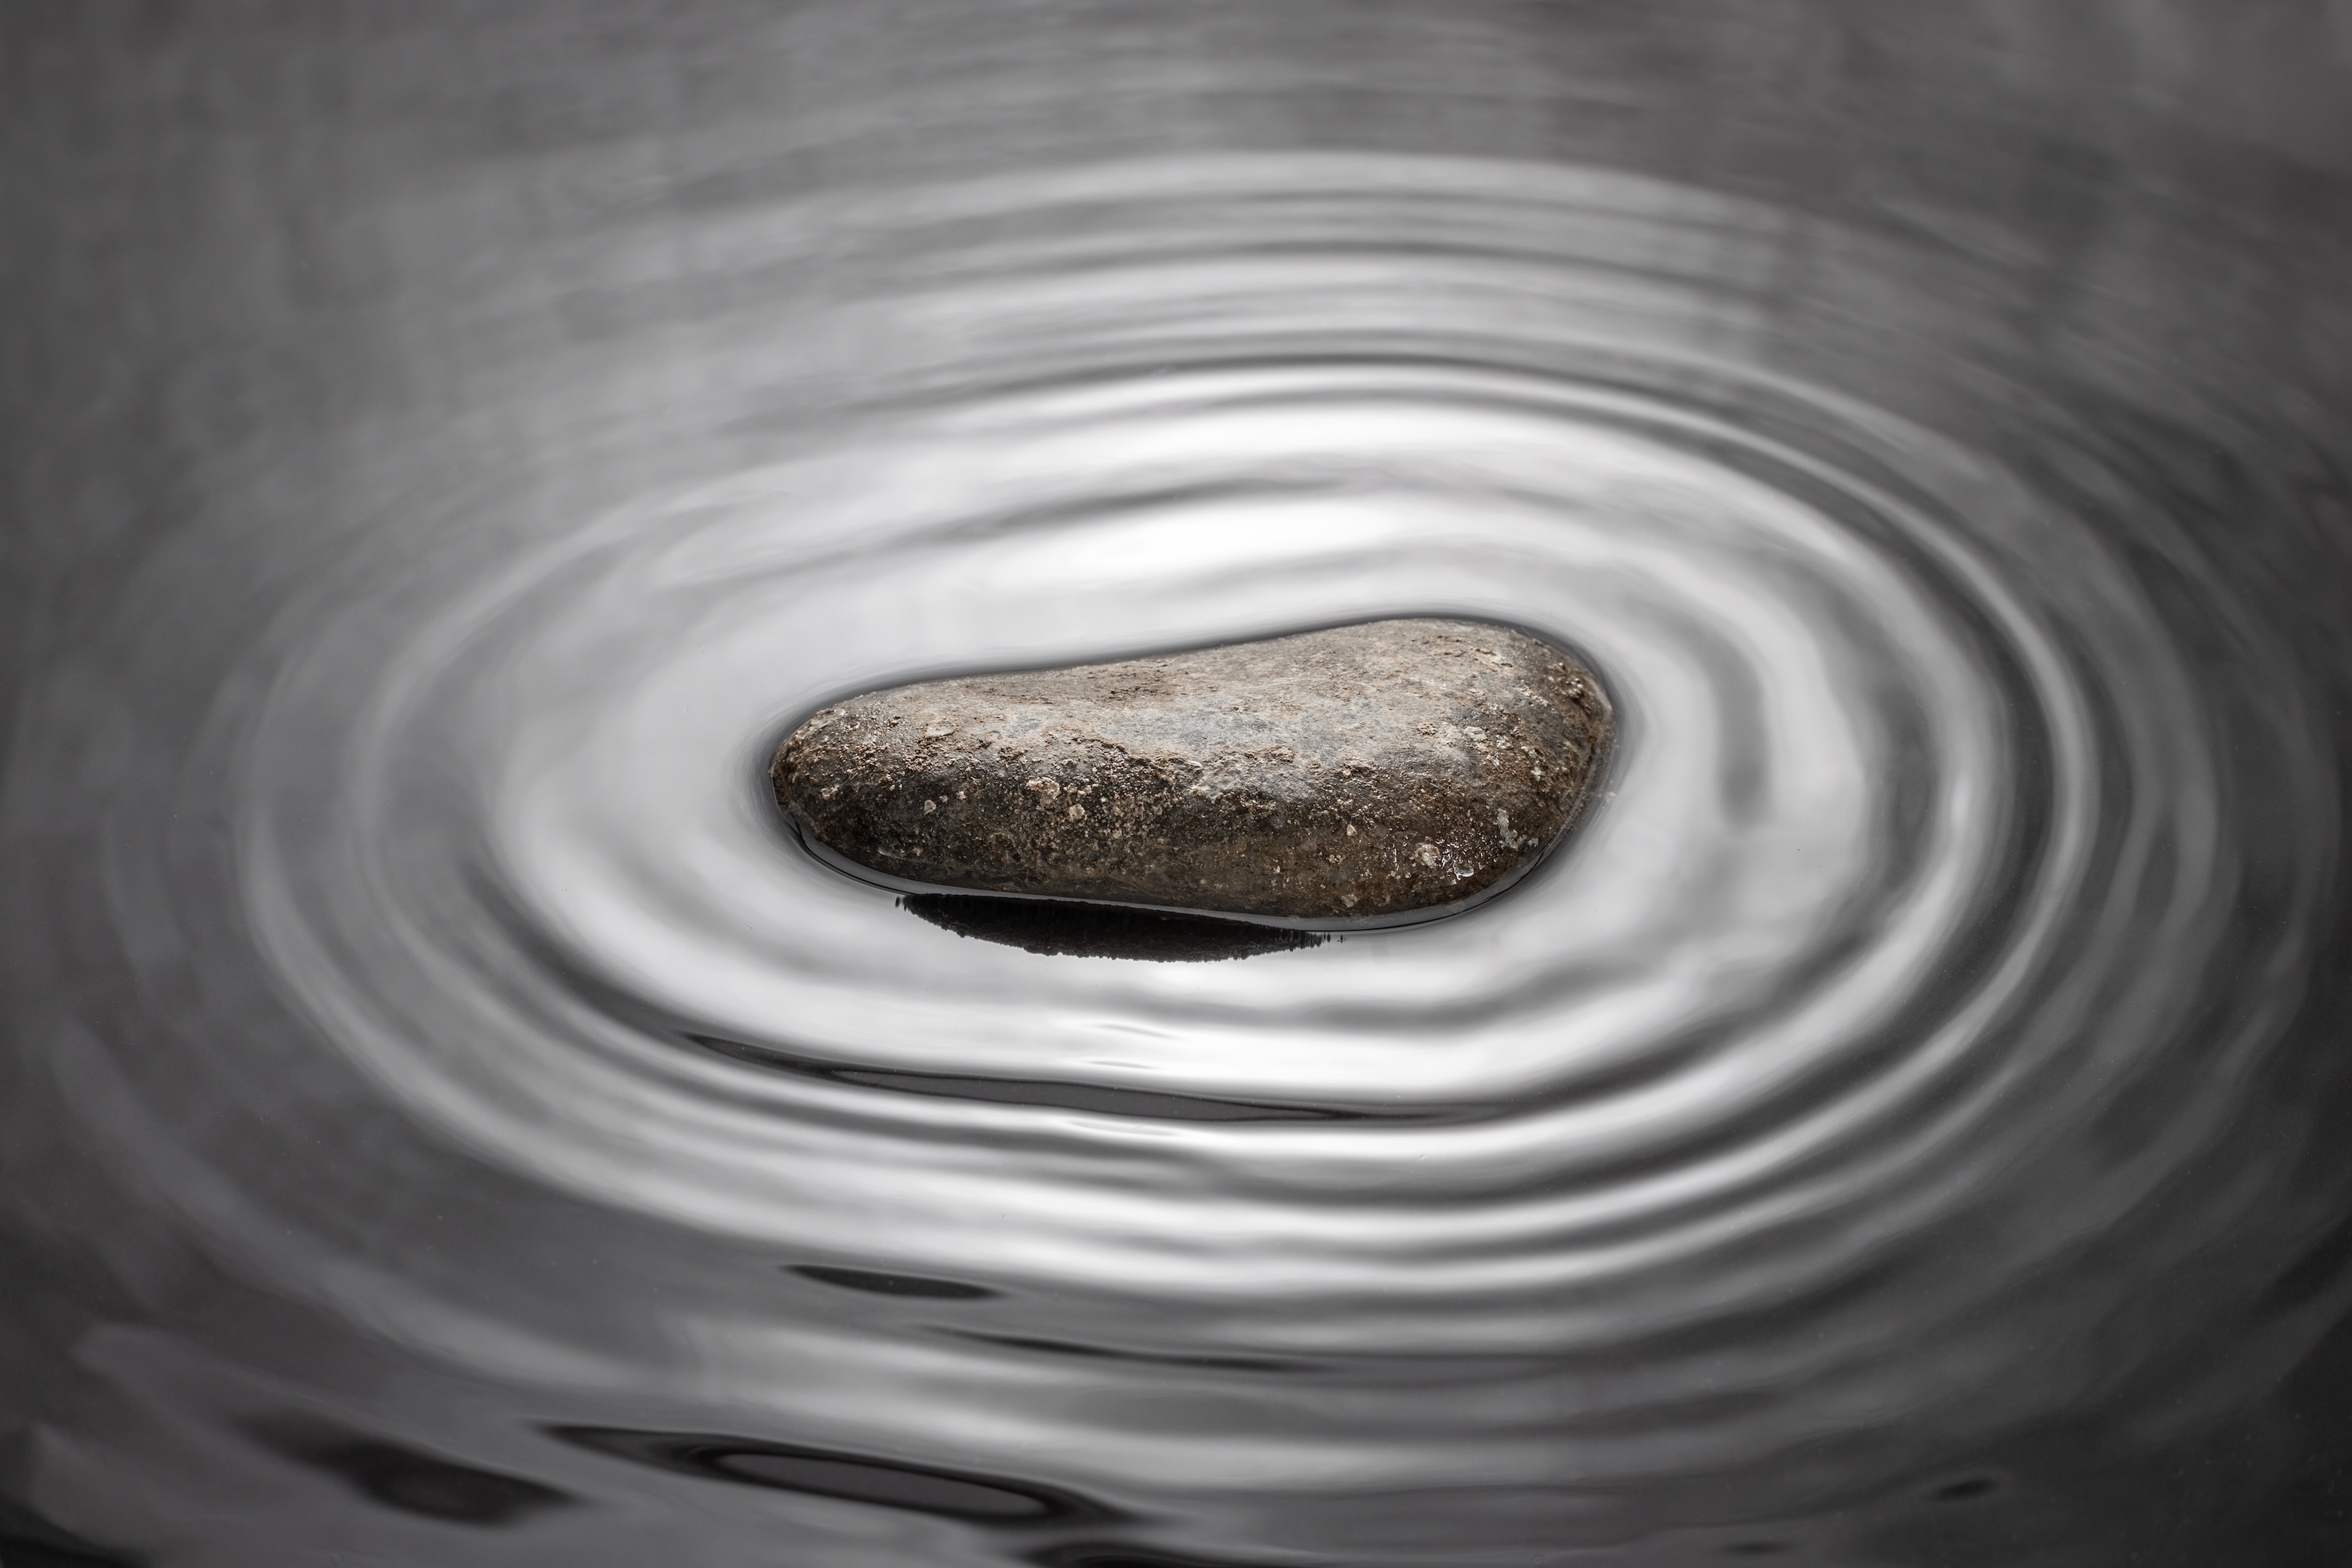
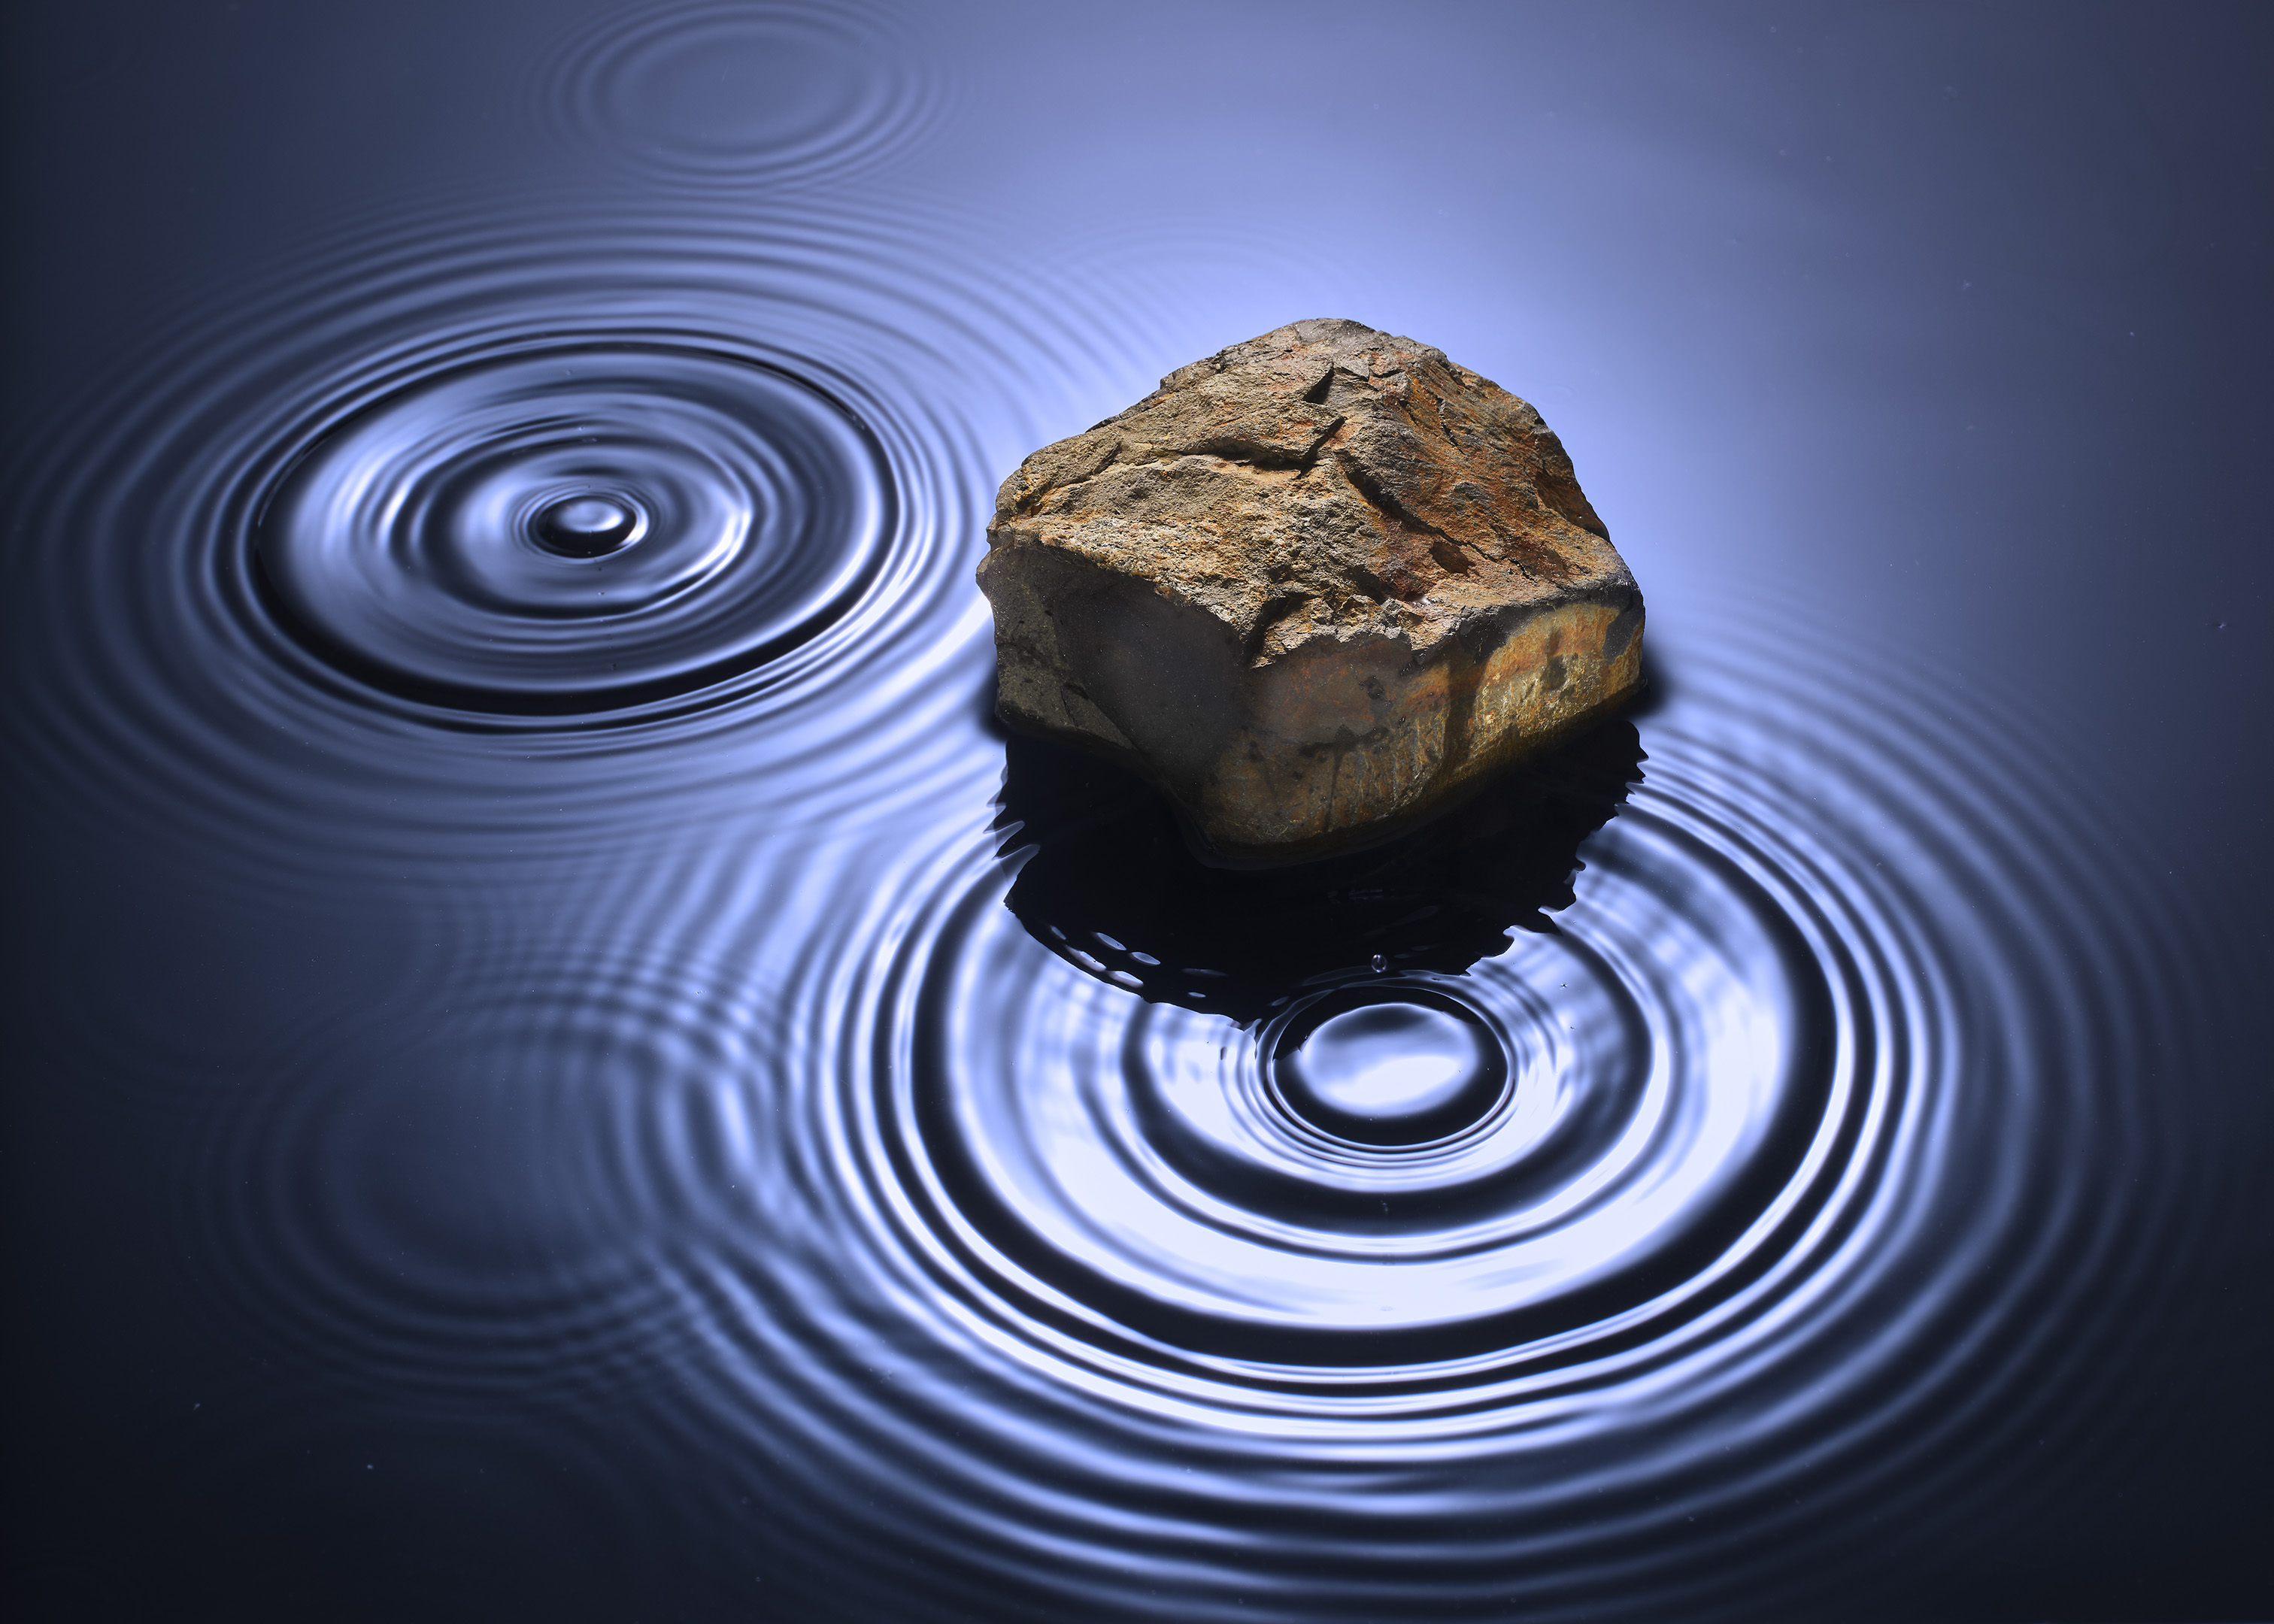
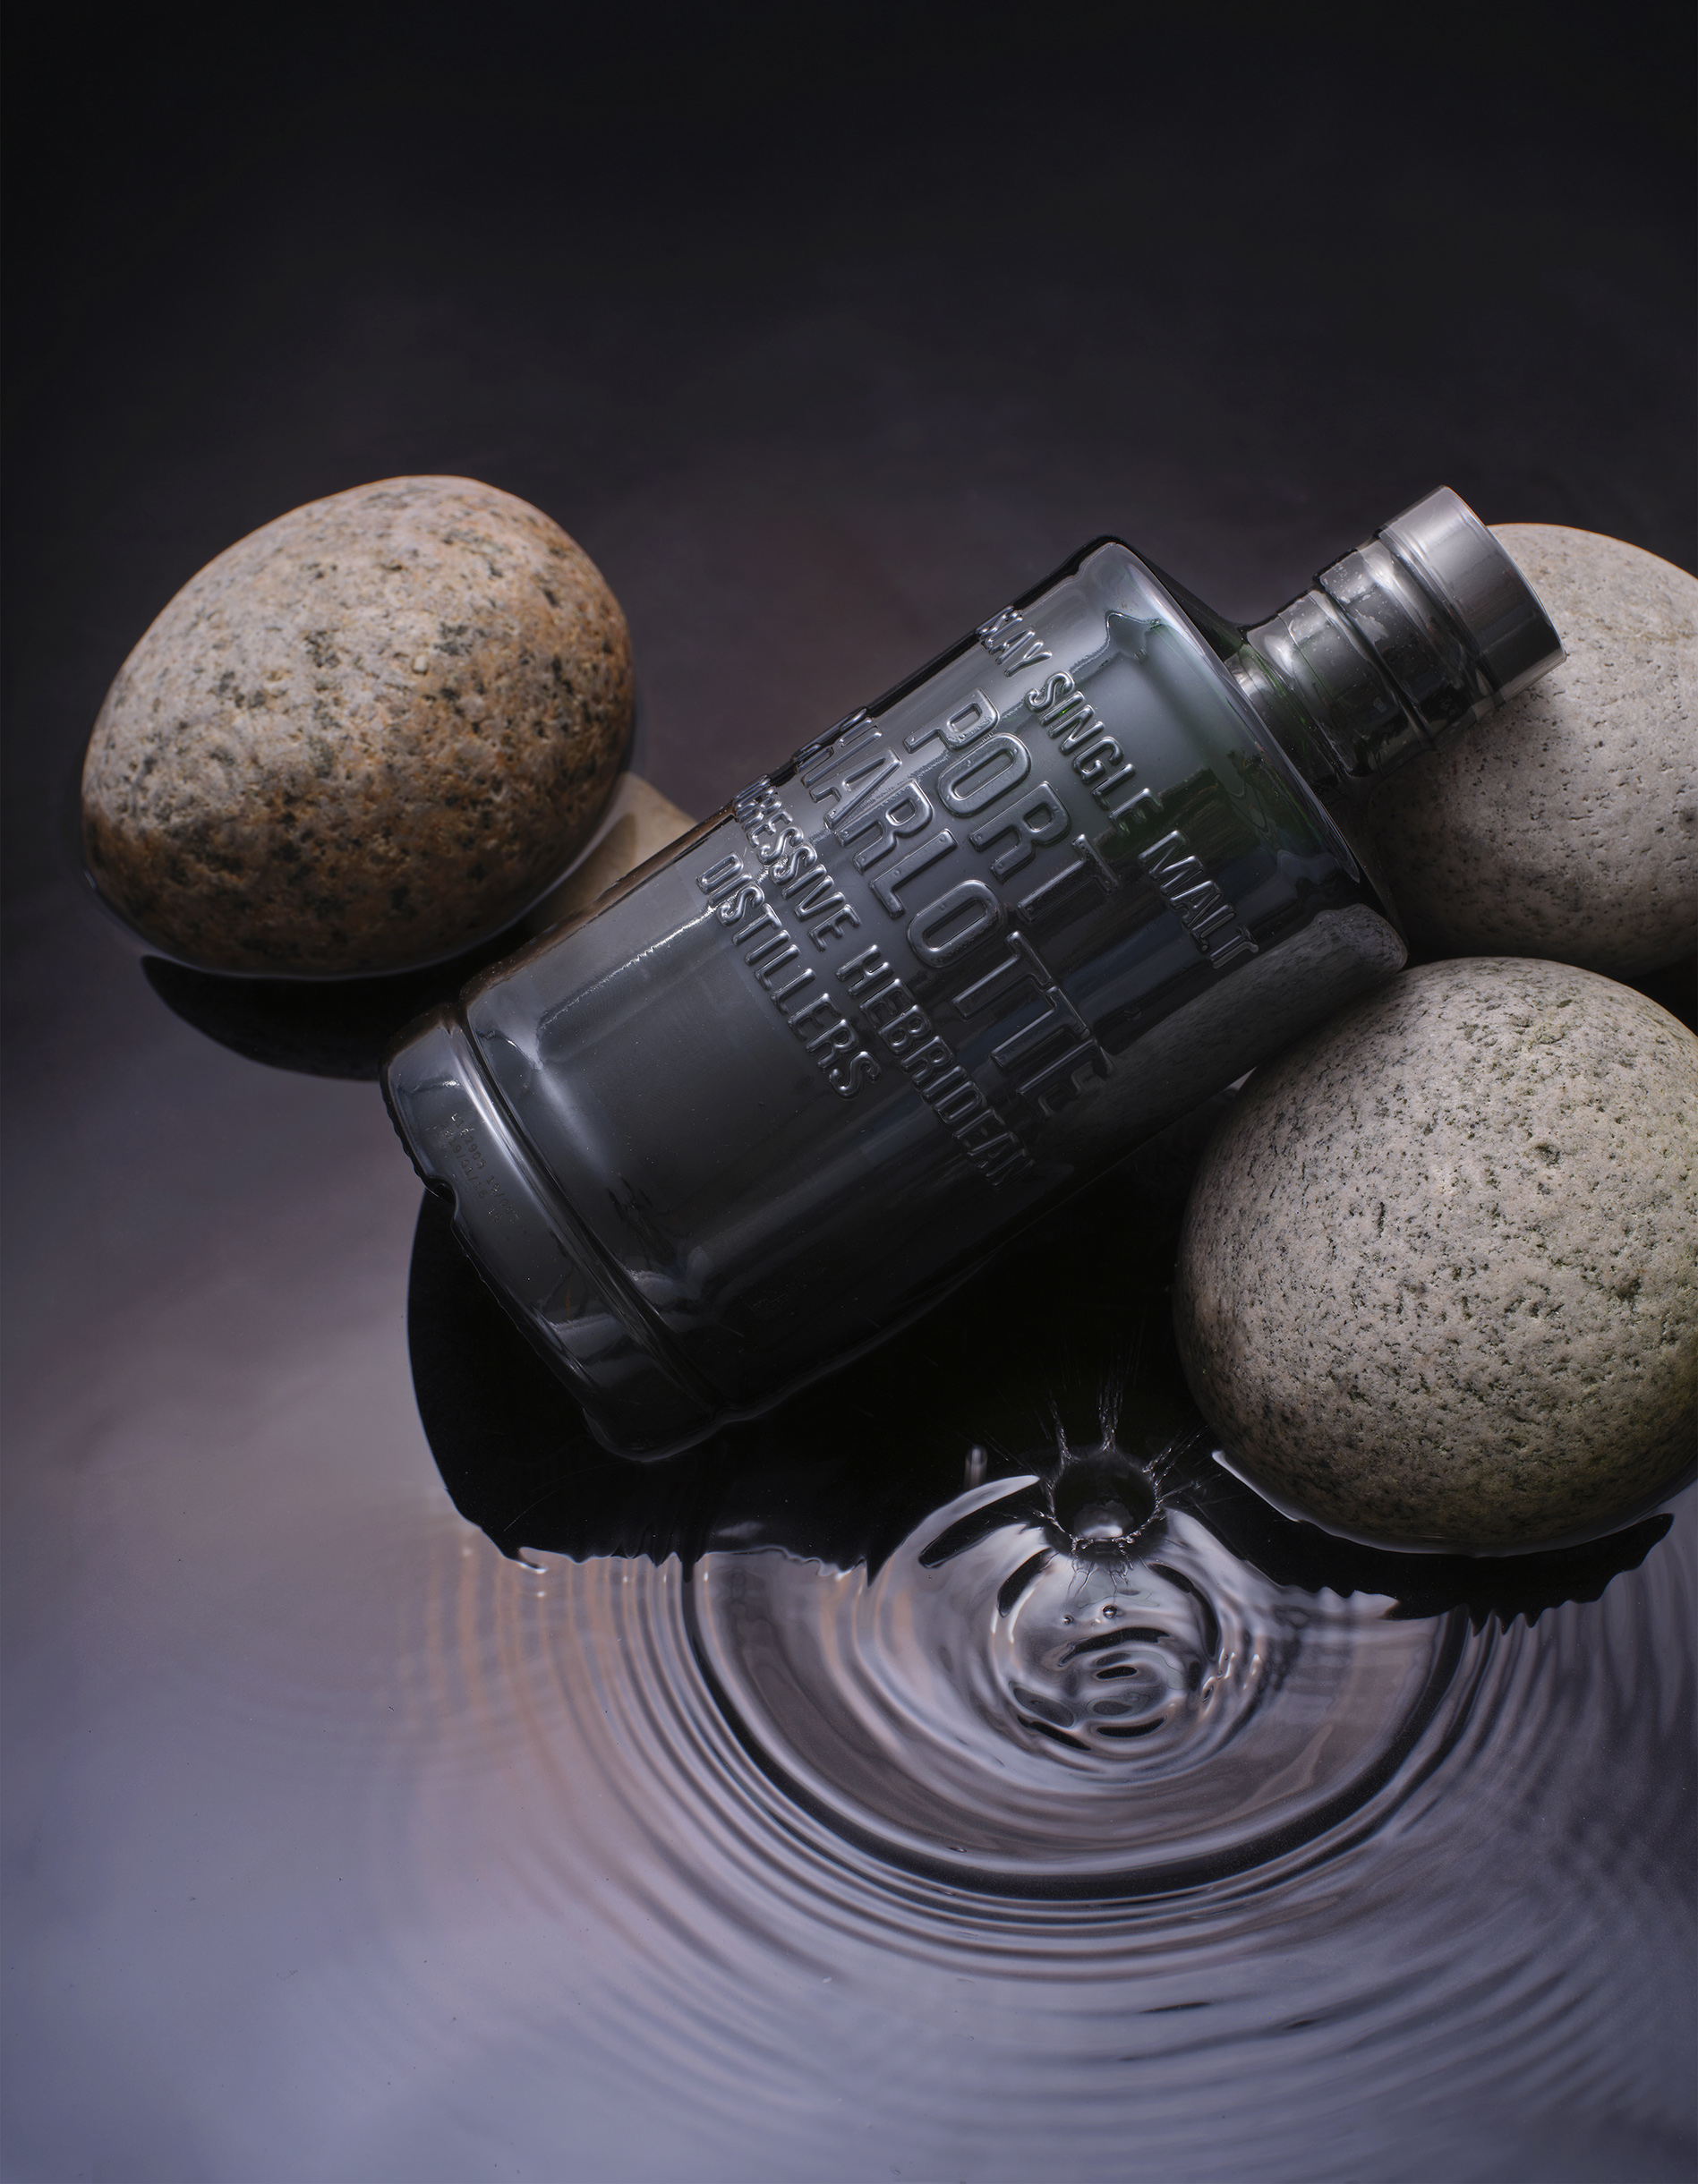
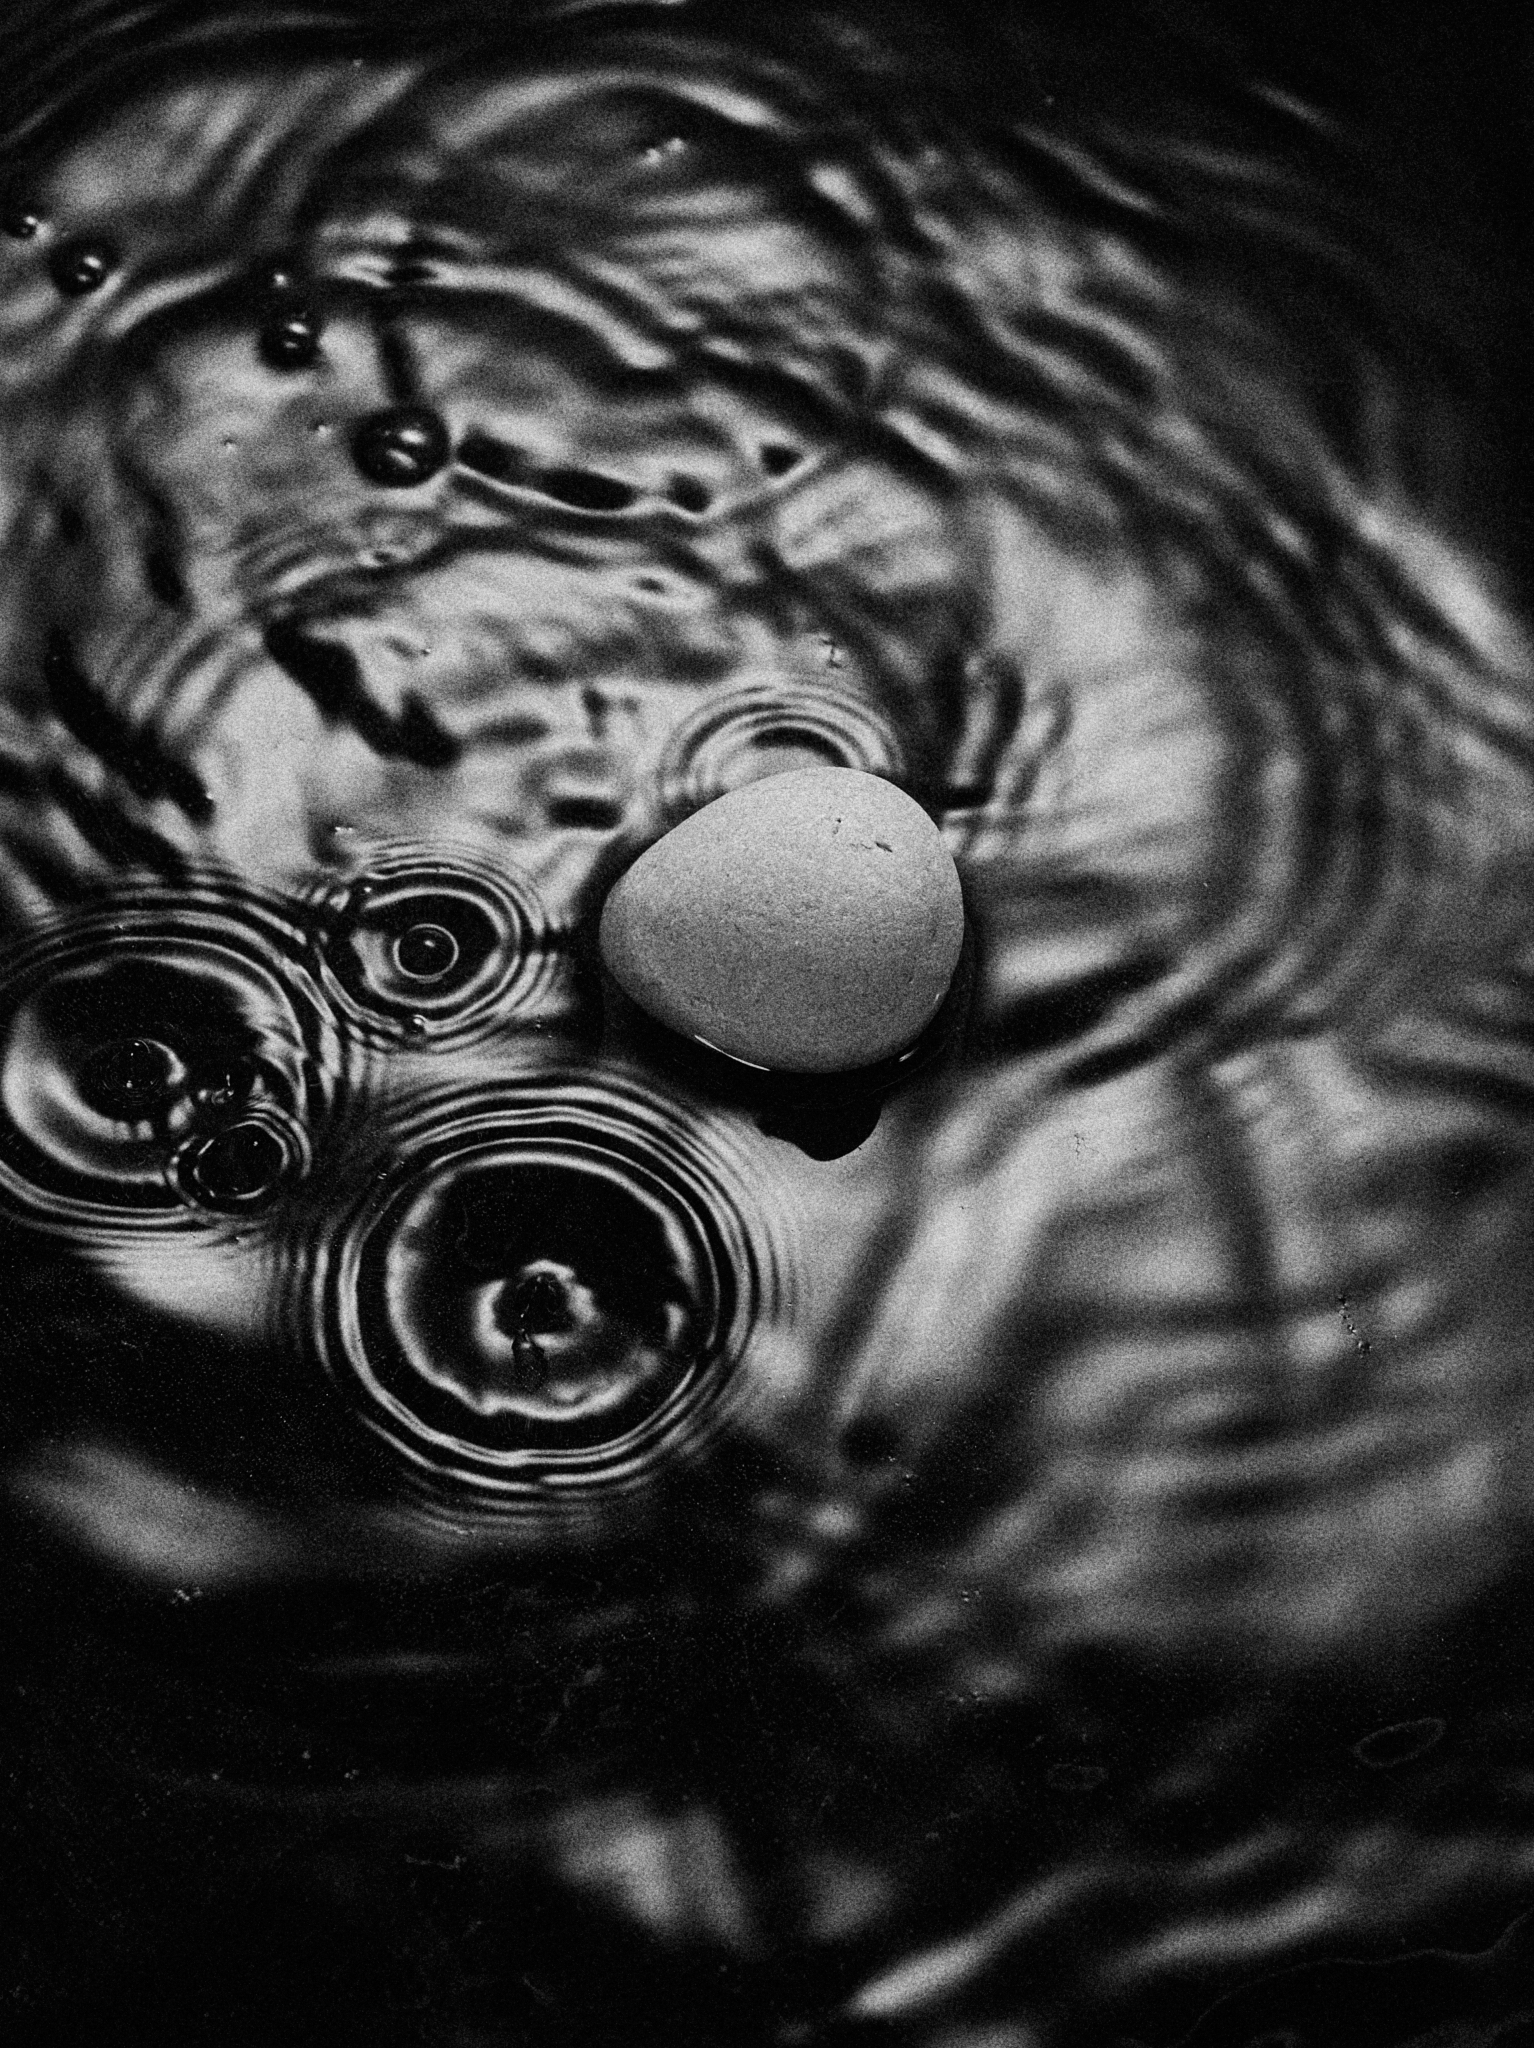
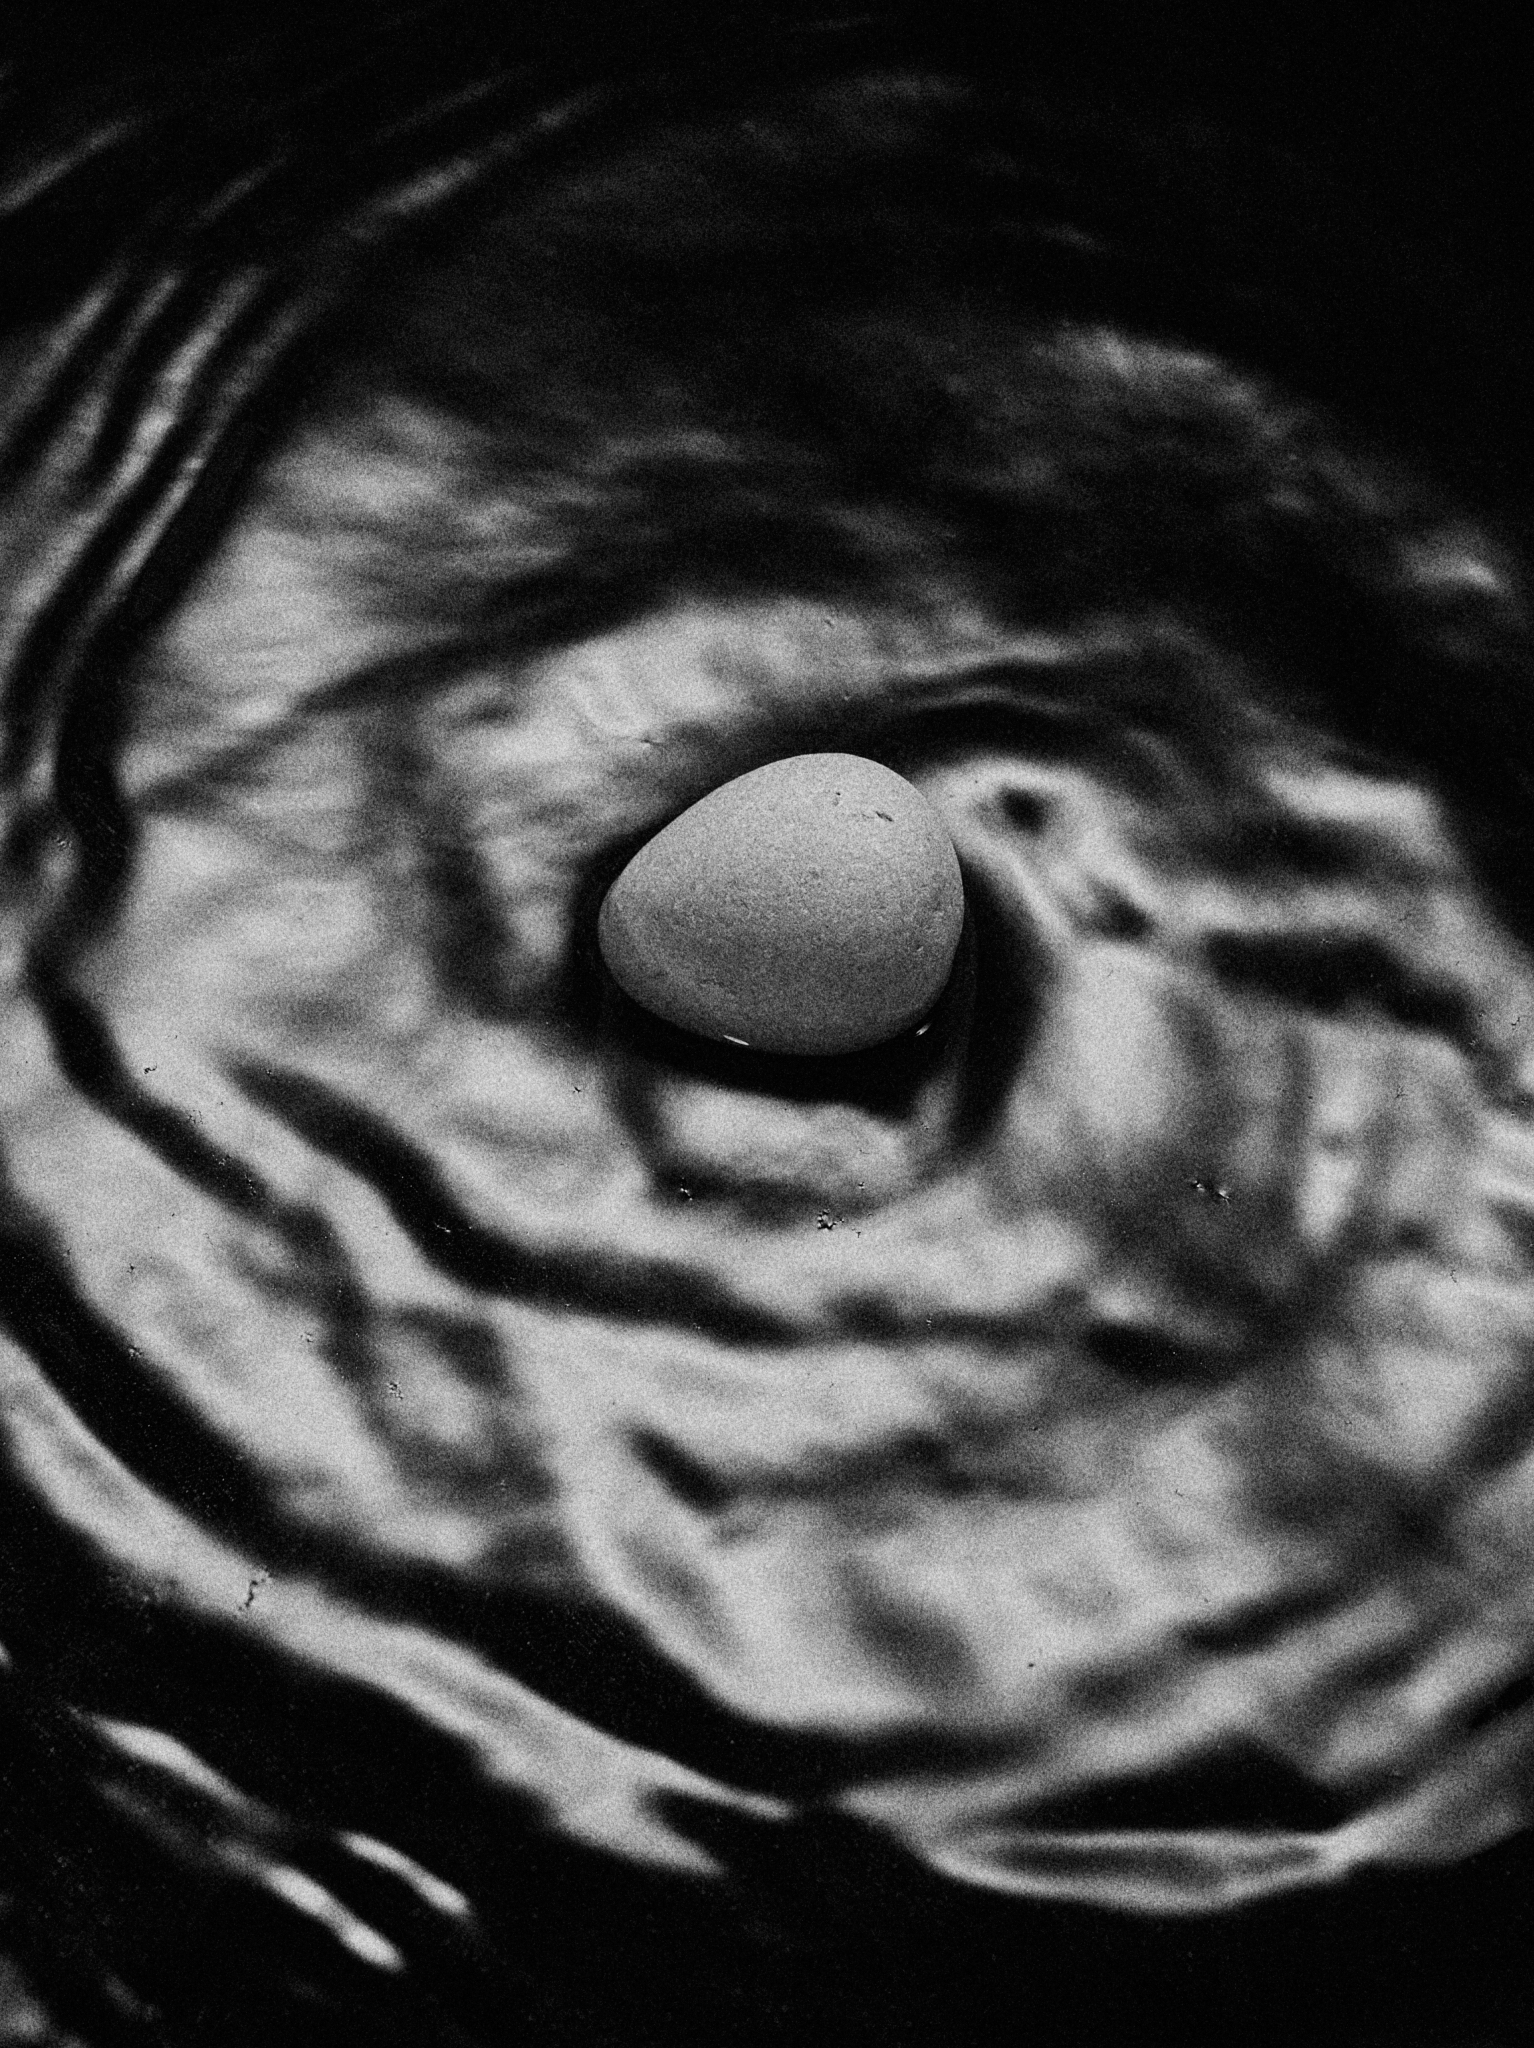
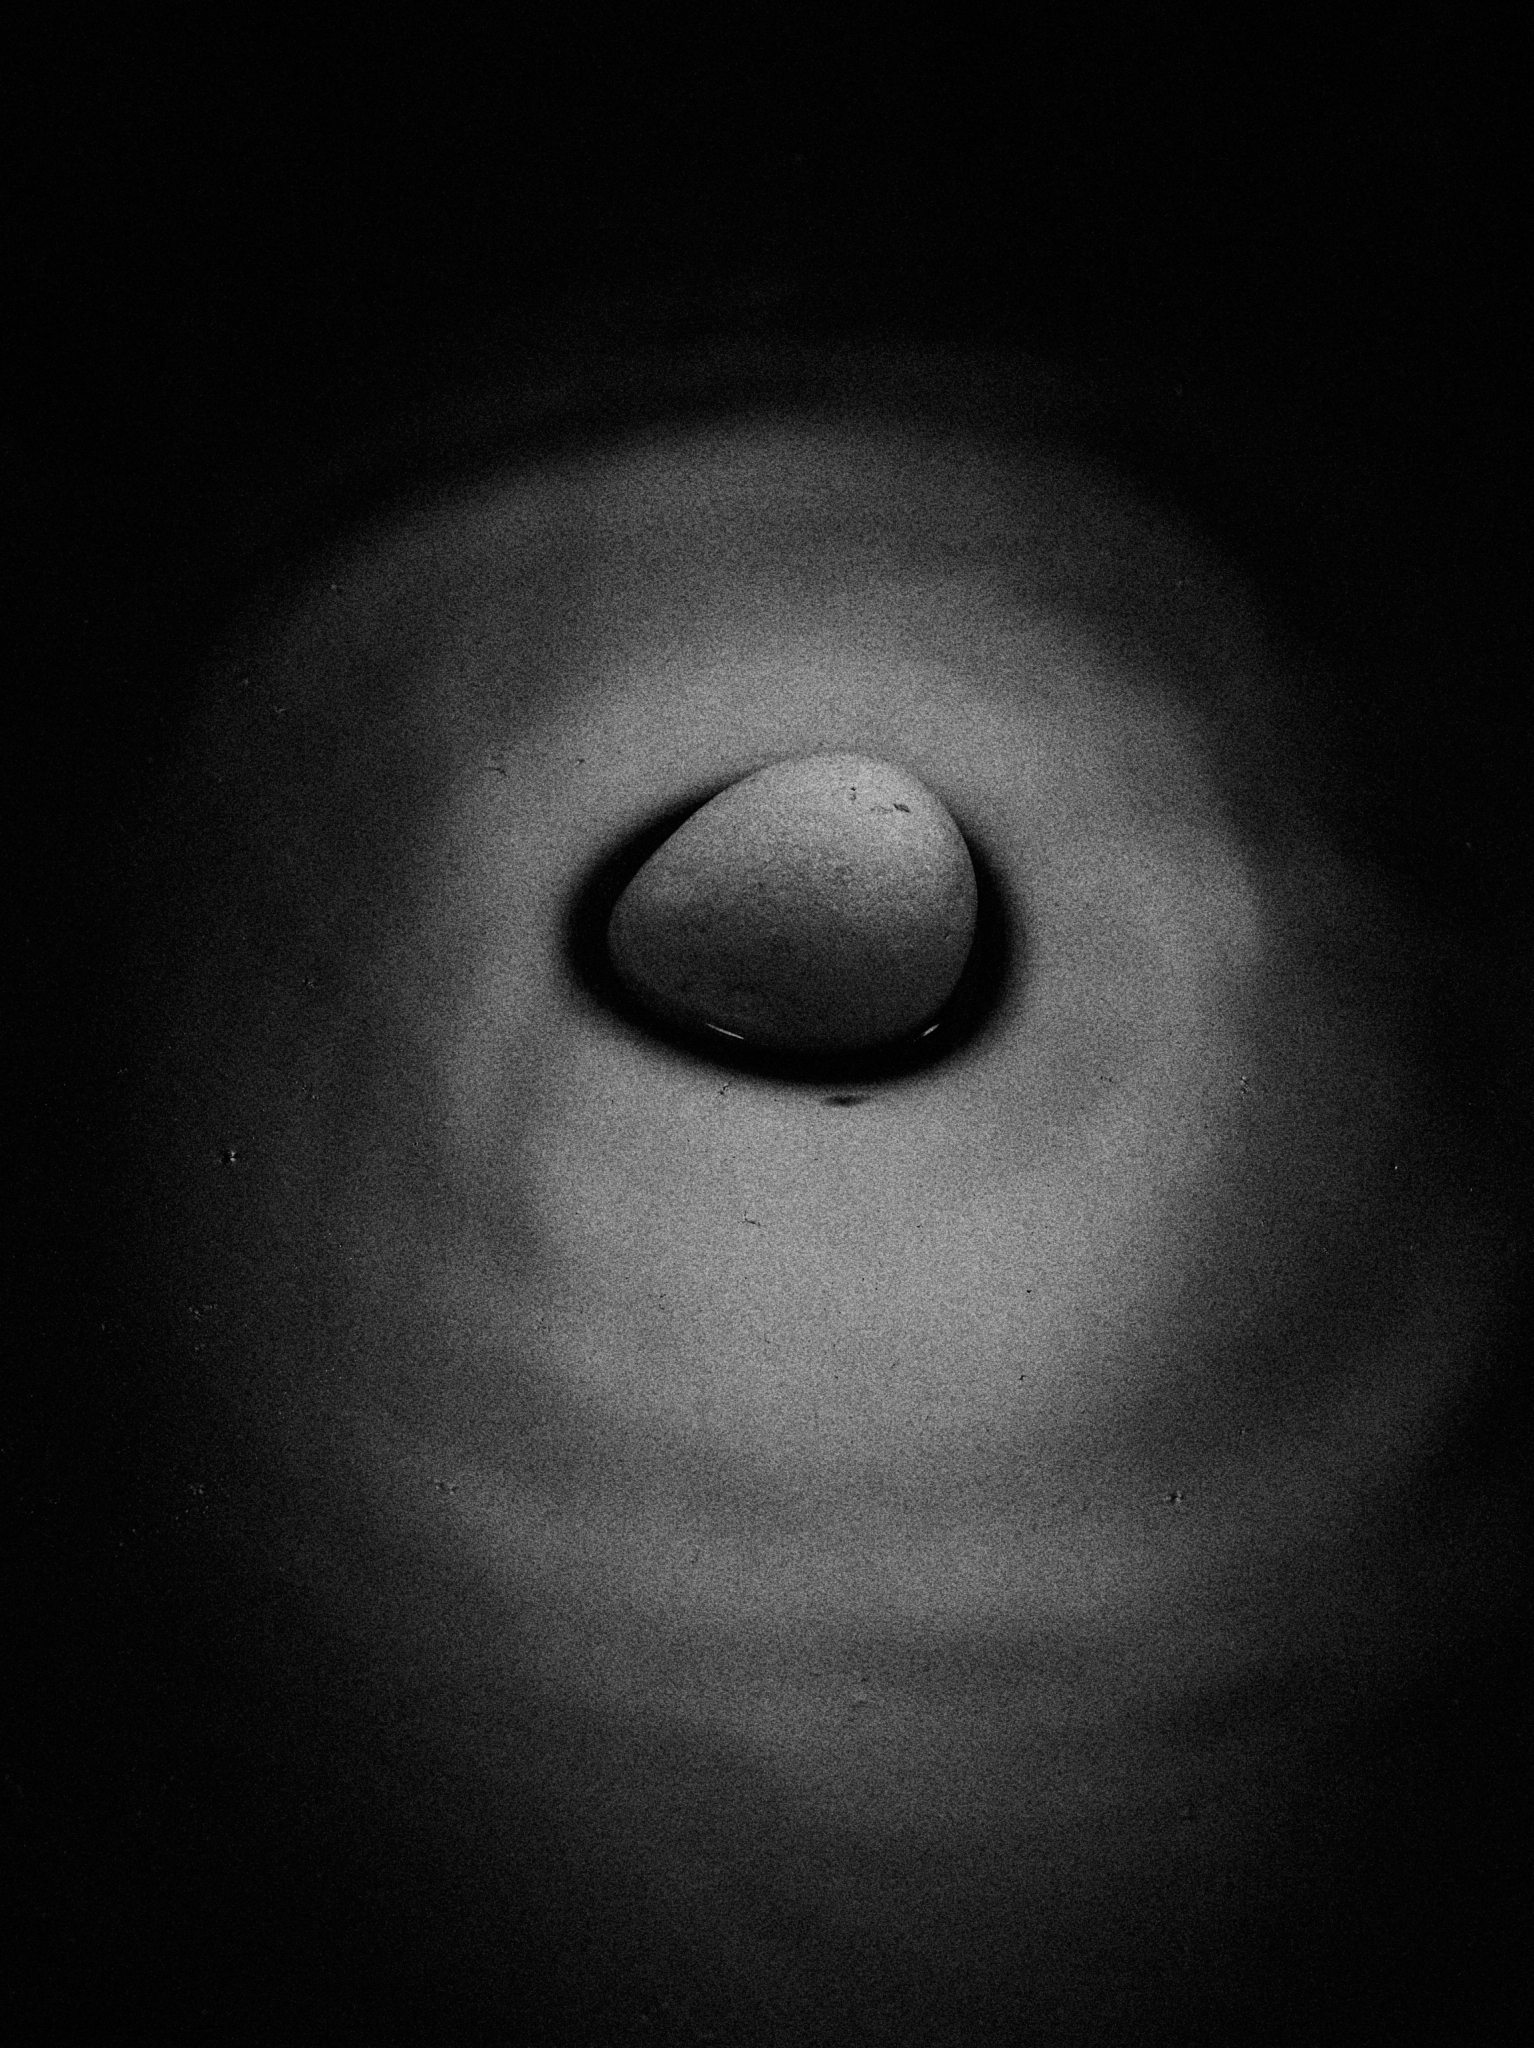
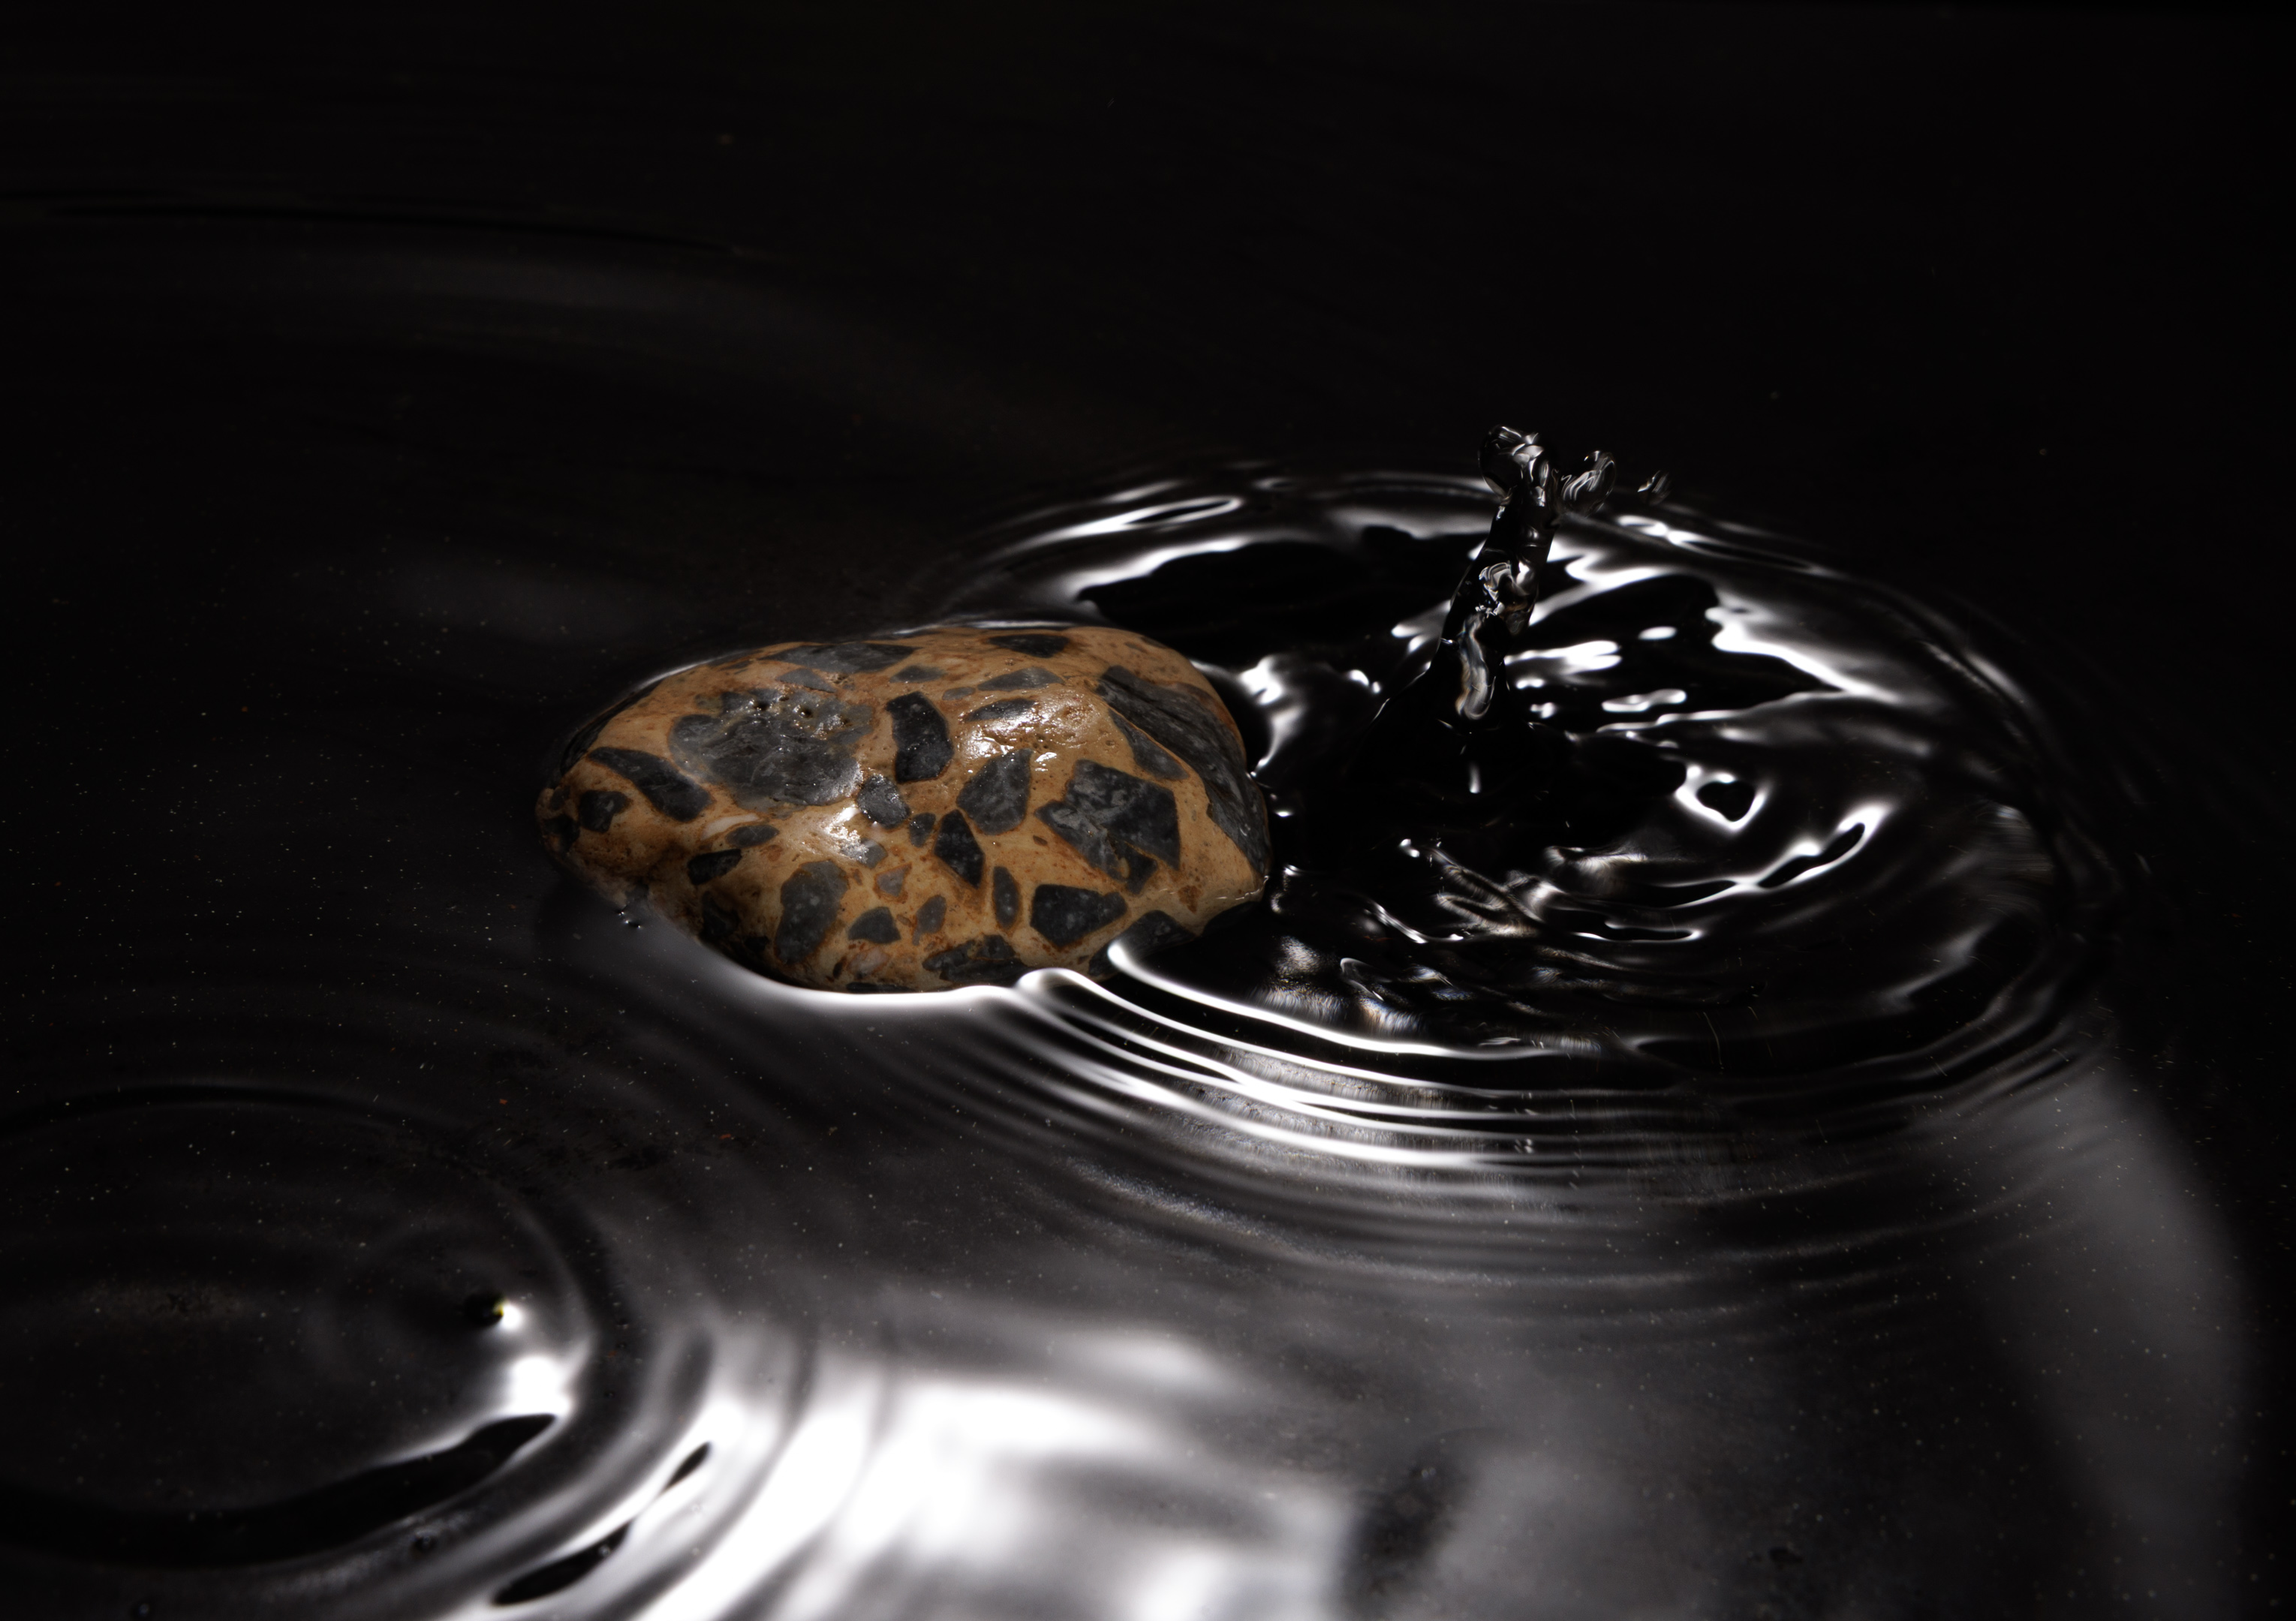
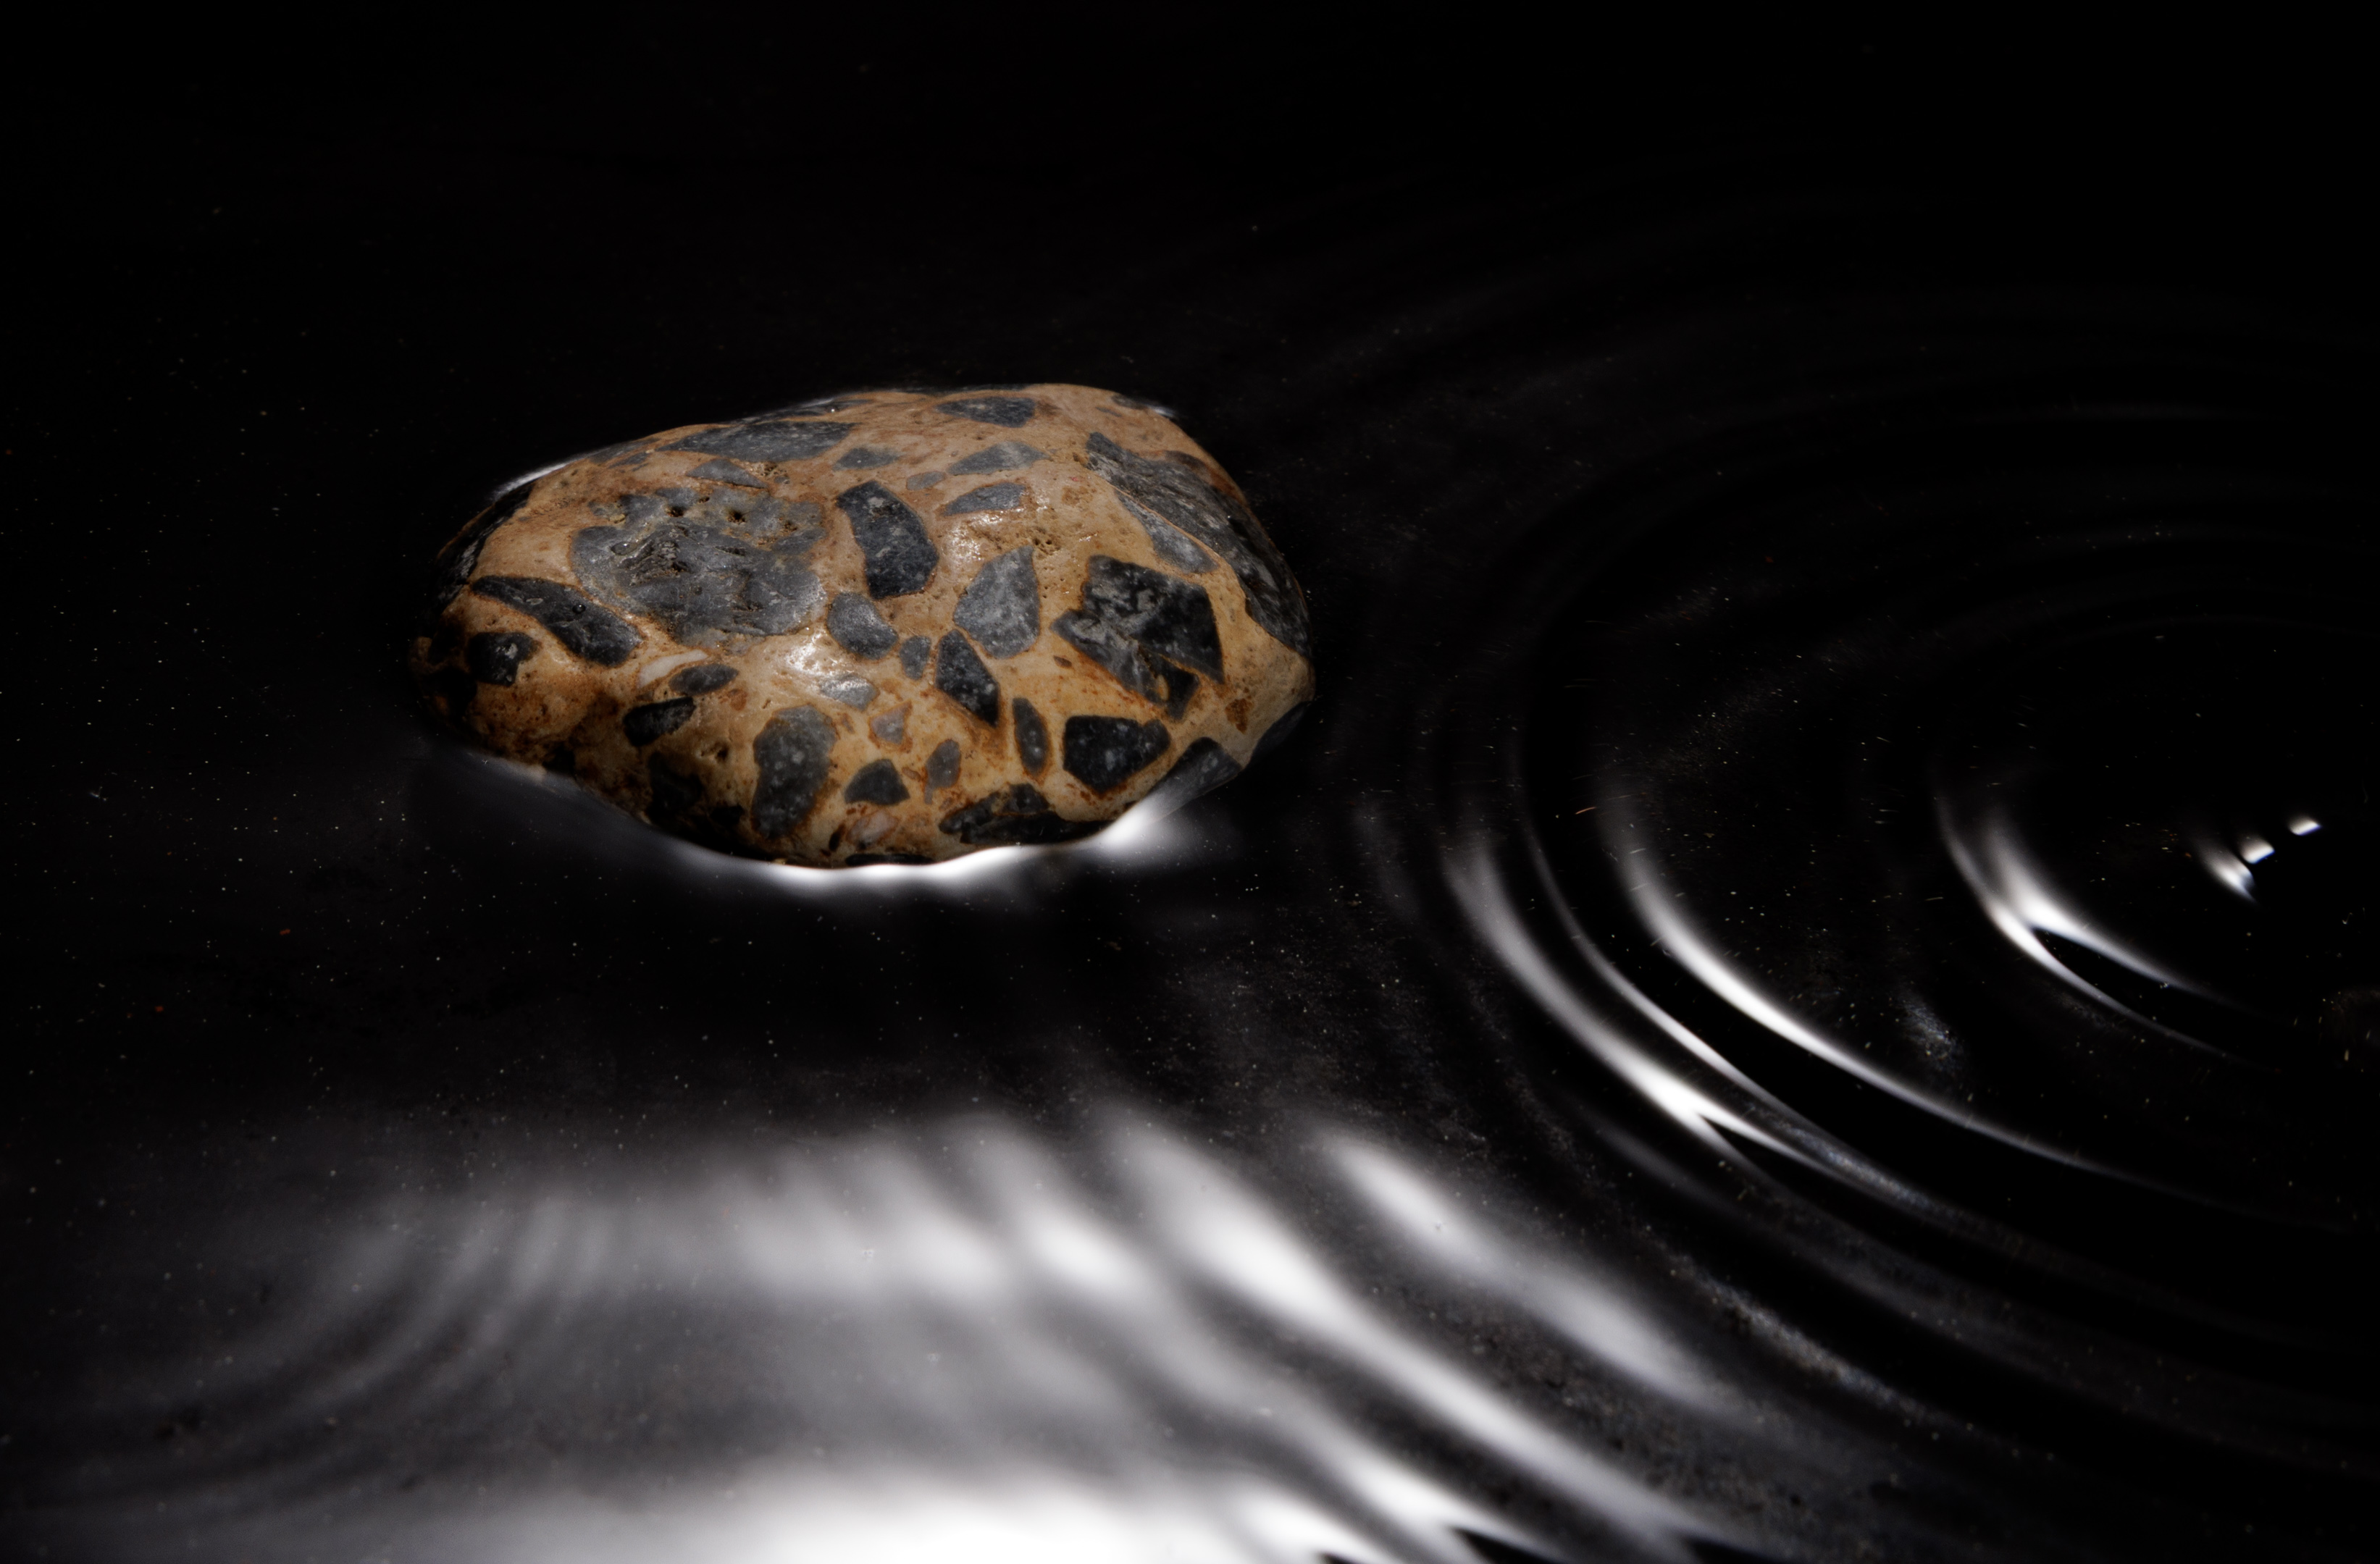
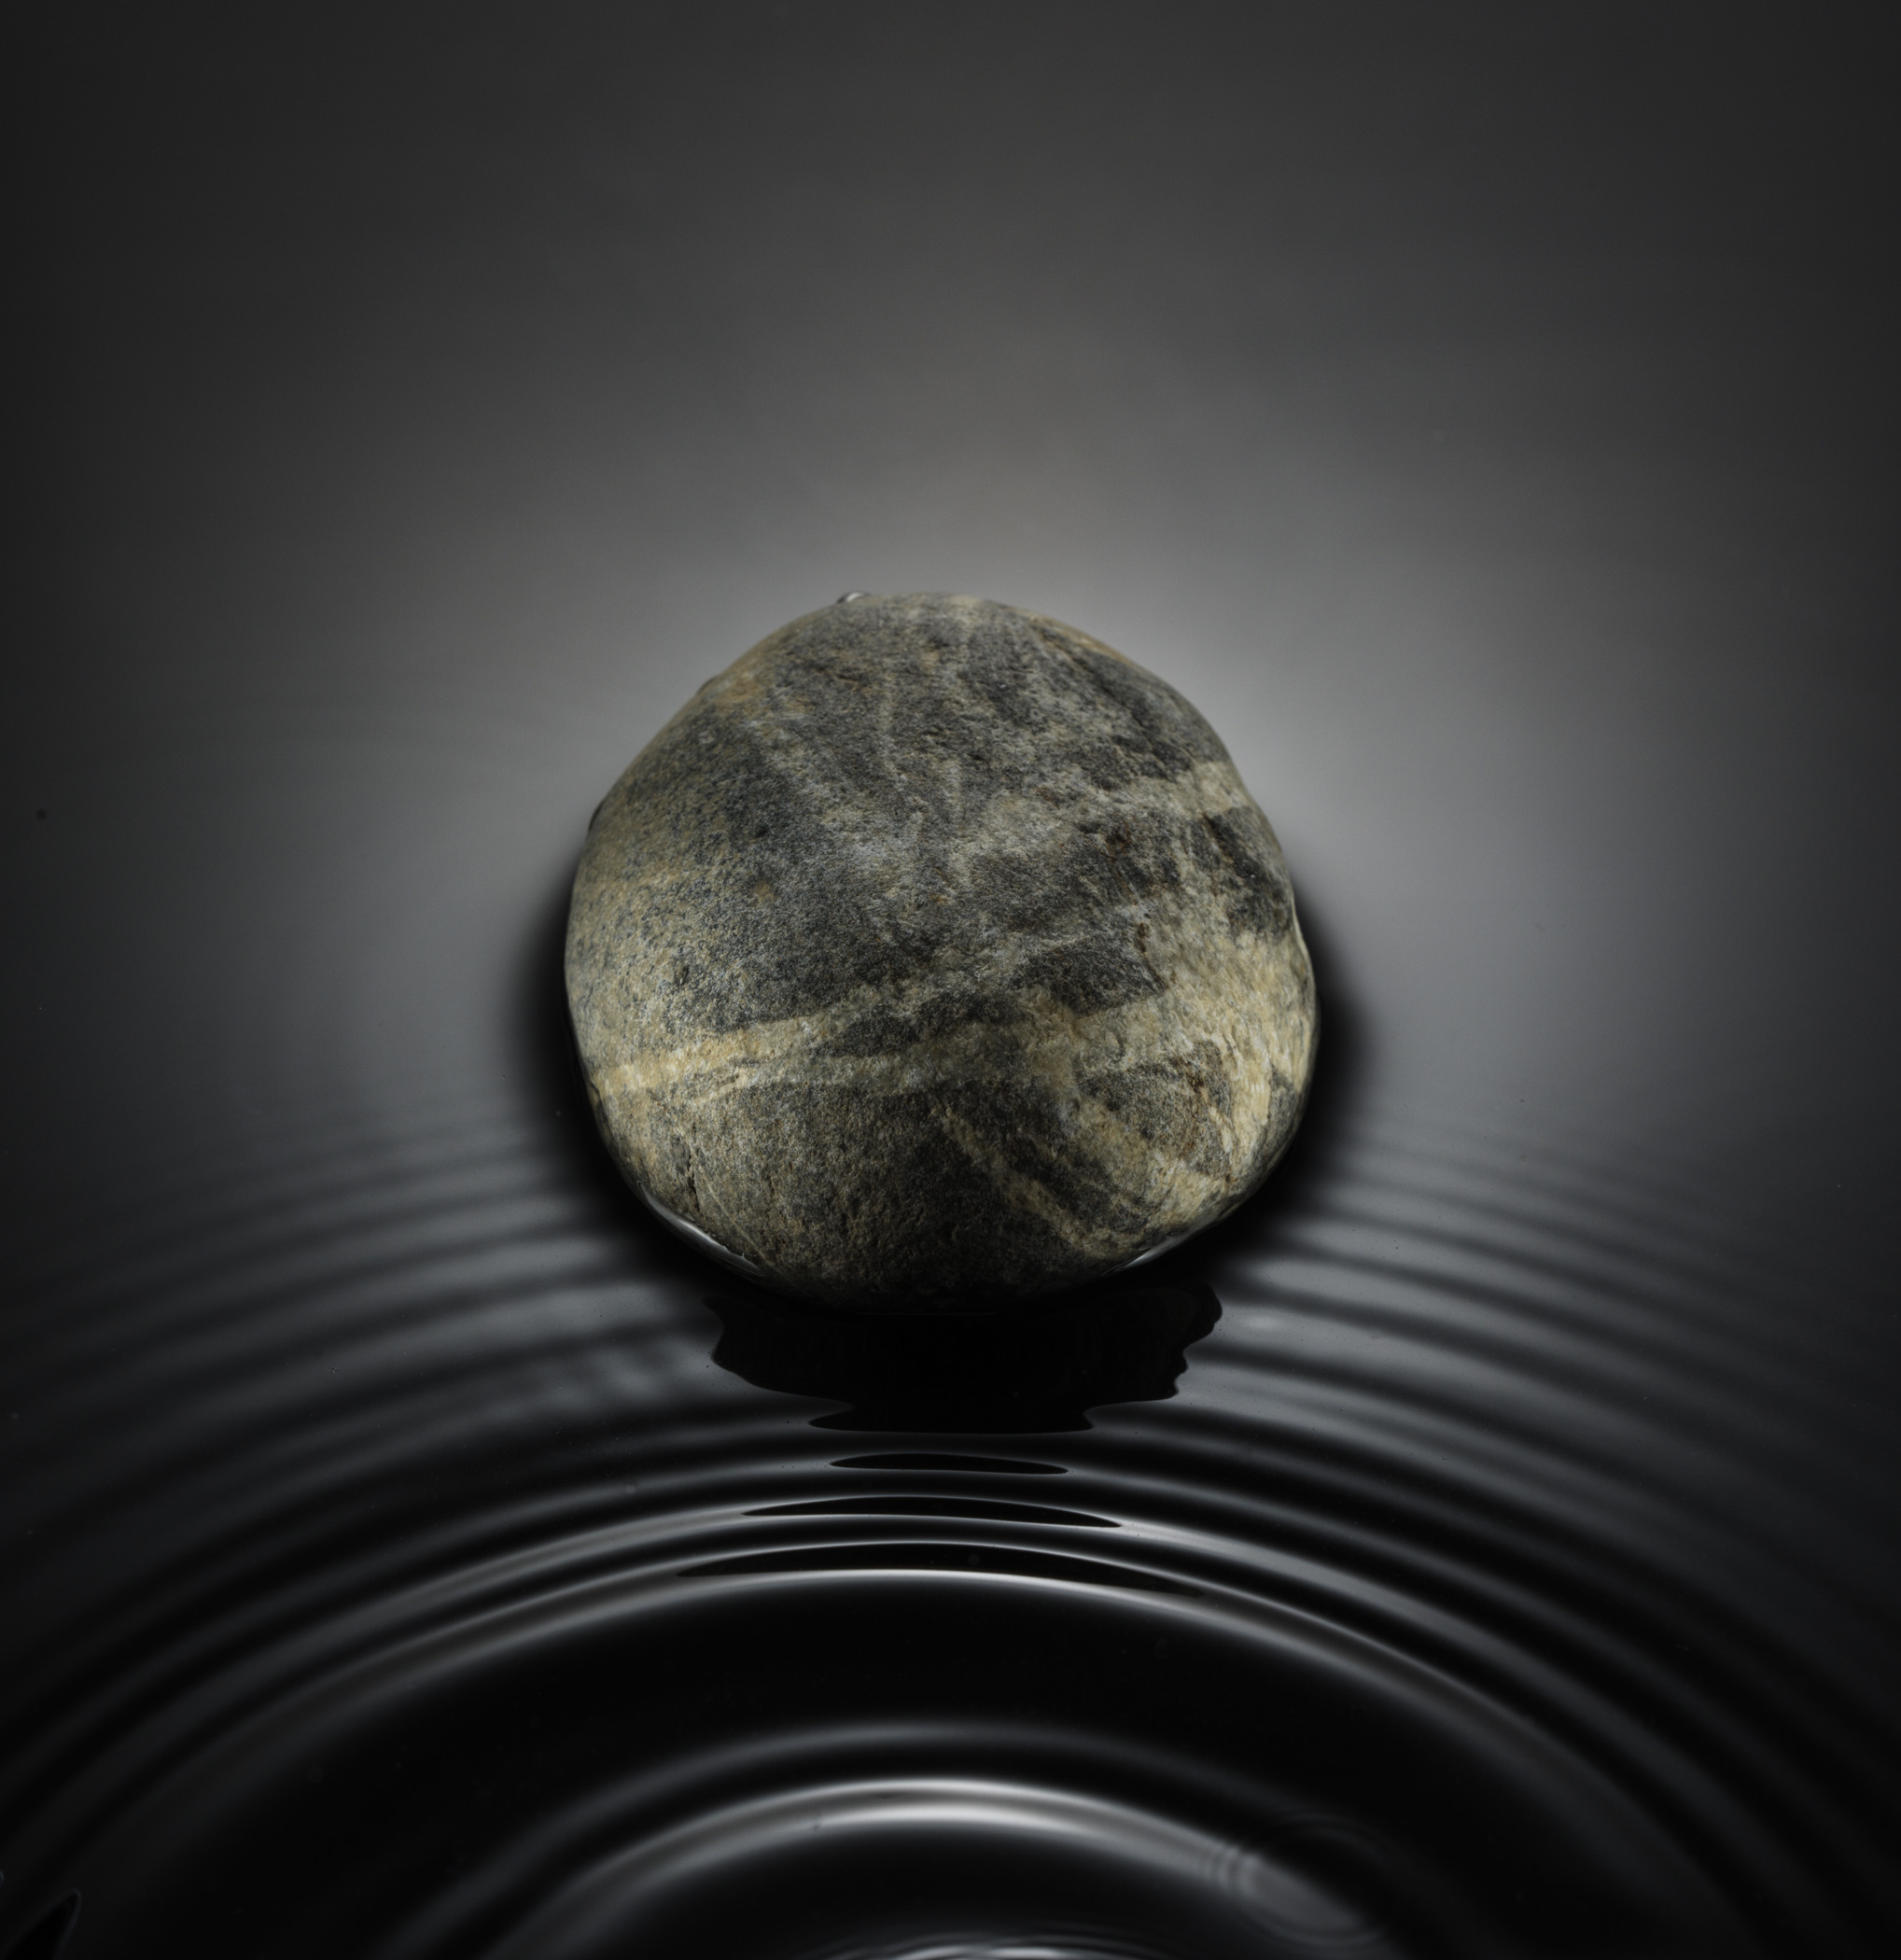
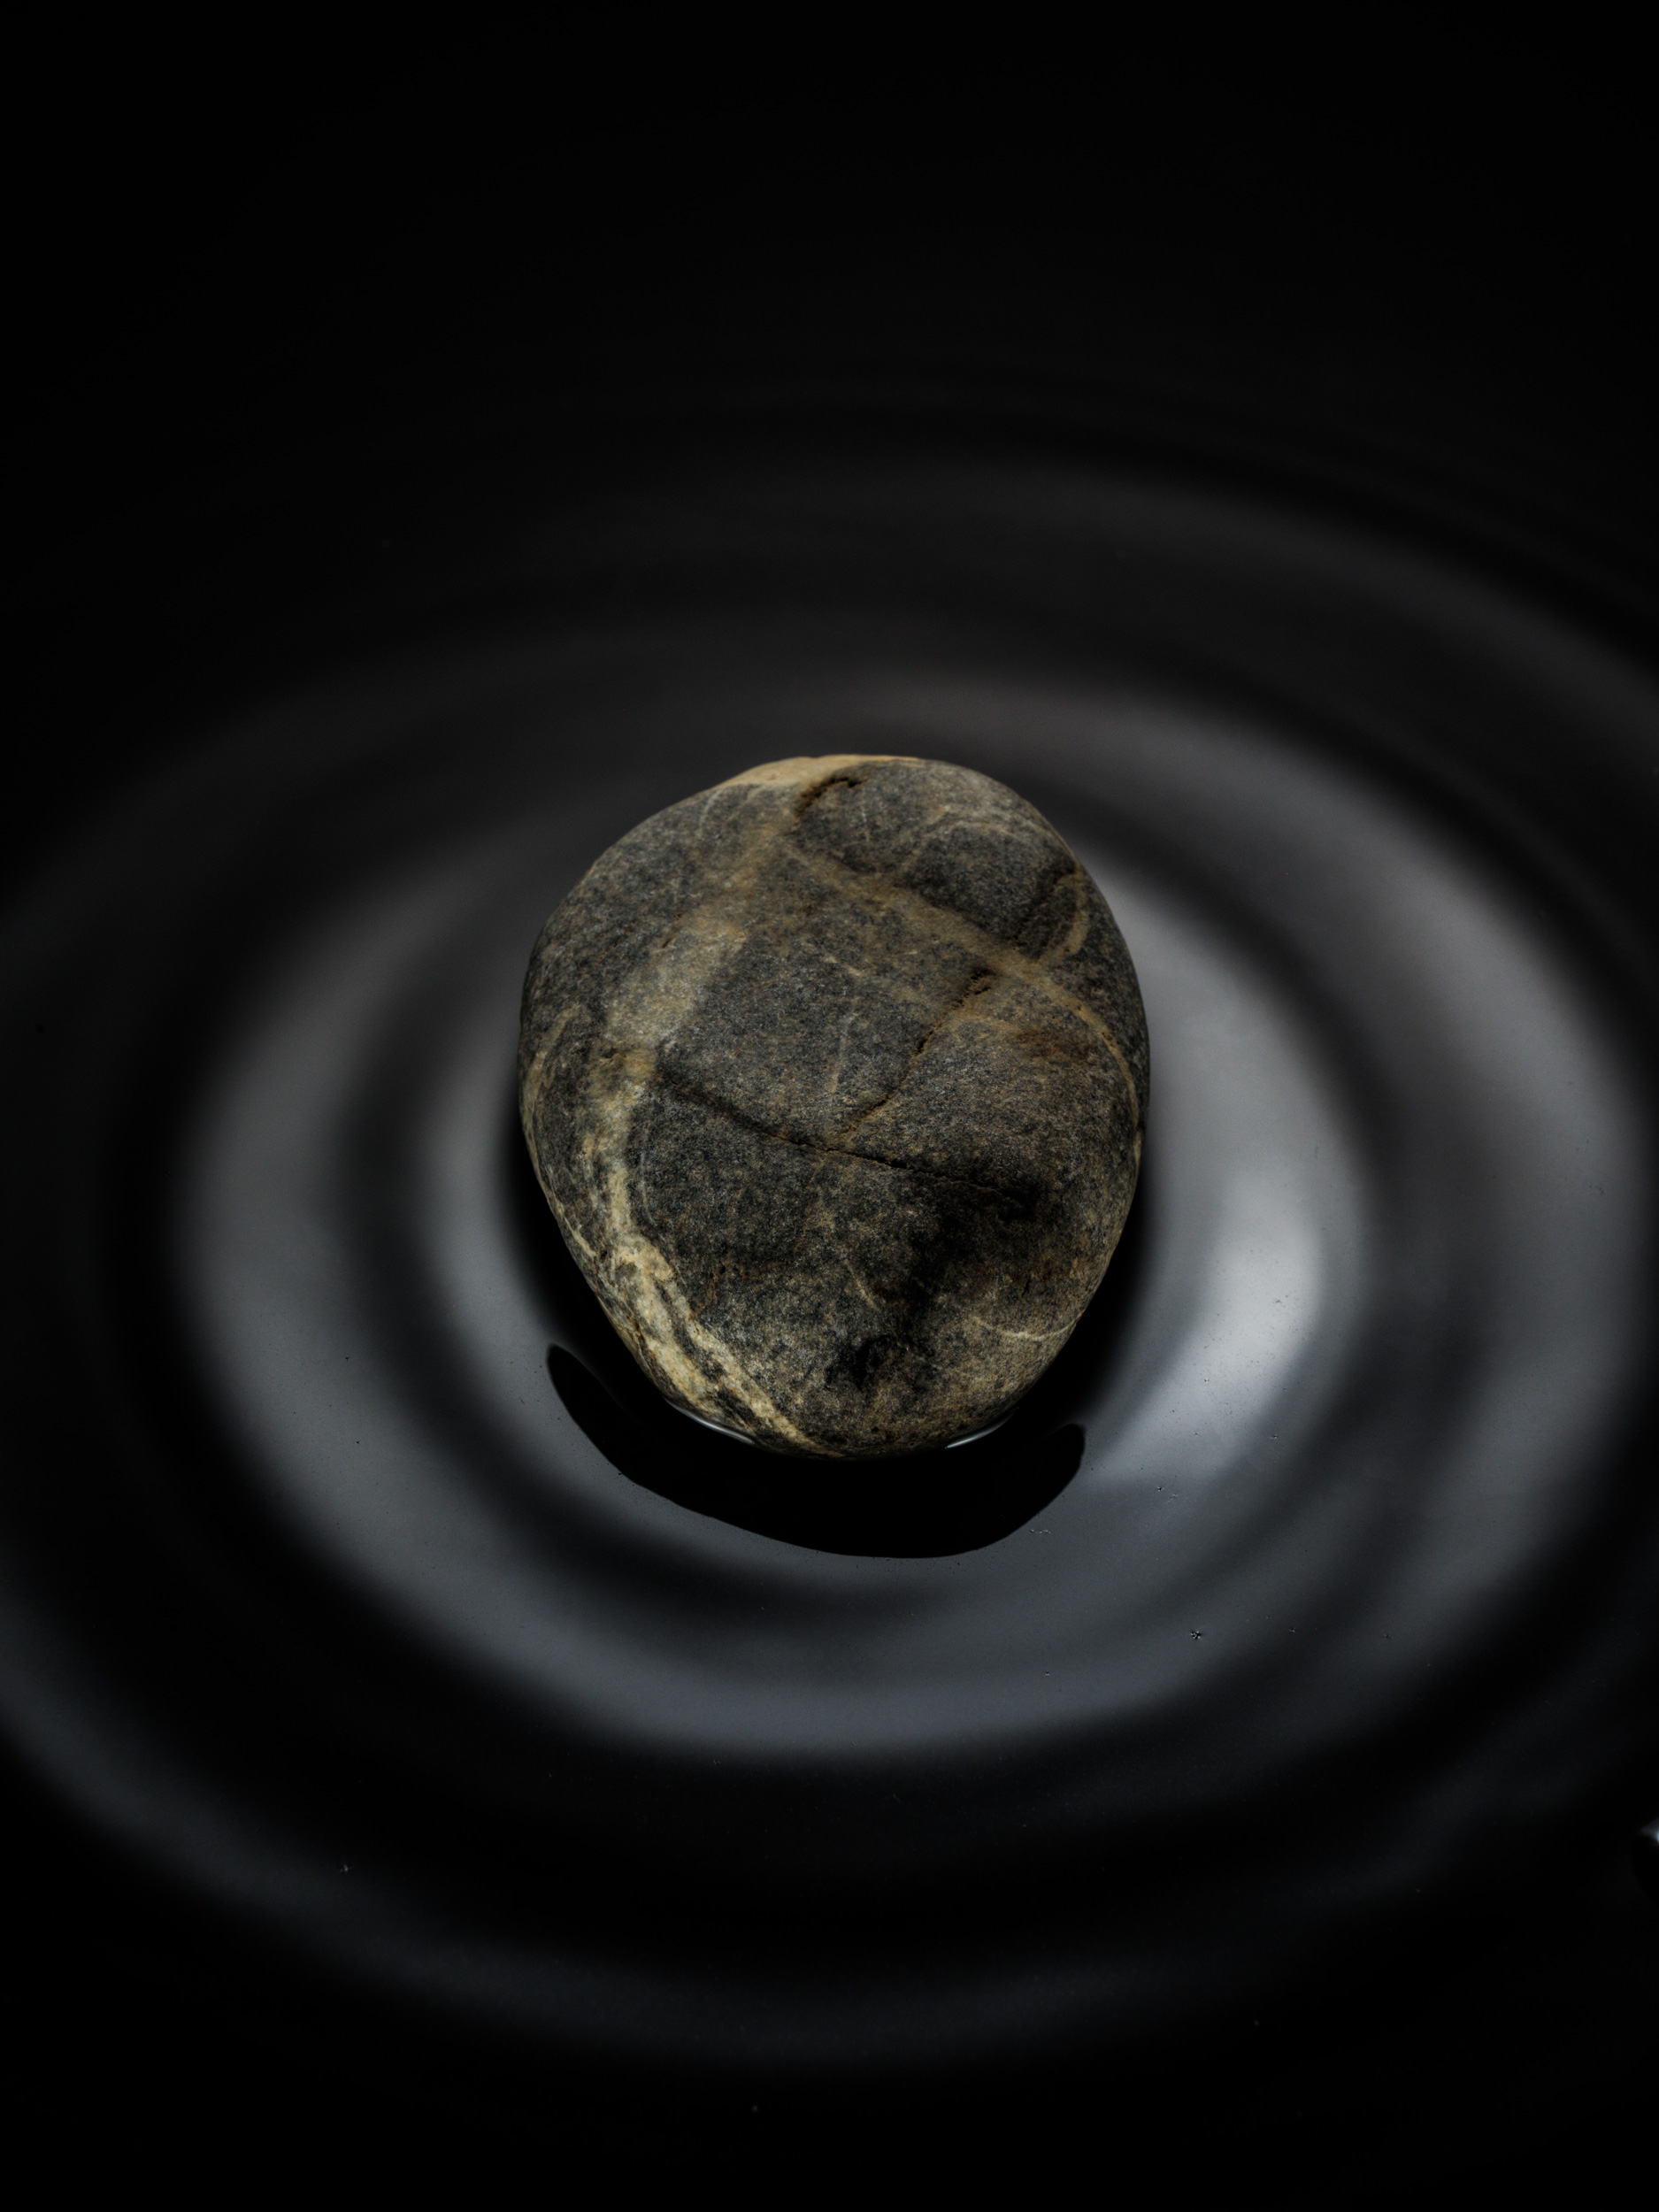
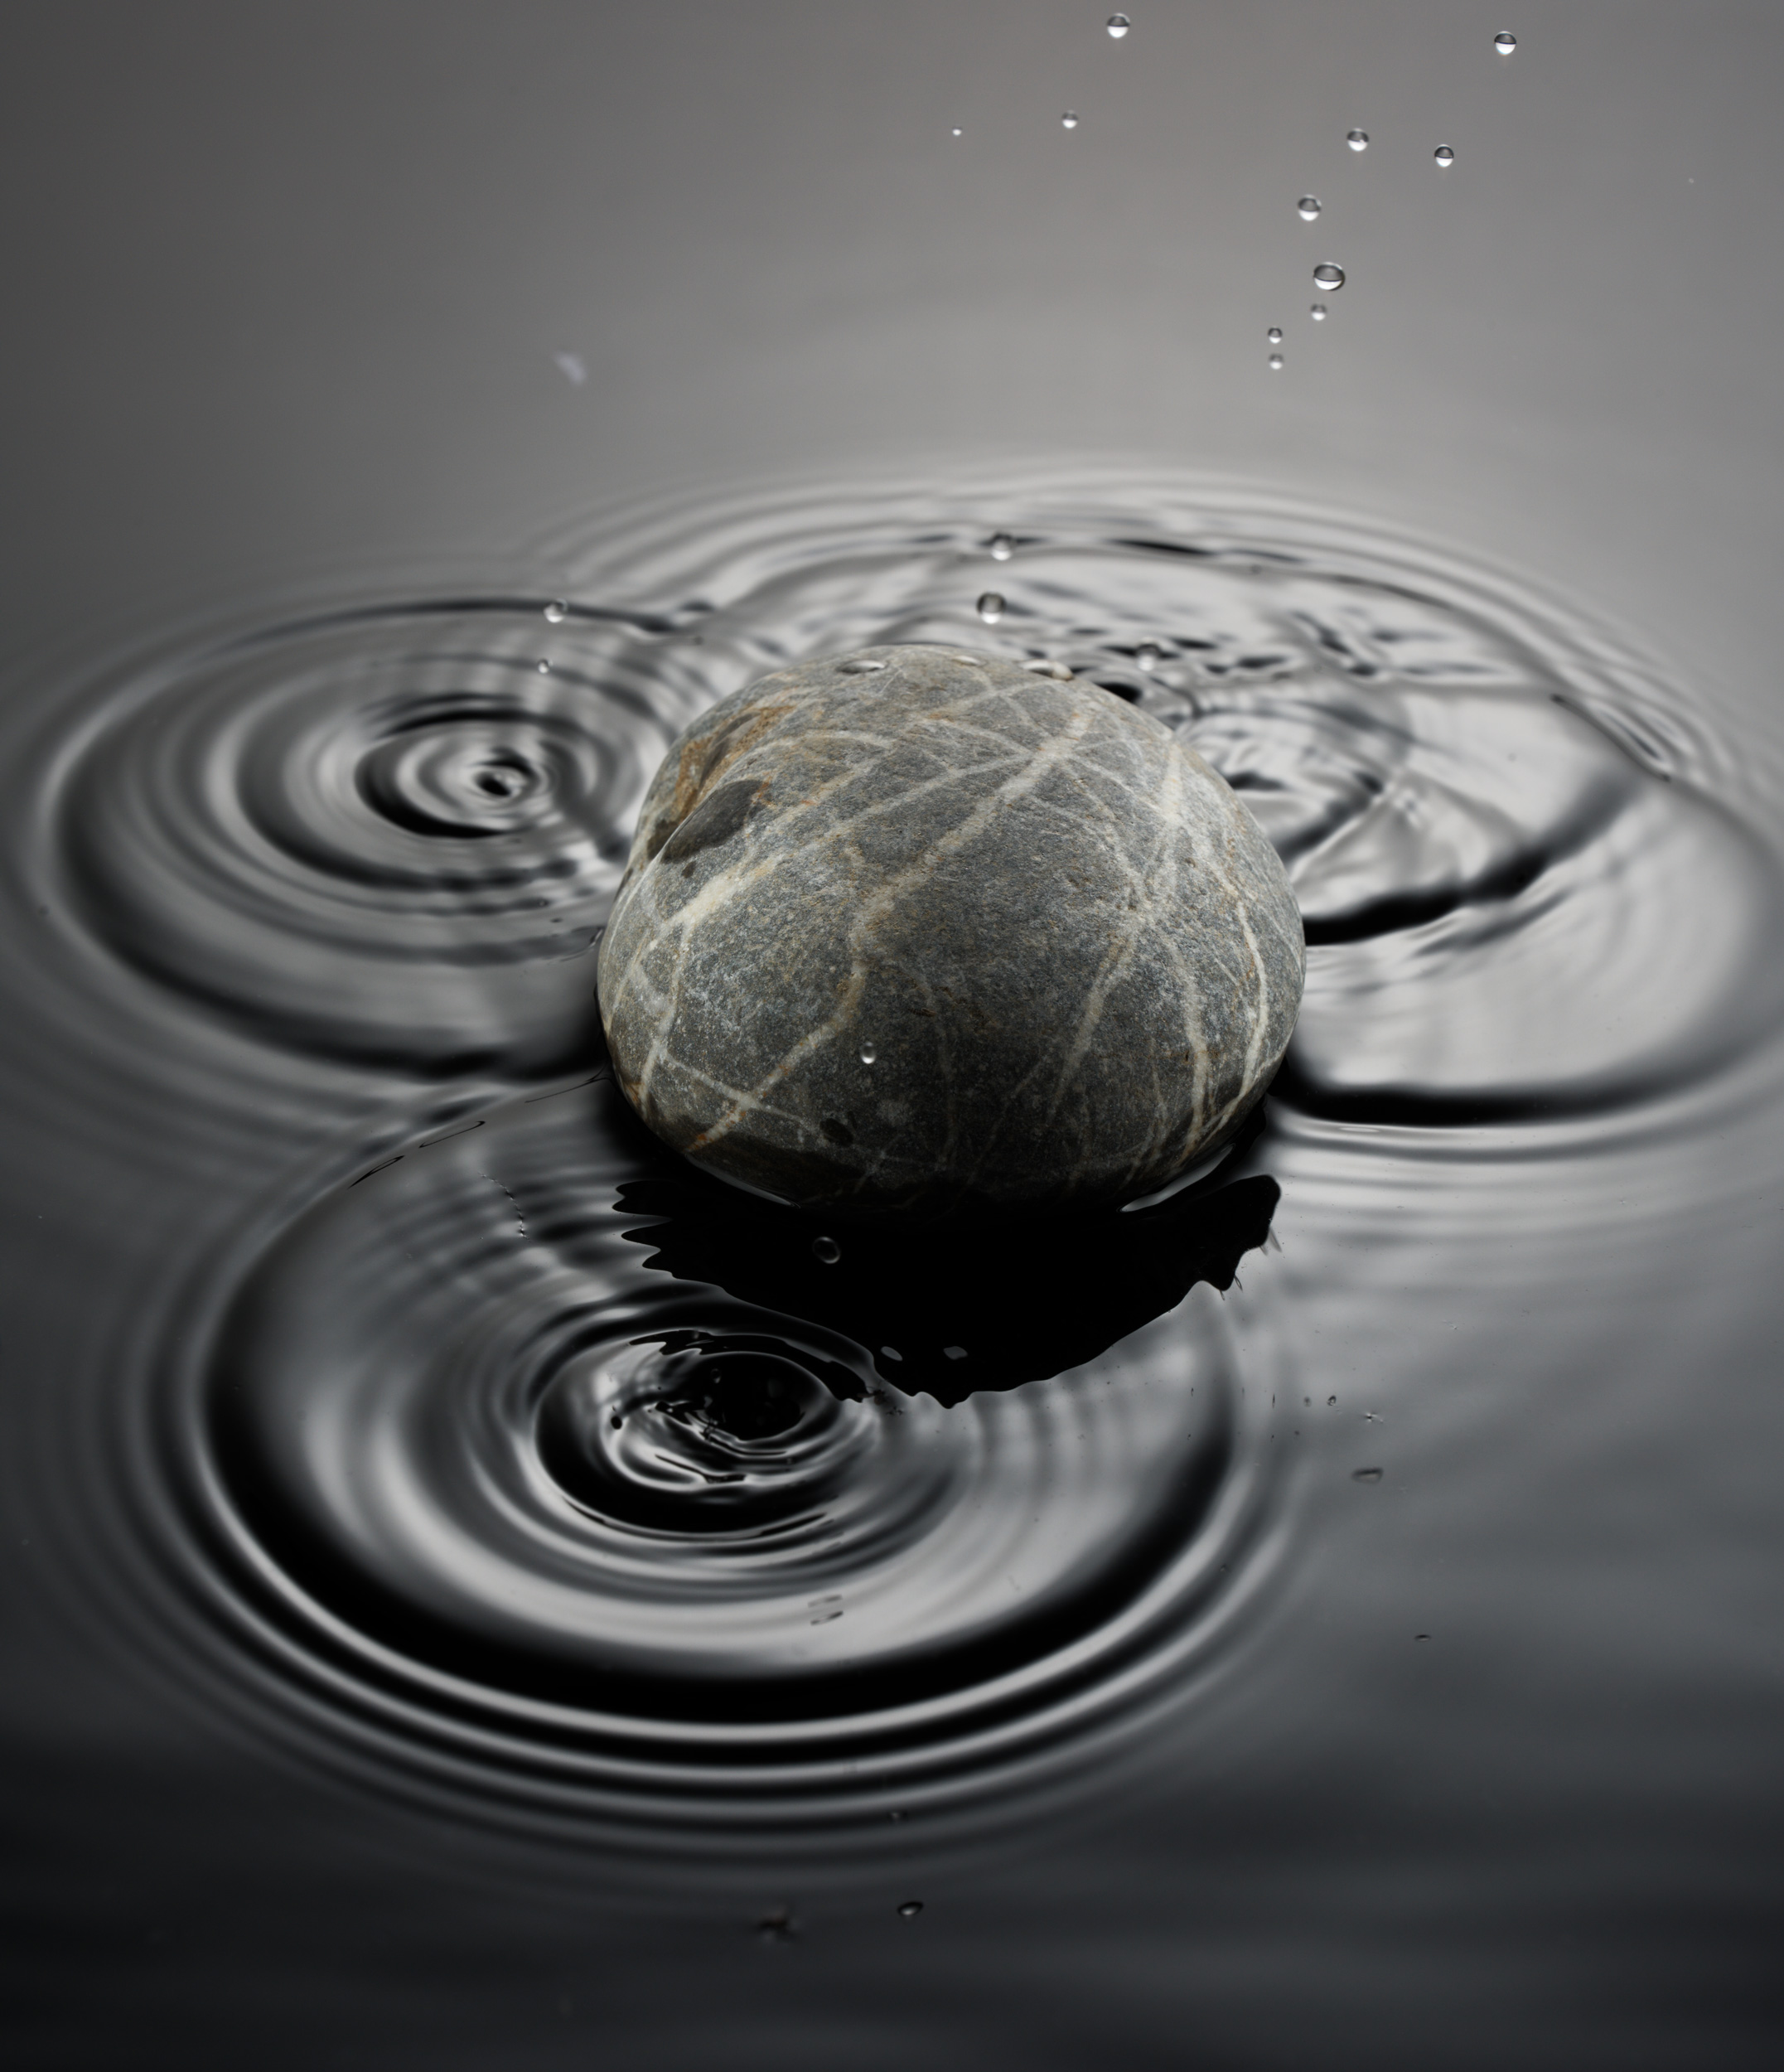
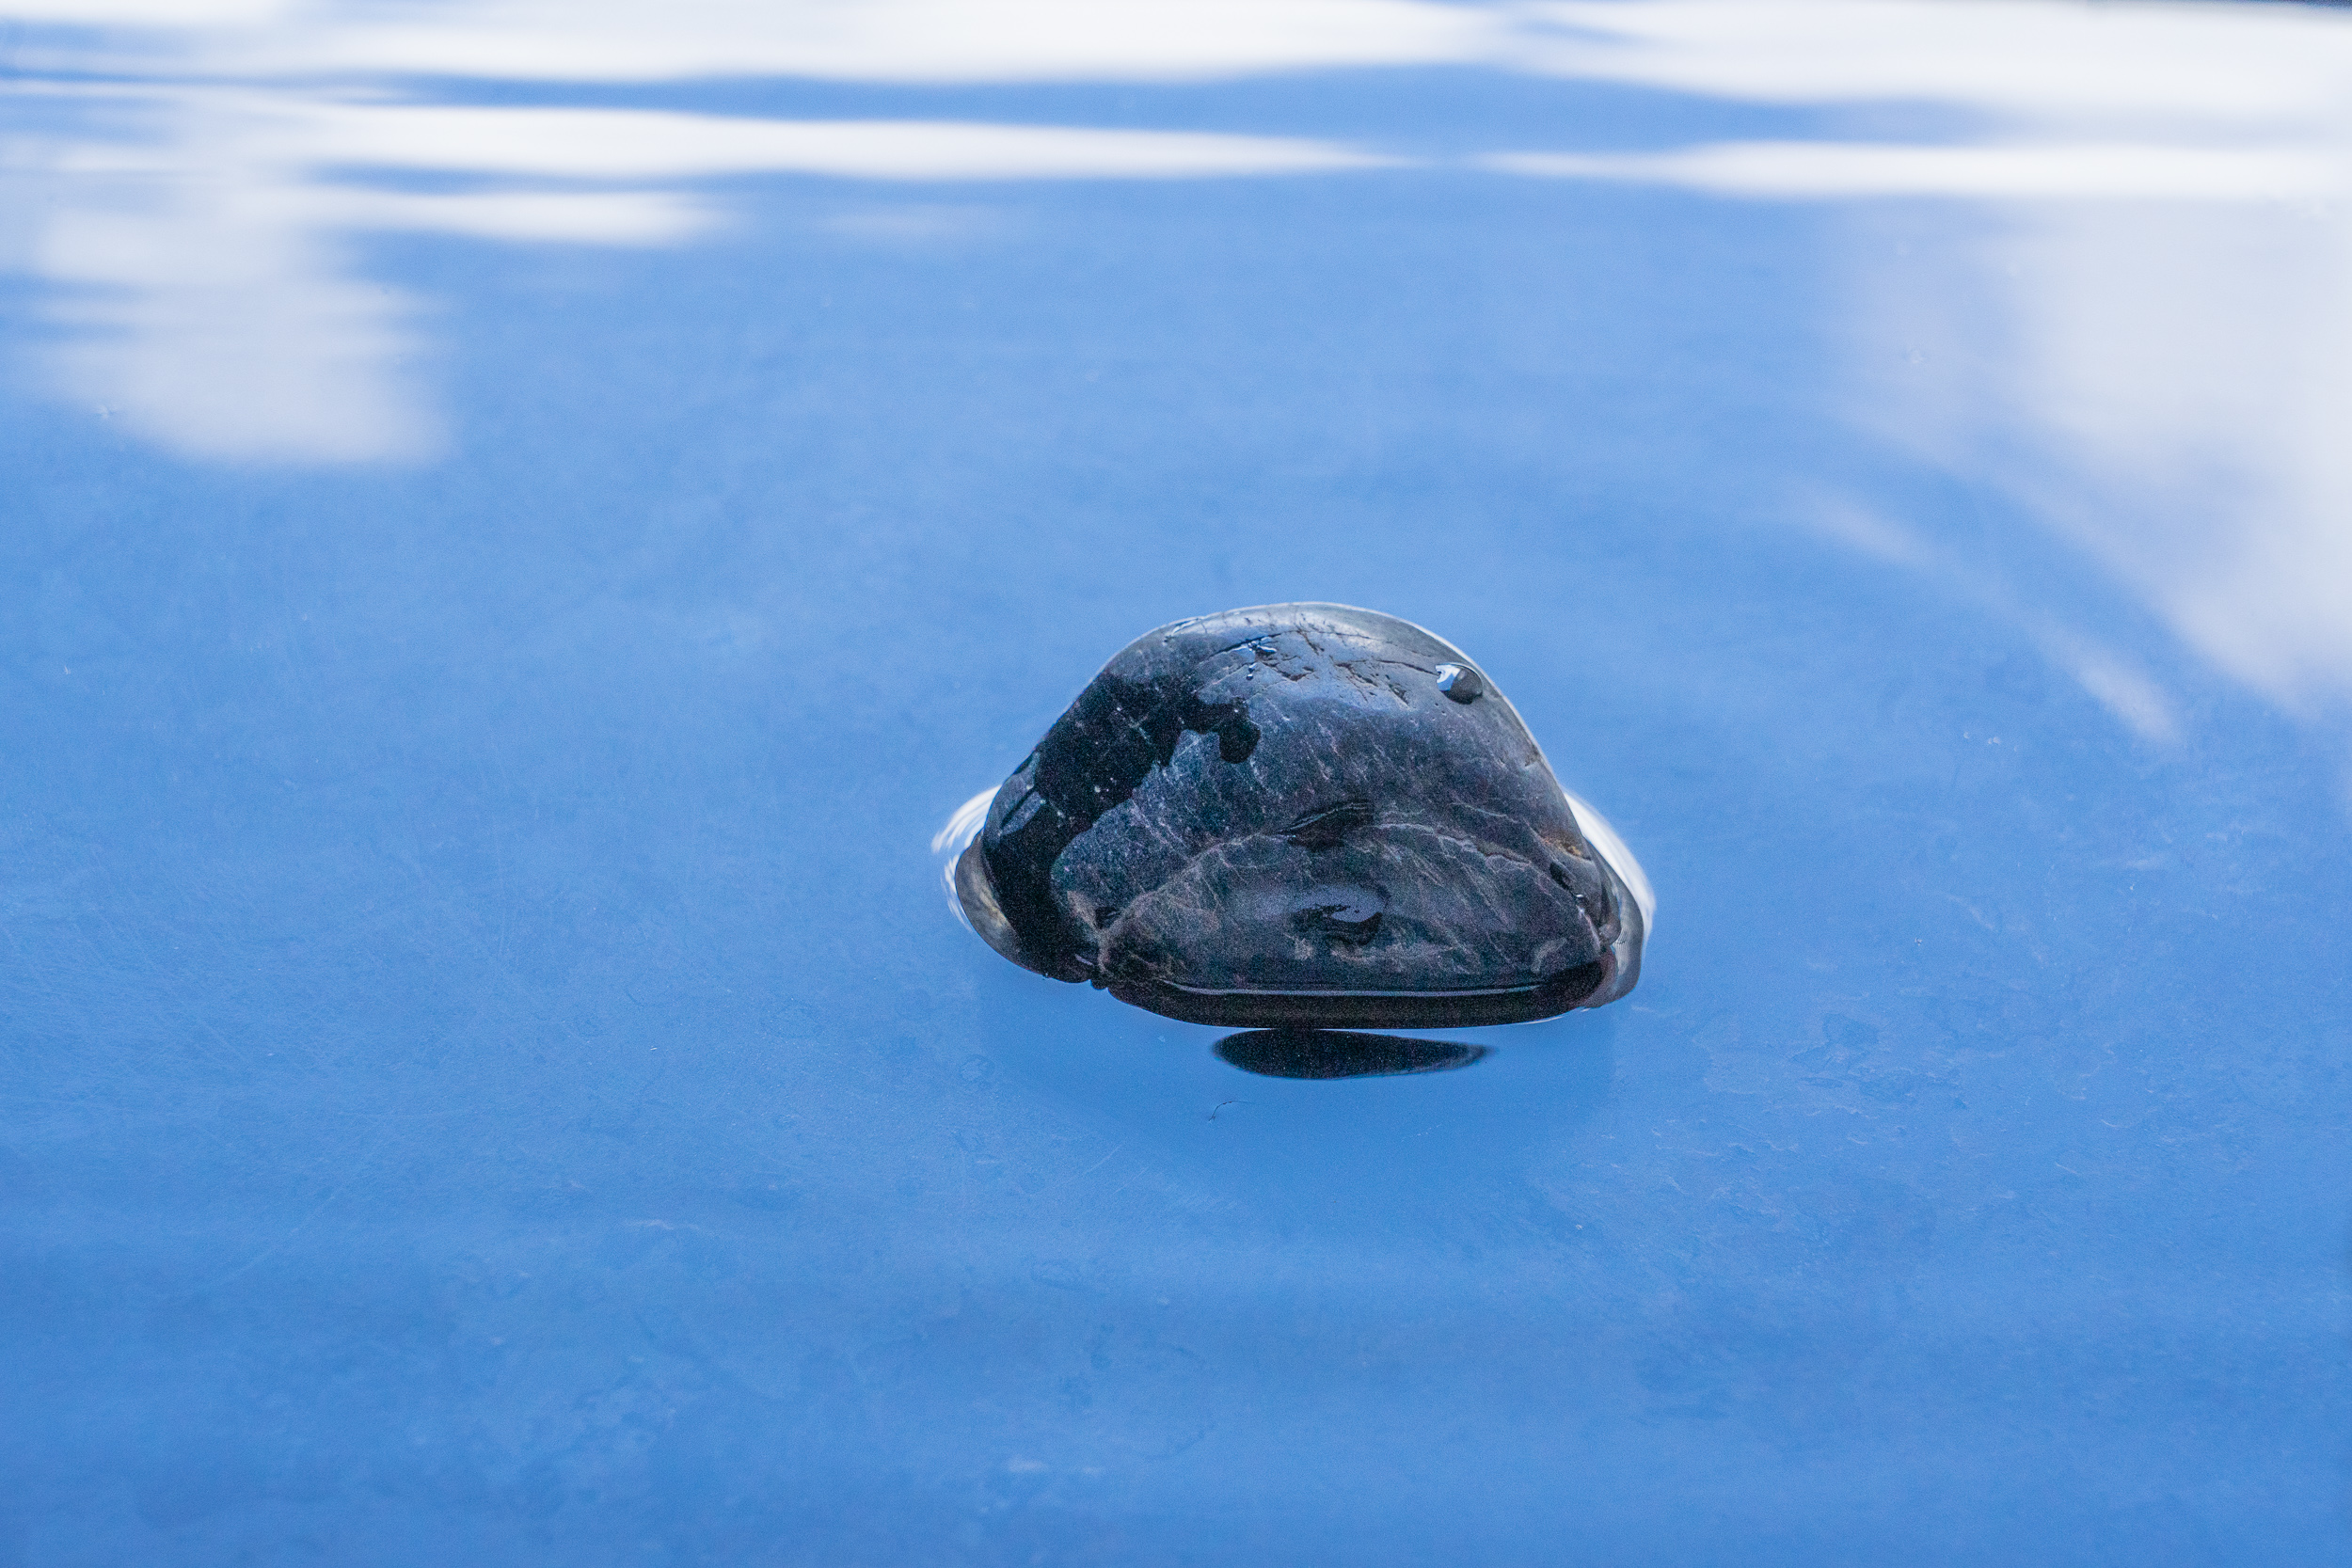
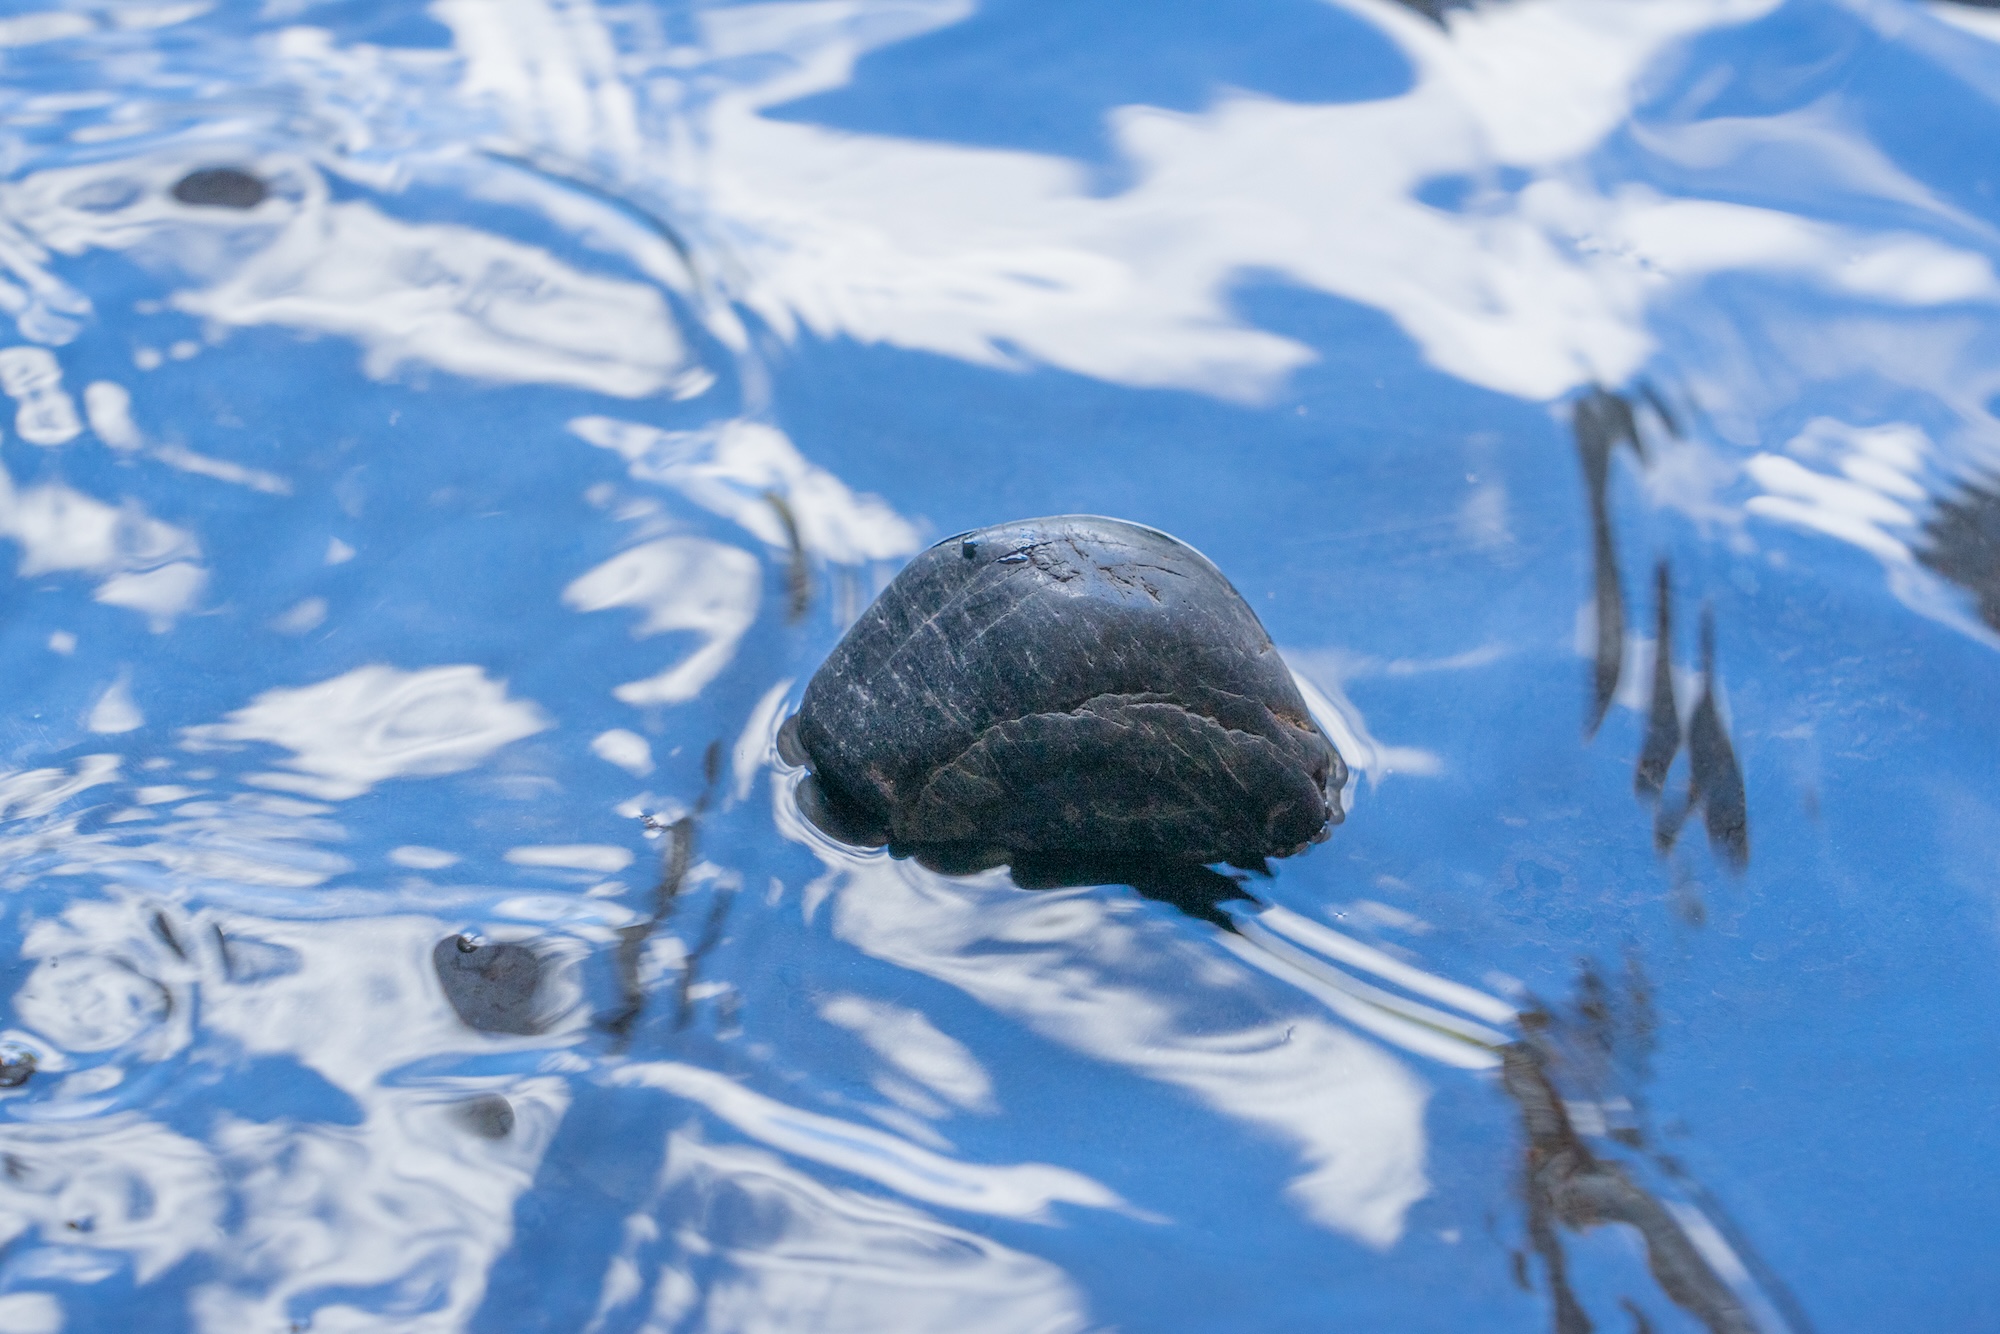
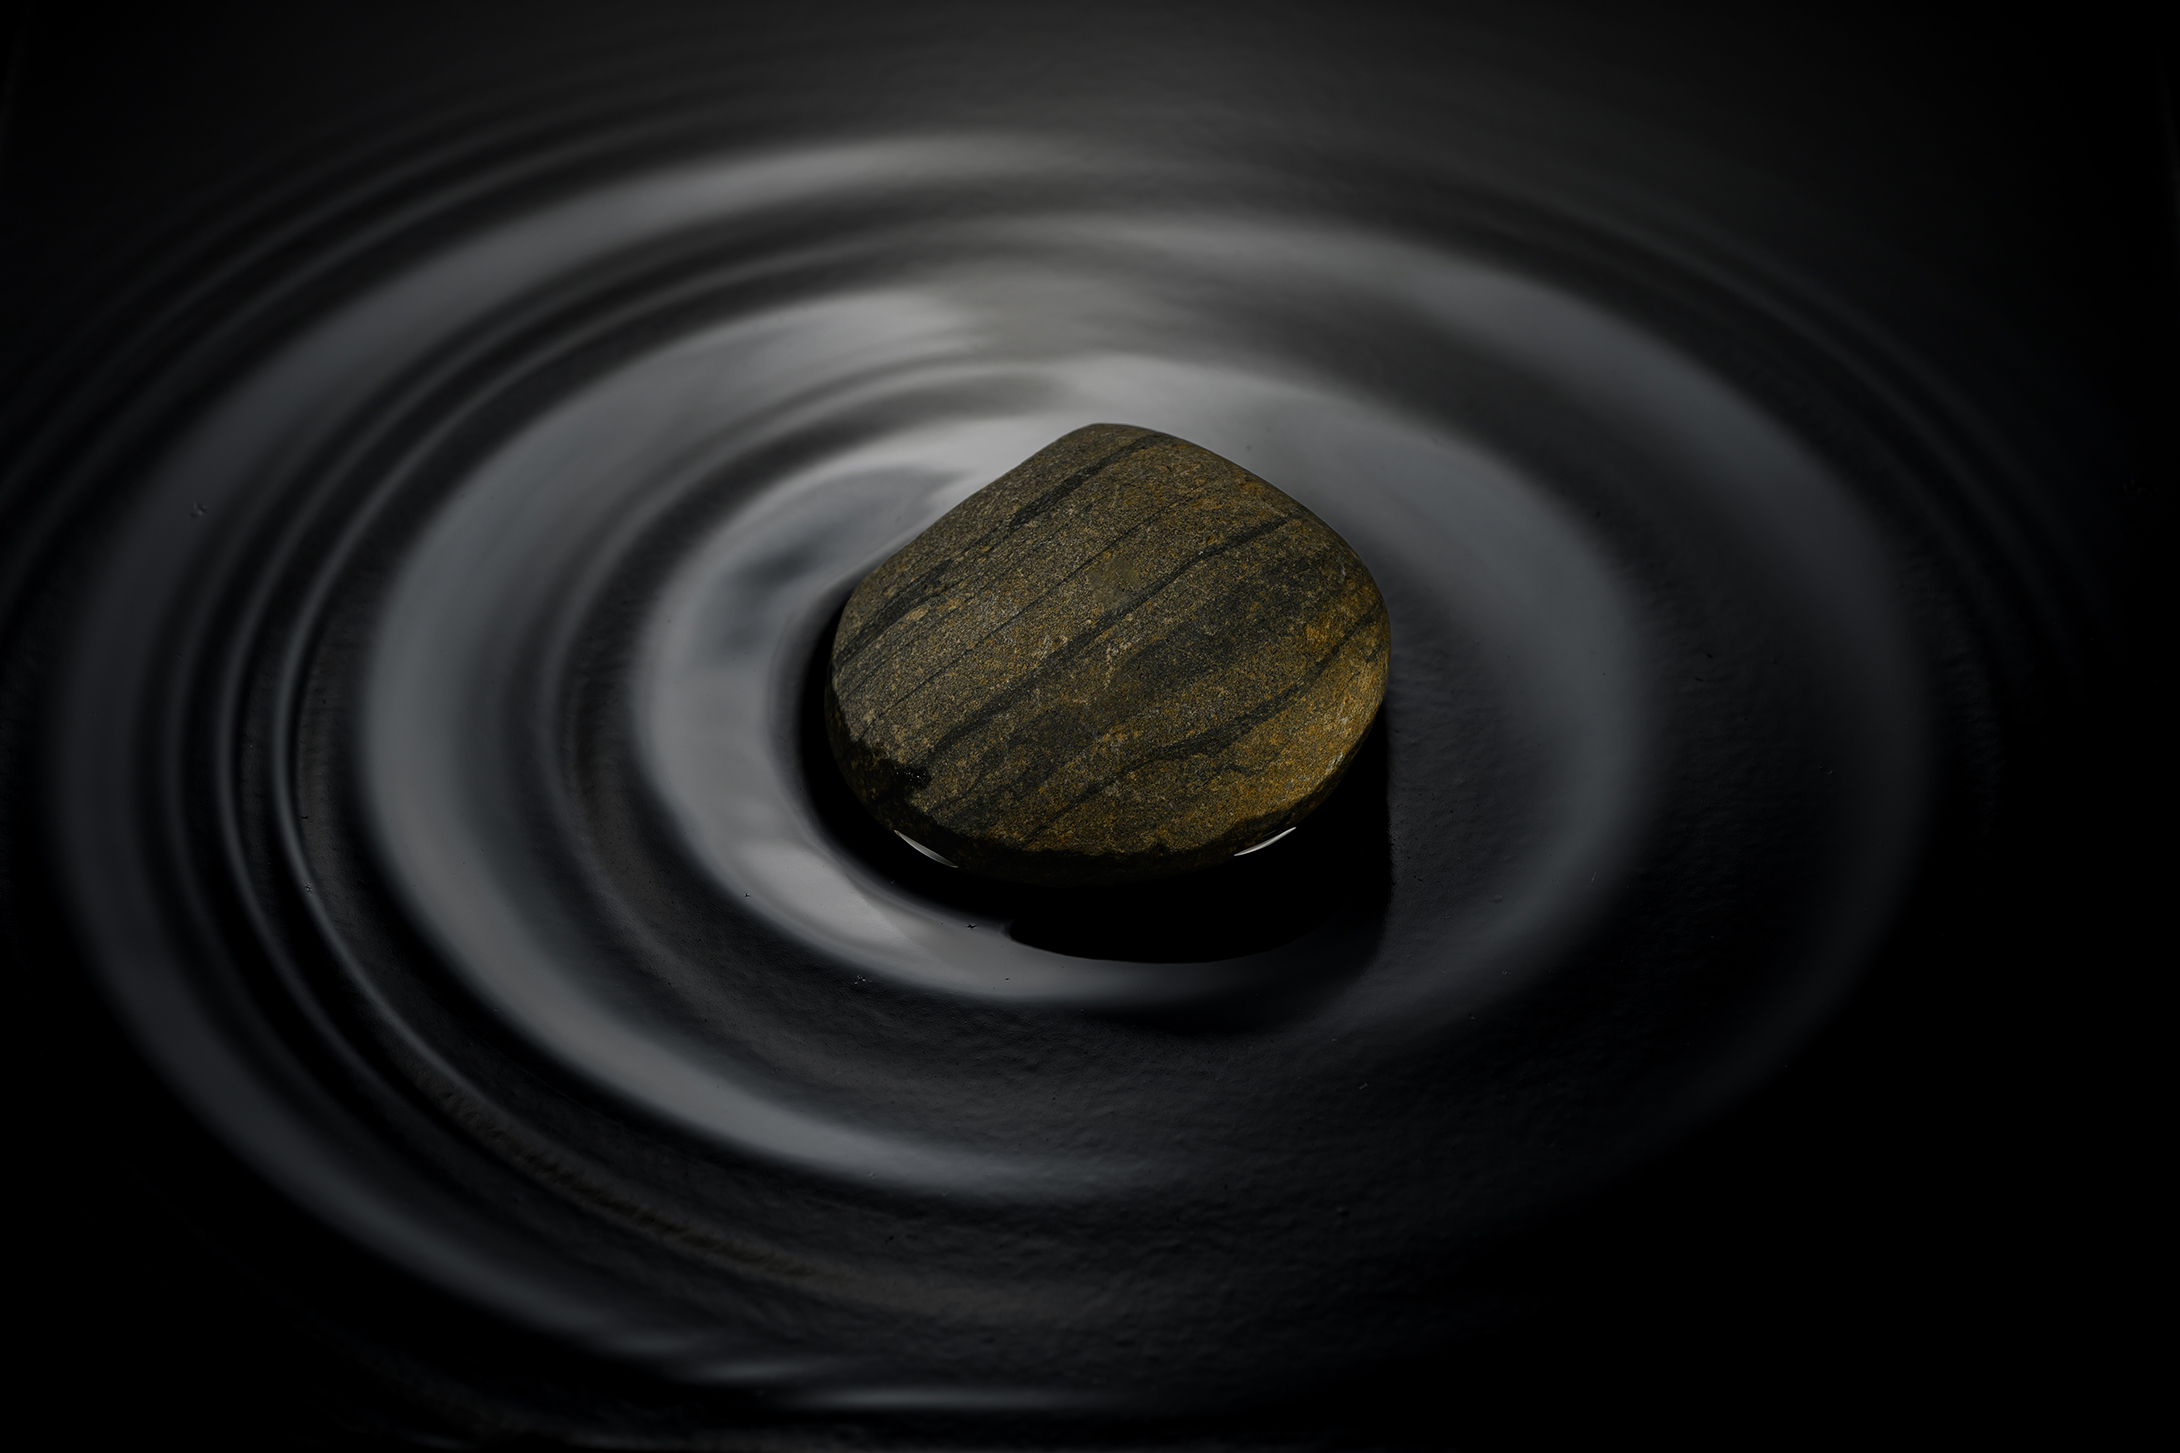
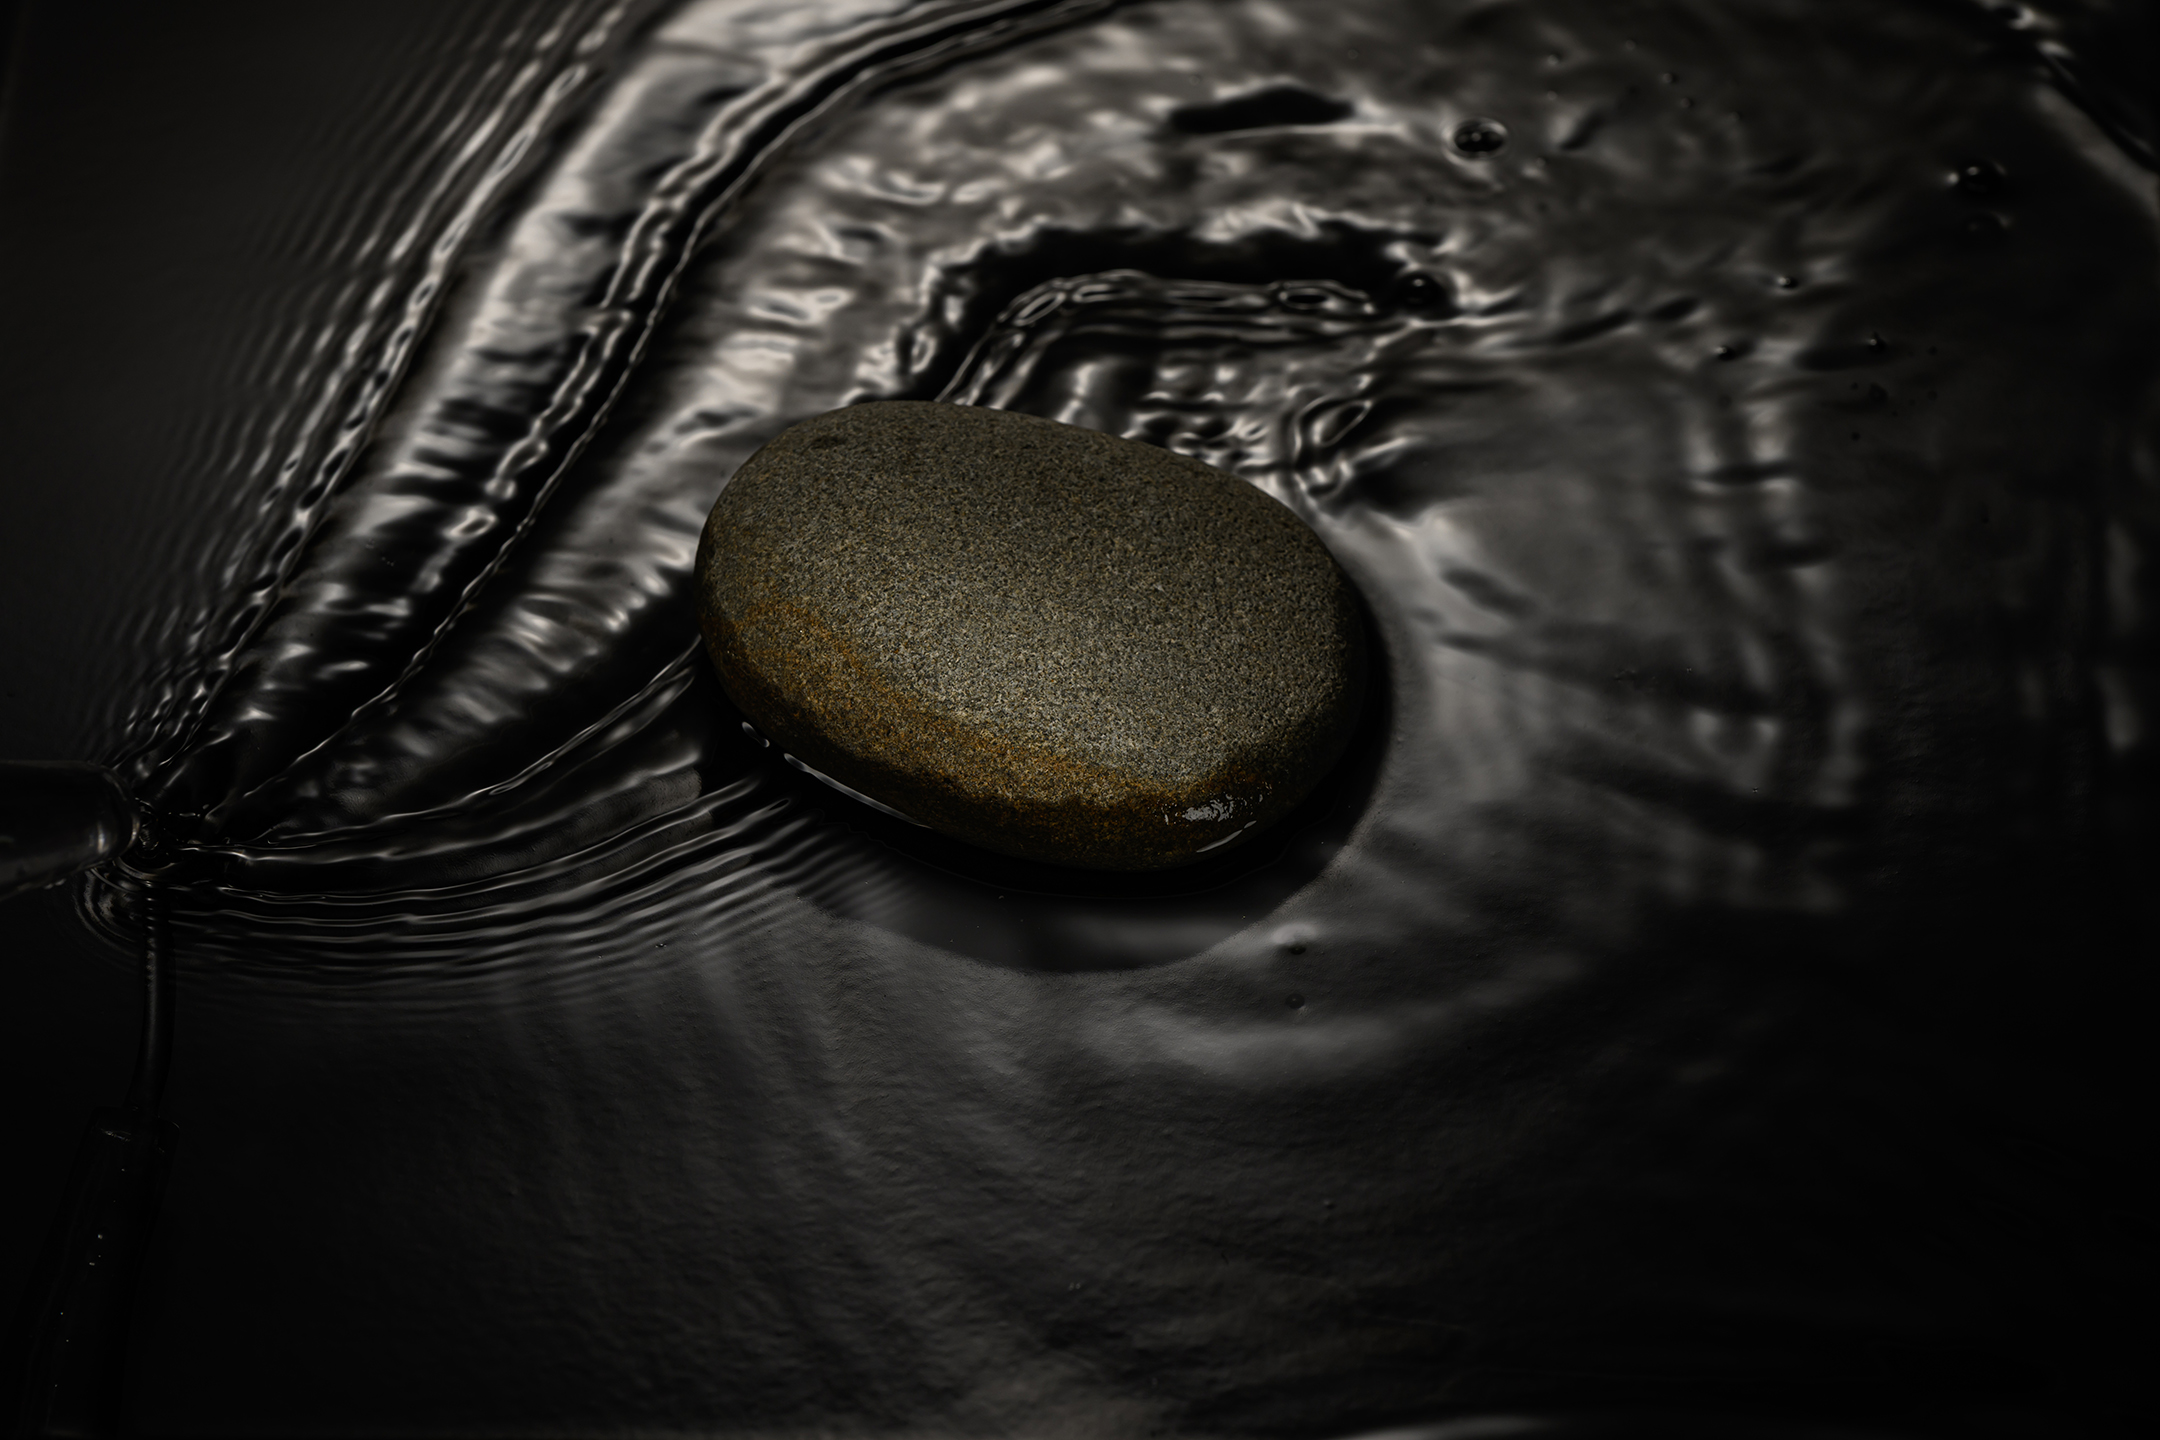
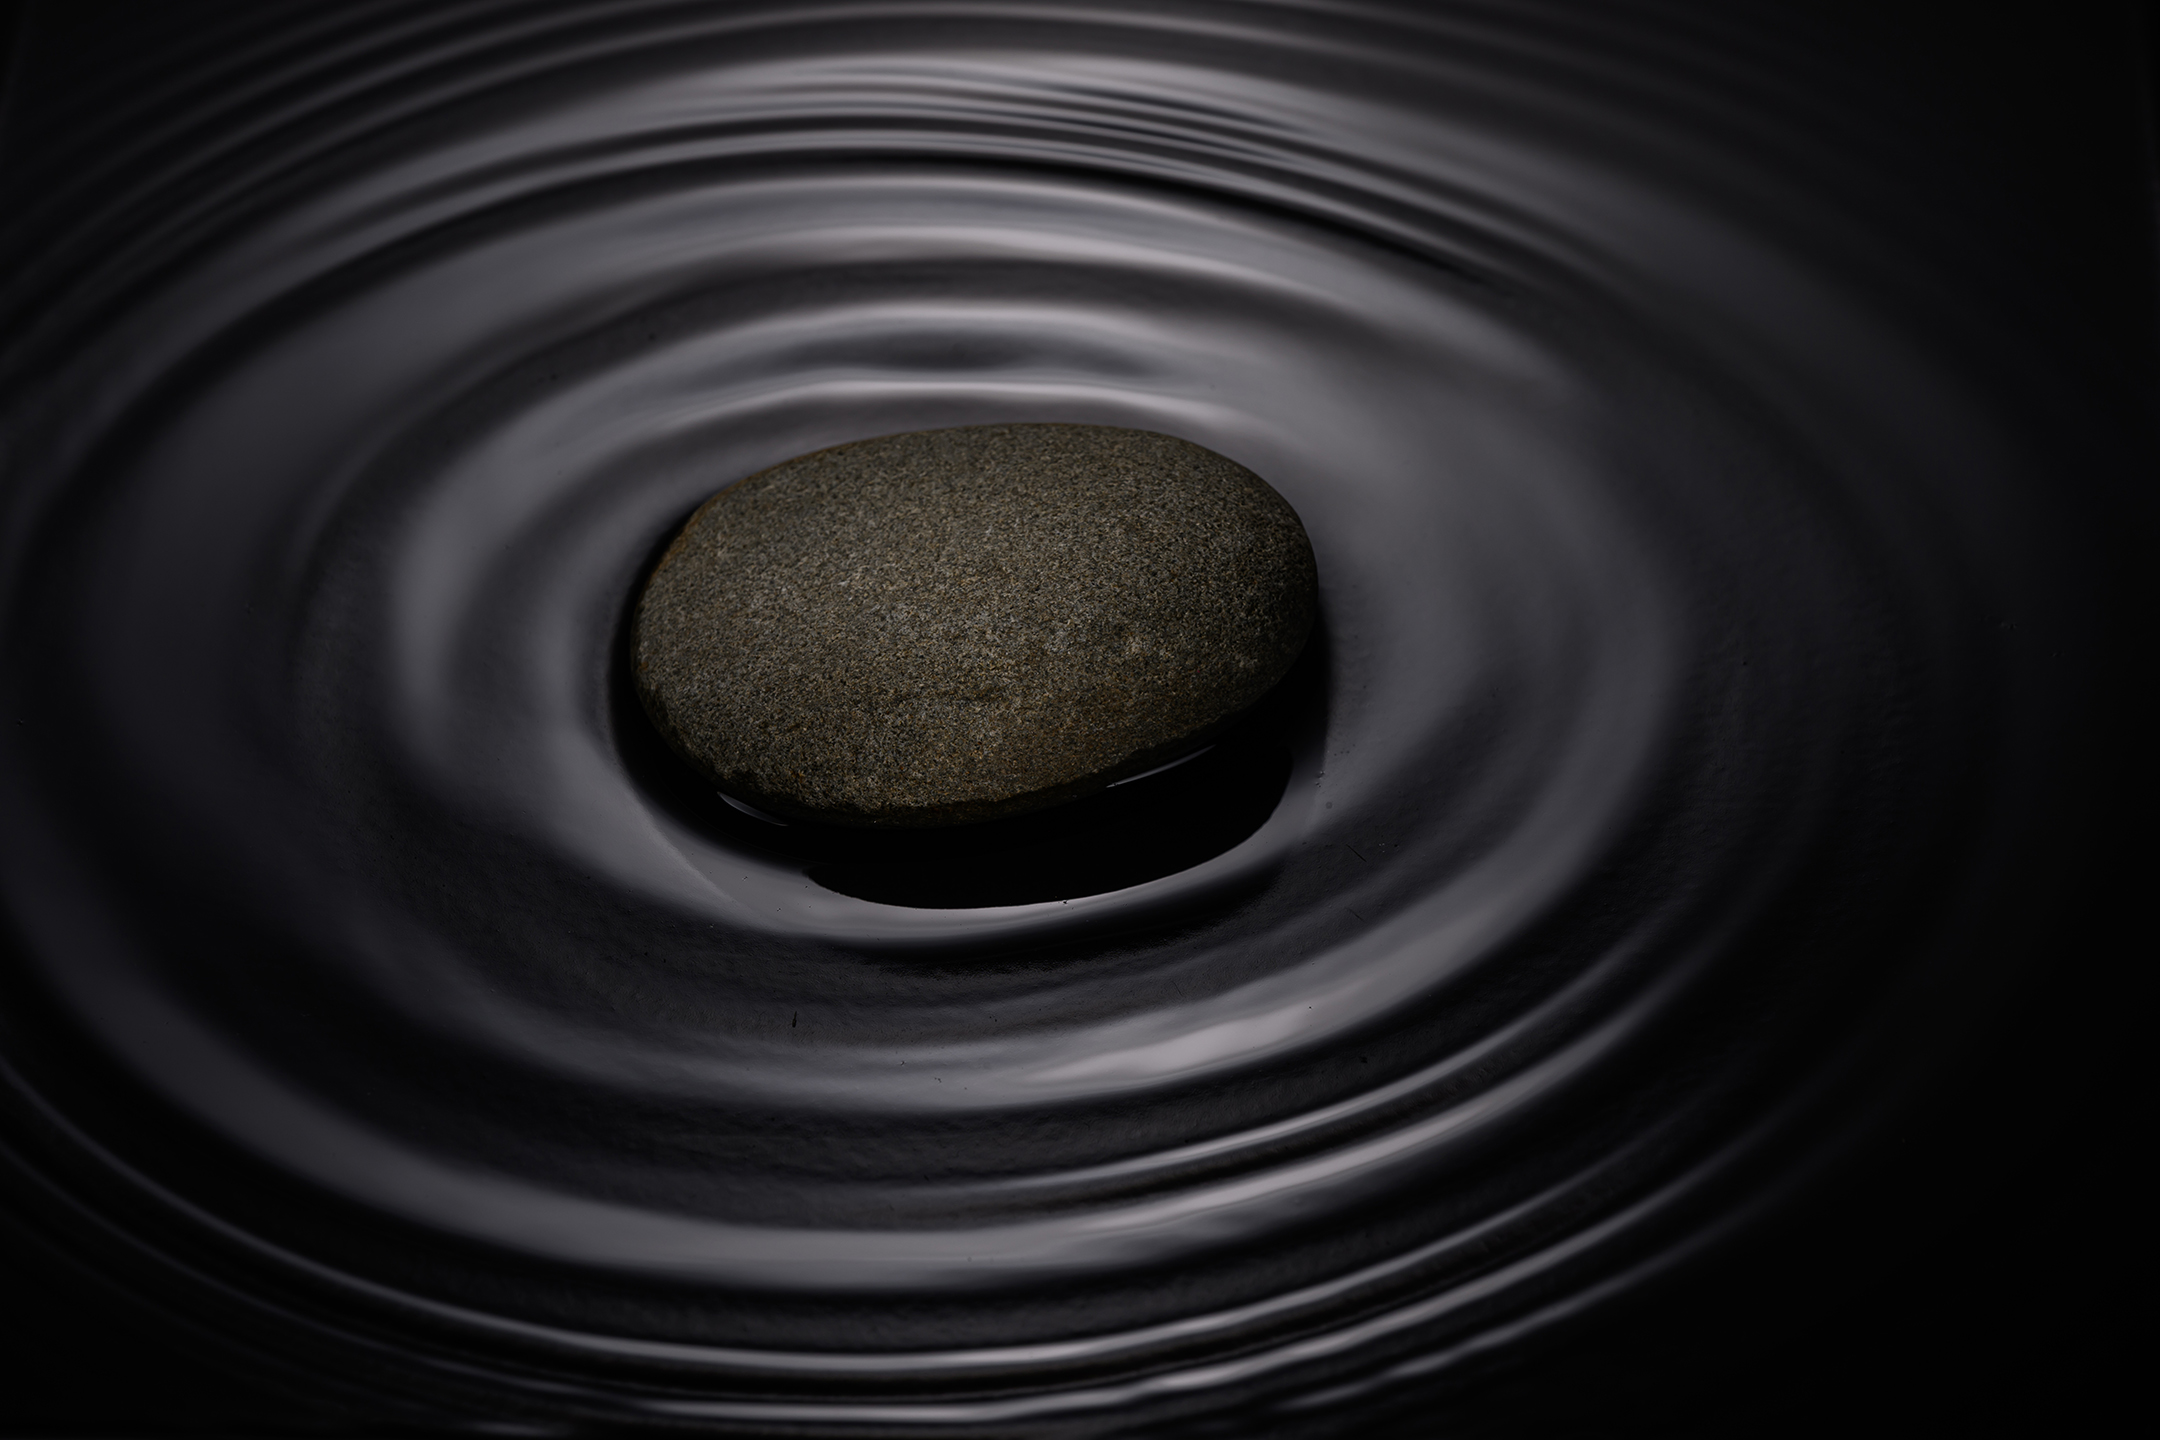
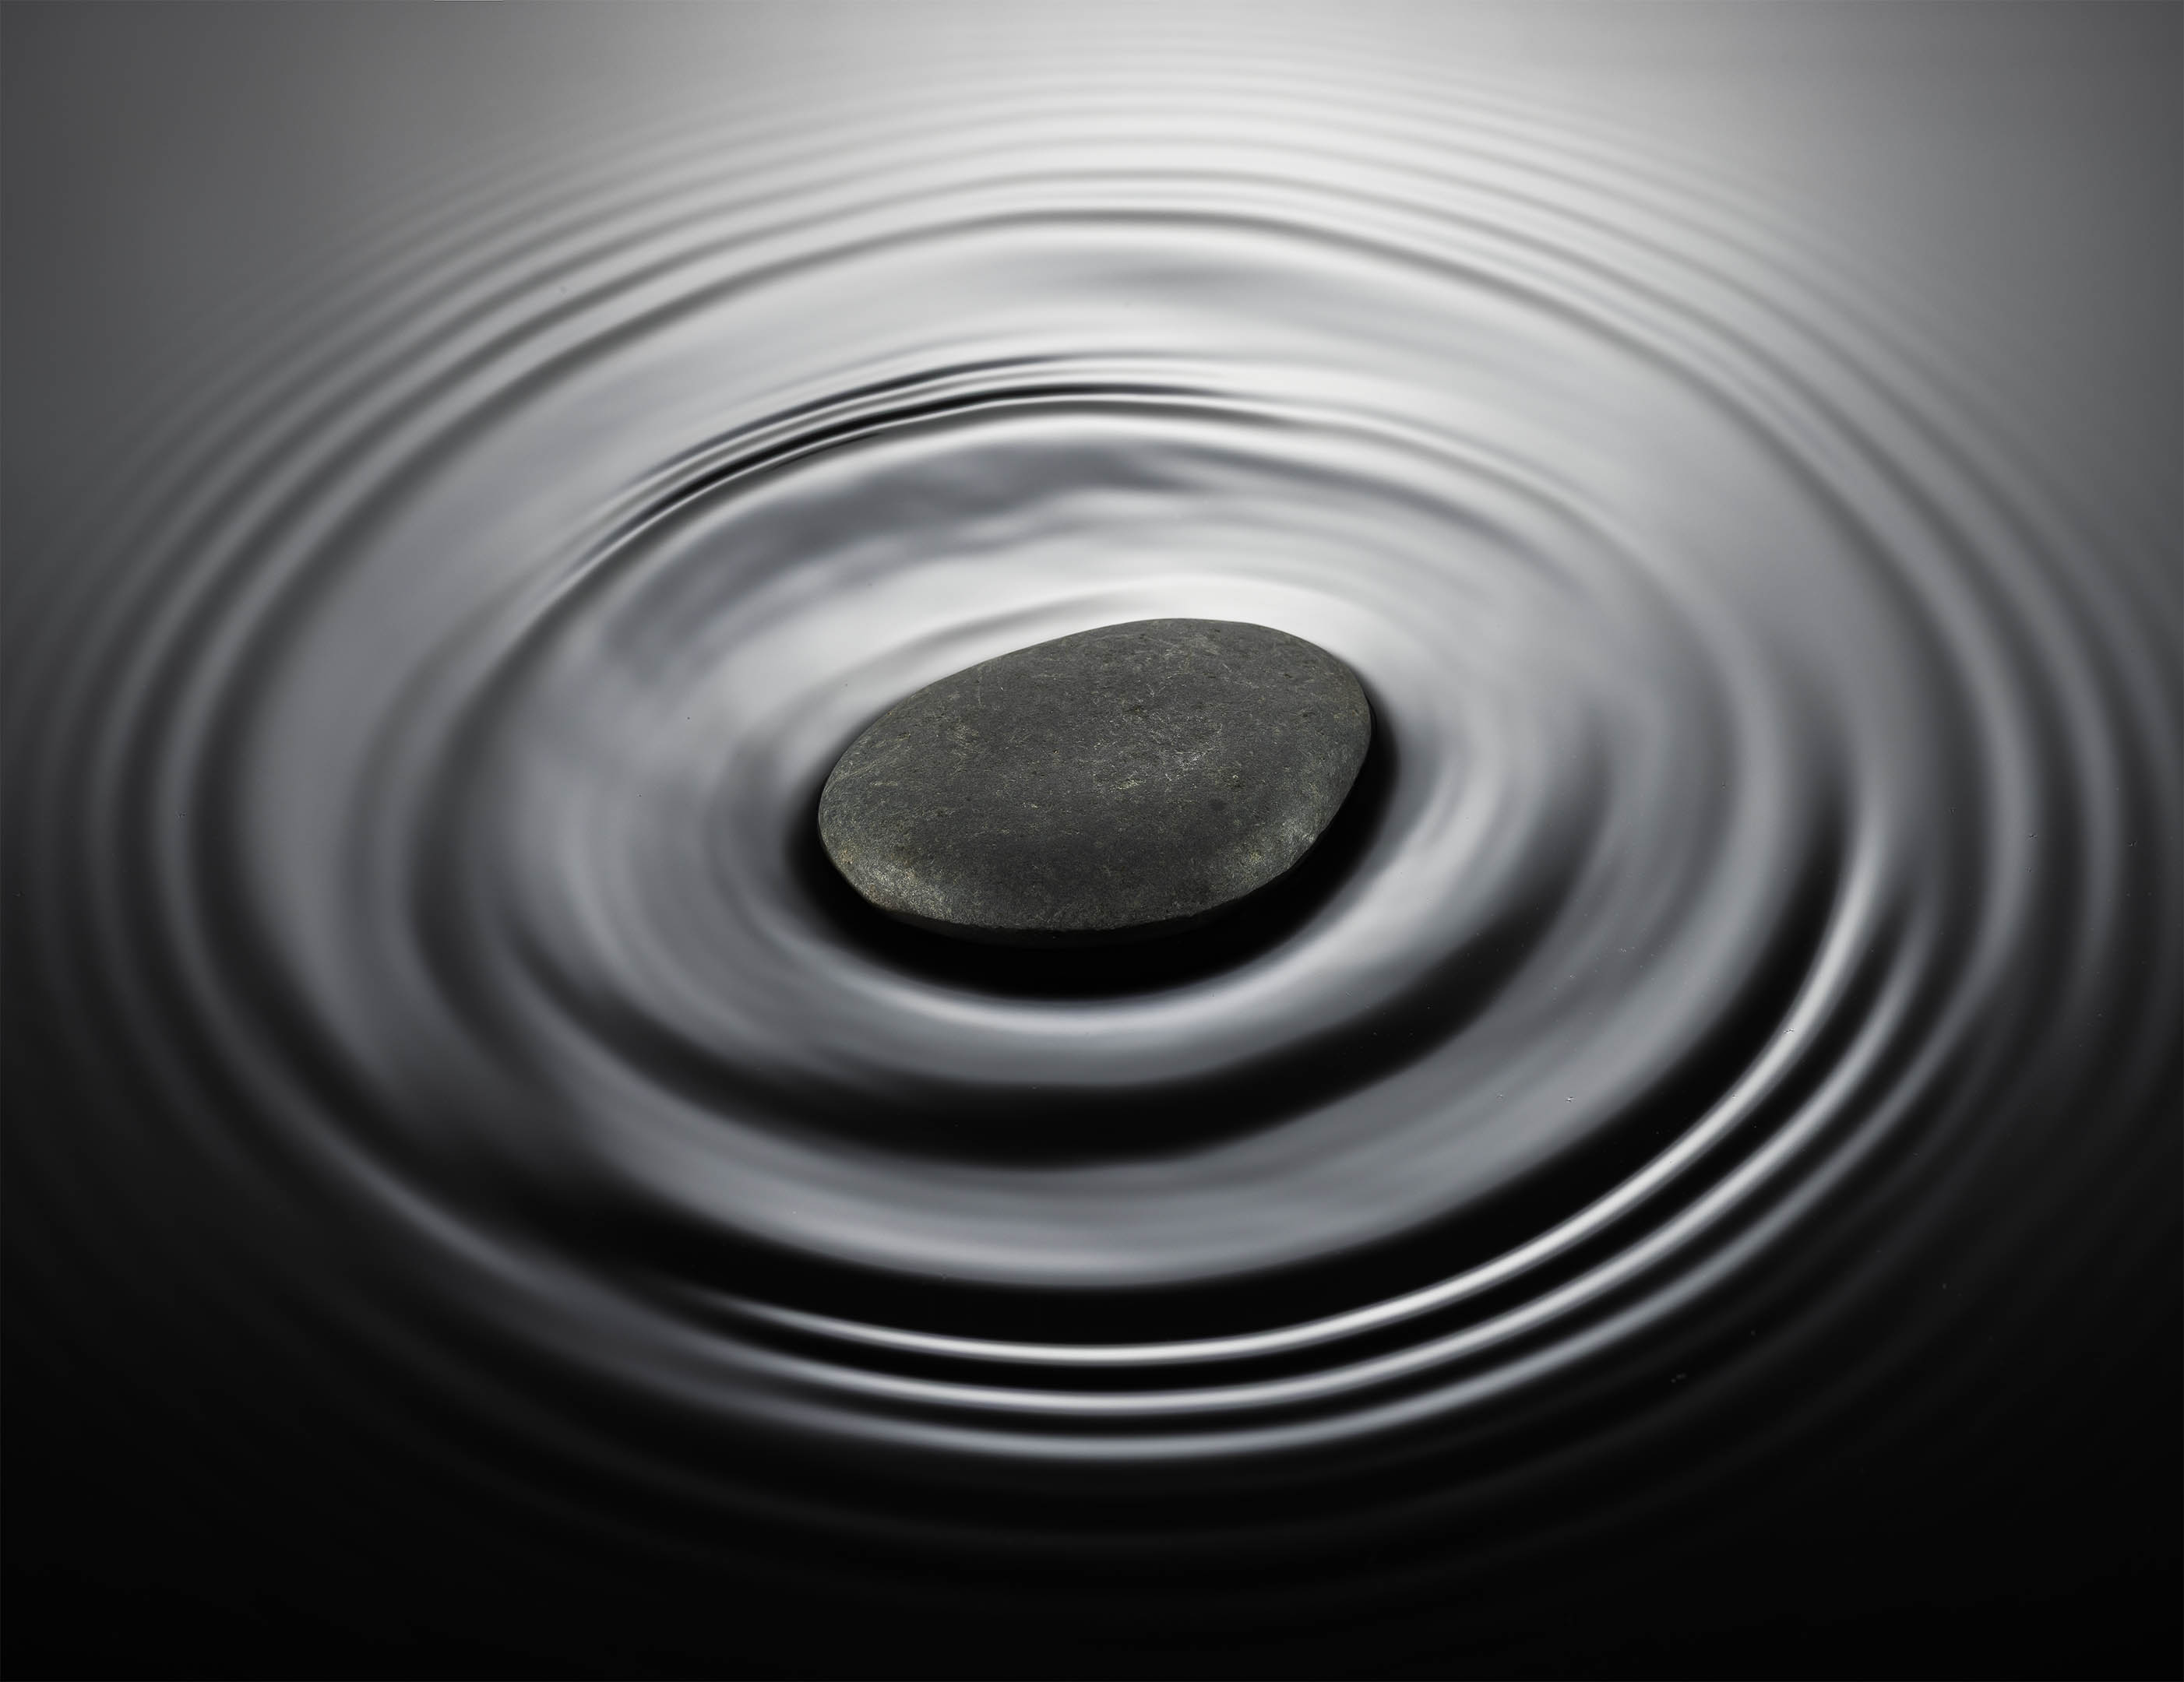
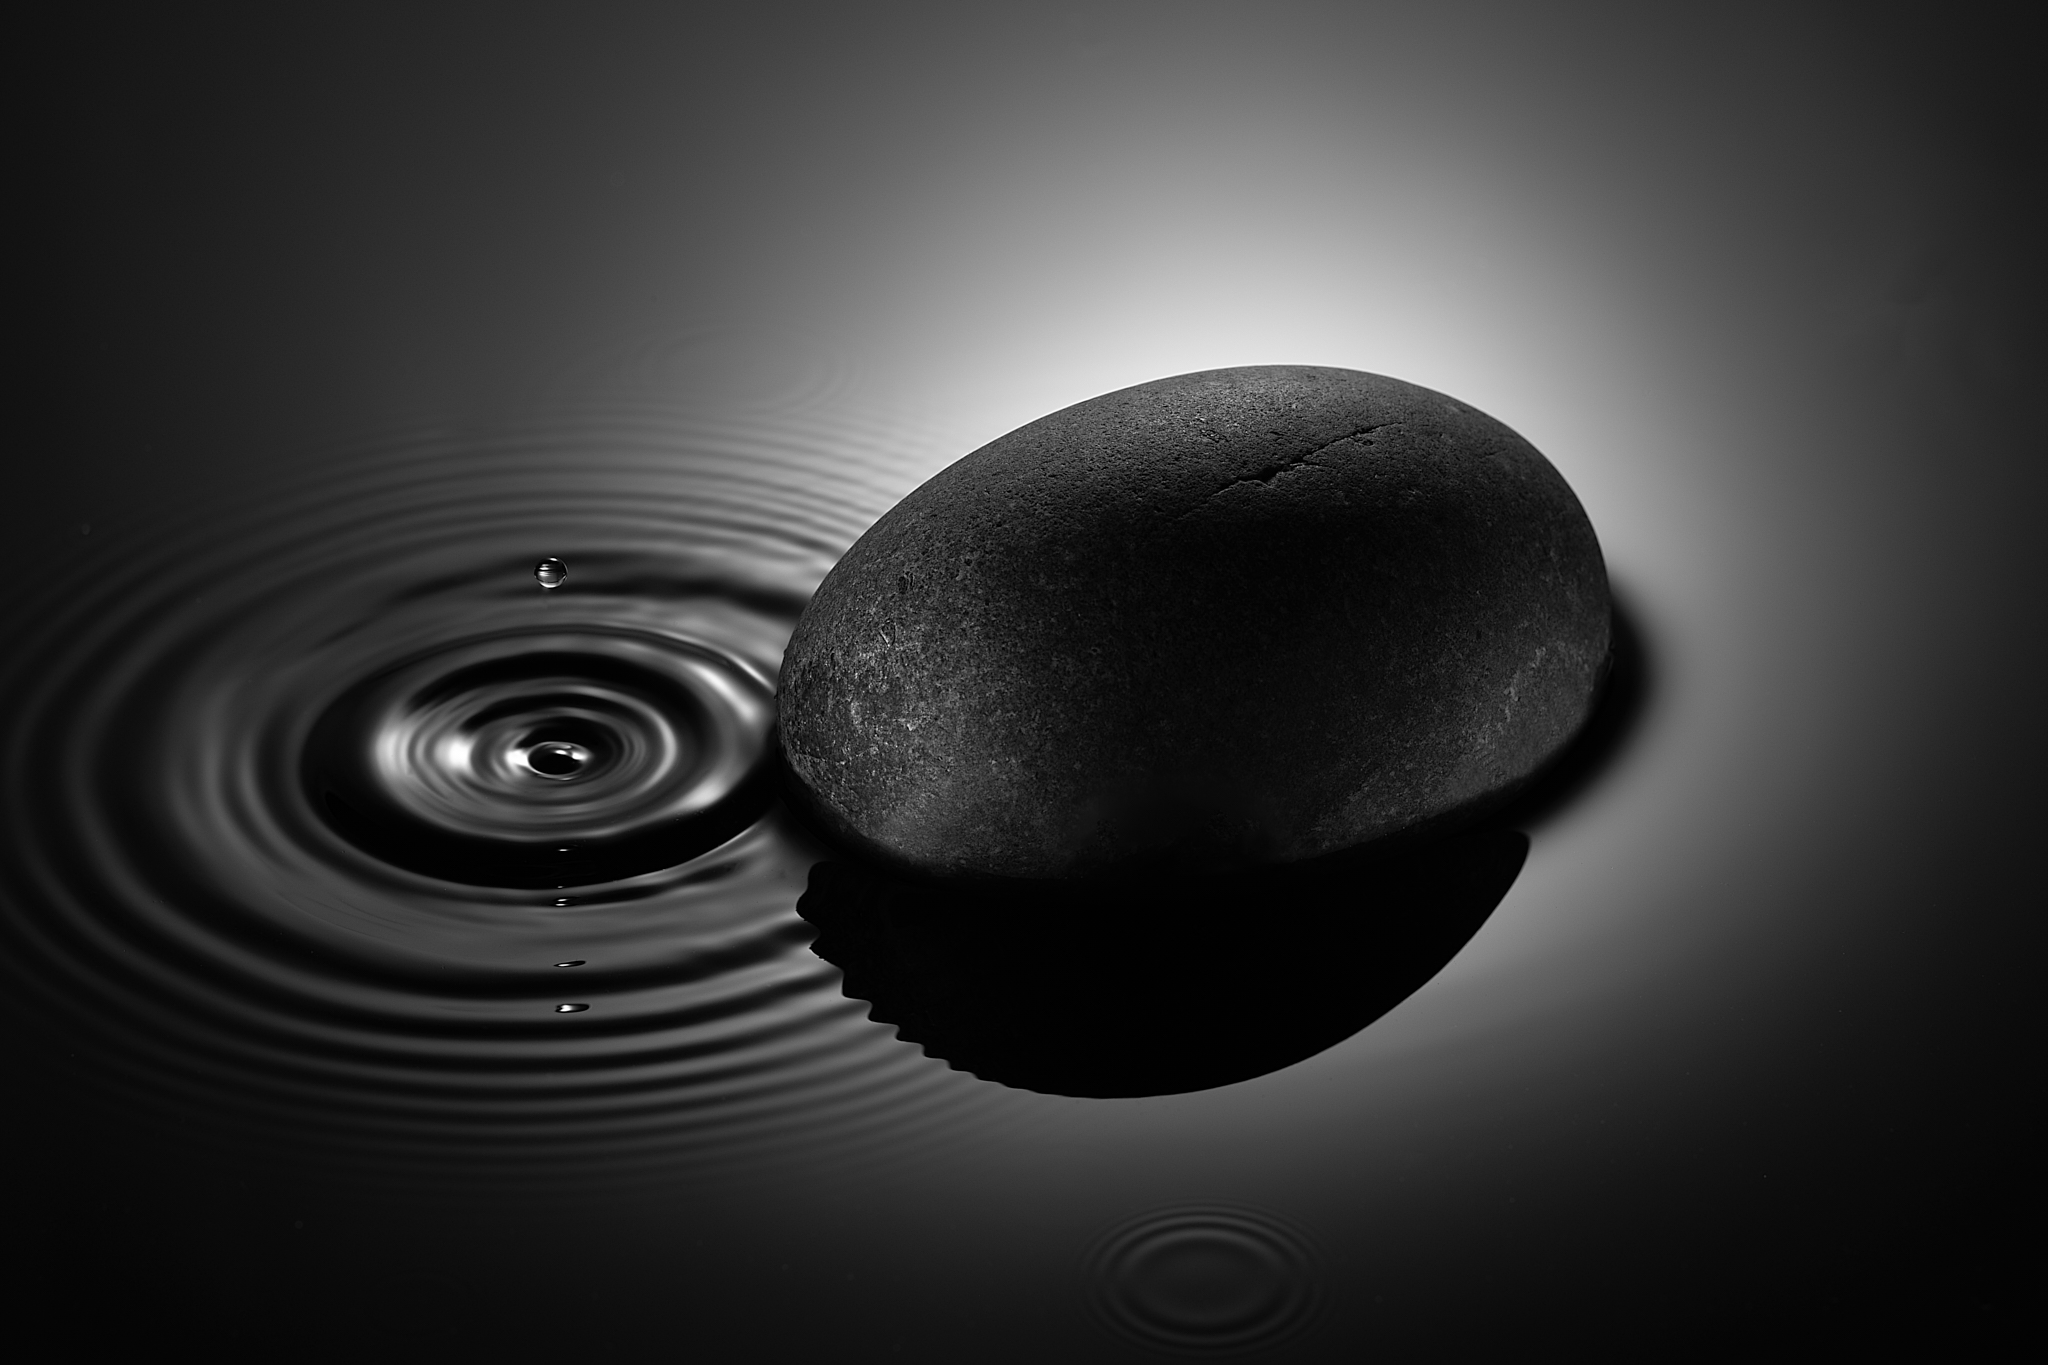
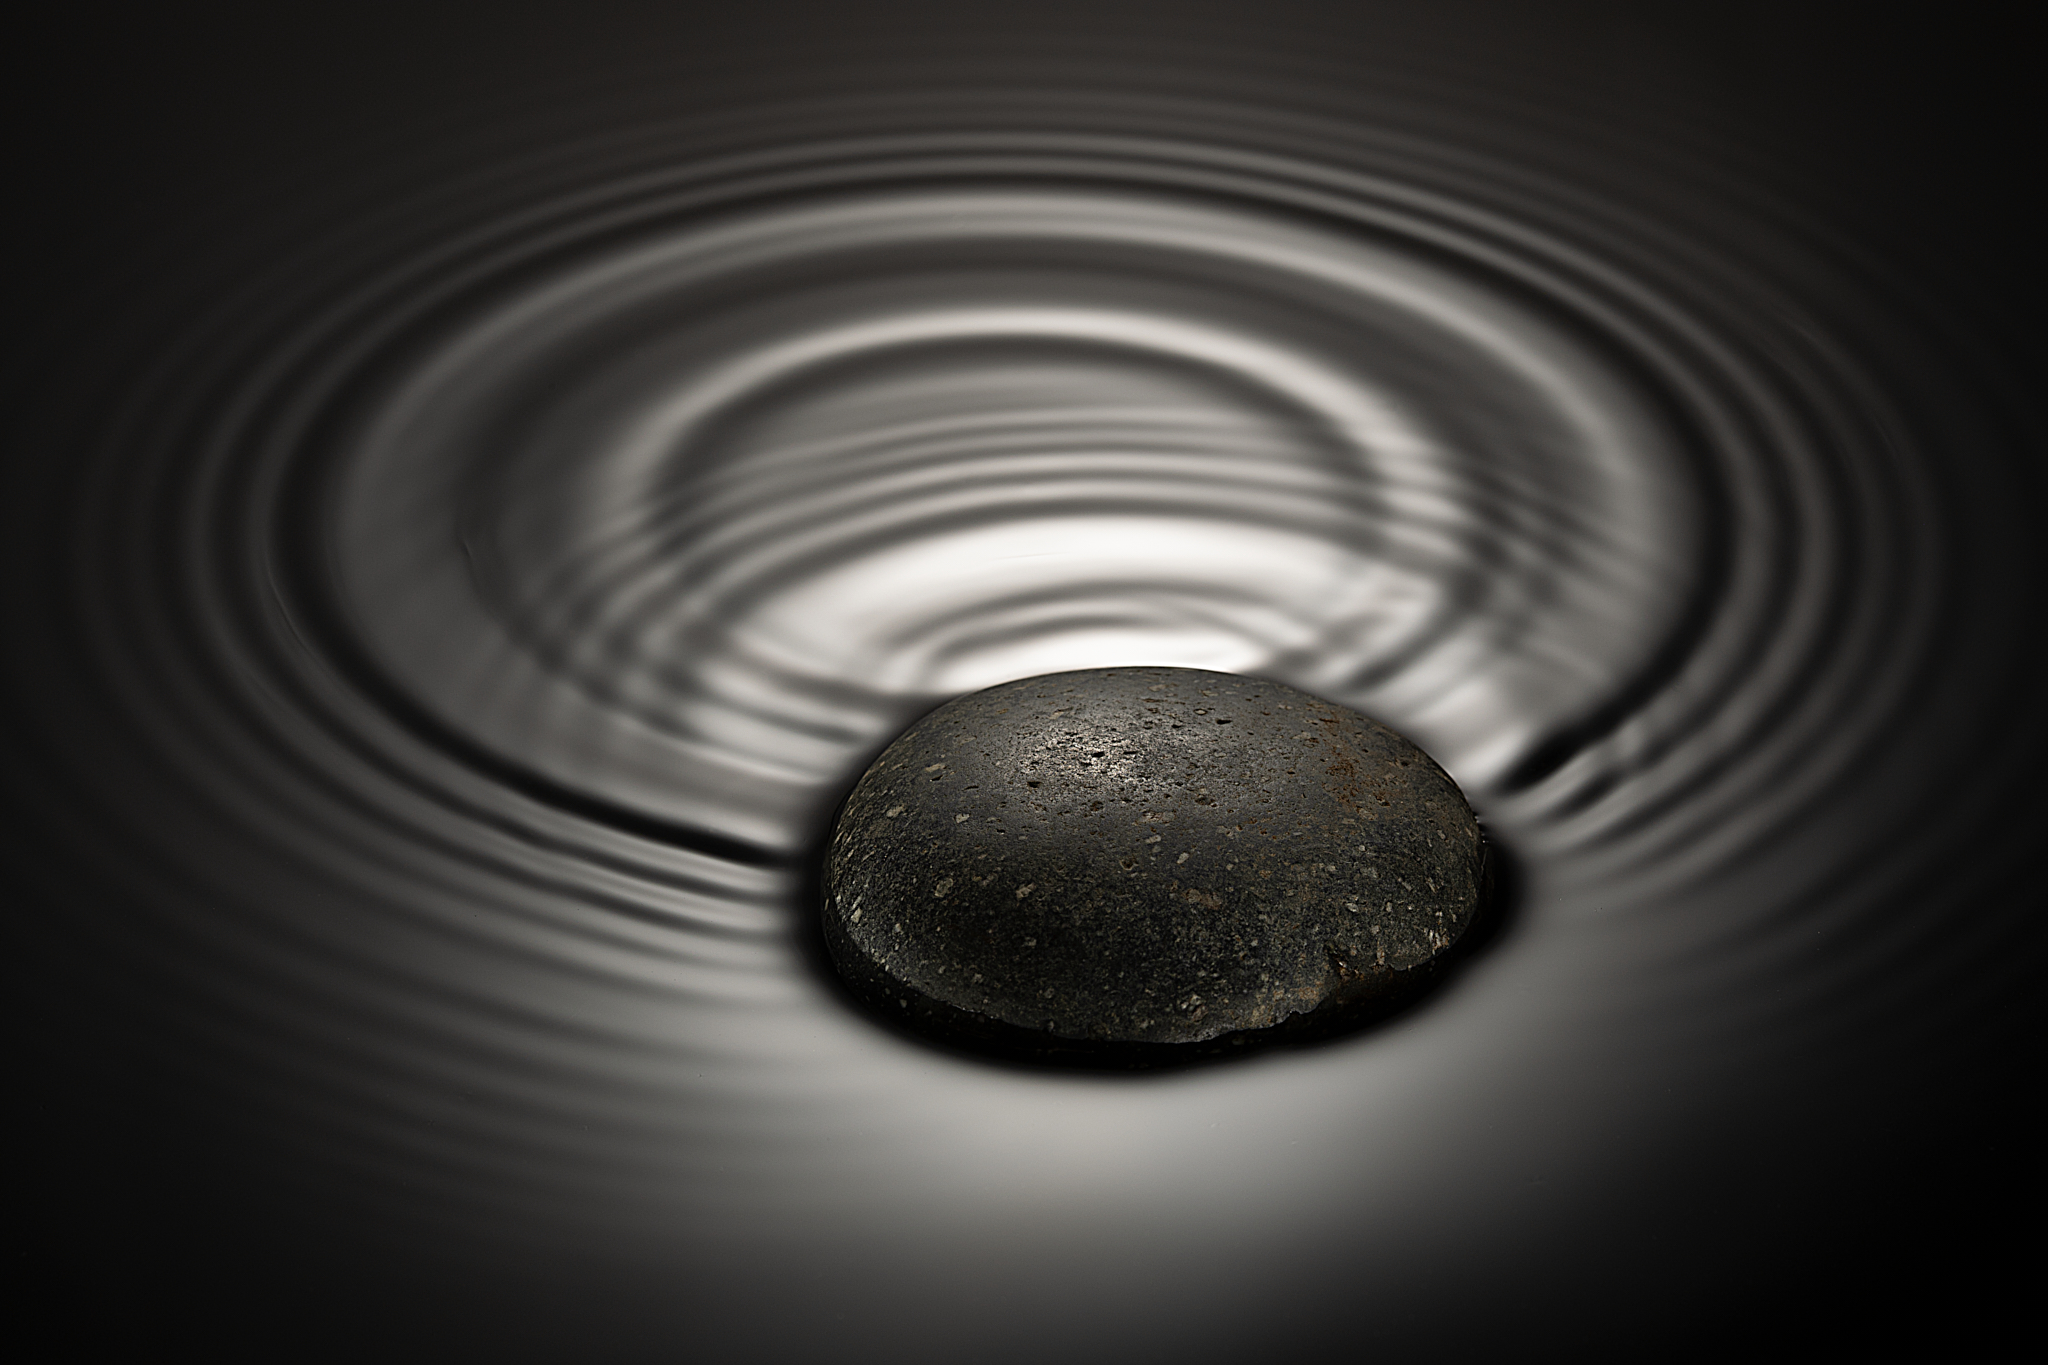
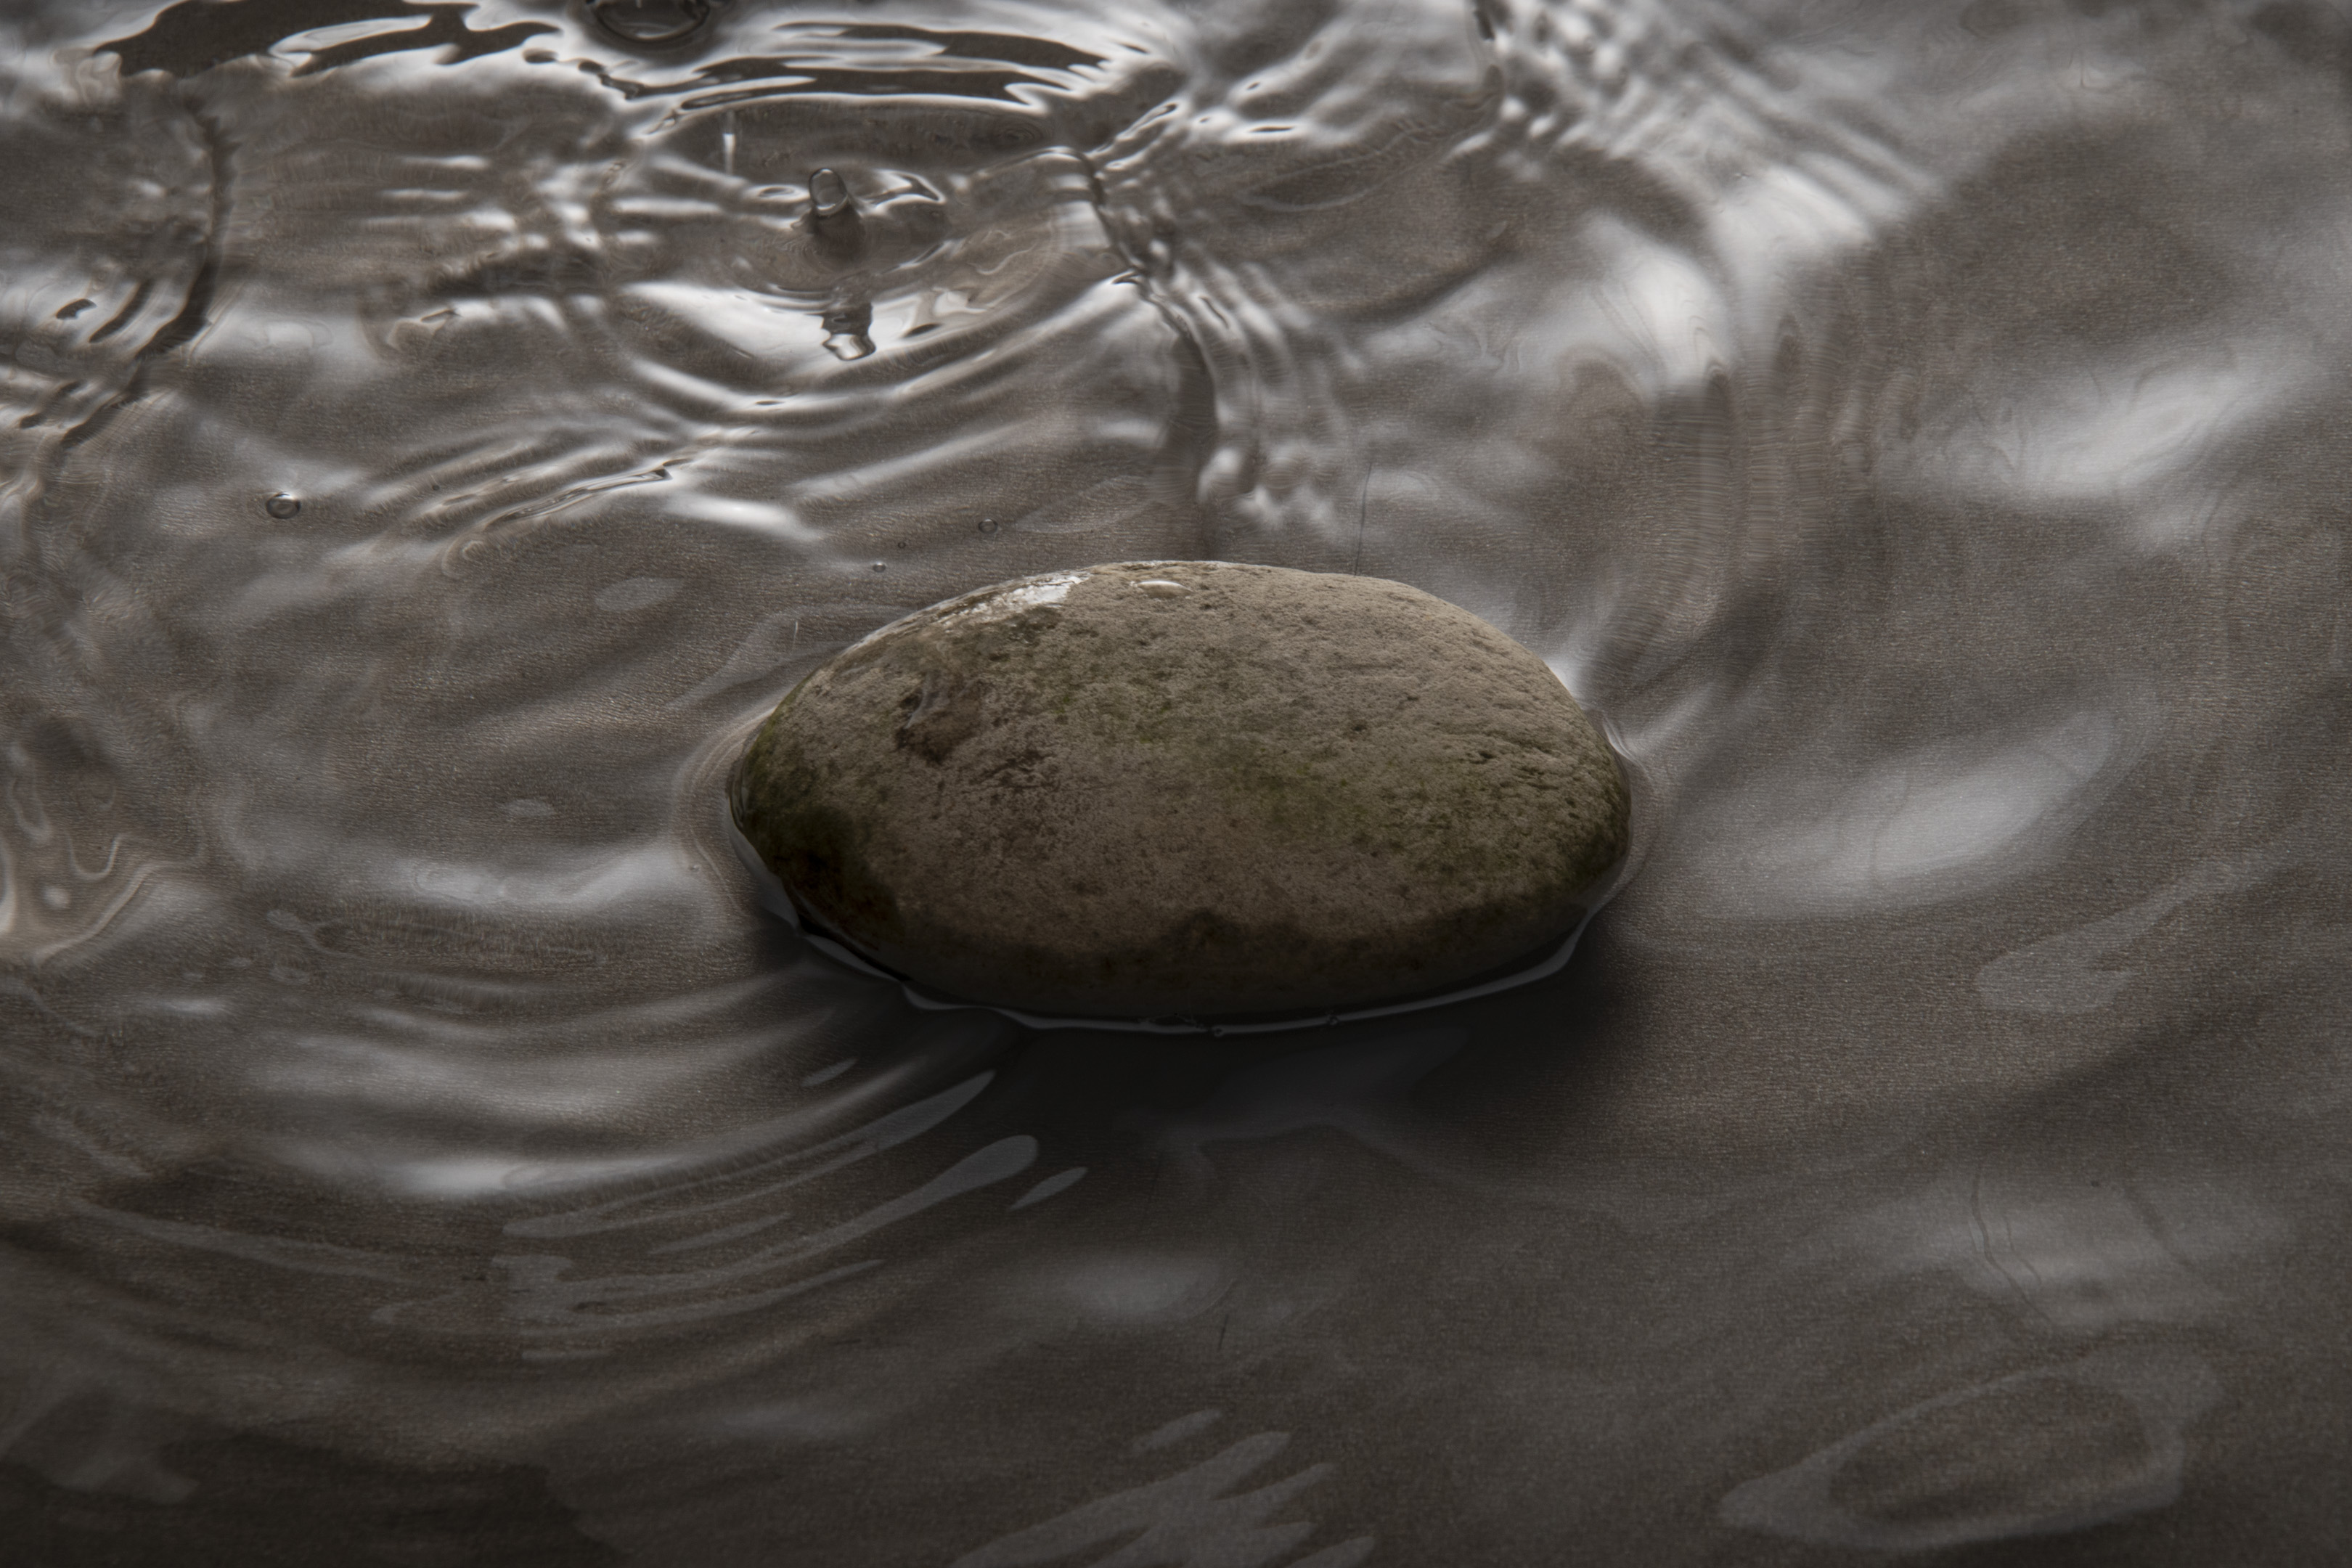
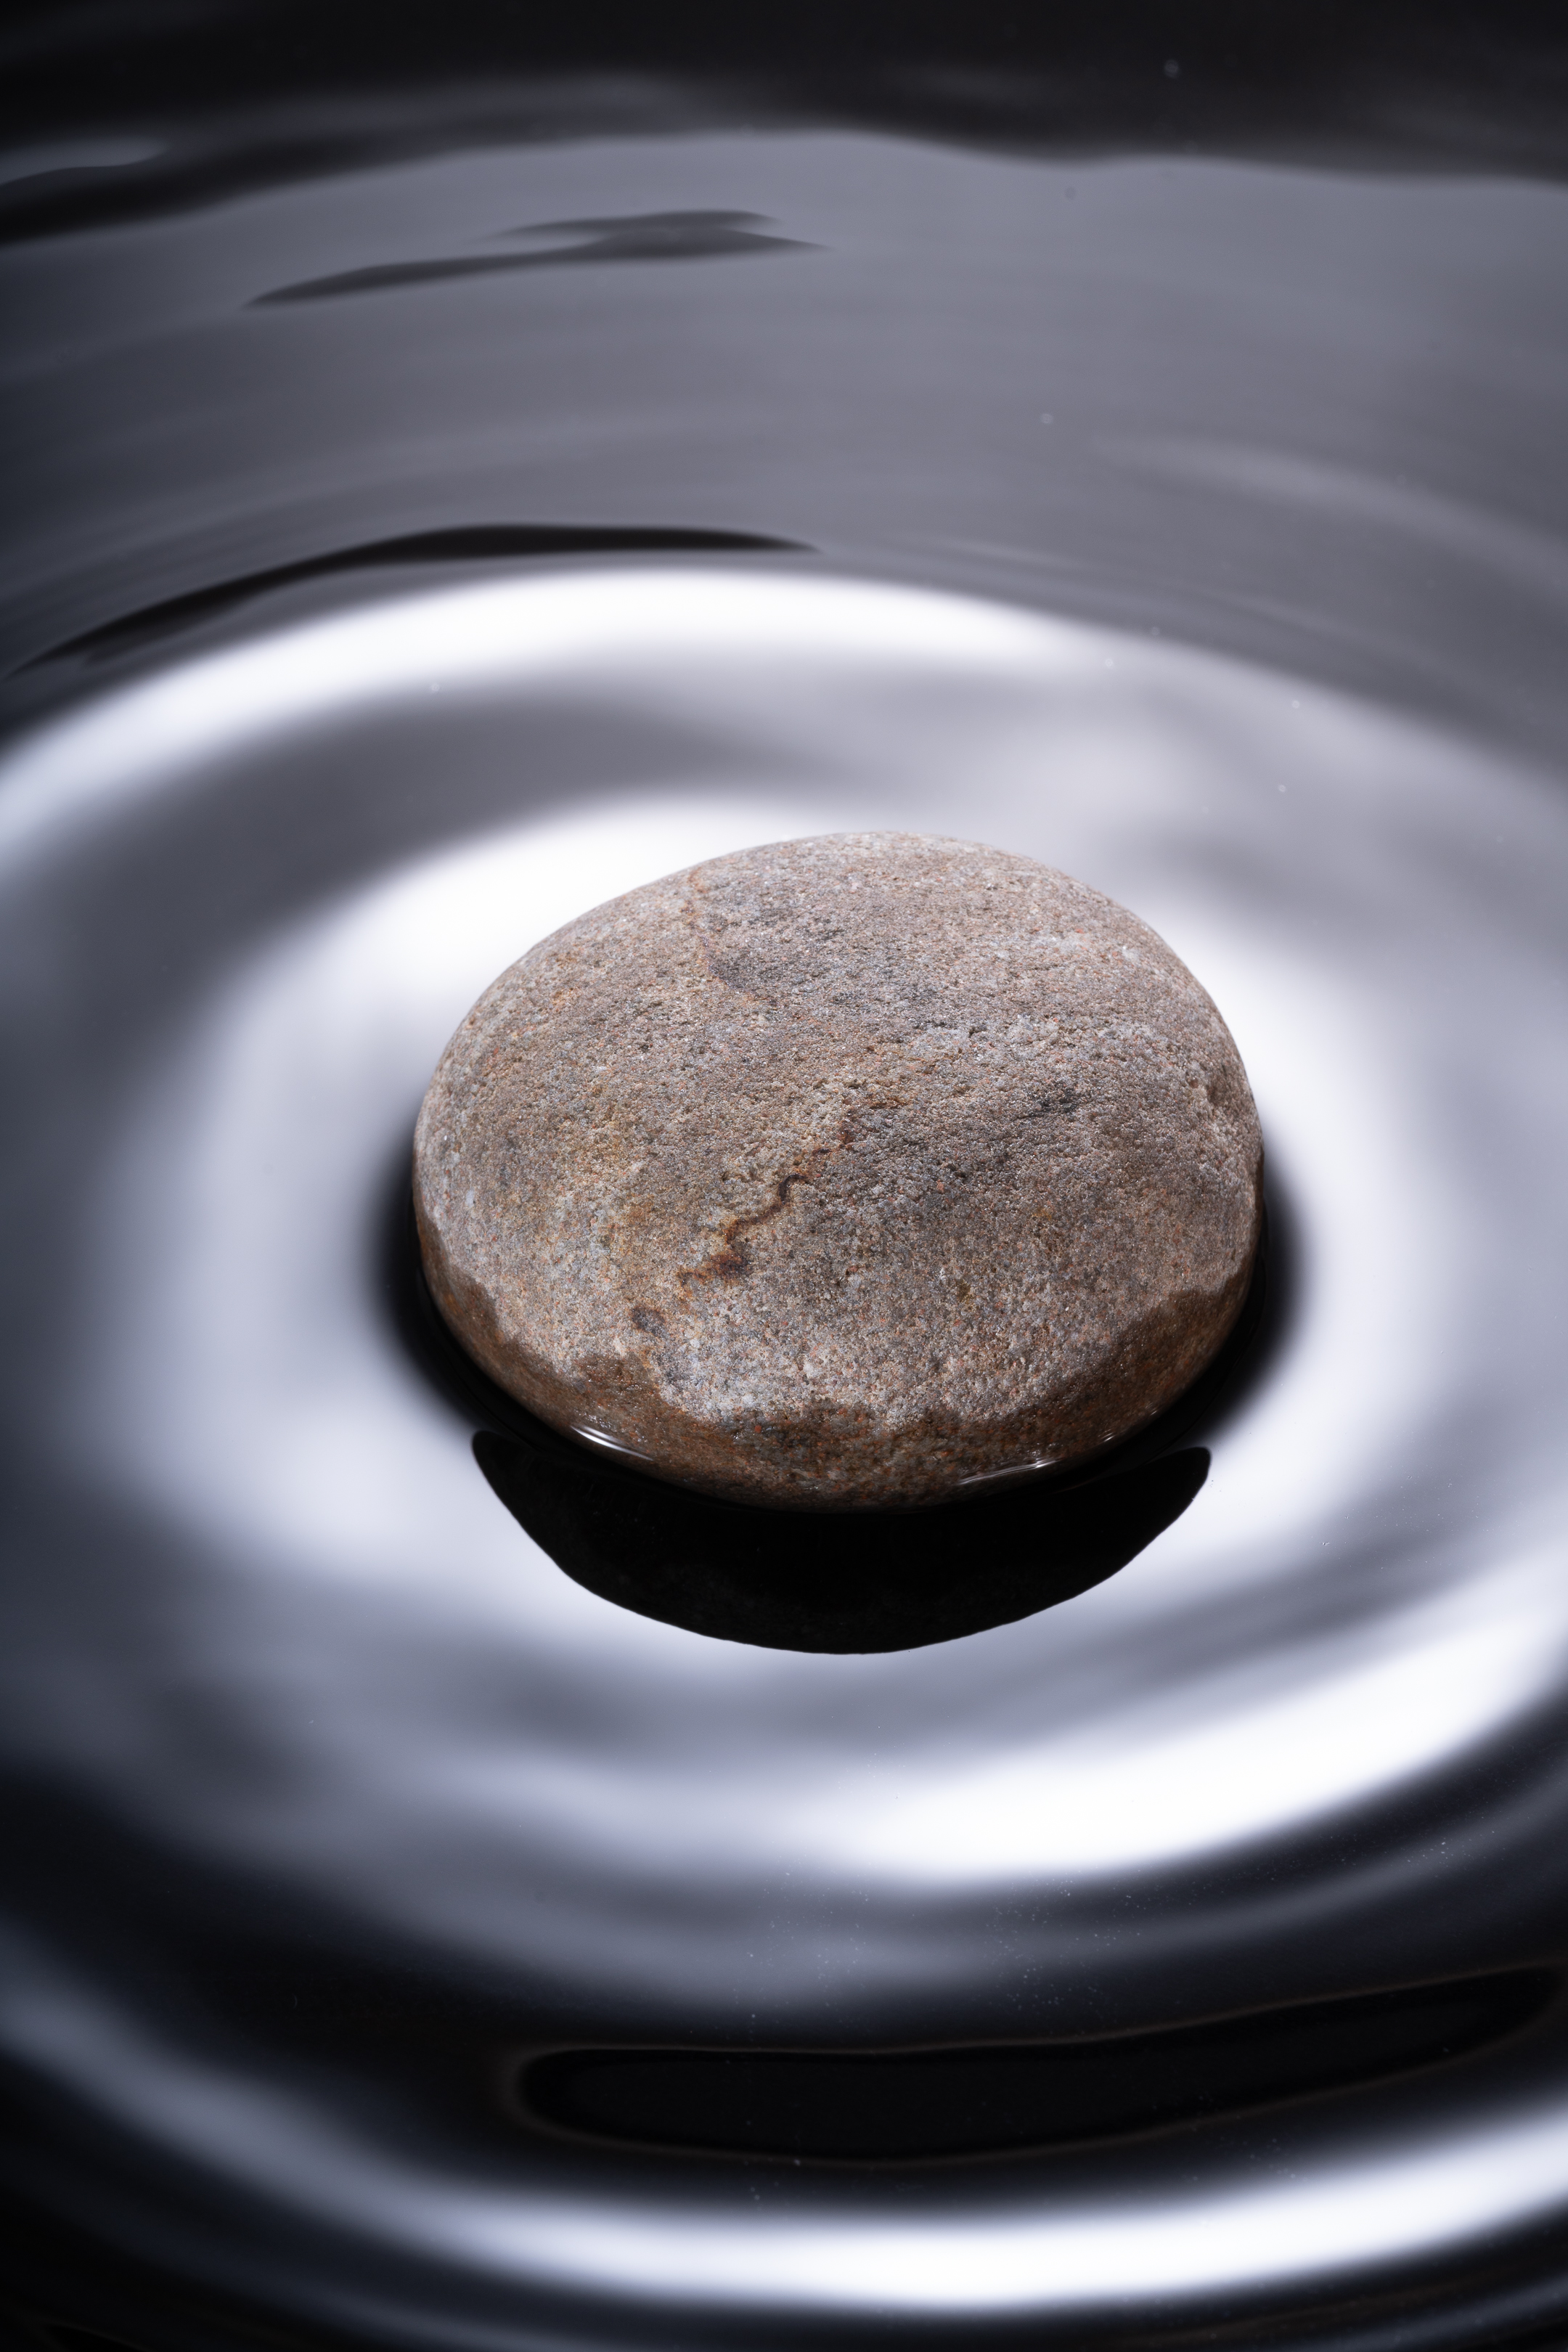
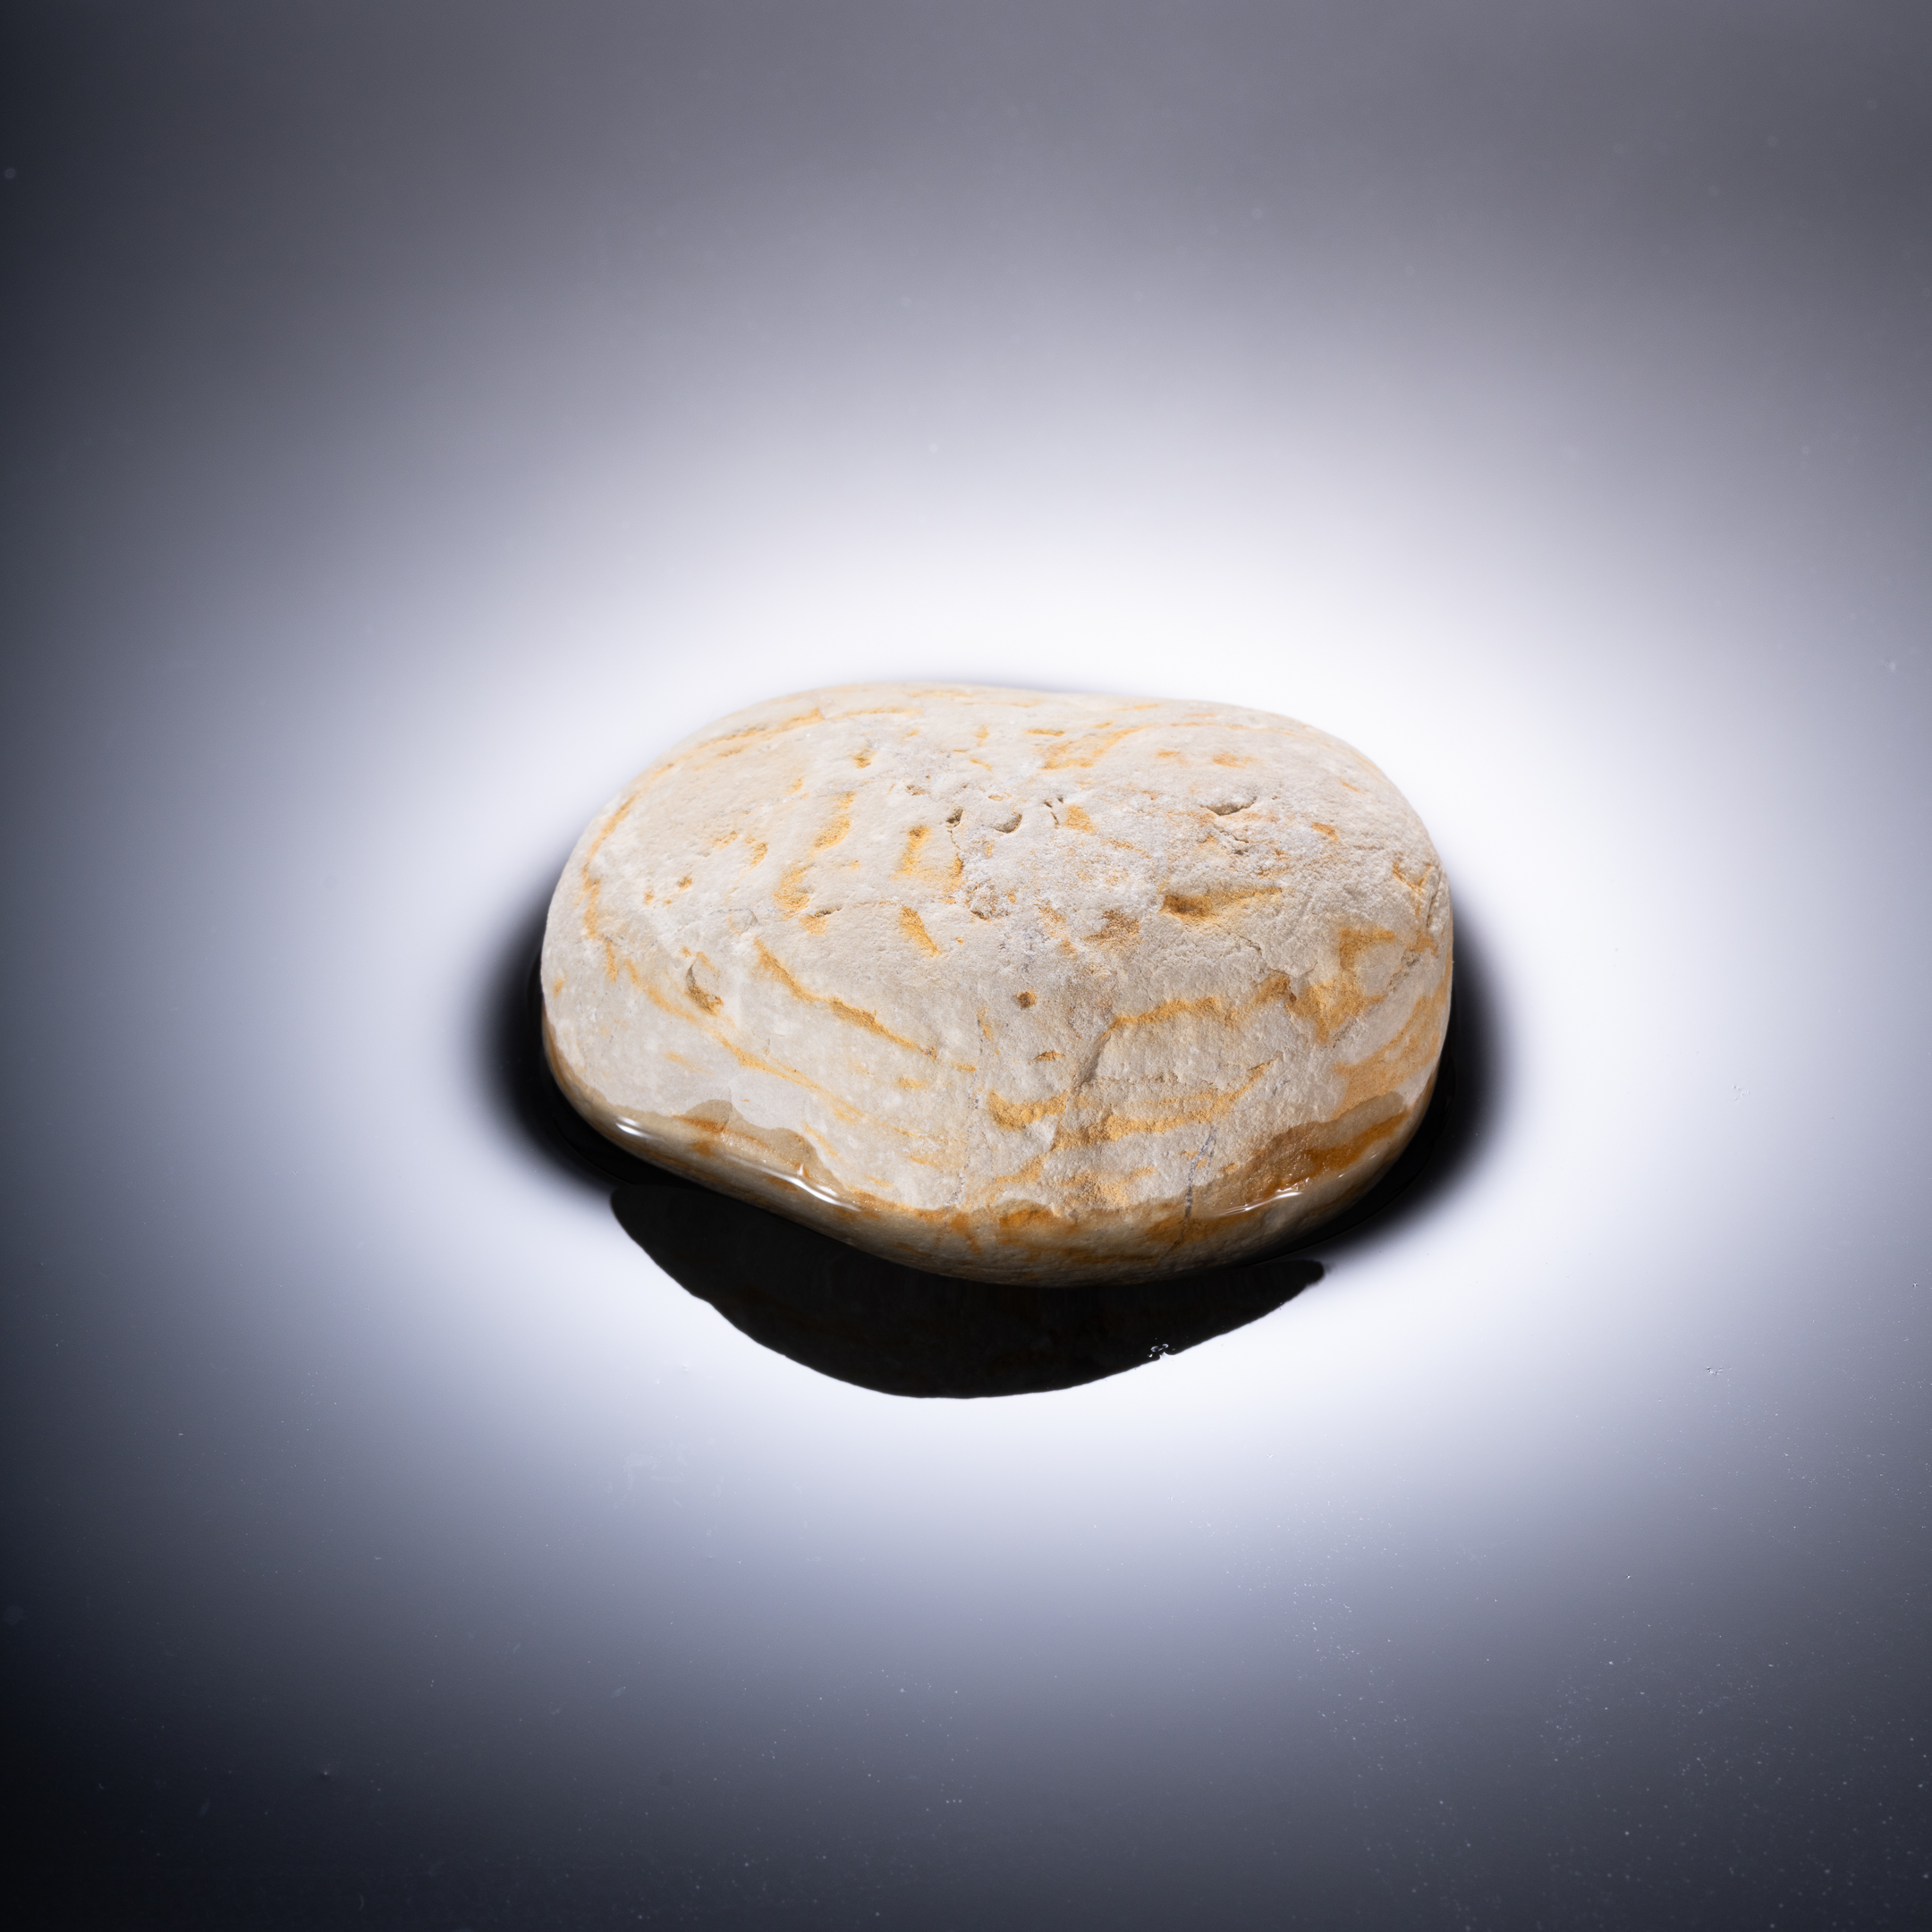
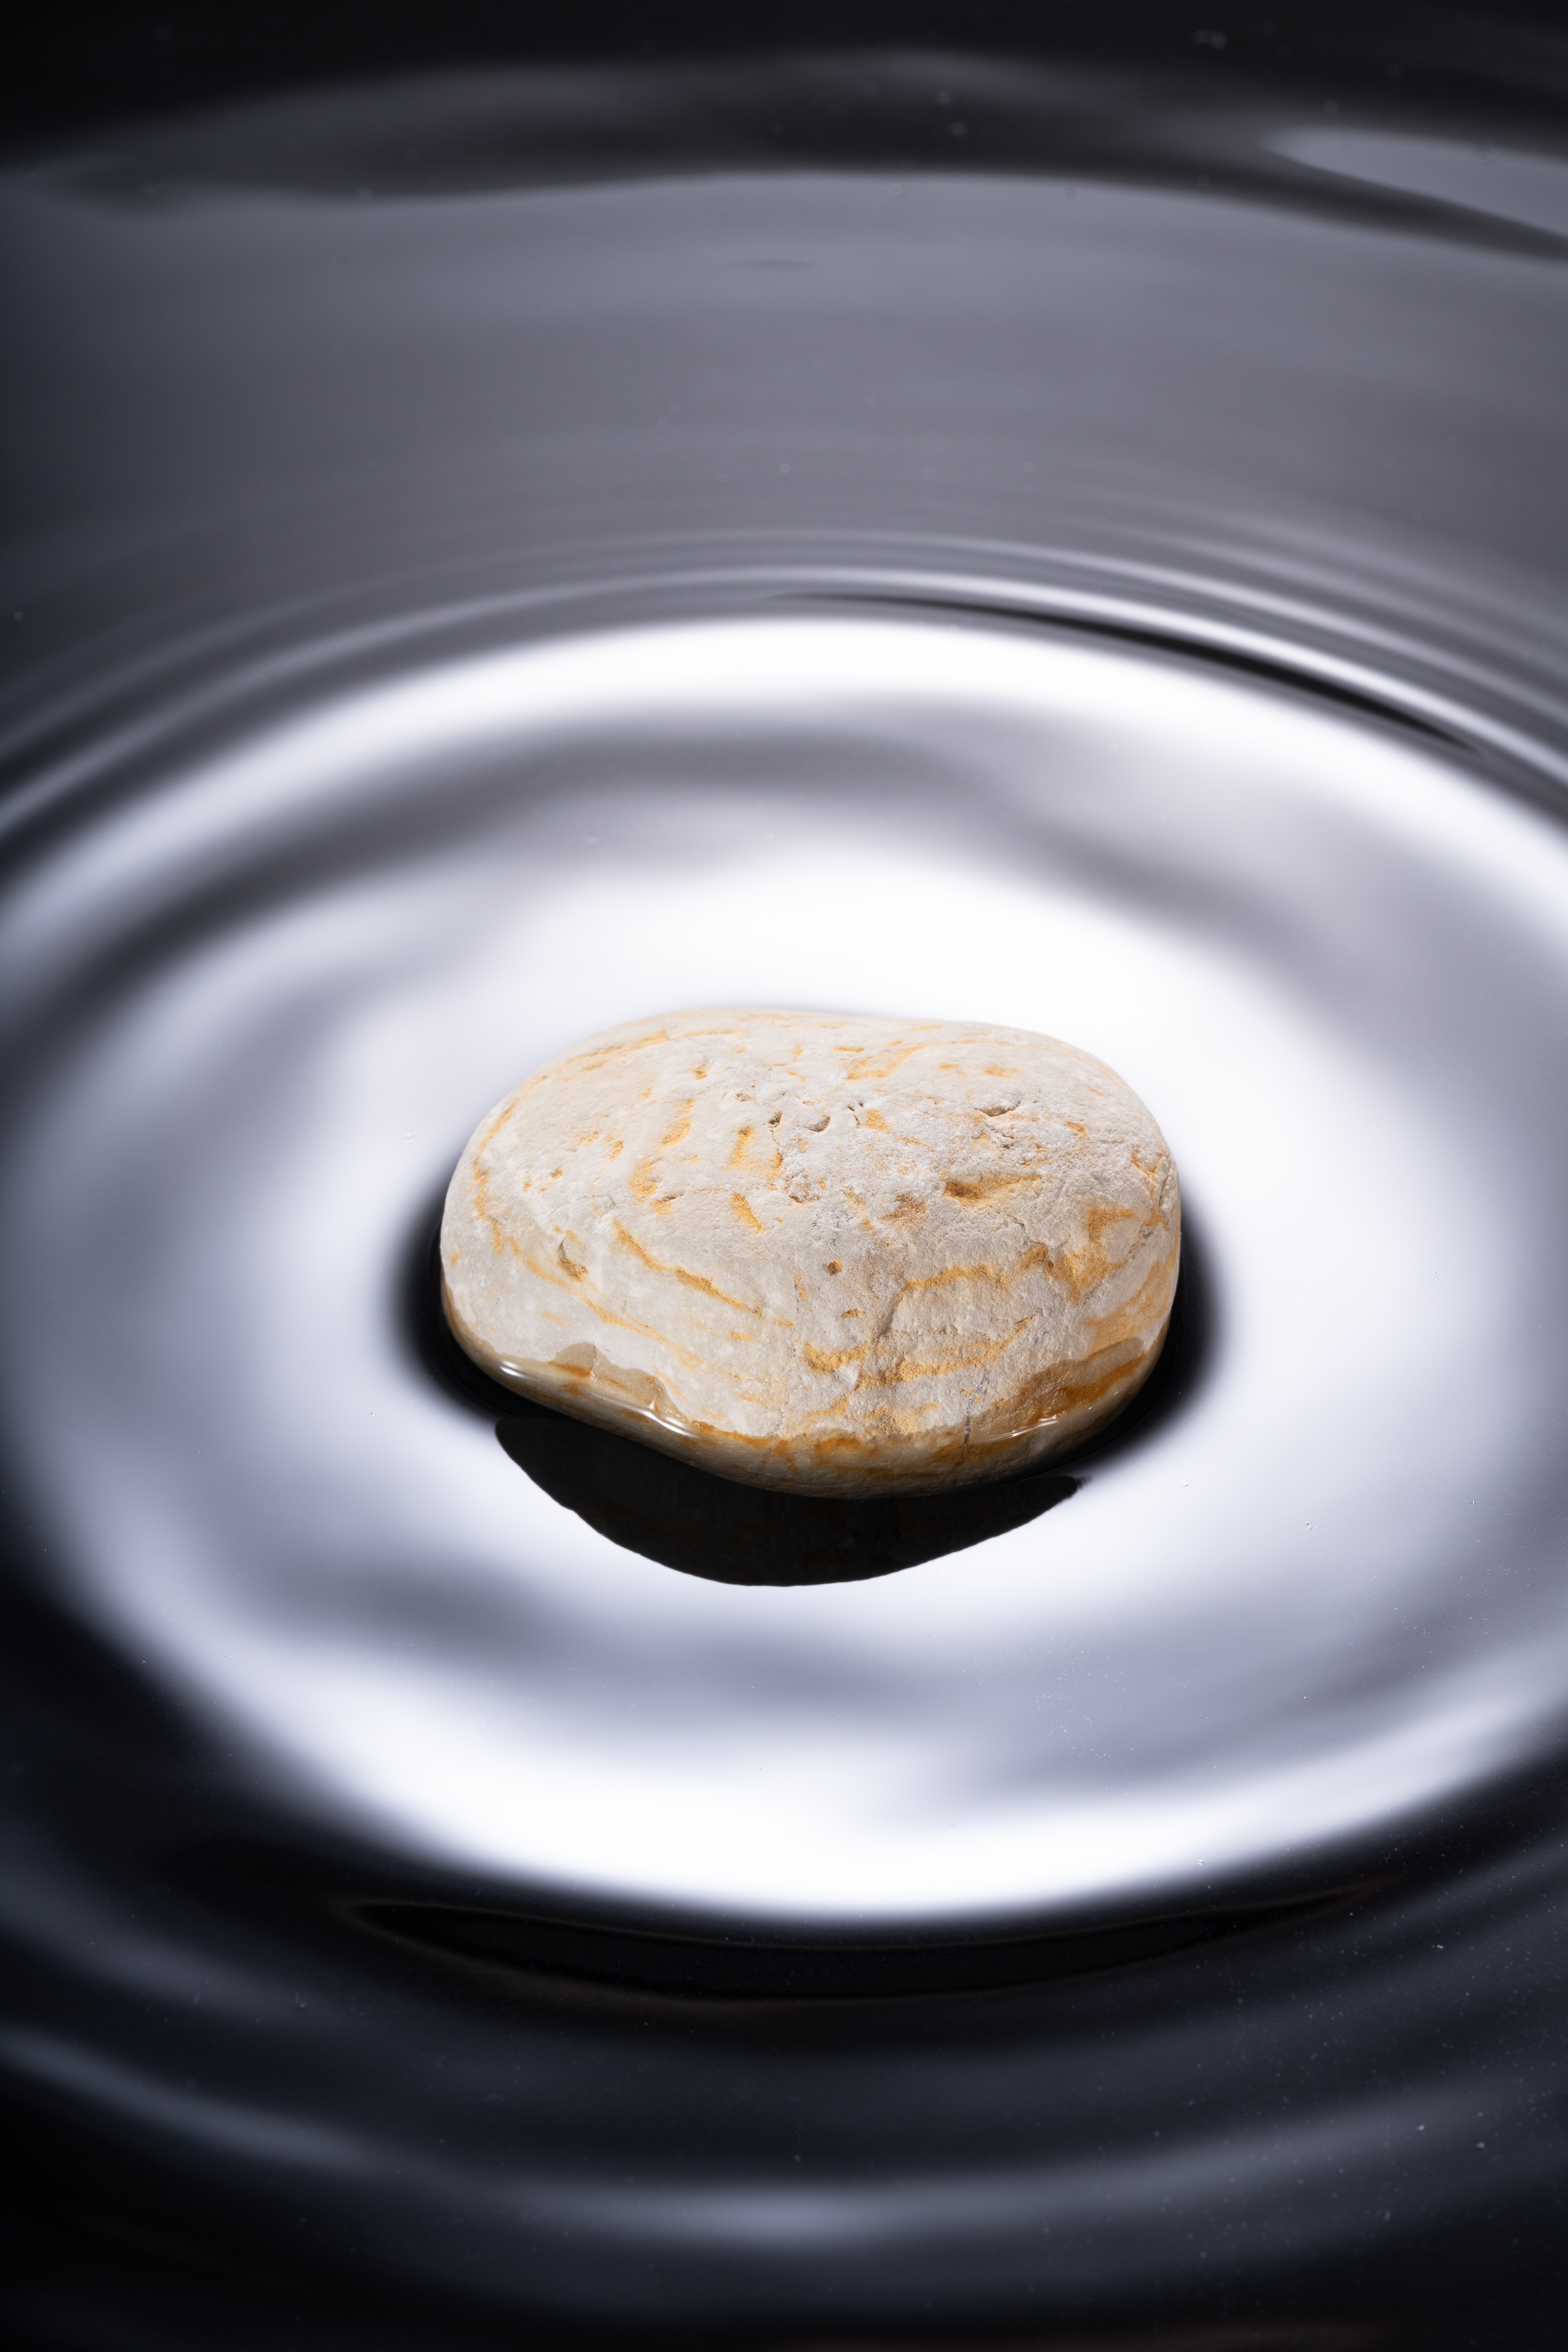
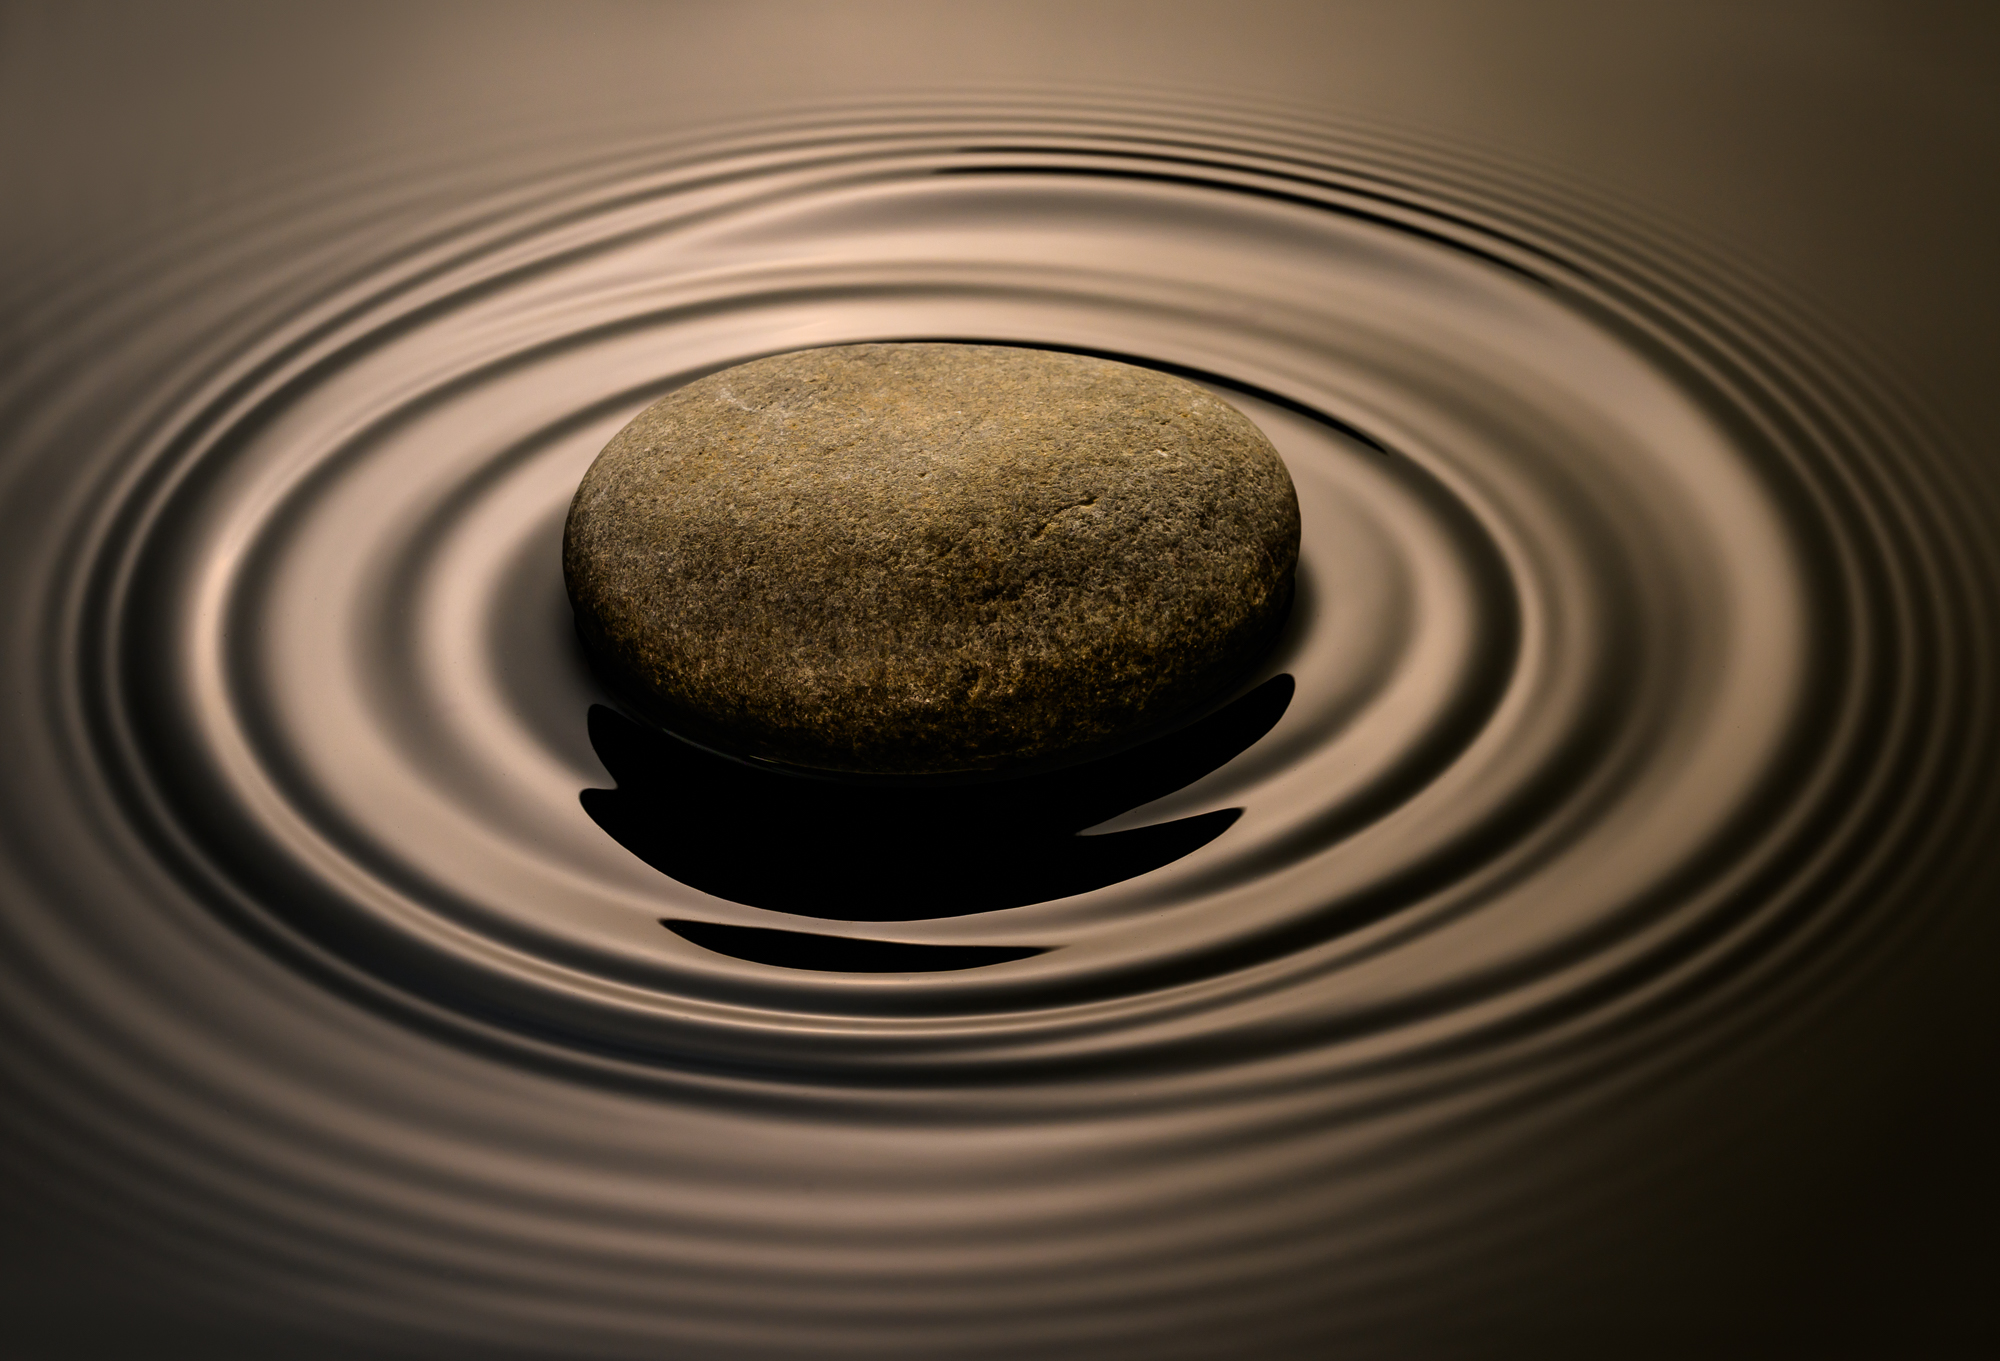
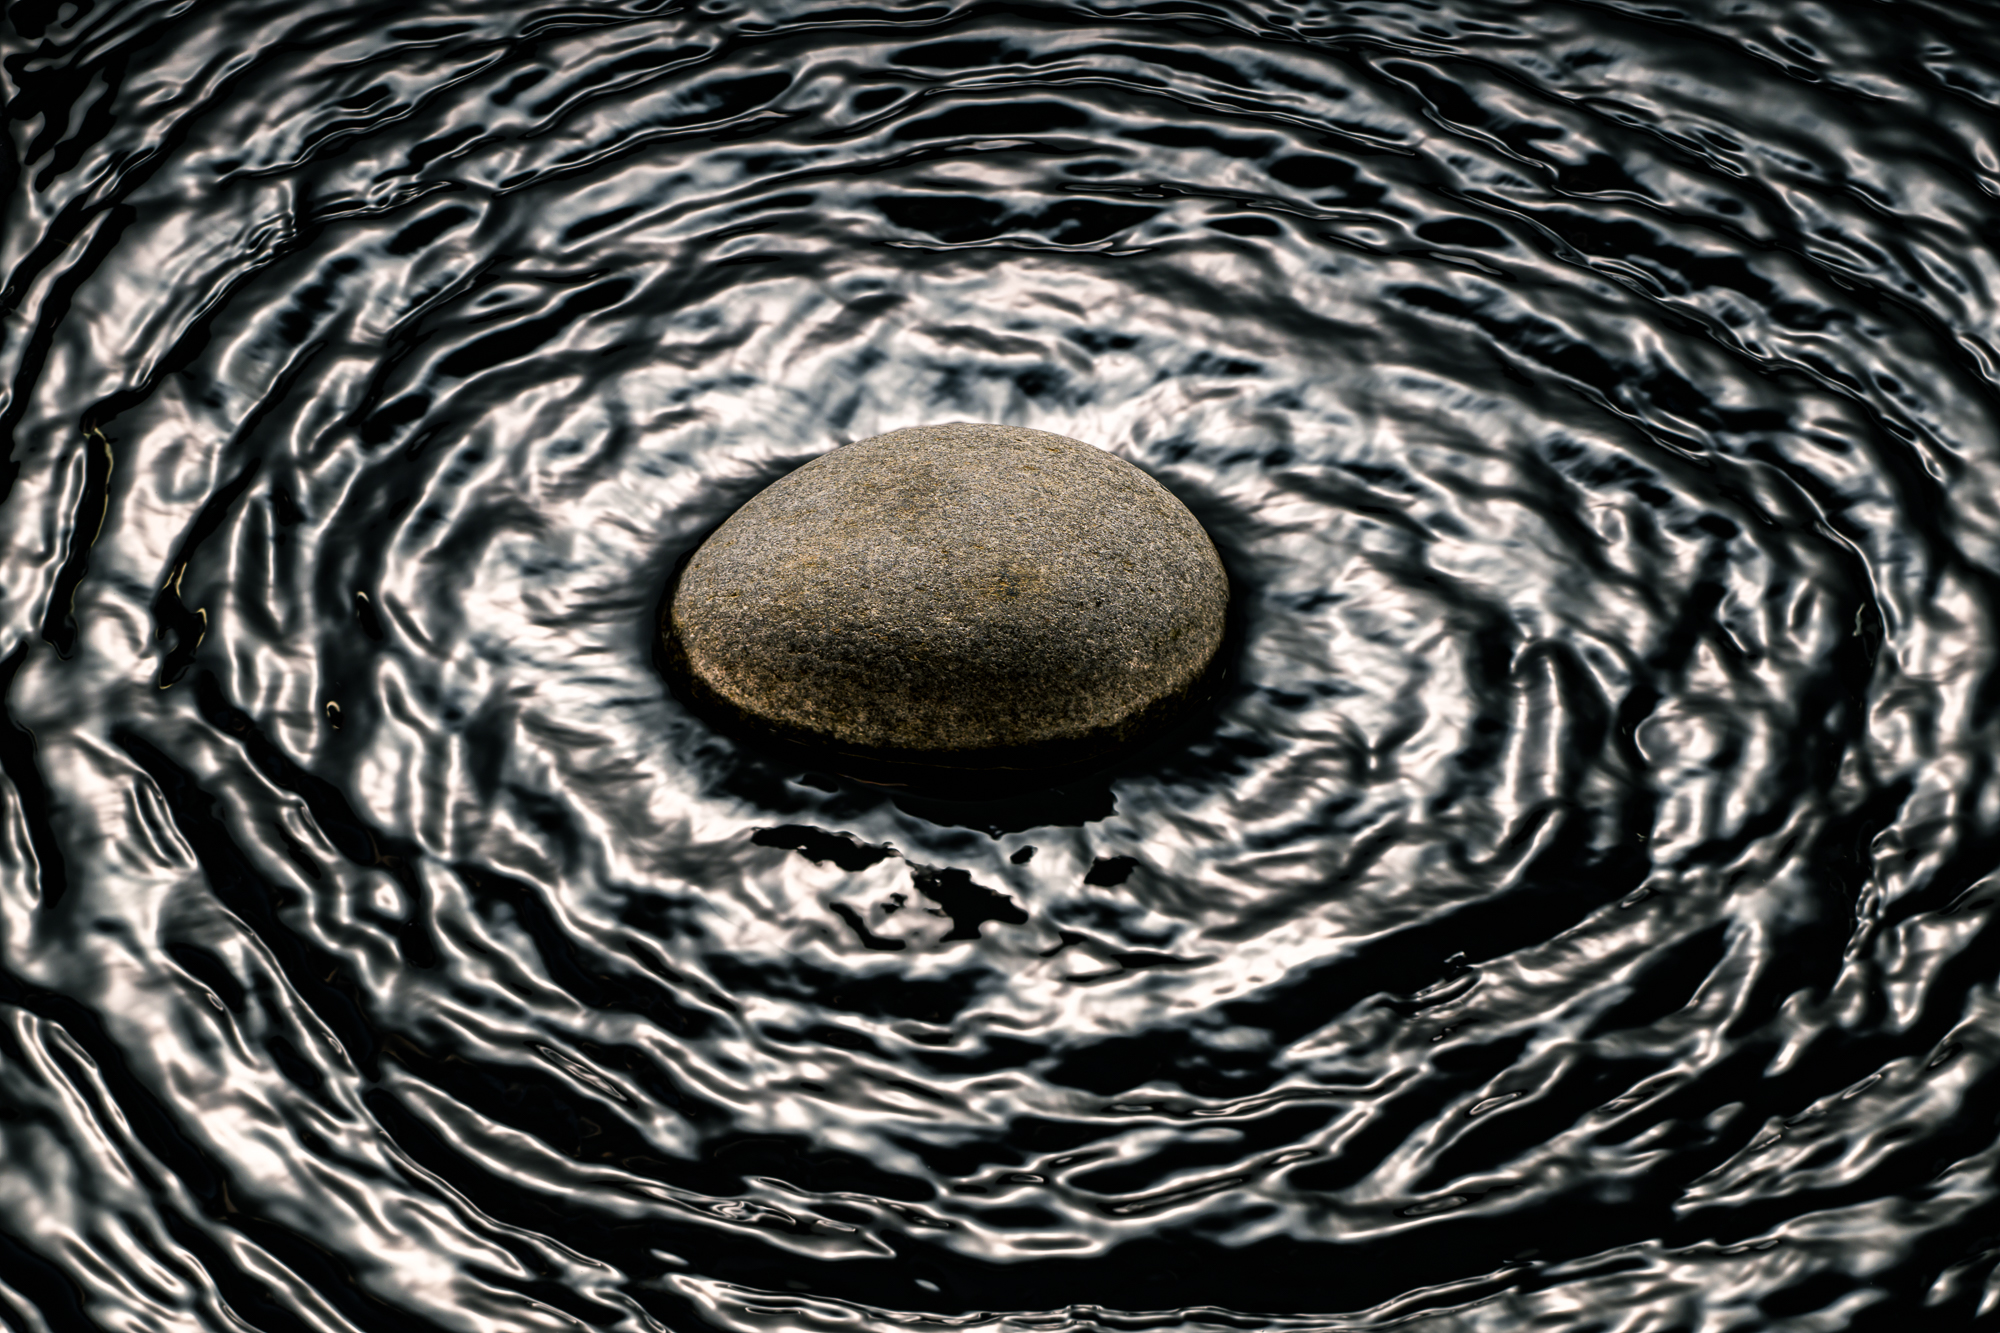
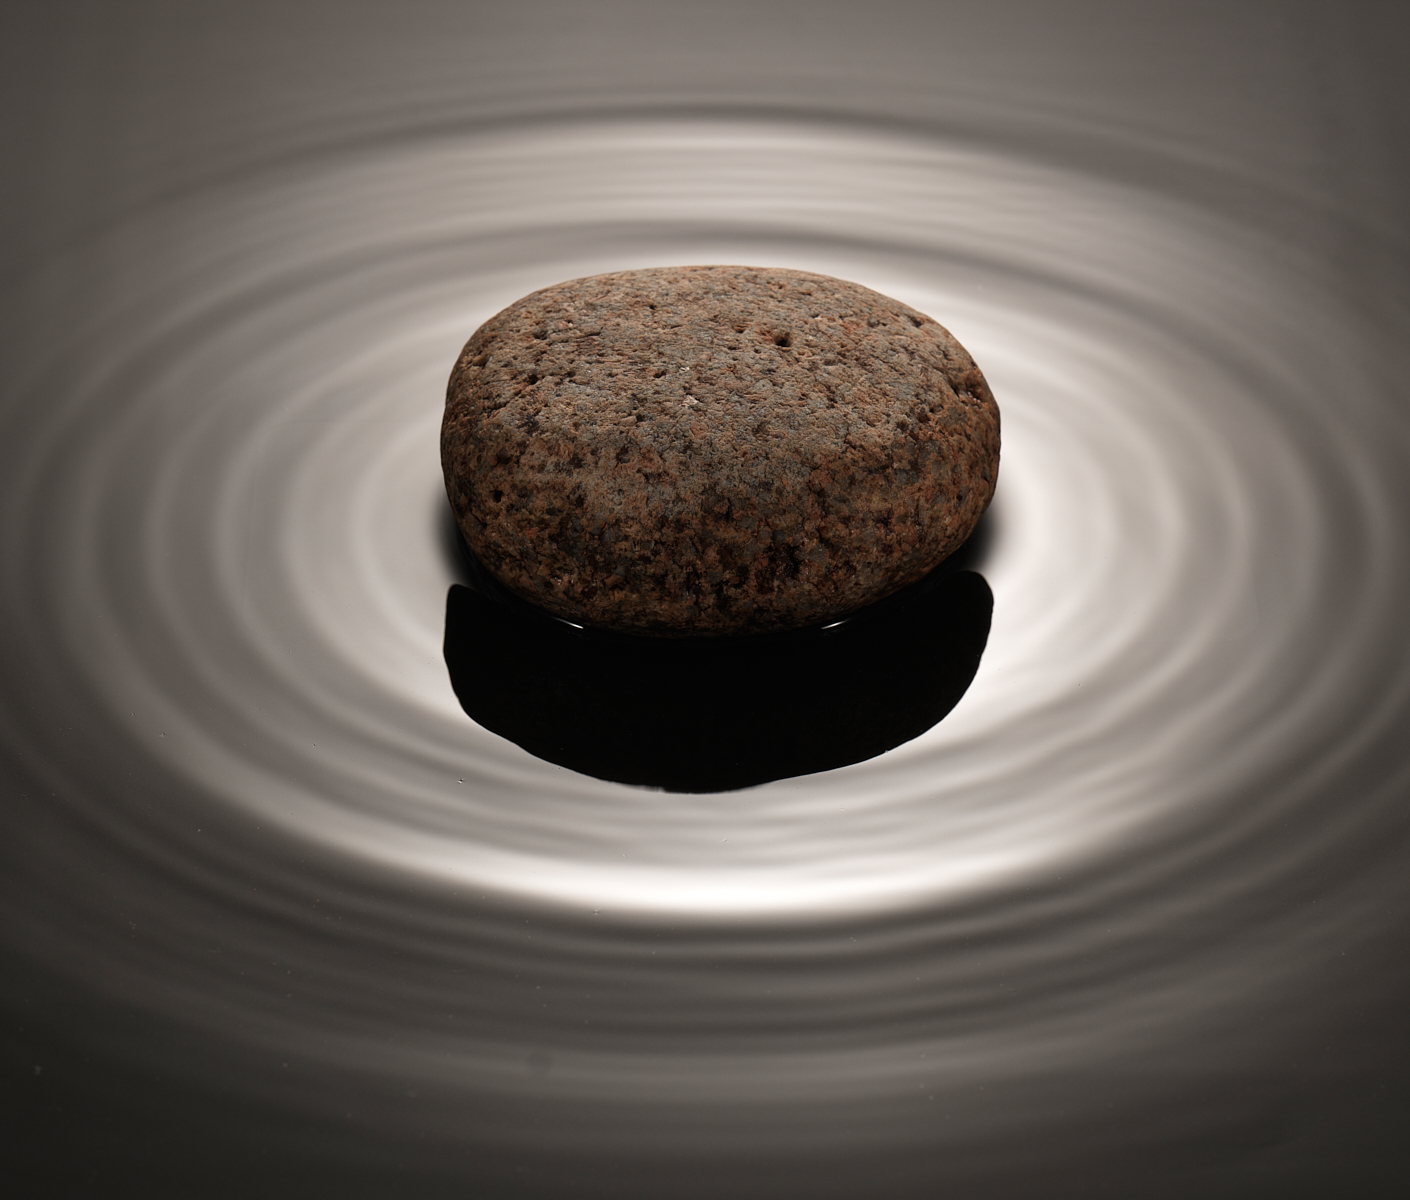
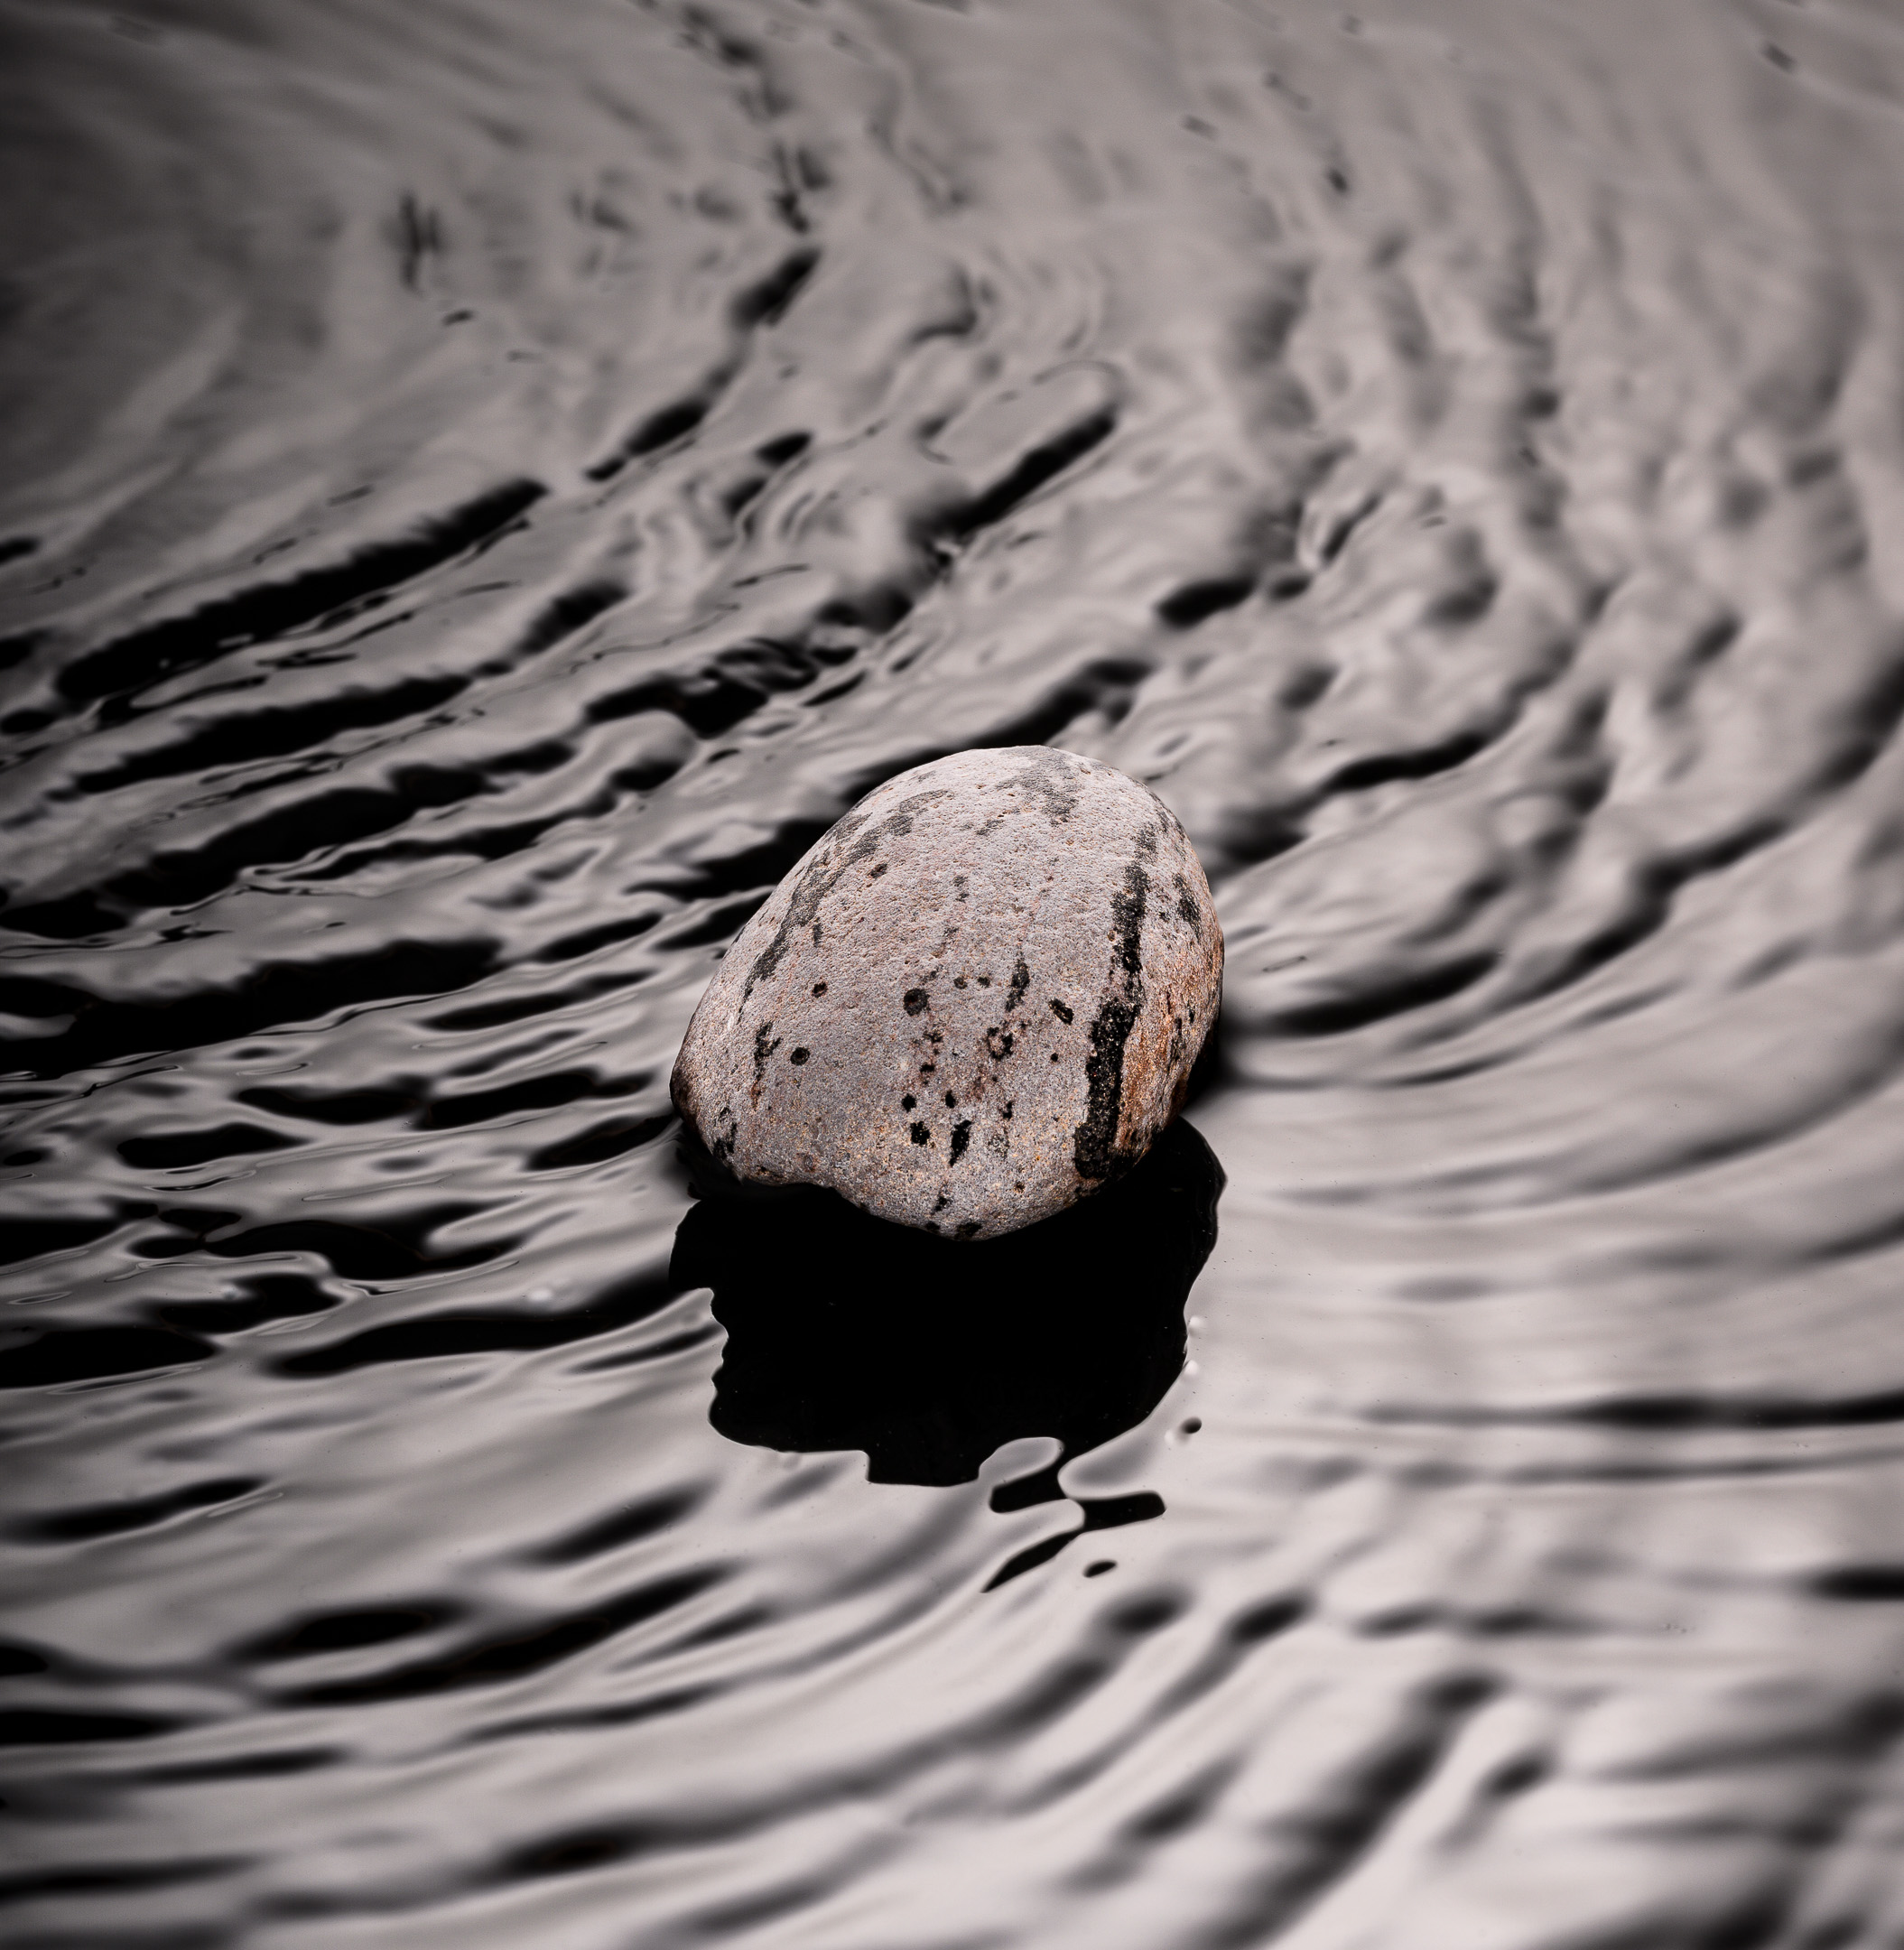
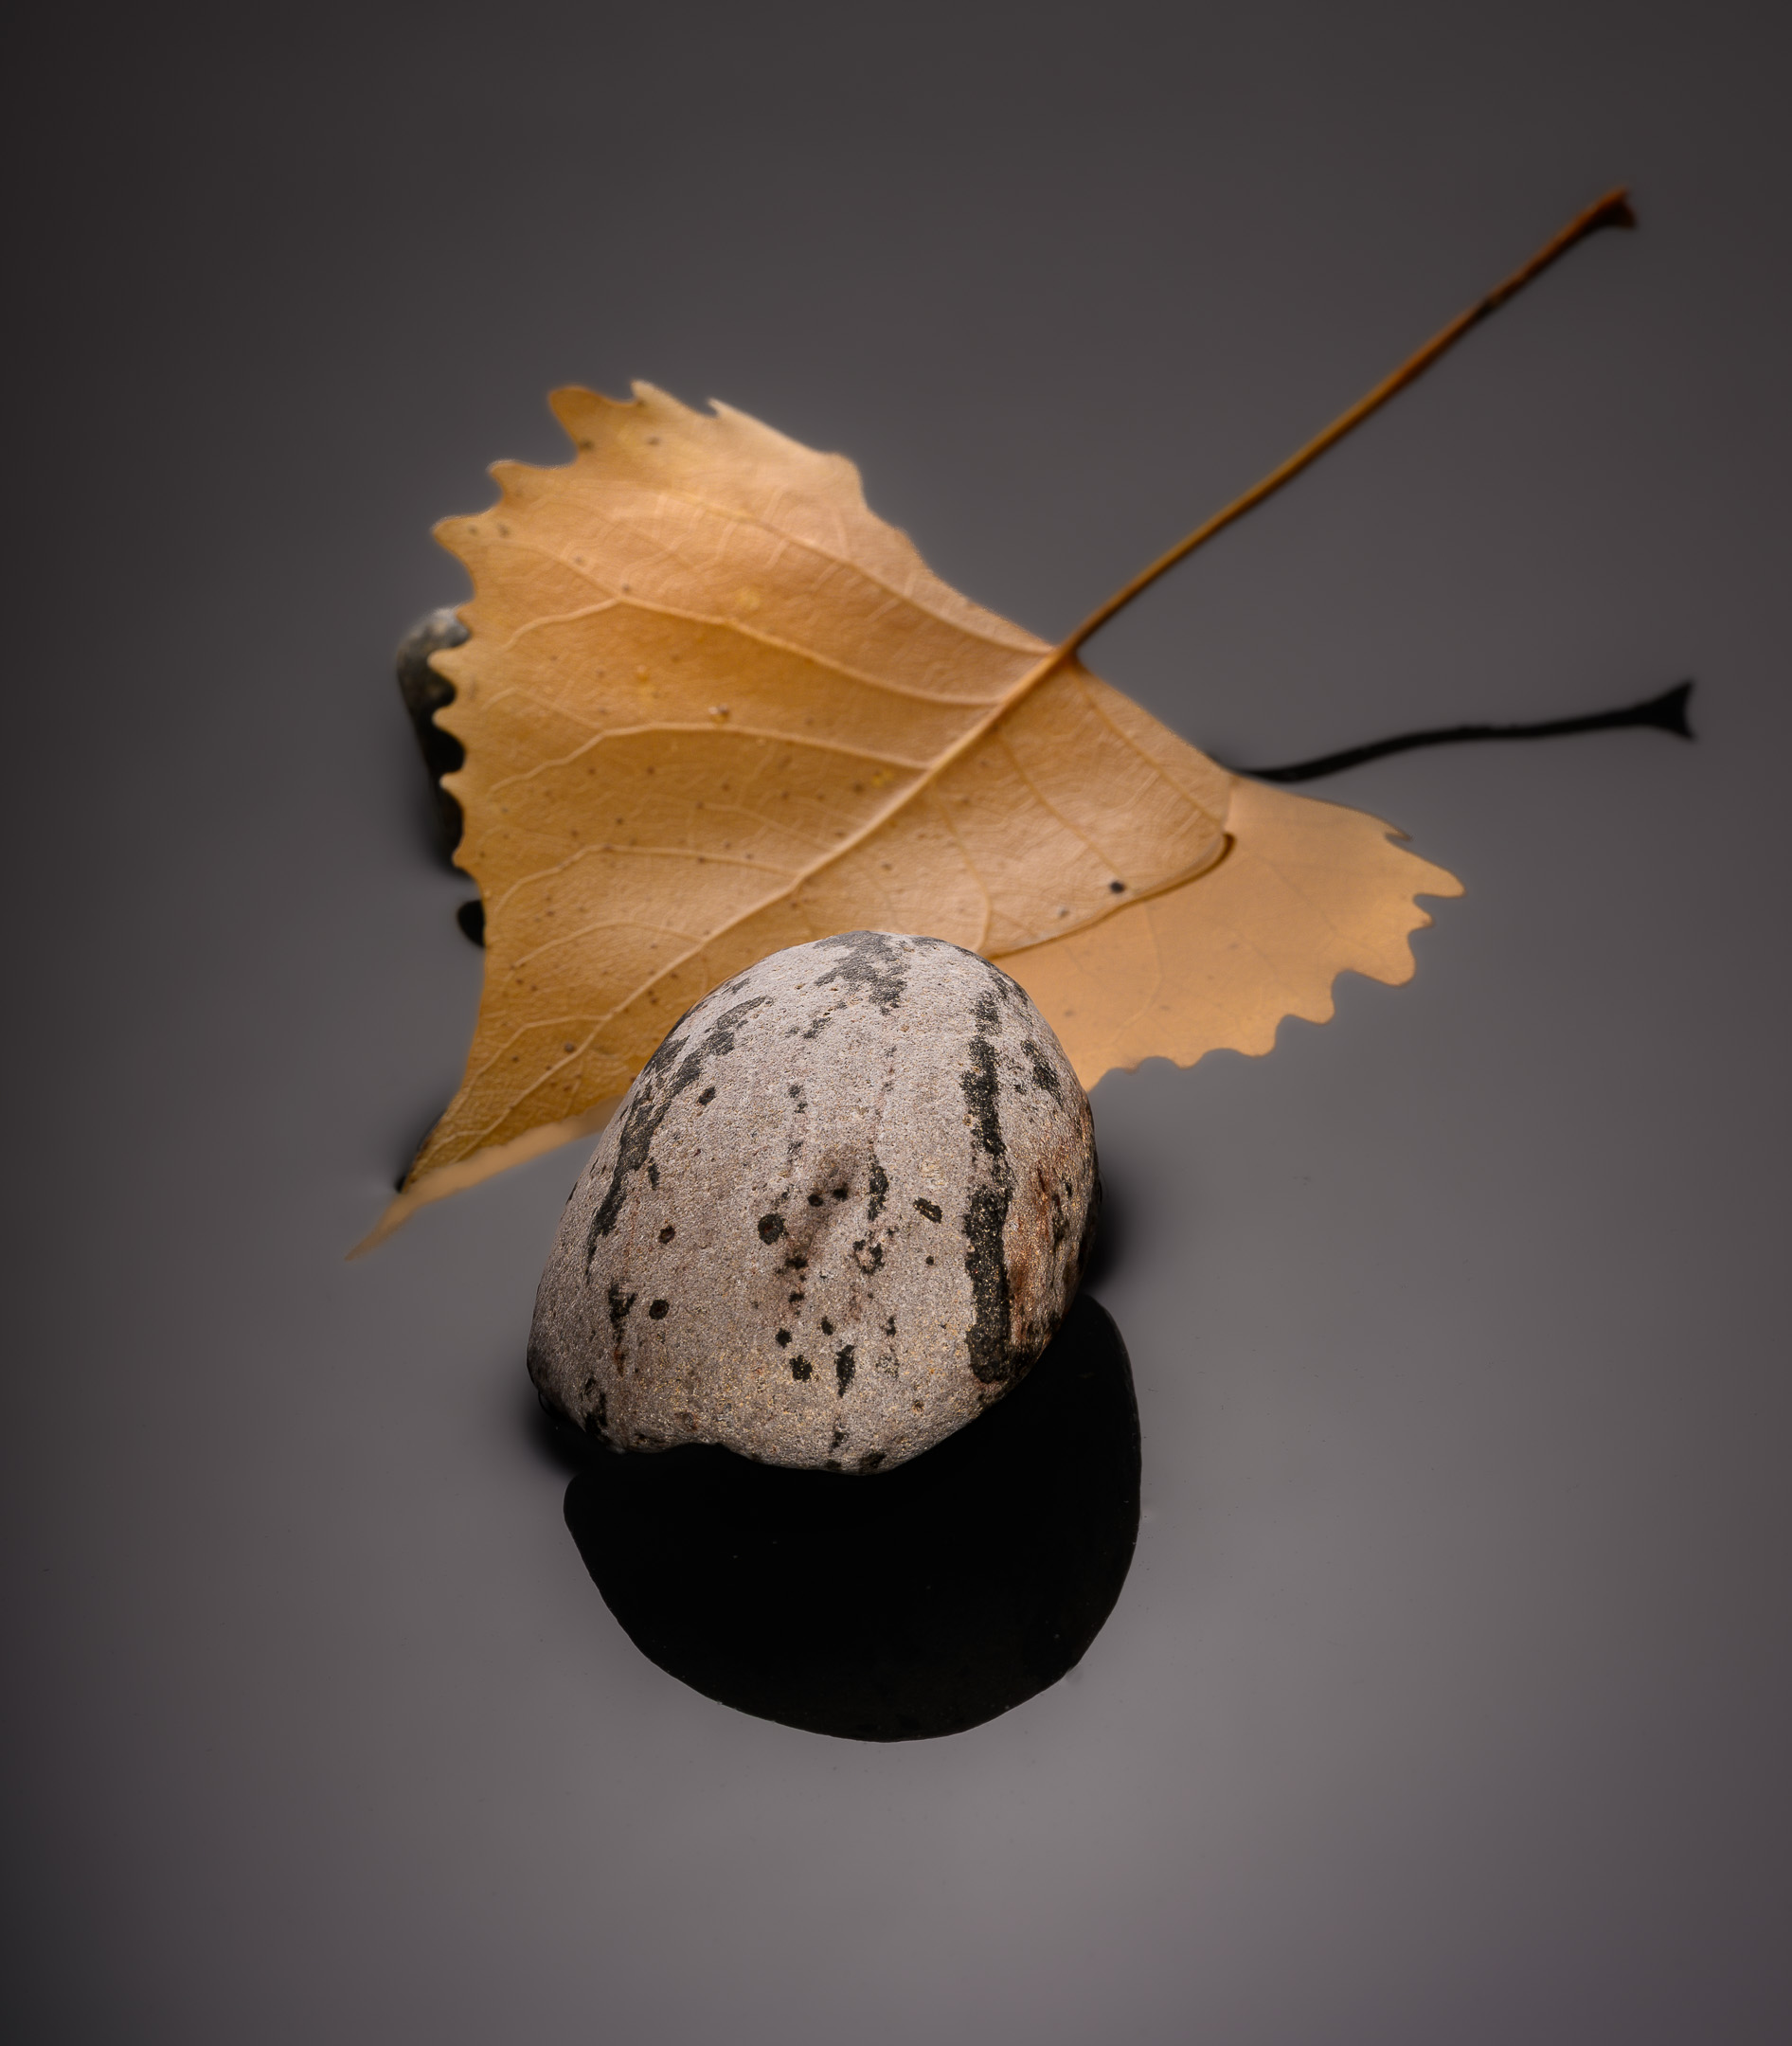
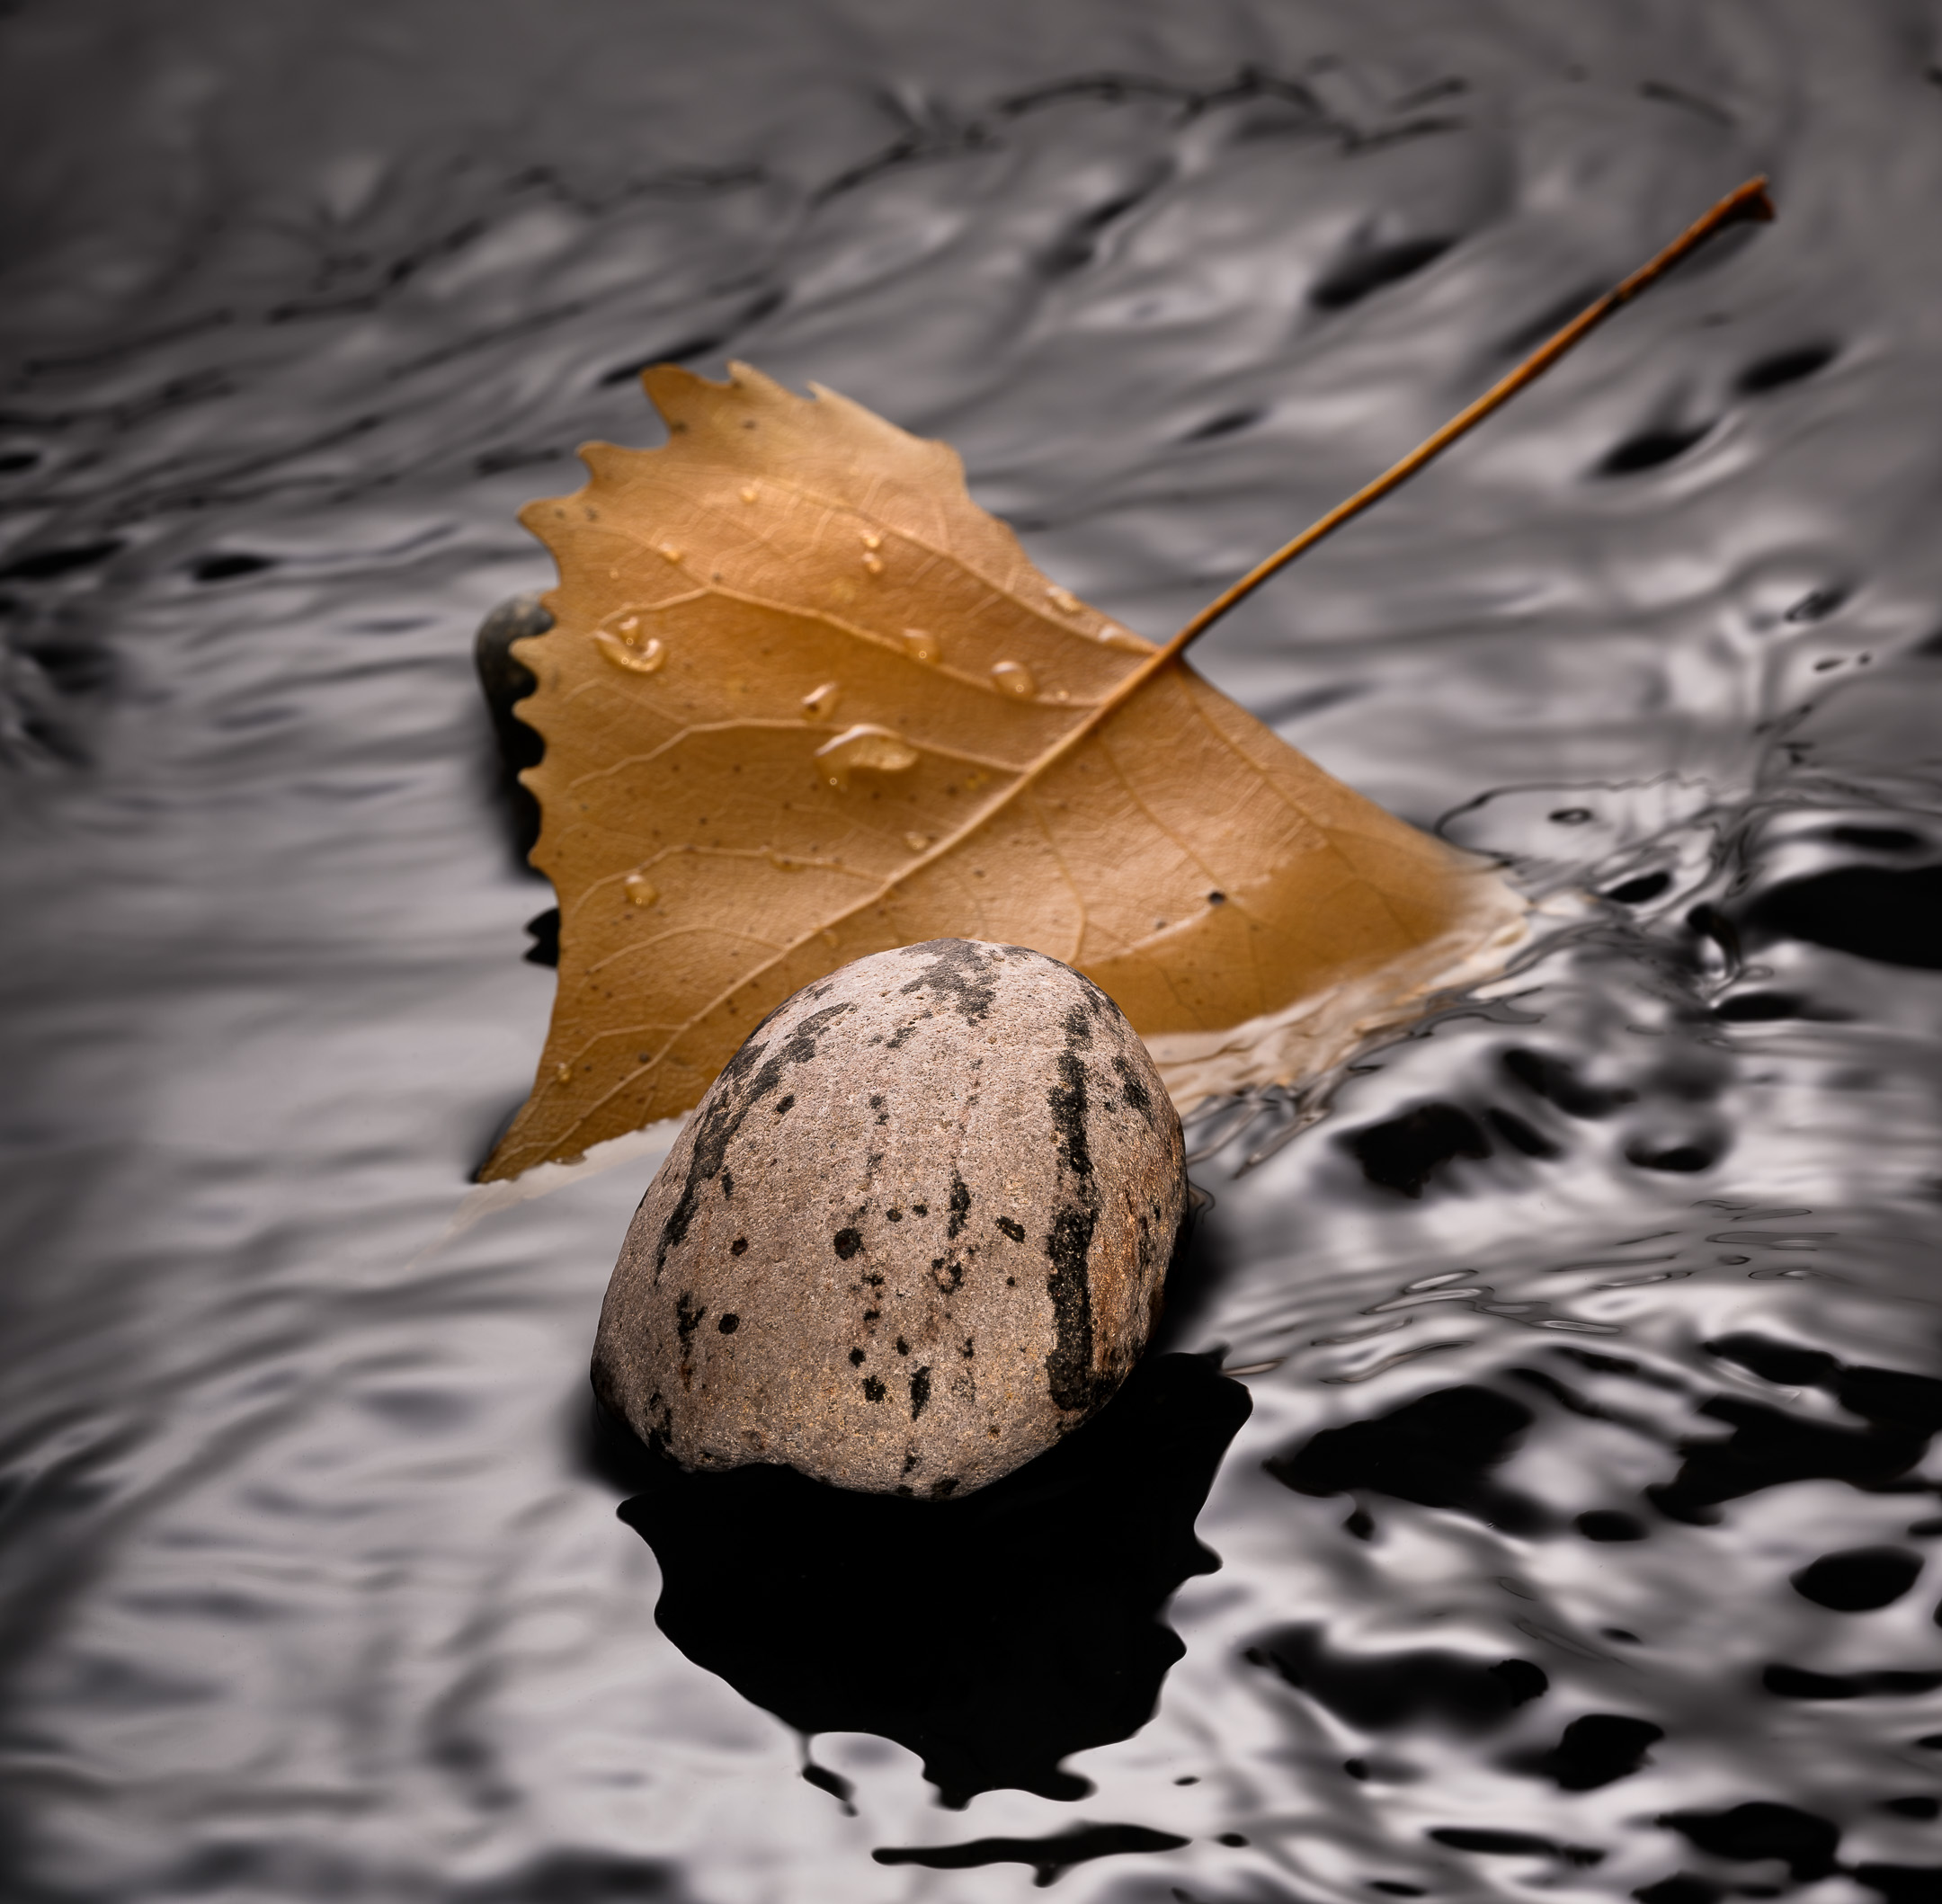
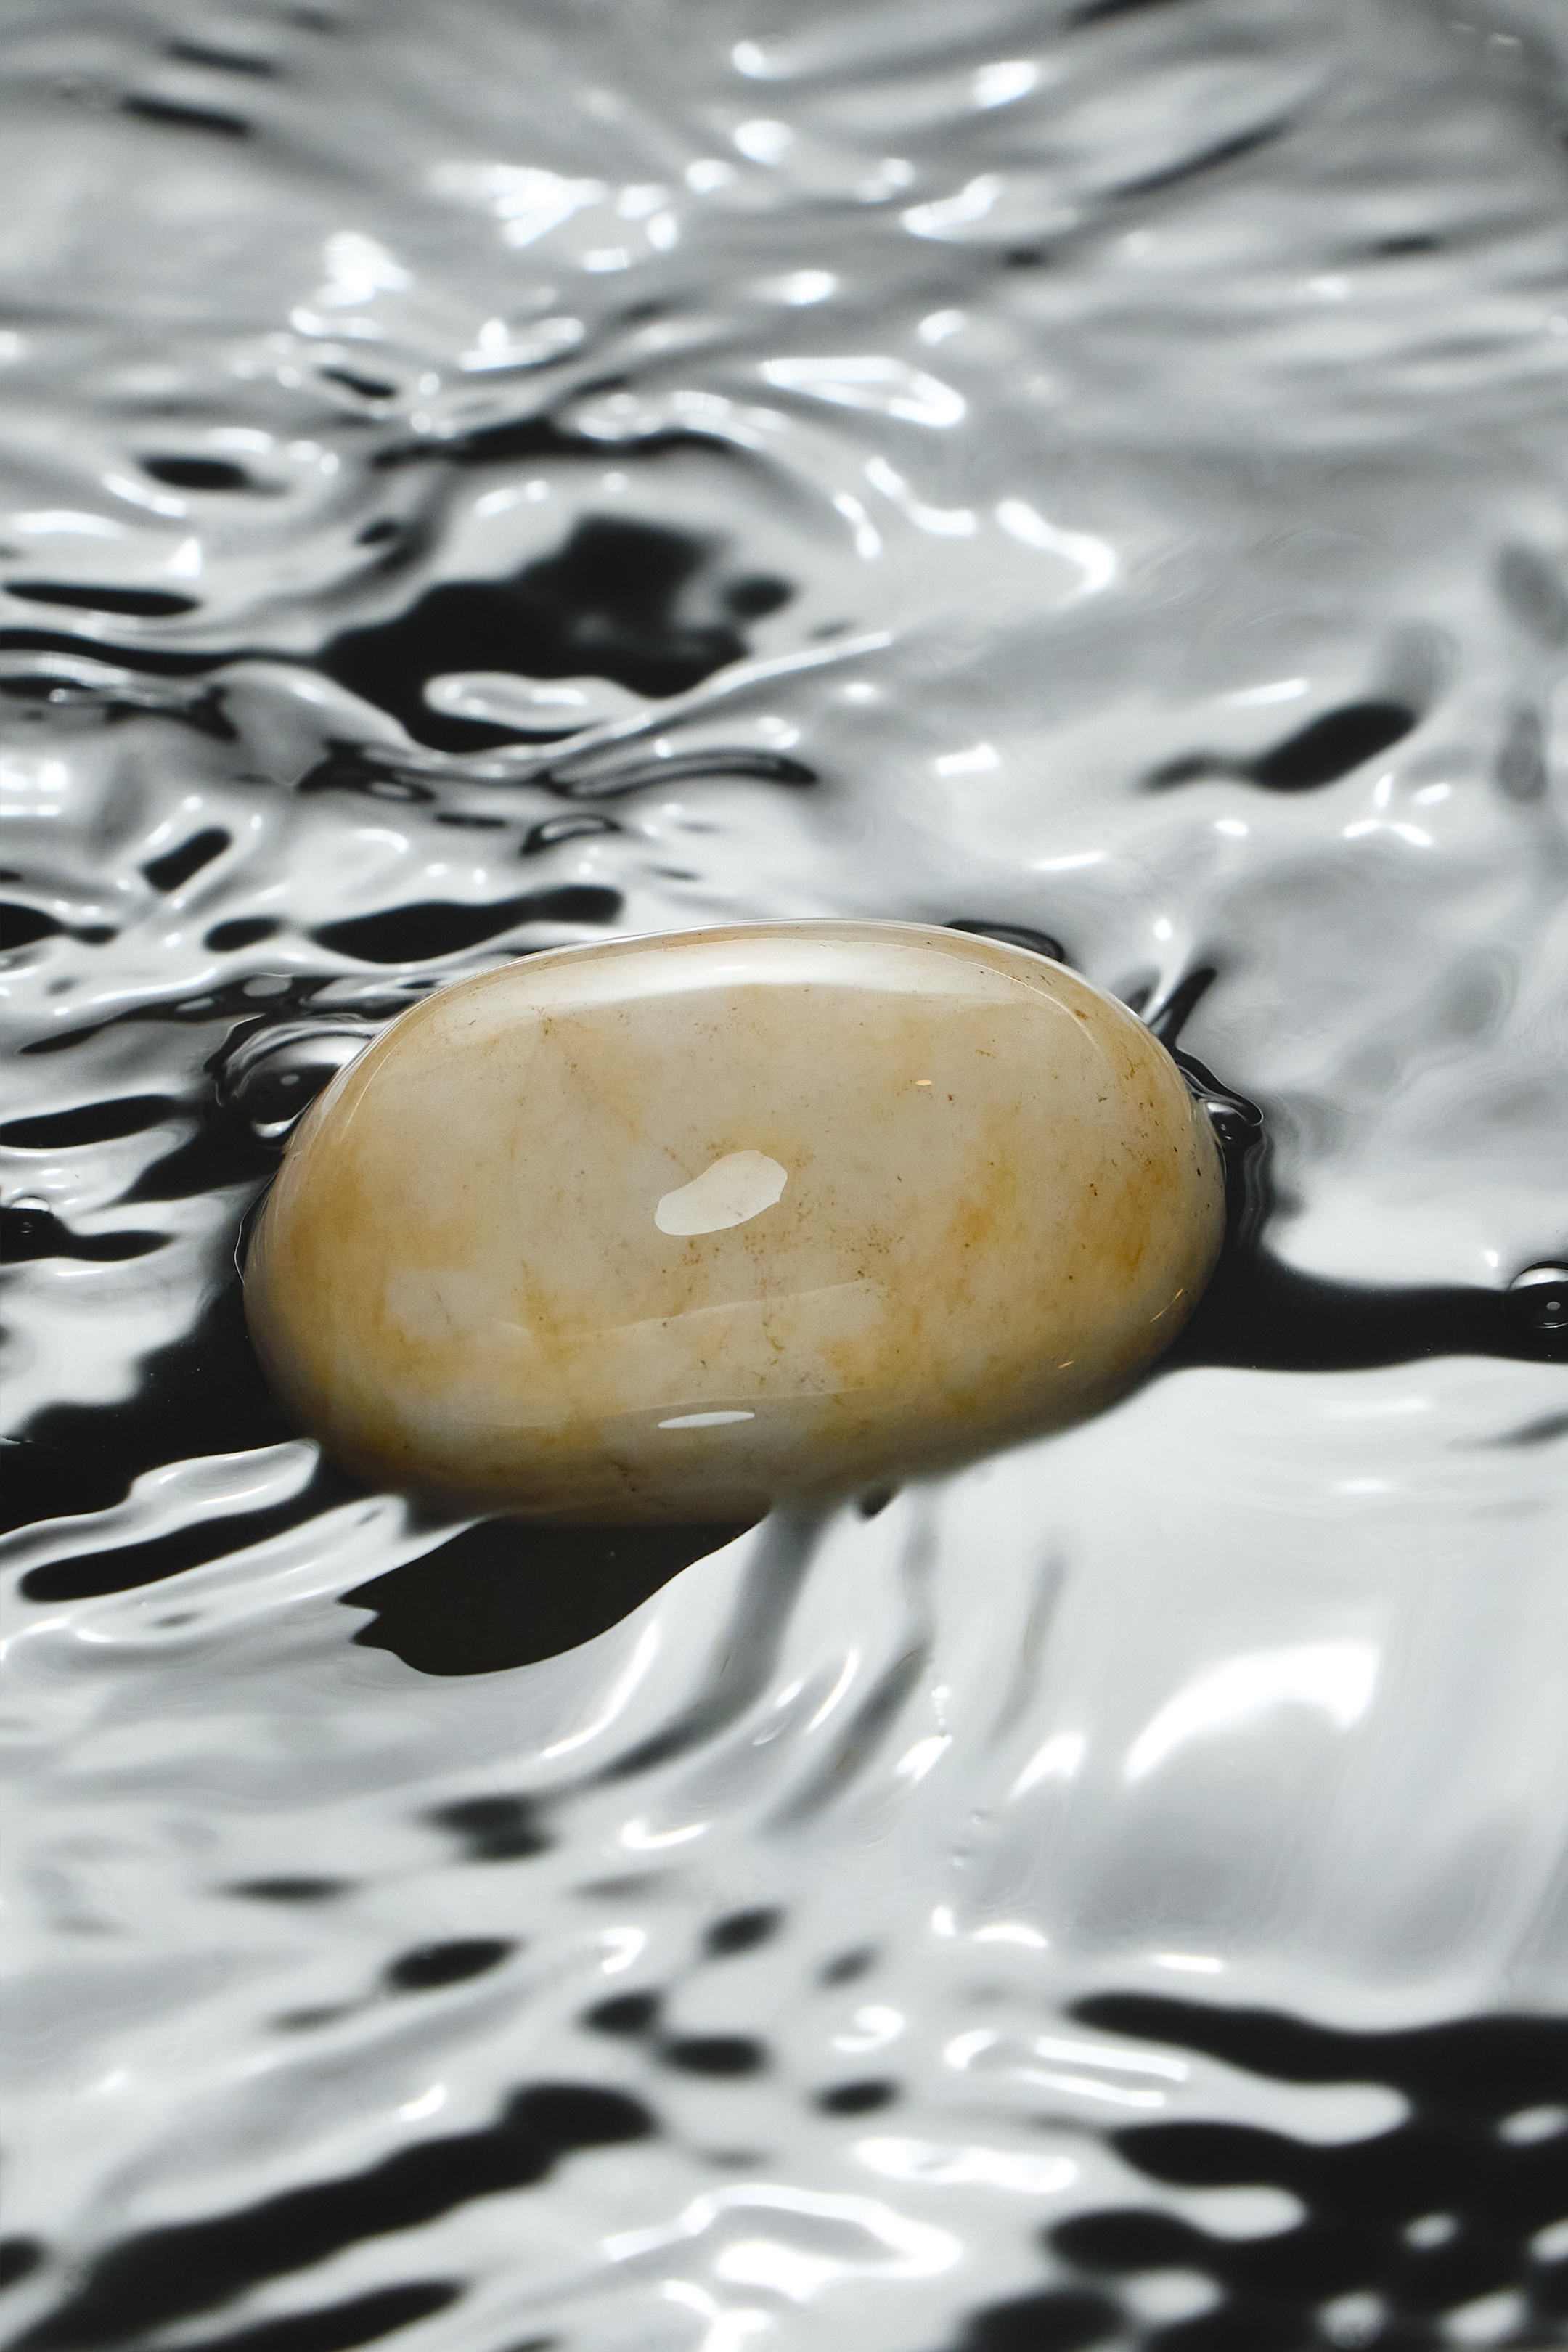
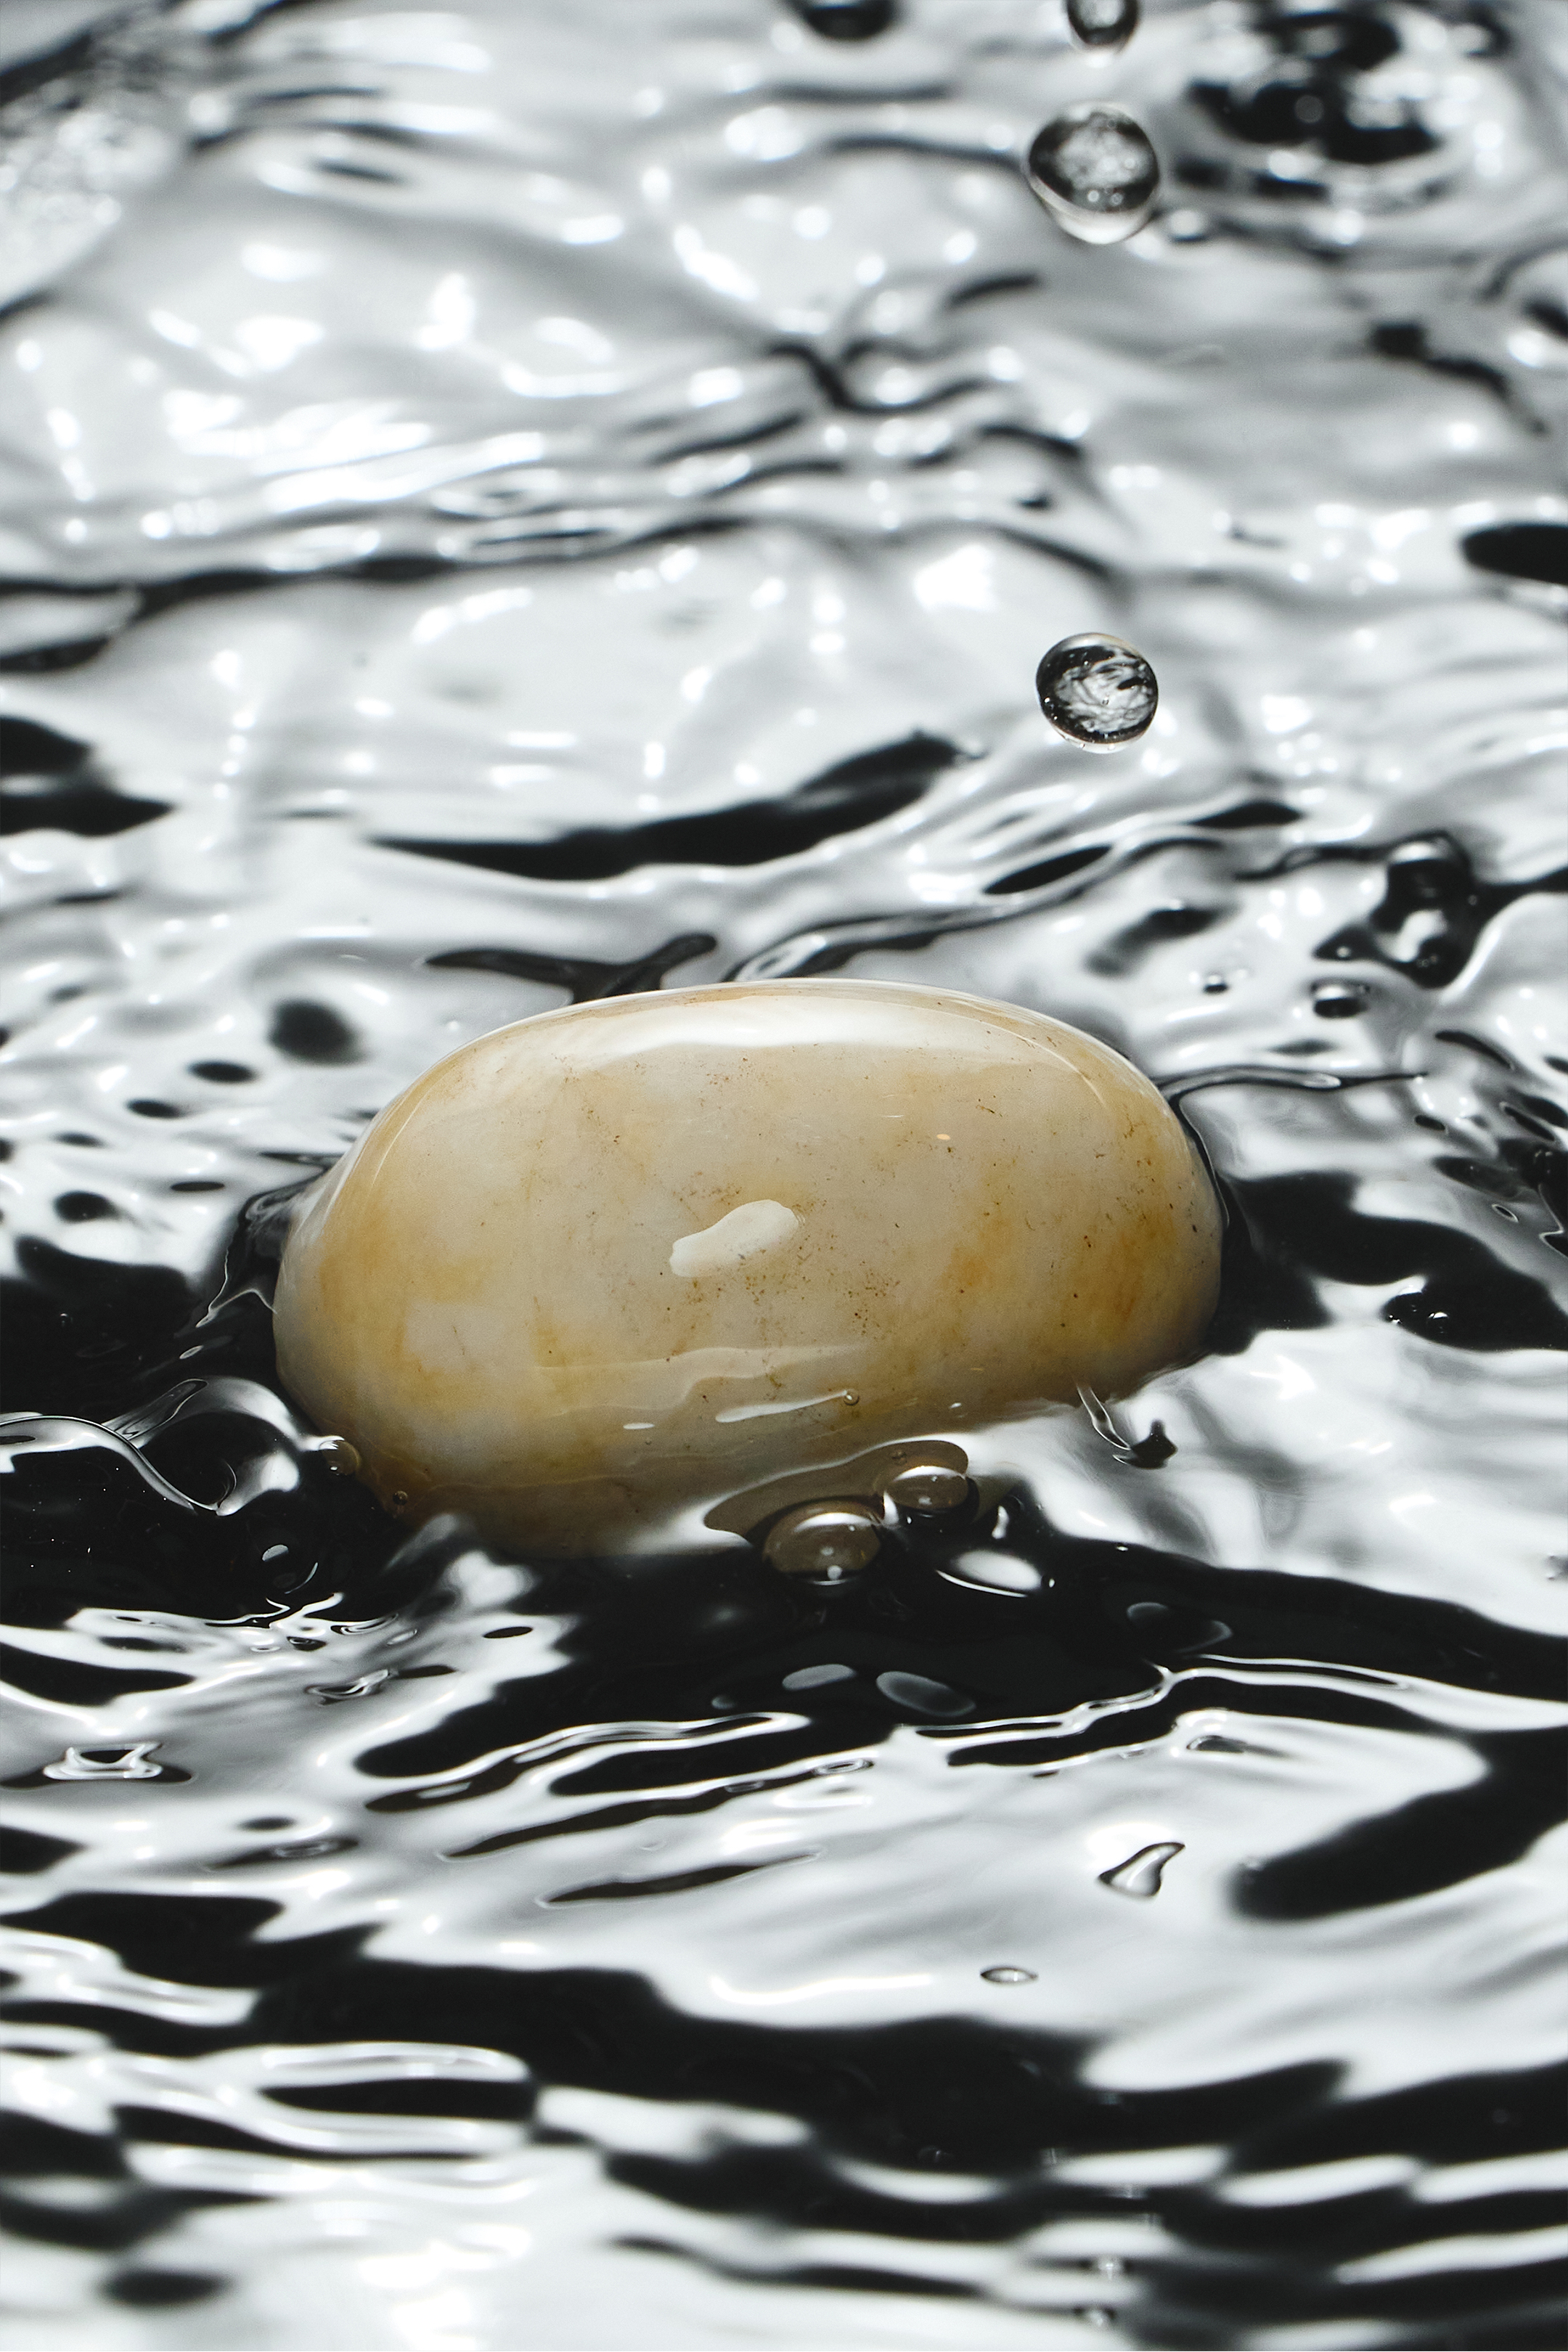
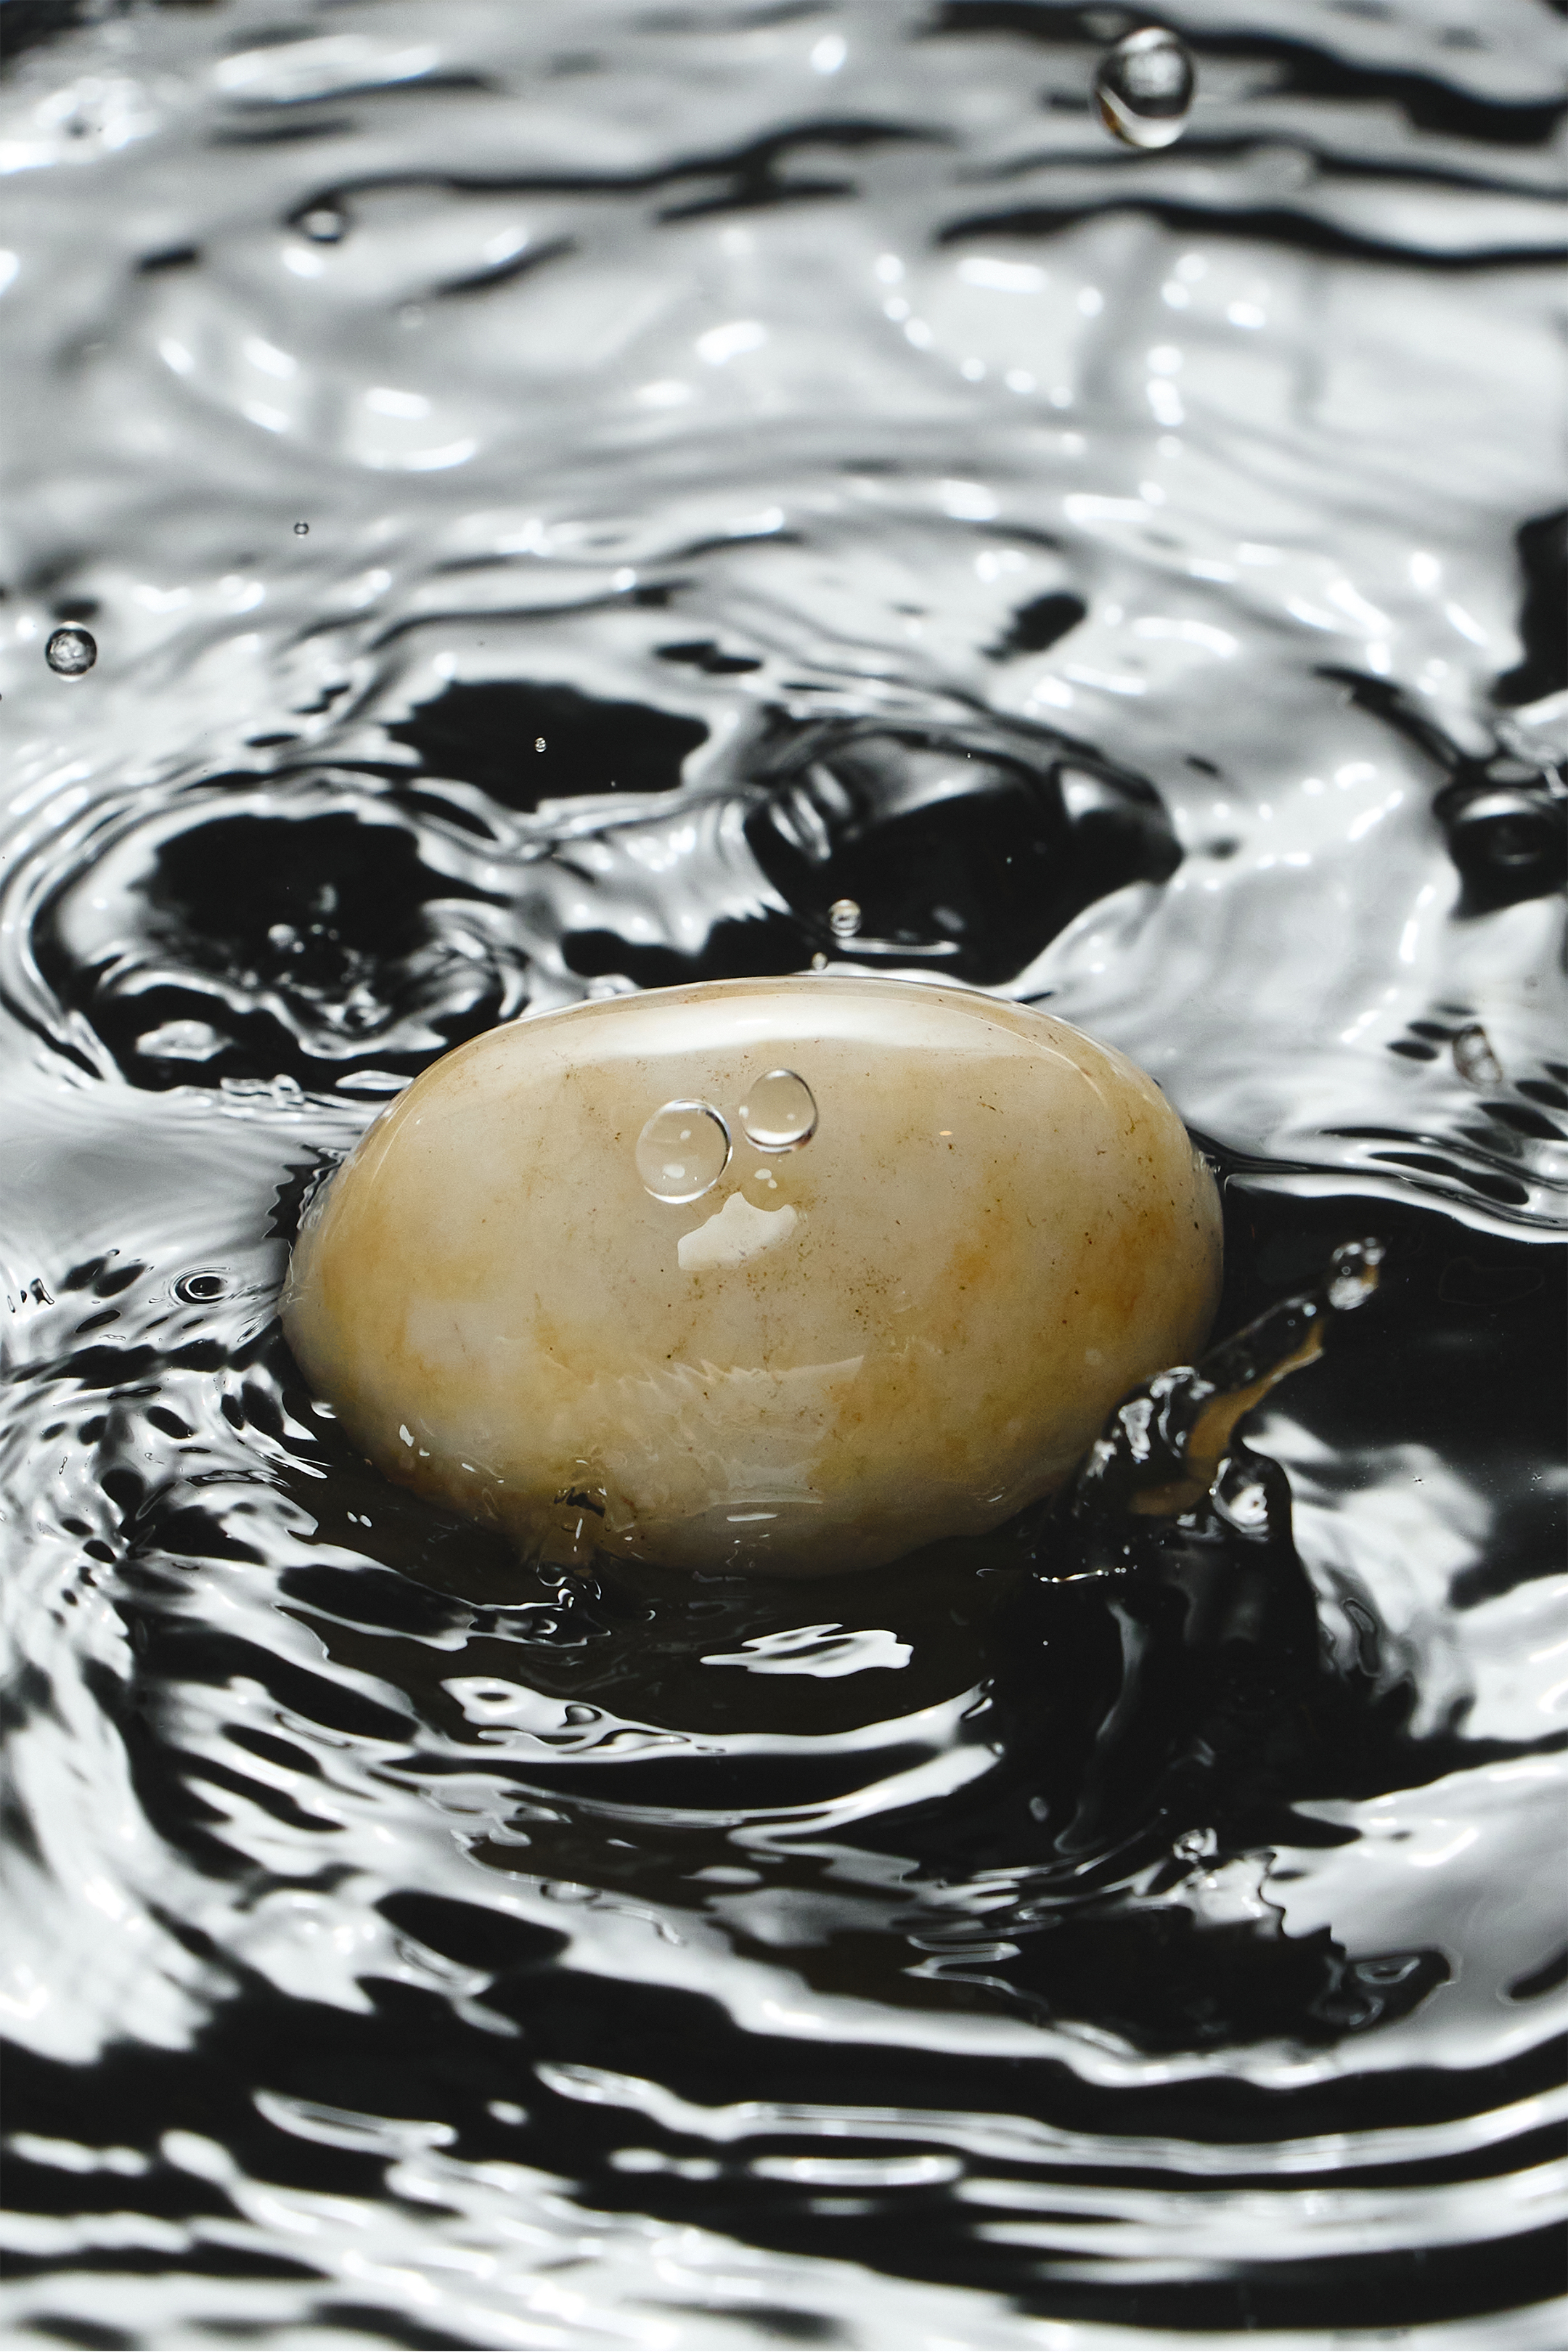
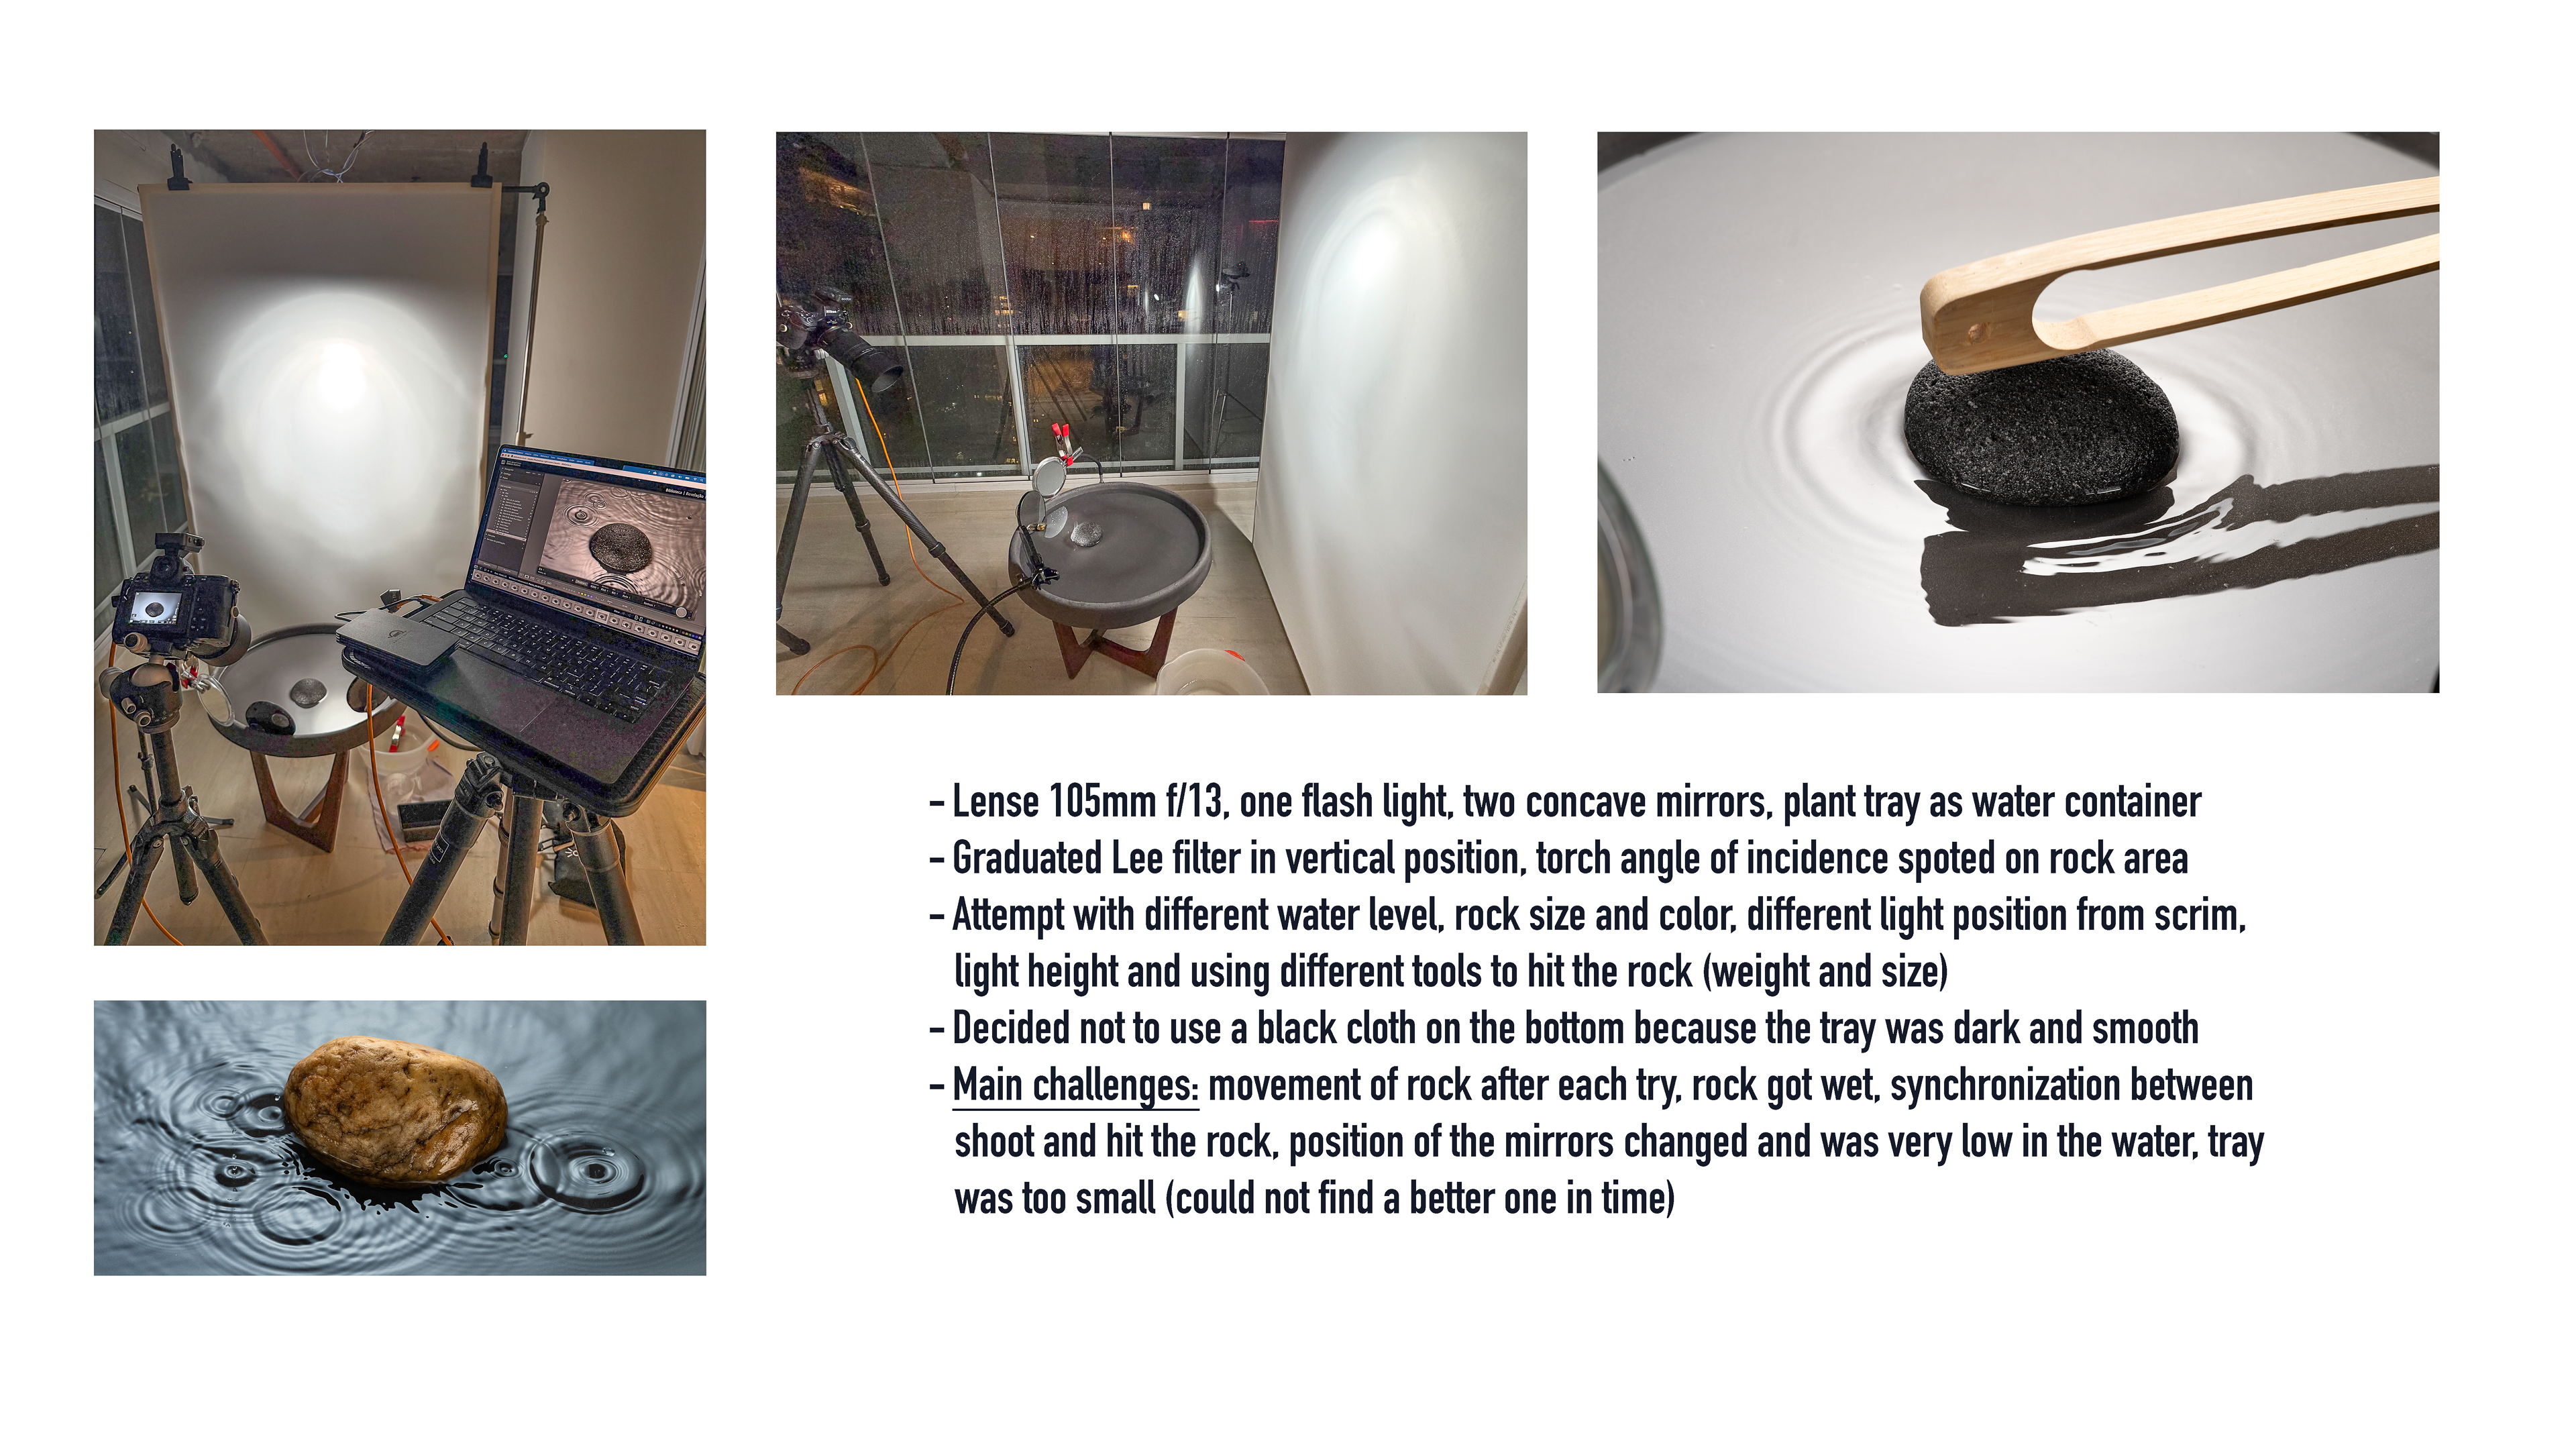
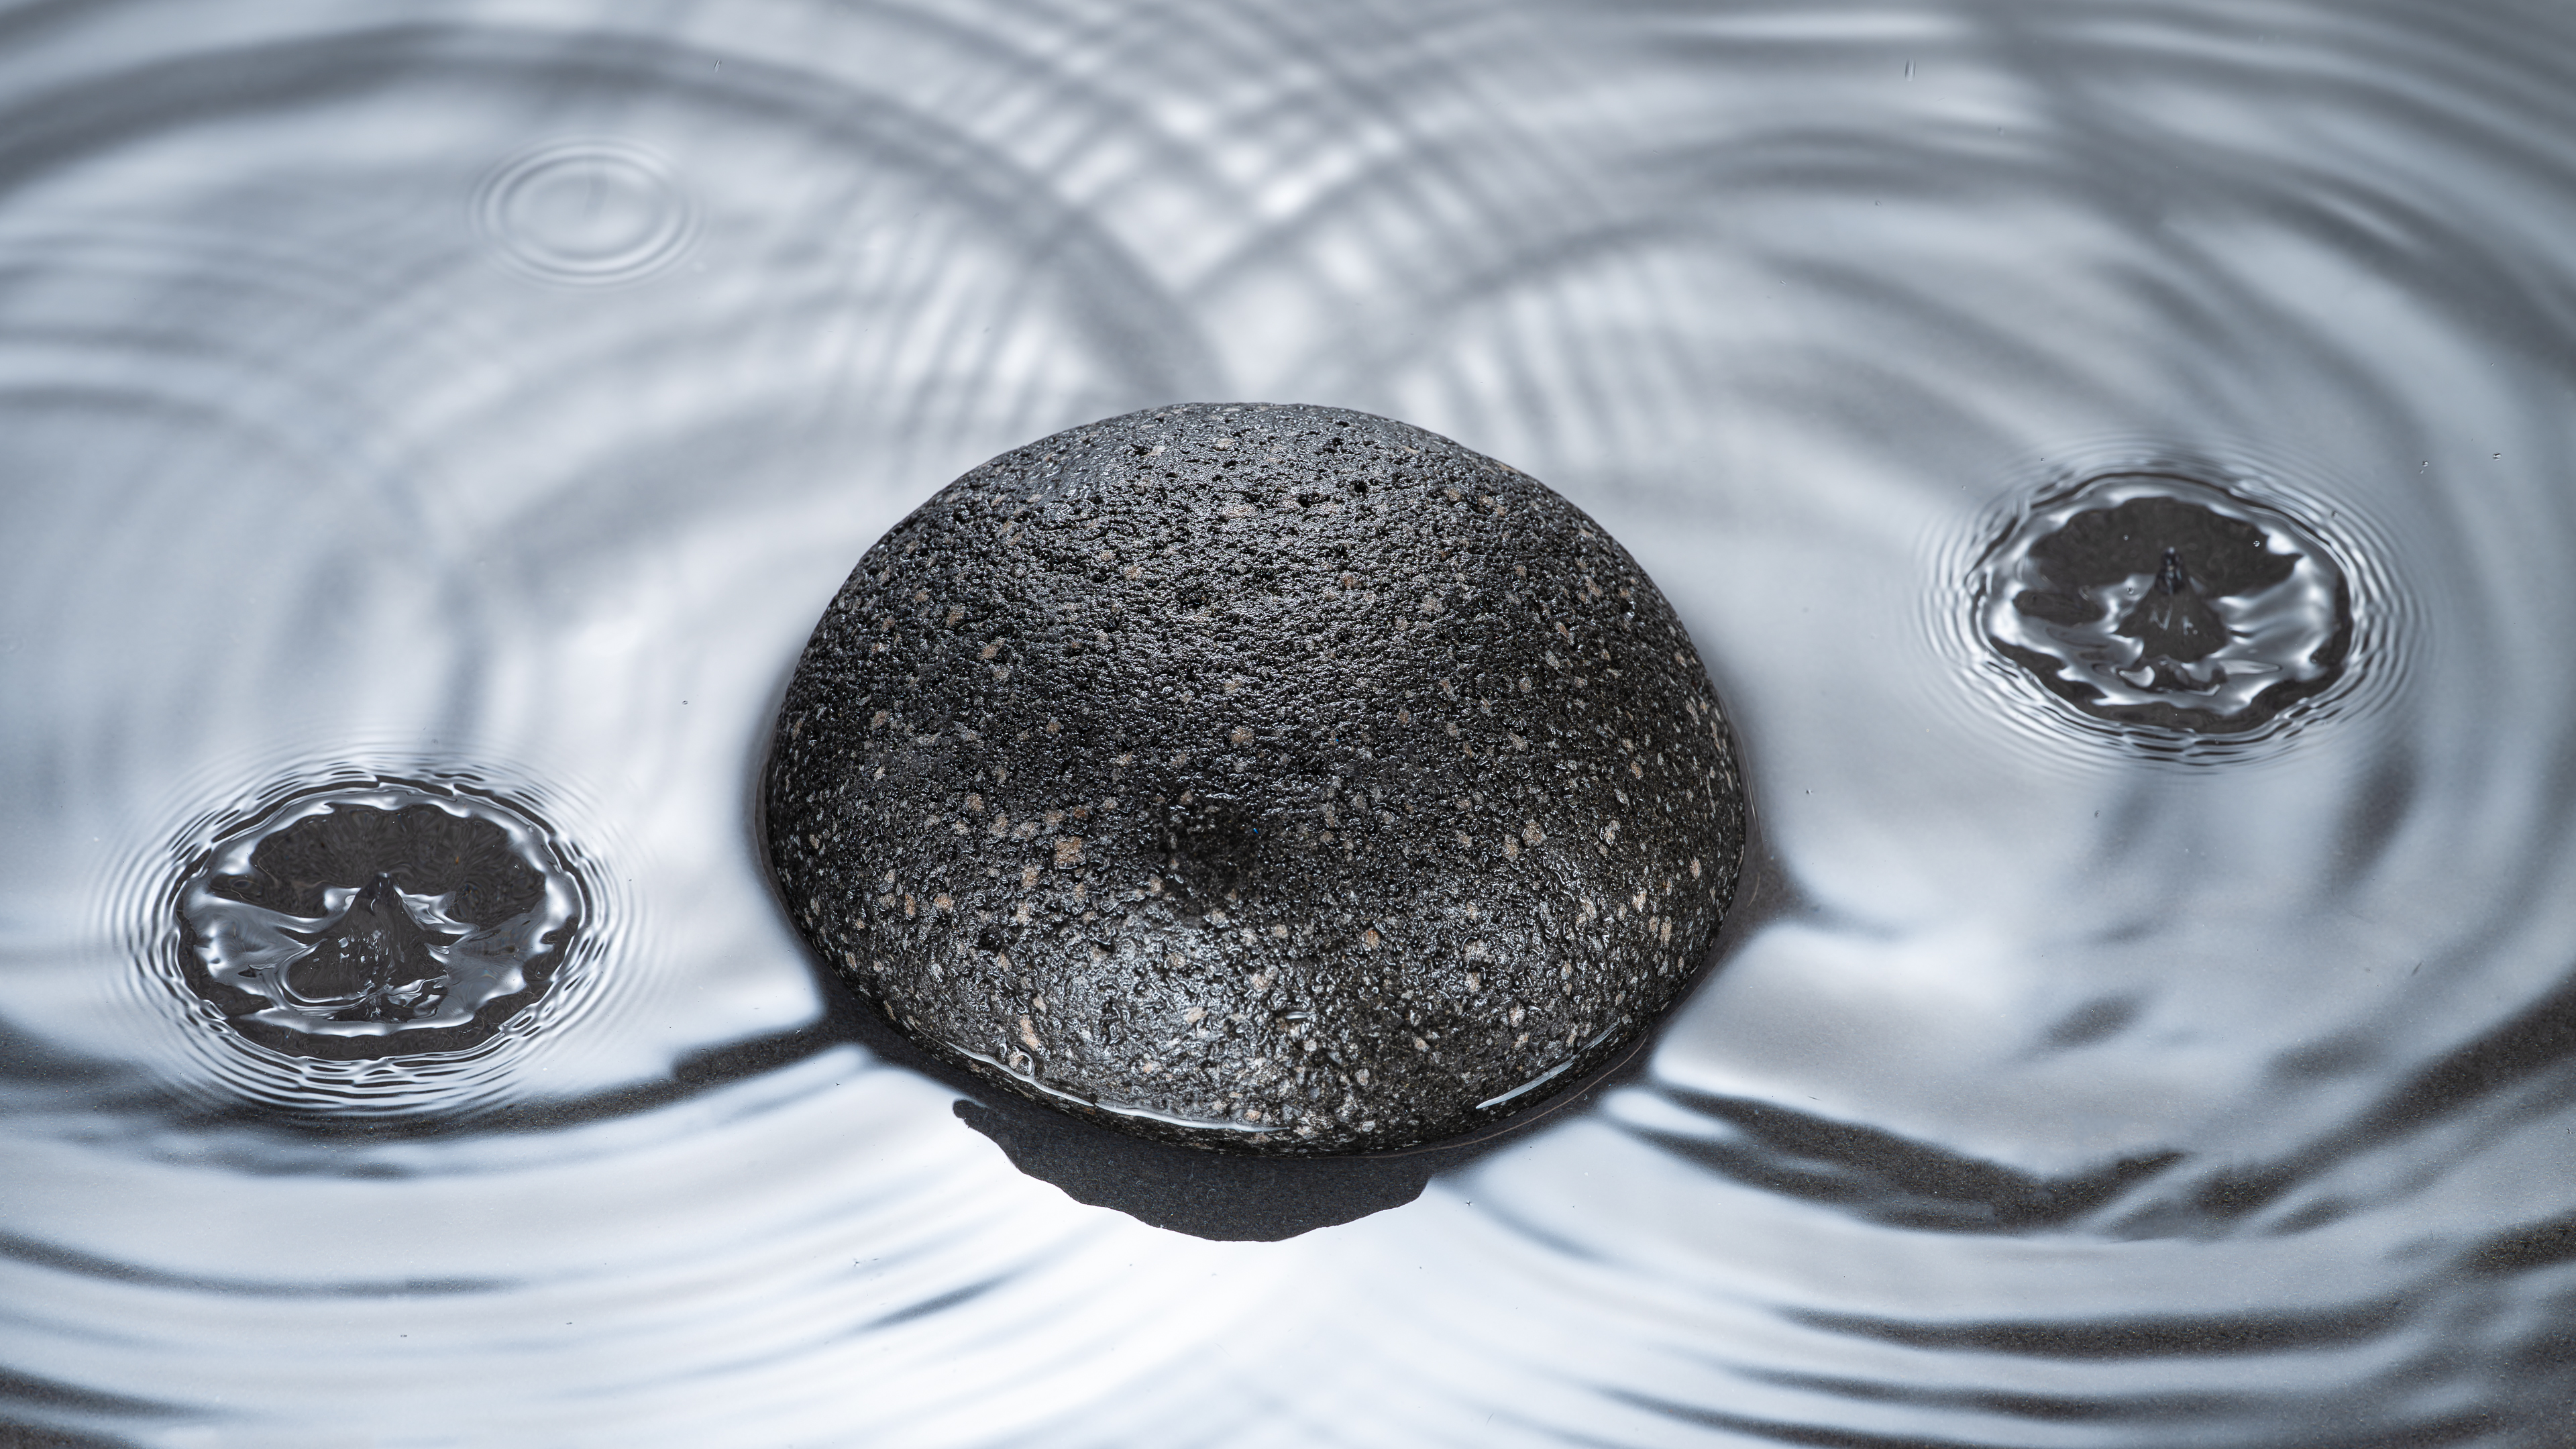
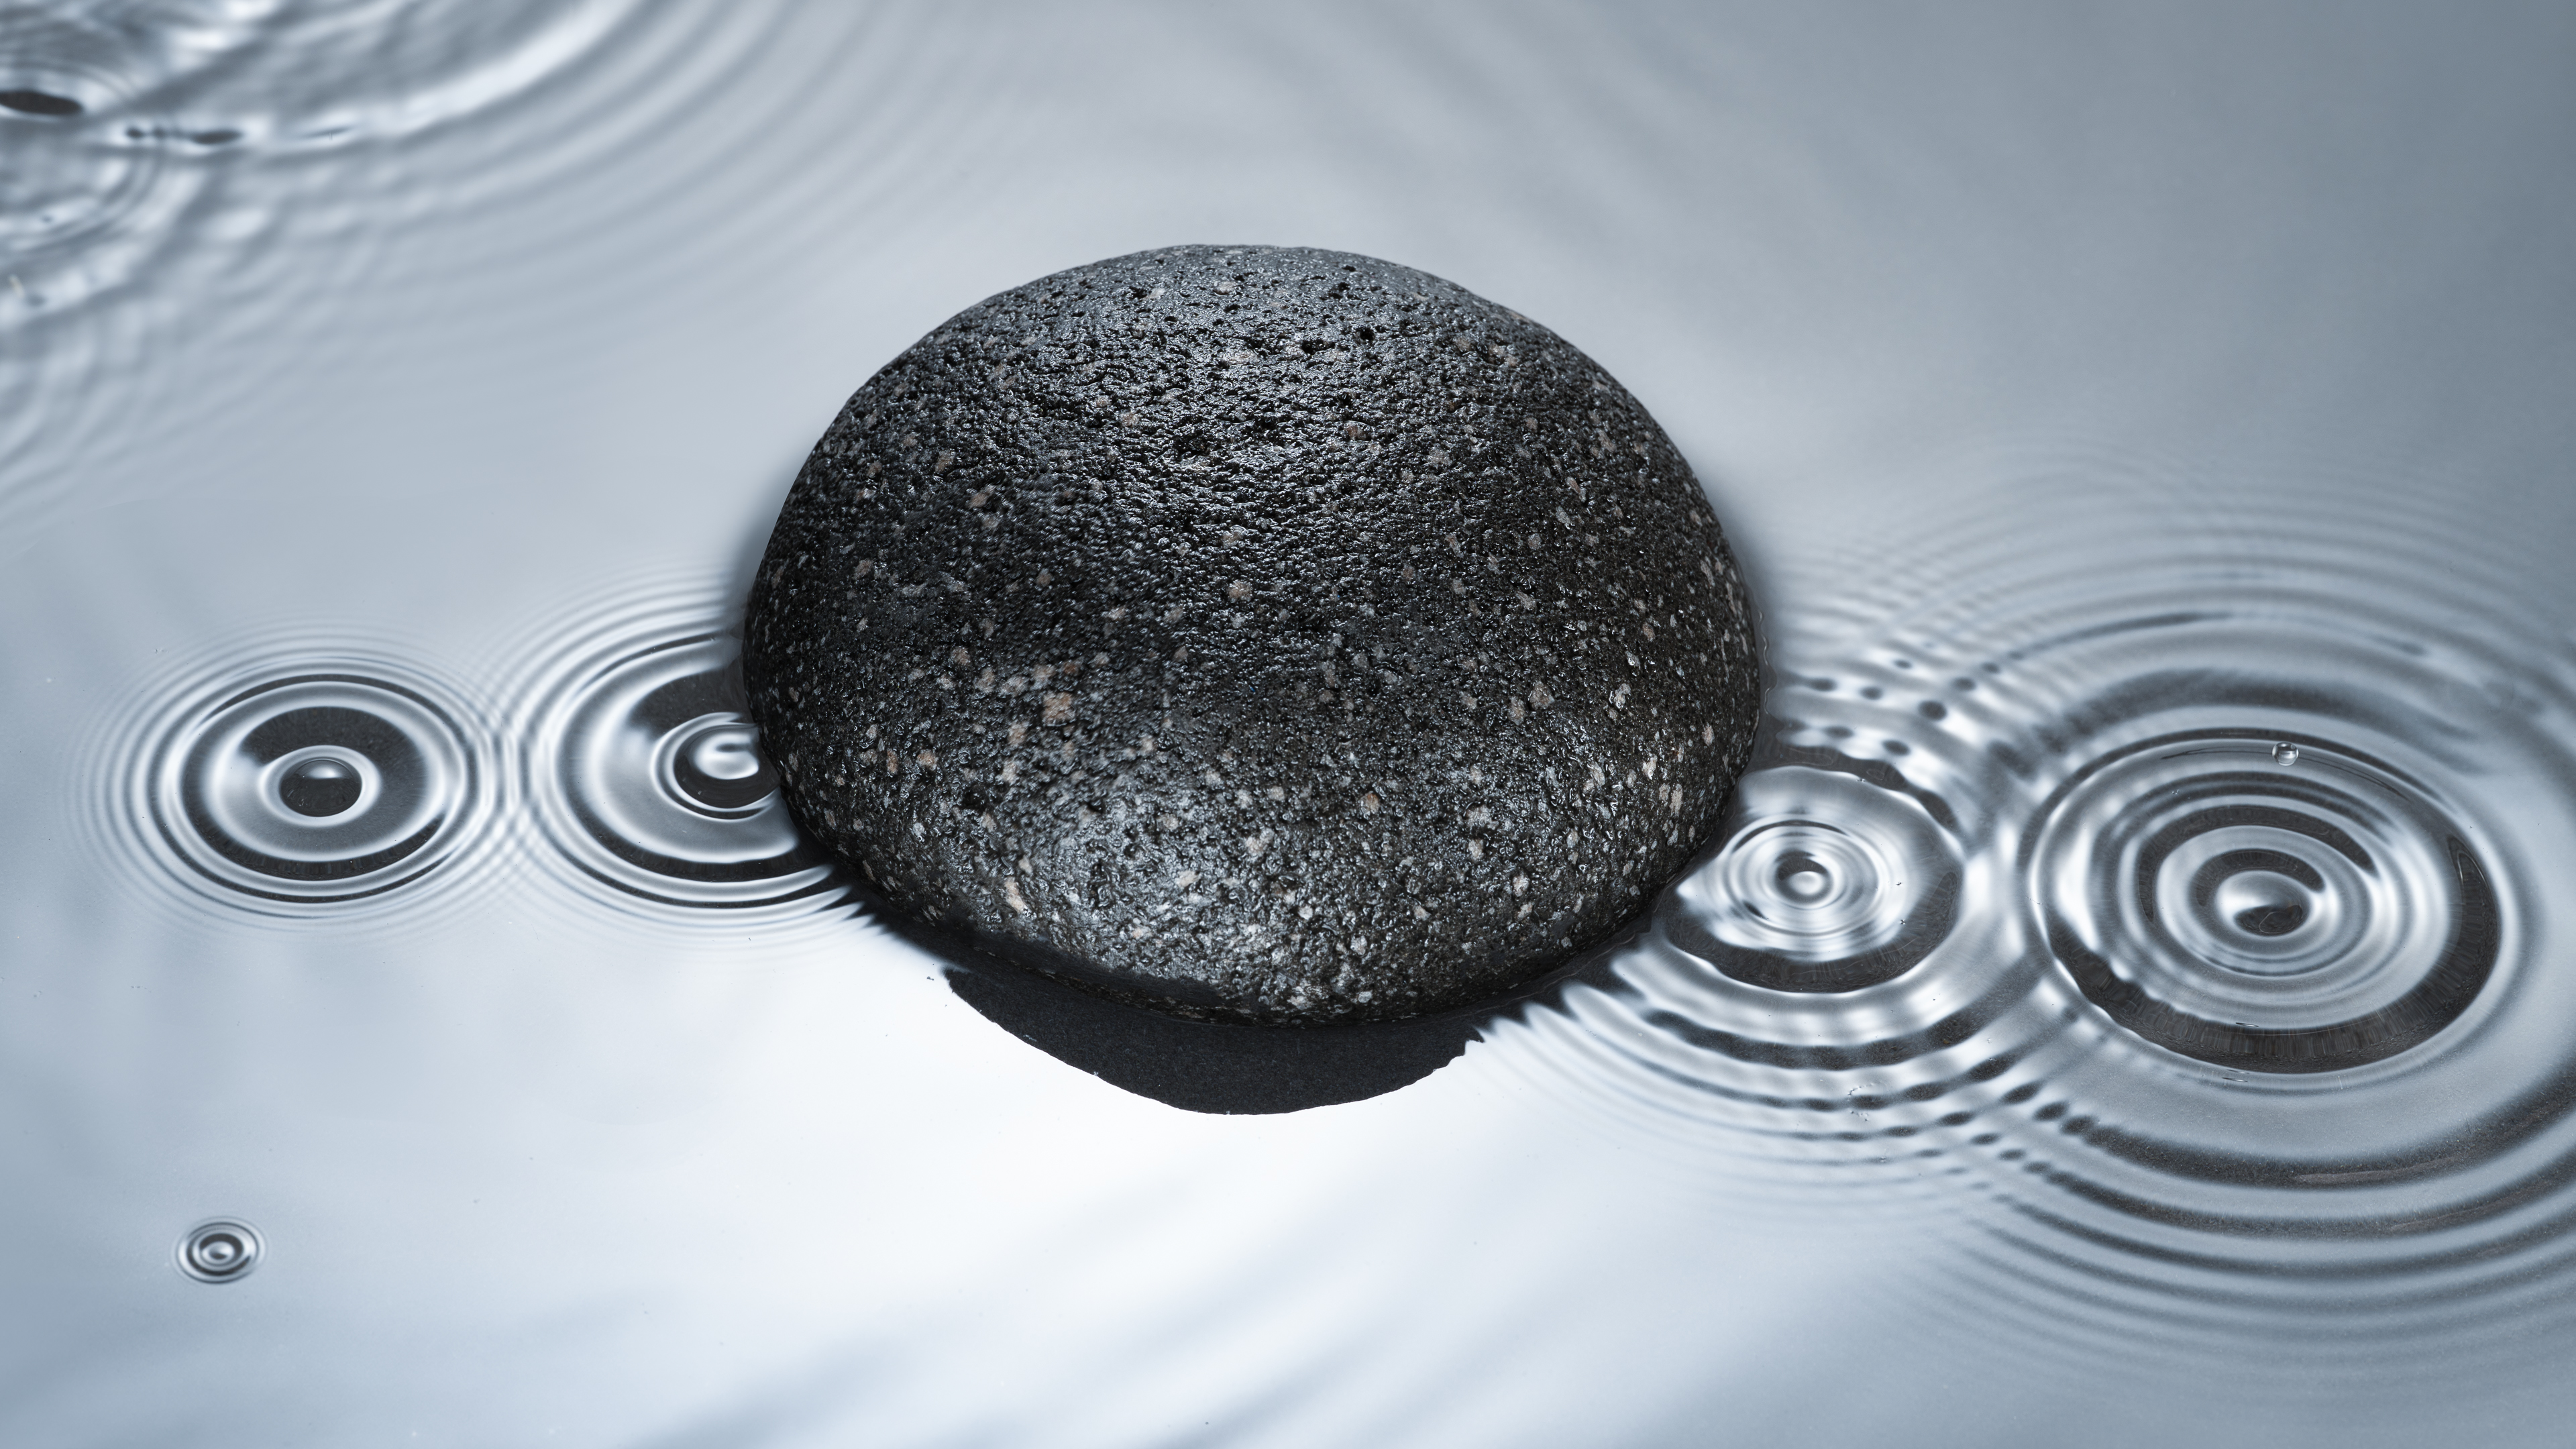
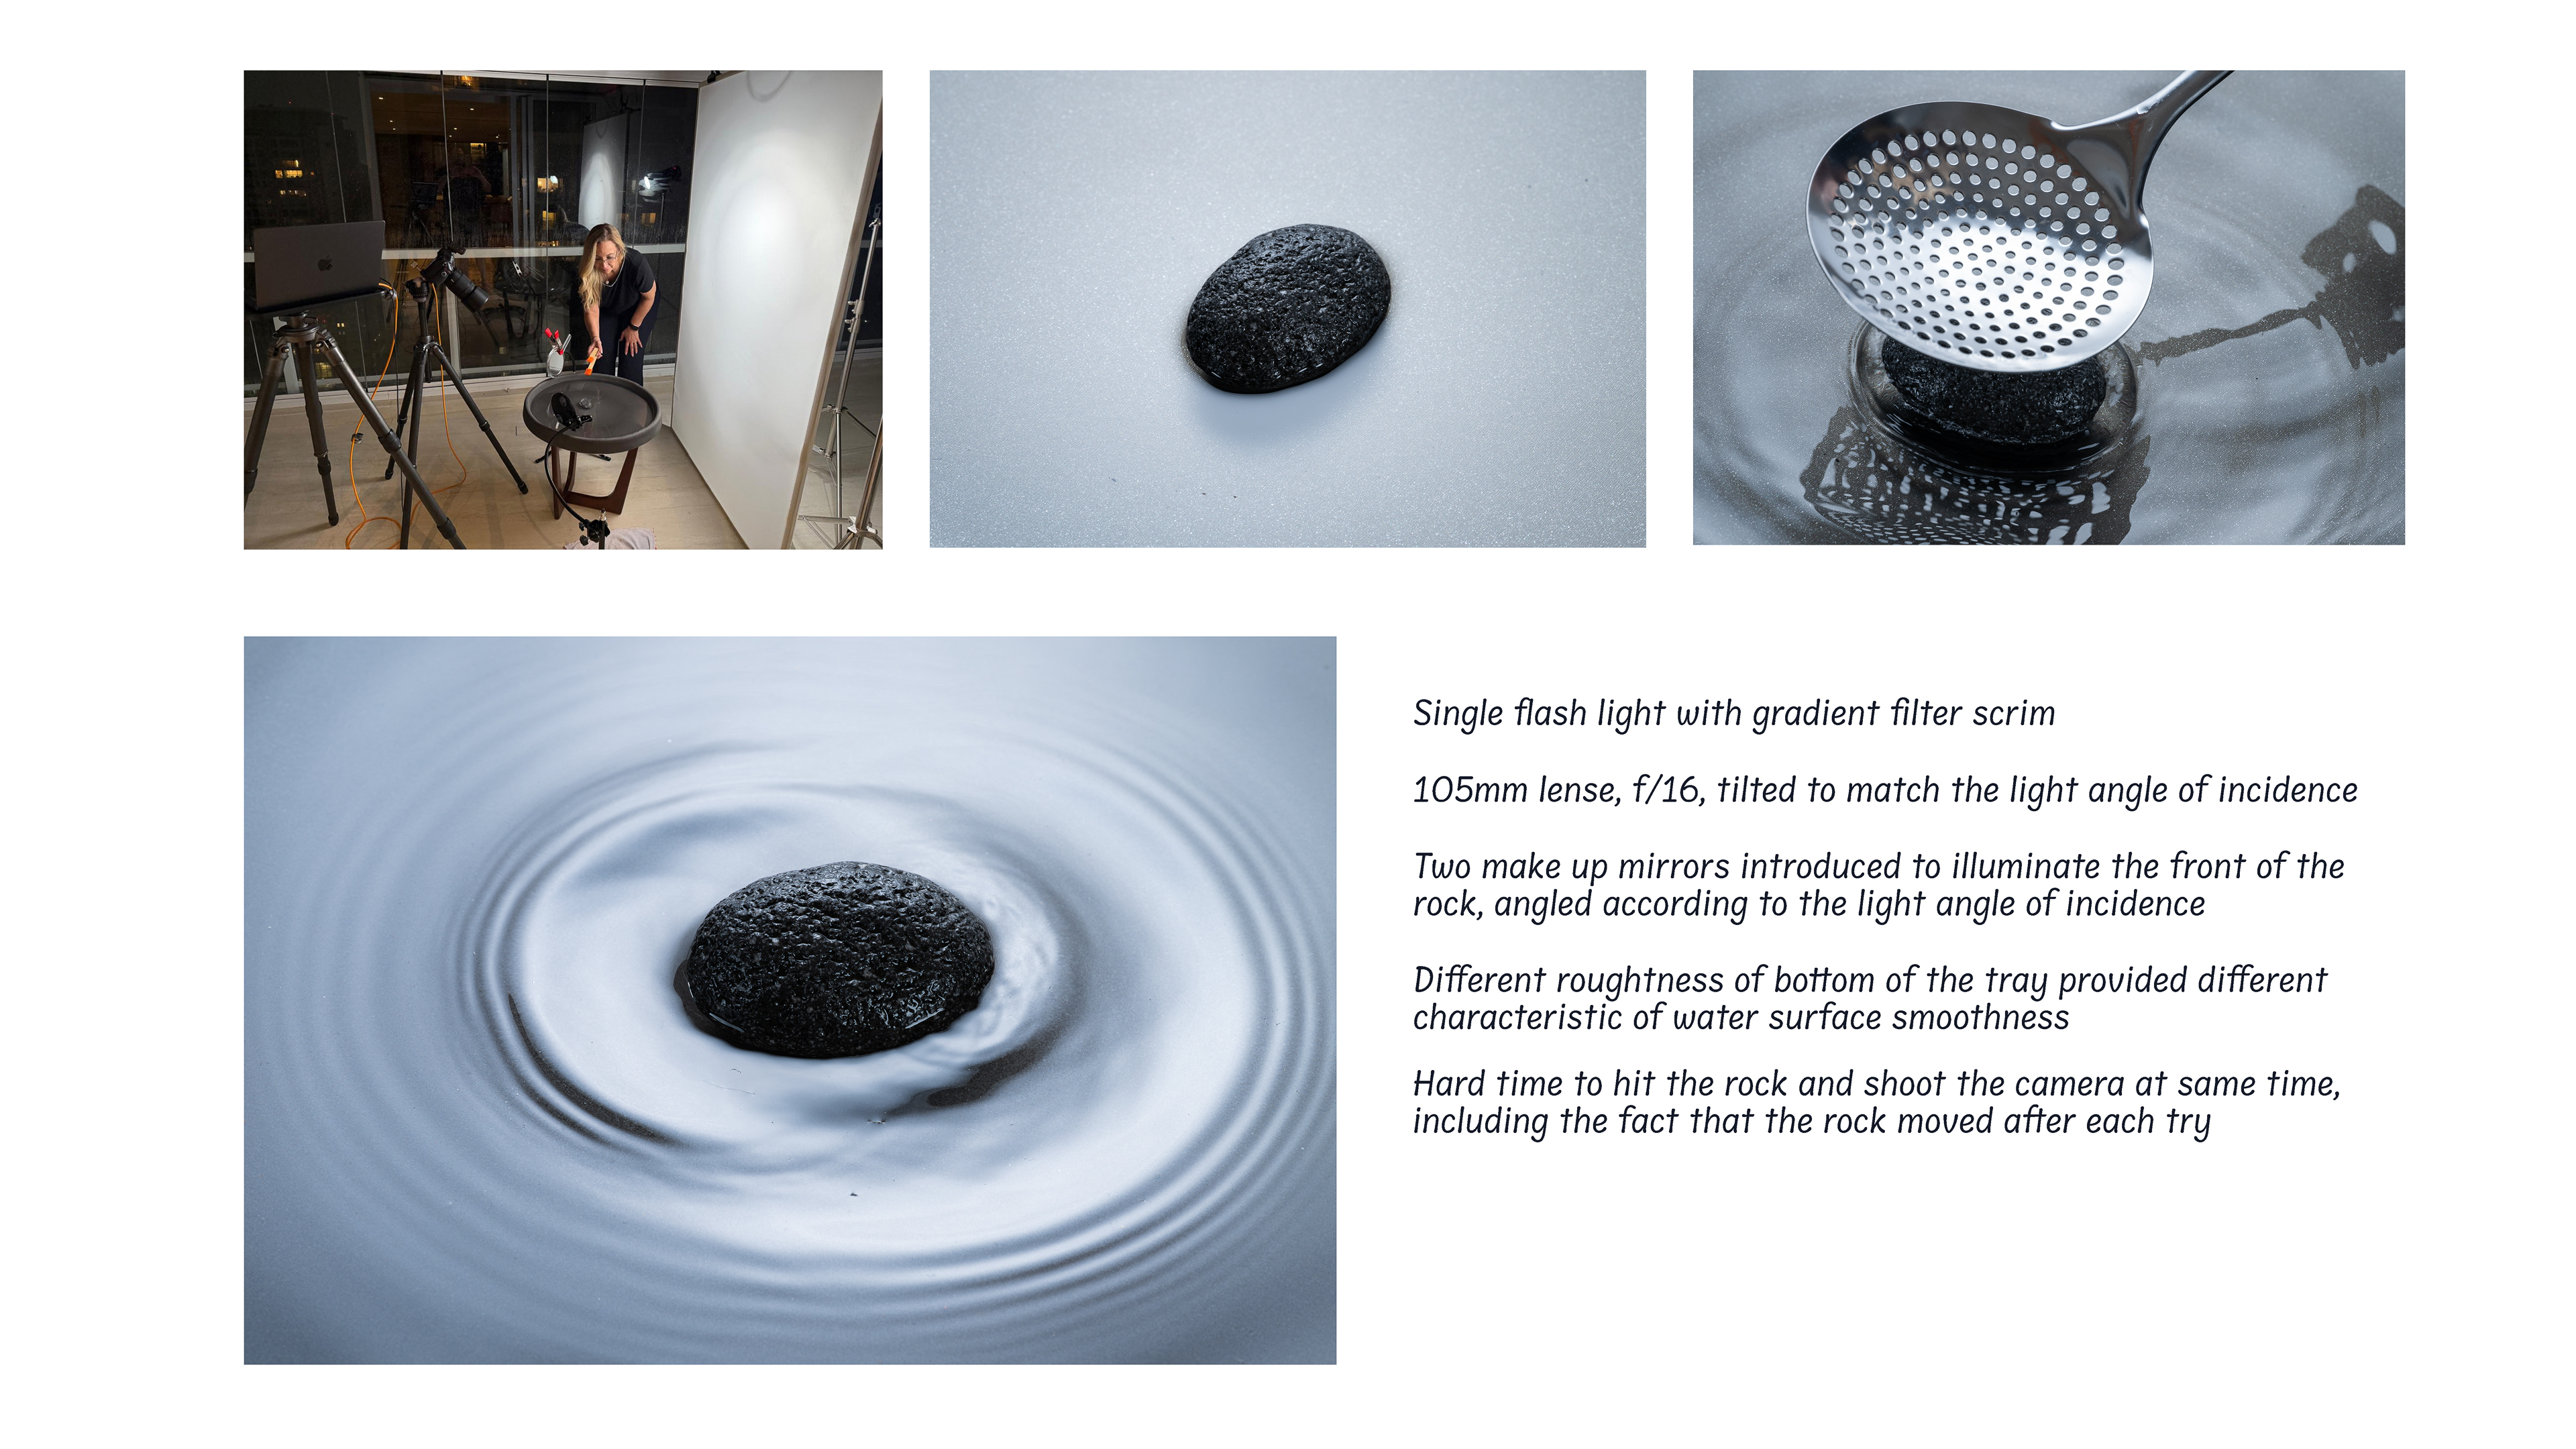
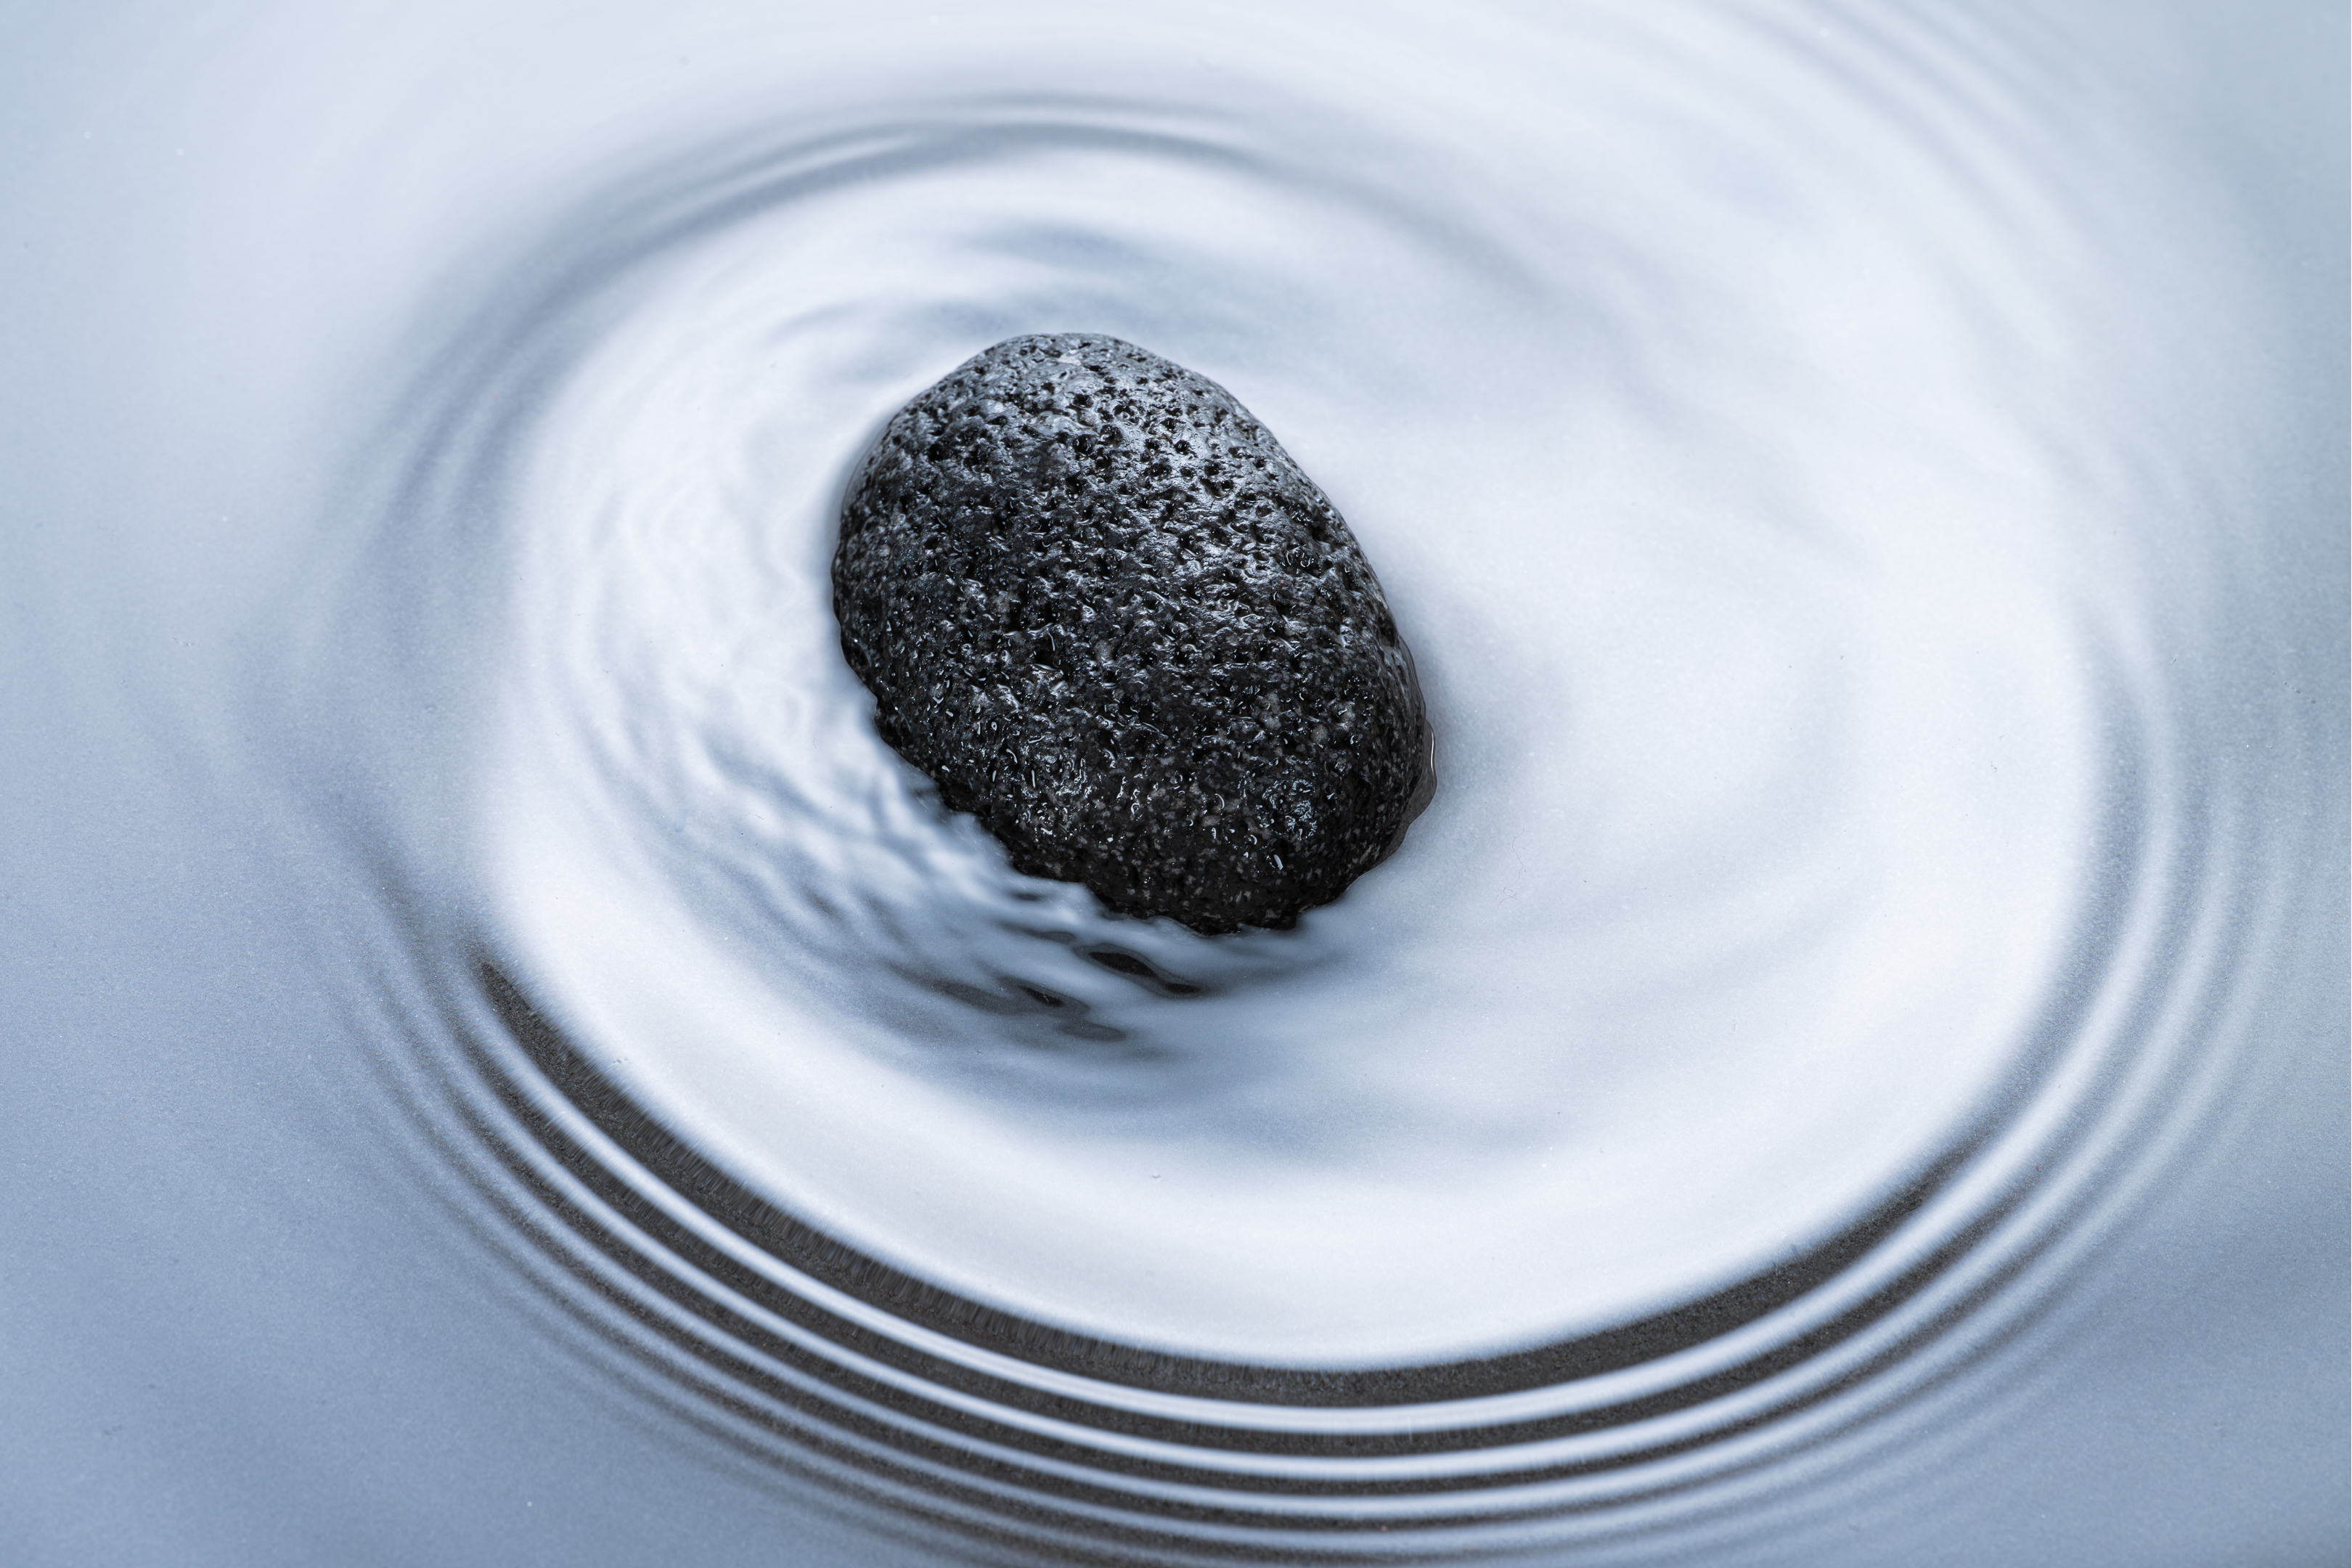
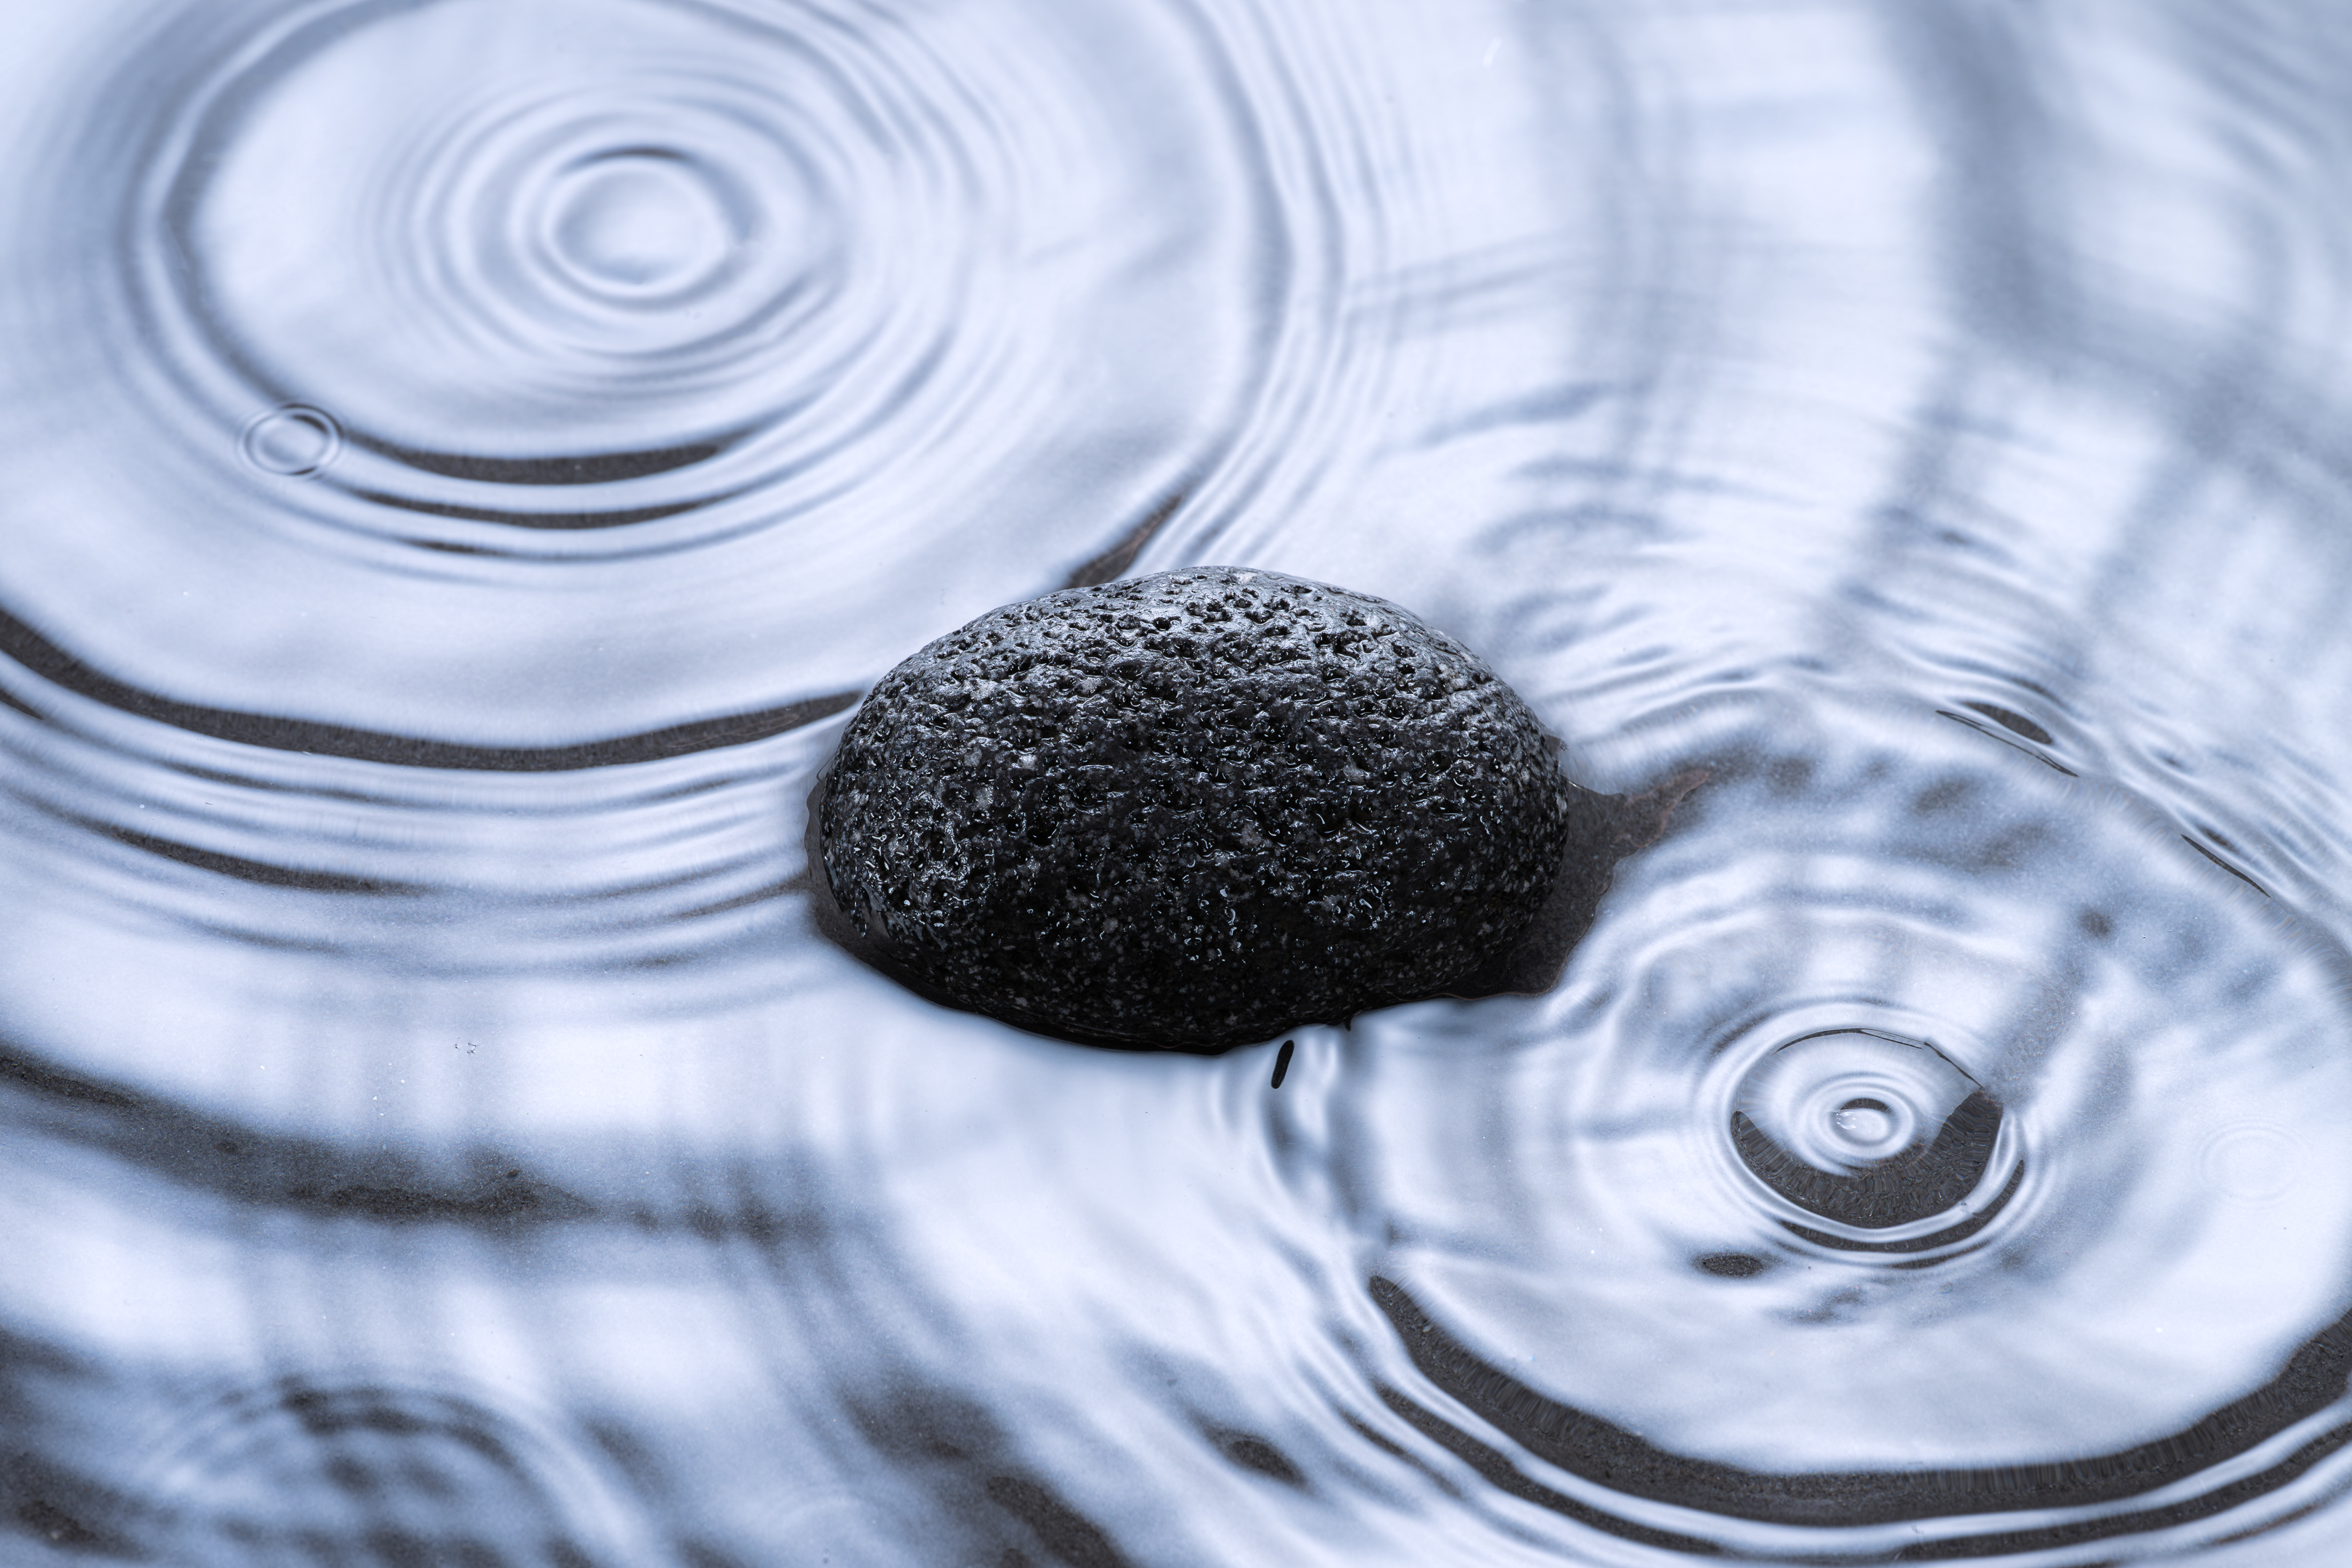
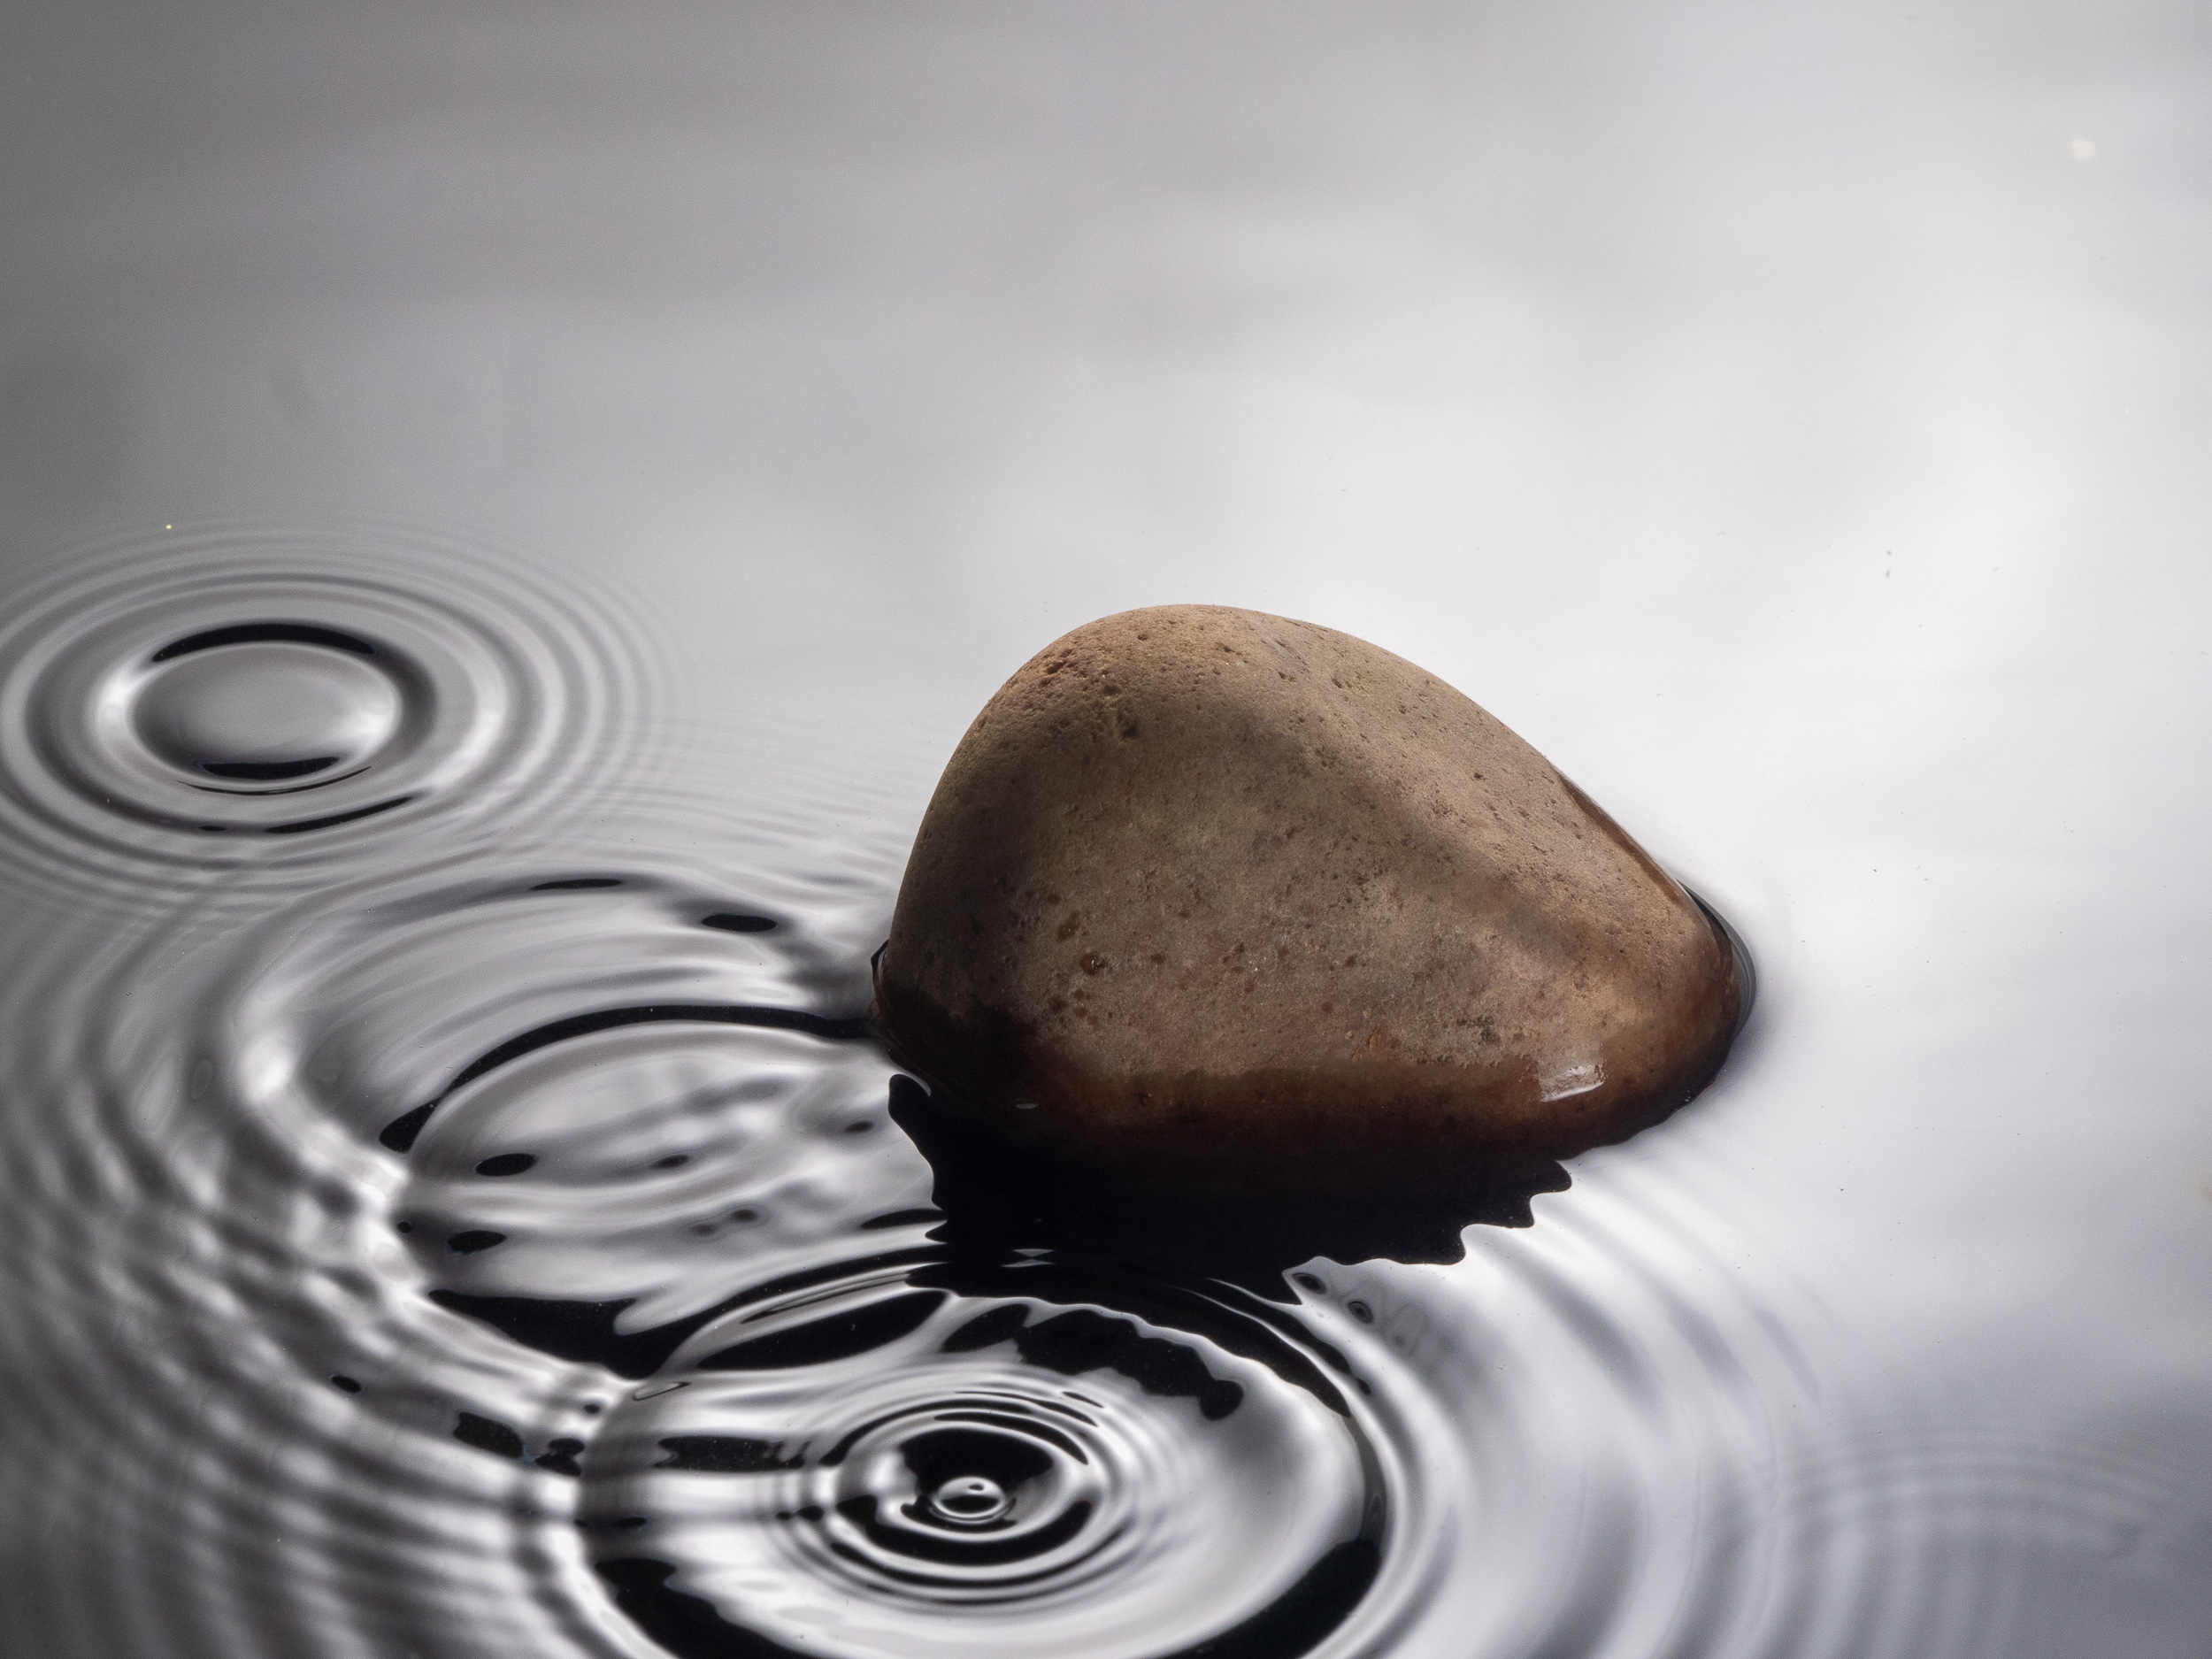
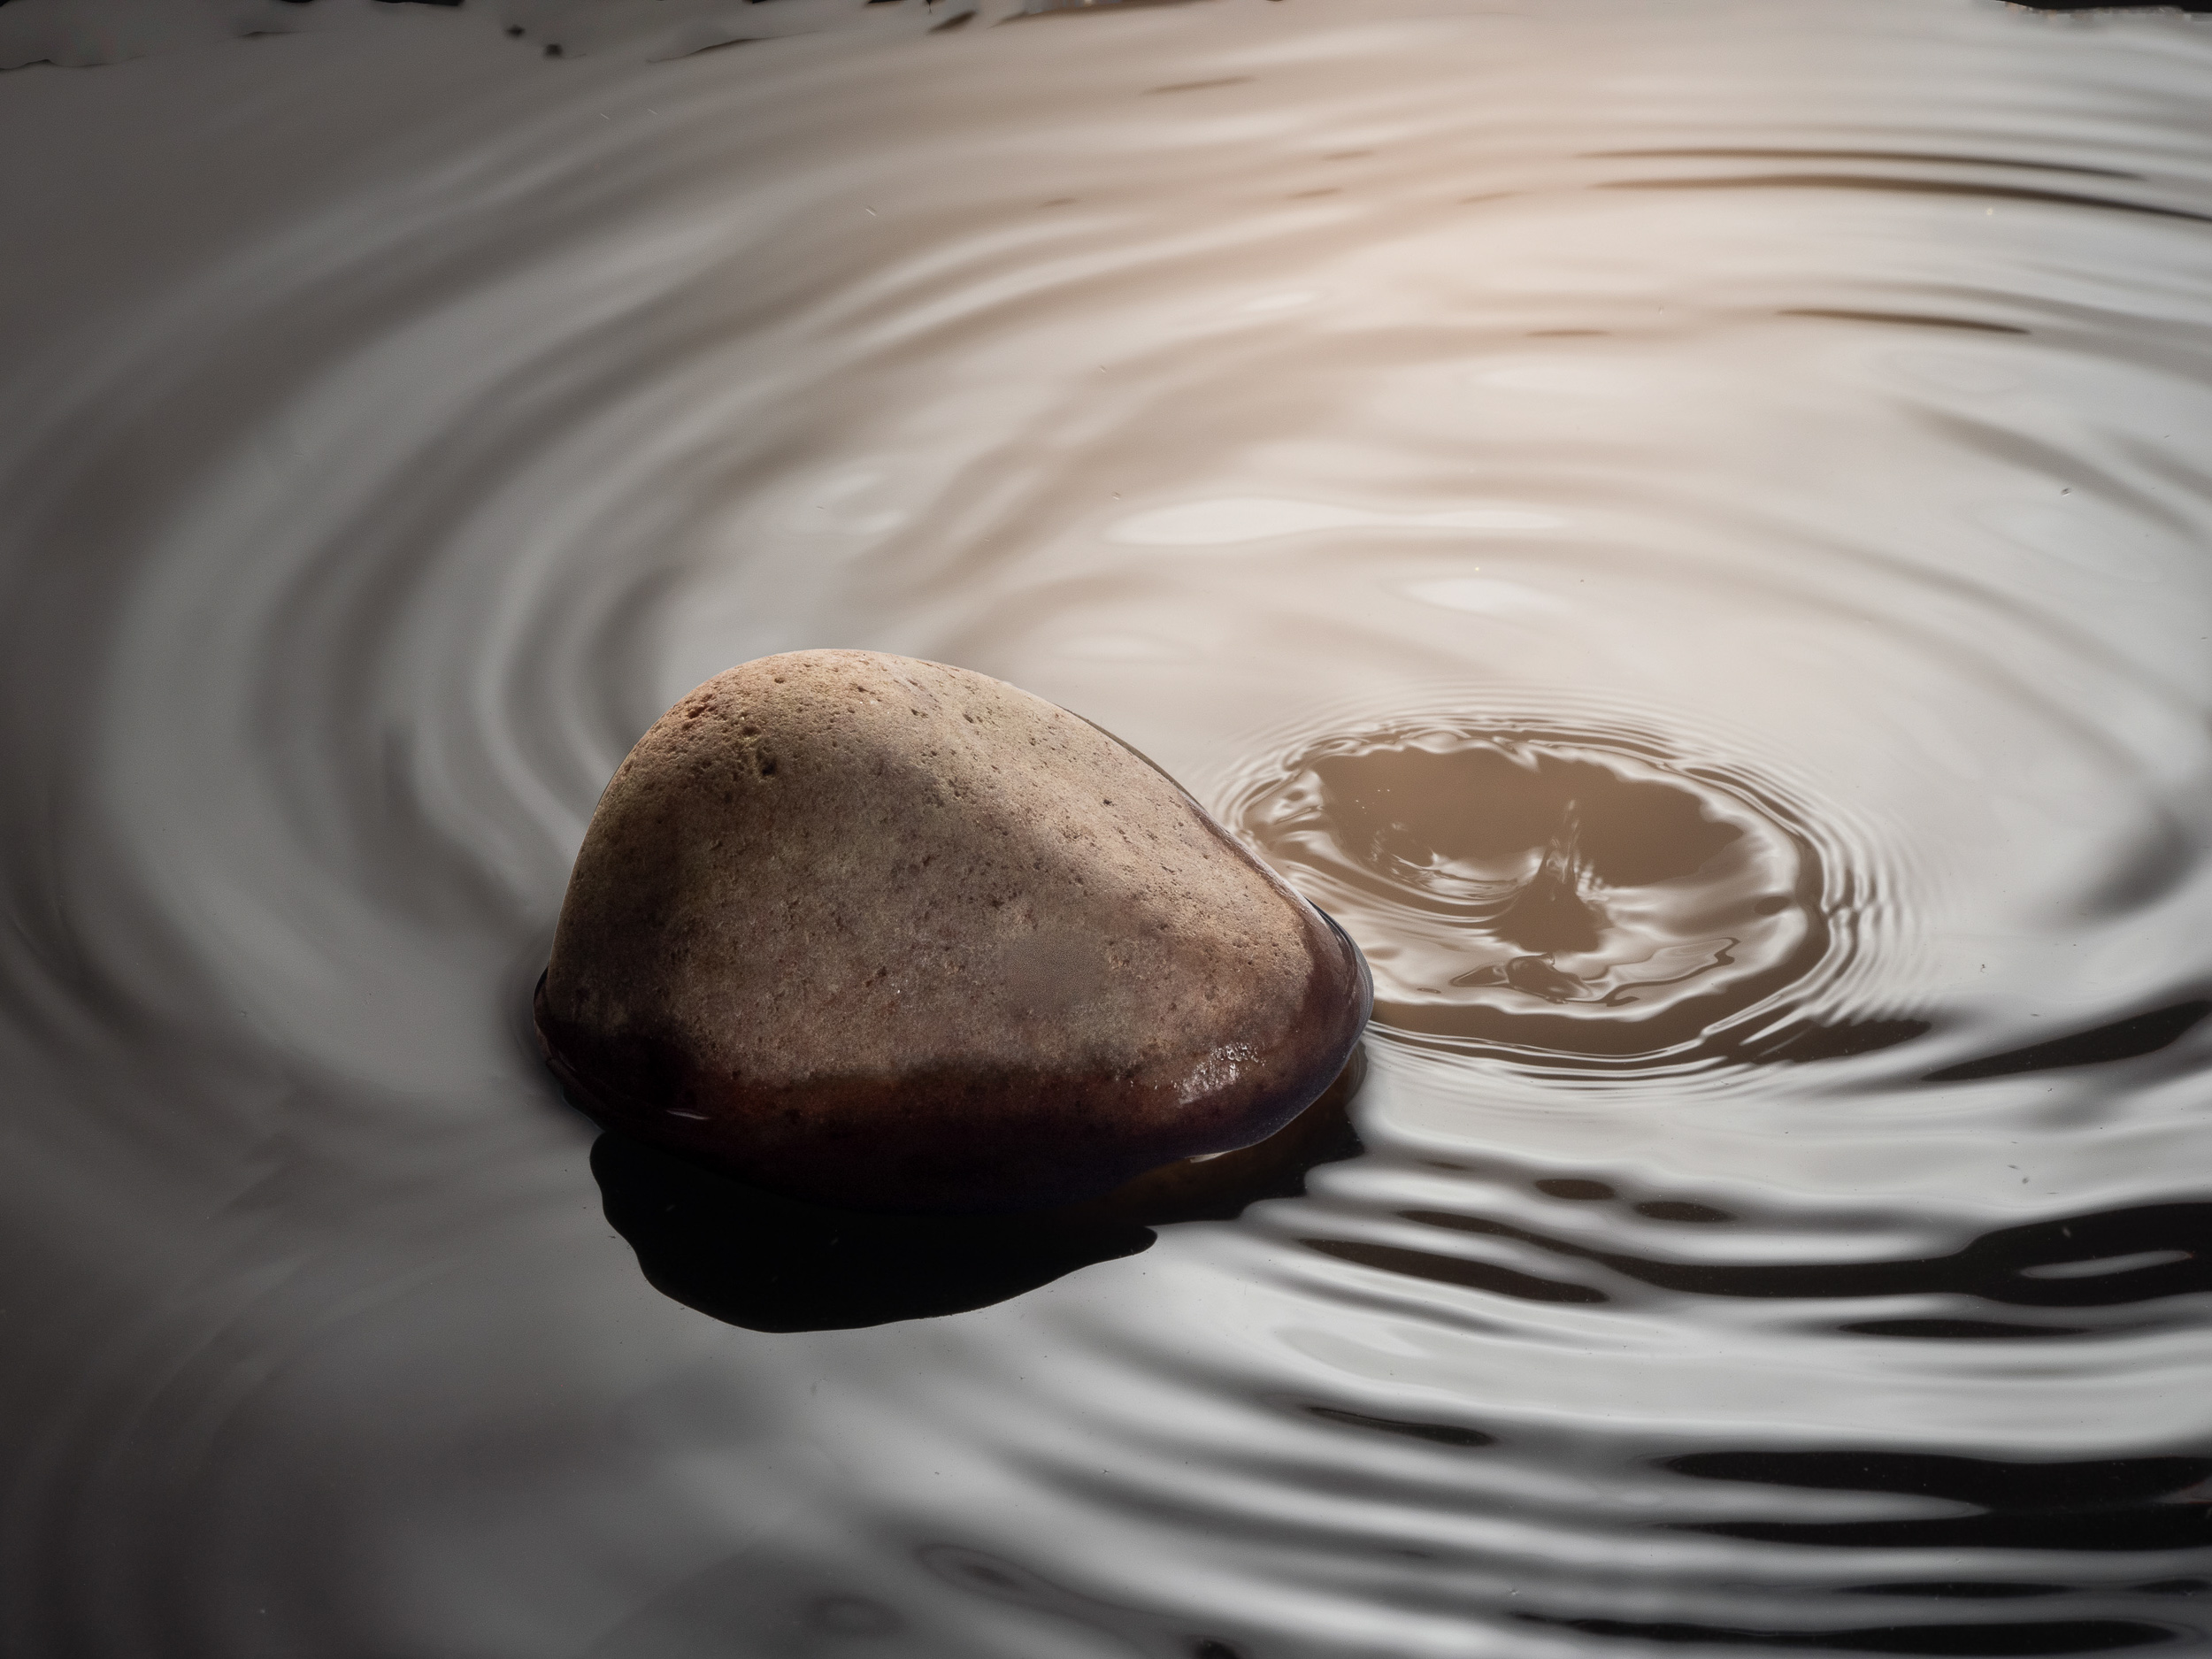
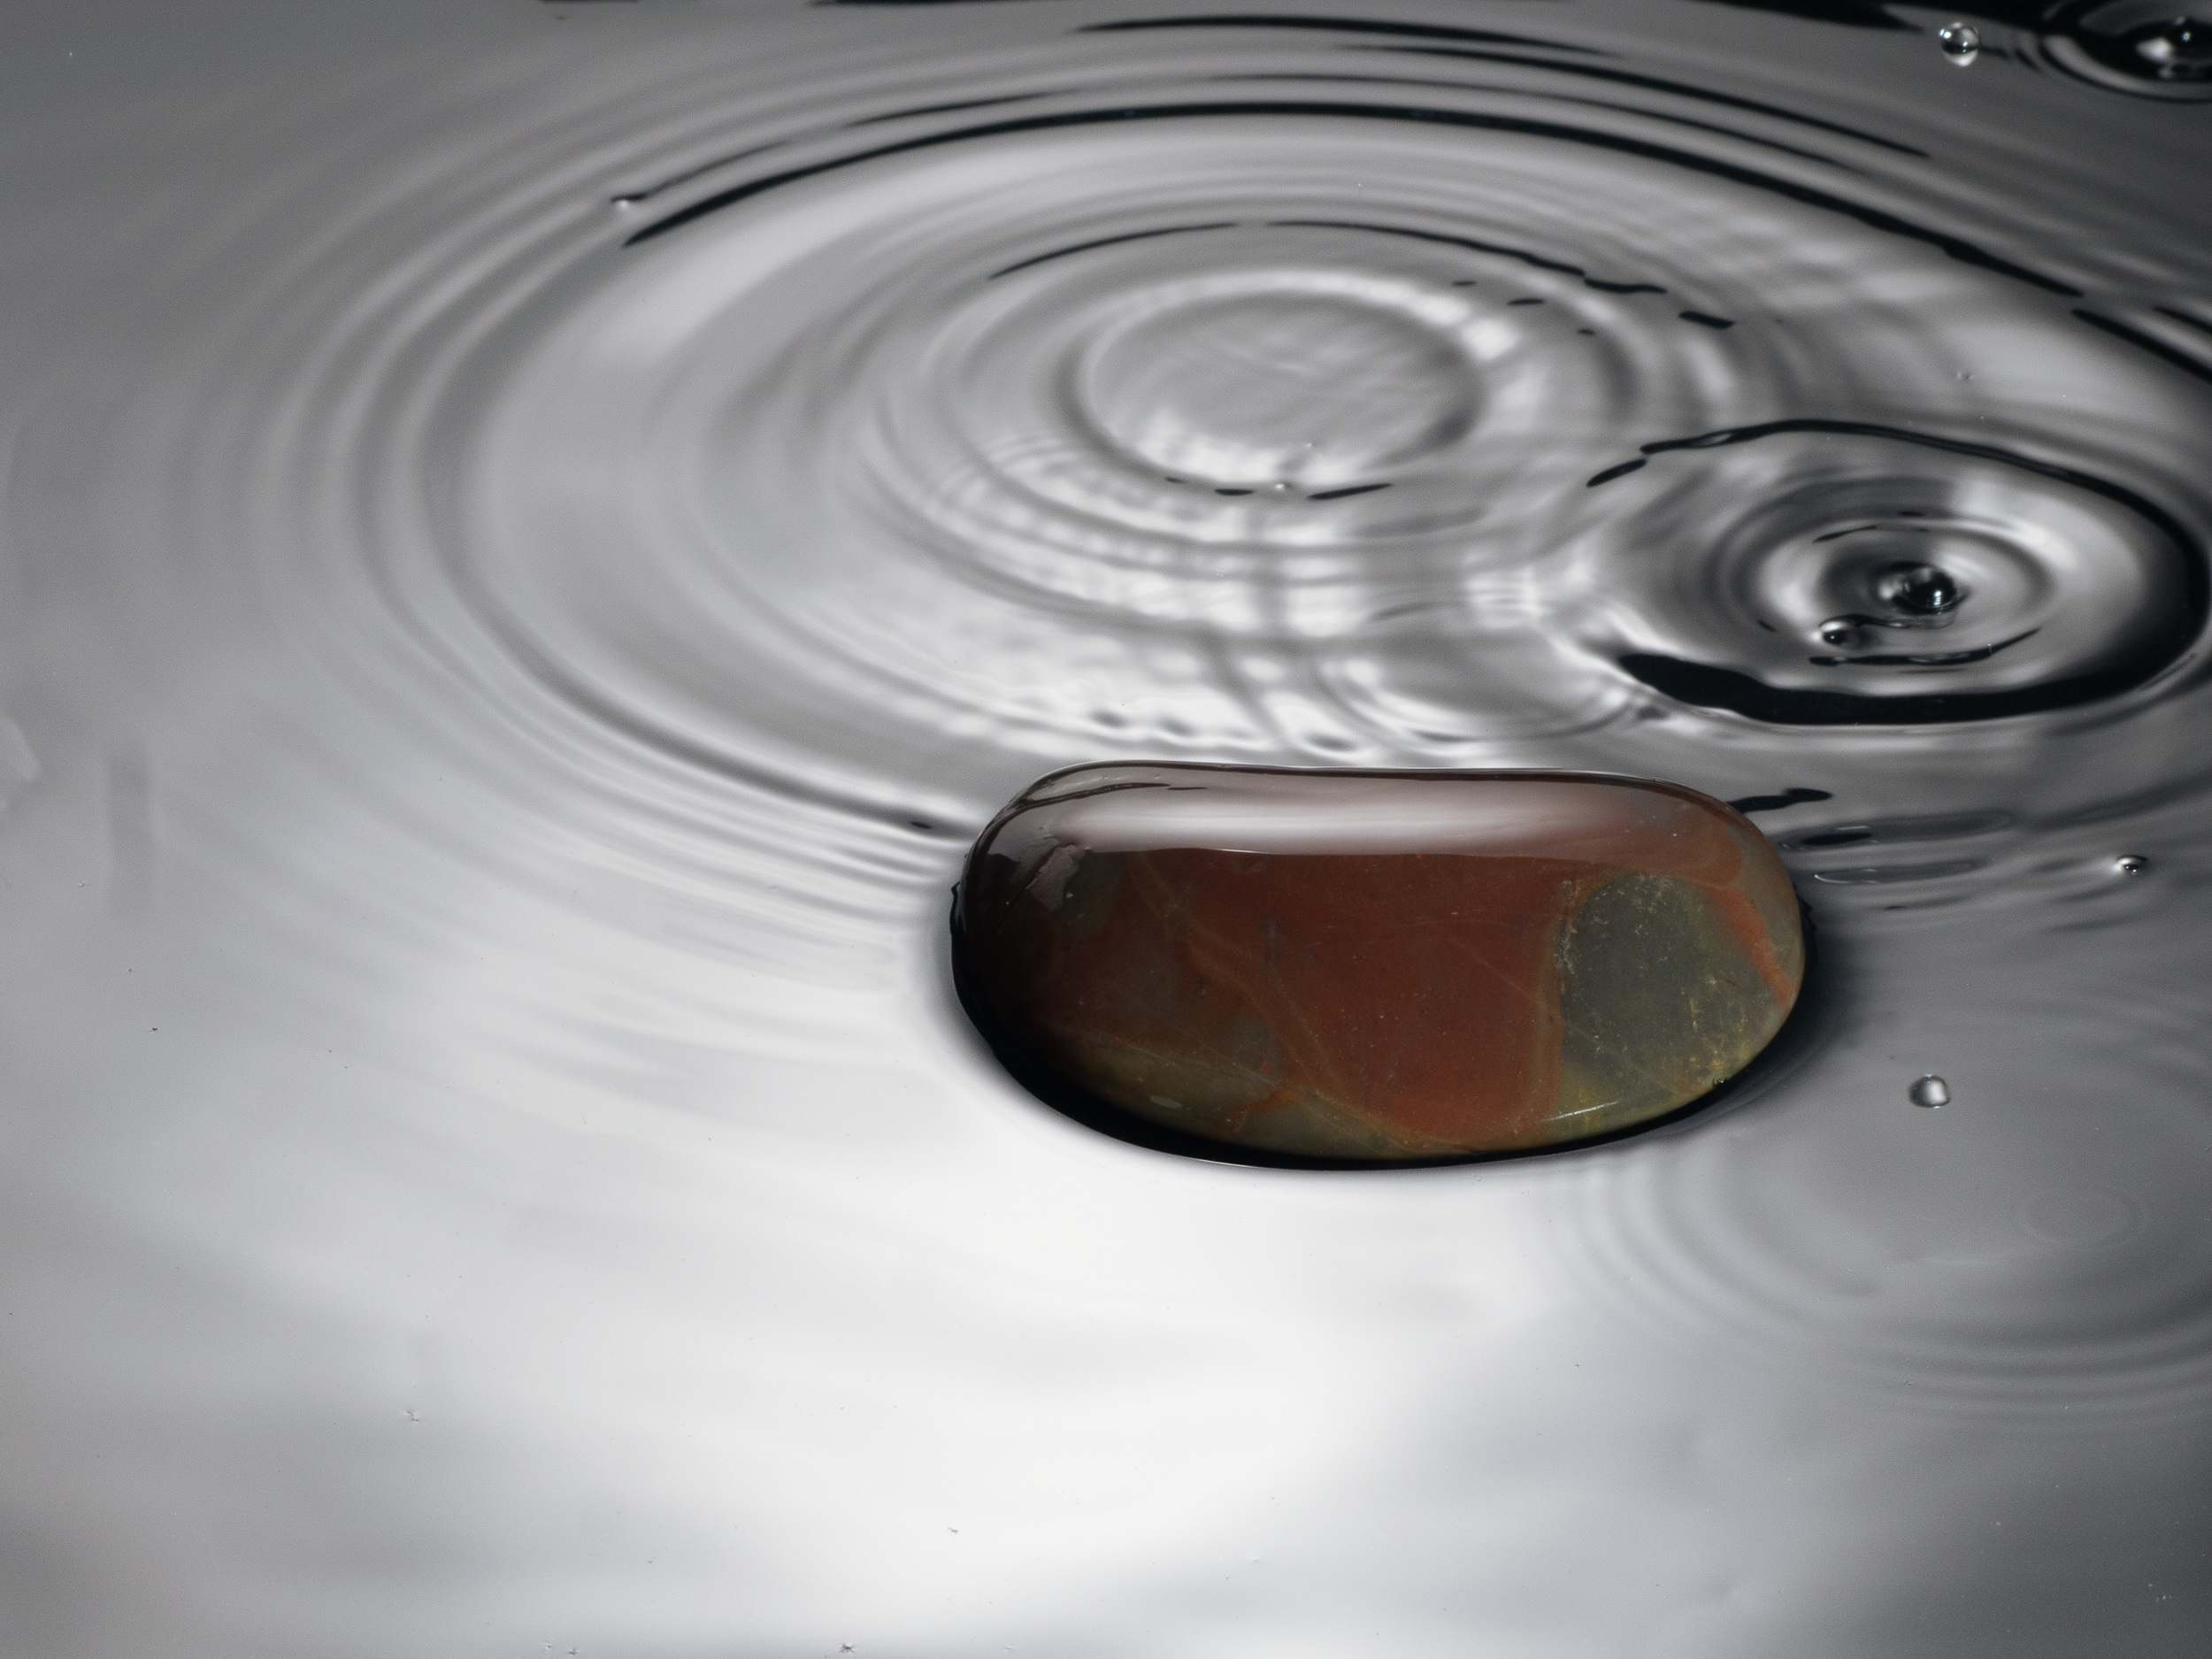
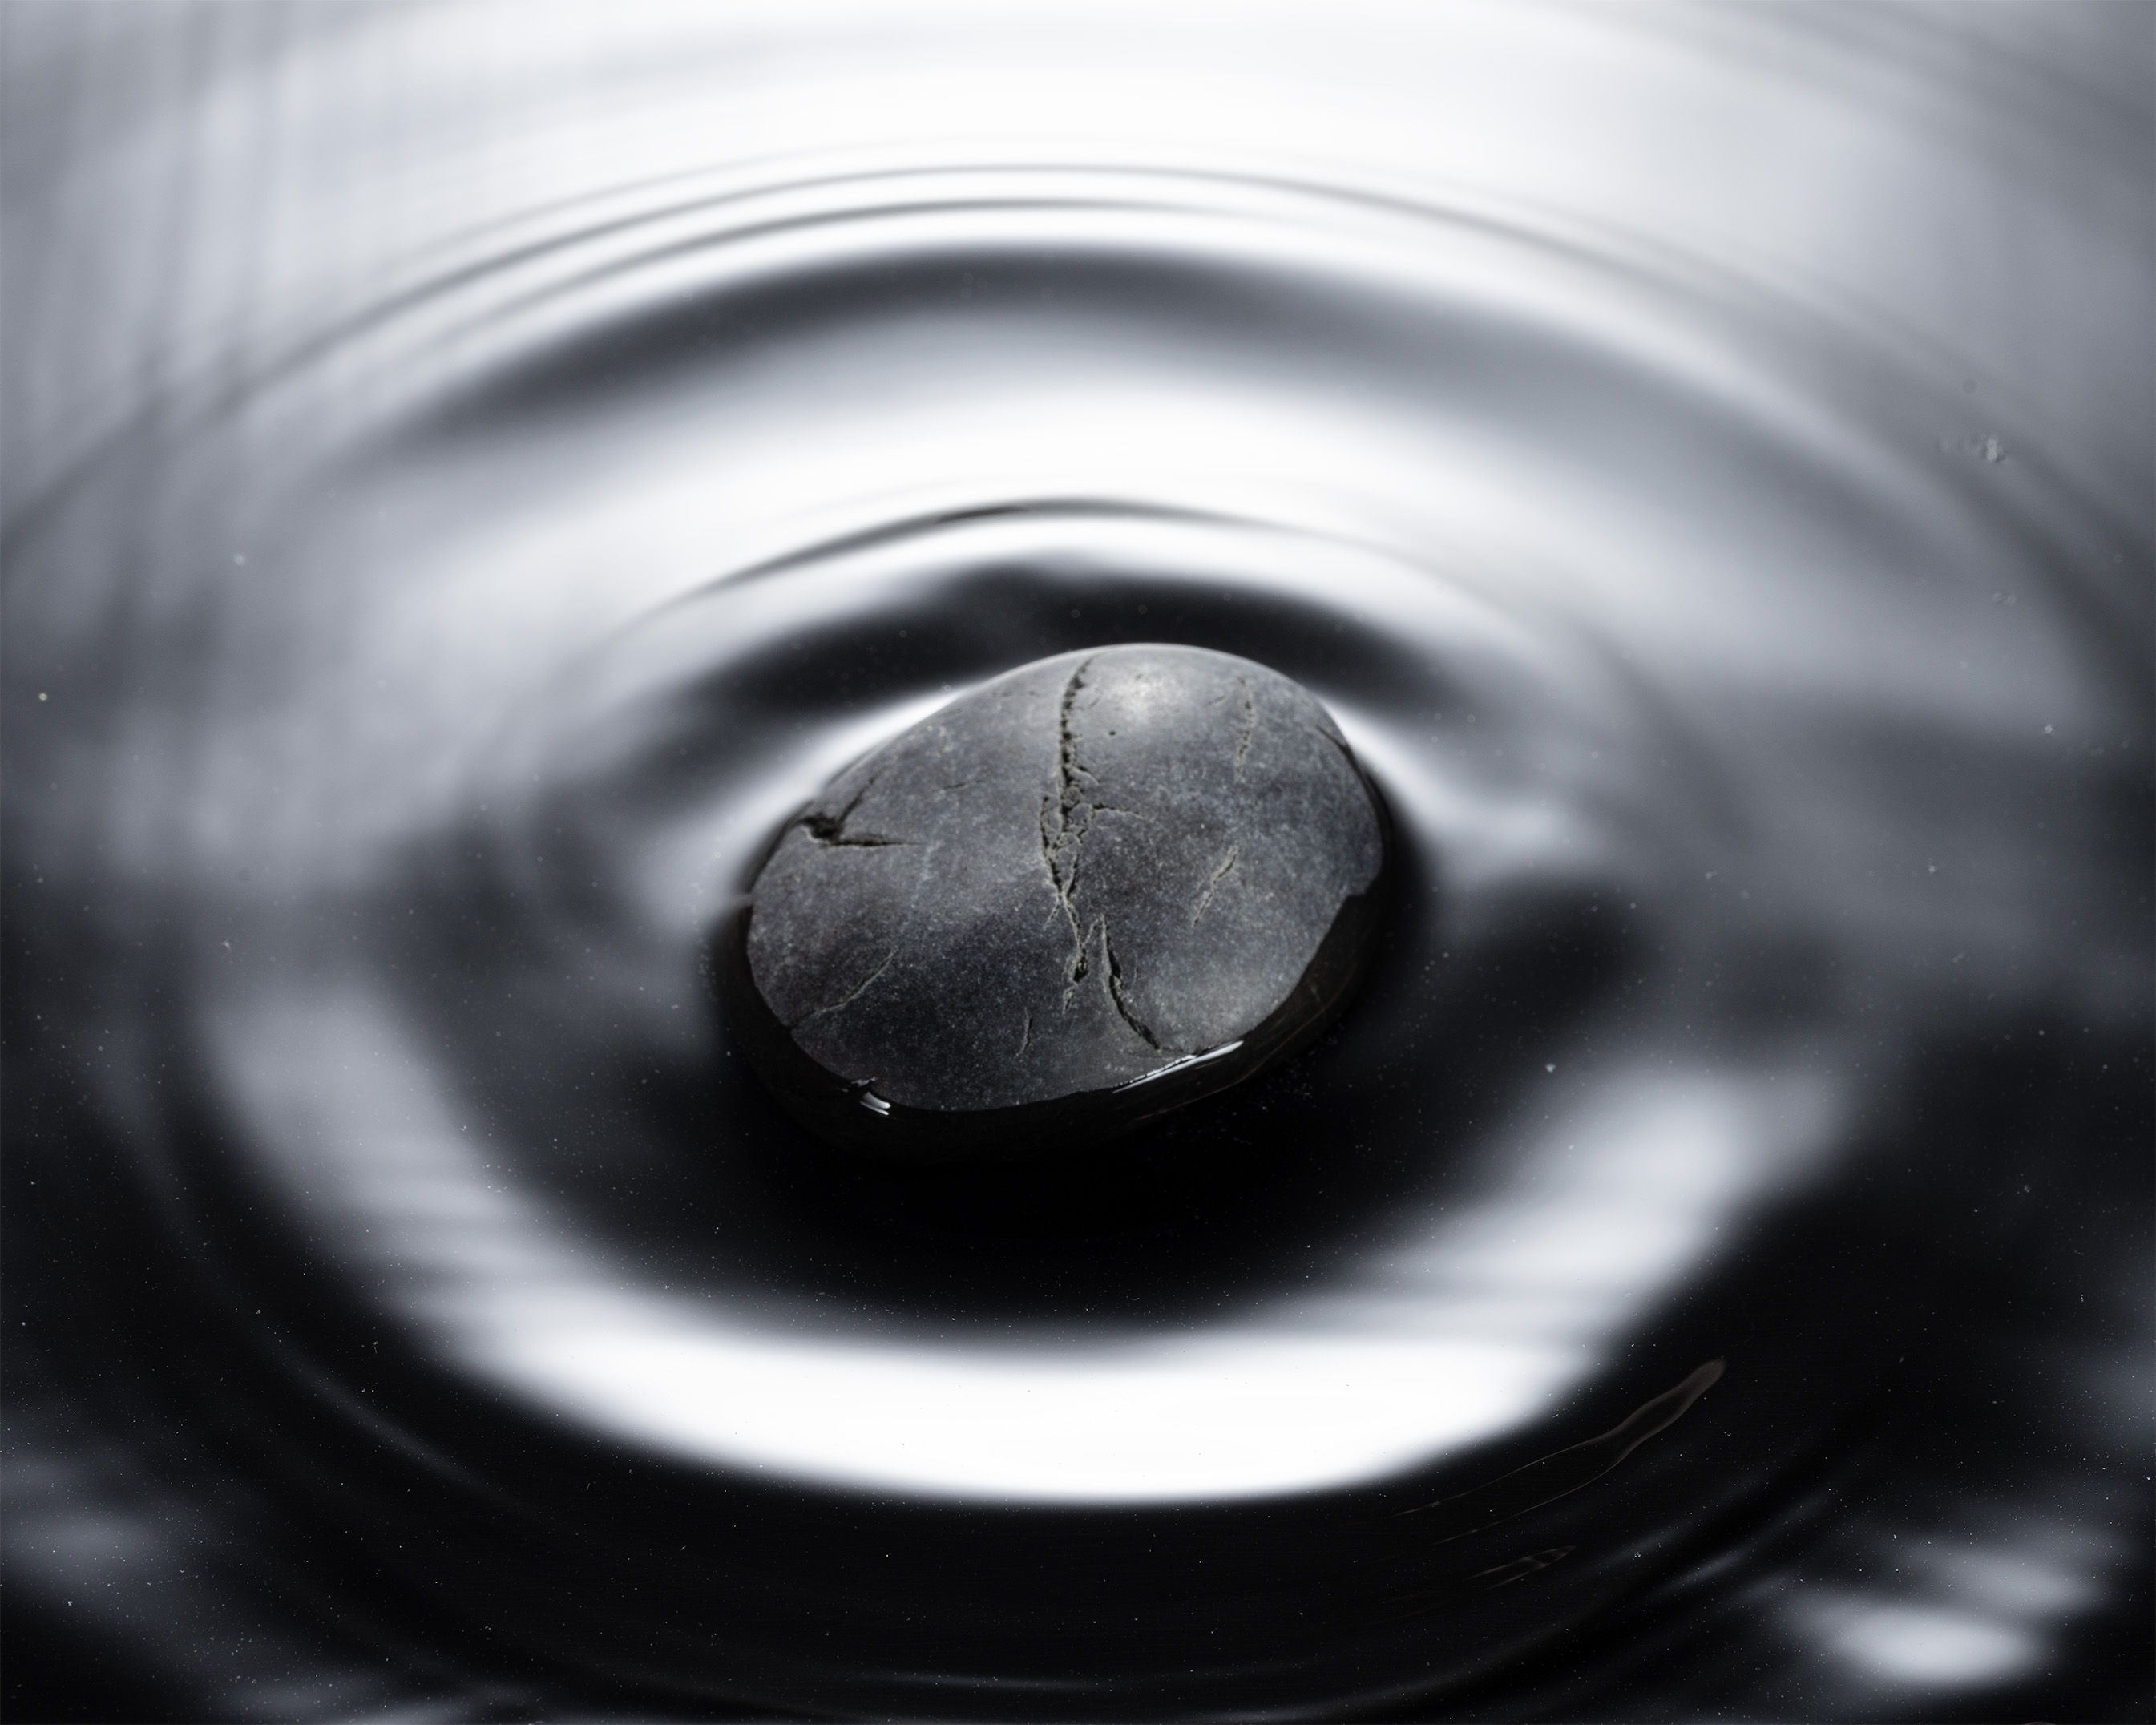
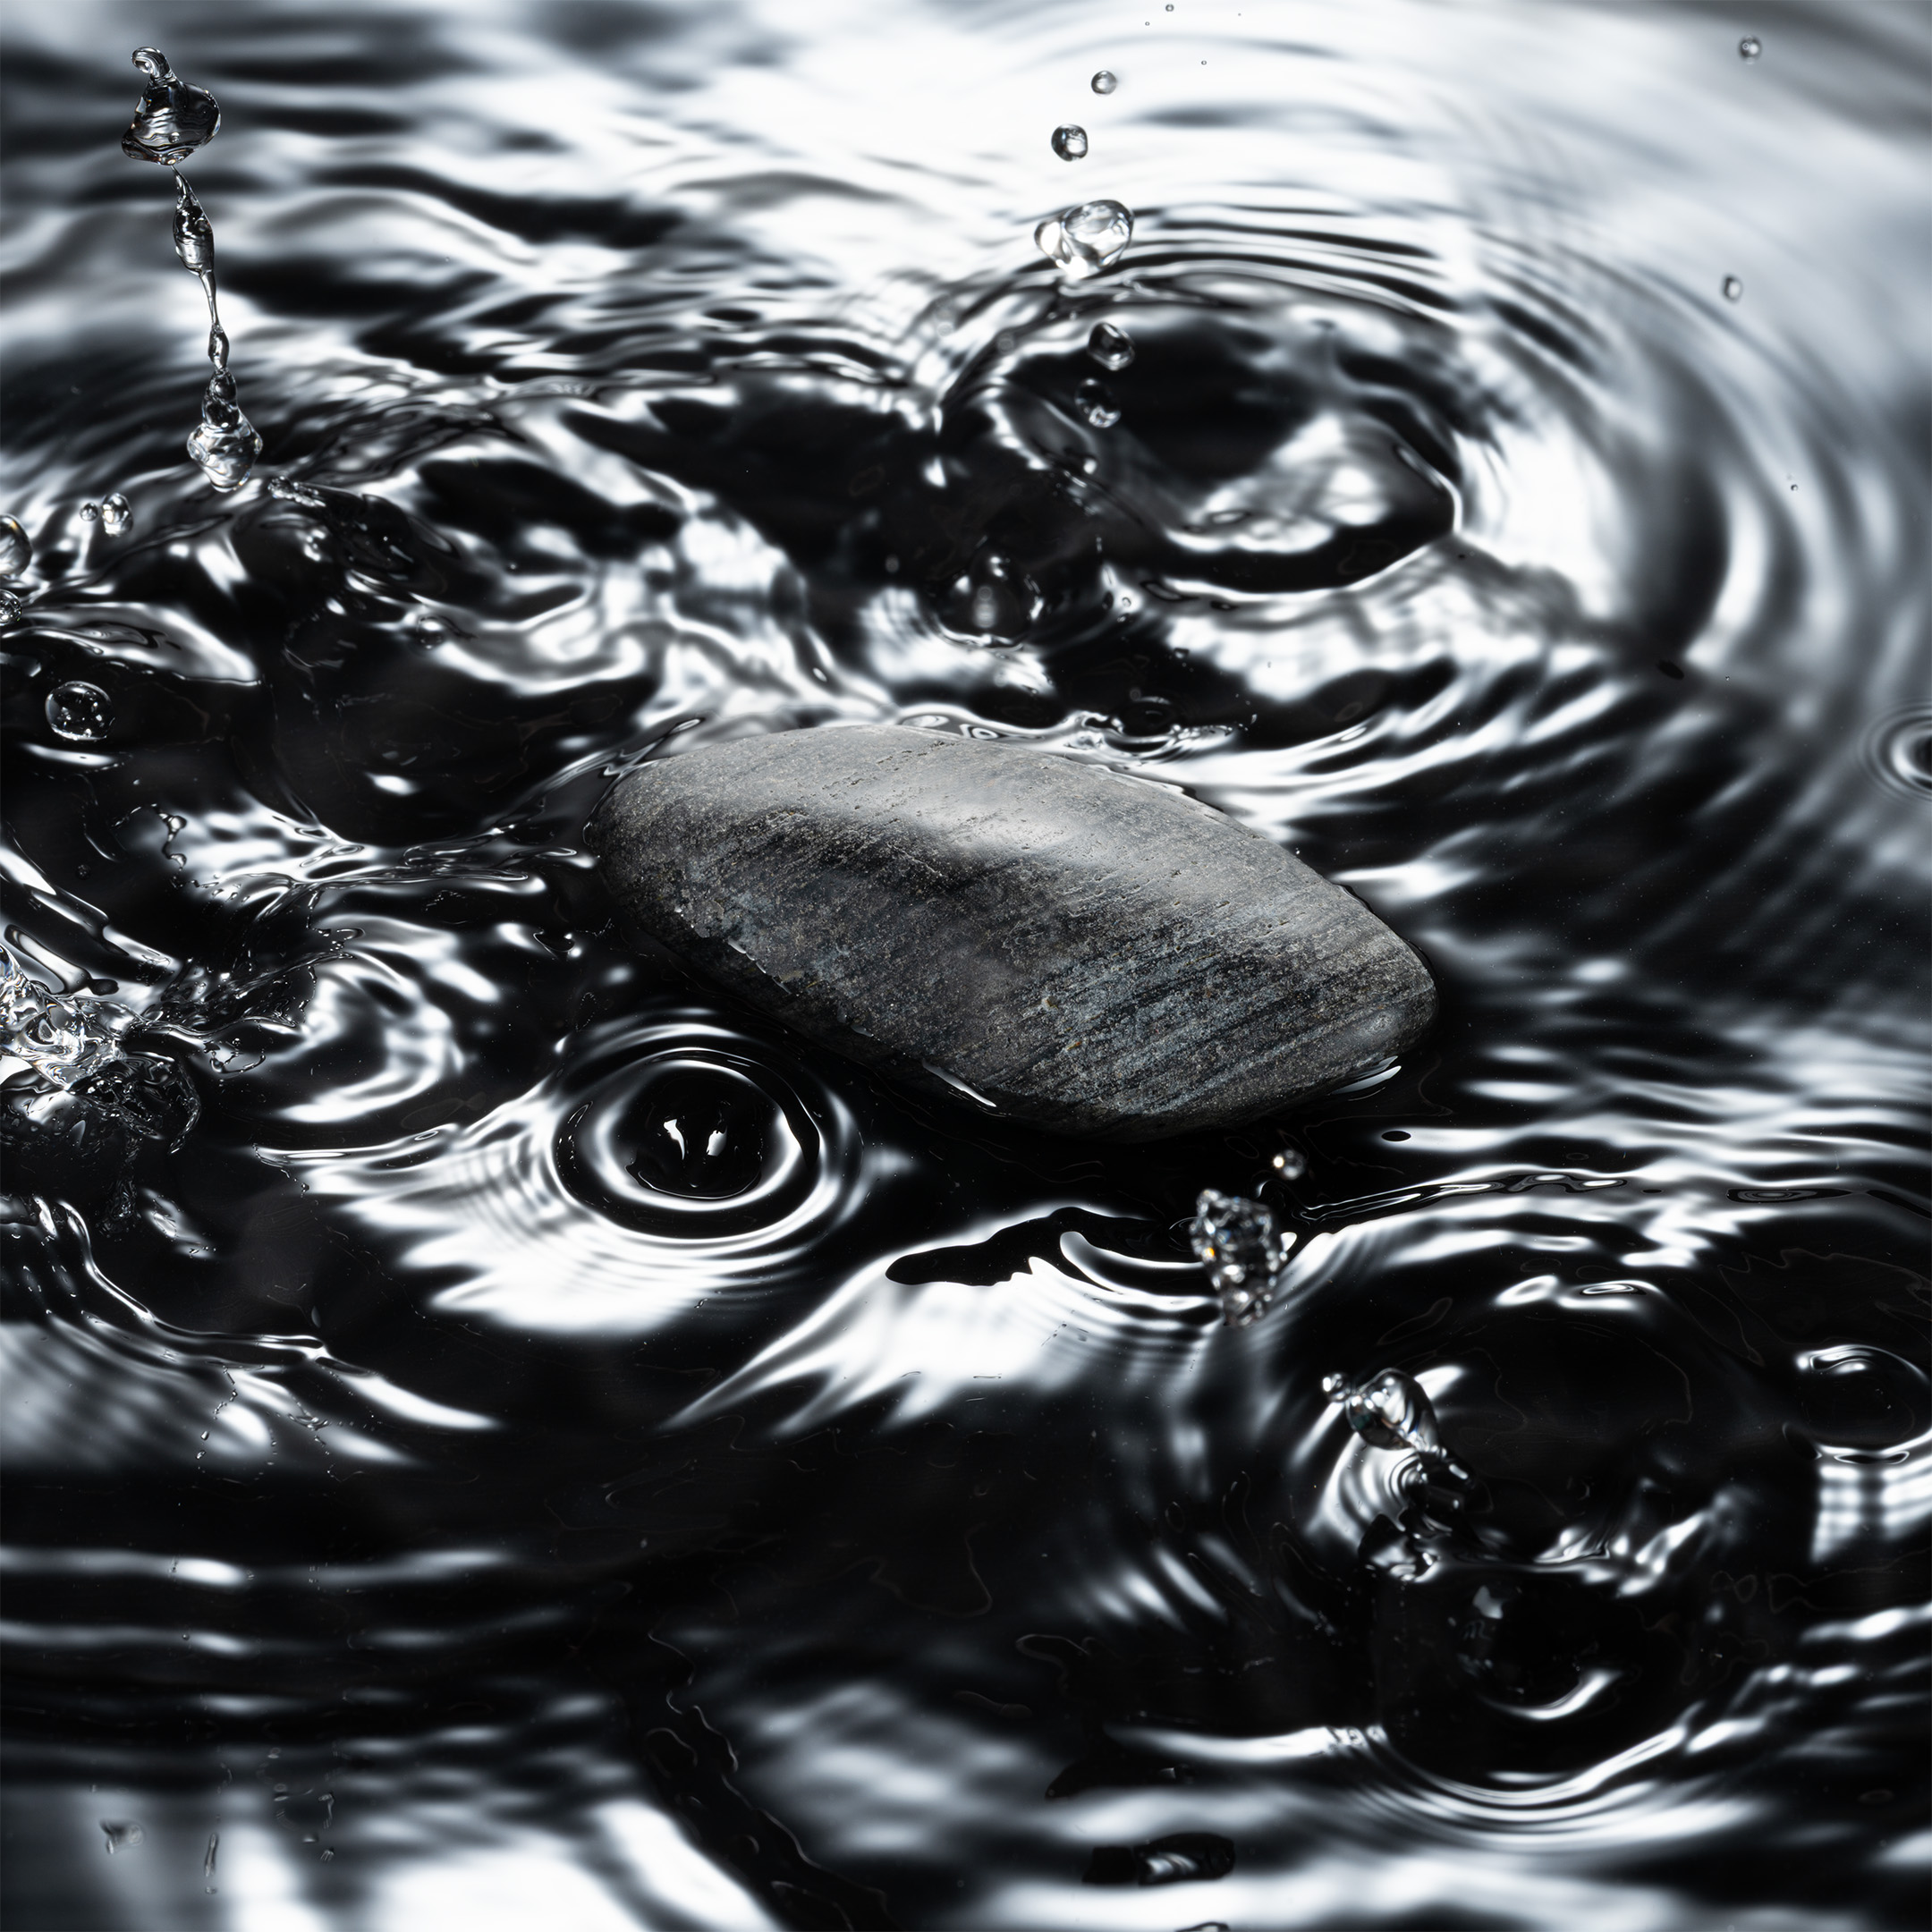
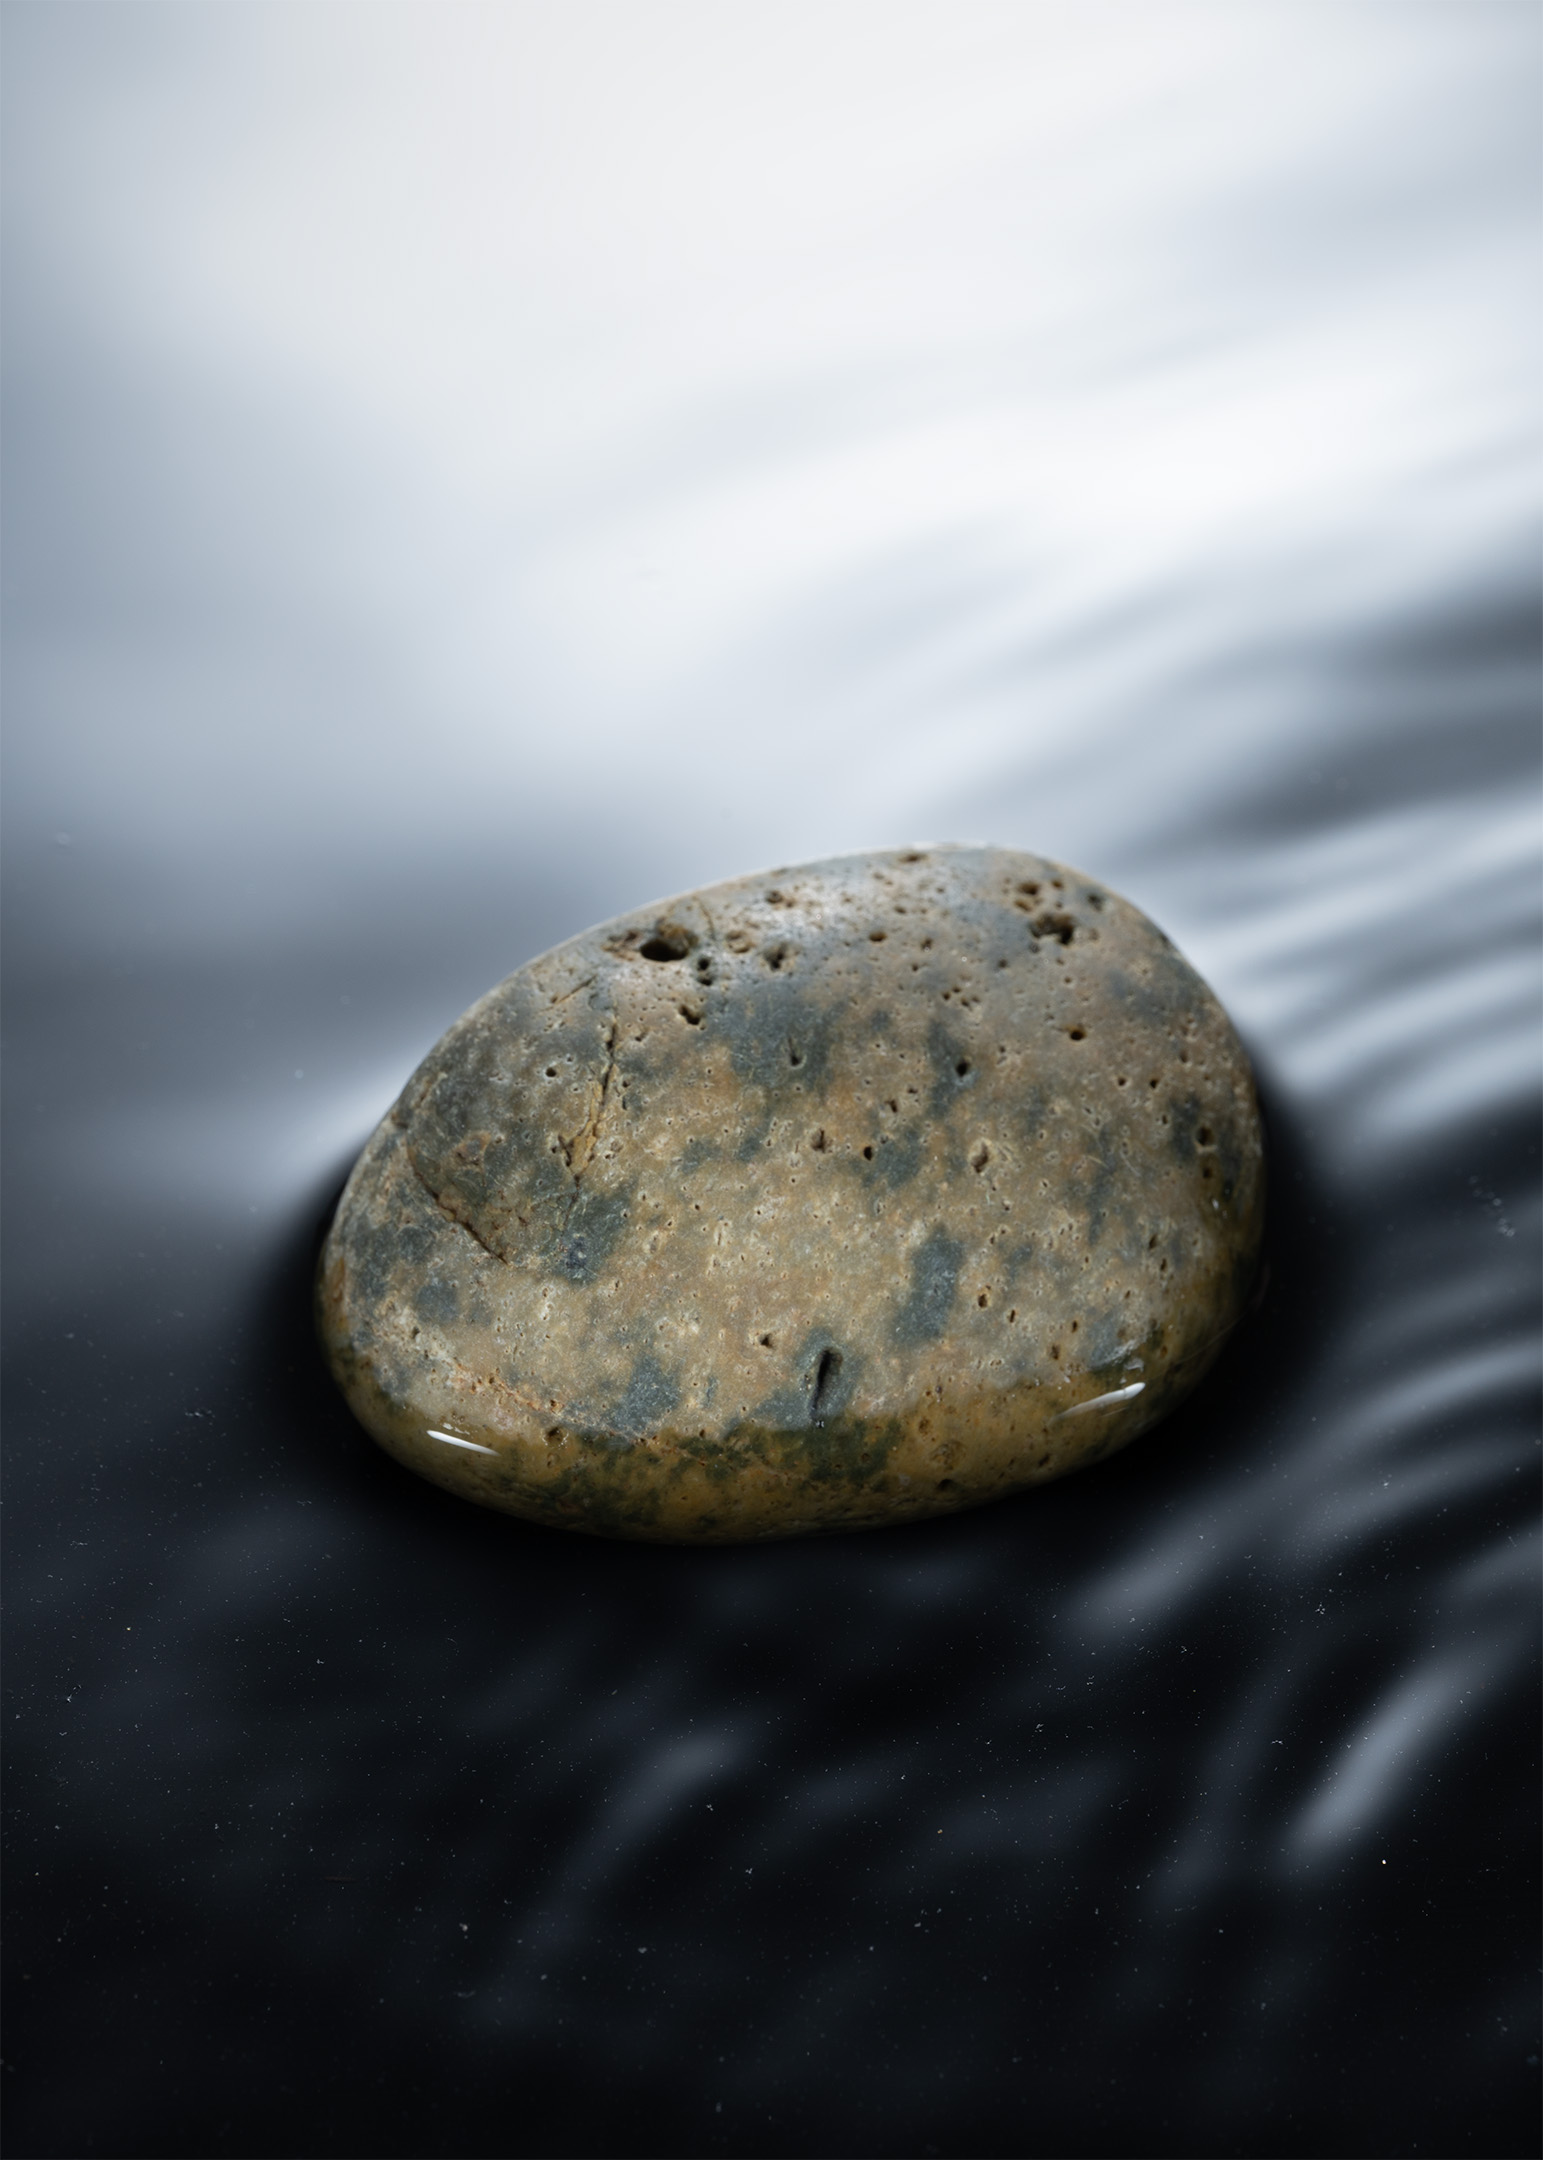
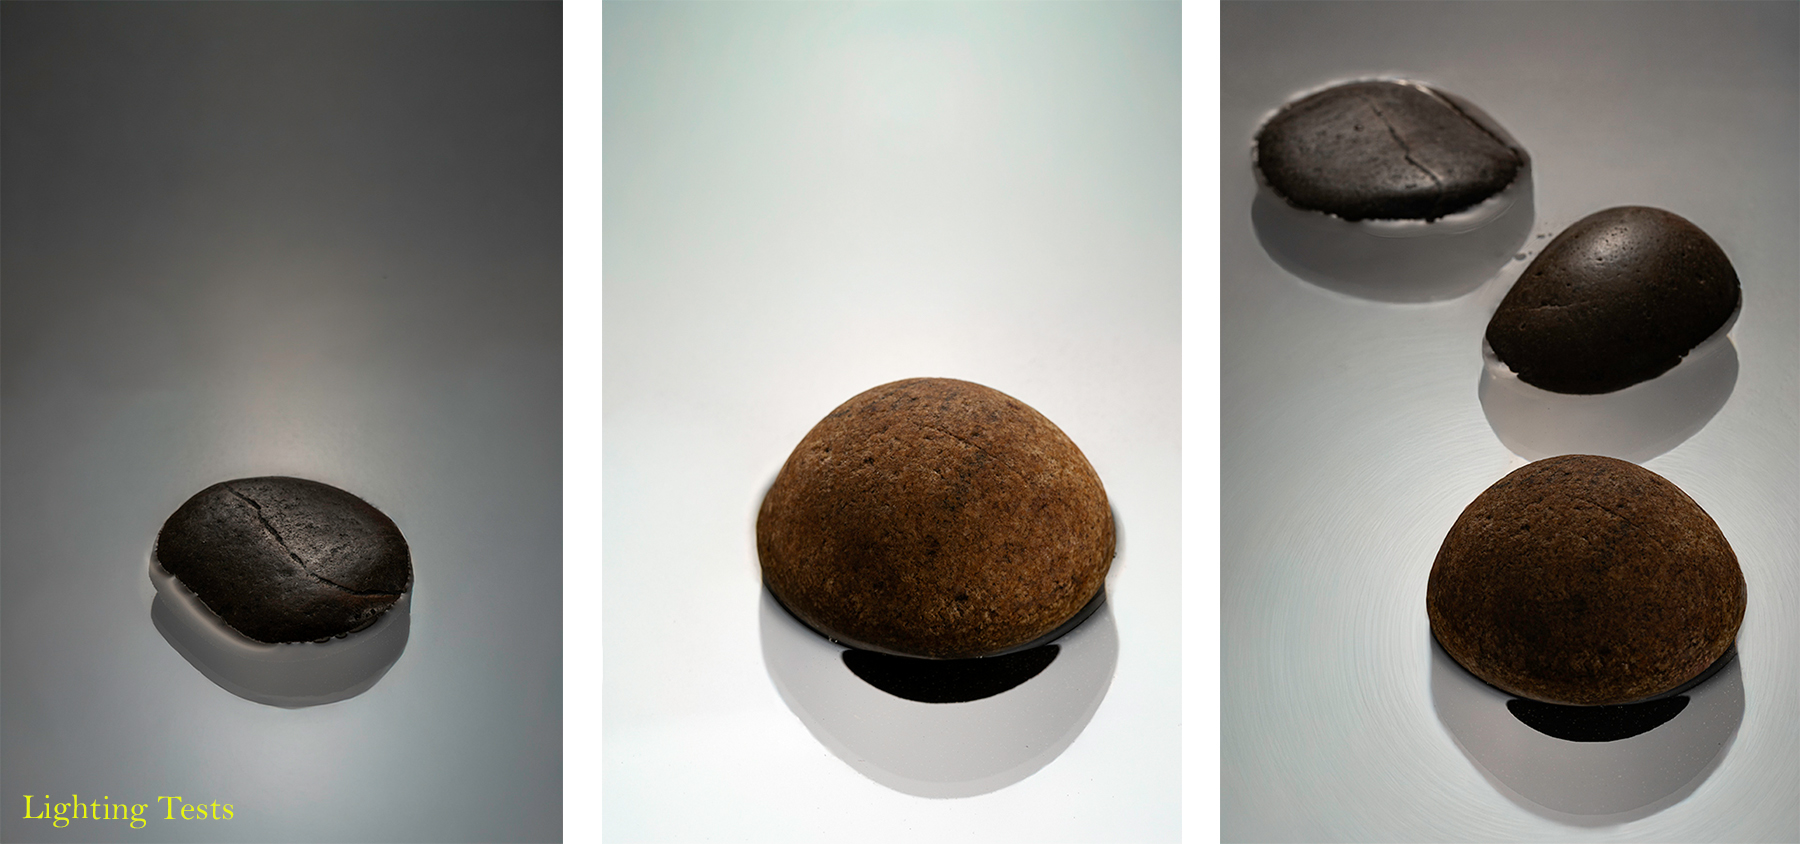
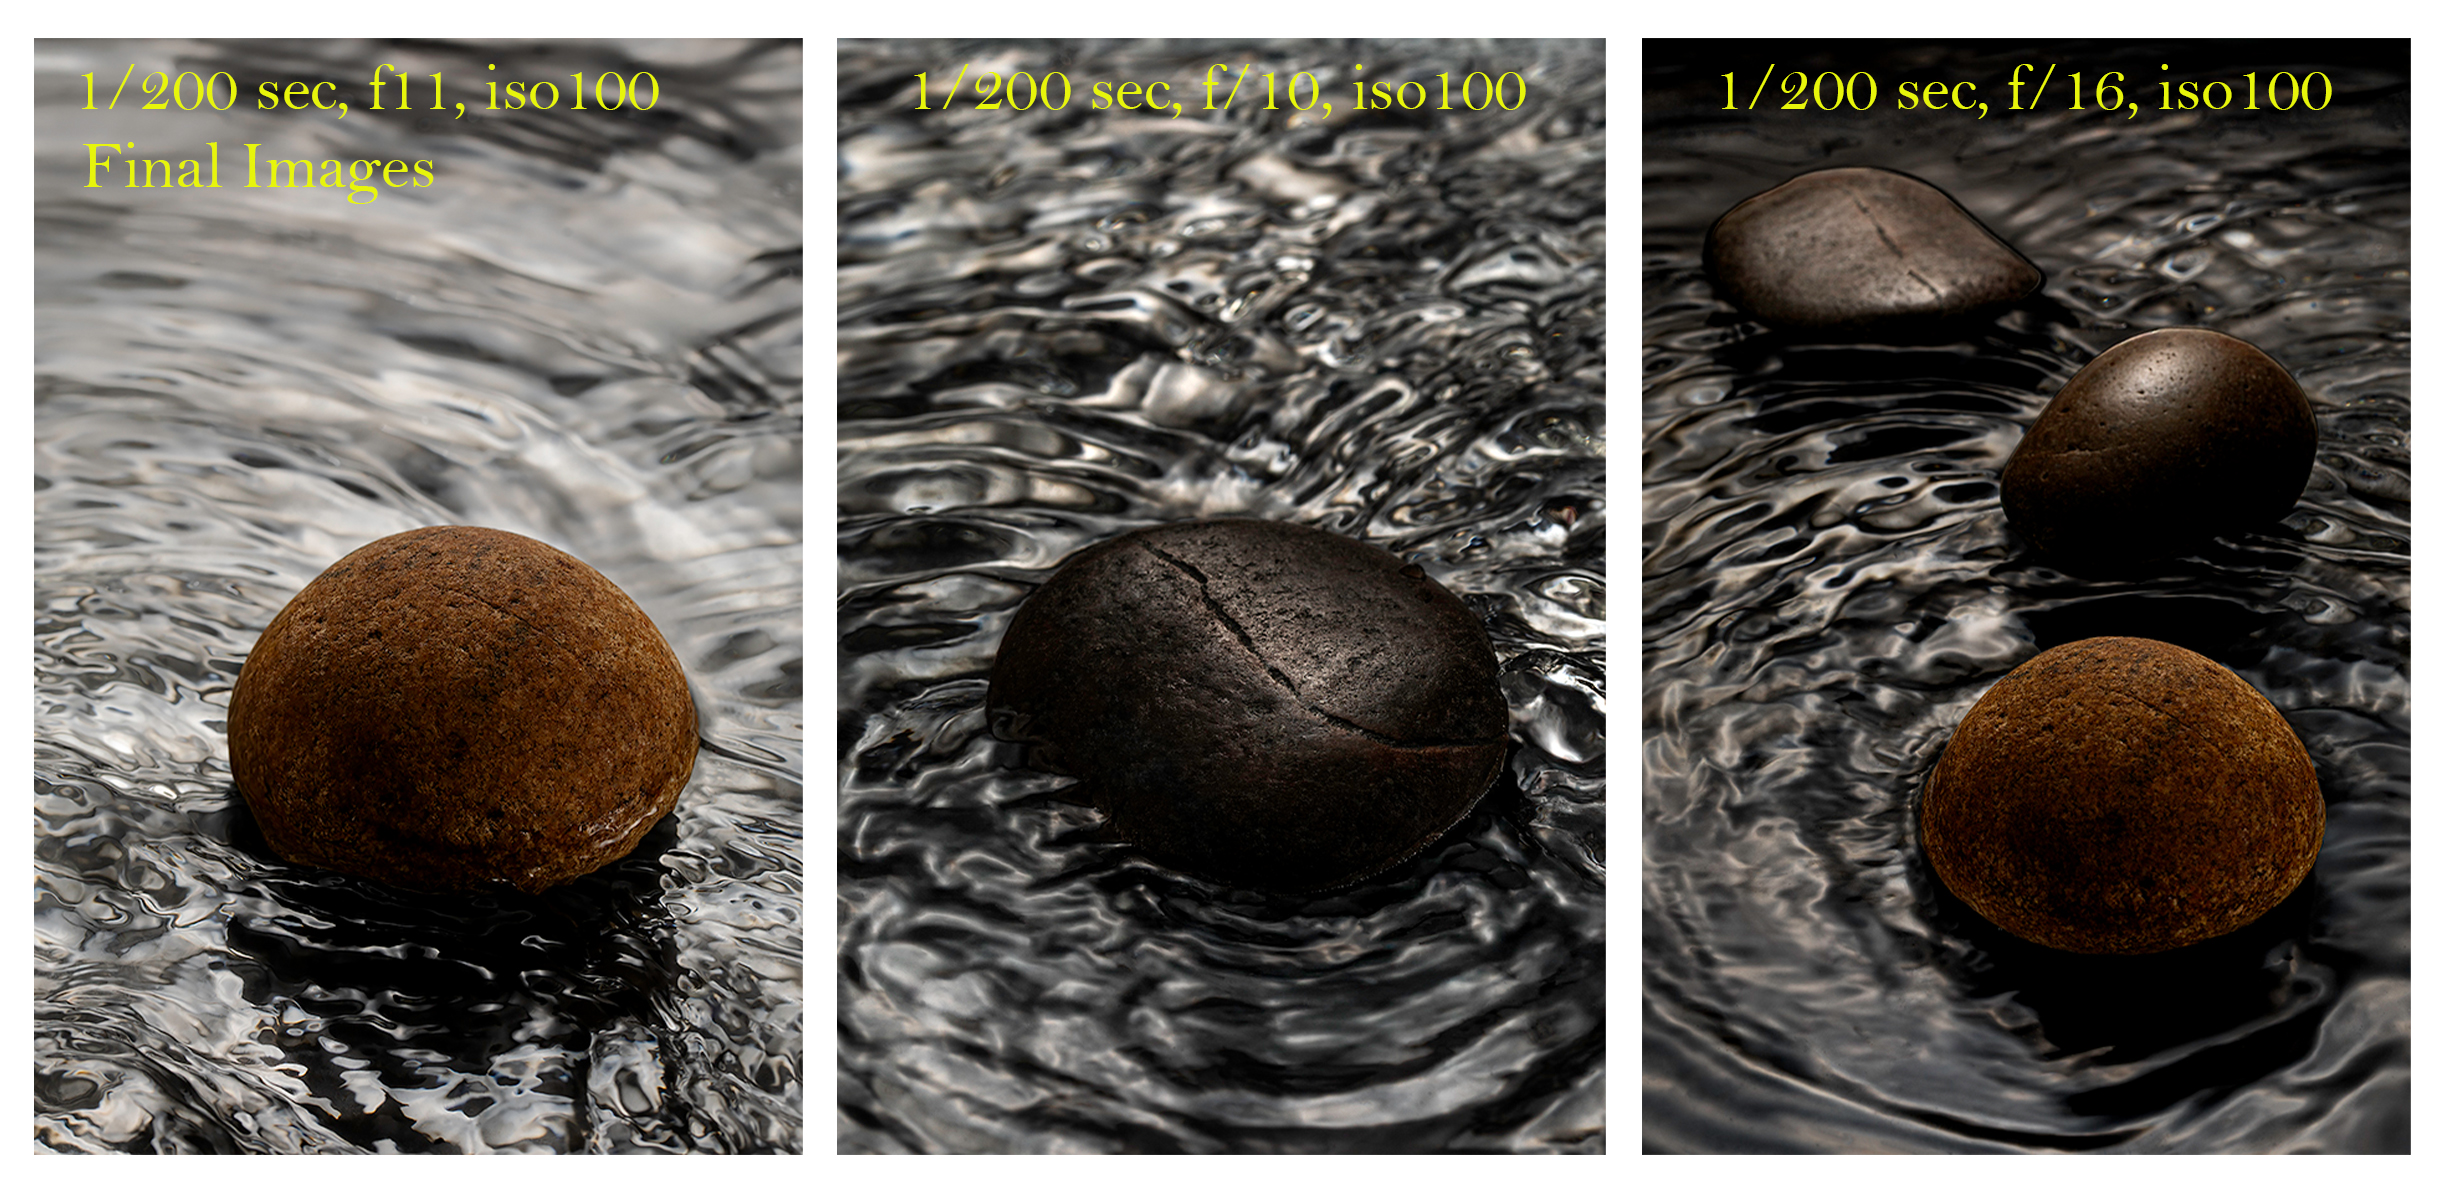
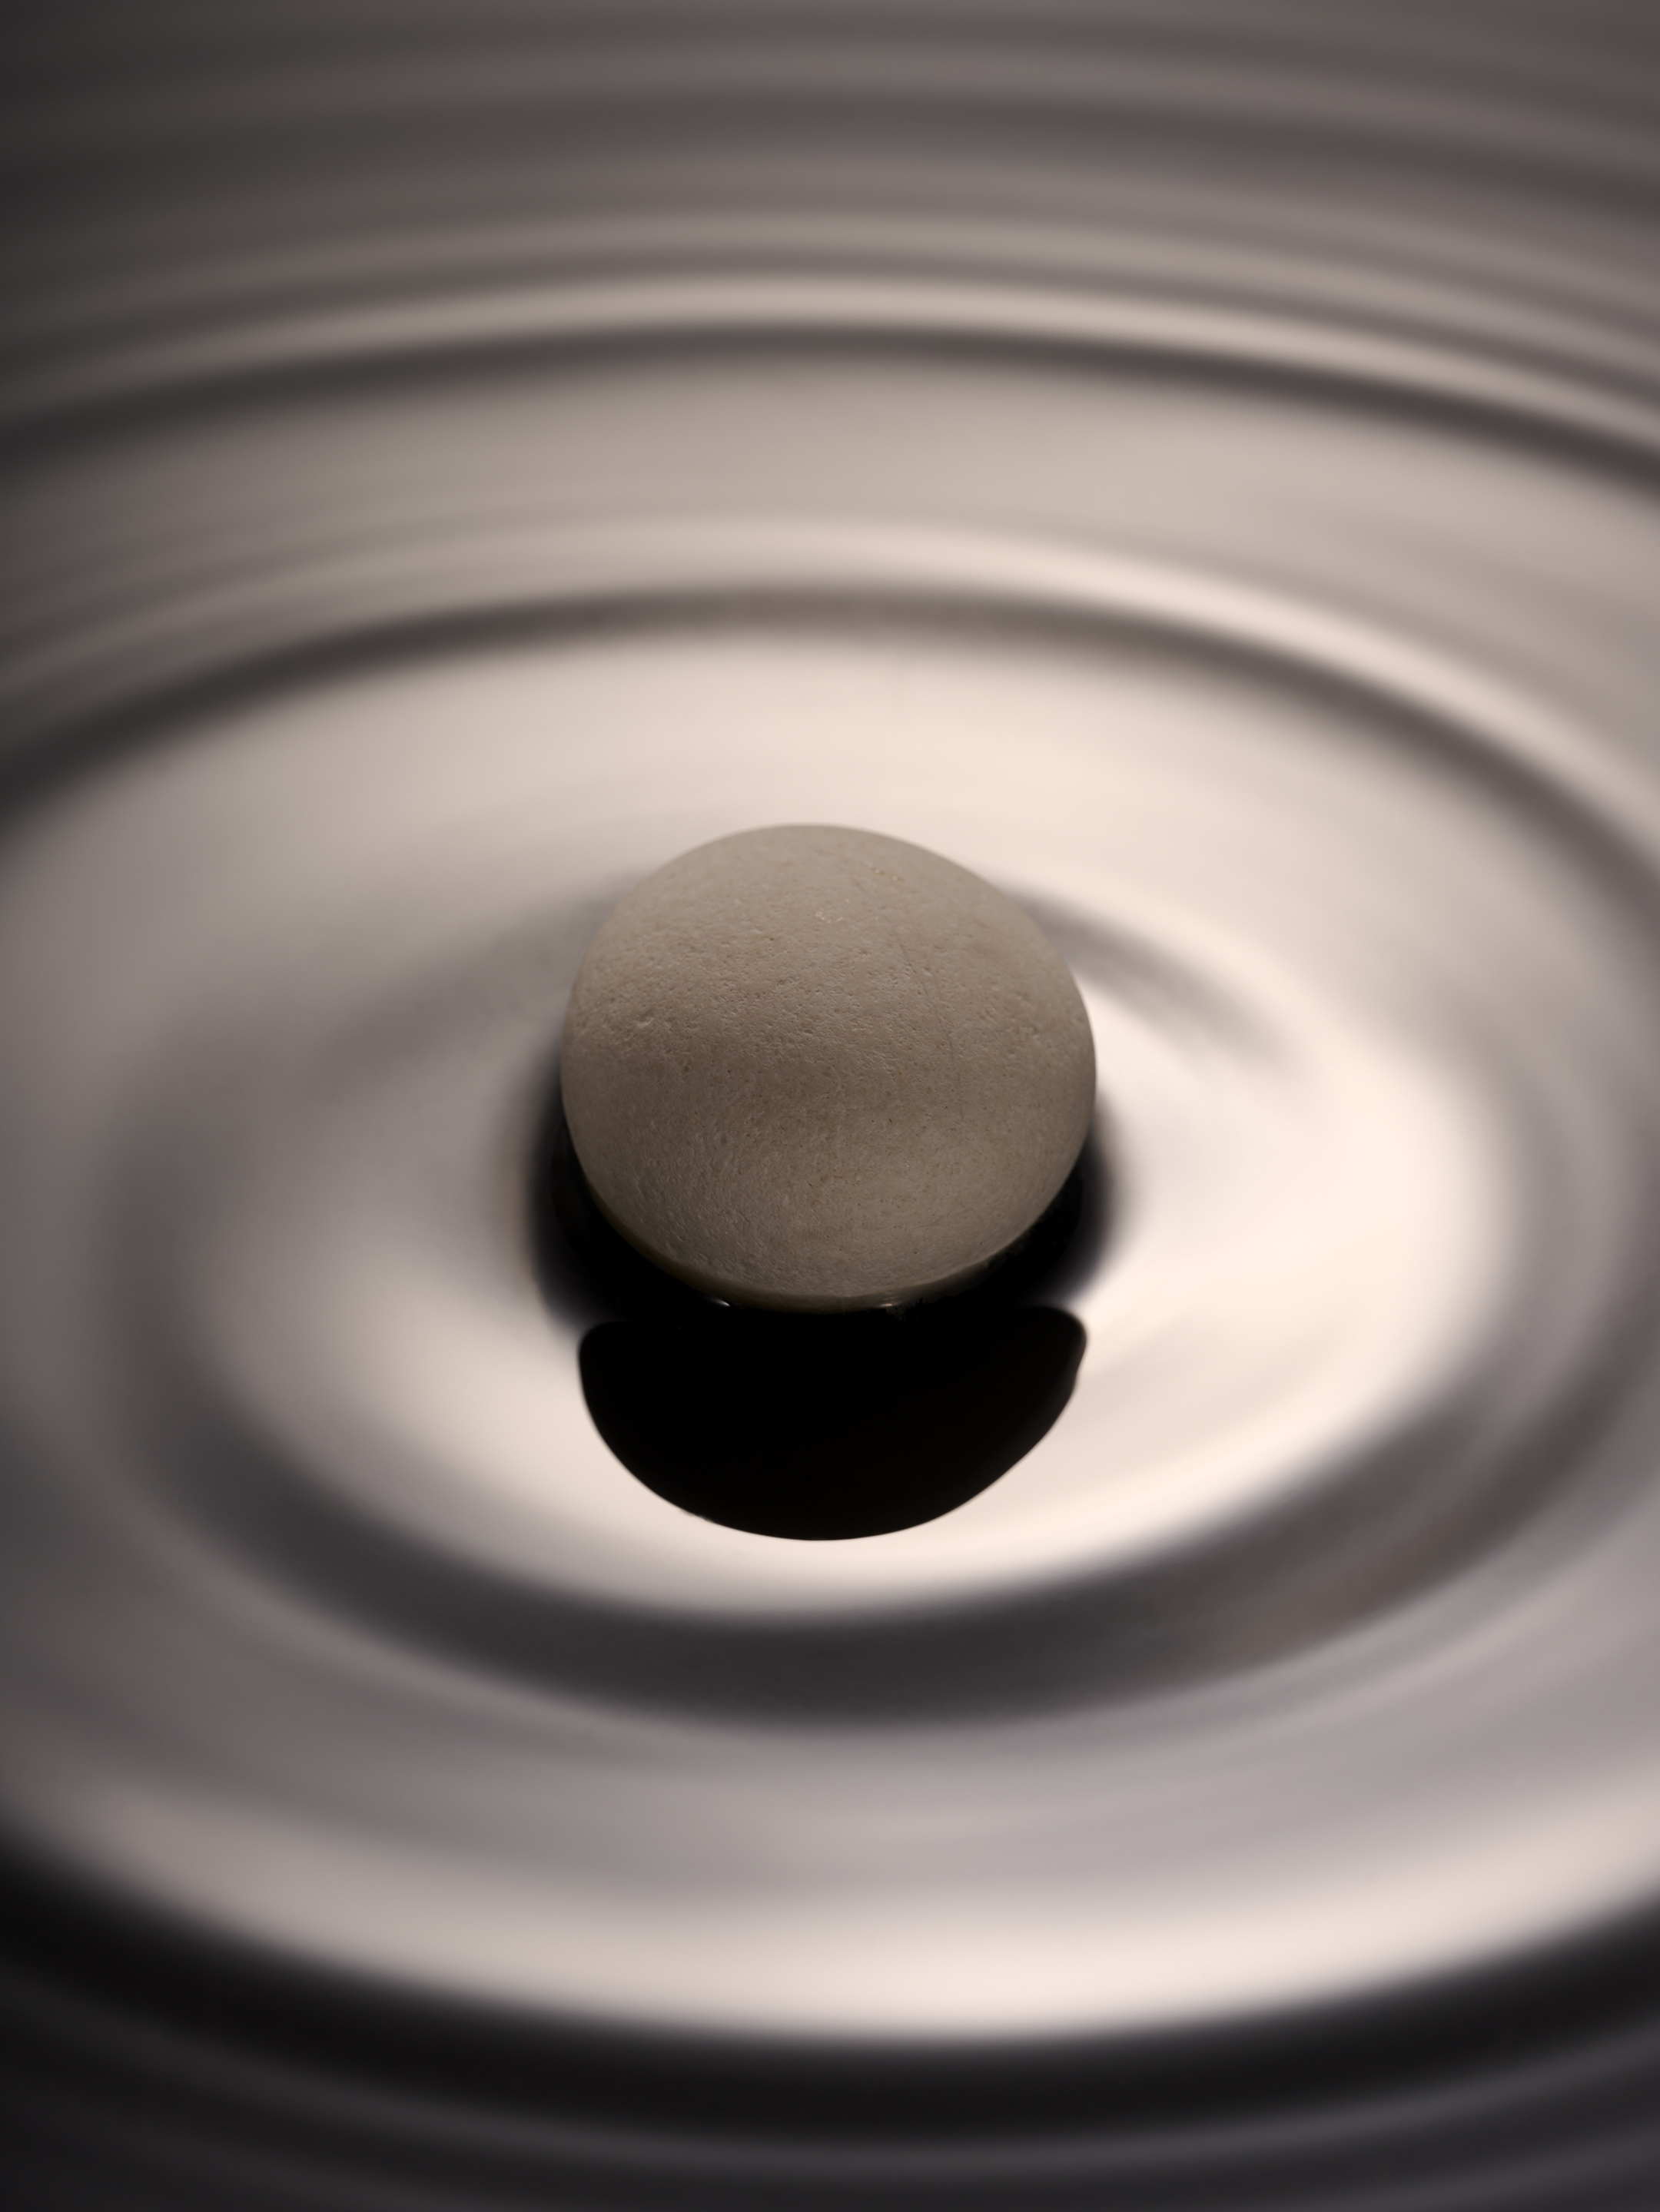
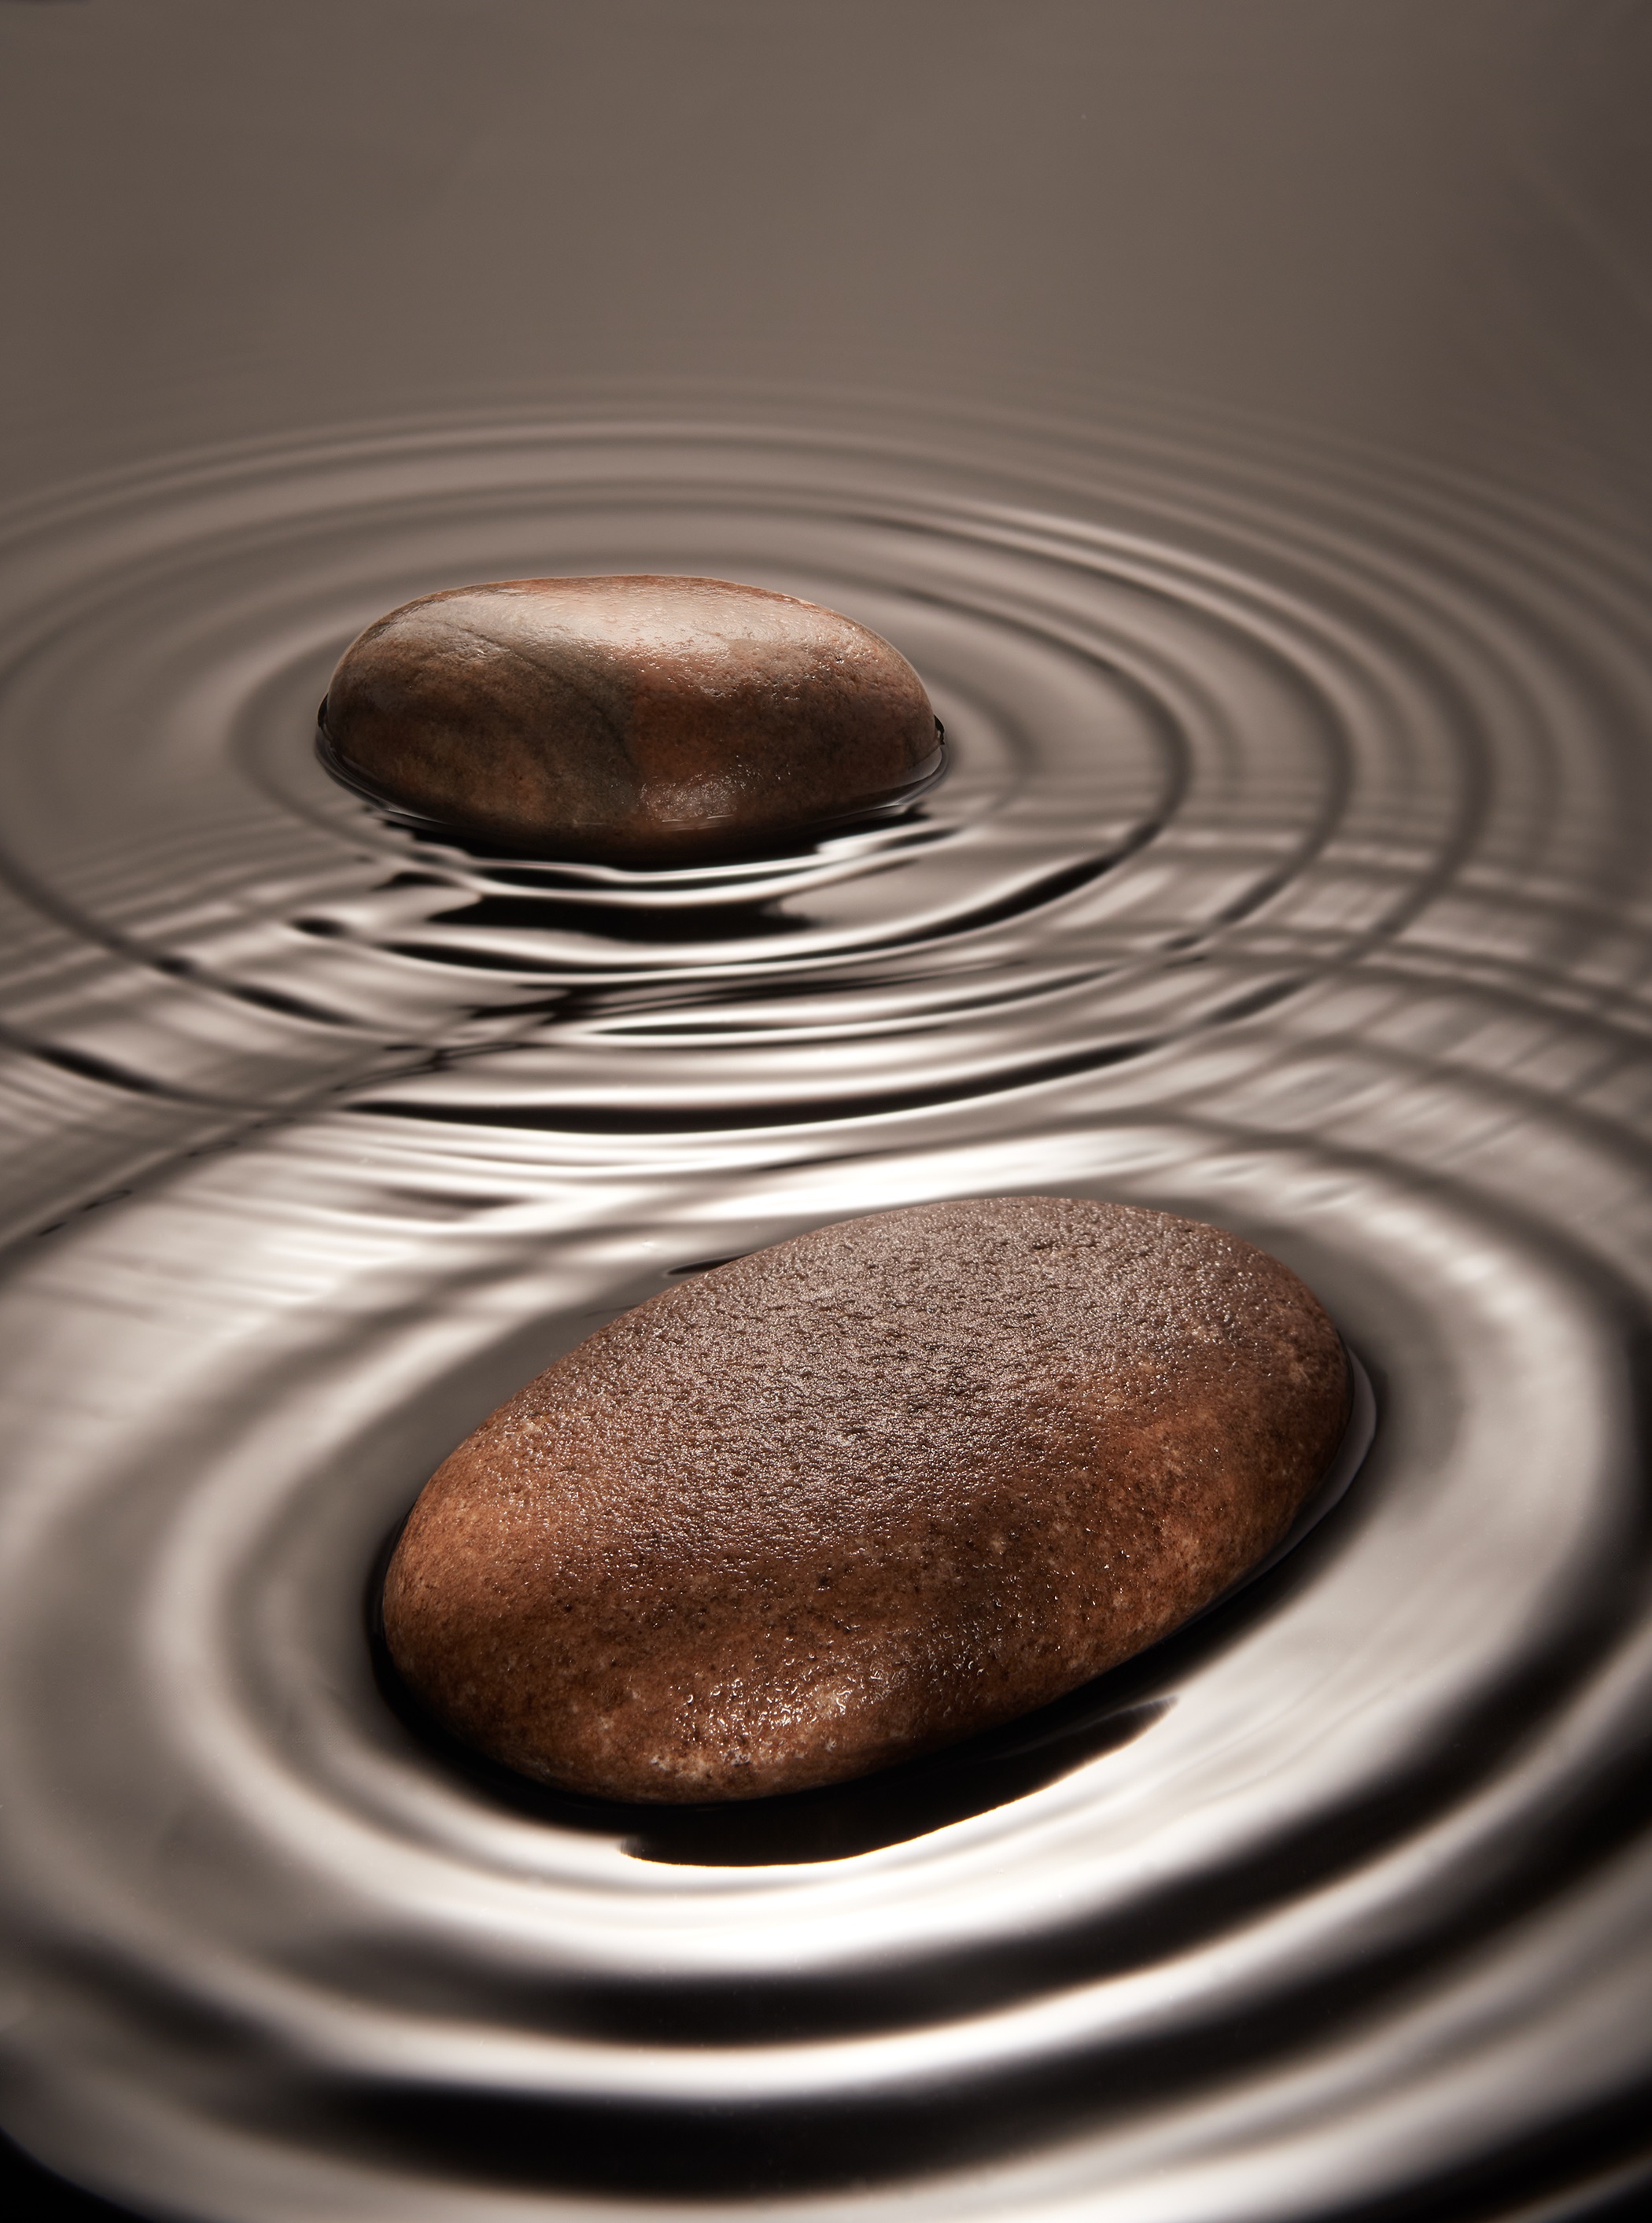
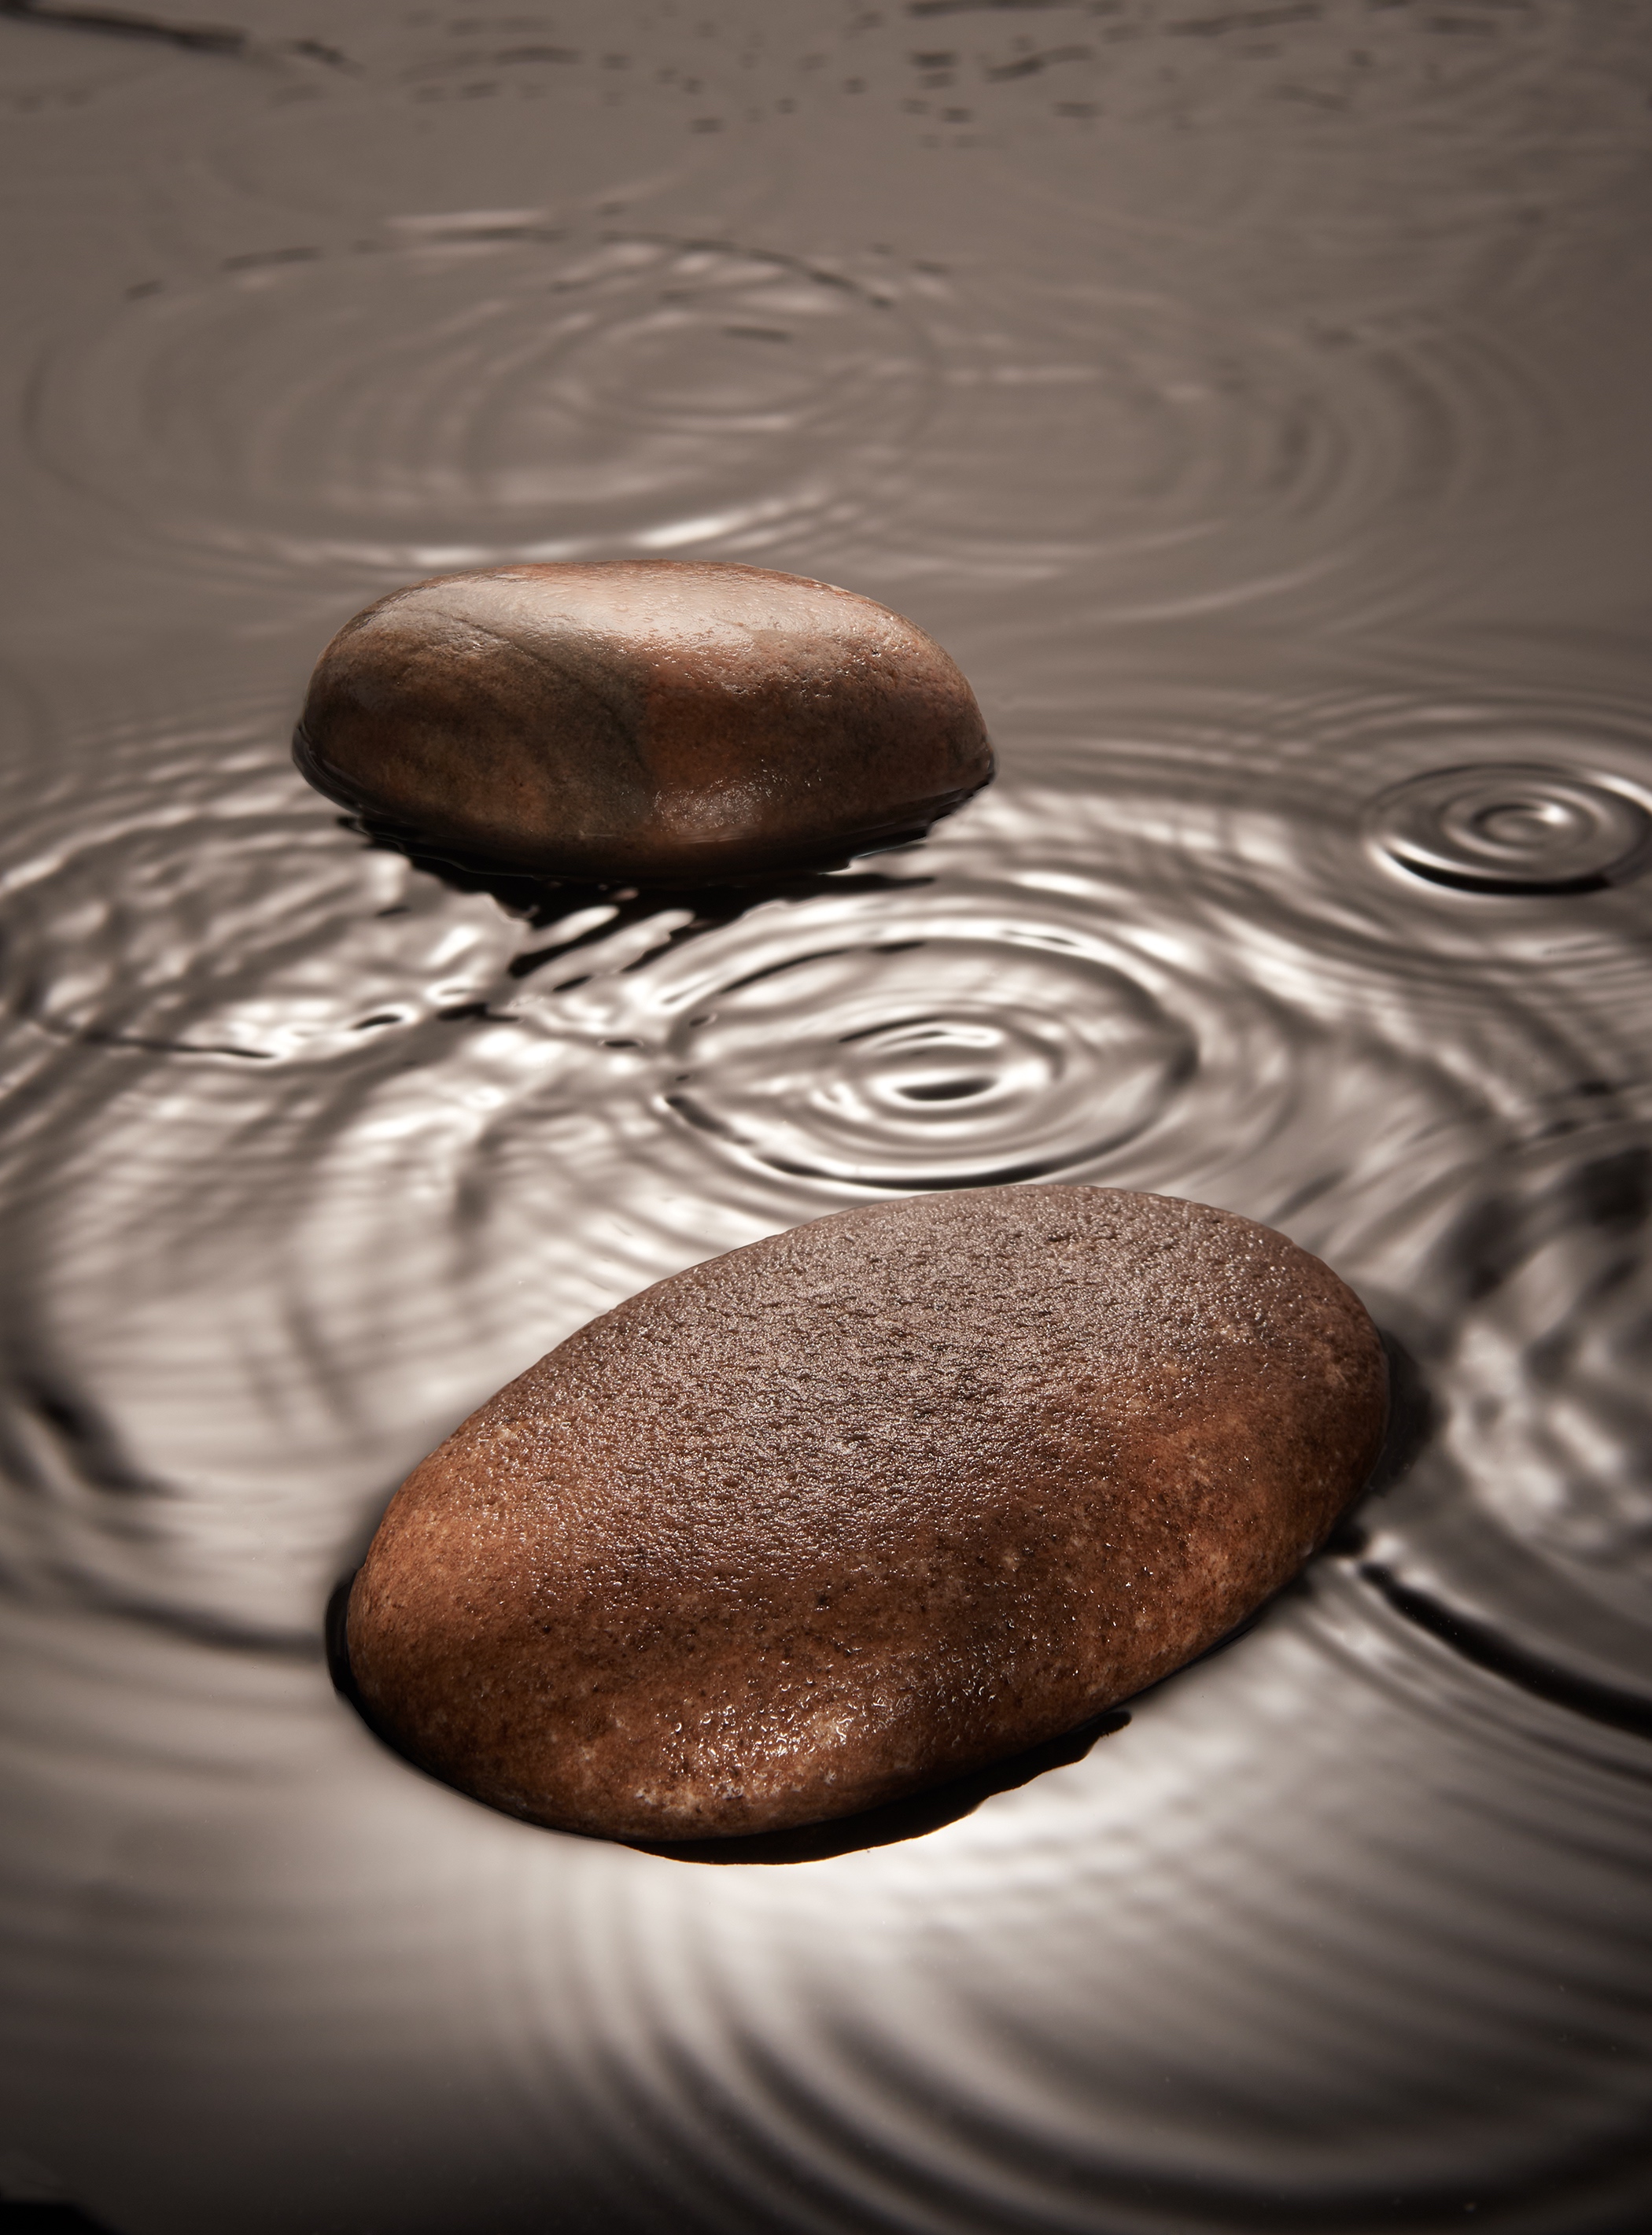
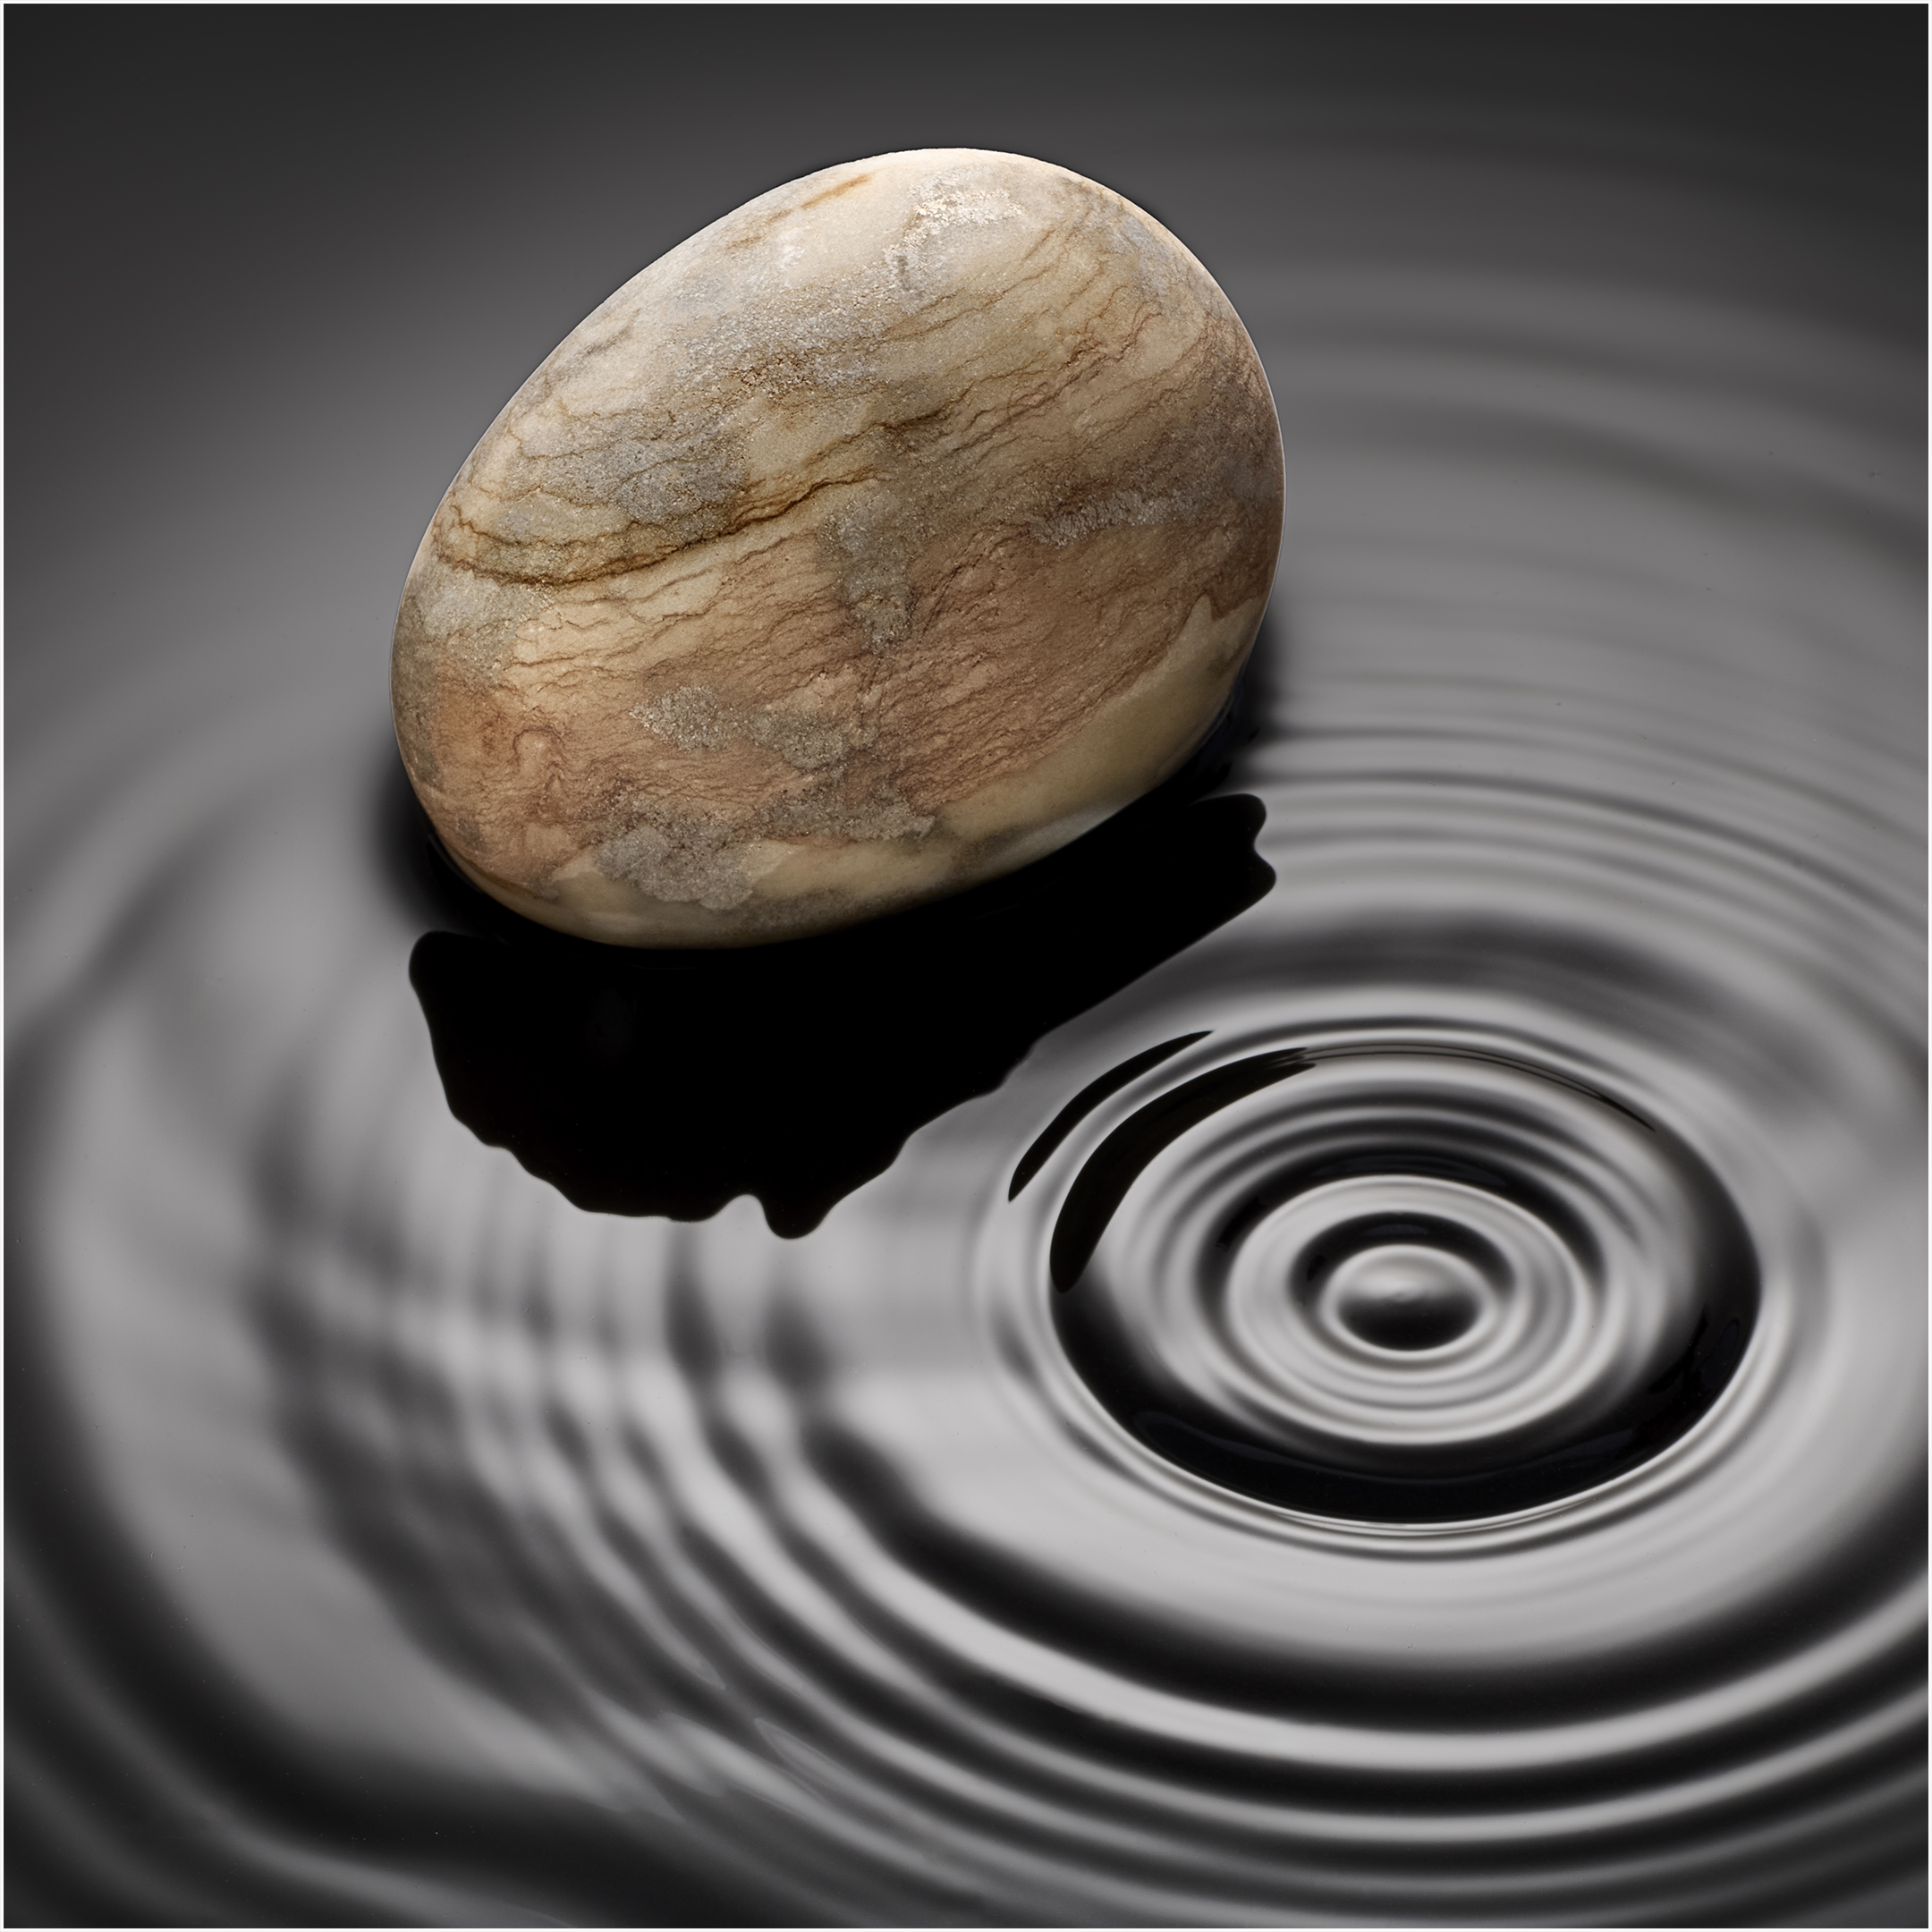
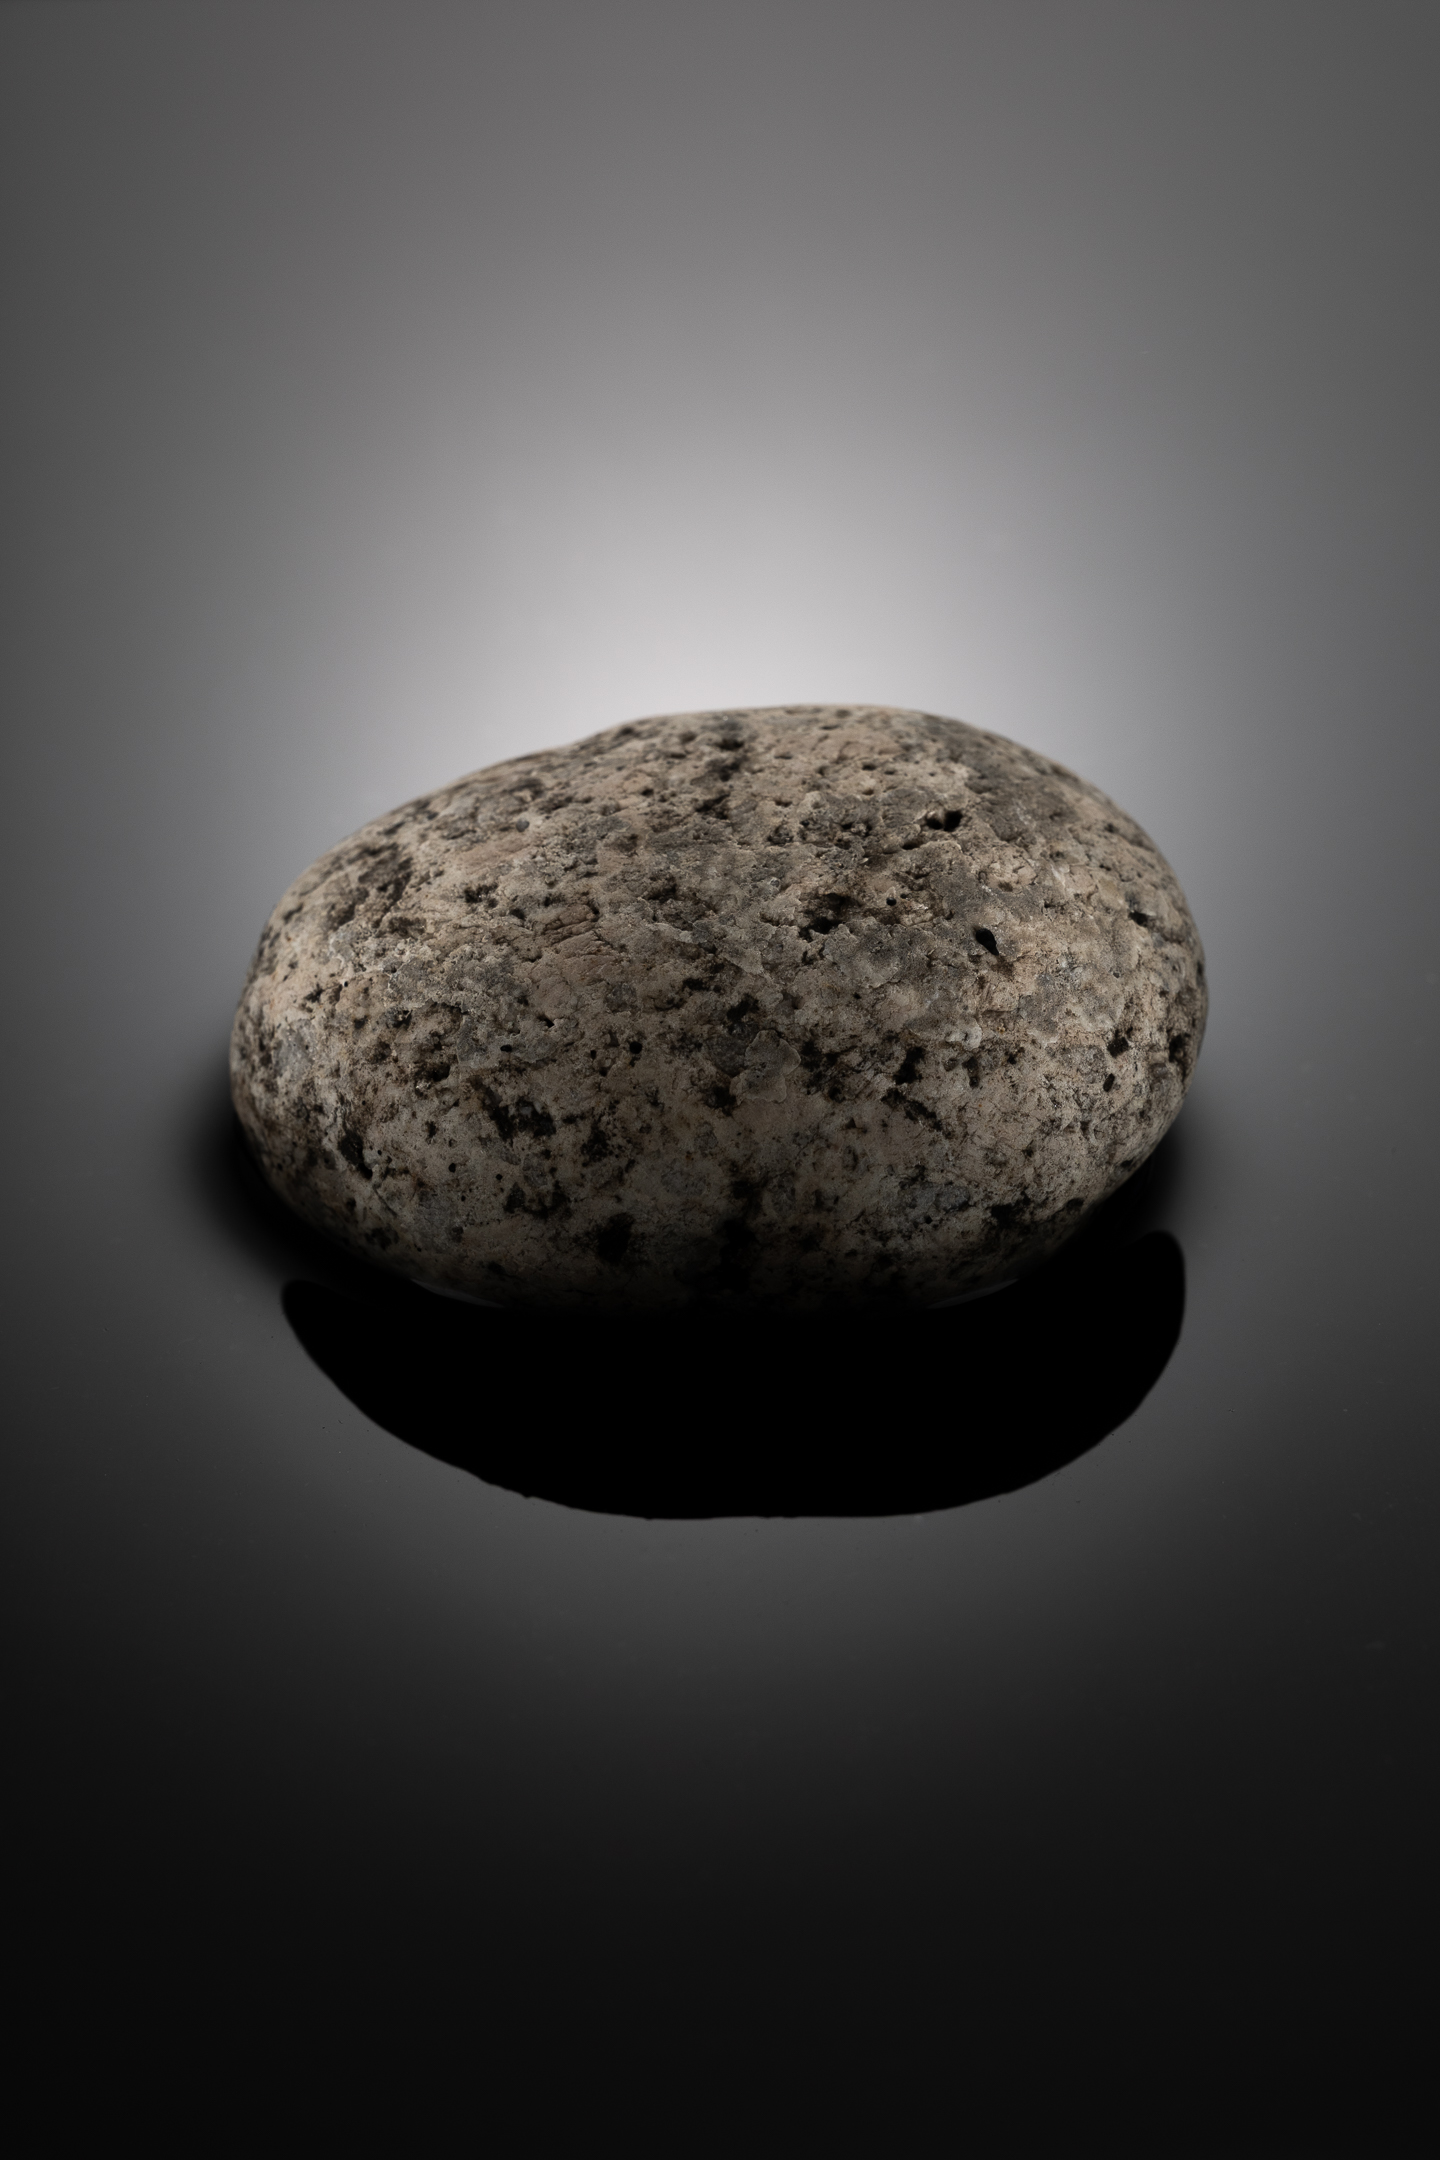
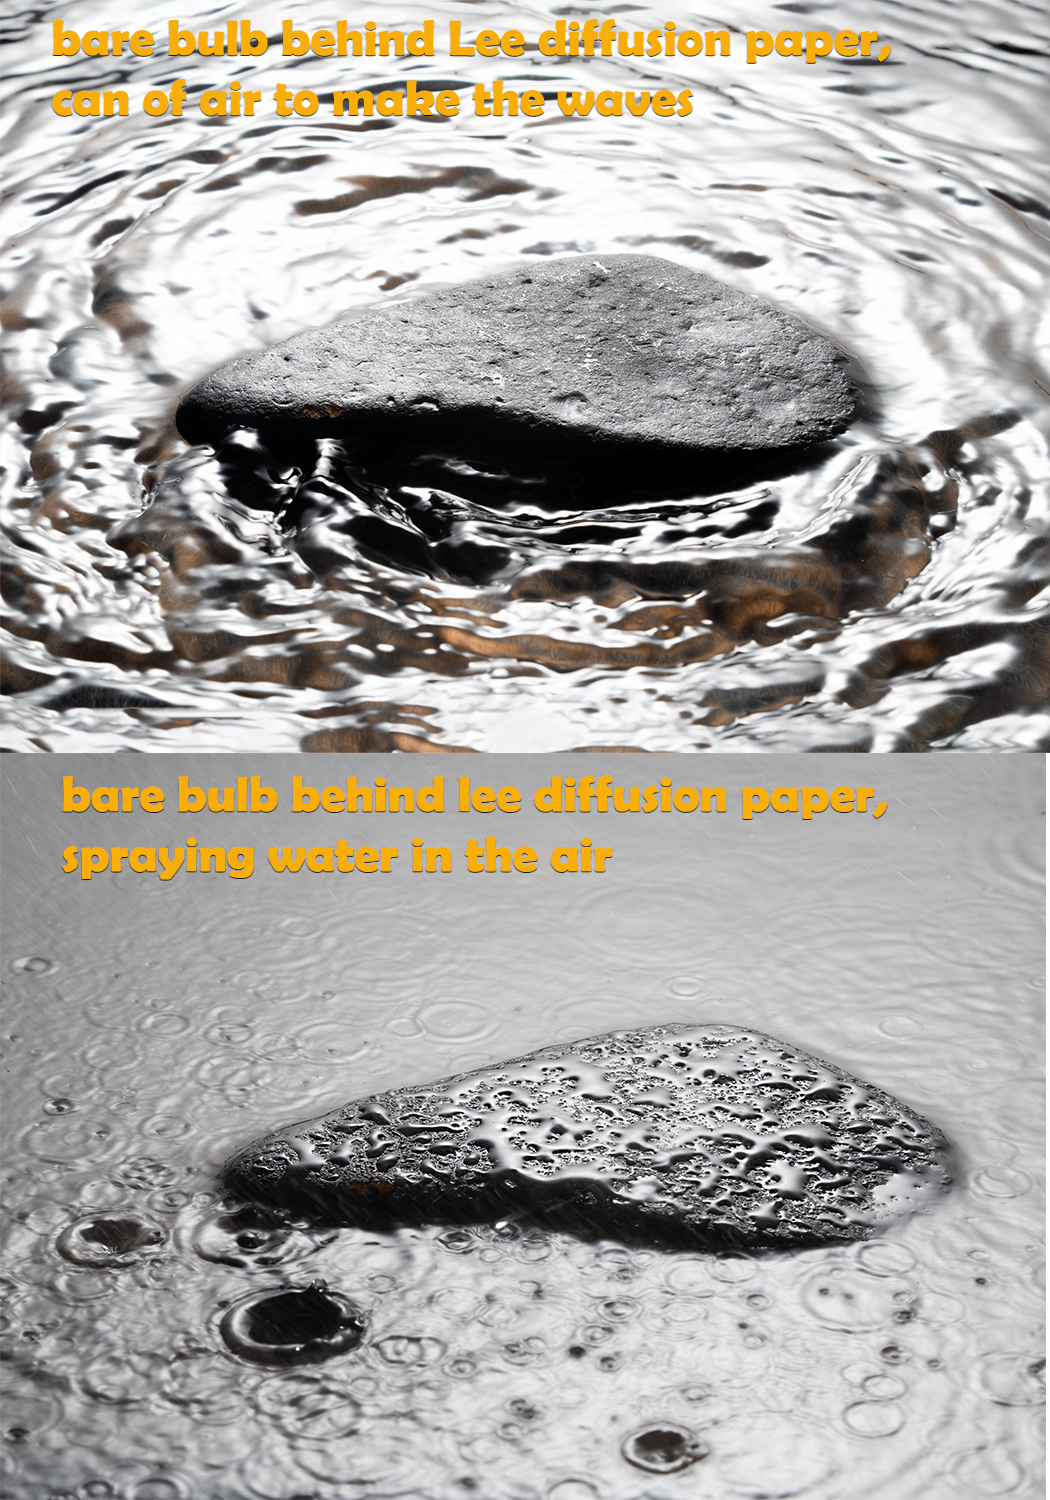
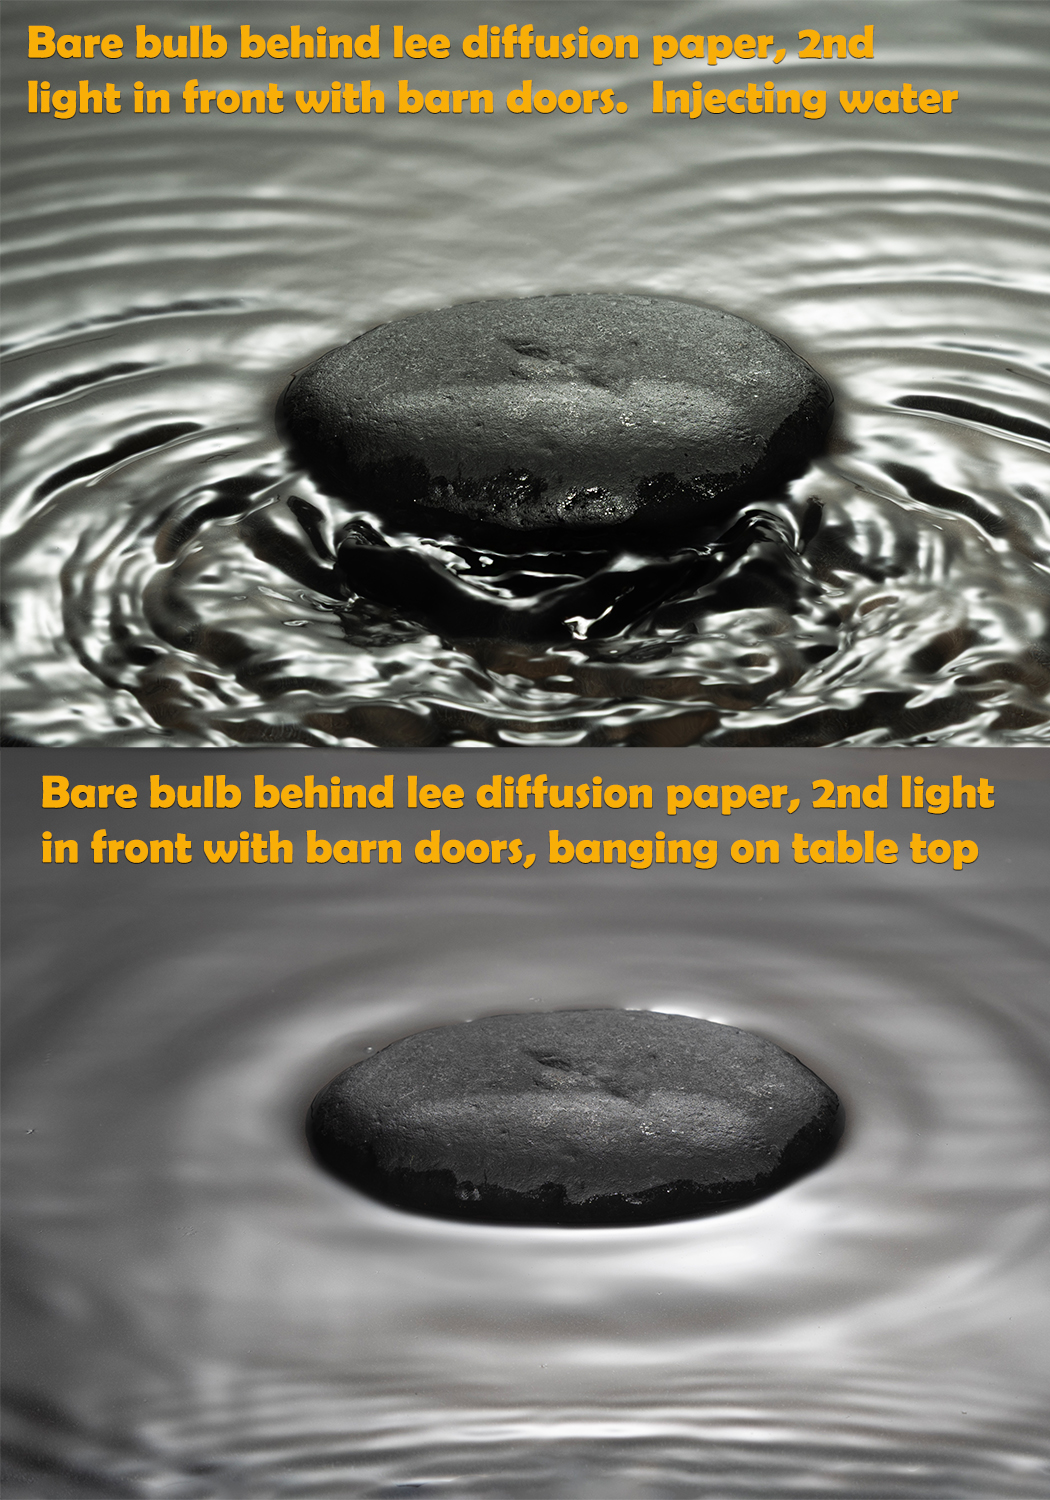
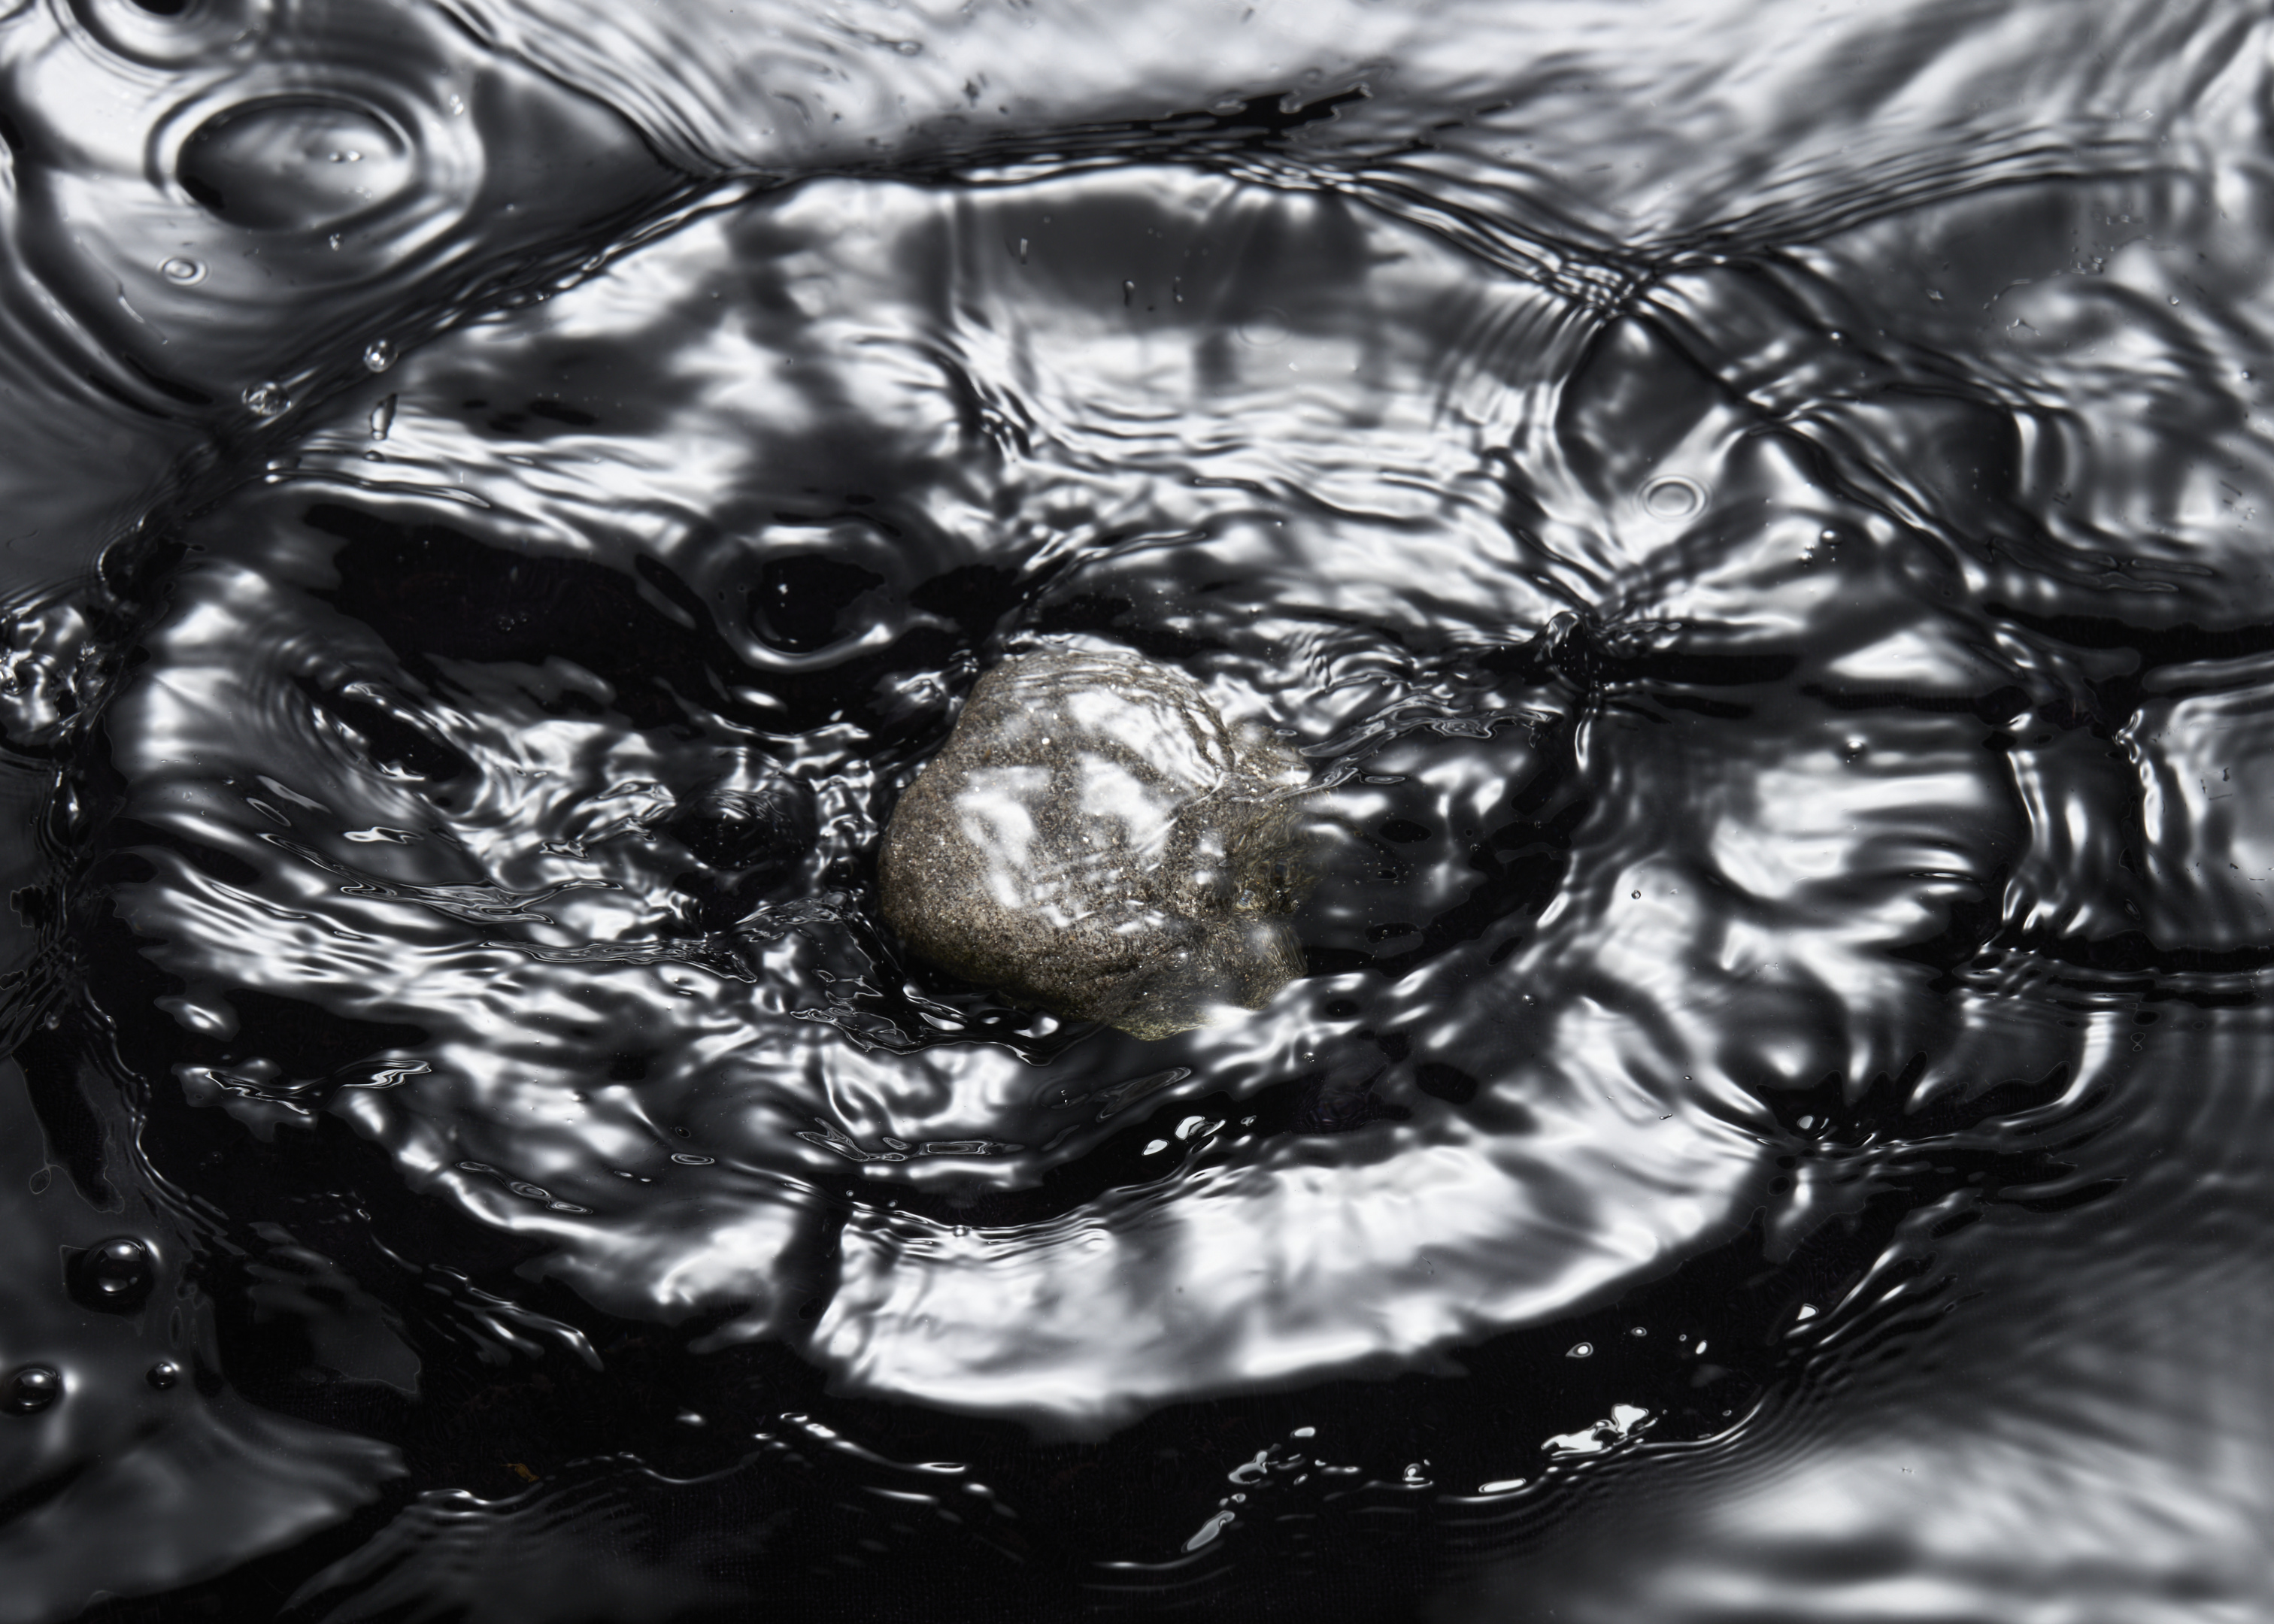
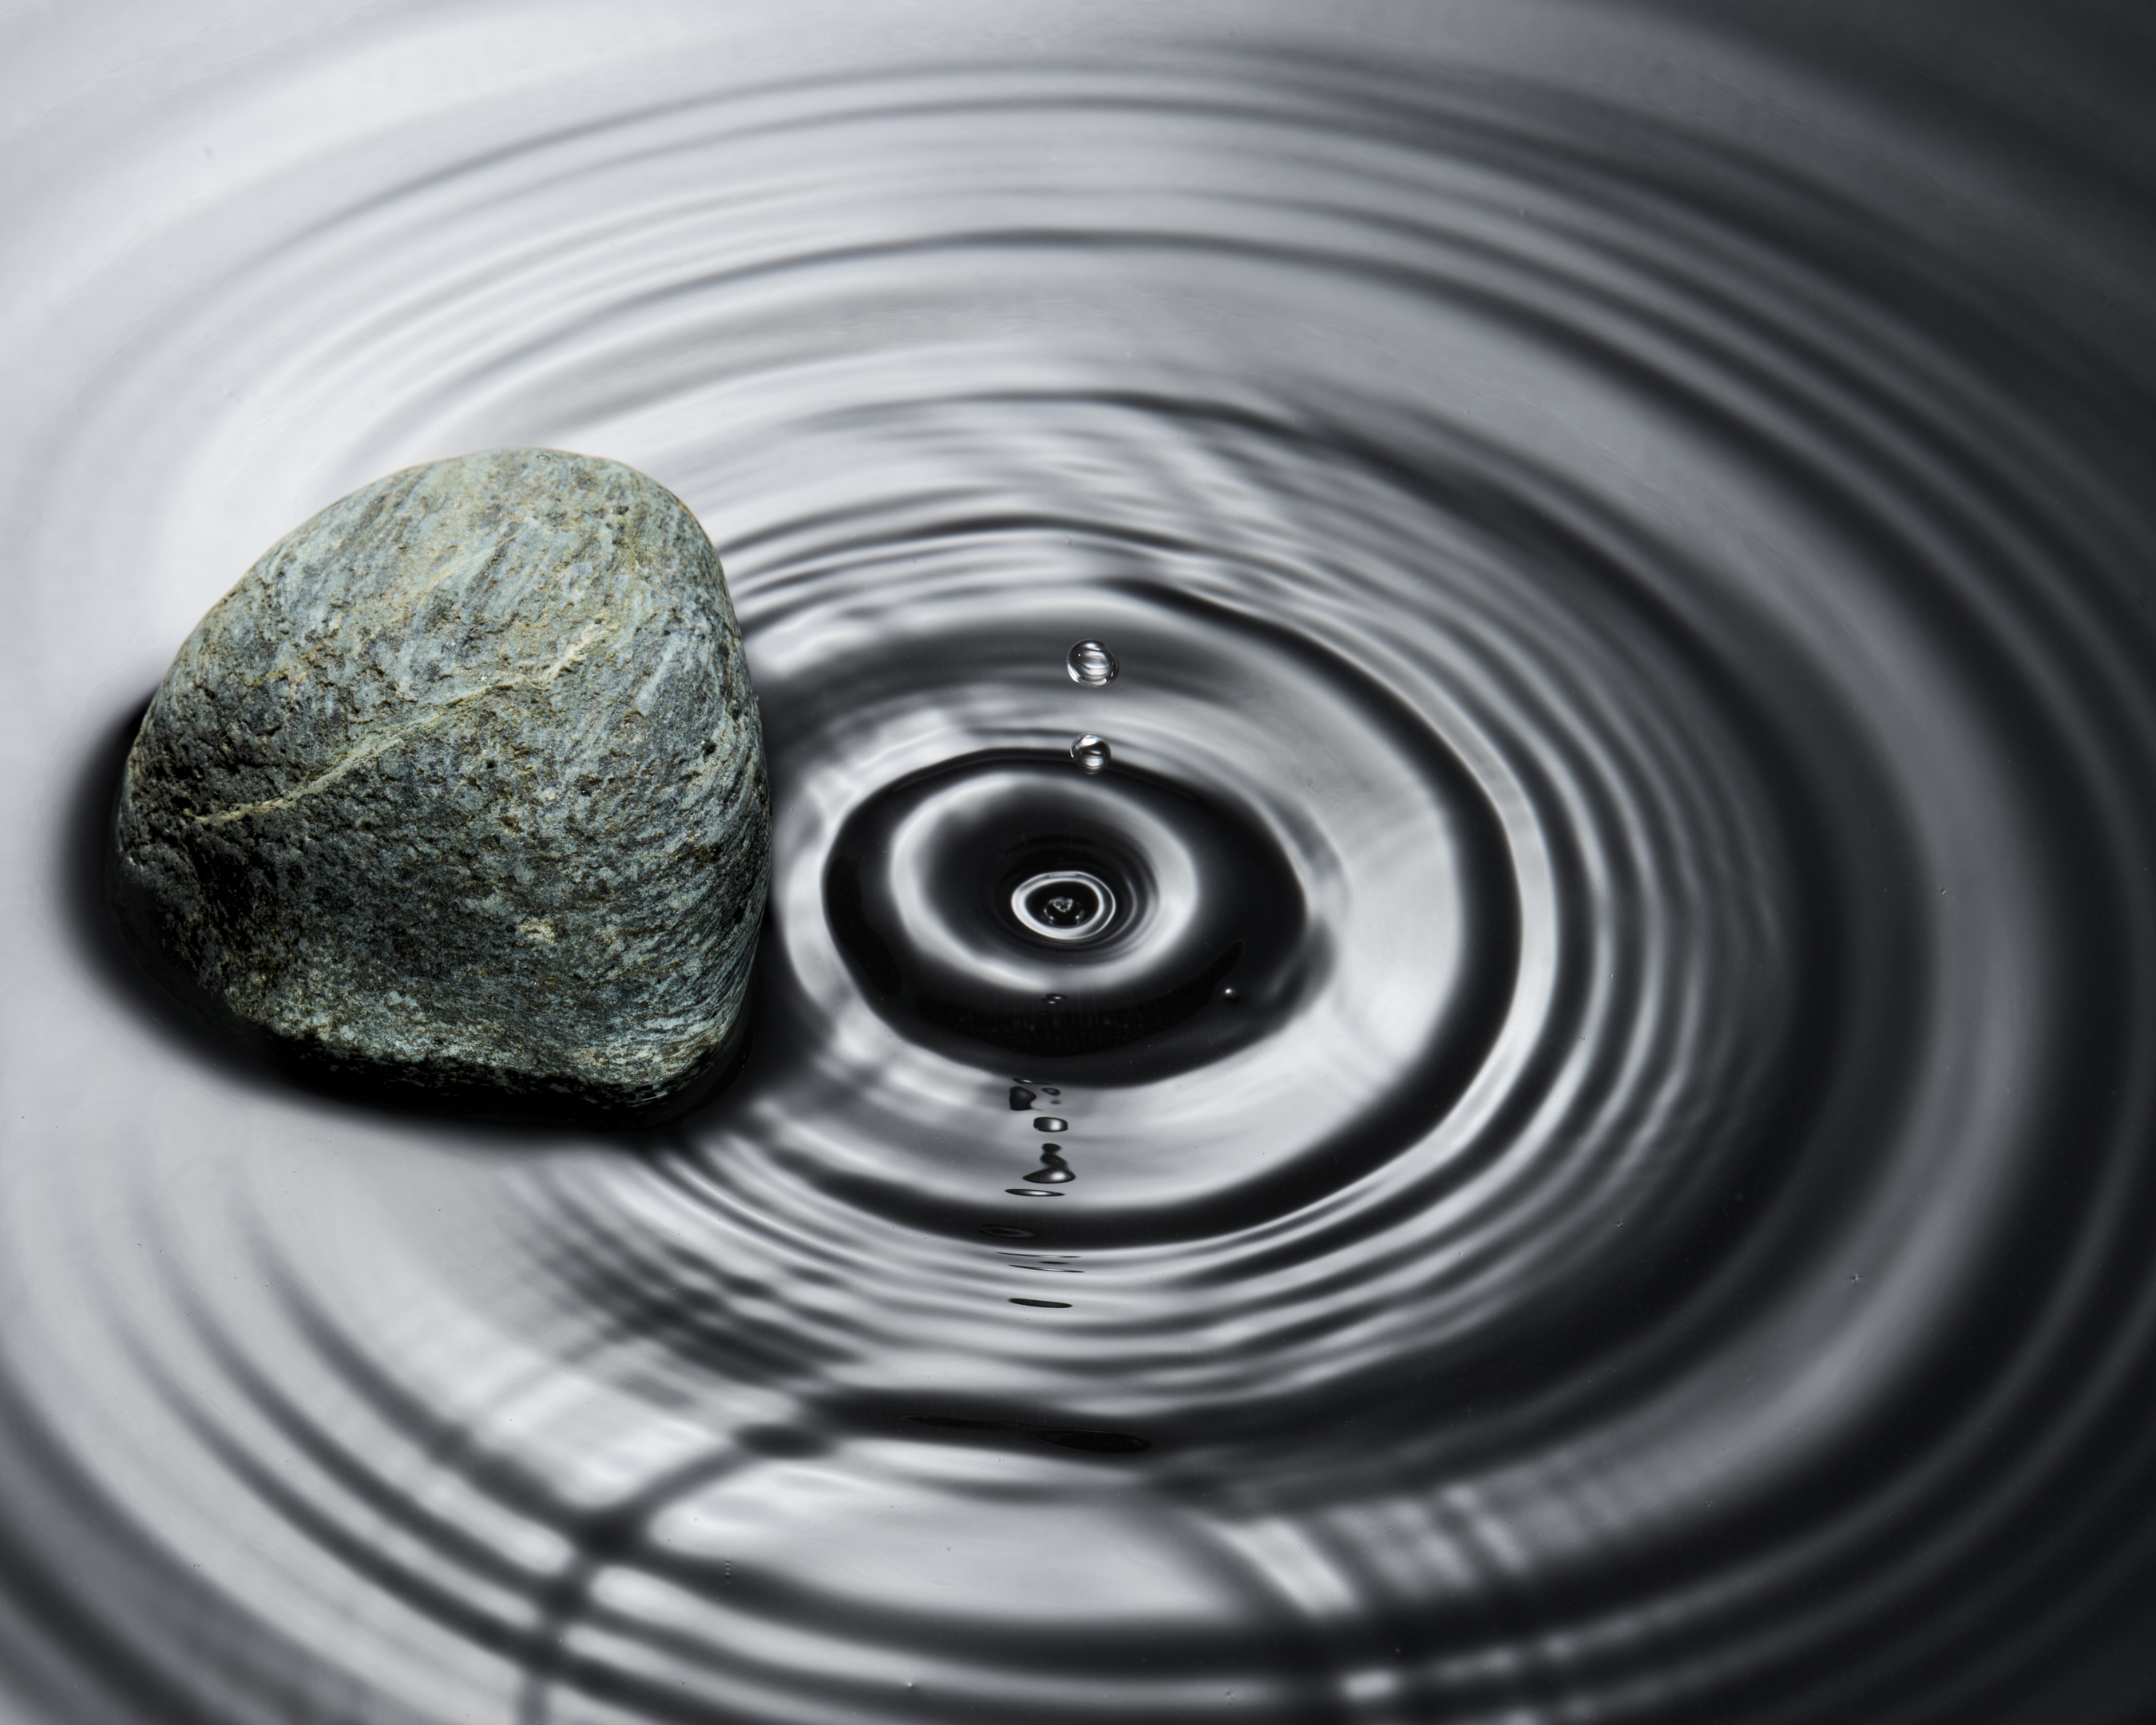
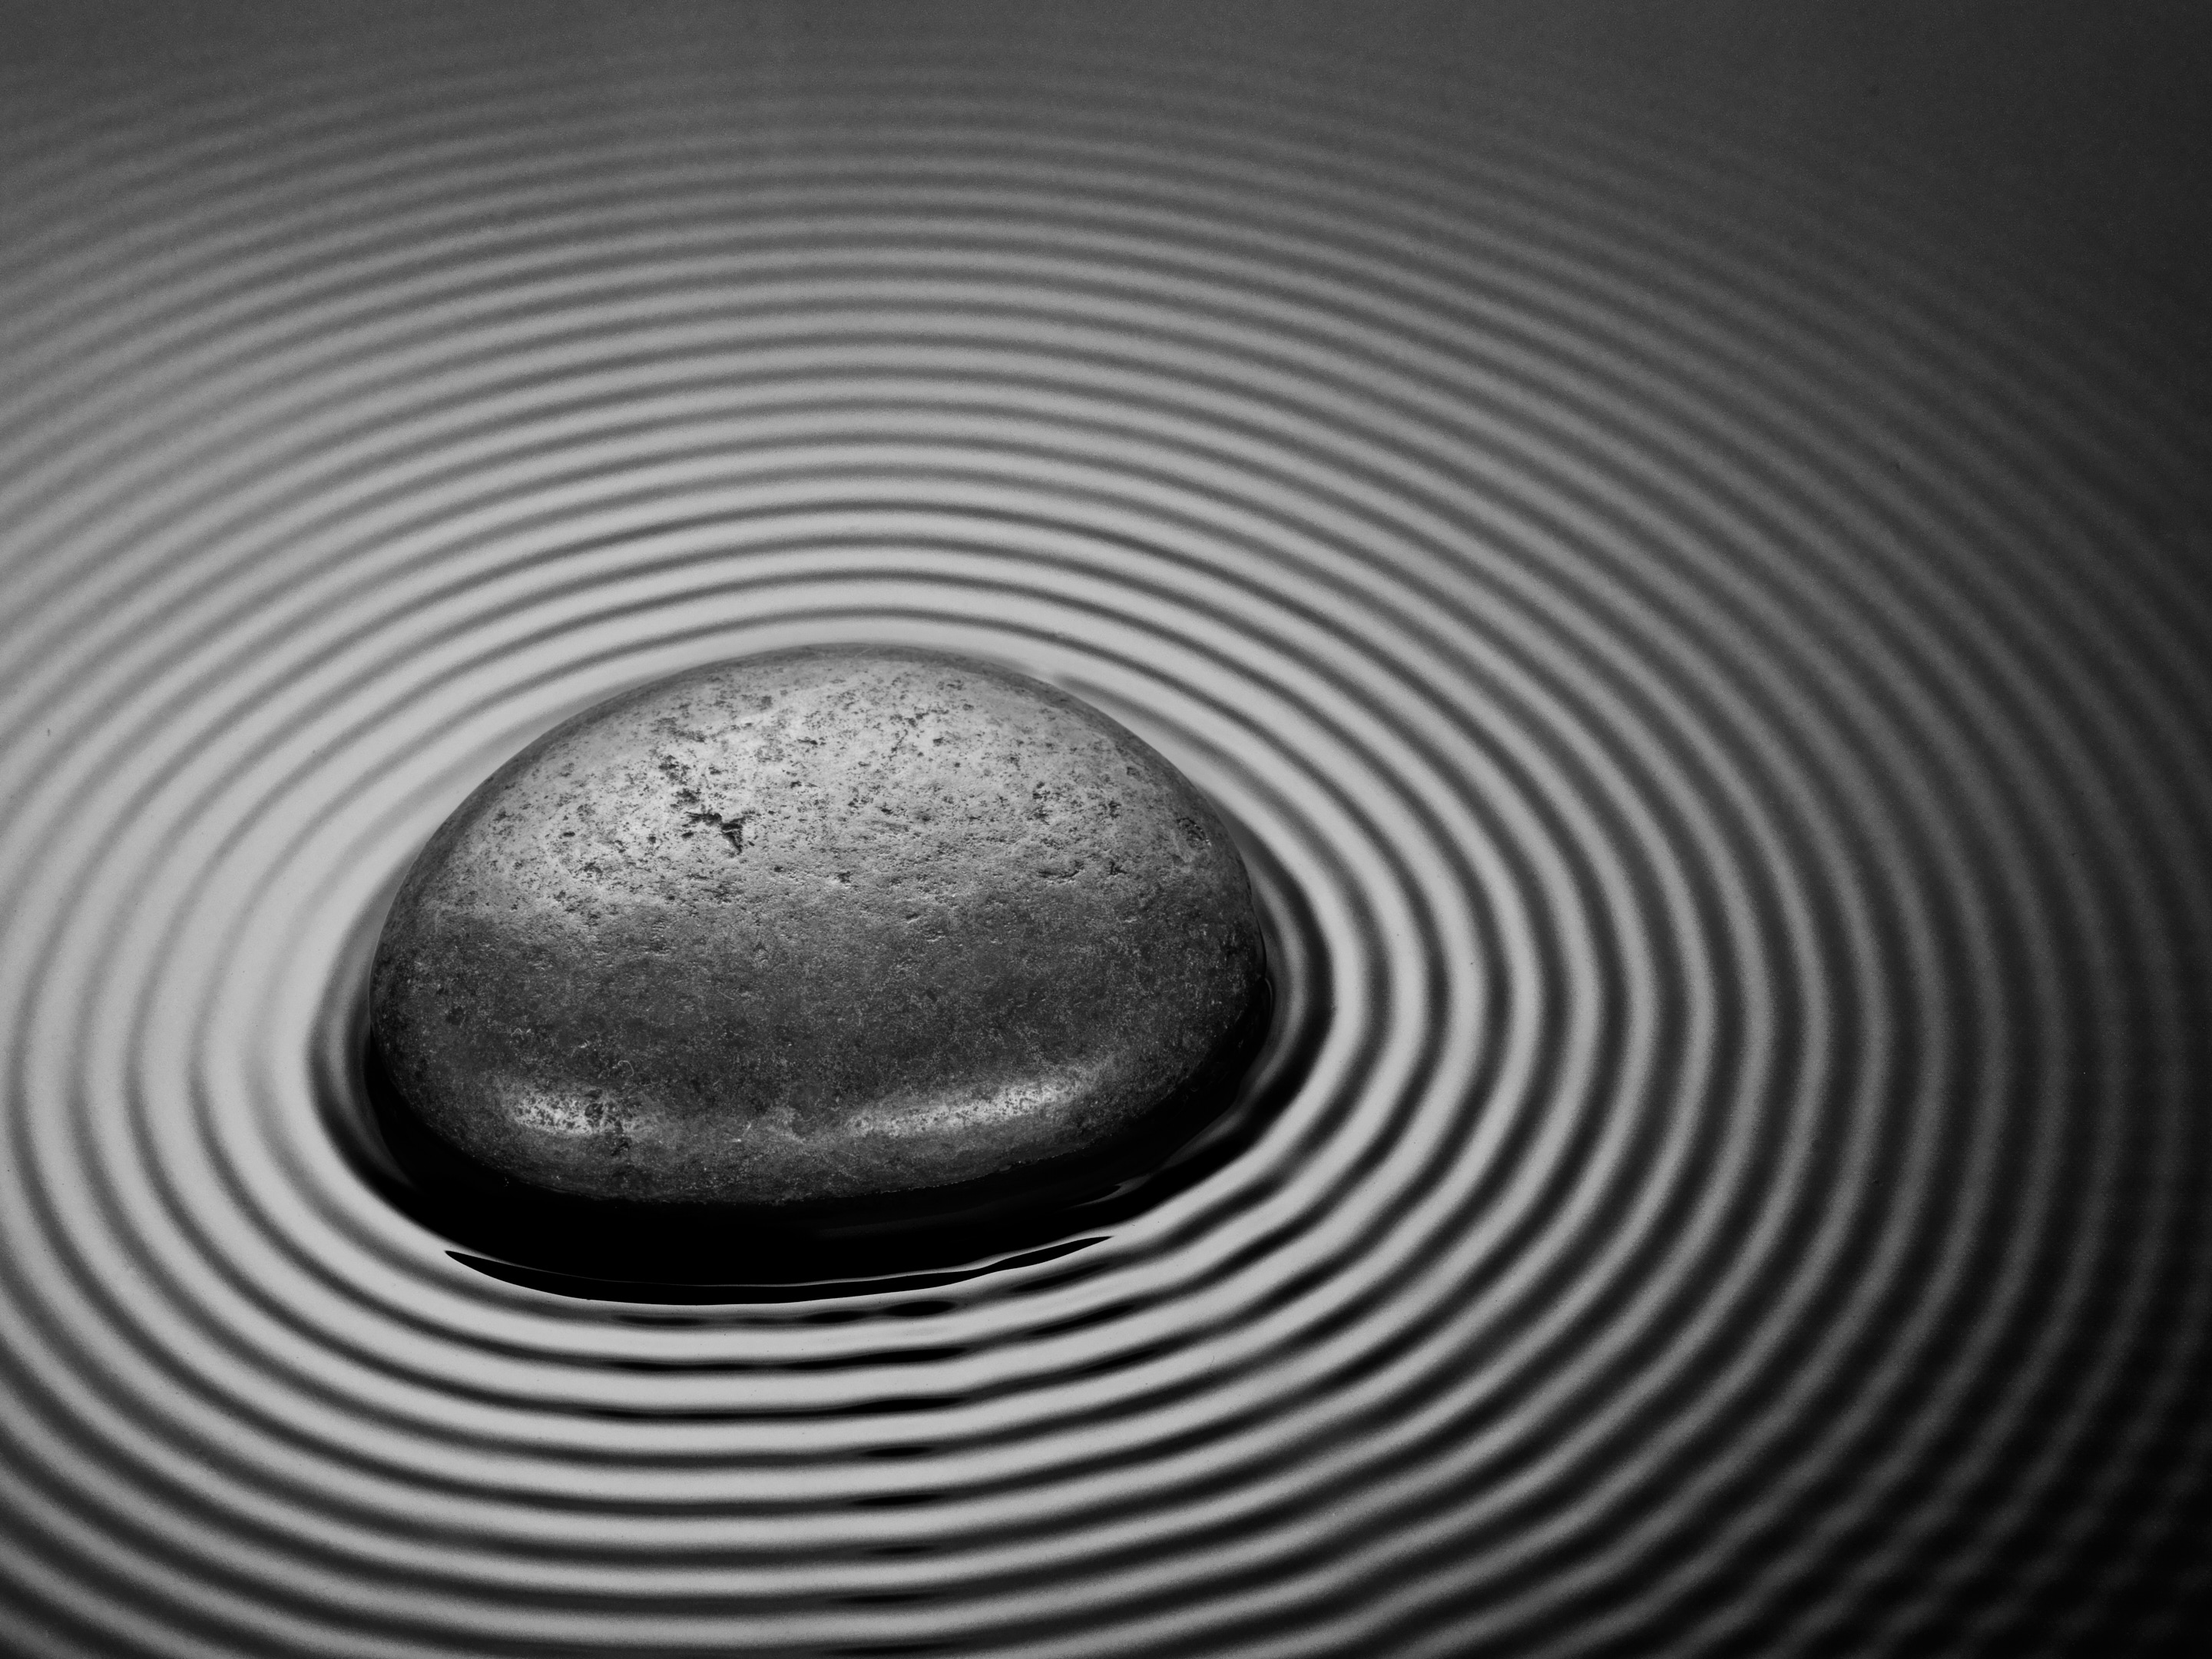
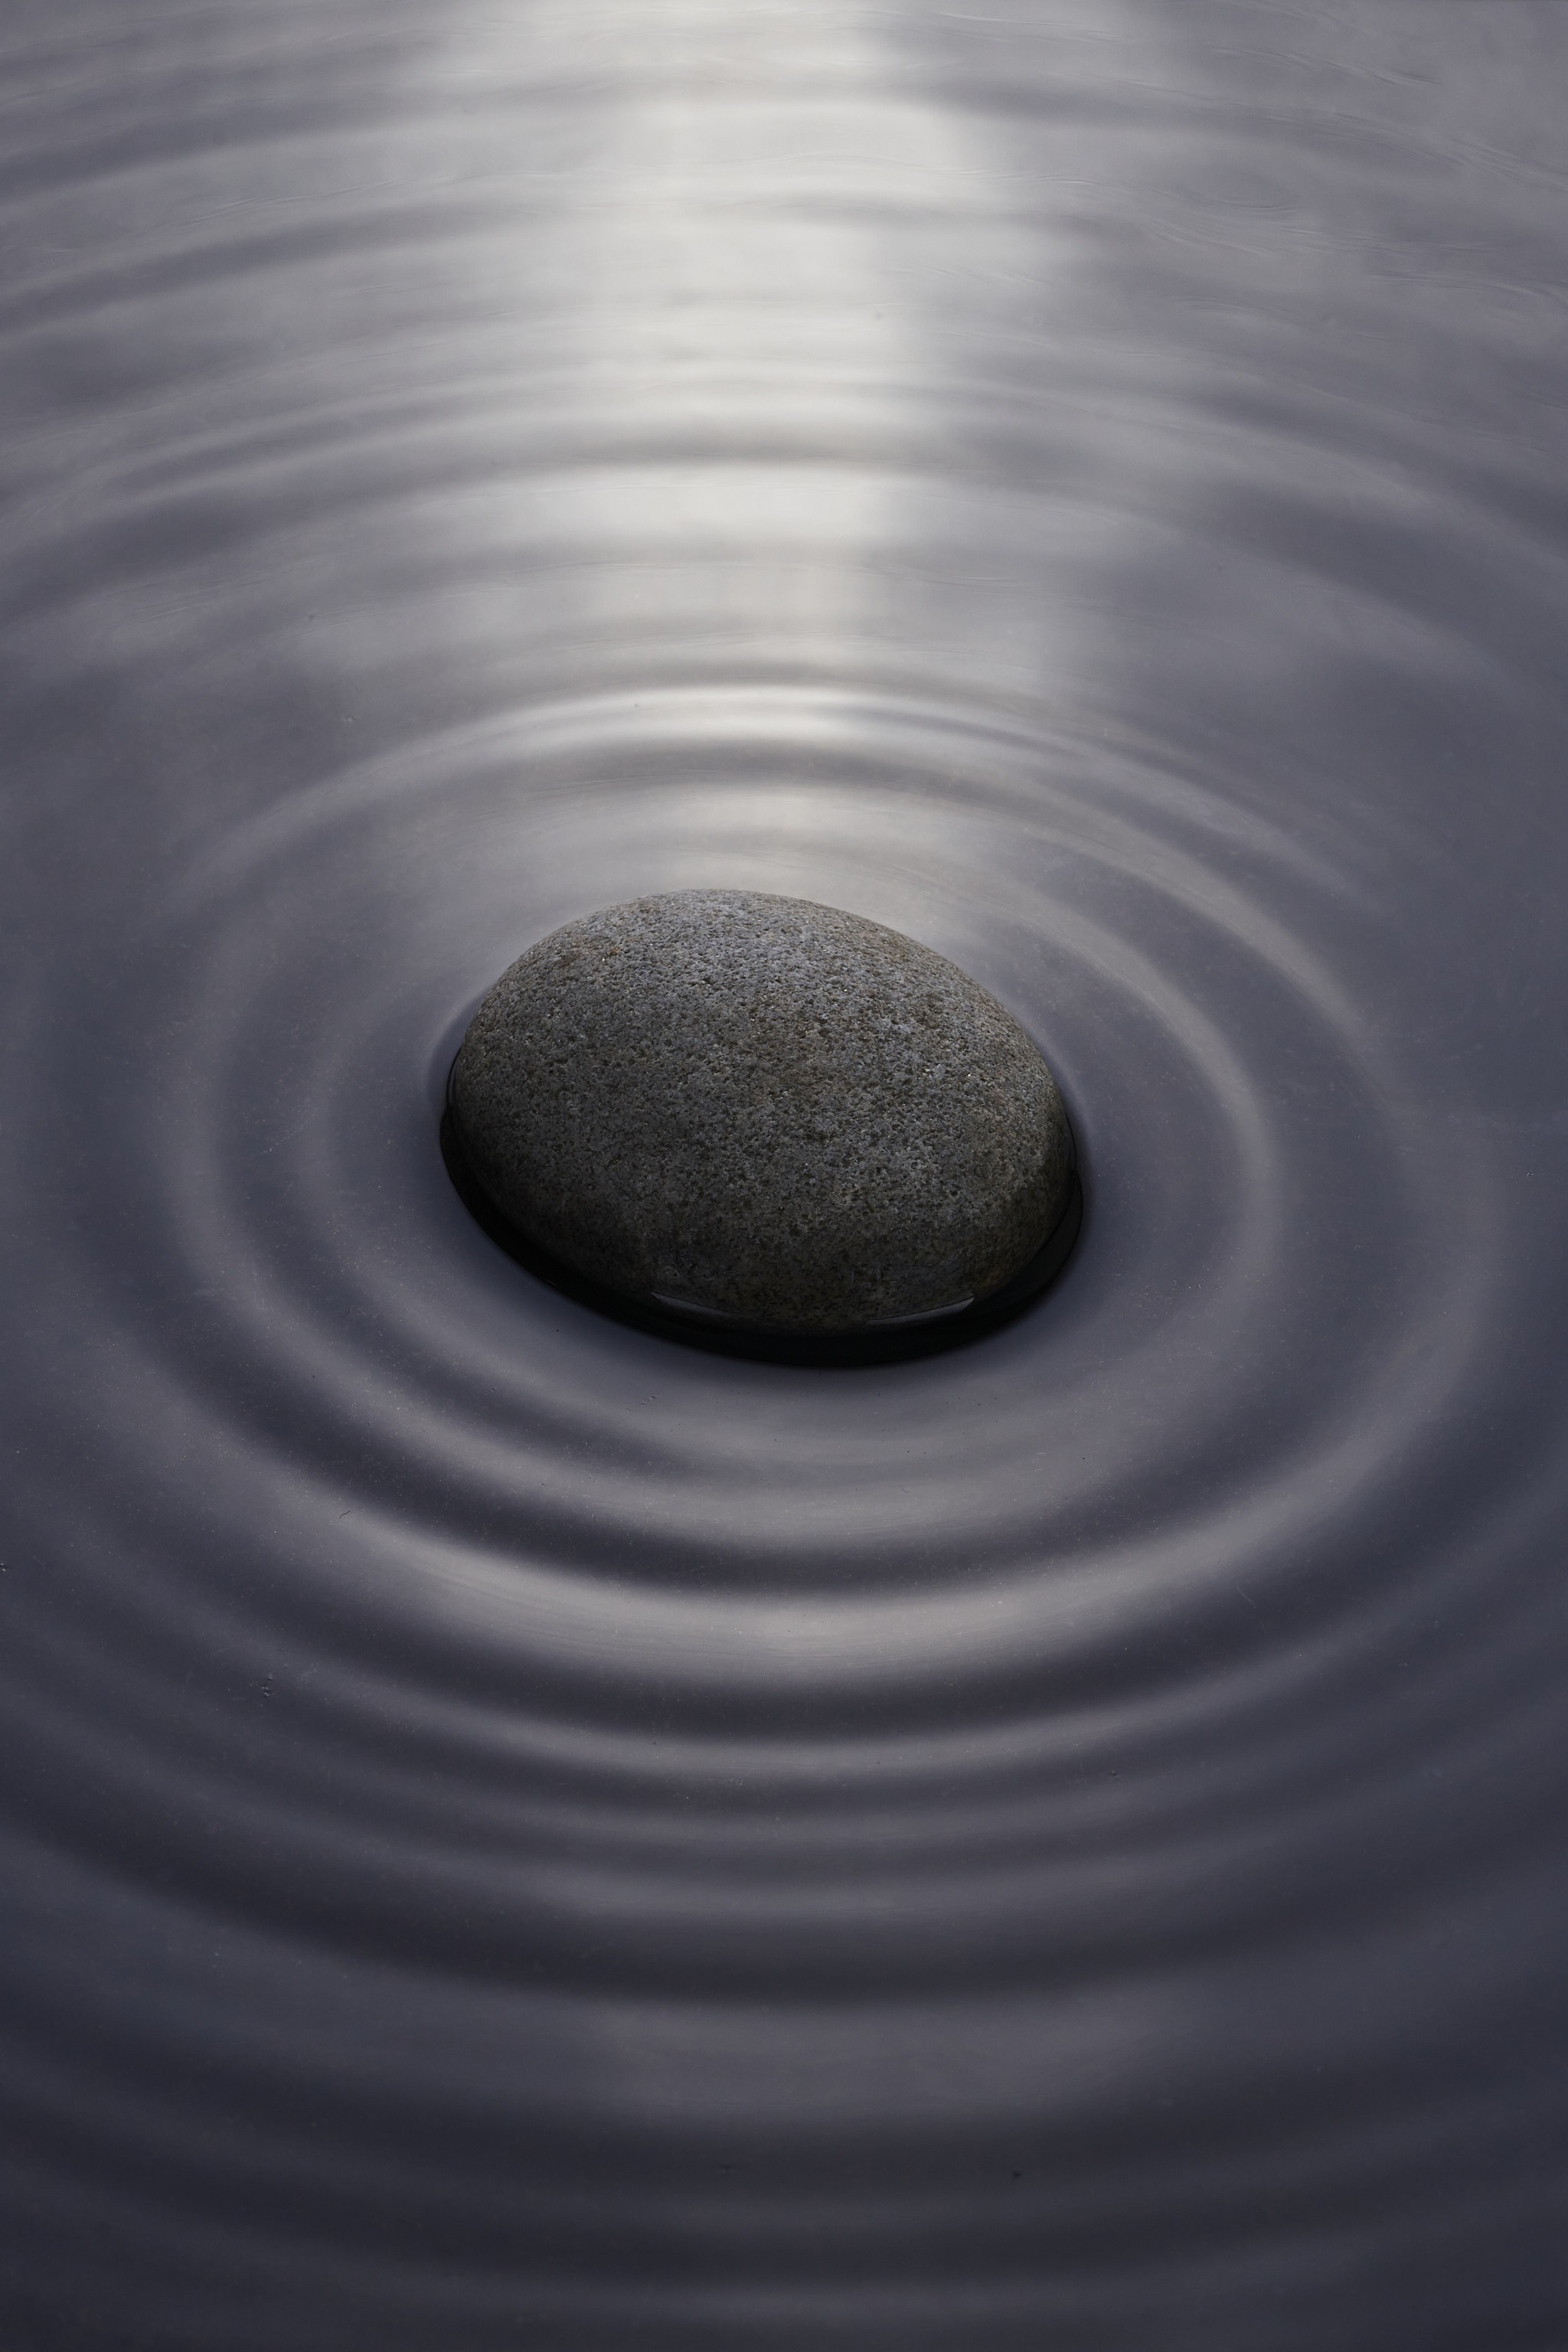
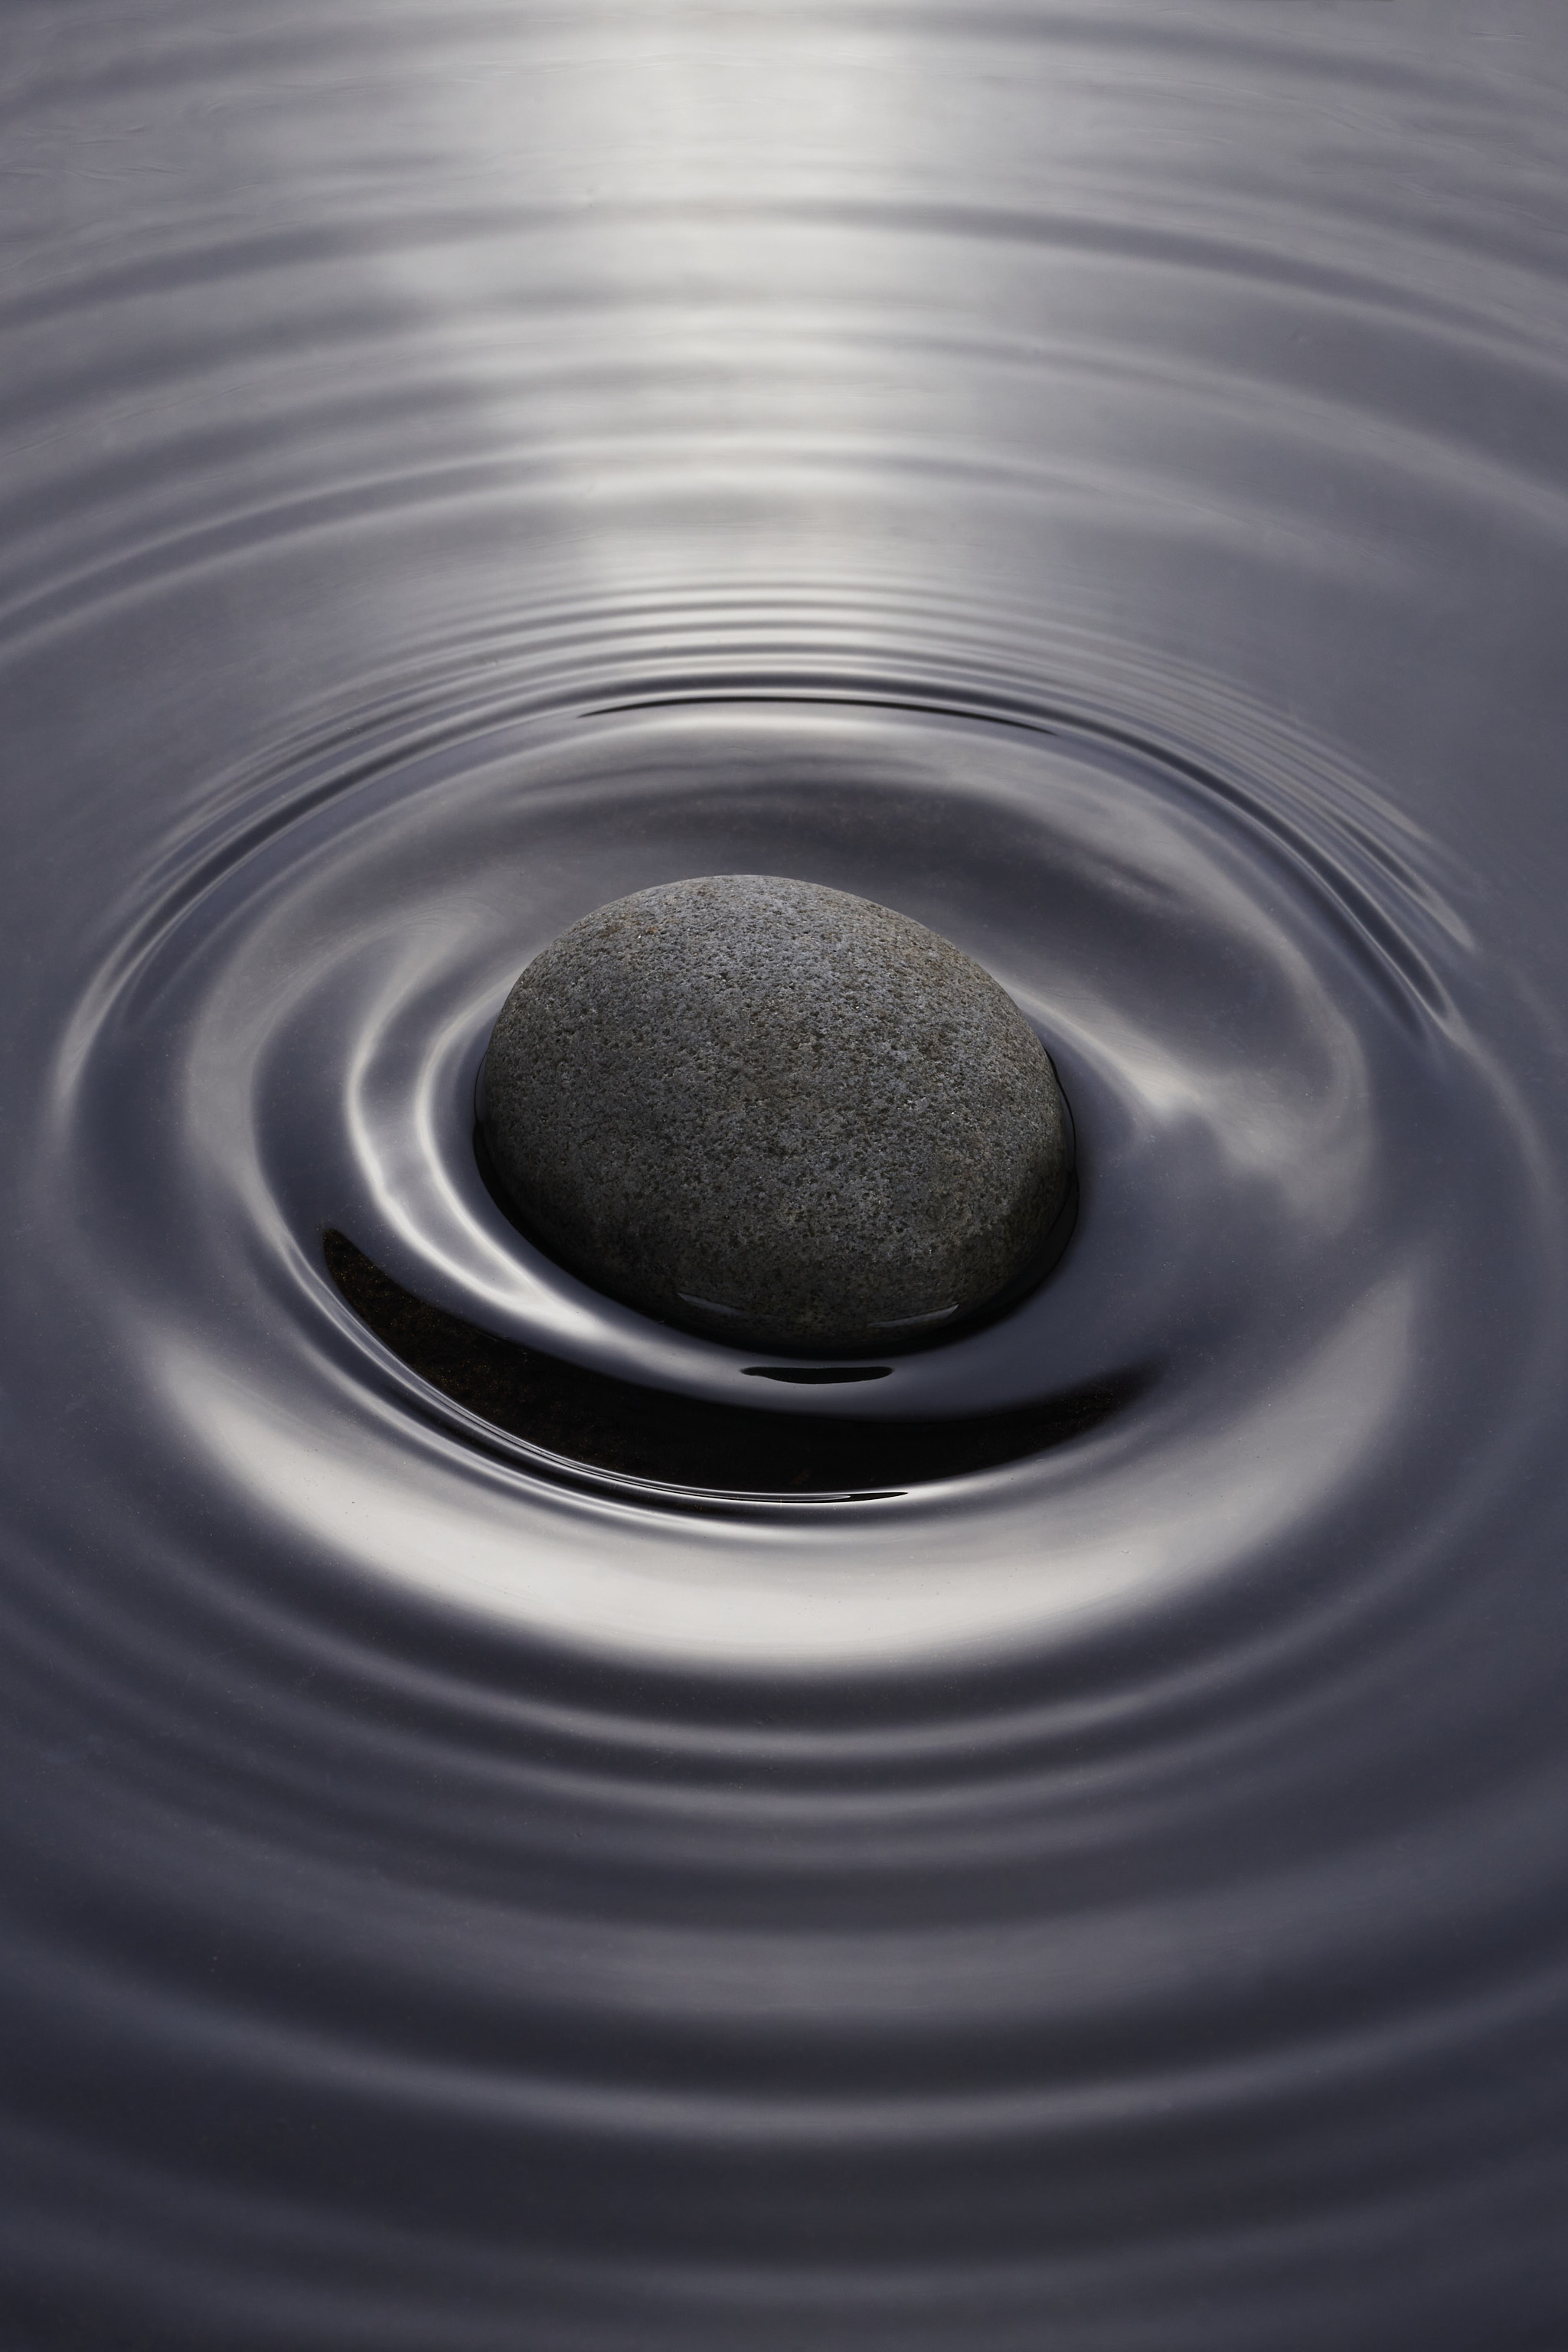
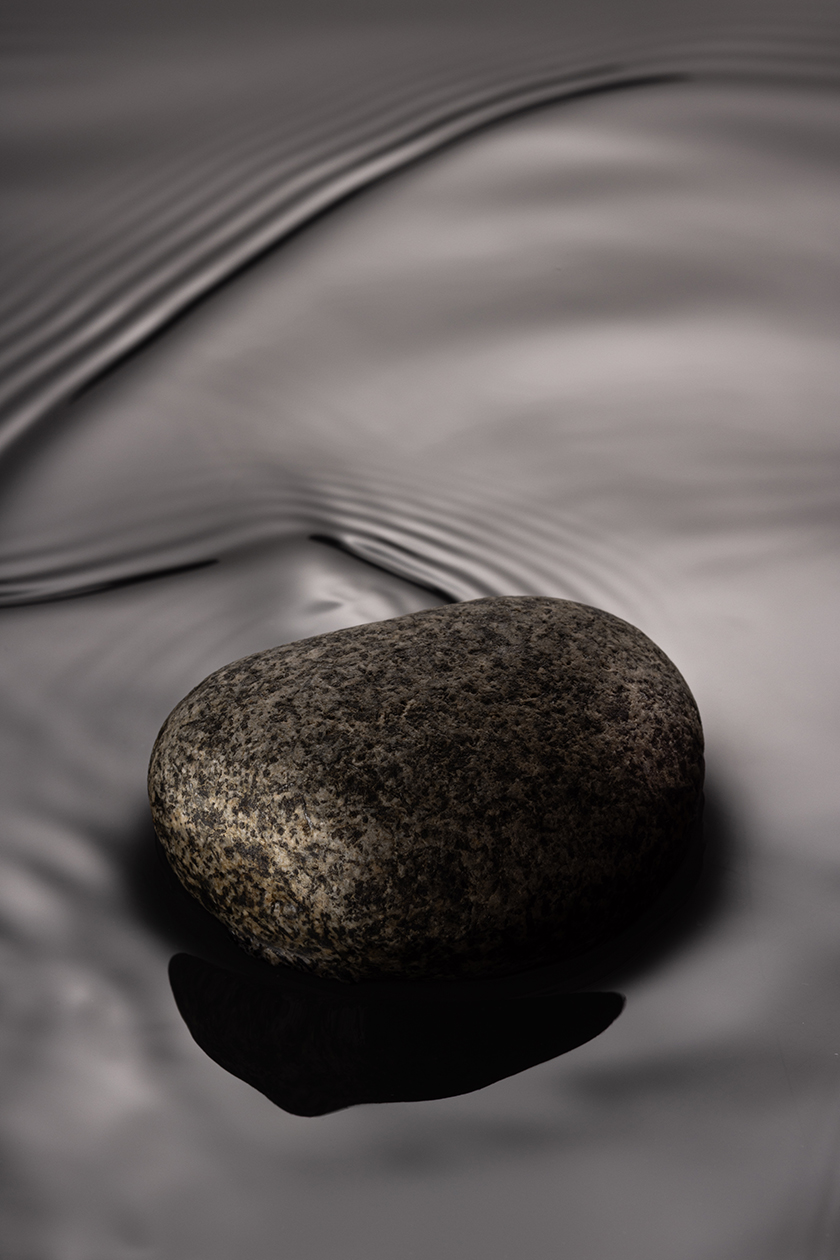
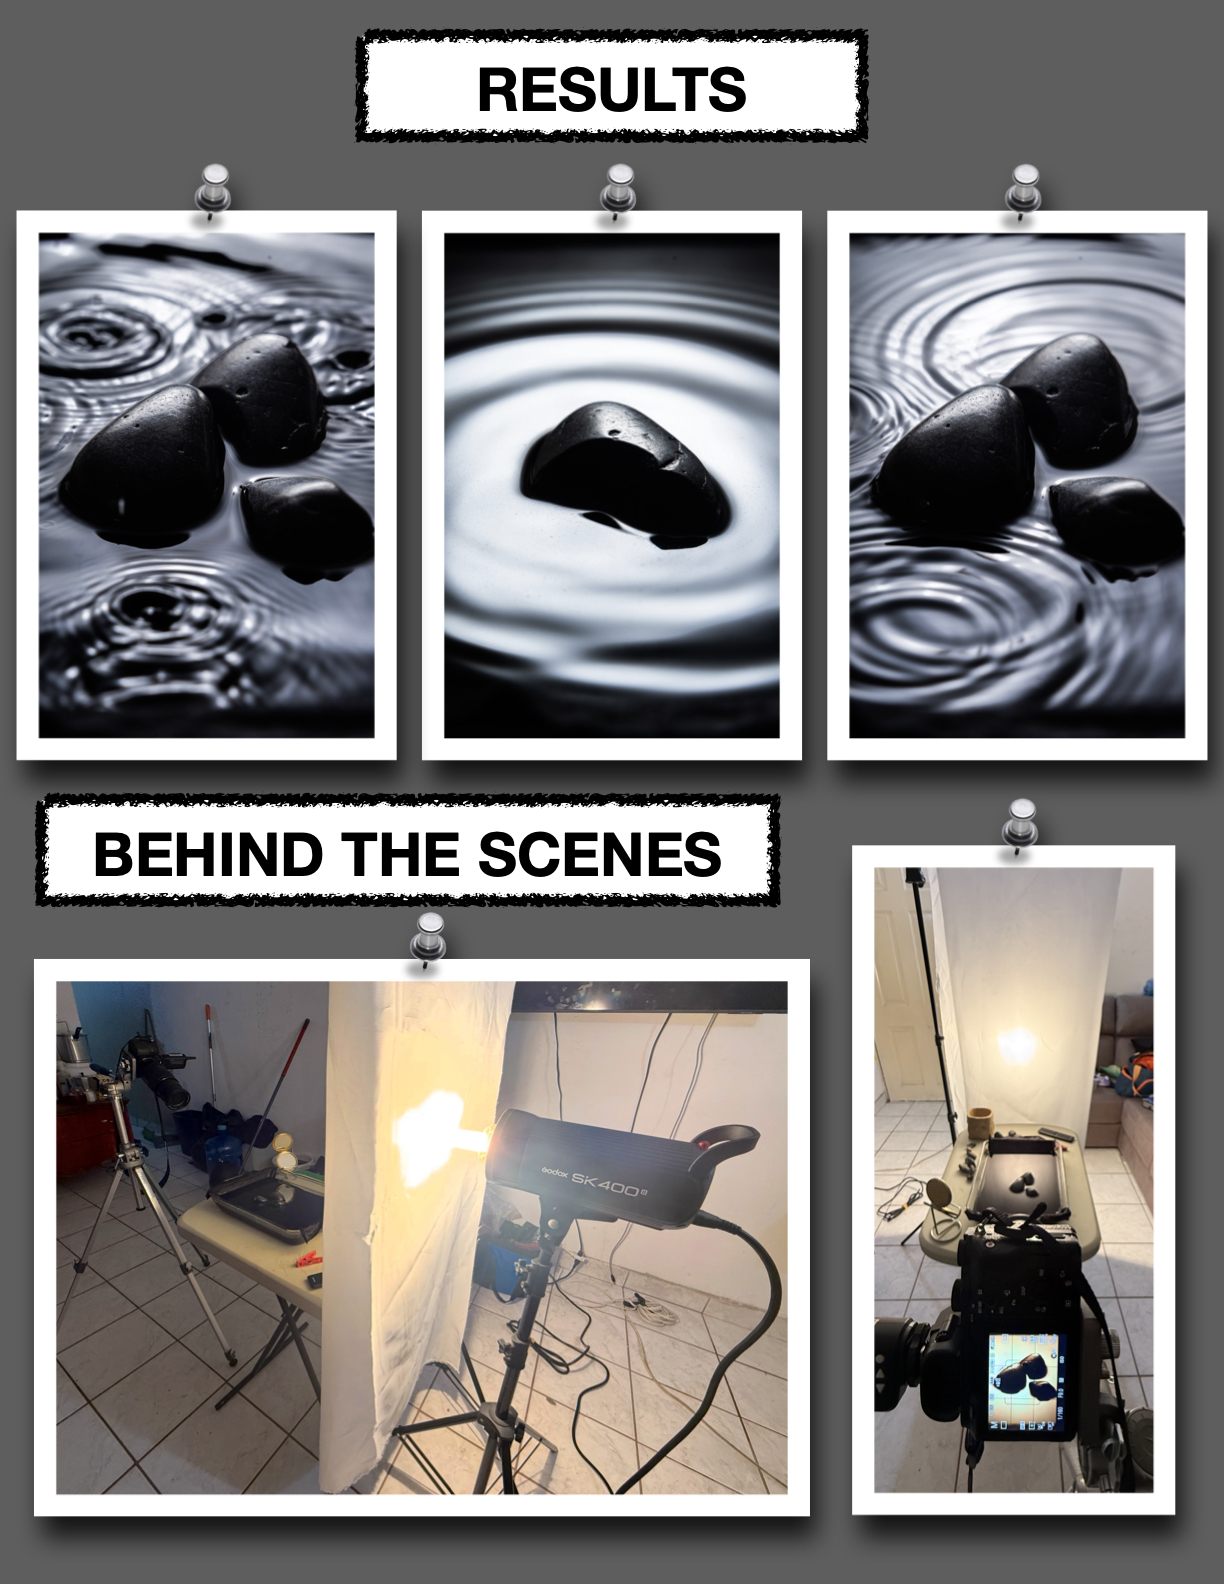
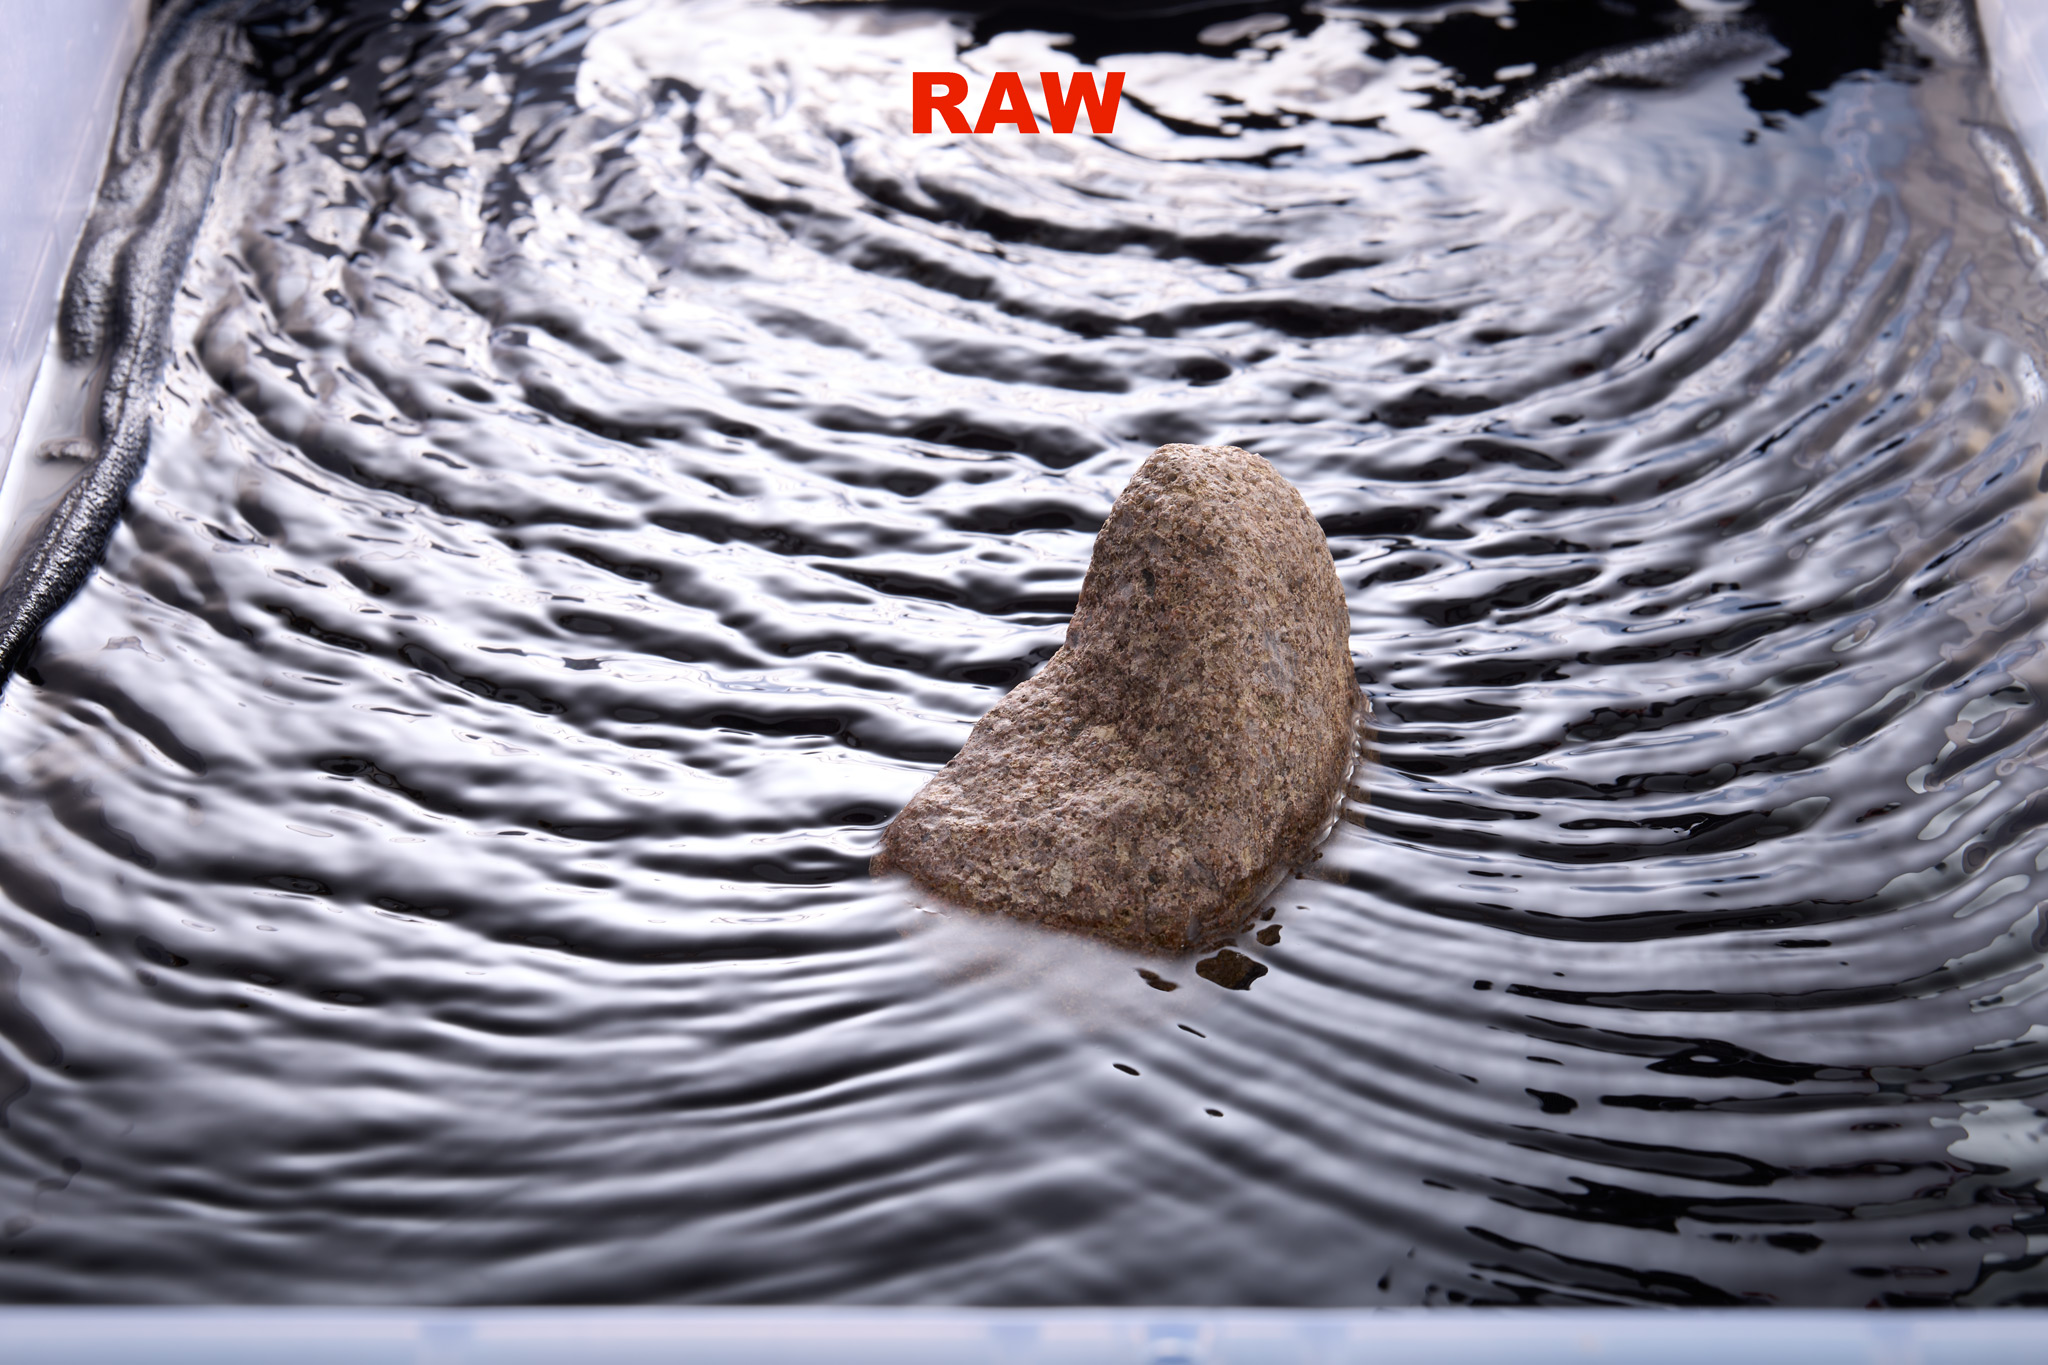
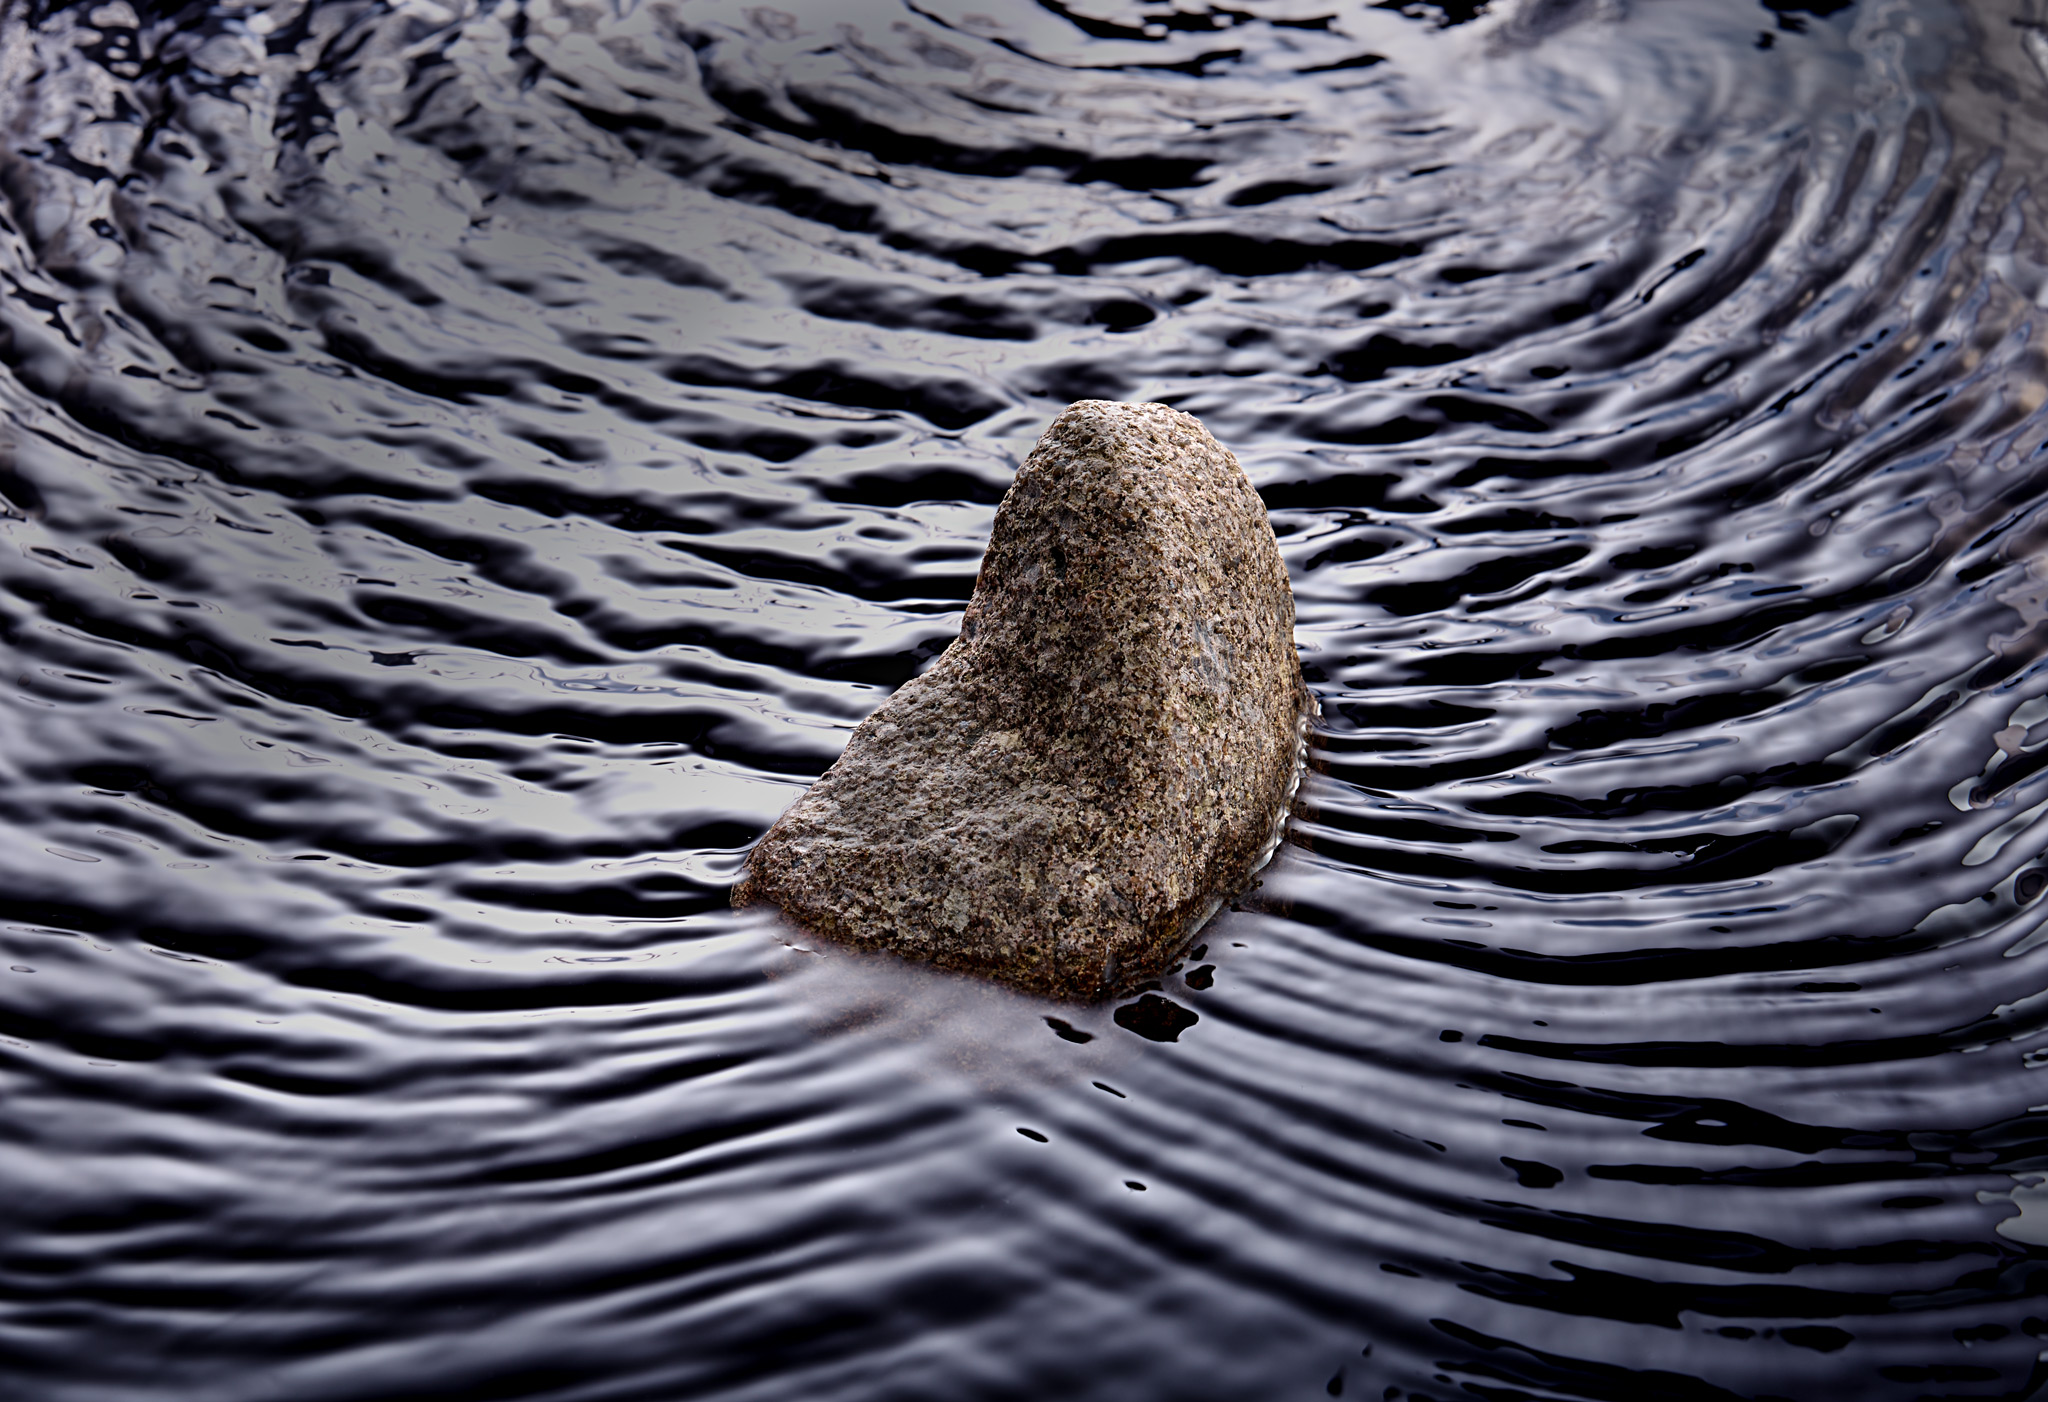
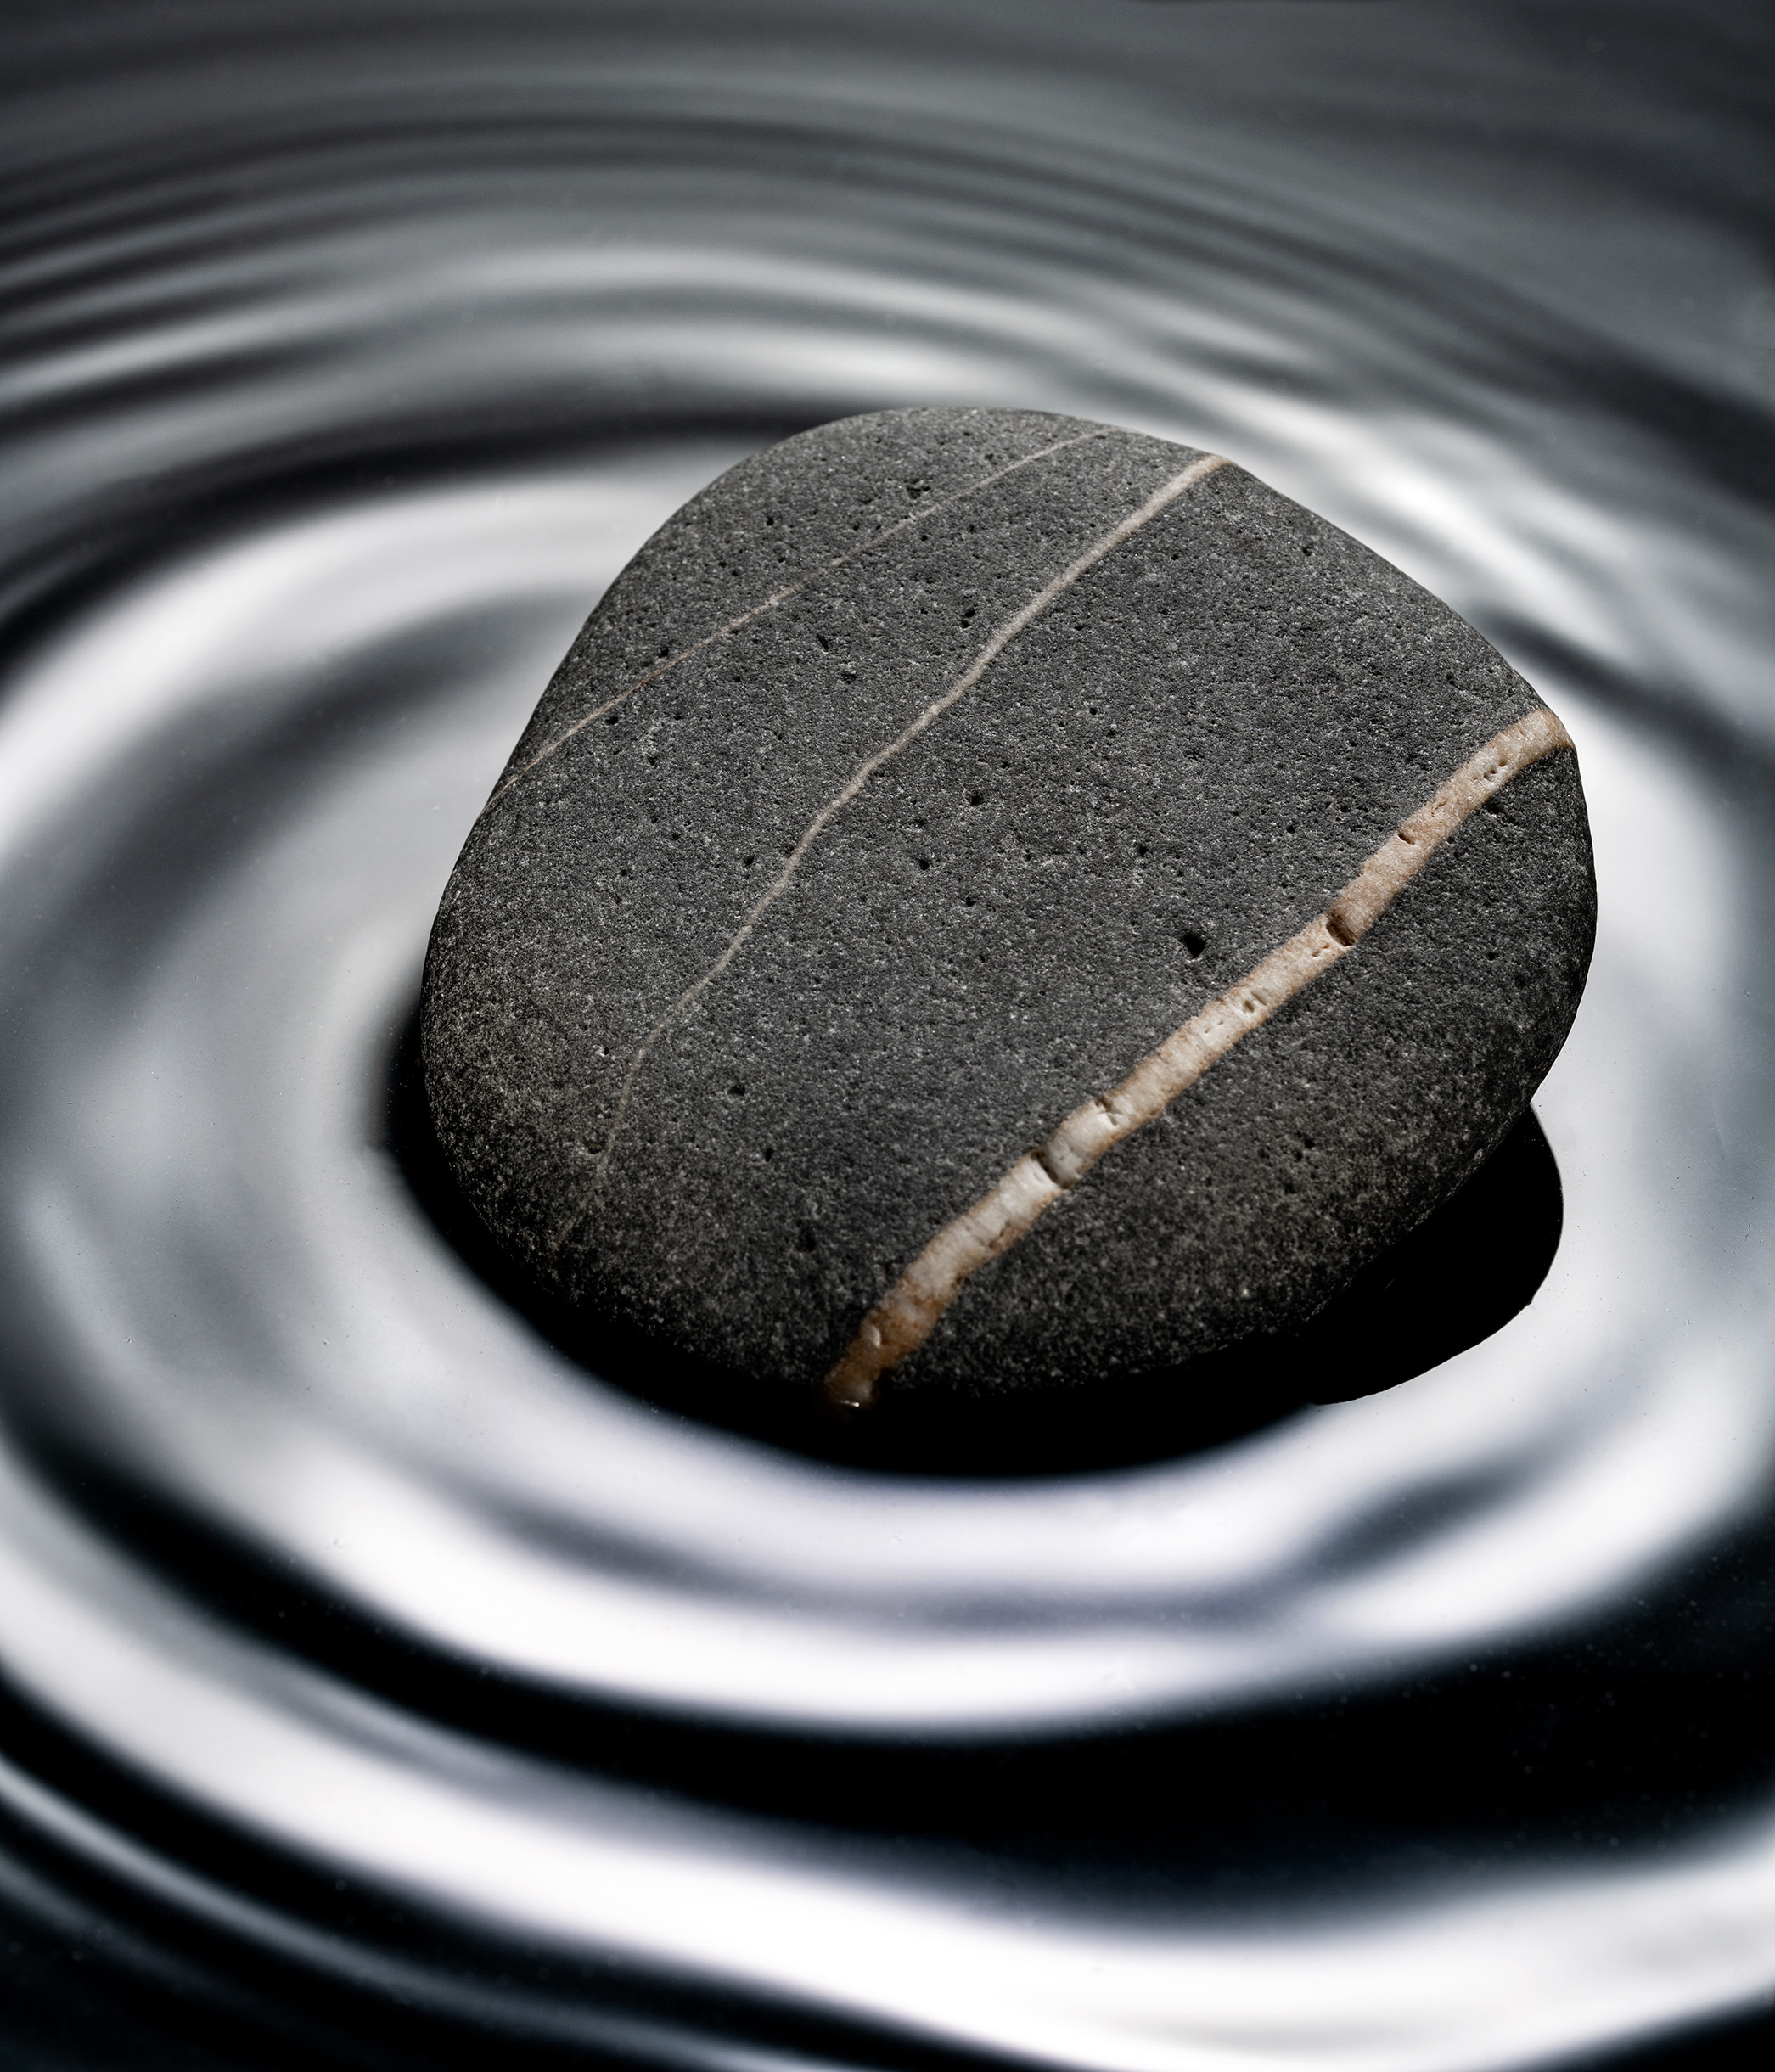
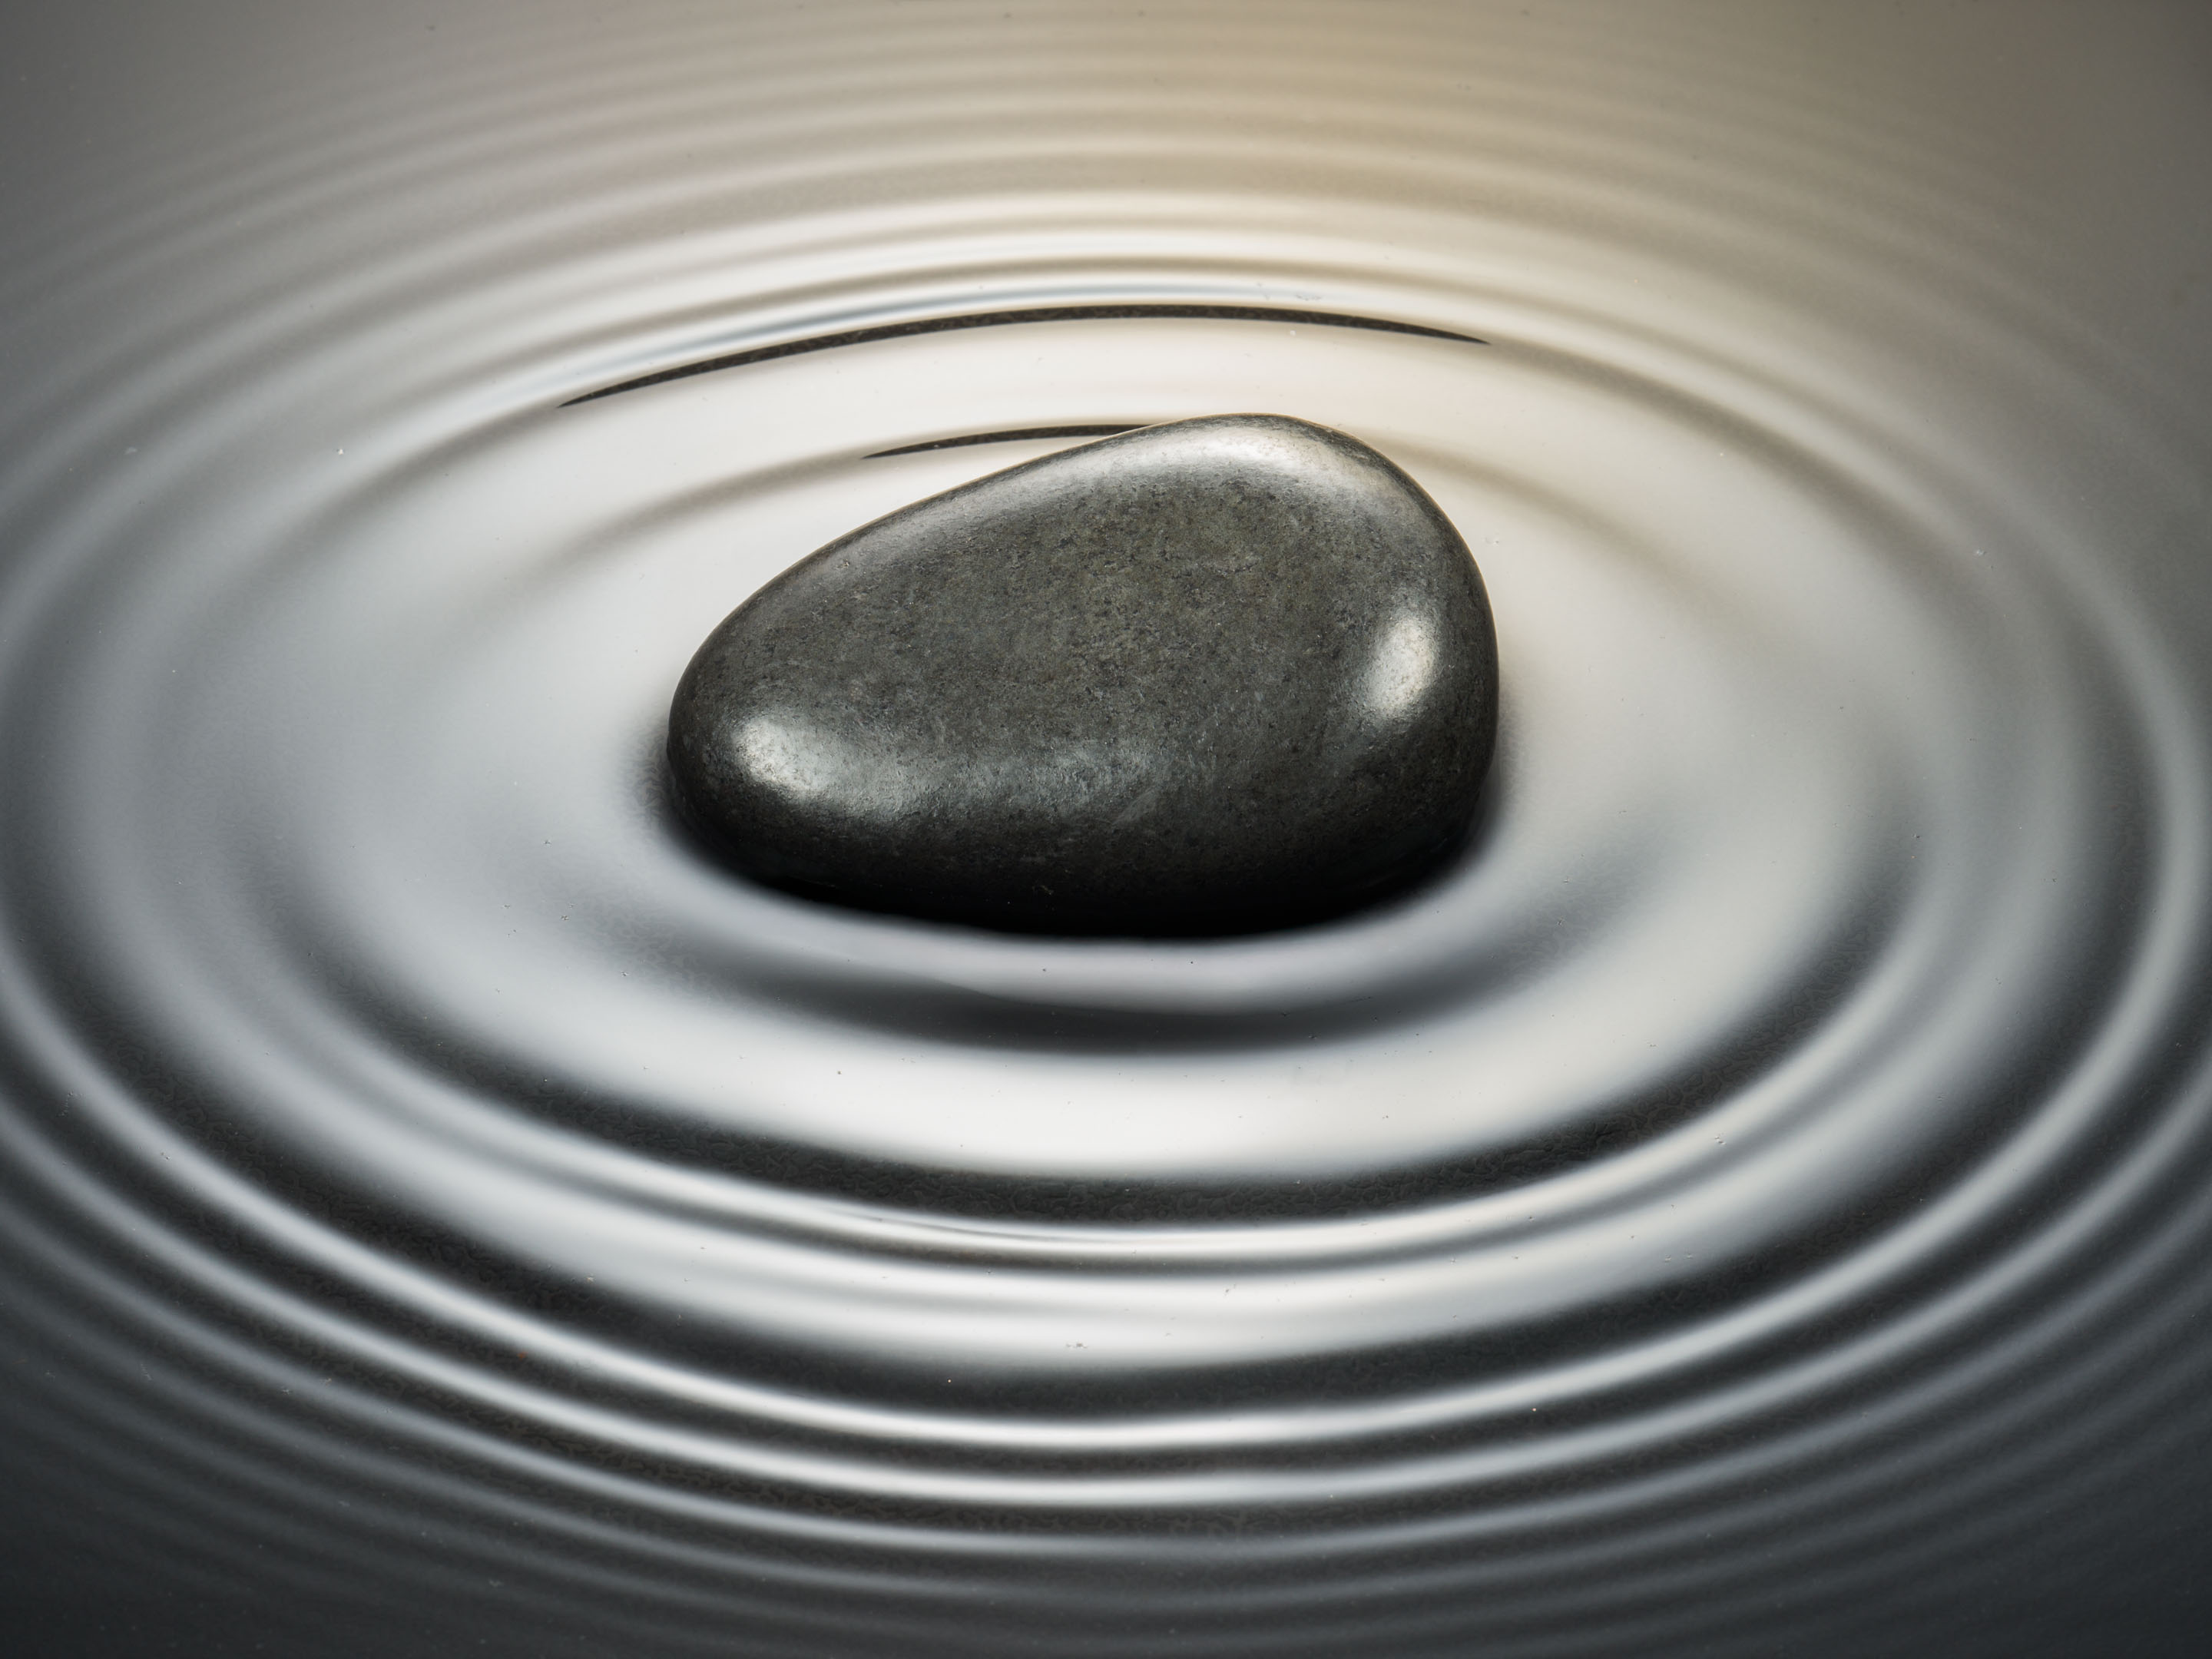
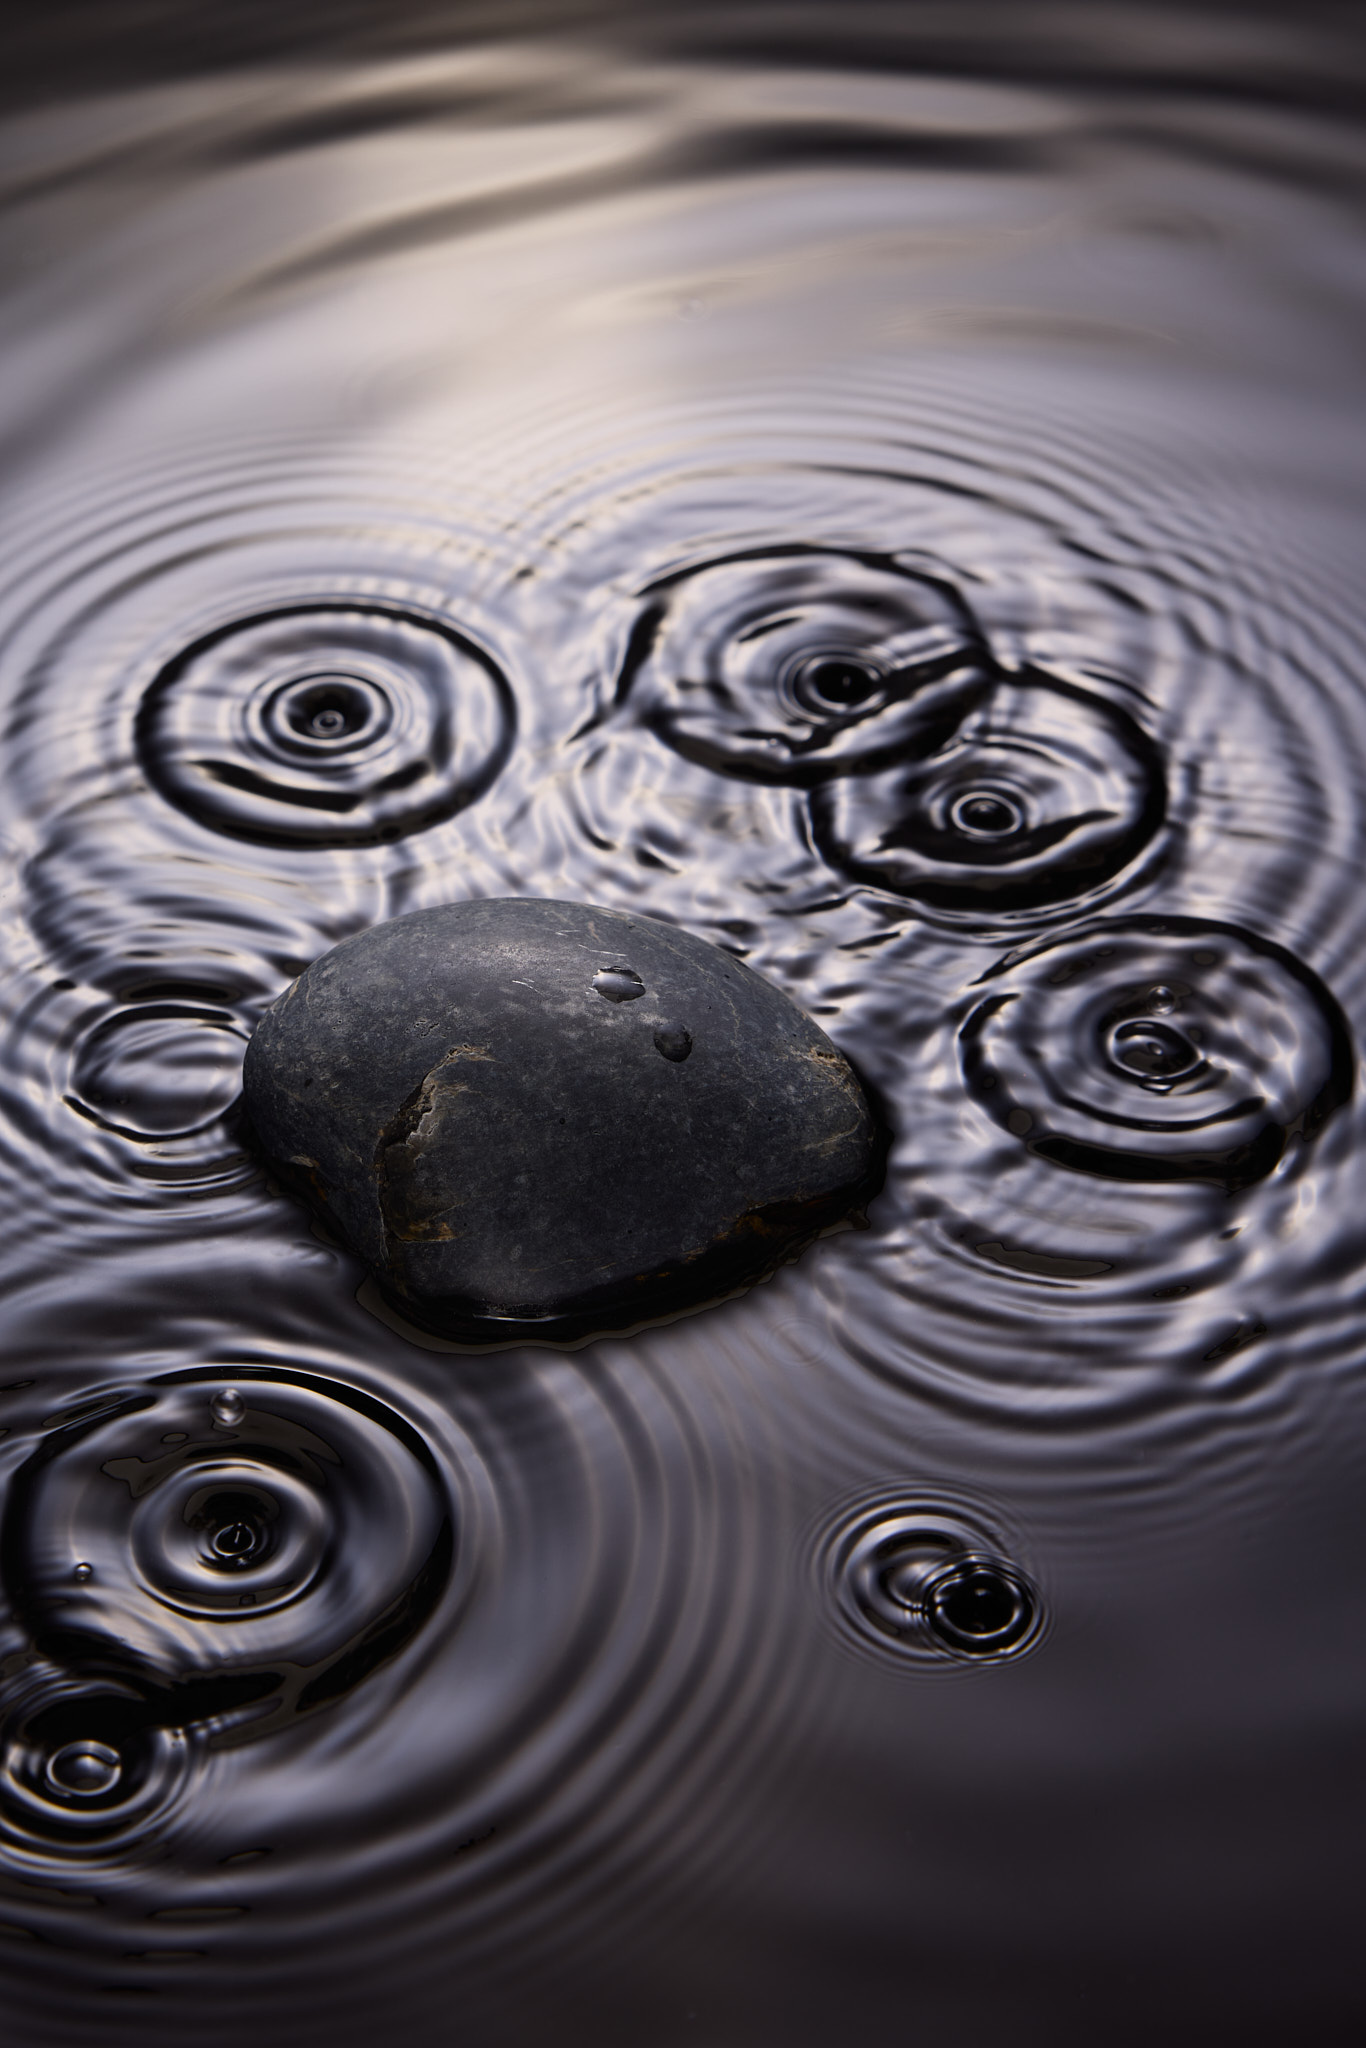
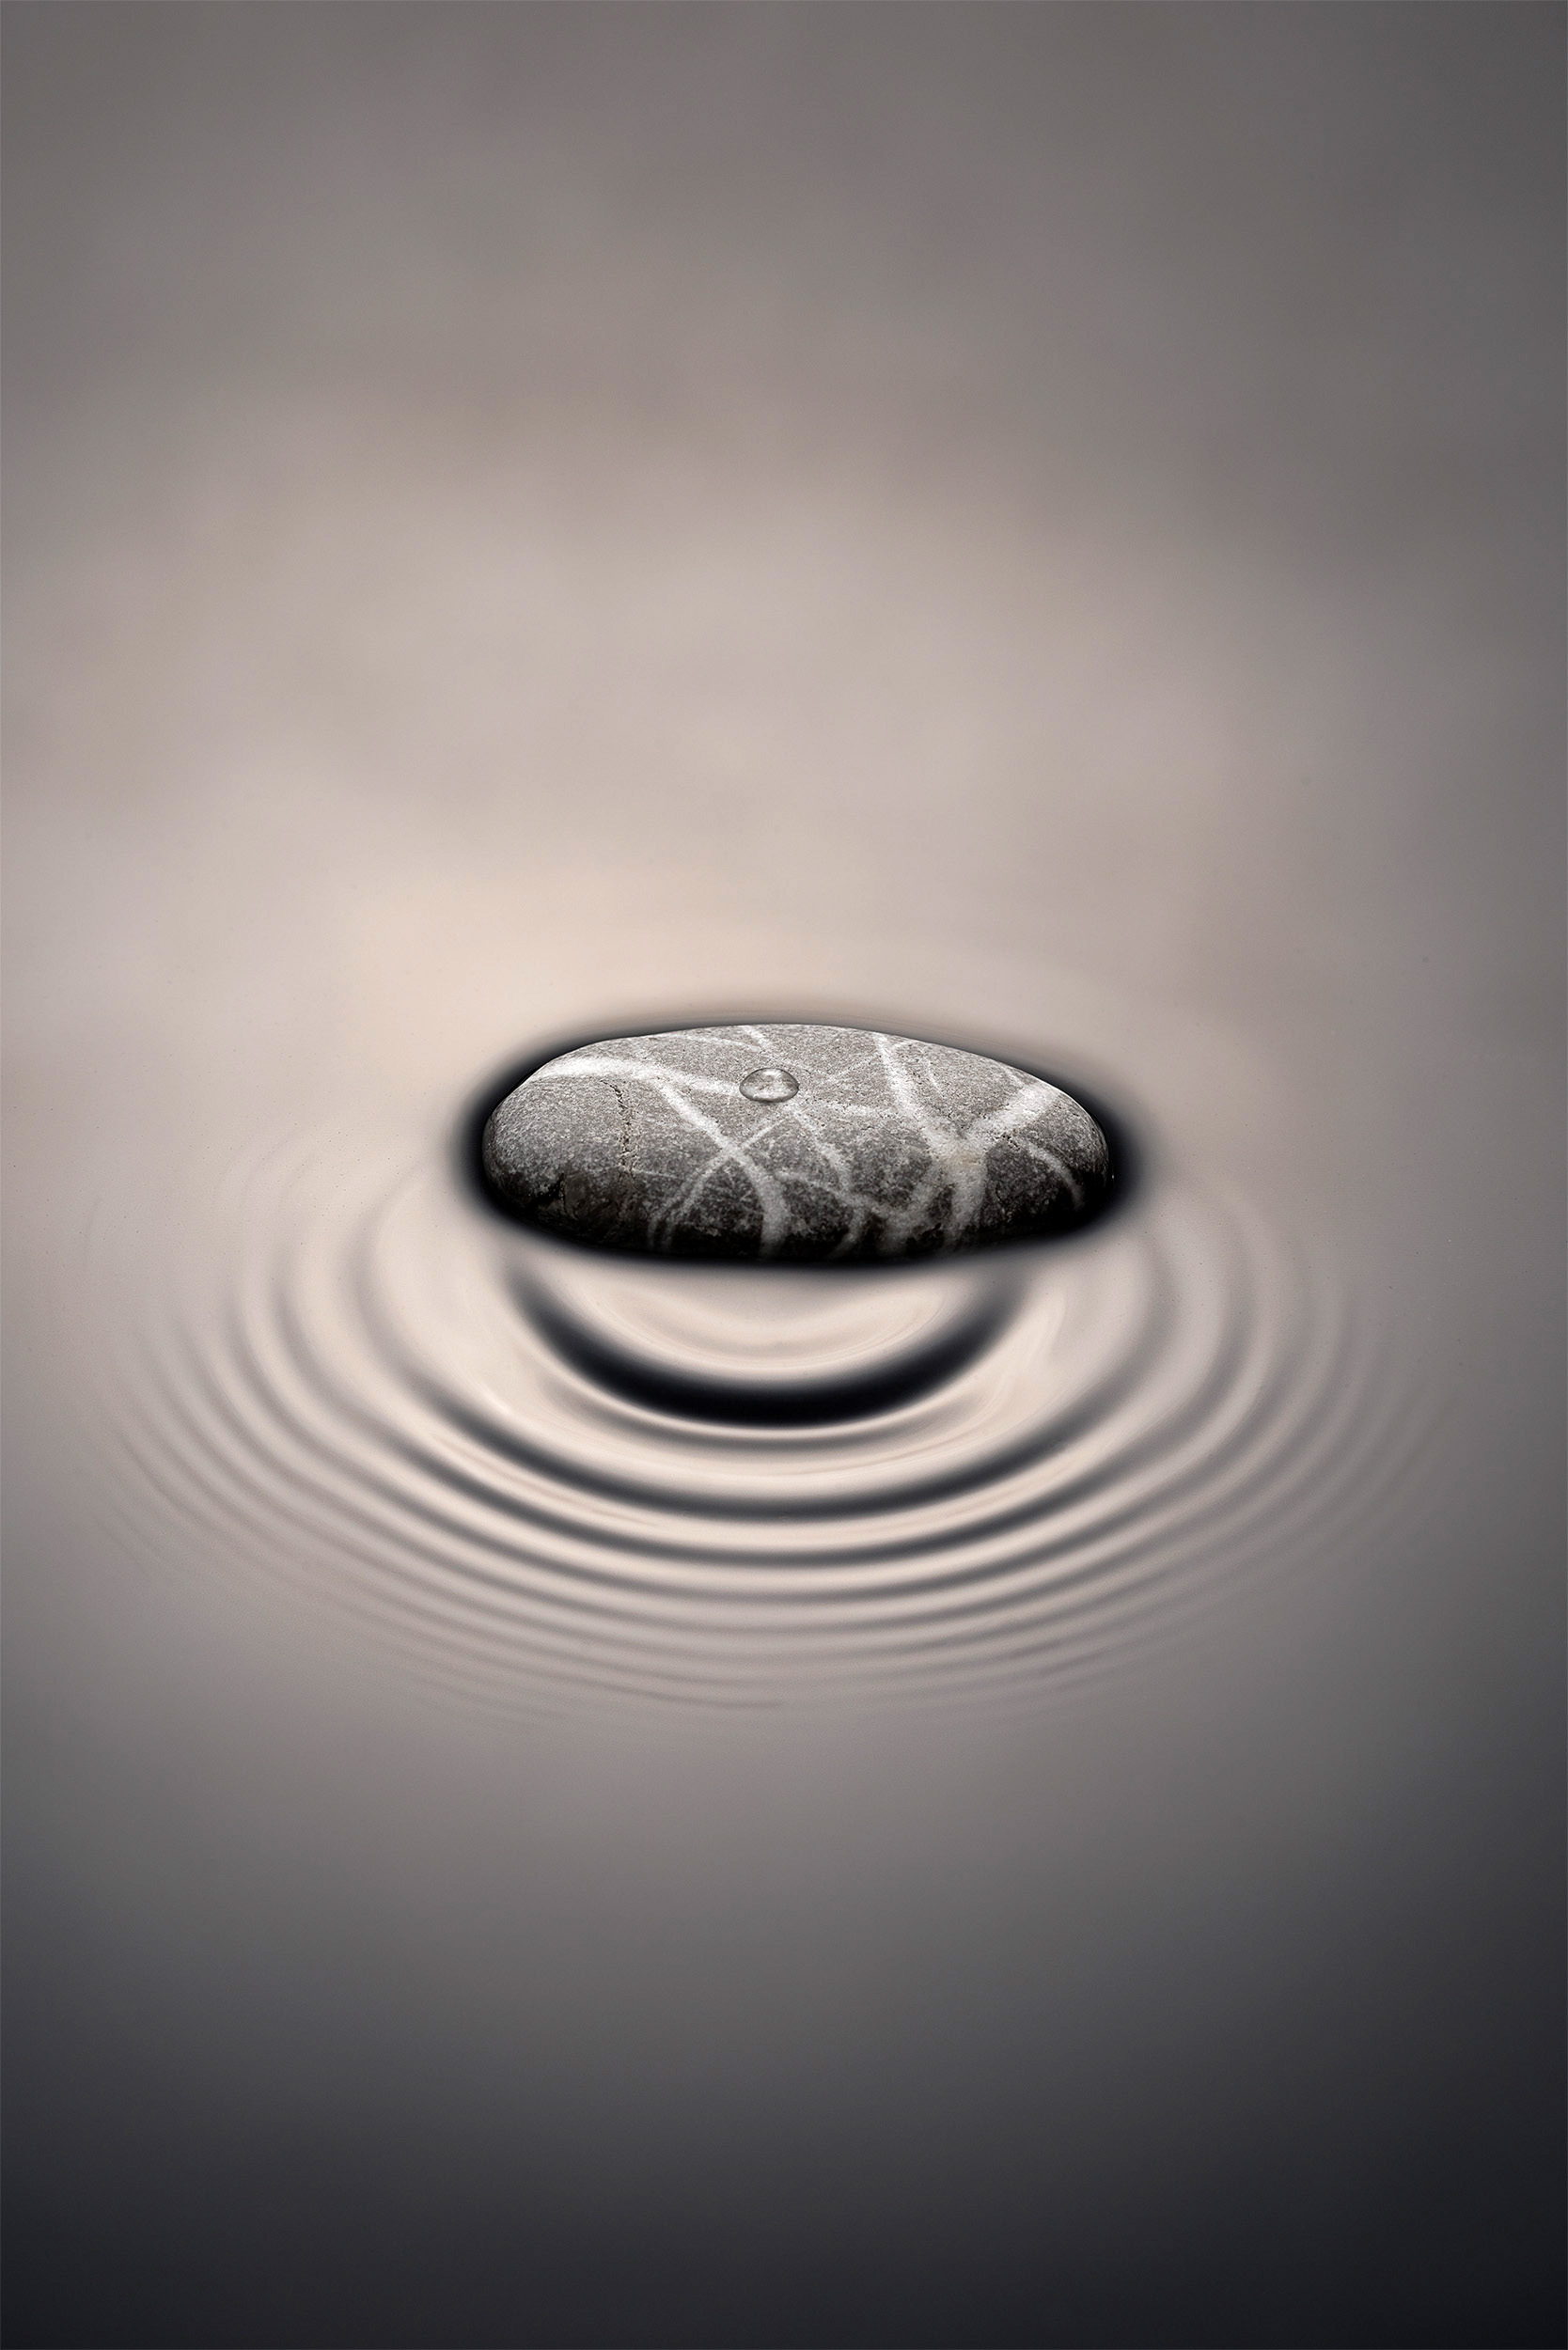
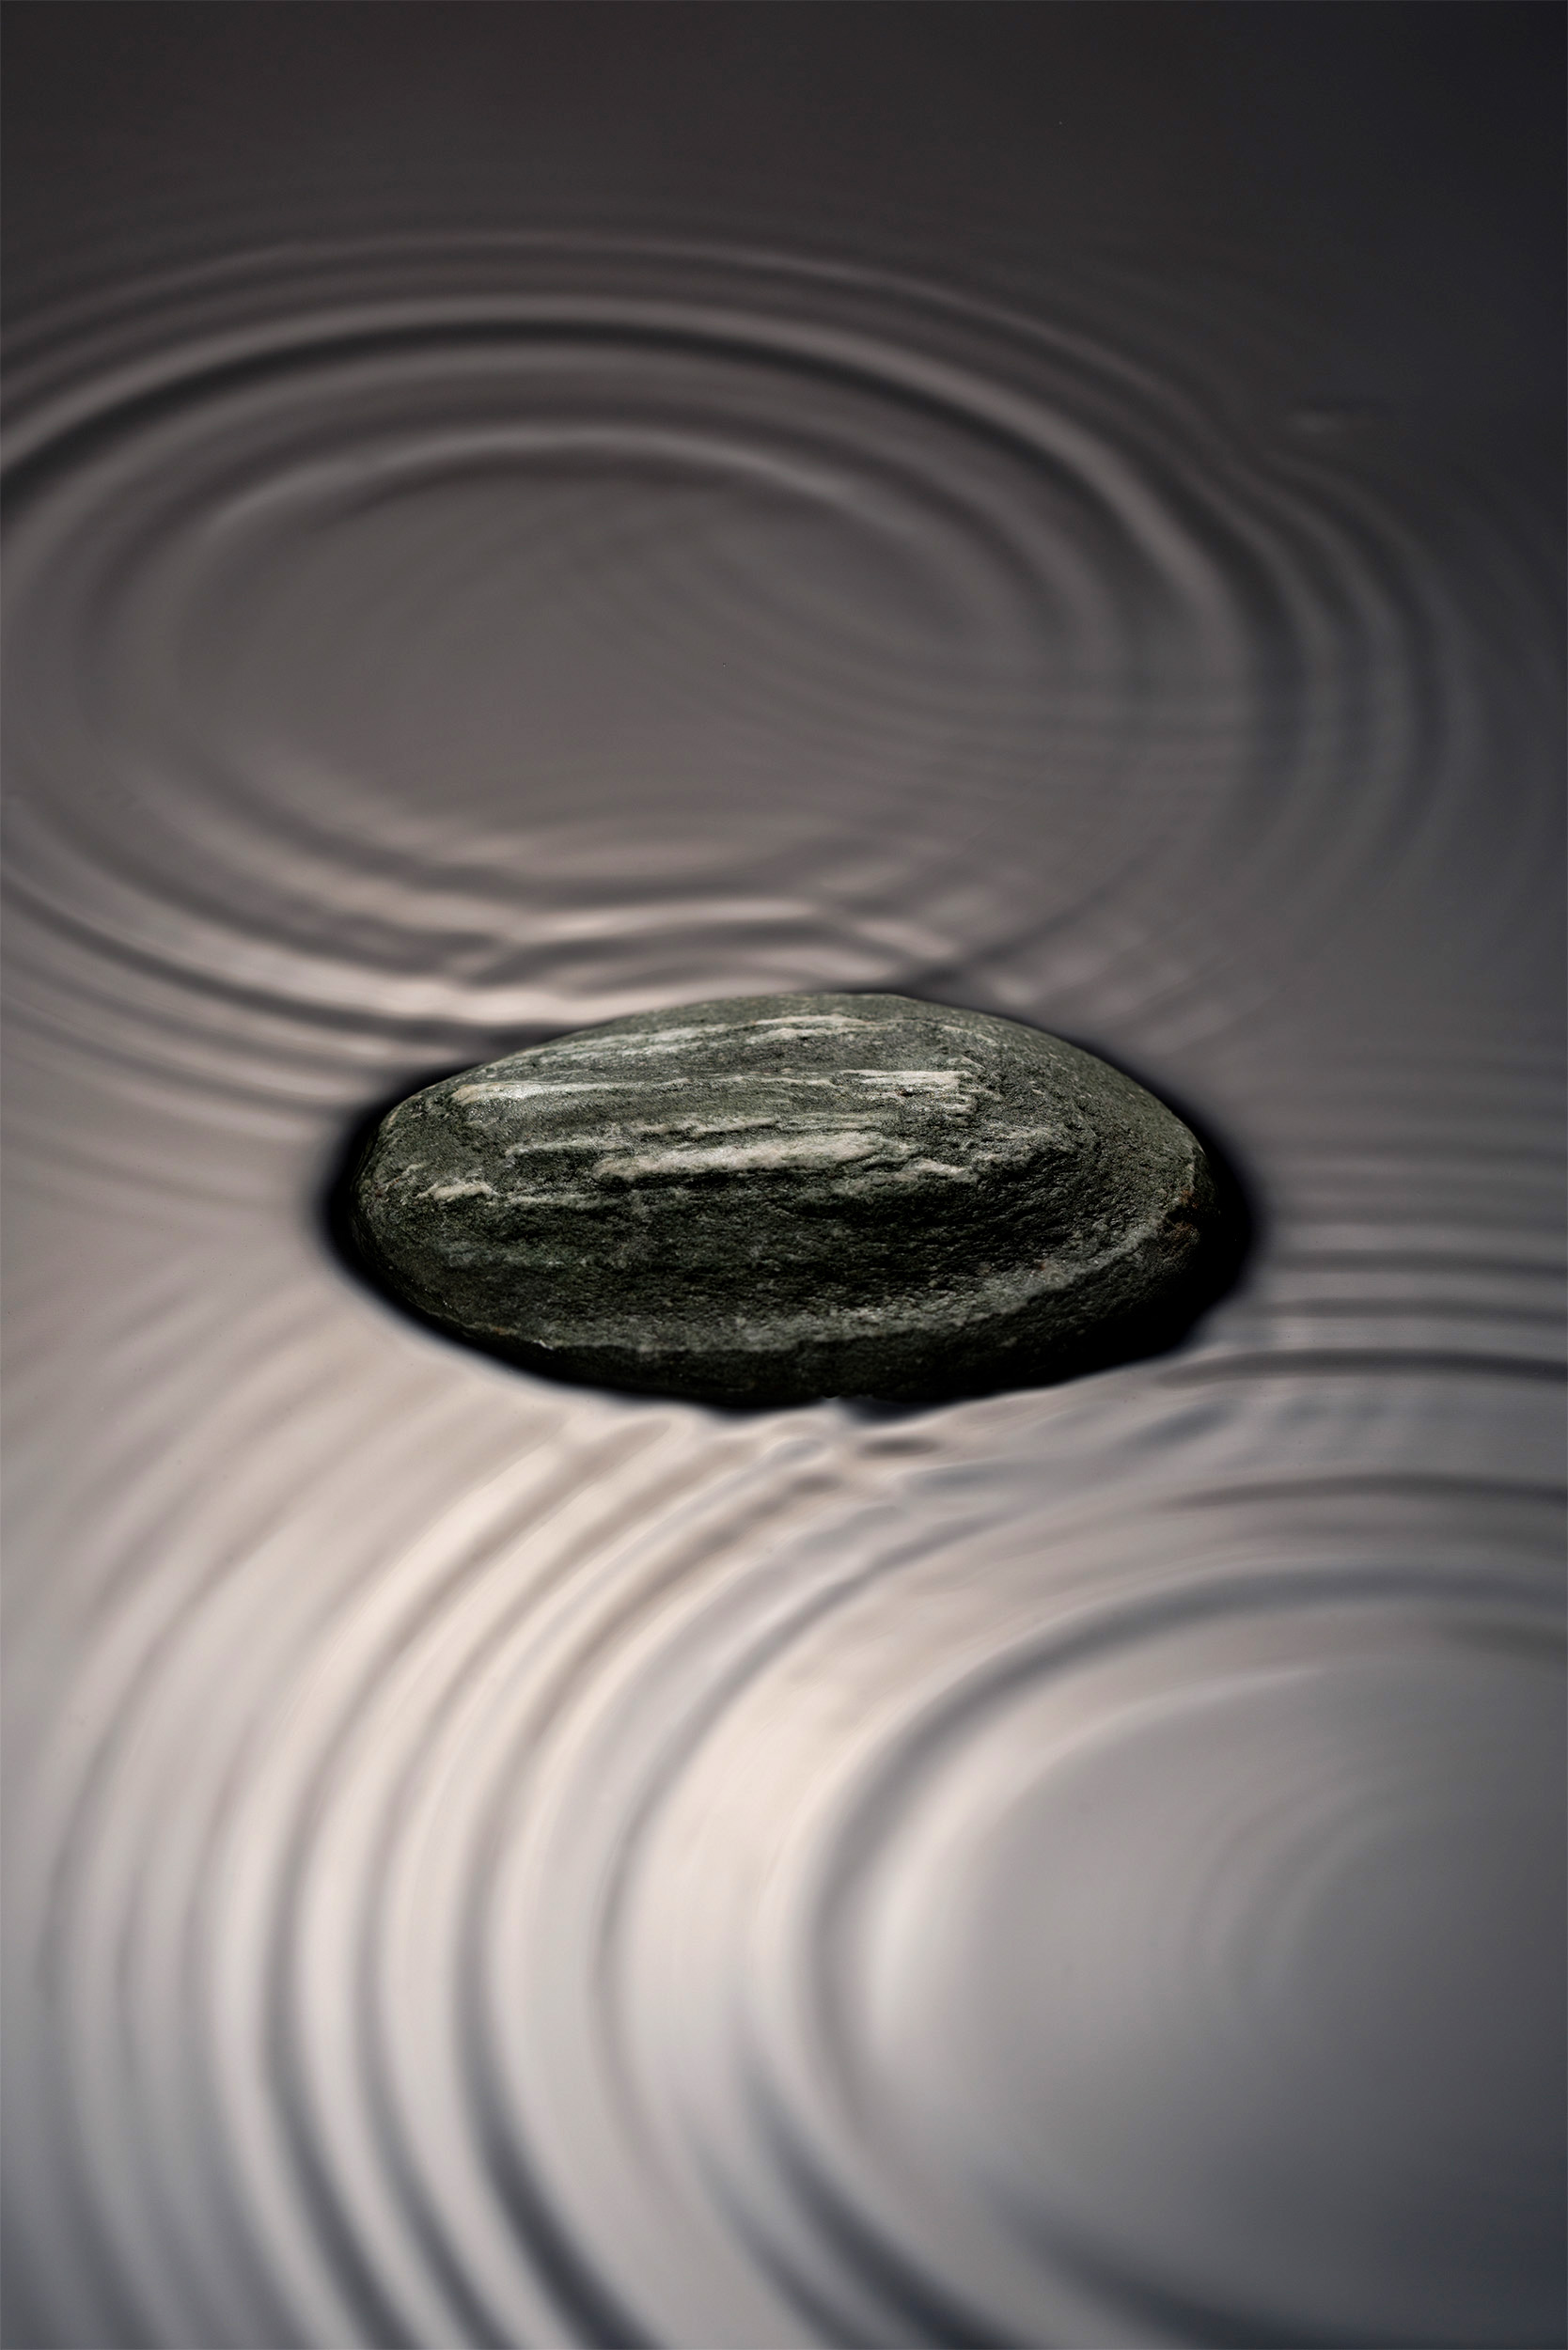
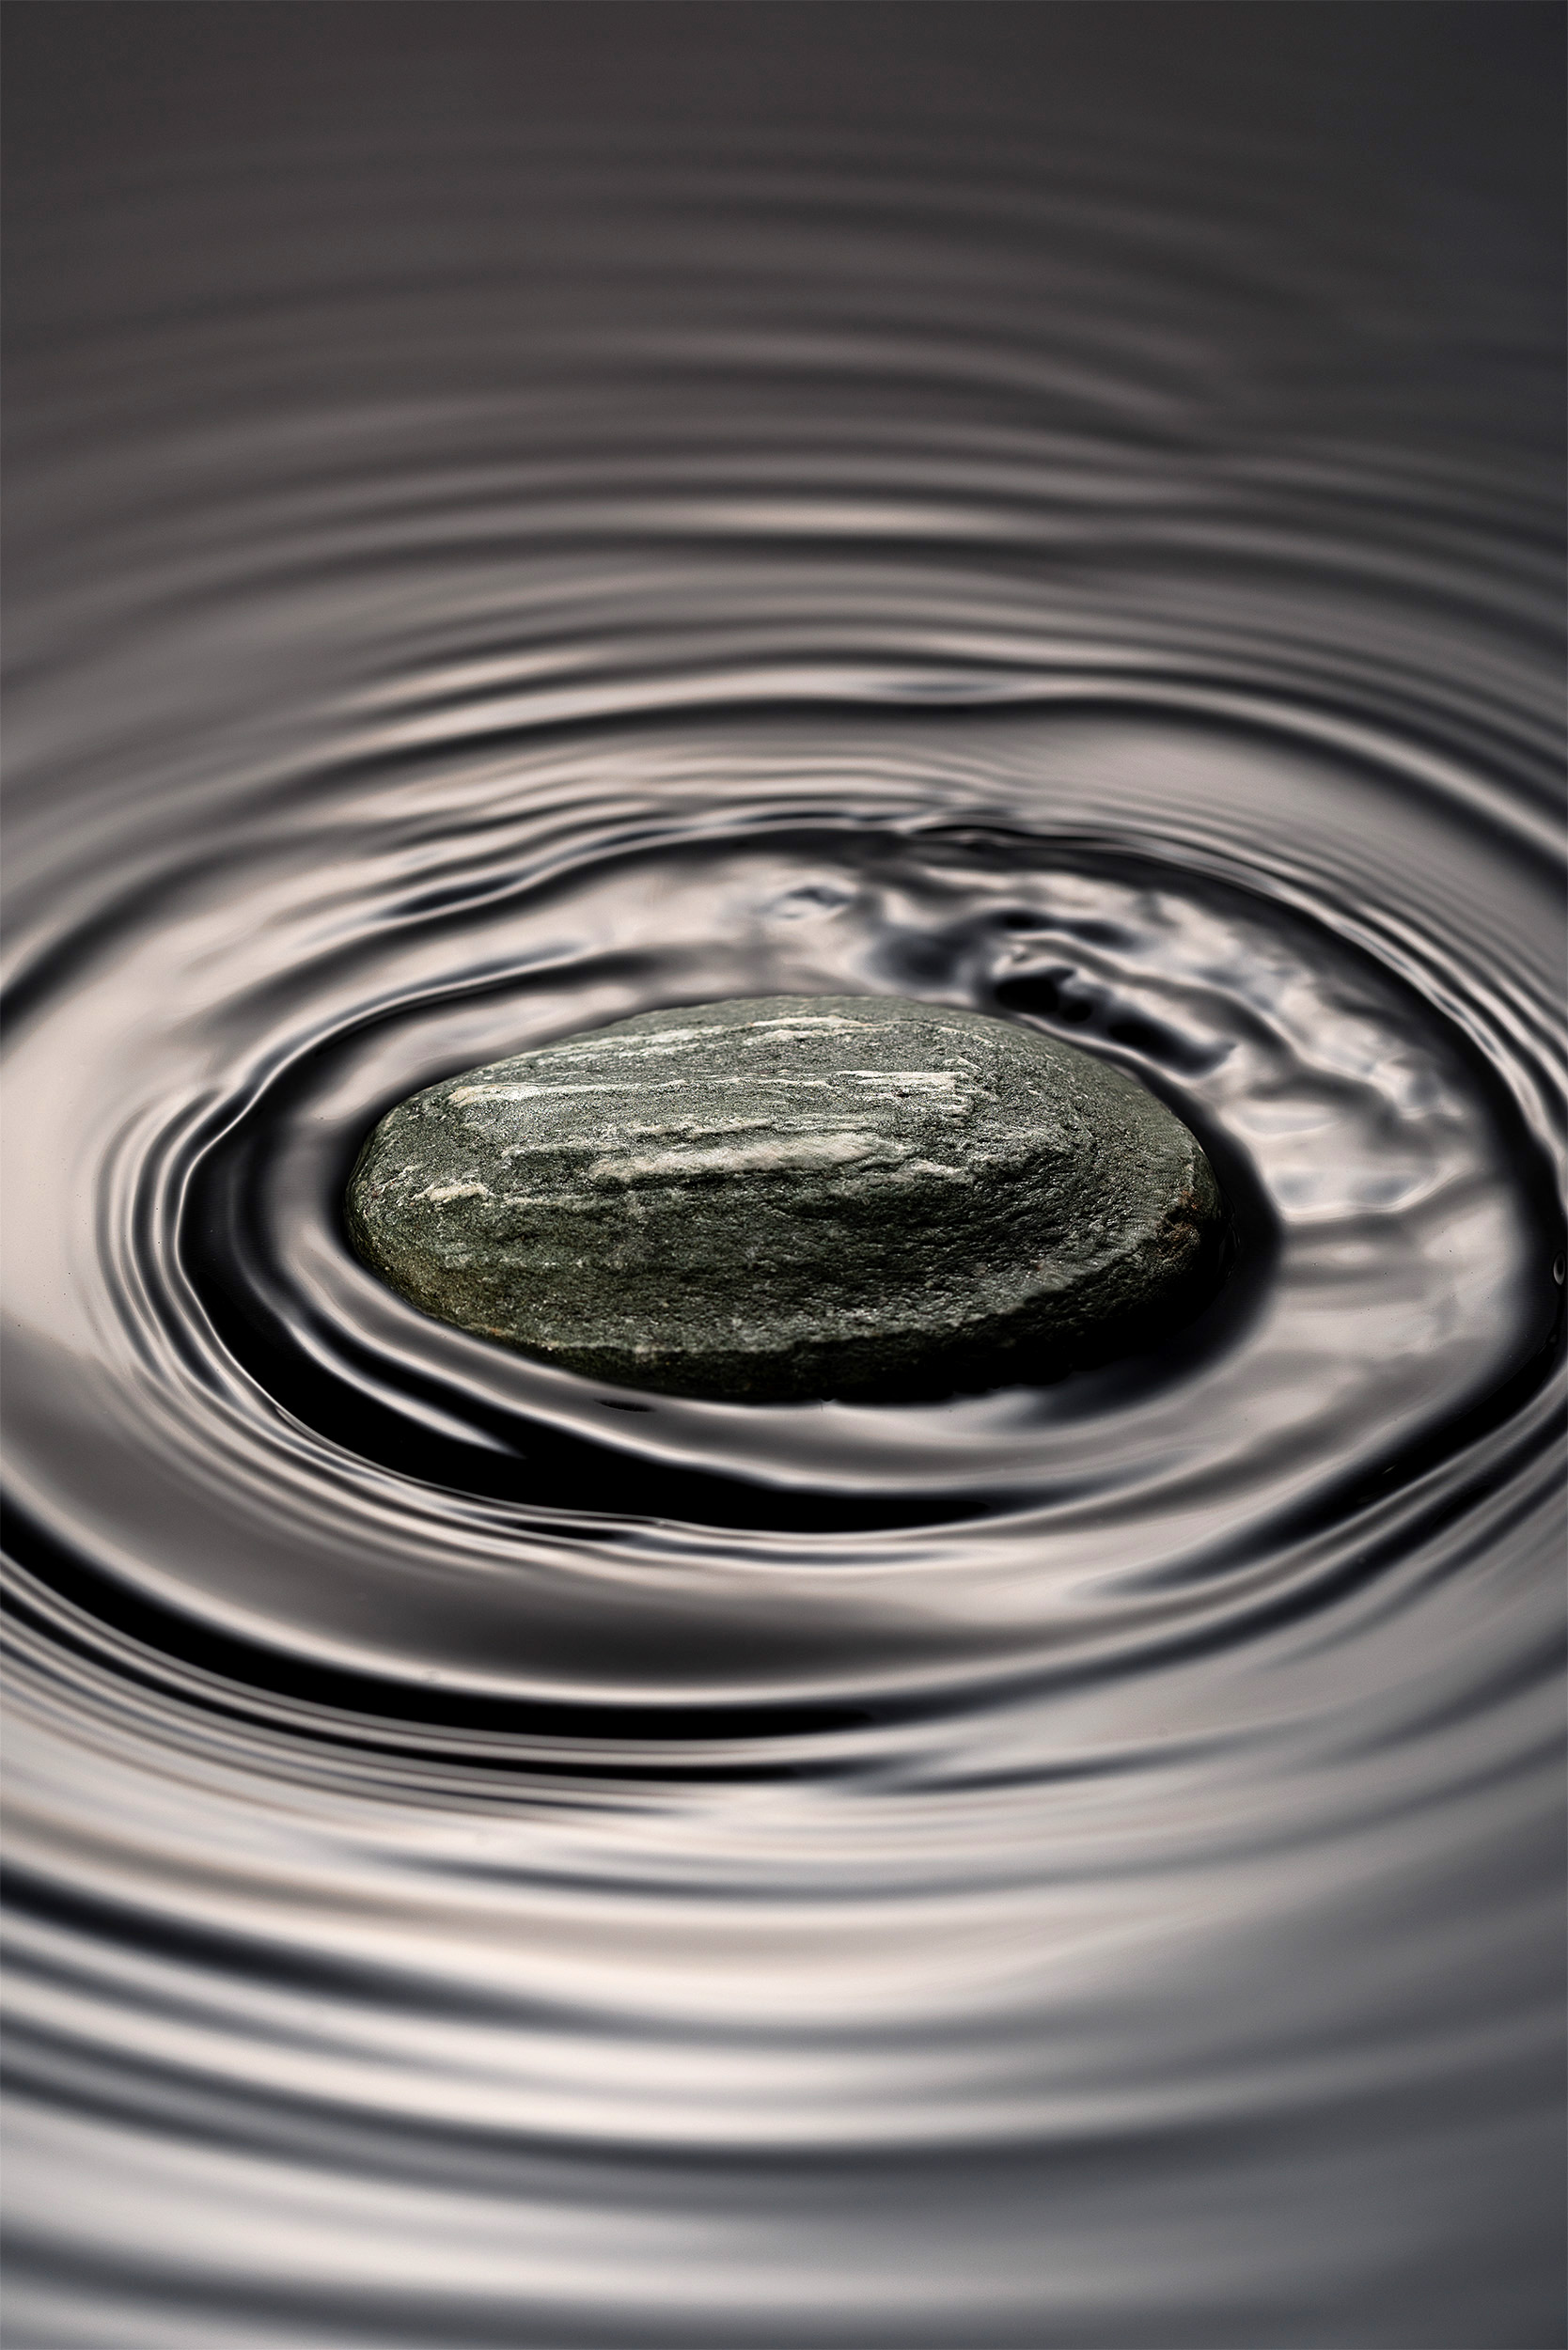
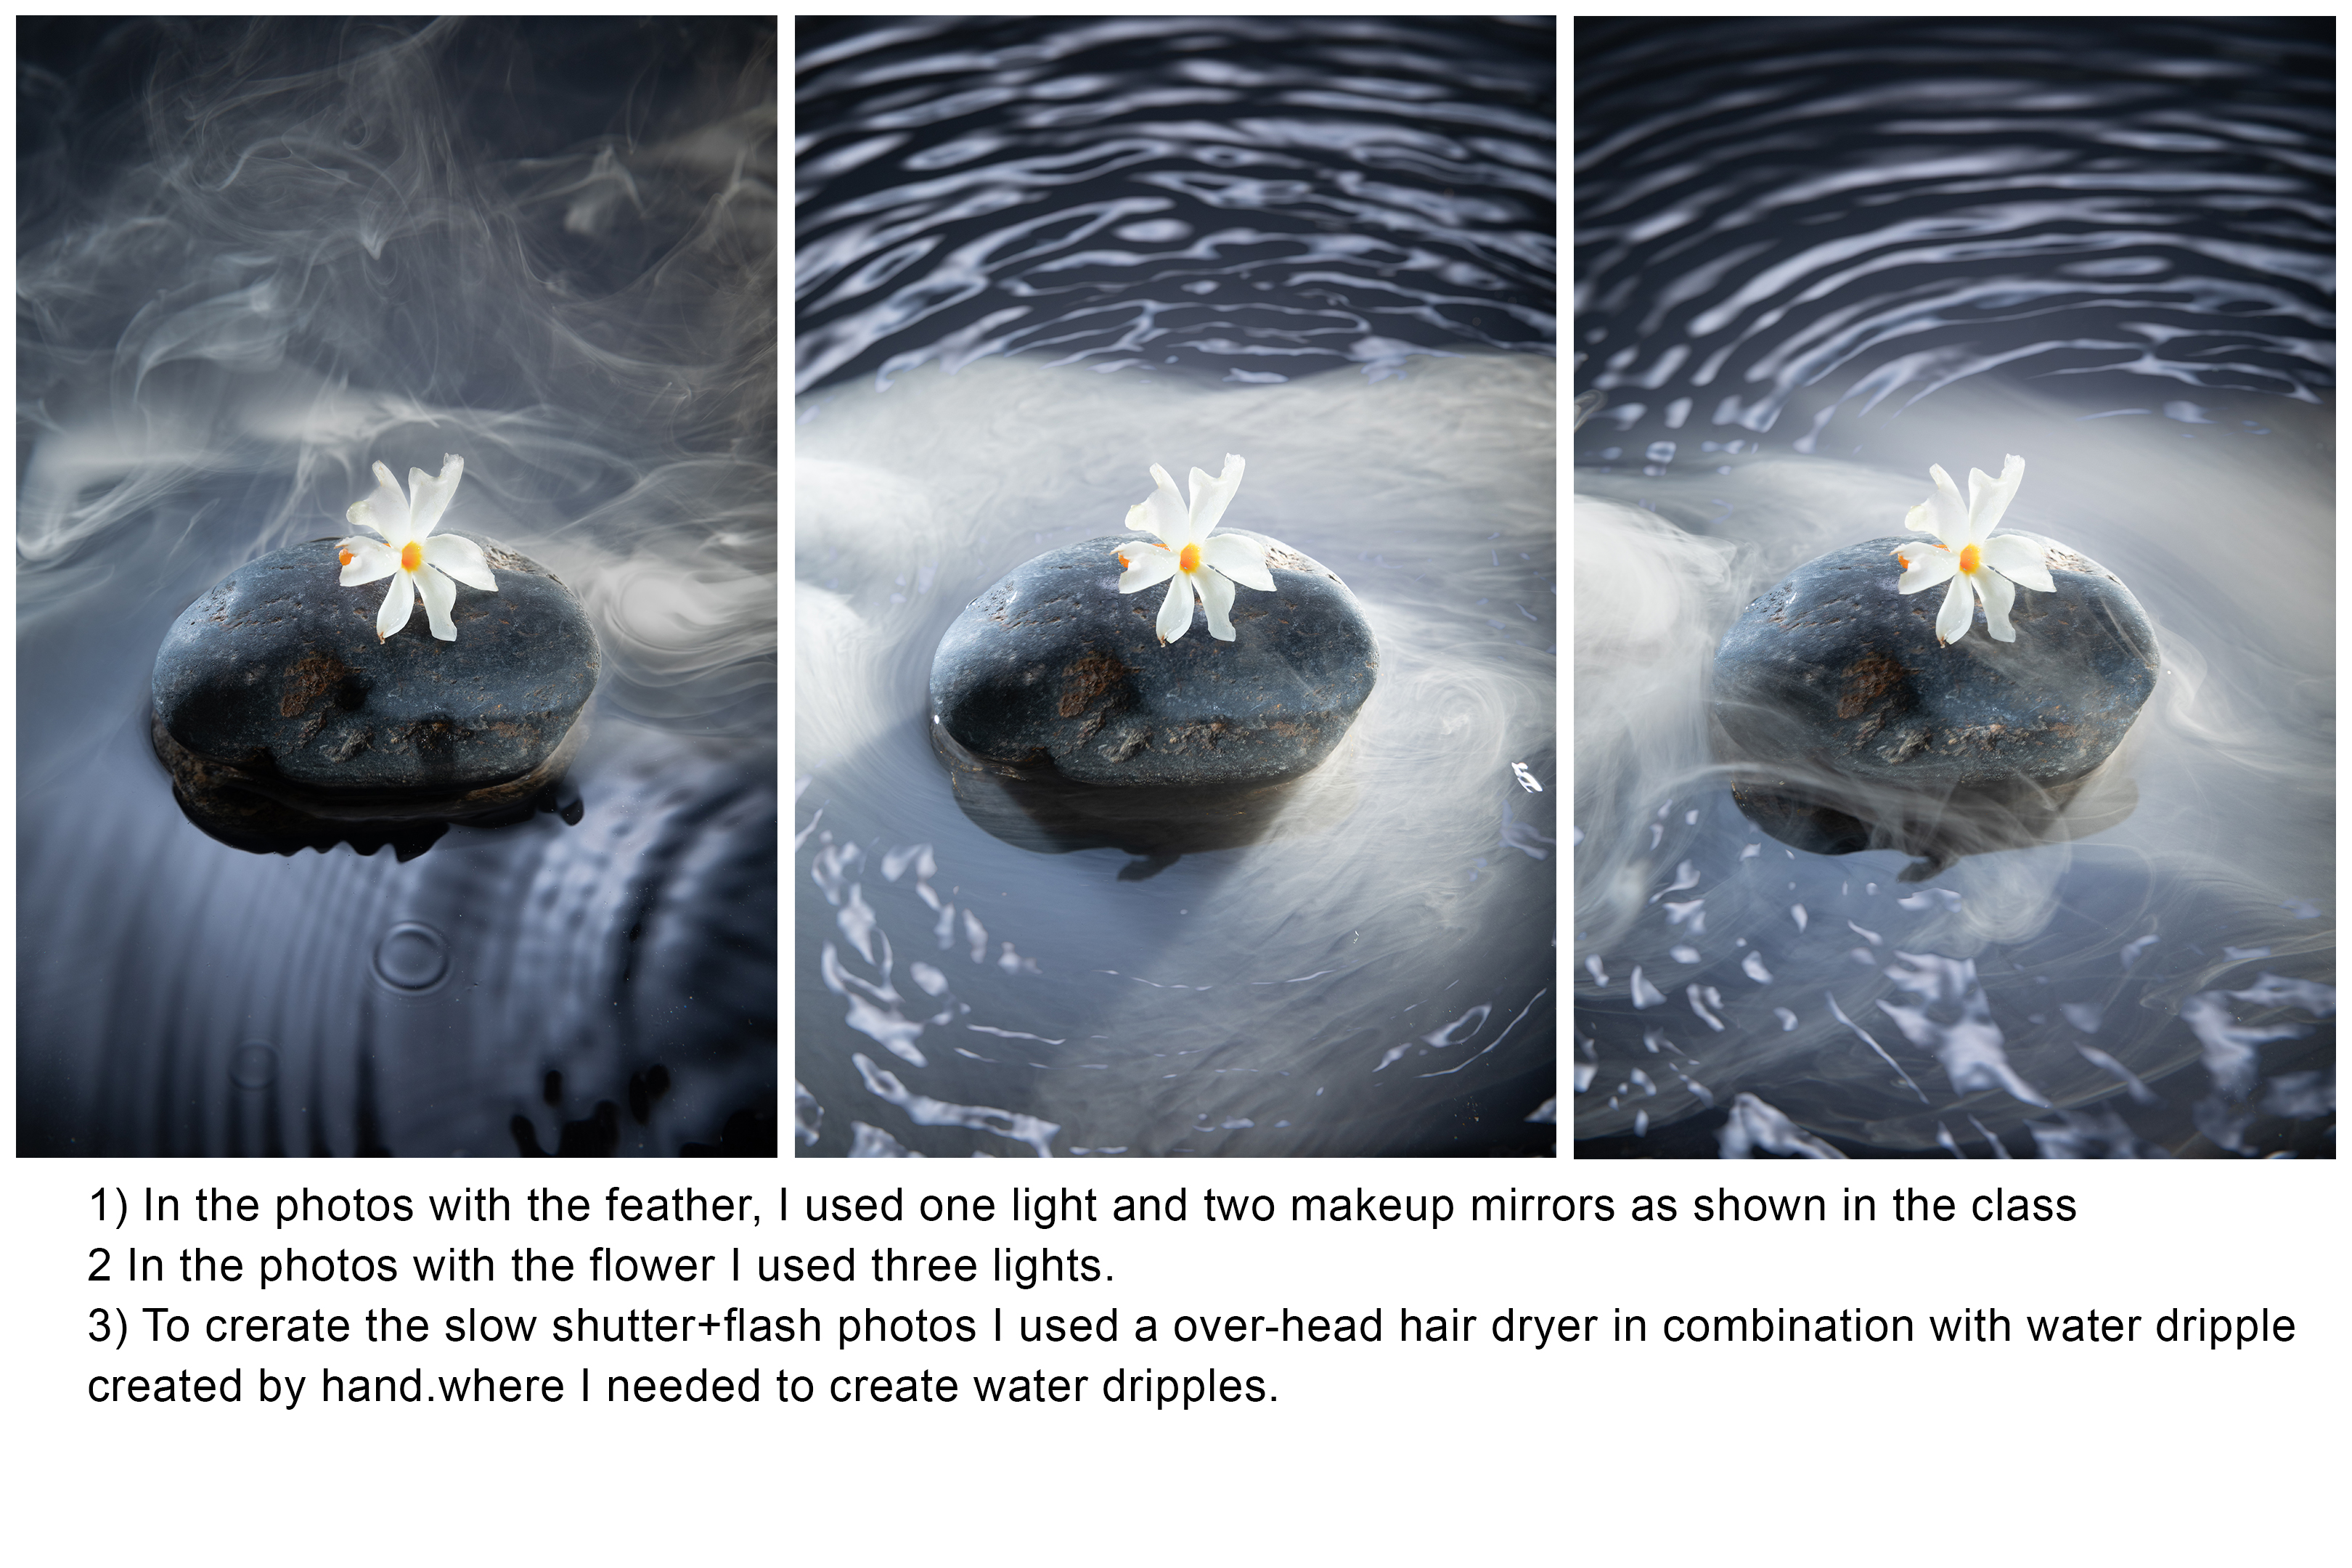
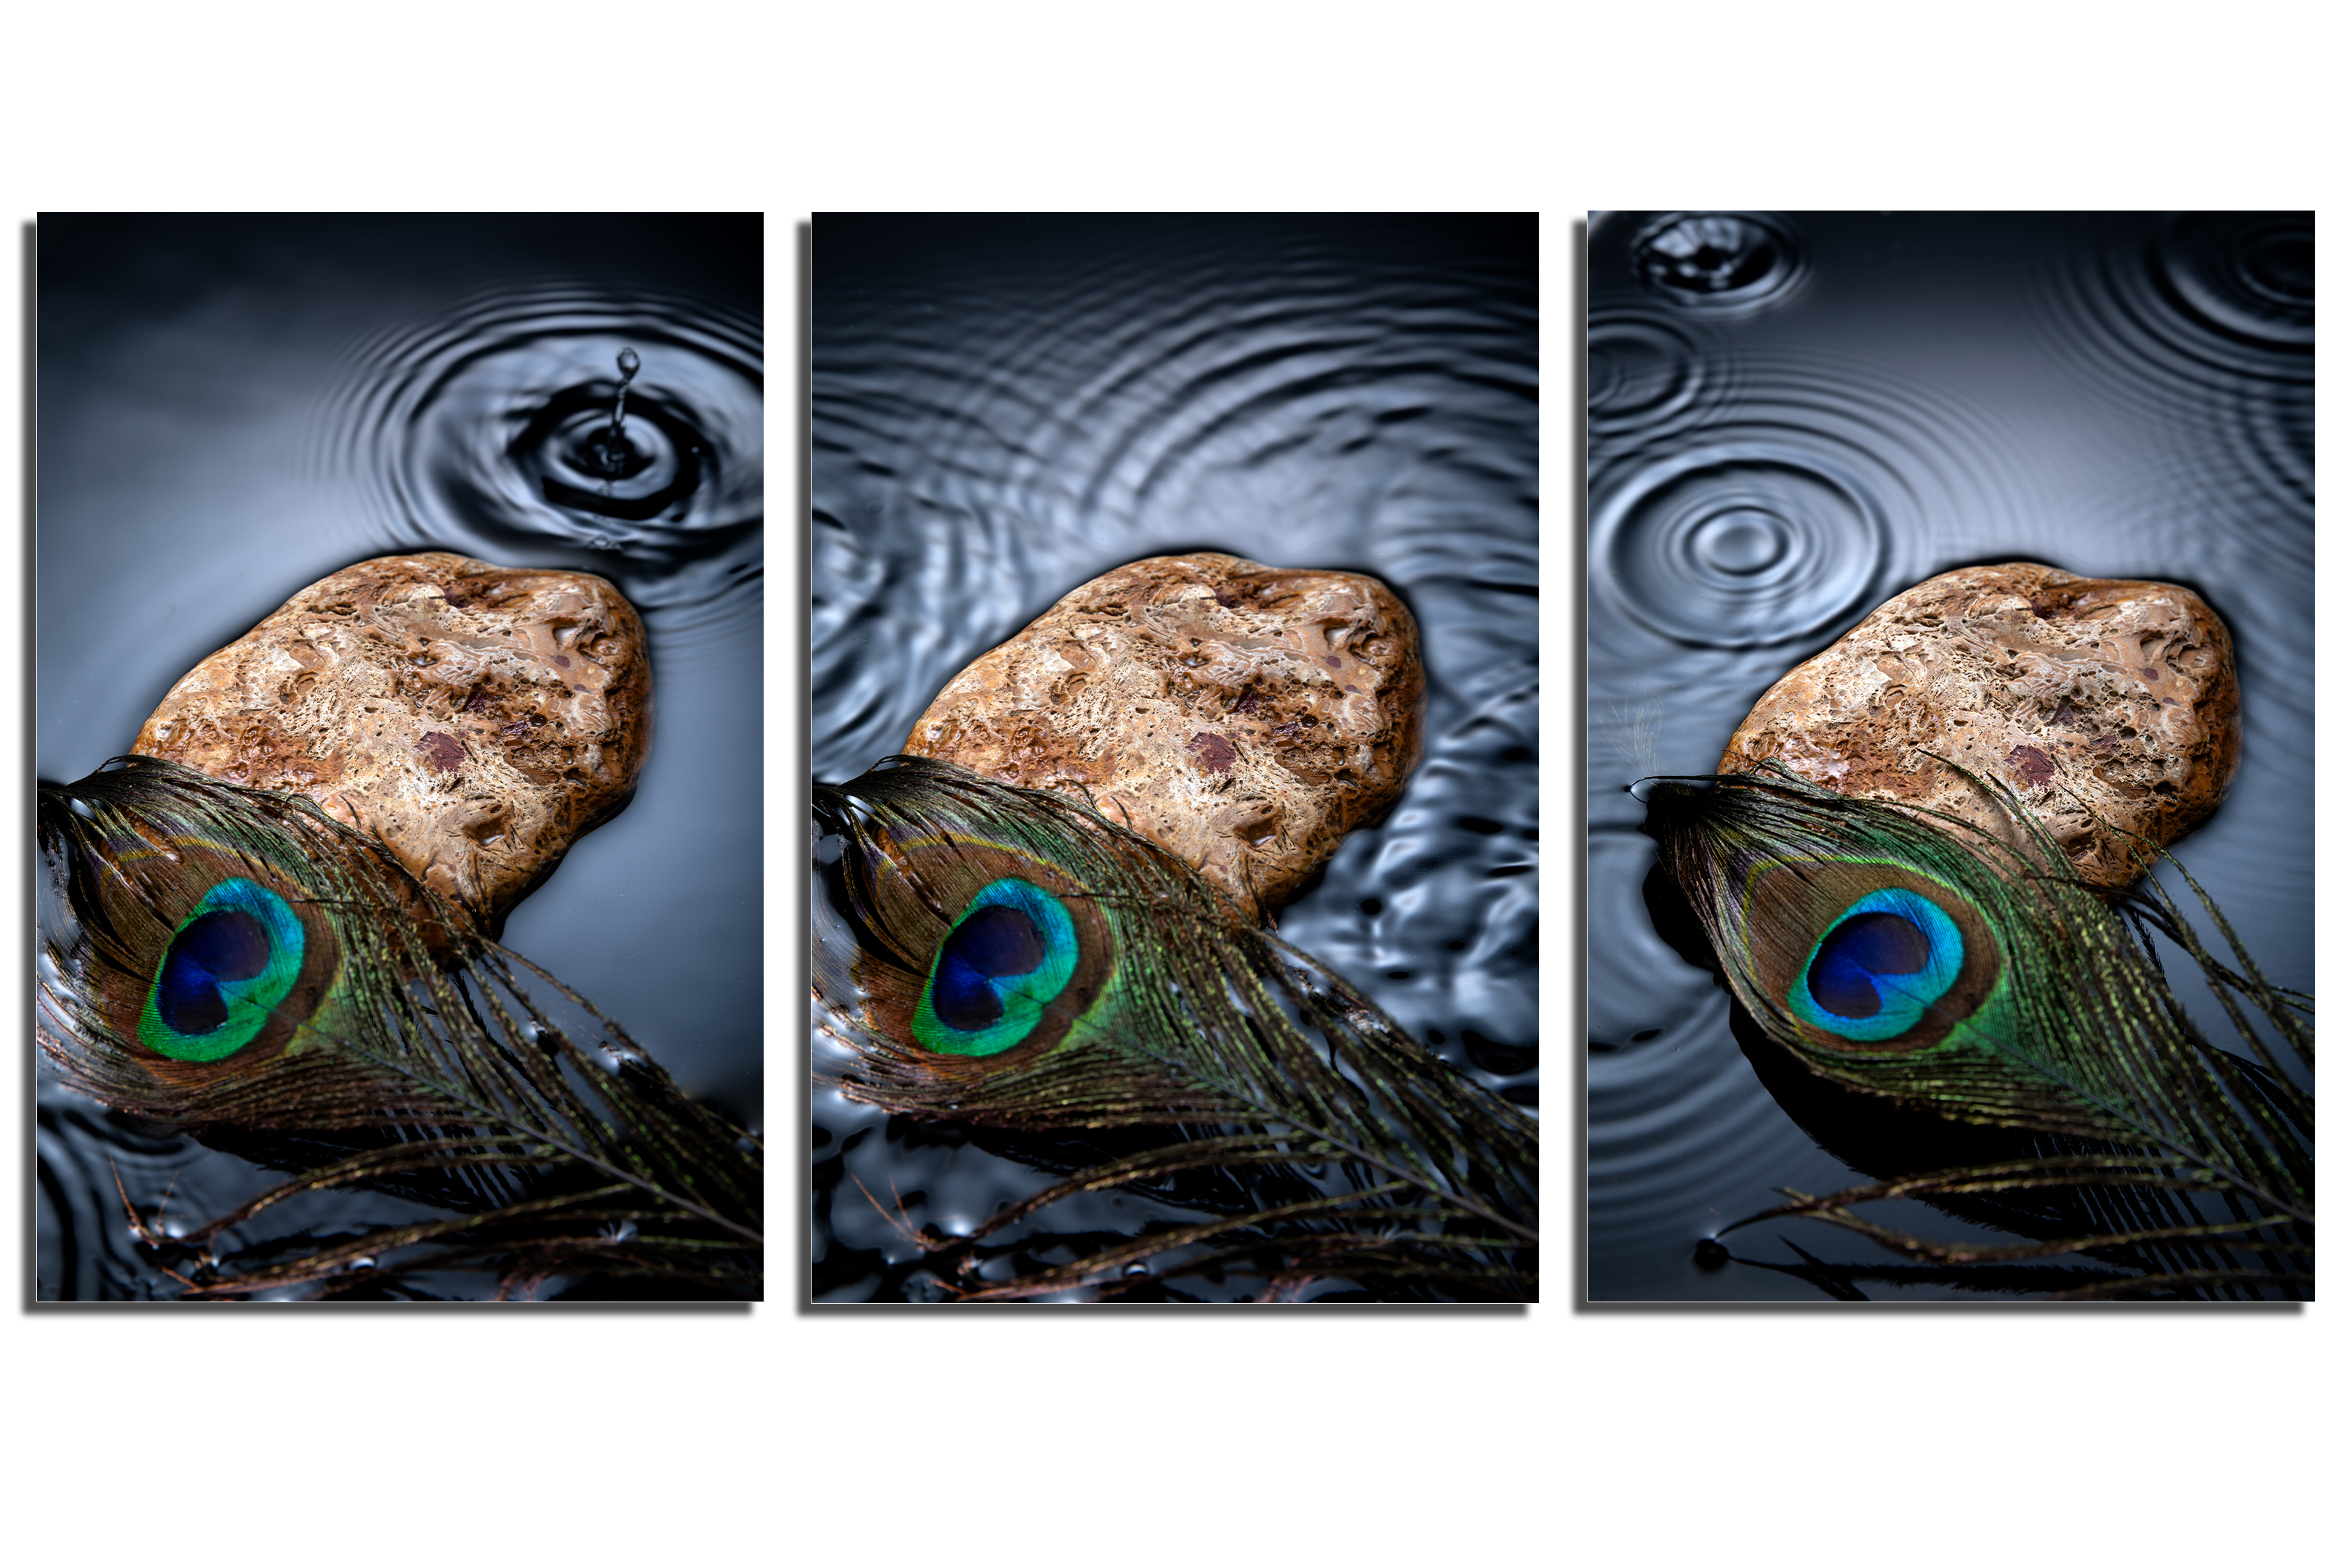
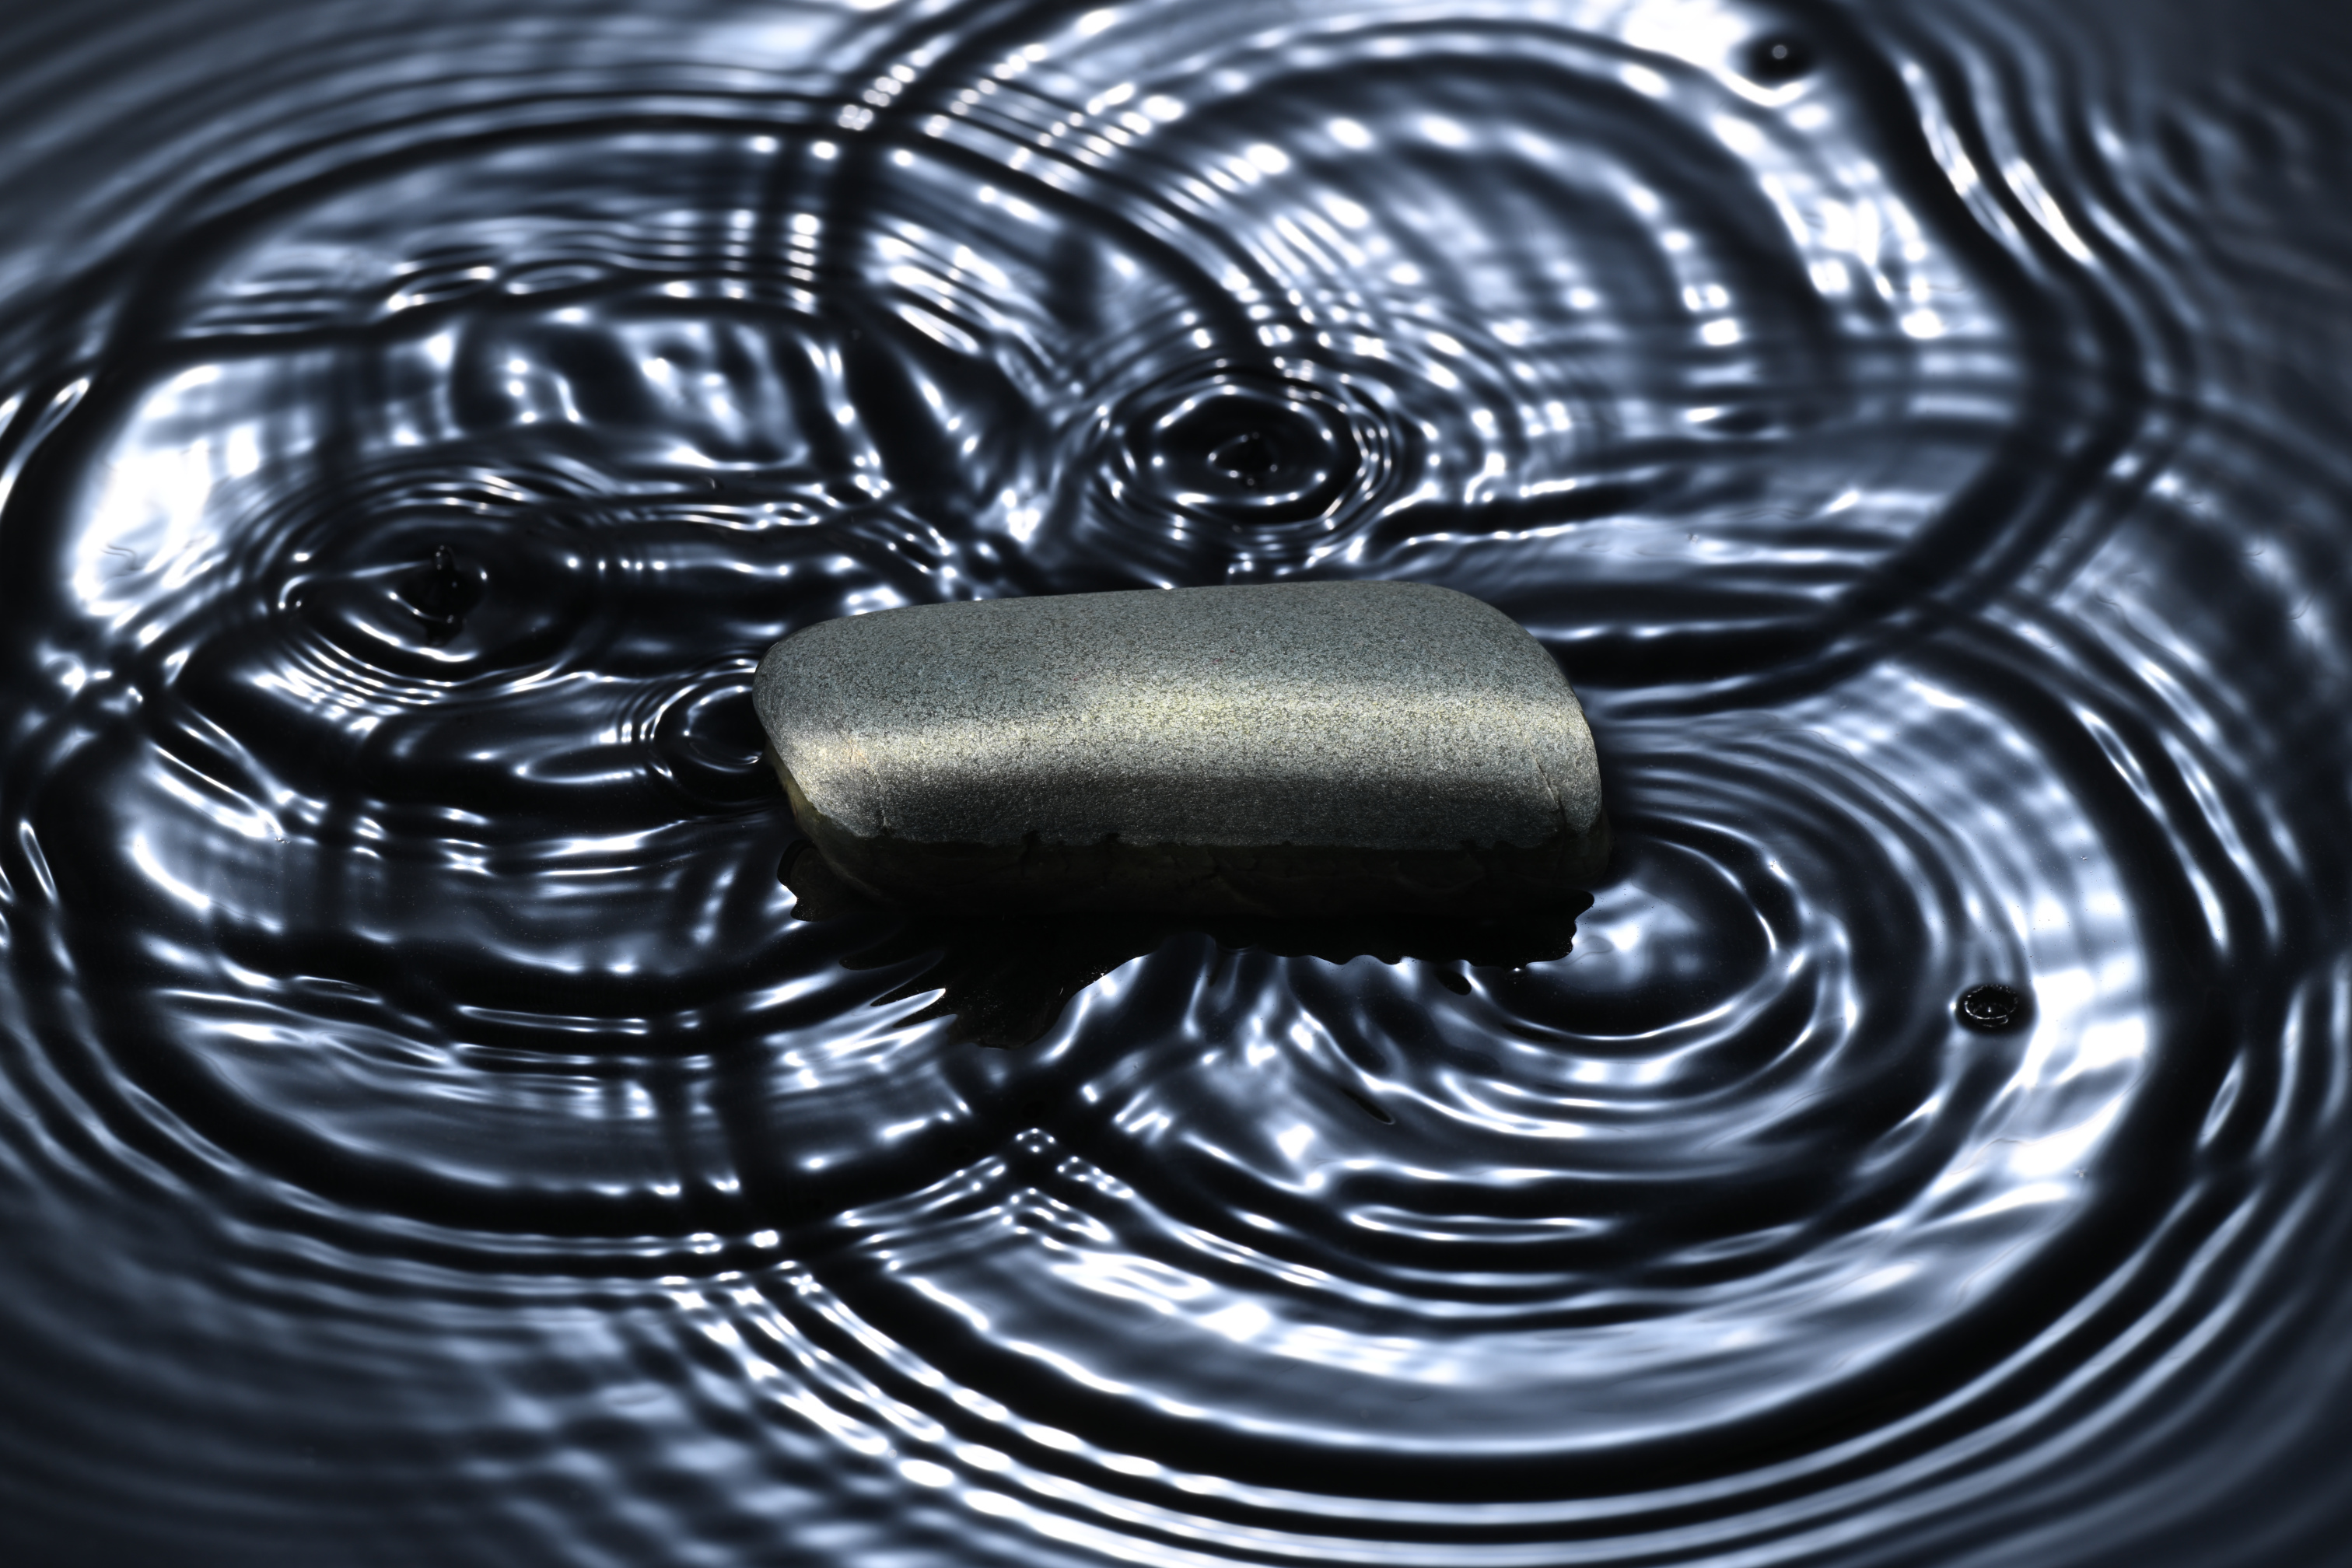
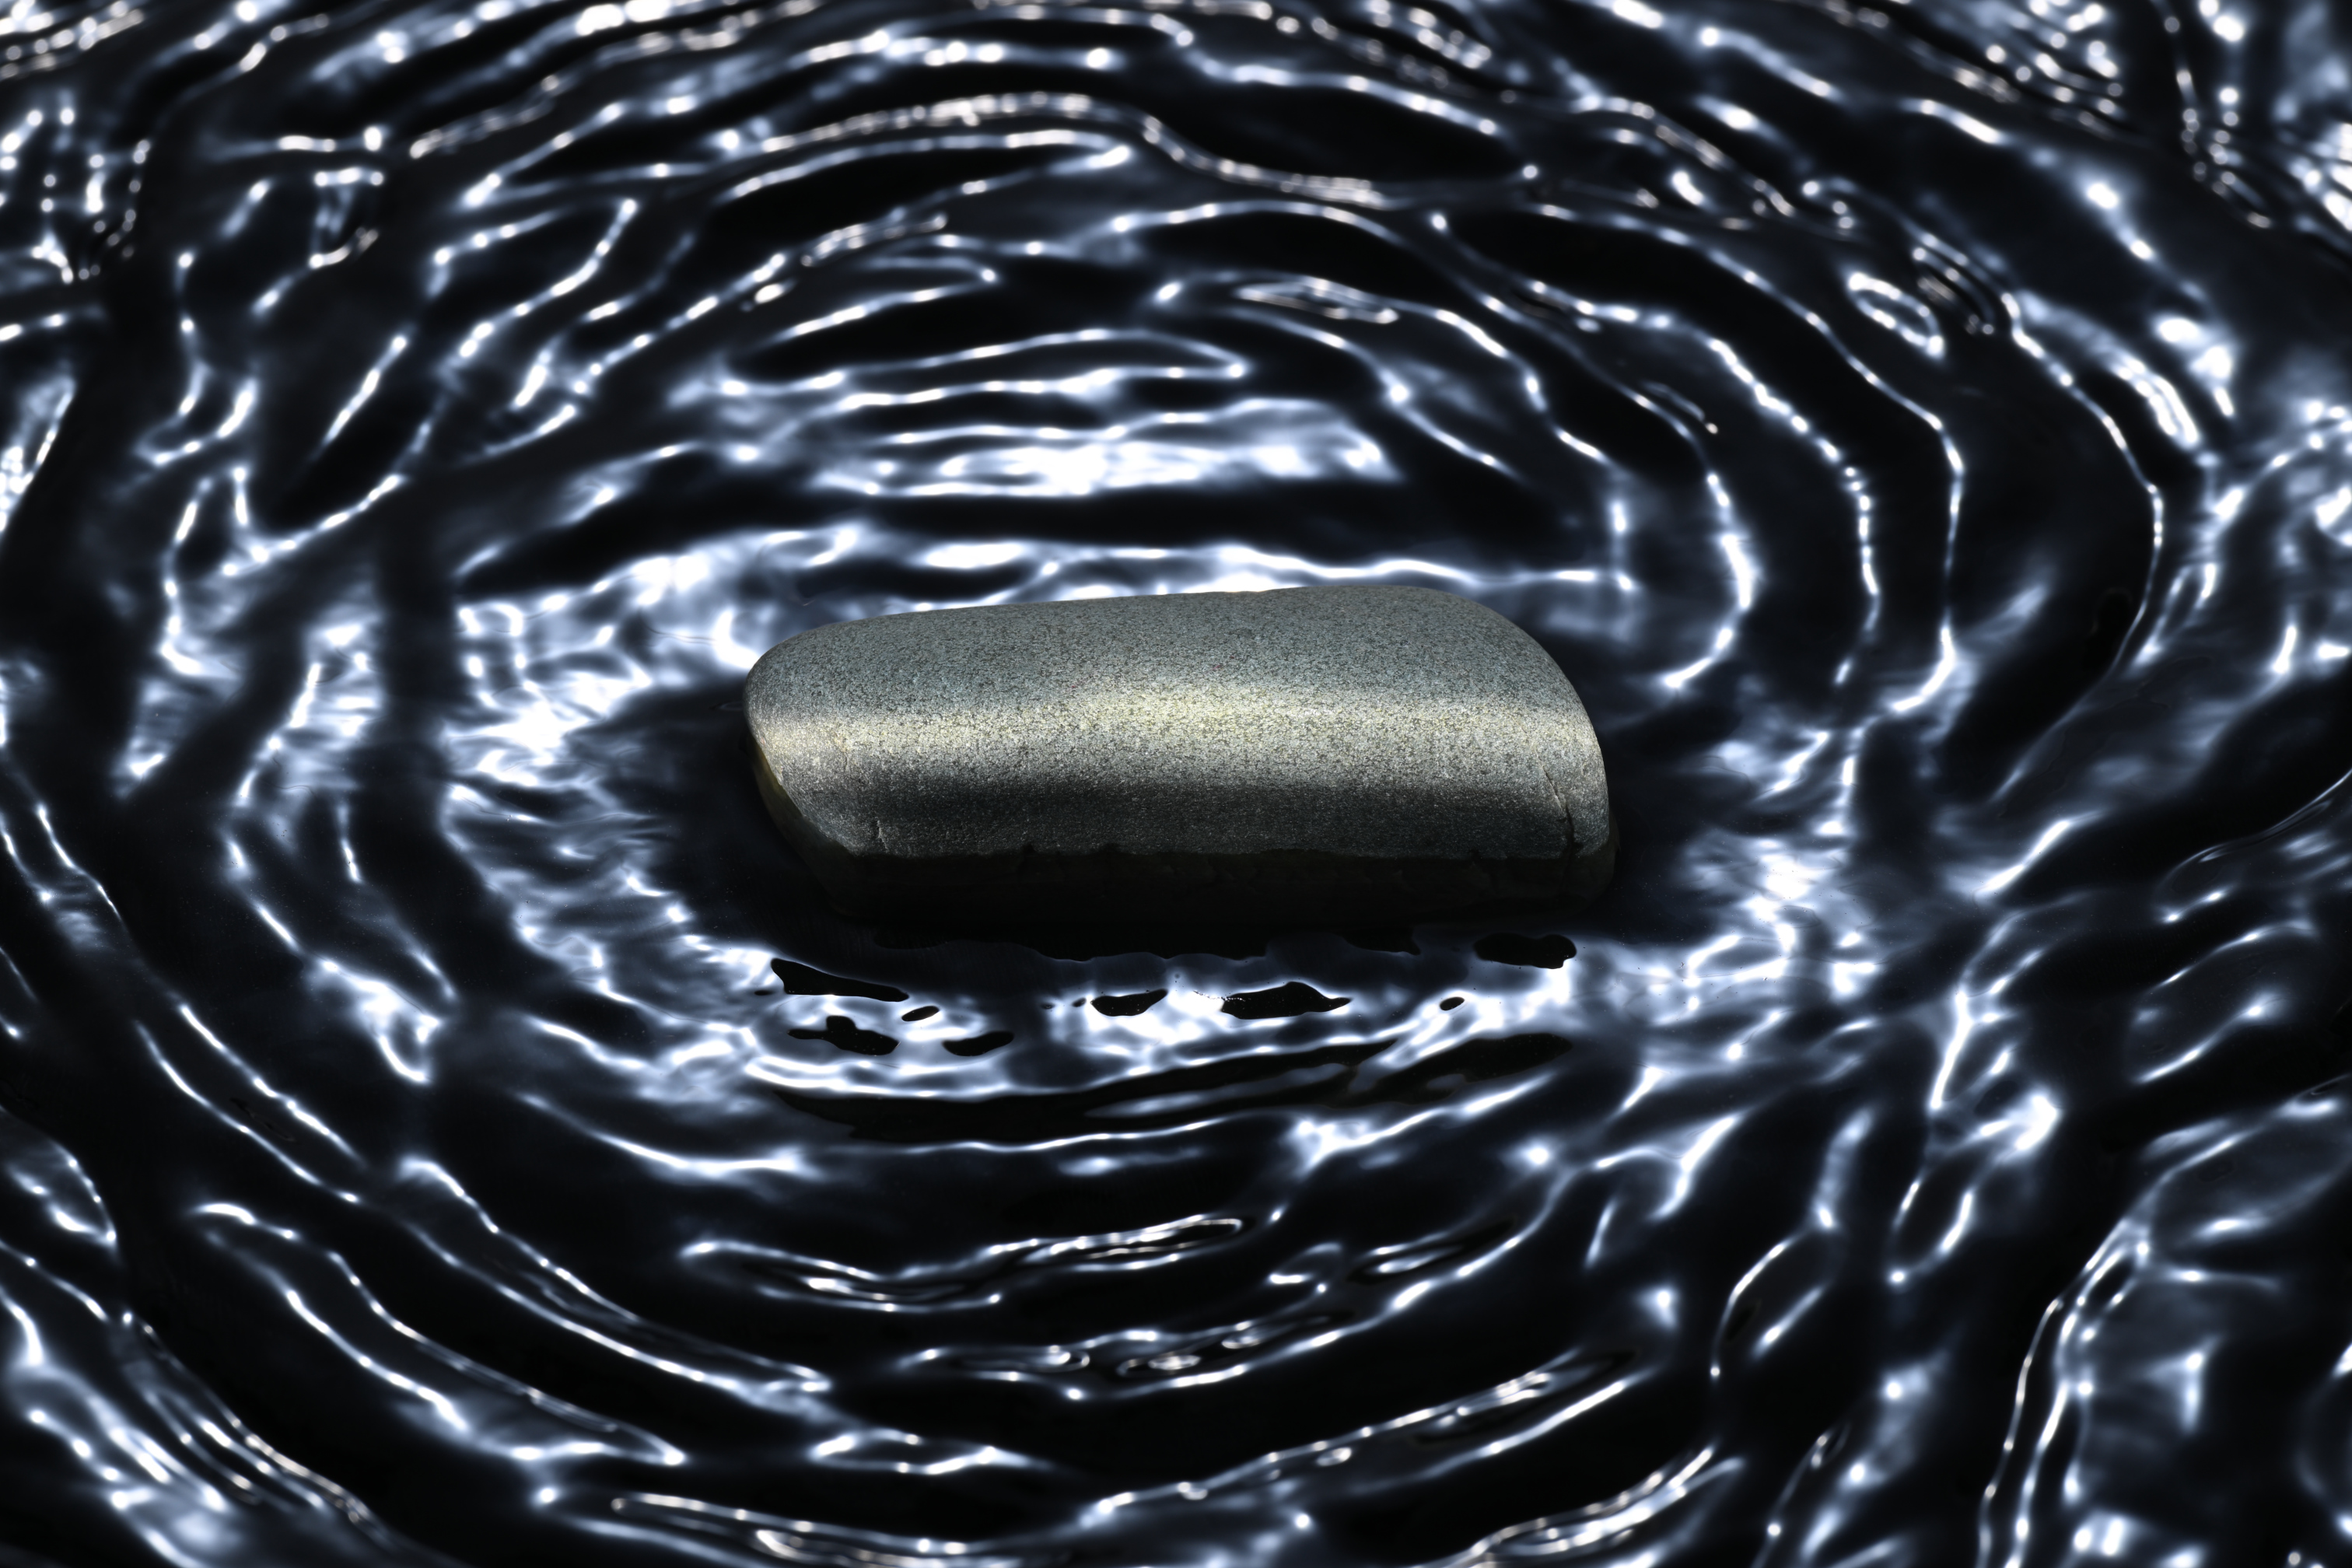
These are some of the images I created while developing Pebble Ripples and filming the project classes. Small changes to the movement of the water, timing, light and exposure produced completely different results.
Your results will be different too. Once you understand the basic idea, start experimenting. Change something, try again and see what happens.
What You'll Learn

Explore how light behaves on water and reflective surfaces
Gain greater control over one-light photography
Understand the relationship between movement, exposure and light
See how different light sources can change the character of an image
Develop your composition, framing and practical problem-solving
Learn to experiment with purpose rather than simply copy a finished photograph

"These projects bring 30 years of professional lighting experience into simple exercises anyone can try at home."
Curated by Karl TaylorLoved by photographers at every level
What members are saying about the Visual Education projects.
"Just signed up, i have to say this is one of the best live/class i have watched on photography in a long time. Really made me feel really excited to create my images."
Cashfire
"Great class! I’ve learned many new things and revisited others. The project’s direction is very motivating, and I look forward to participating. Thanks a lot!"
Iglika
"Fun! Thanks Karl and team for creating an environment which encourages learning and sharing. This class was a great excuse to get in the studio (aka garage), just start shooting, and now sharing results."
Joe
Start Learning Today
Want to take part in the full project?
Join Visual Education to participate, upload your work, access the project tutorials, take part in the review process, earn badges, and continue learning with the full project. The sooner you join, the more of this round you get - including the live Mid-Project Review.
Launched
06 Oct
Mid-Project Review
Join in time
Closes
30 November
Monthly
£19.00/month
Pay as you go.
FLEXIBLE
Cancel Anytime
Annual - 40% OFF
£11.00/month
£228 £132 Per Year, Billed Annually
Save £96 per year
compared with monthly
compared with monthly
BEST VALUE
Cancel Anytime
Already a member? Log in
Project Gallery
See what our members are creating for this Project.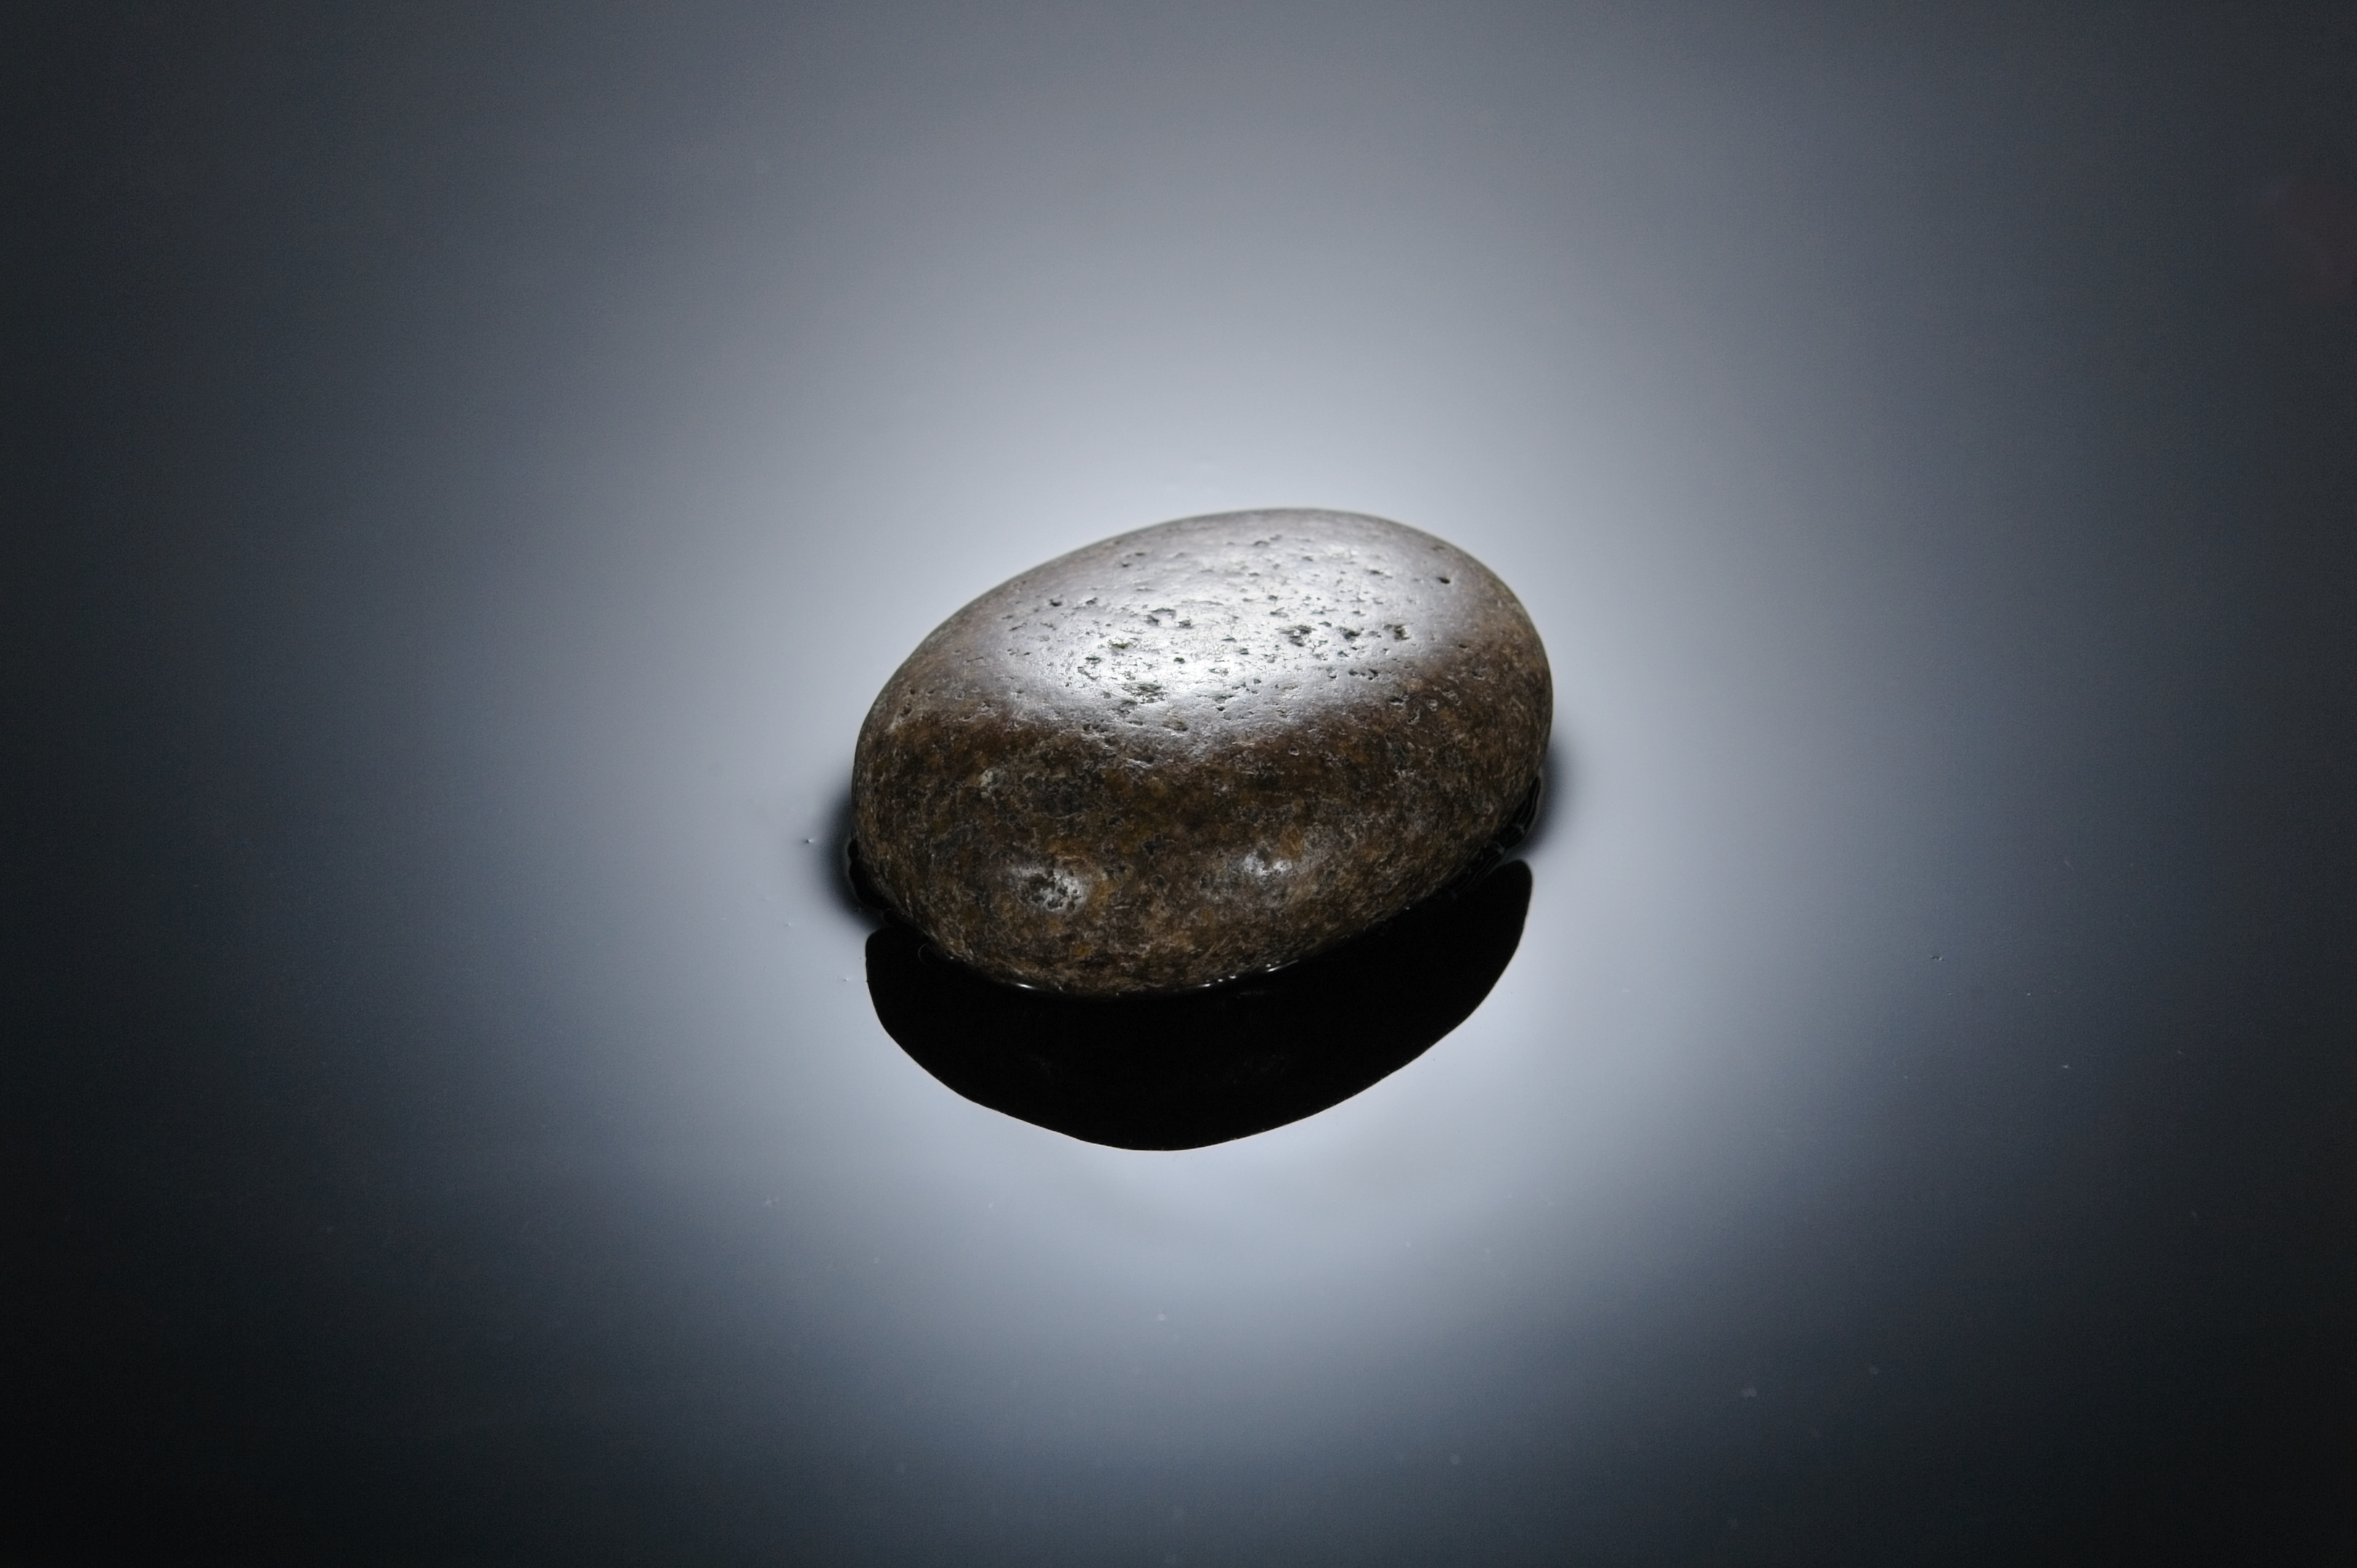
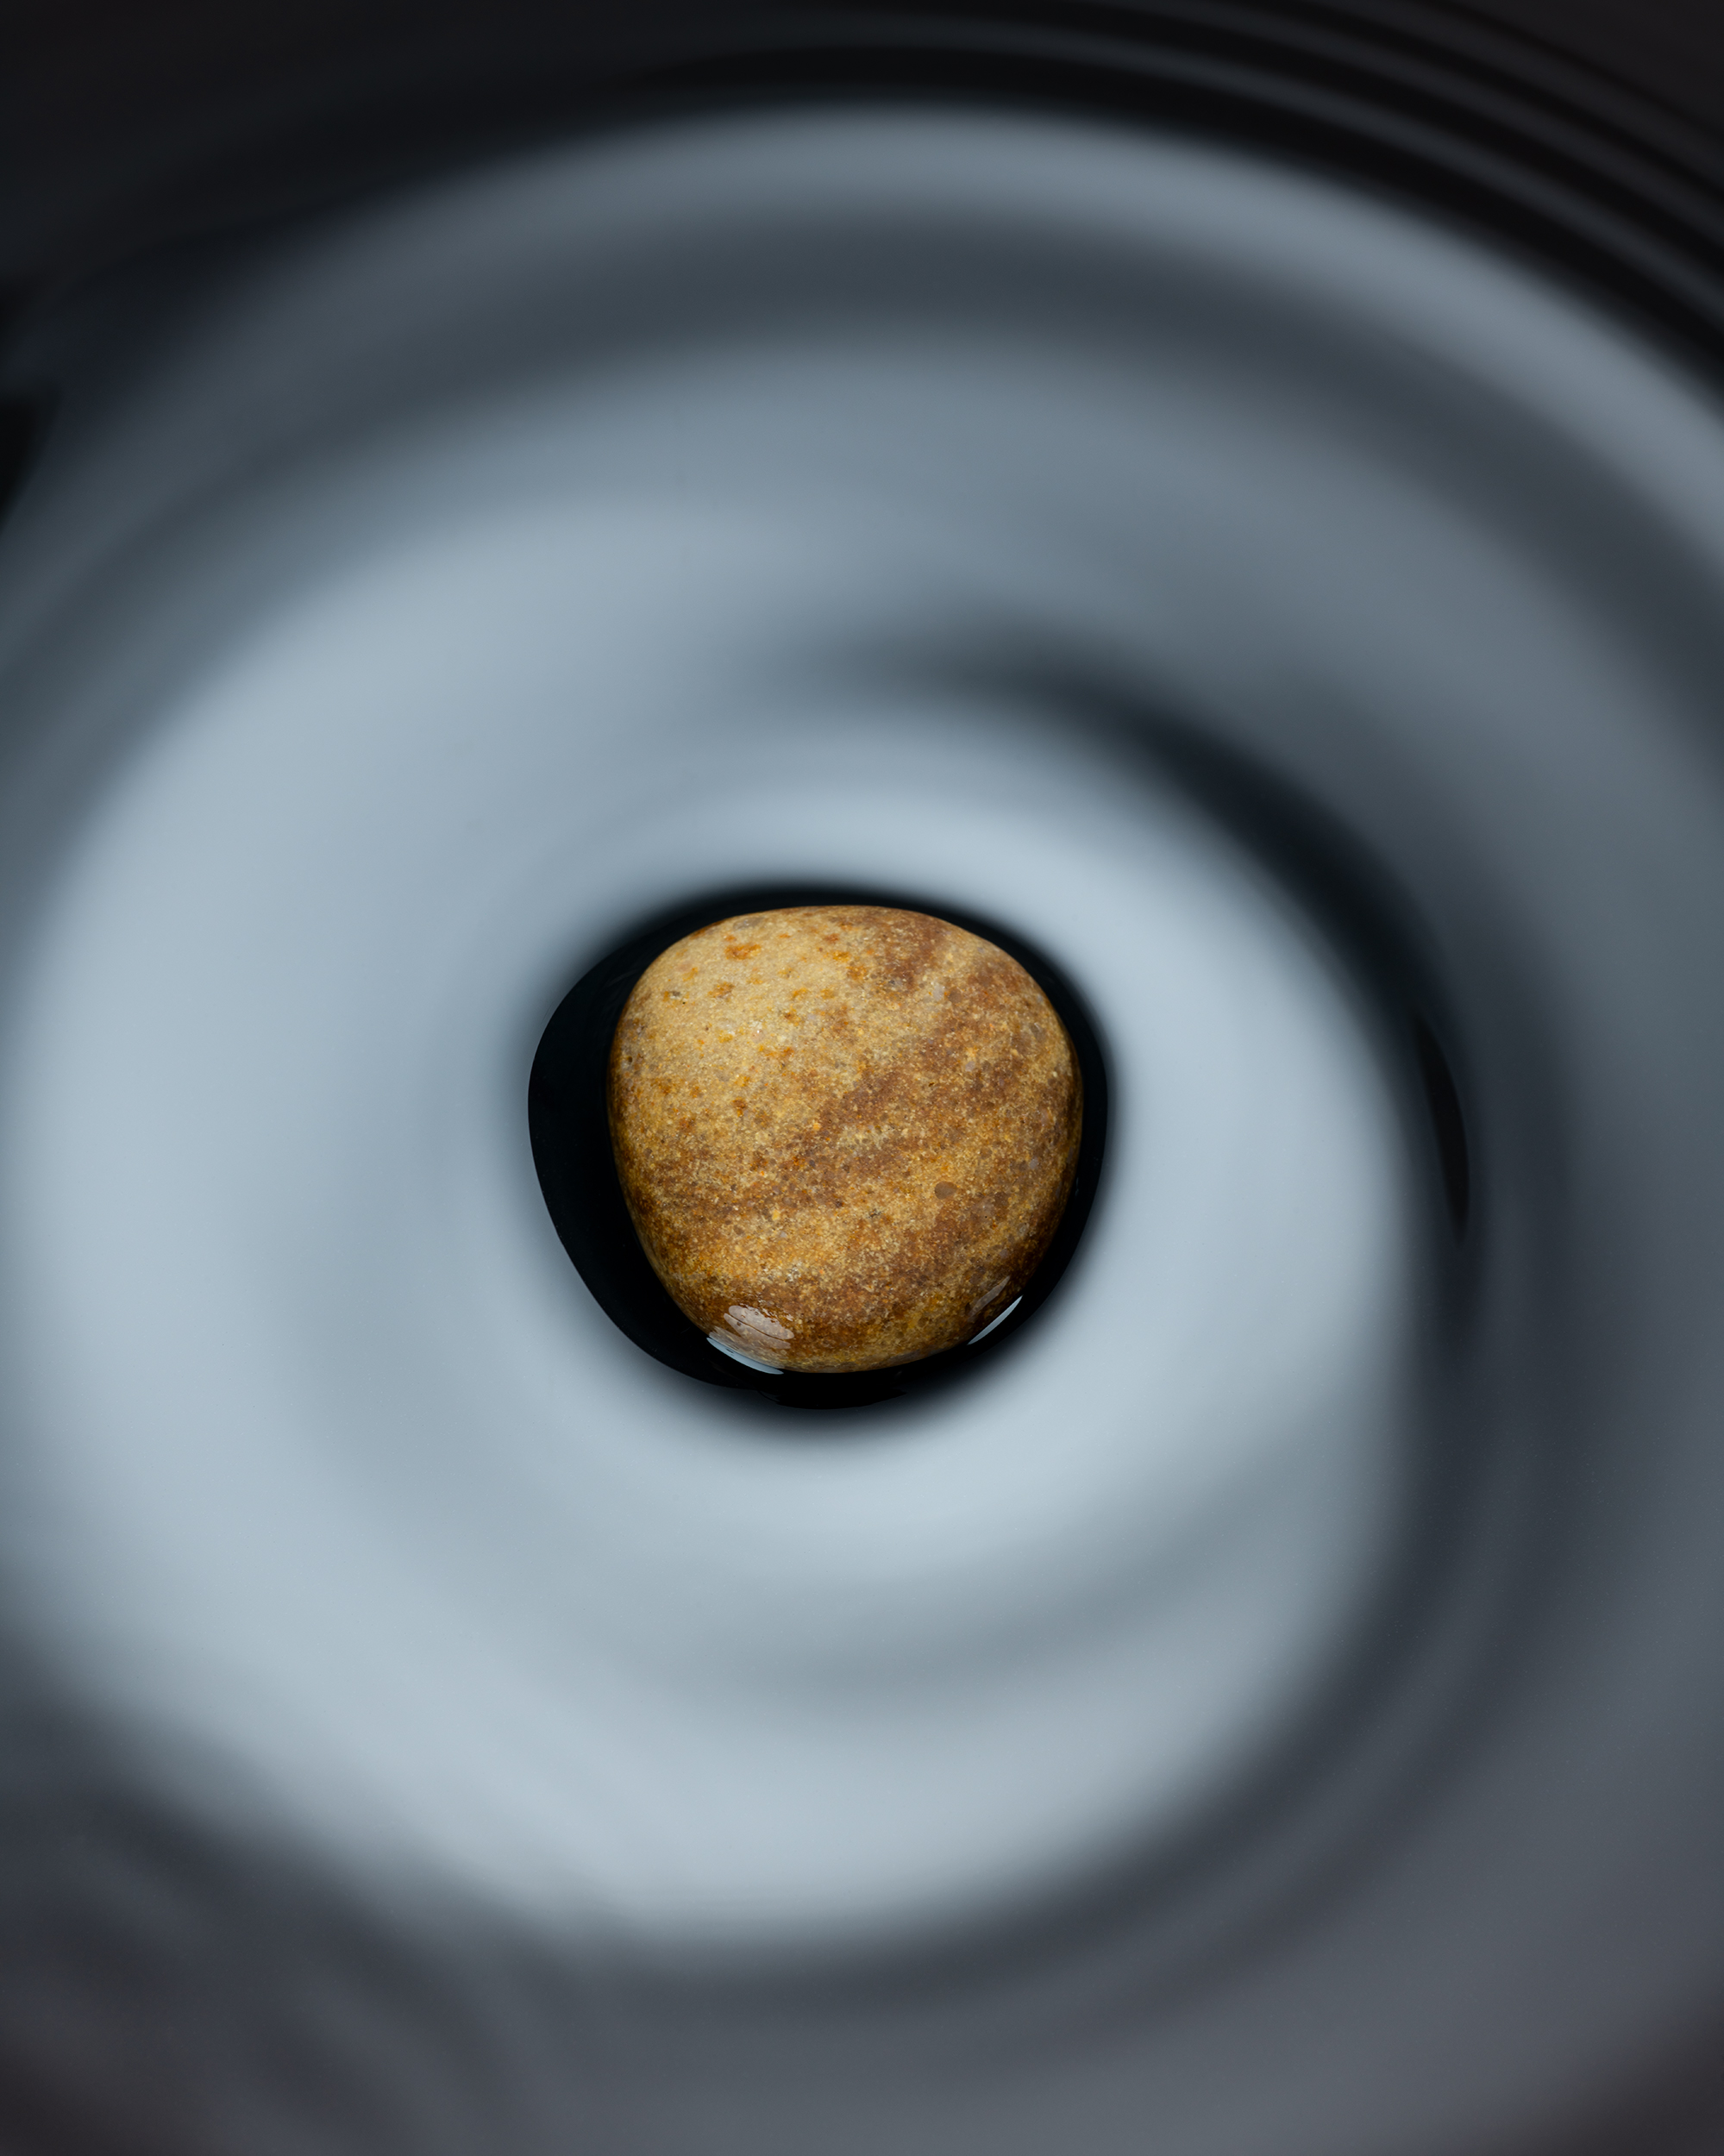
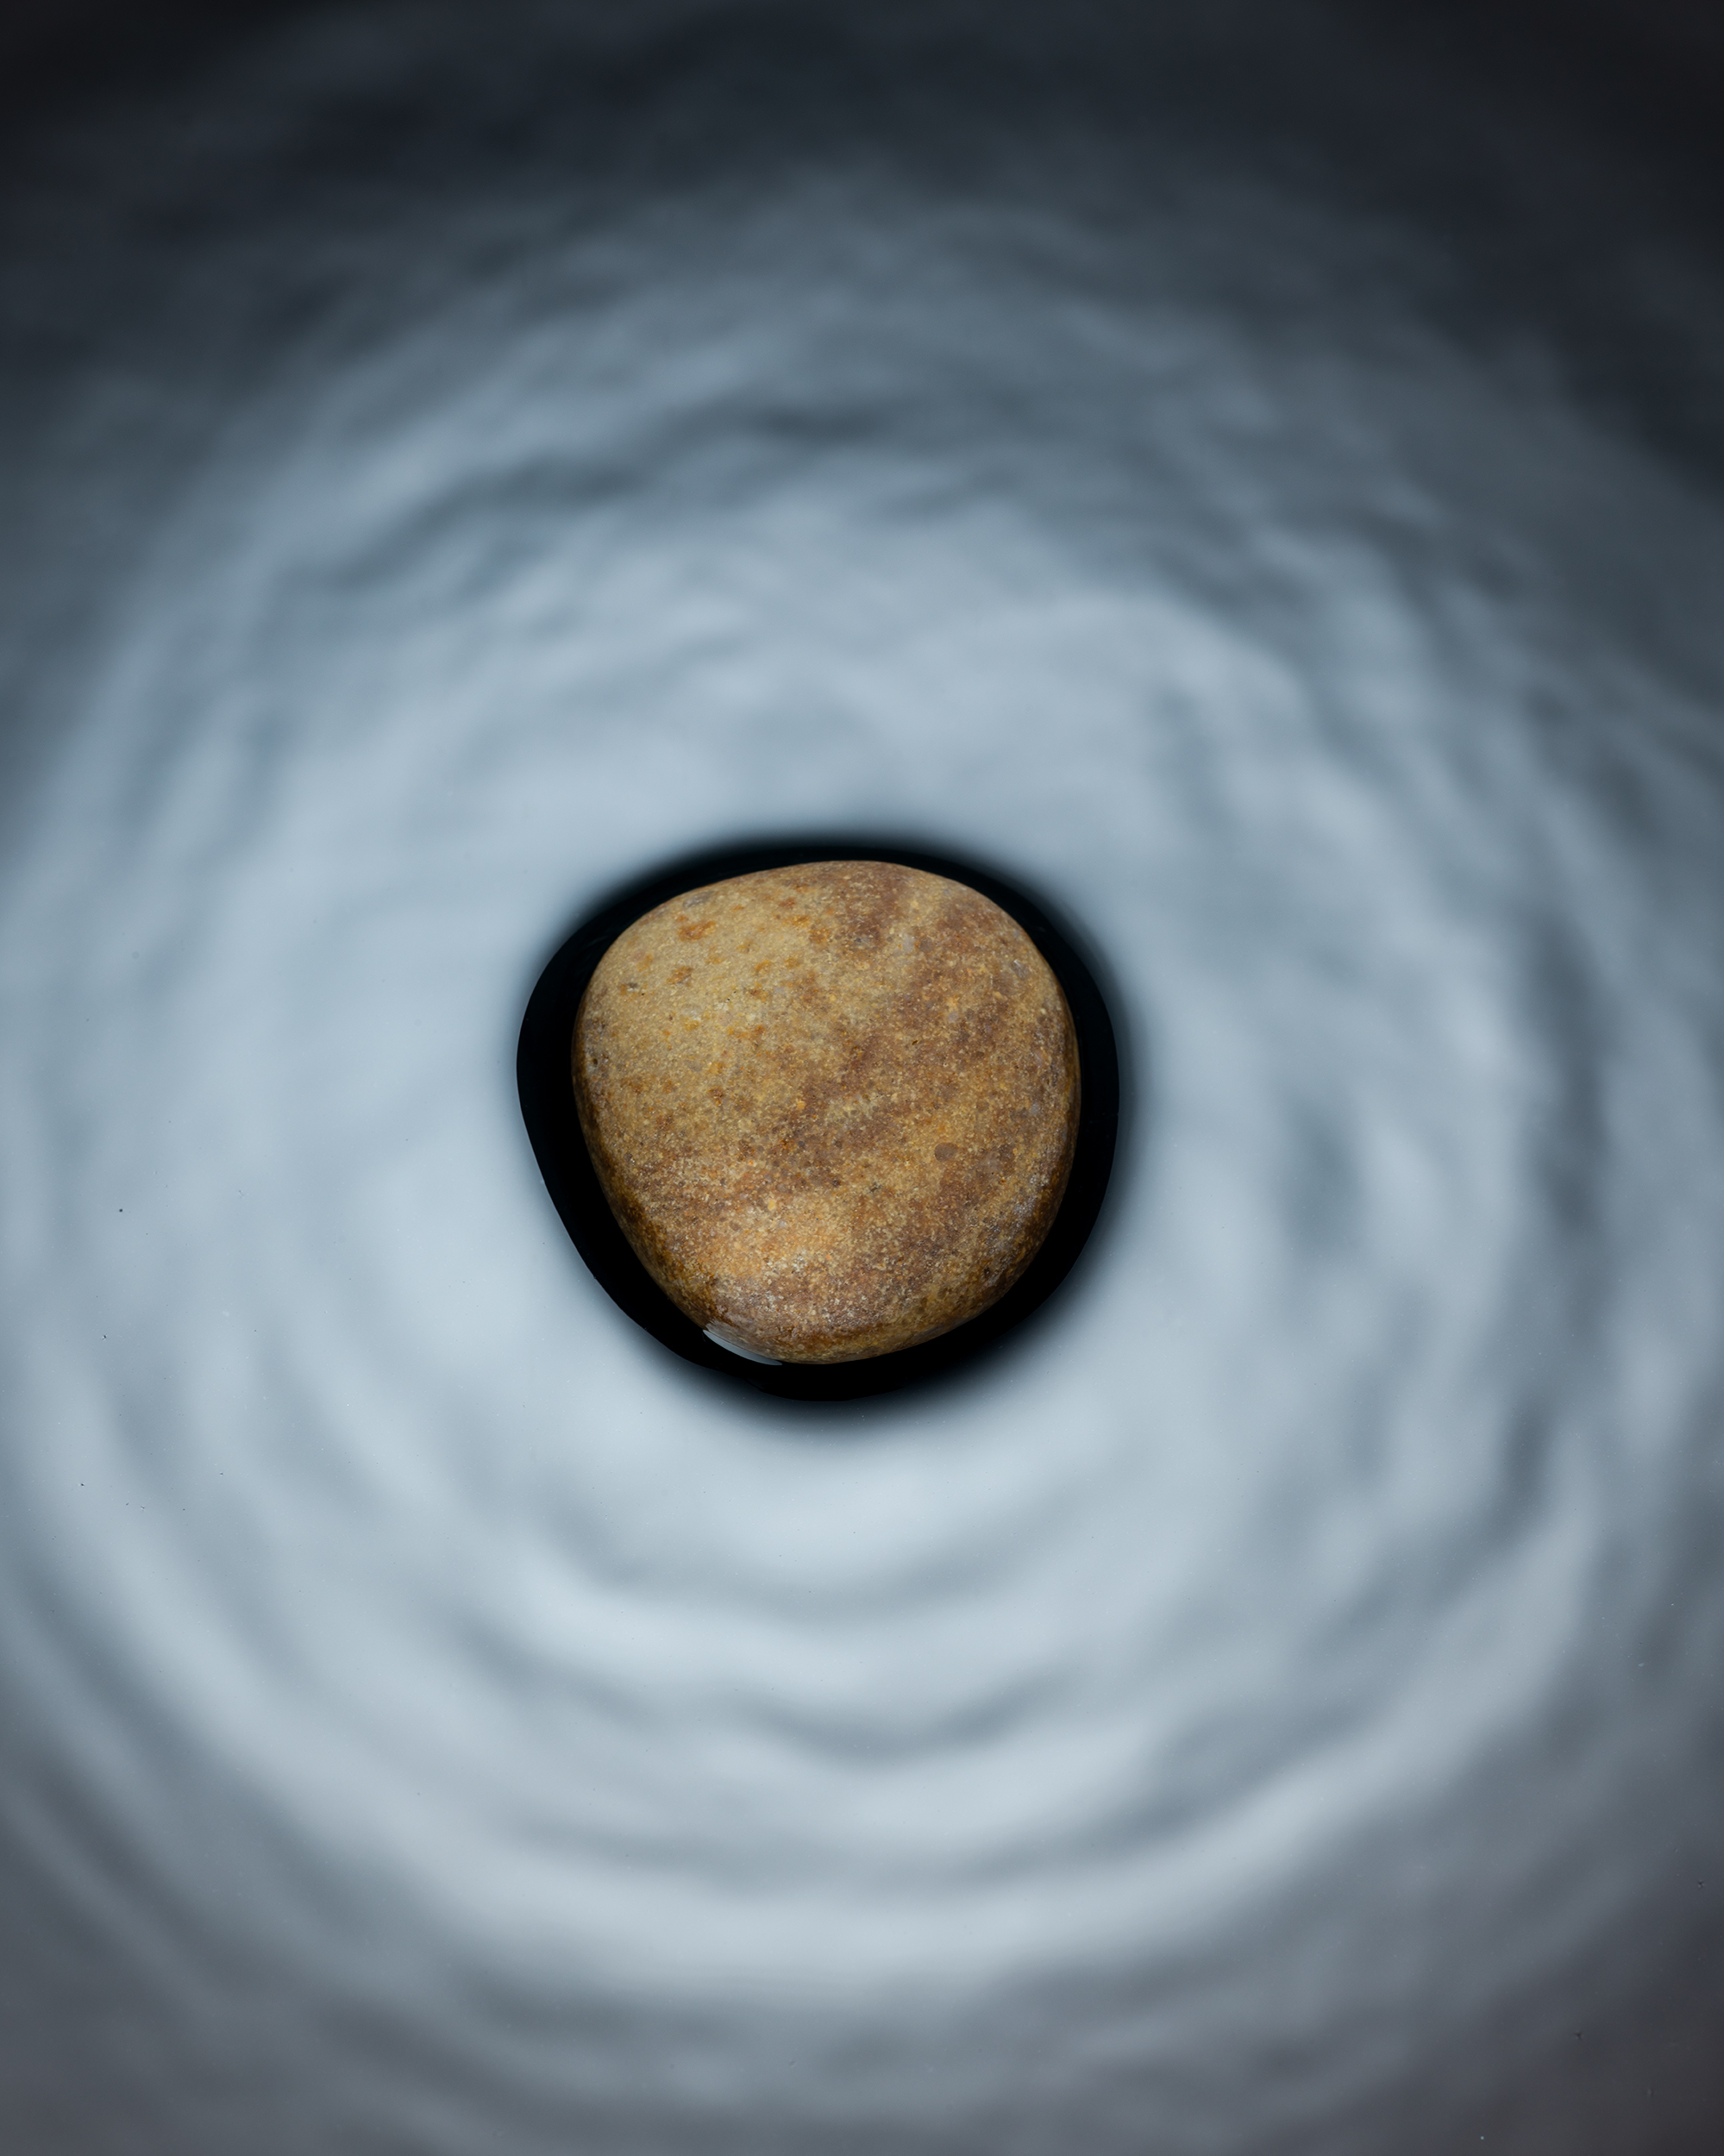
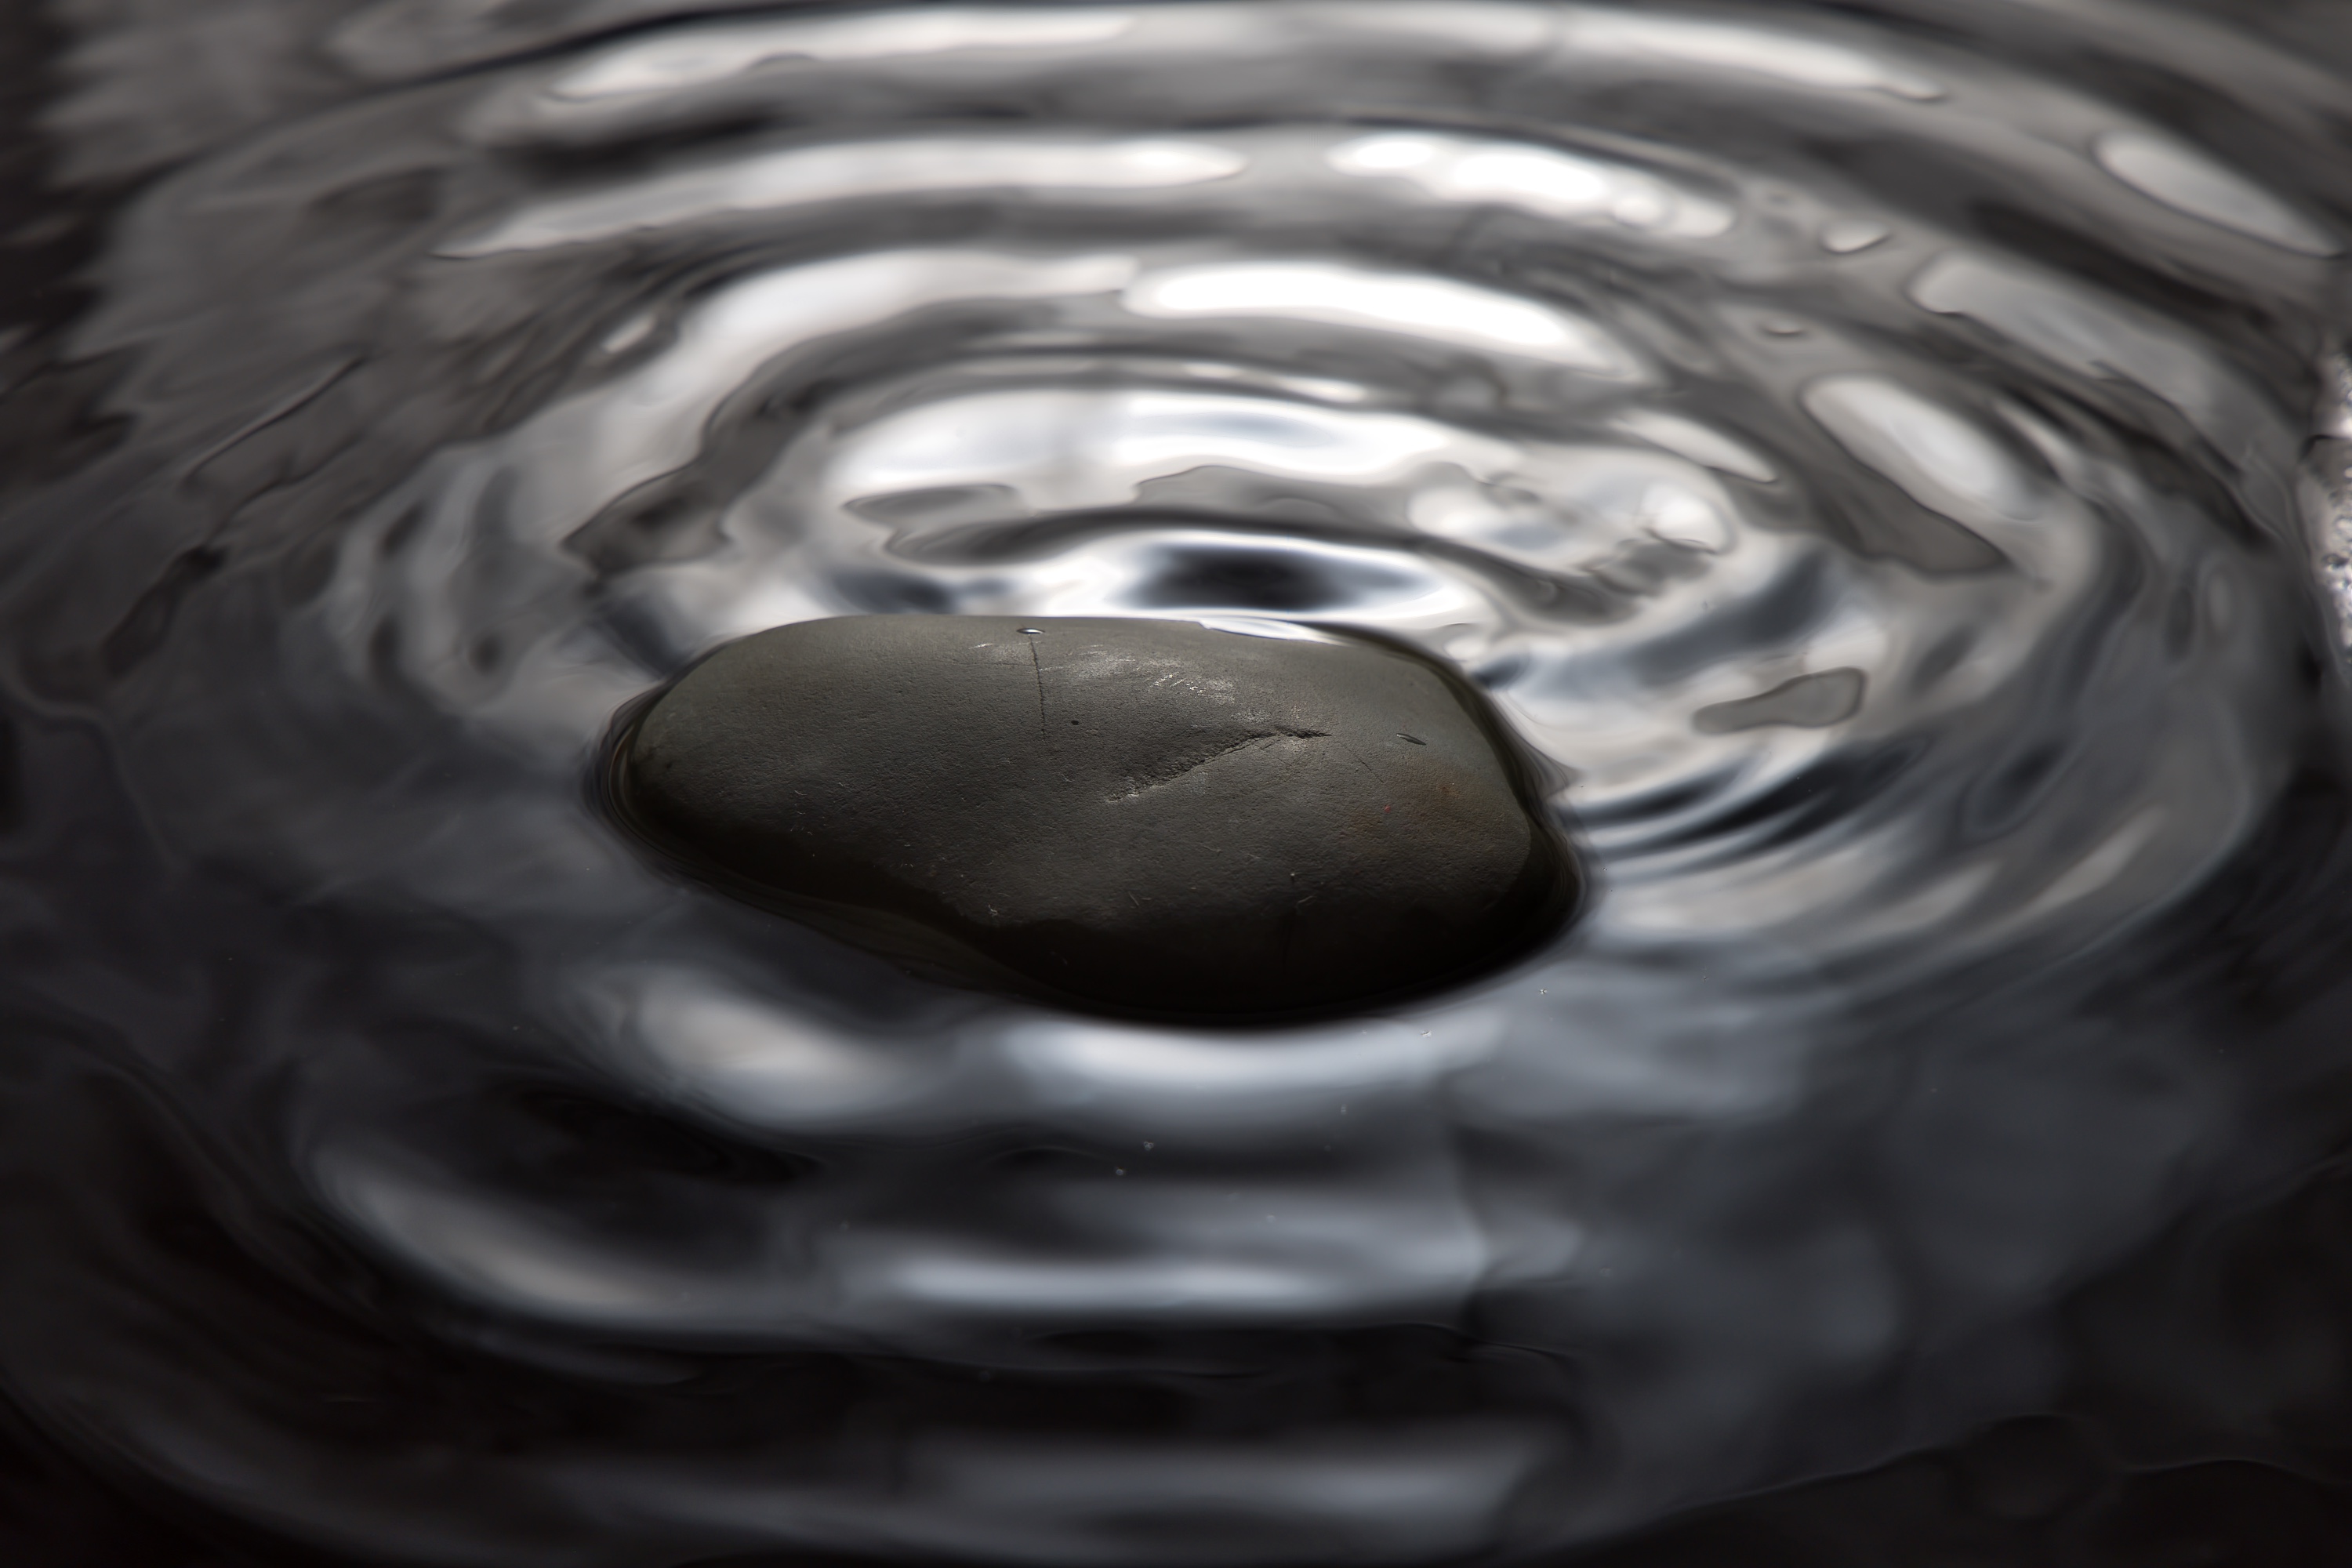
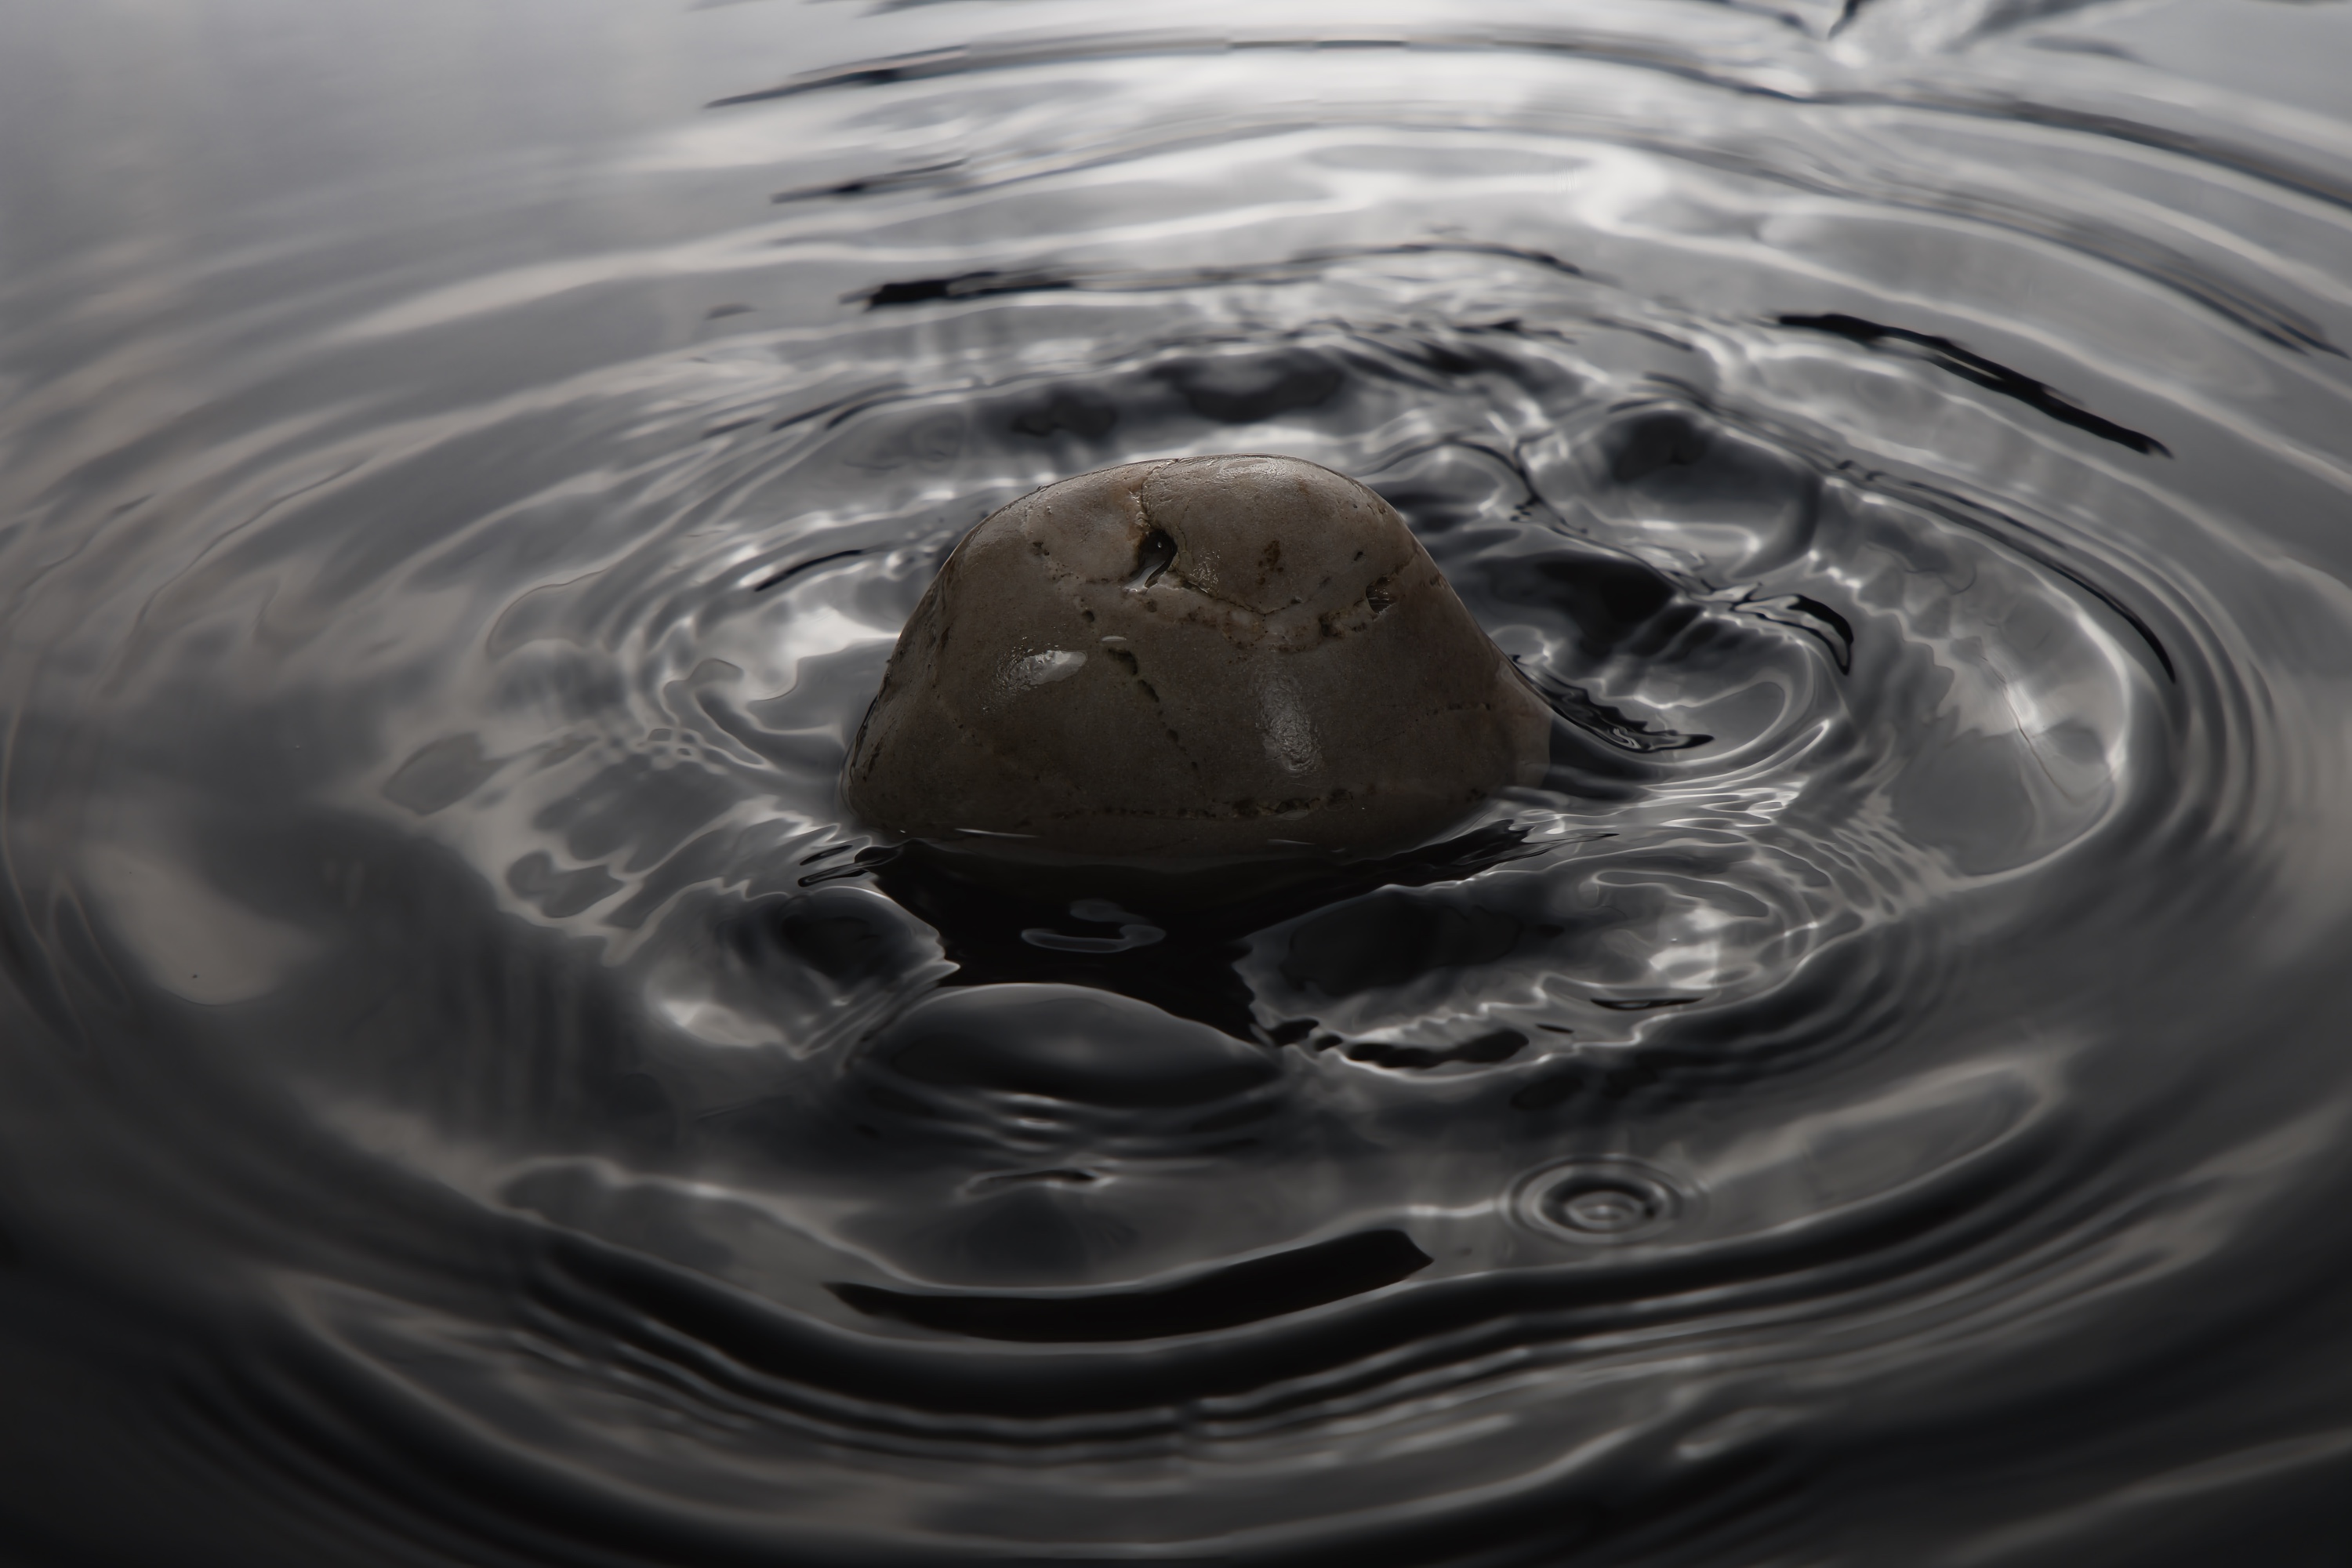
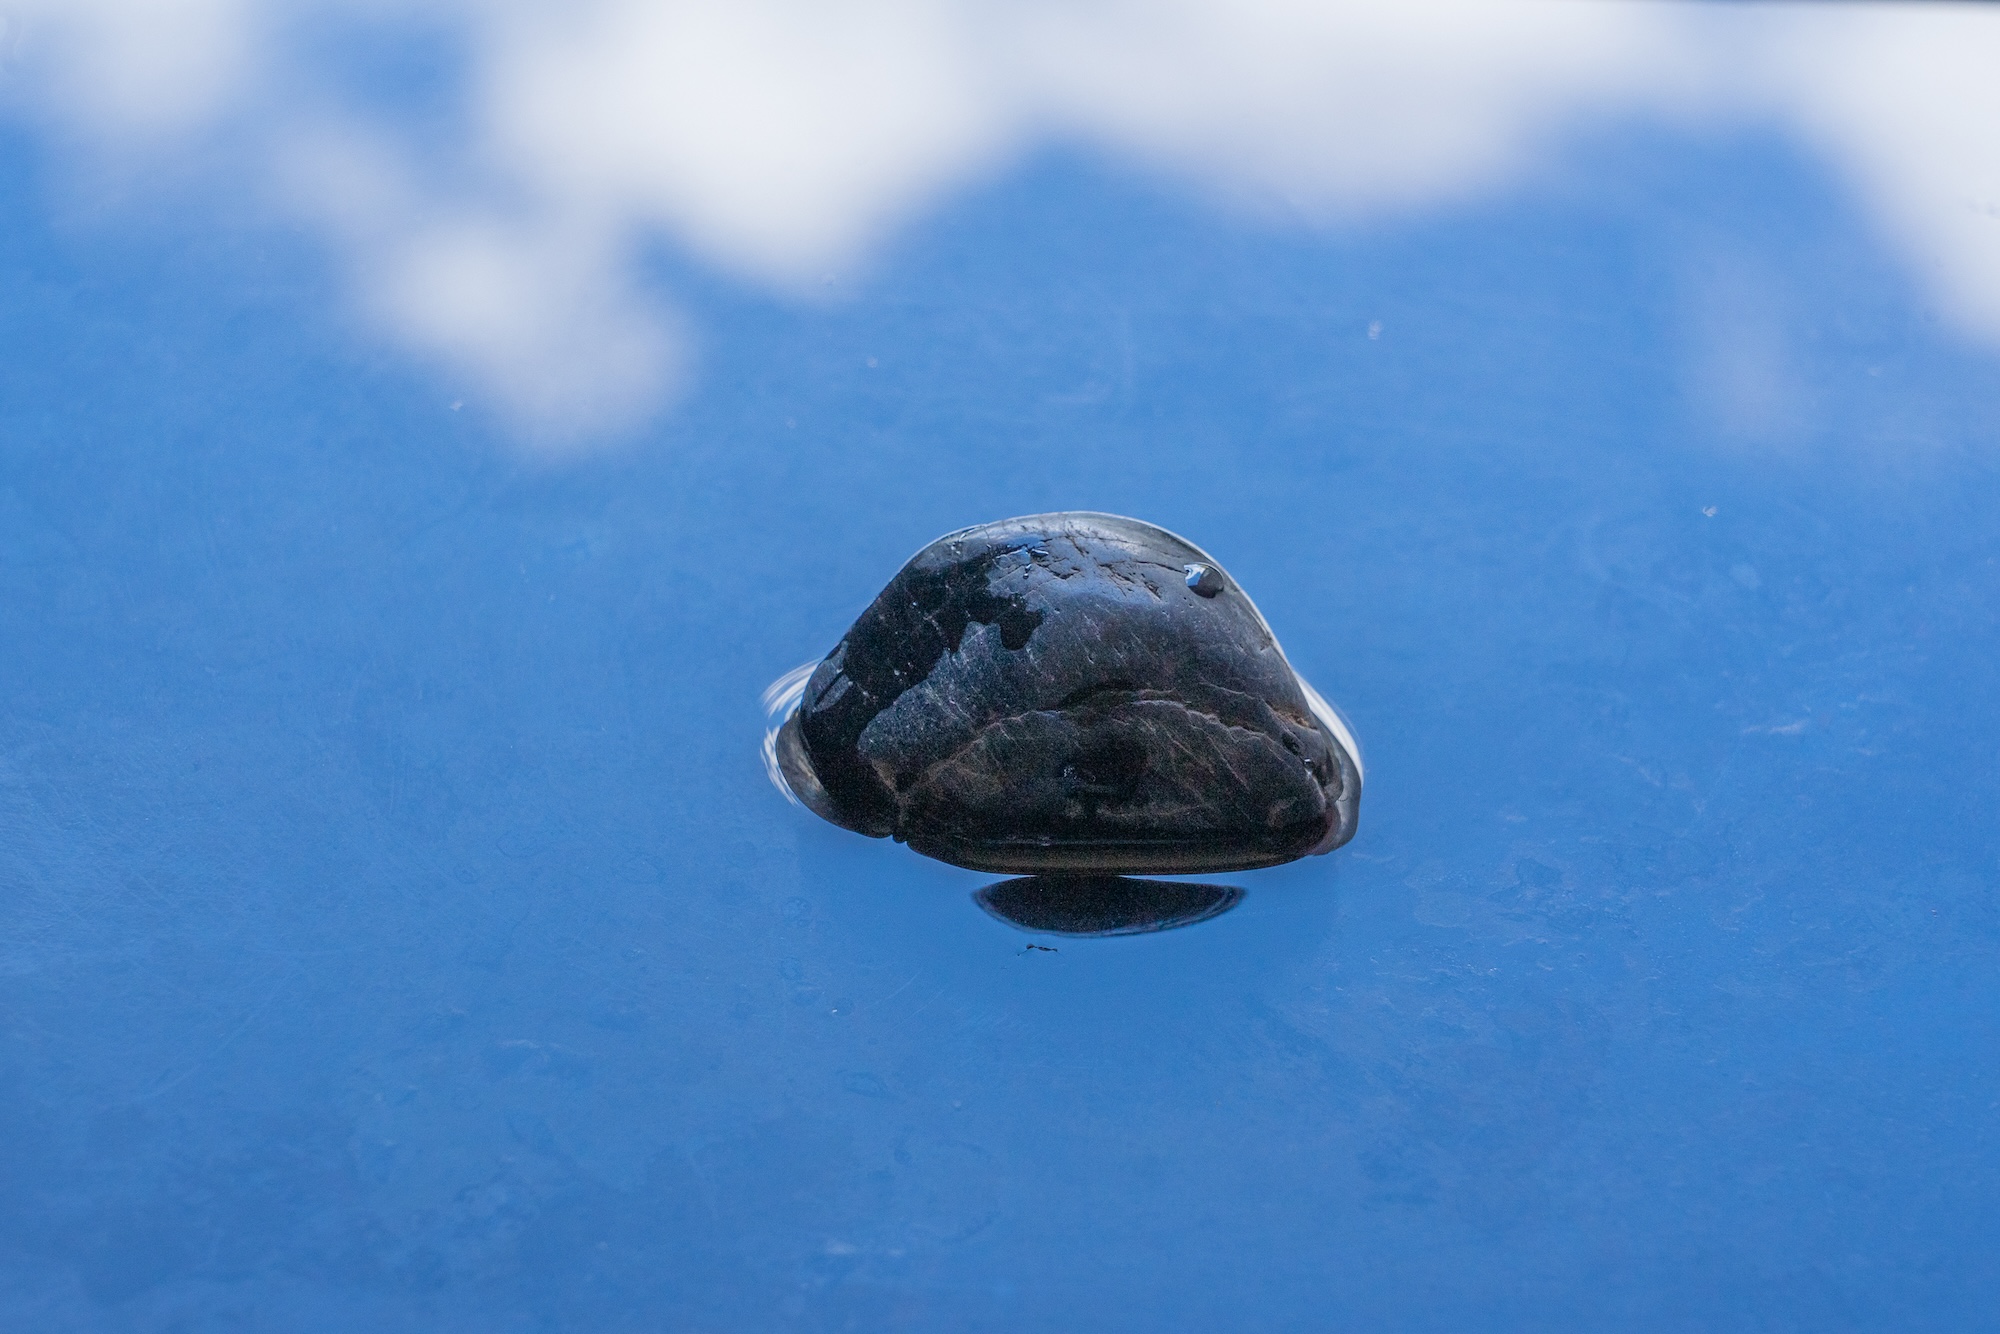
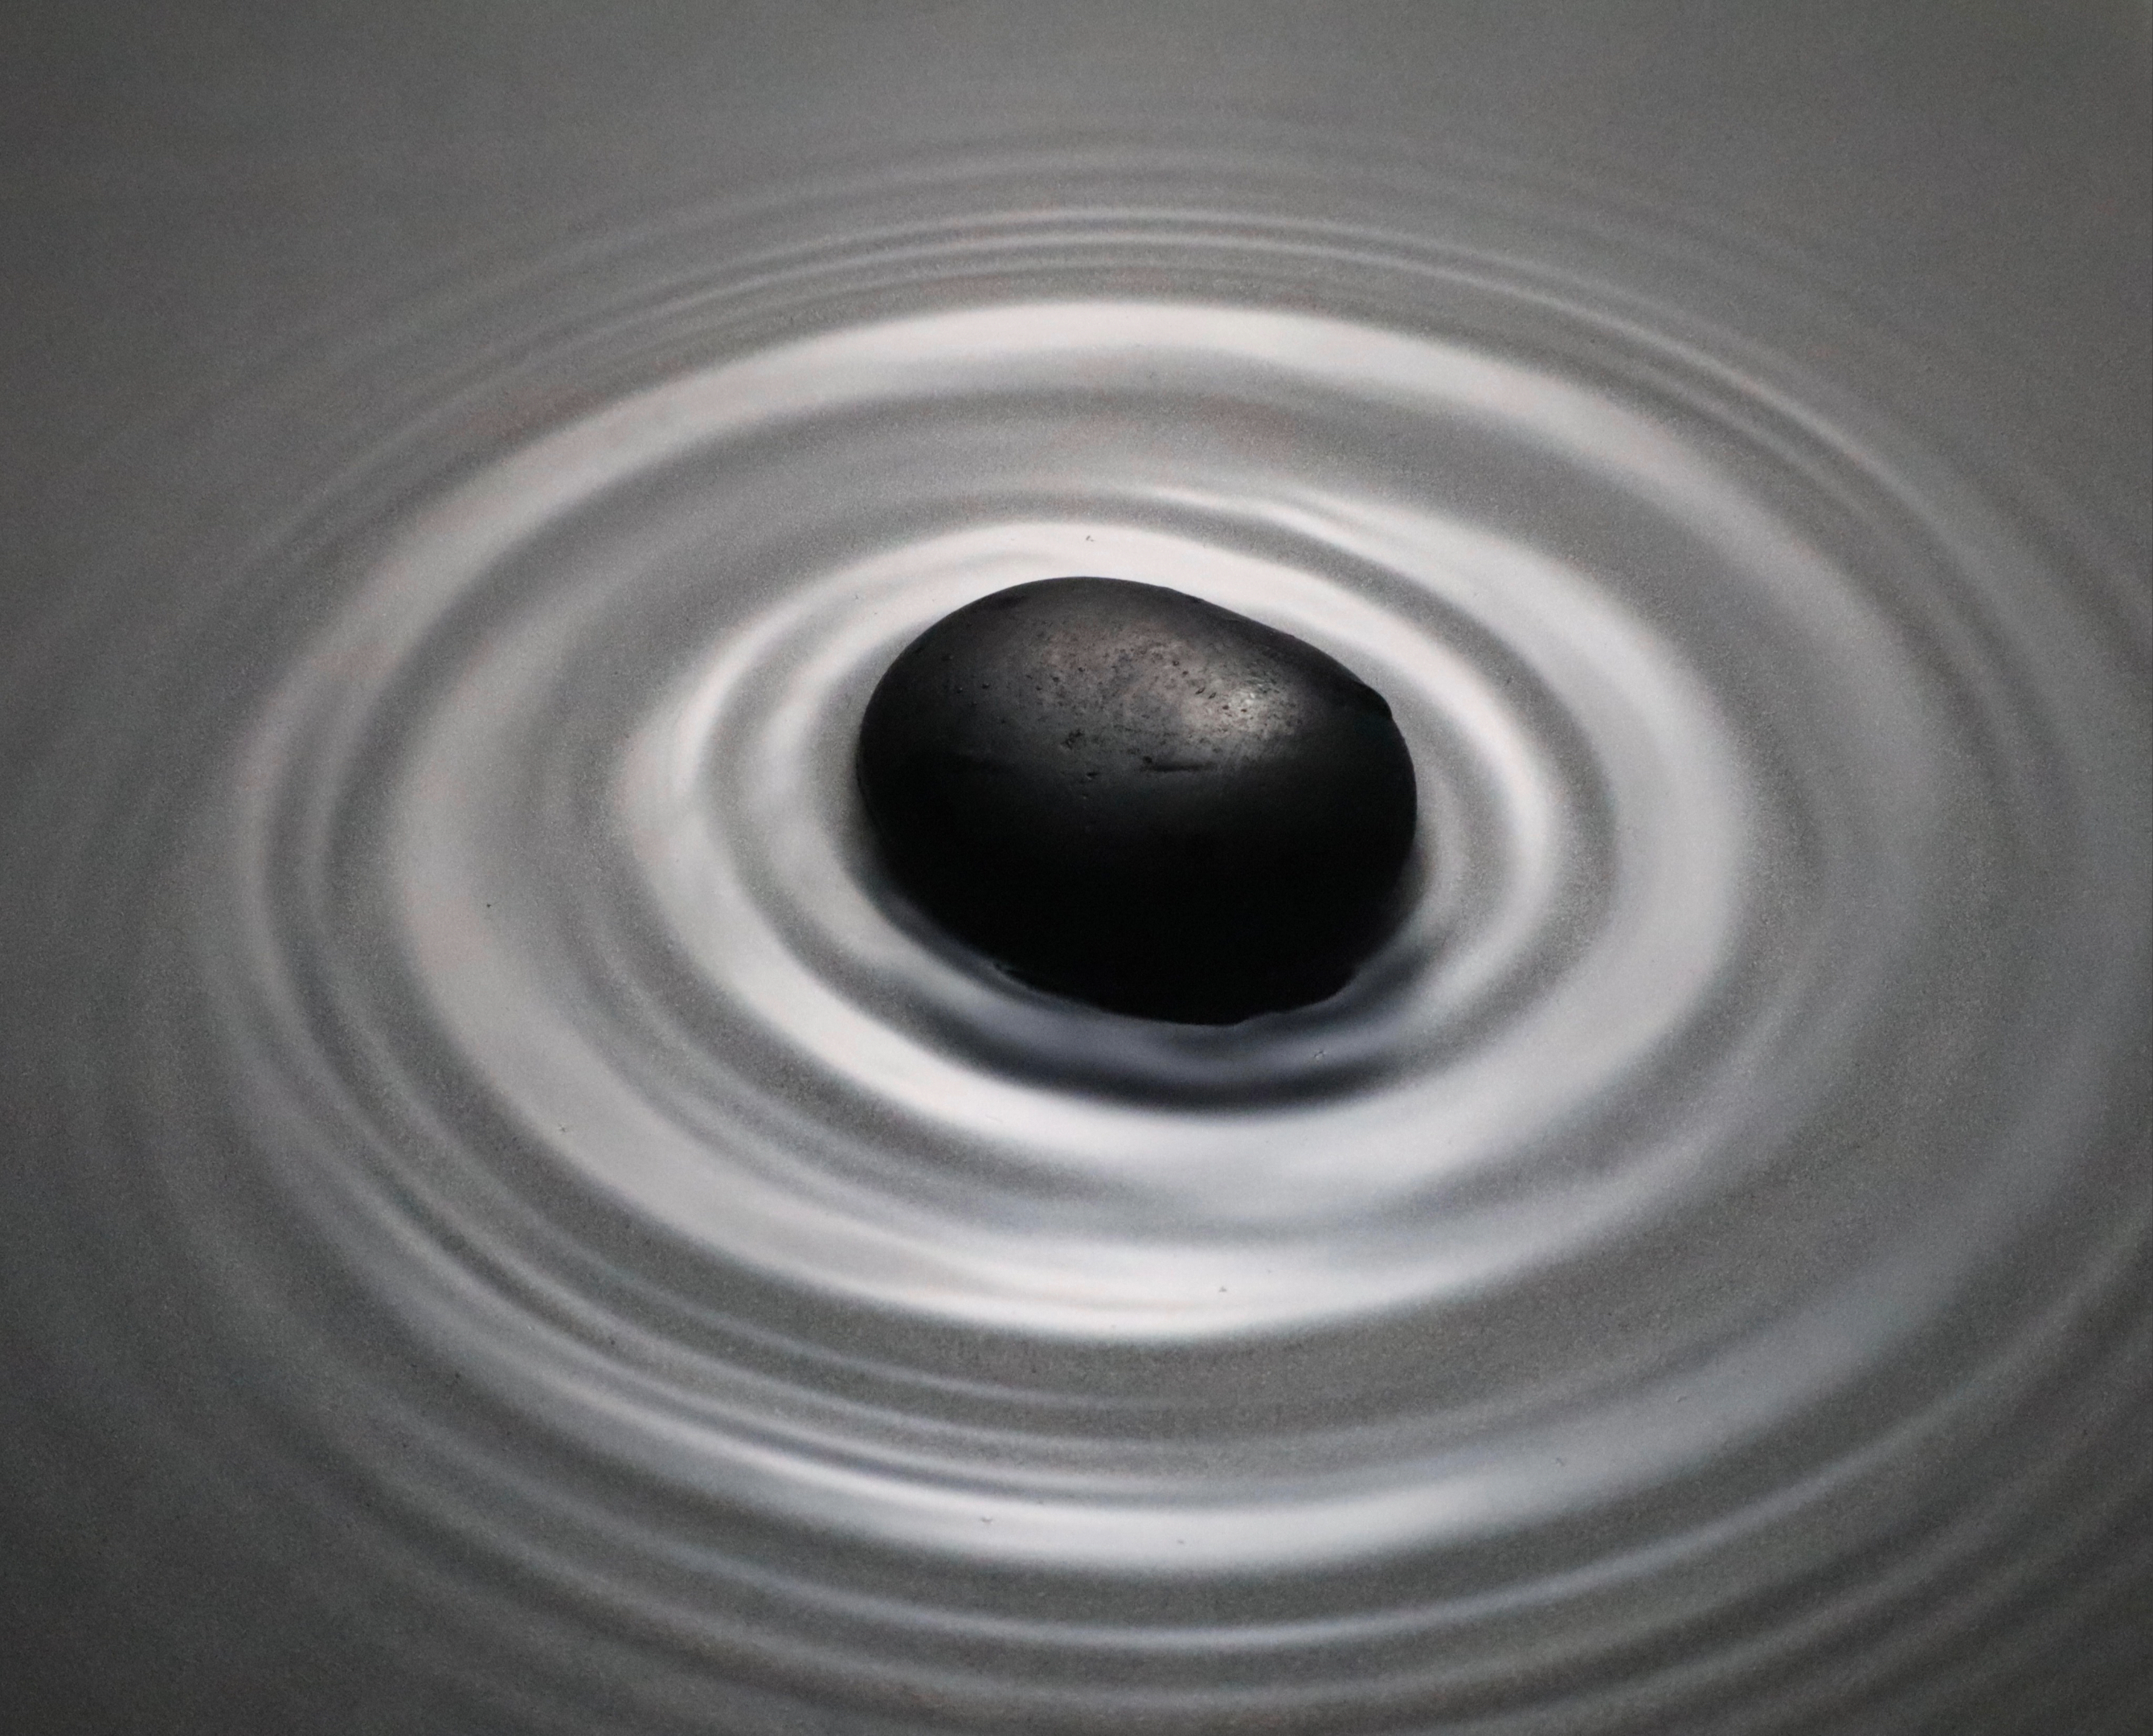
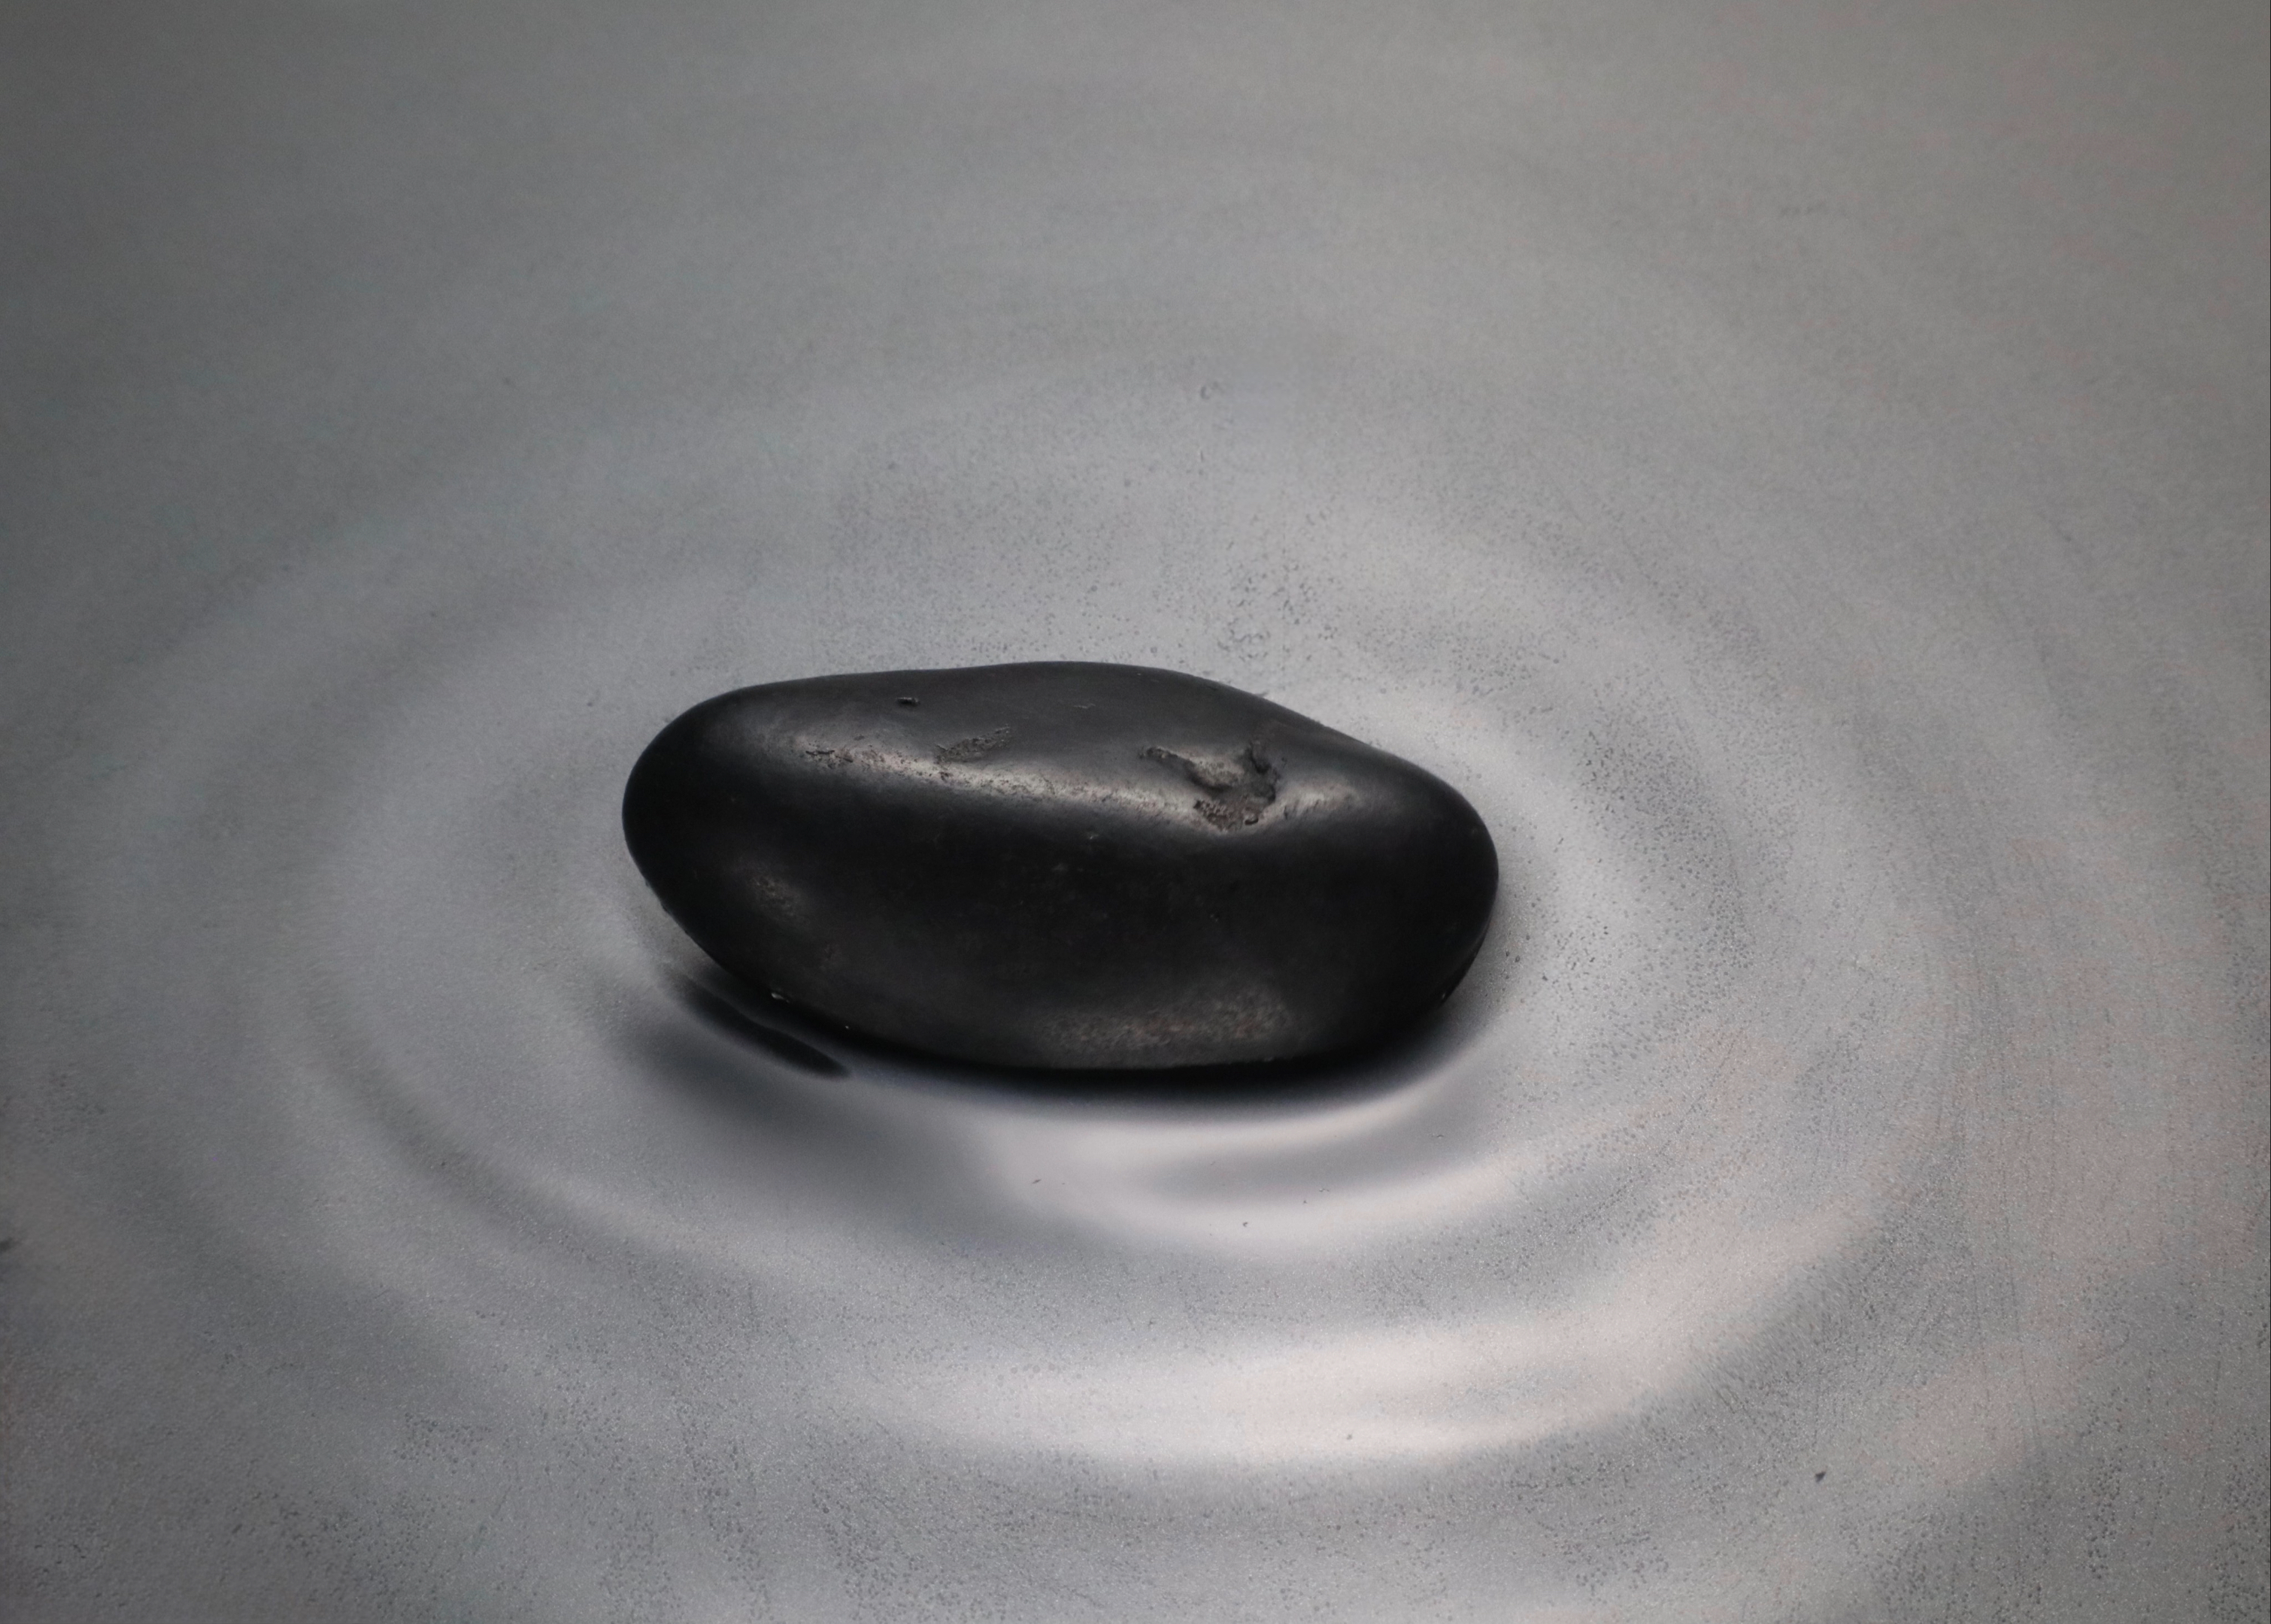
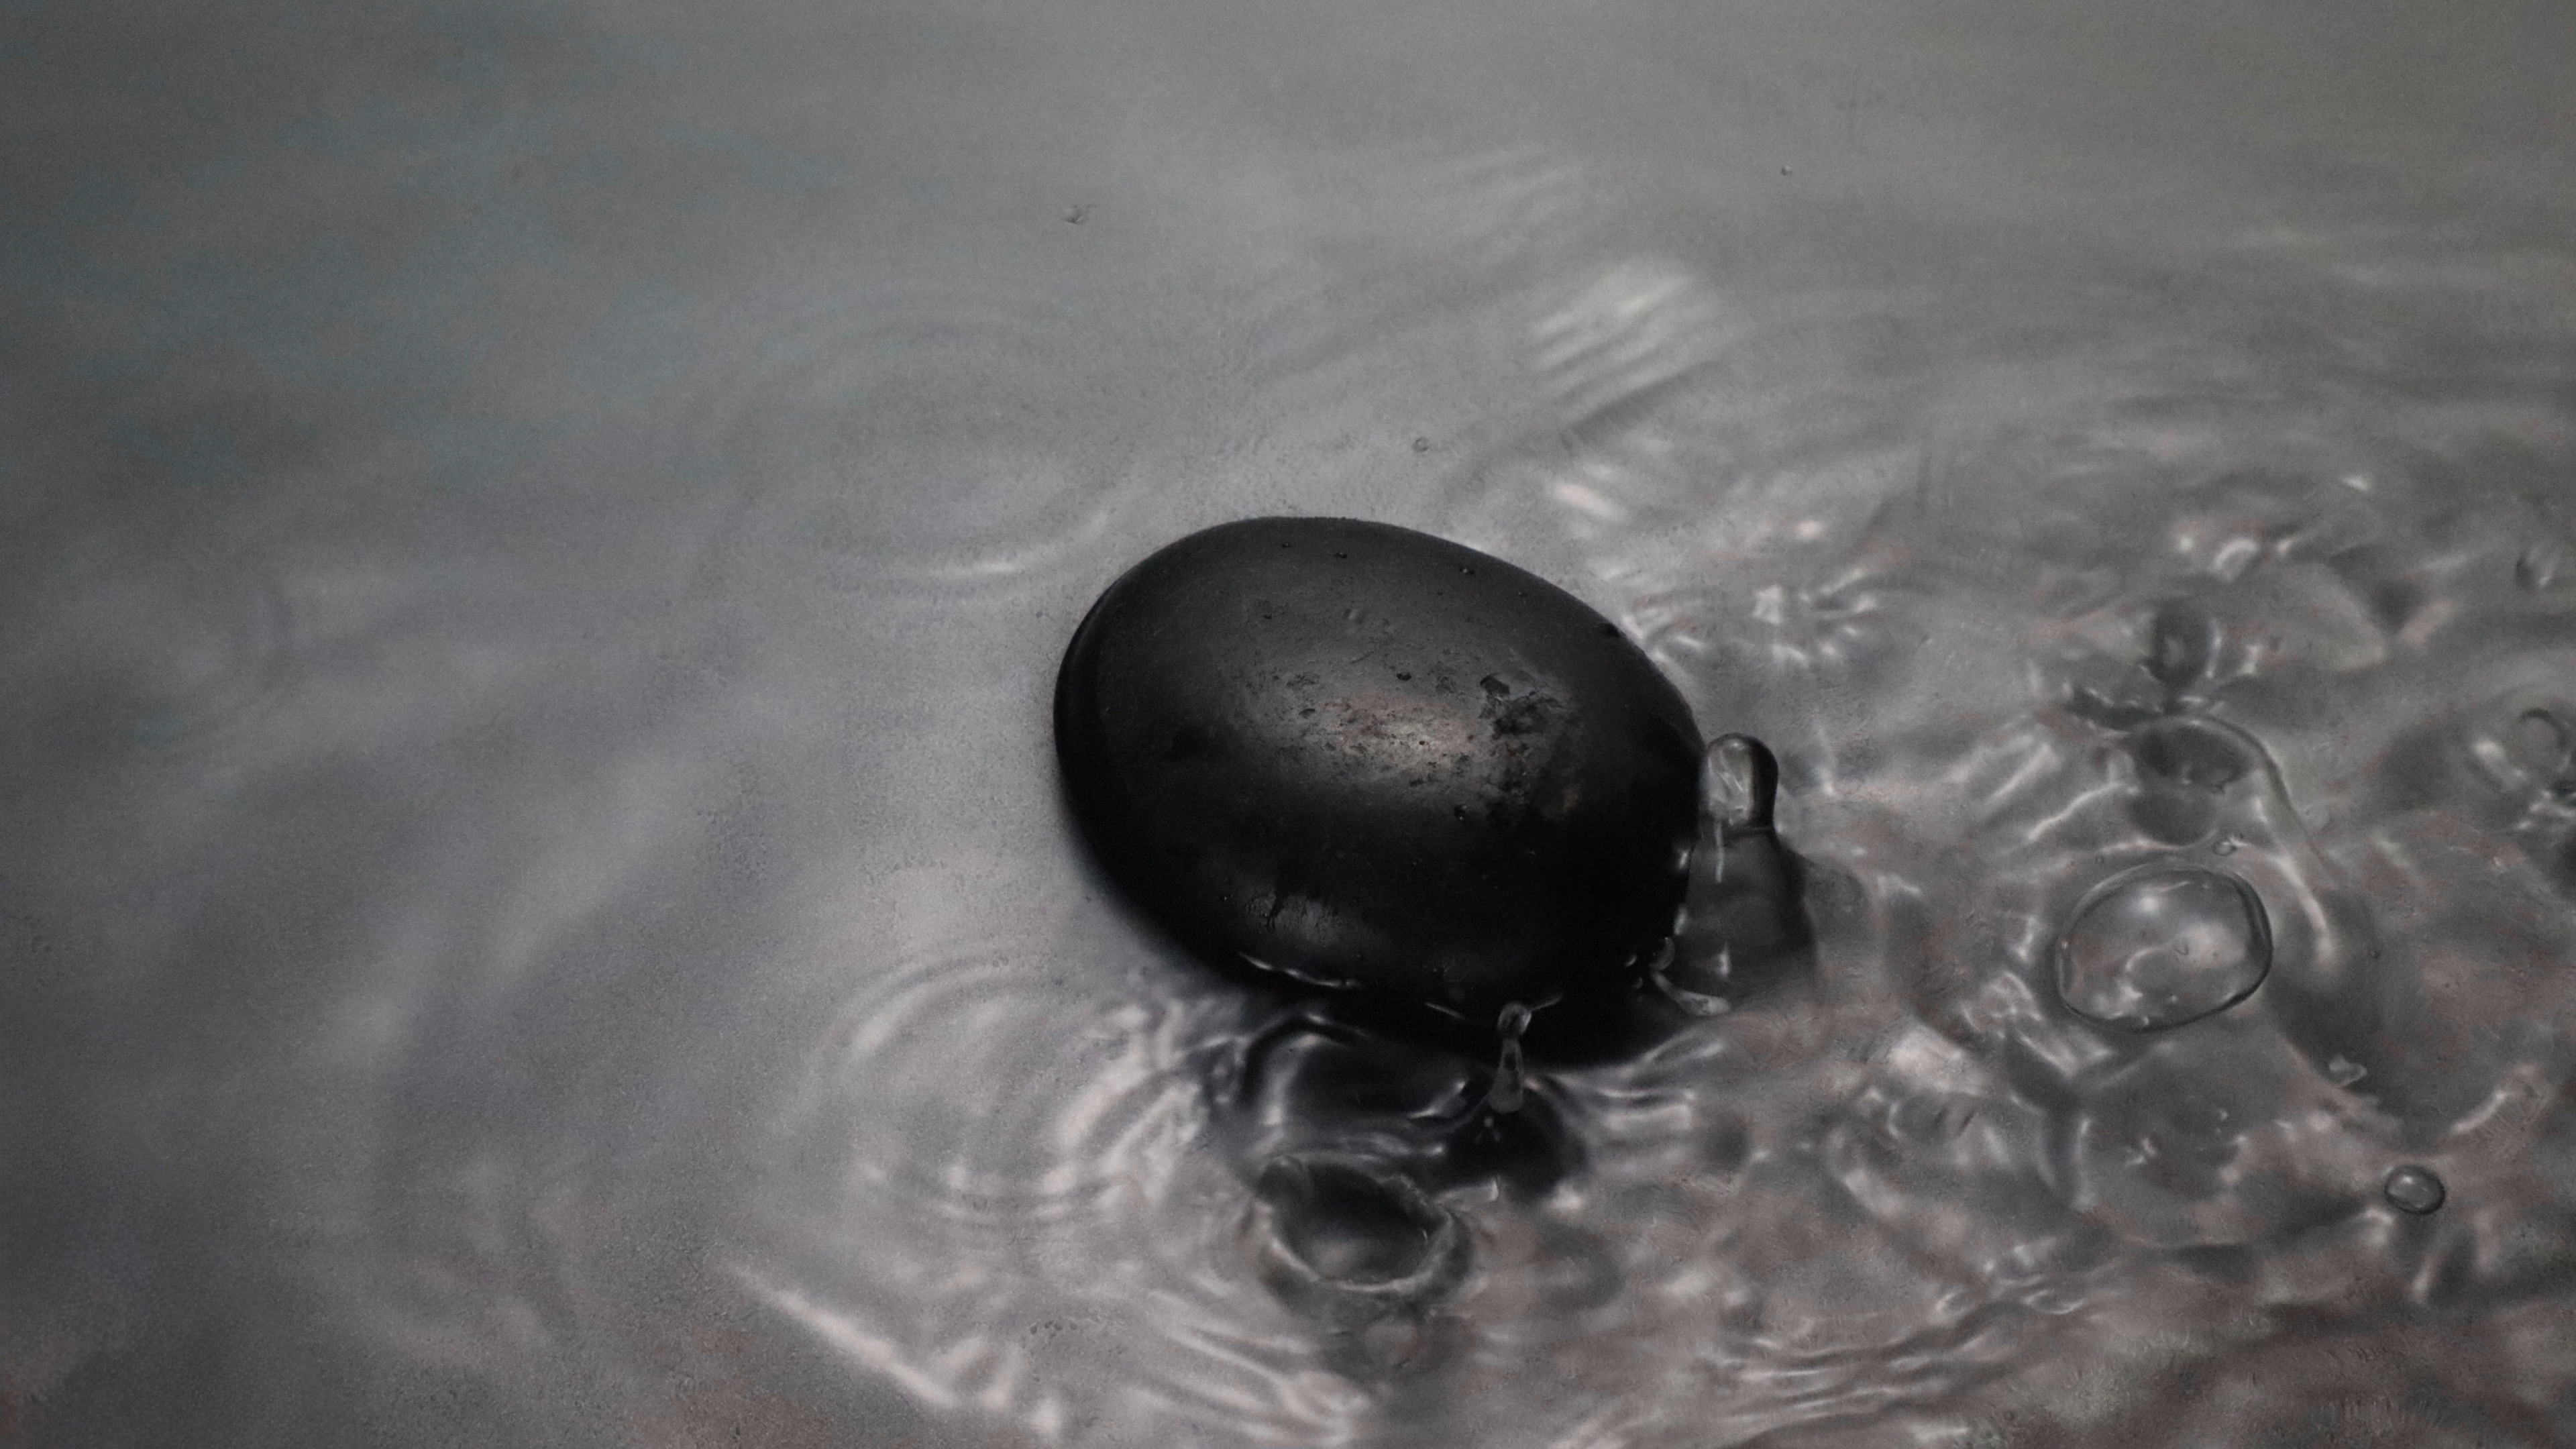














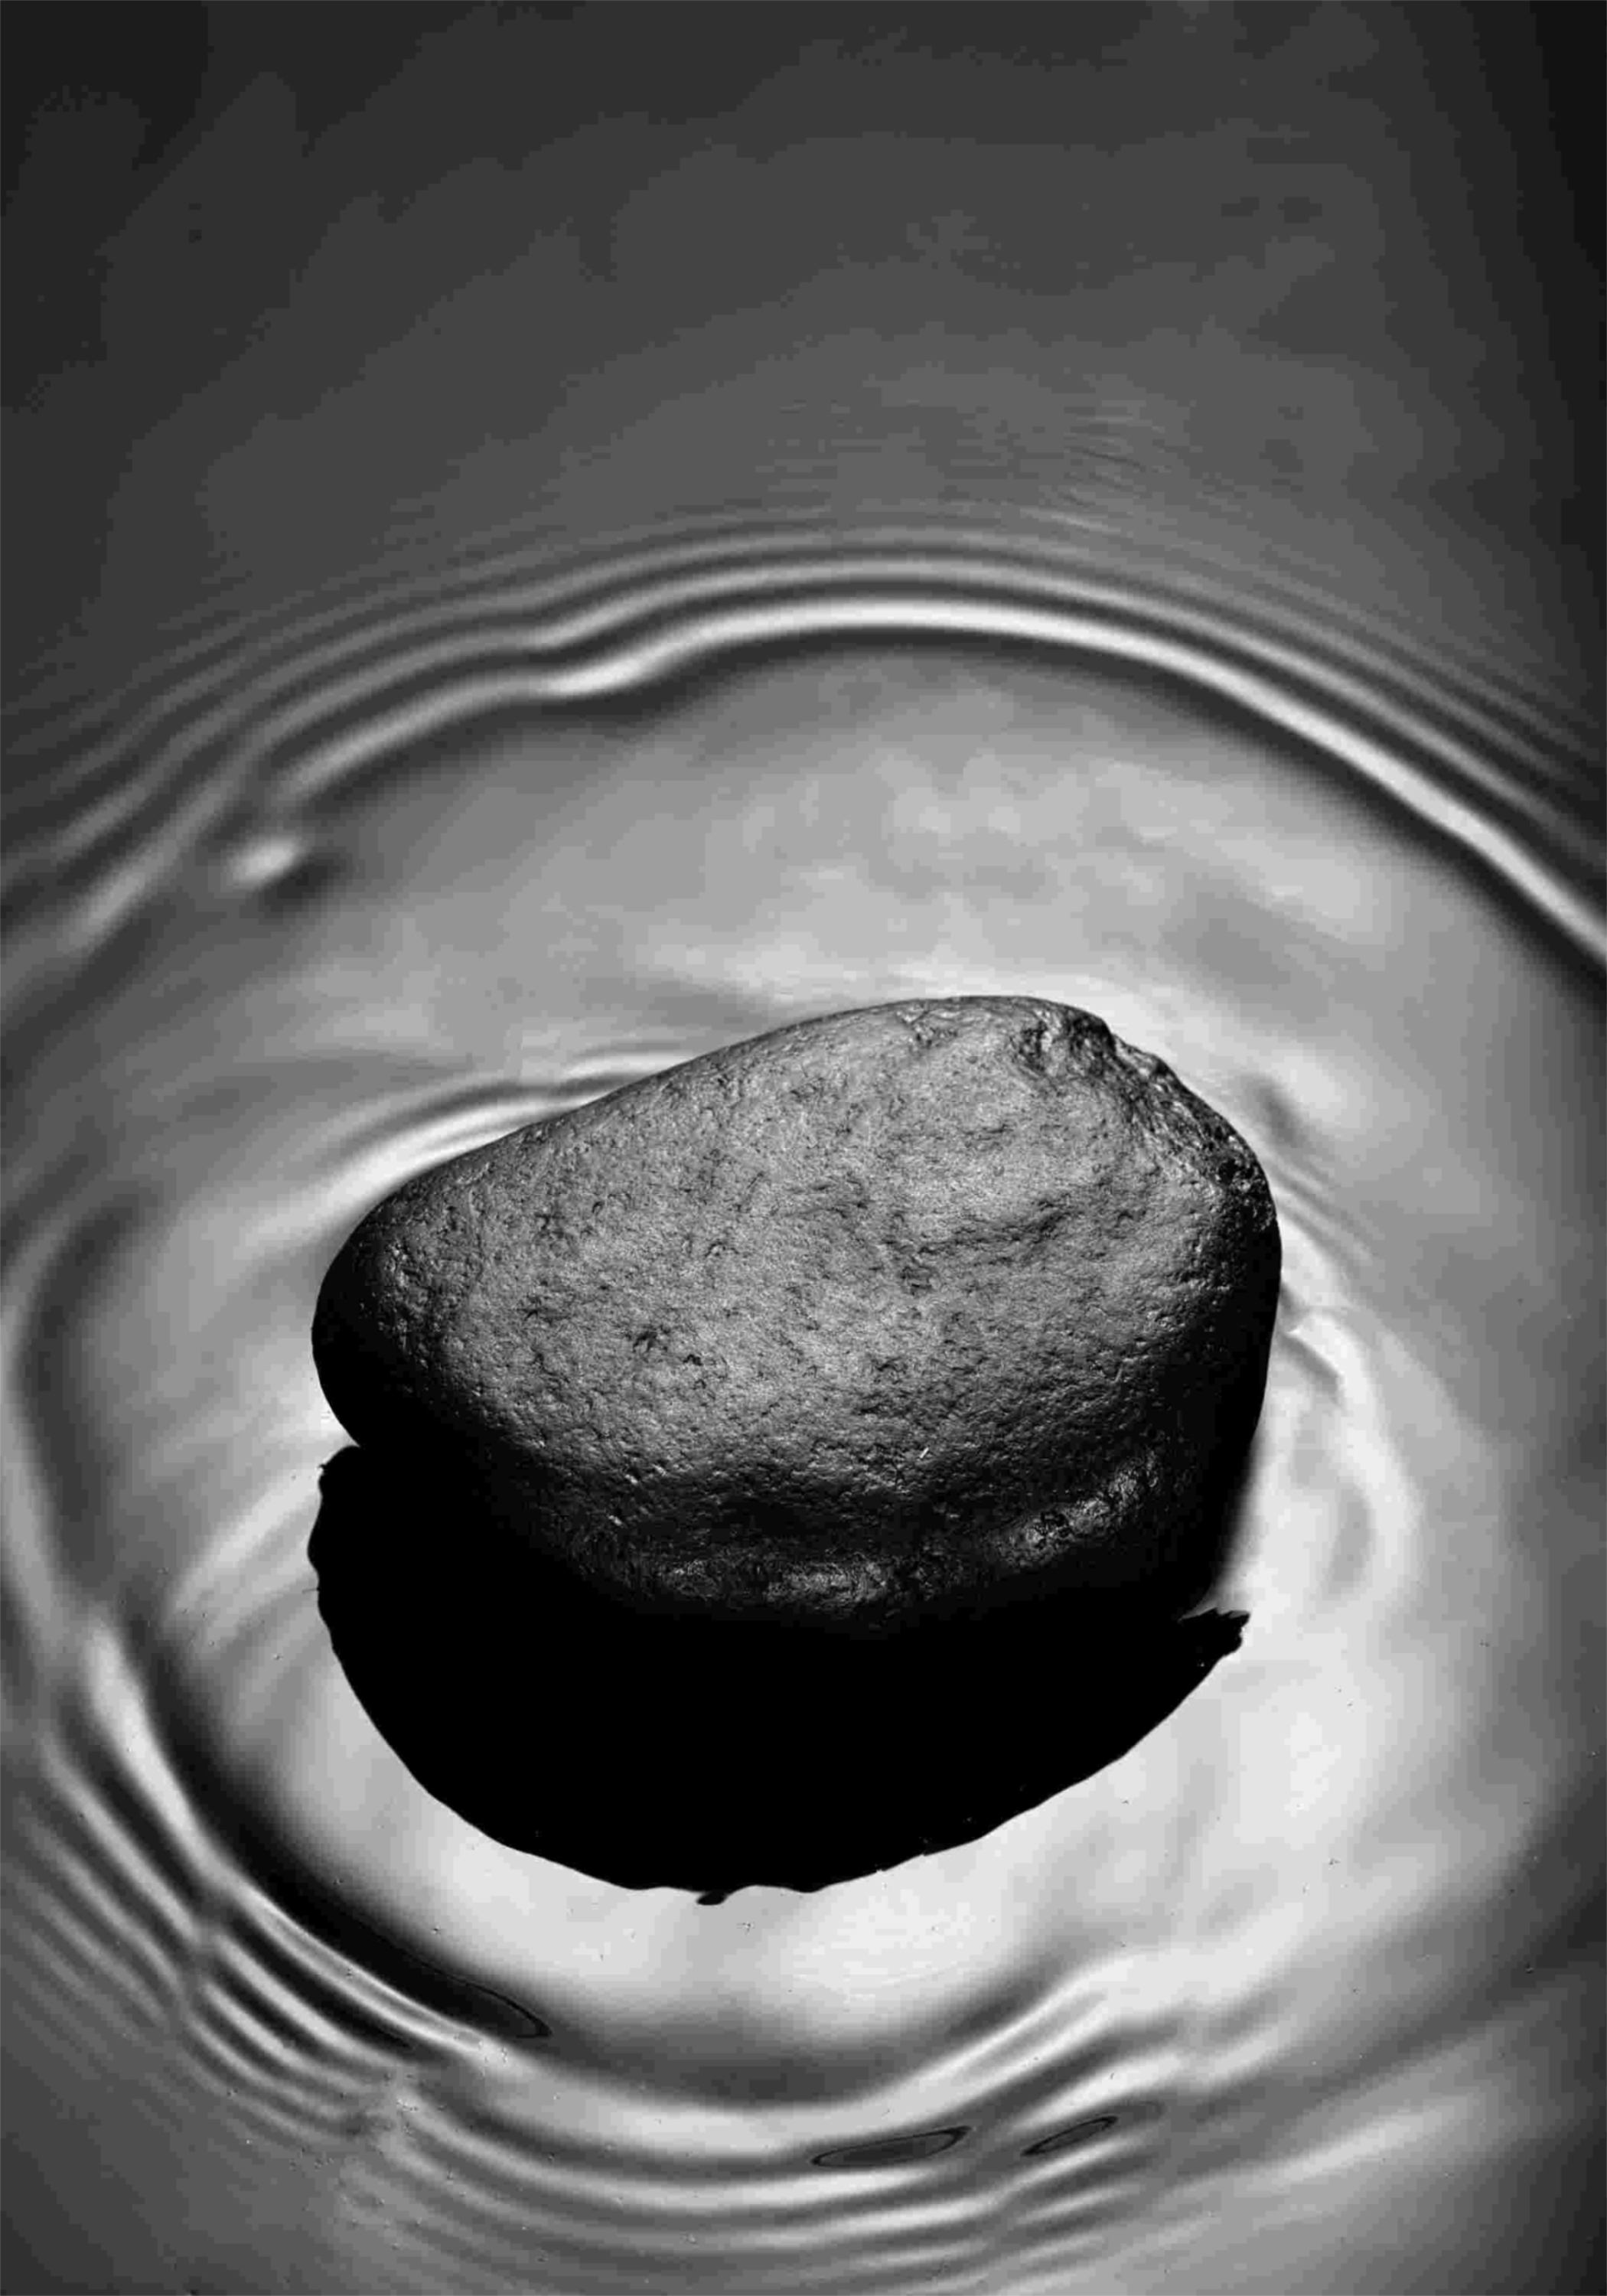
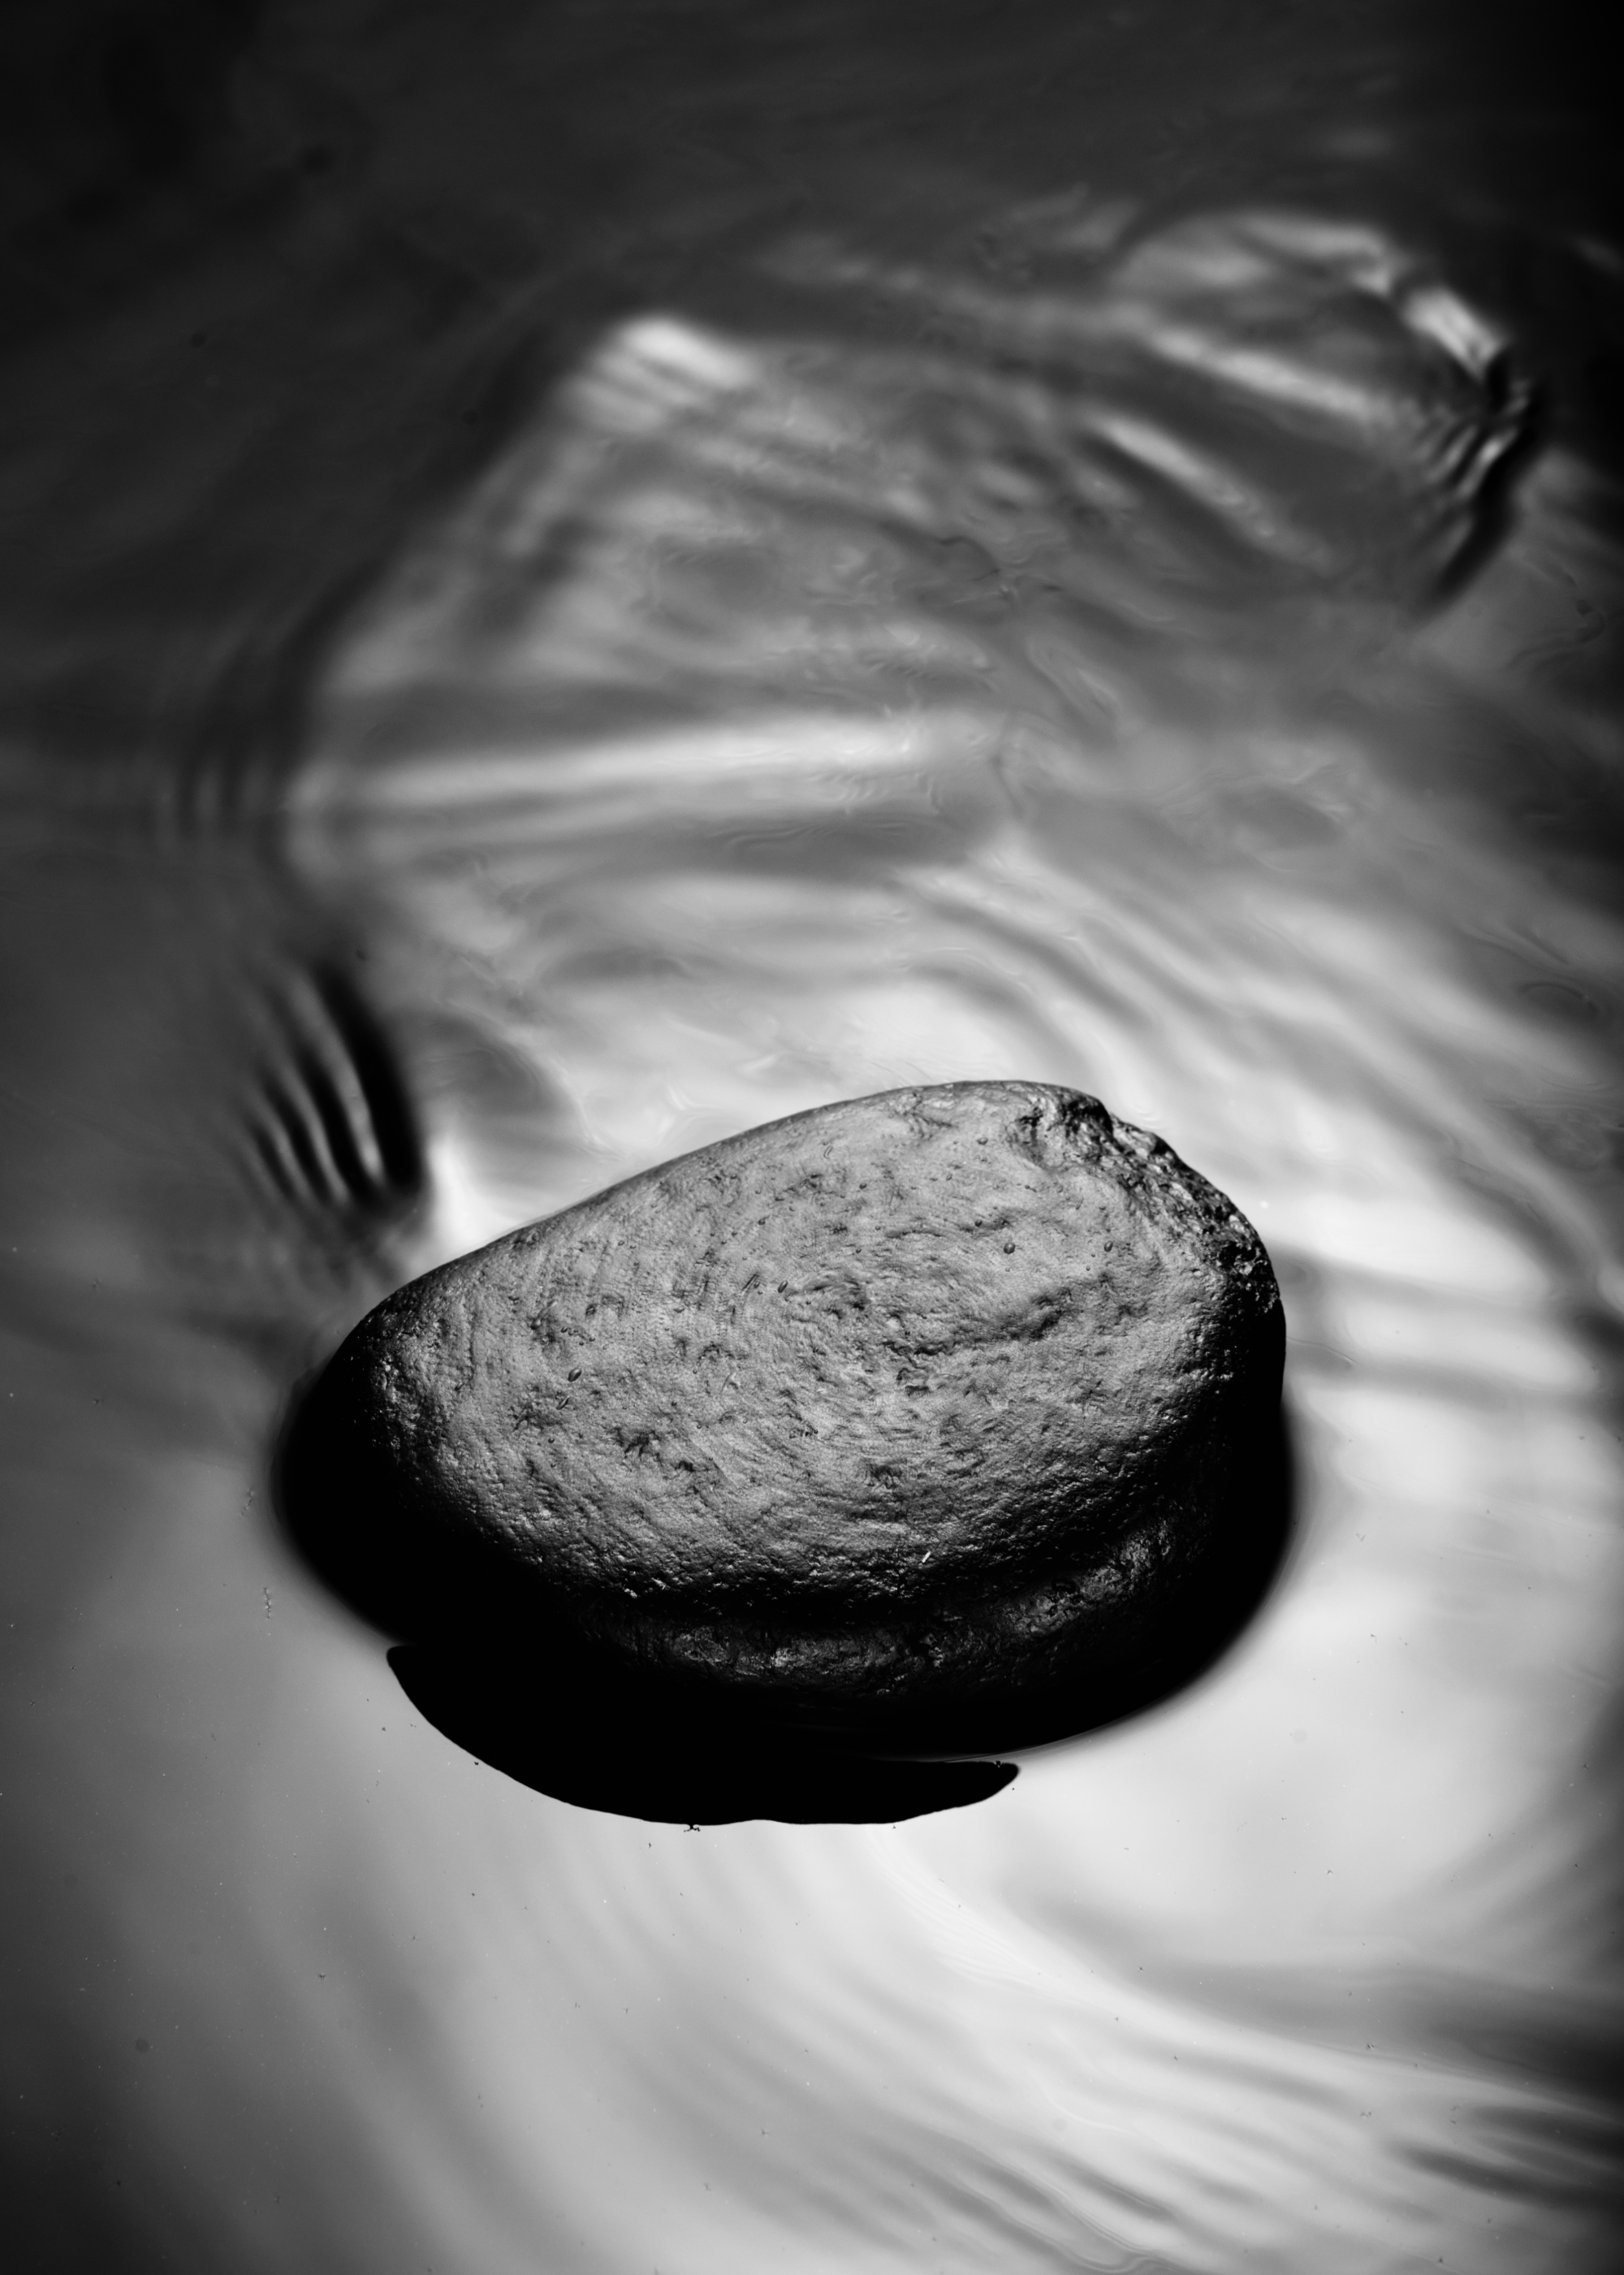



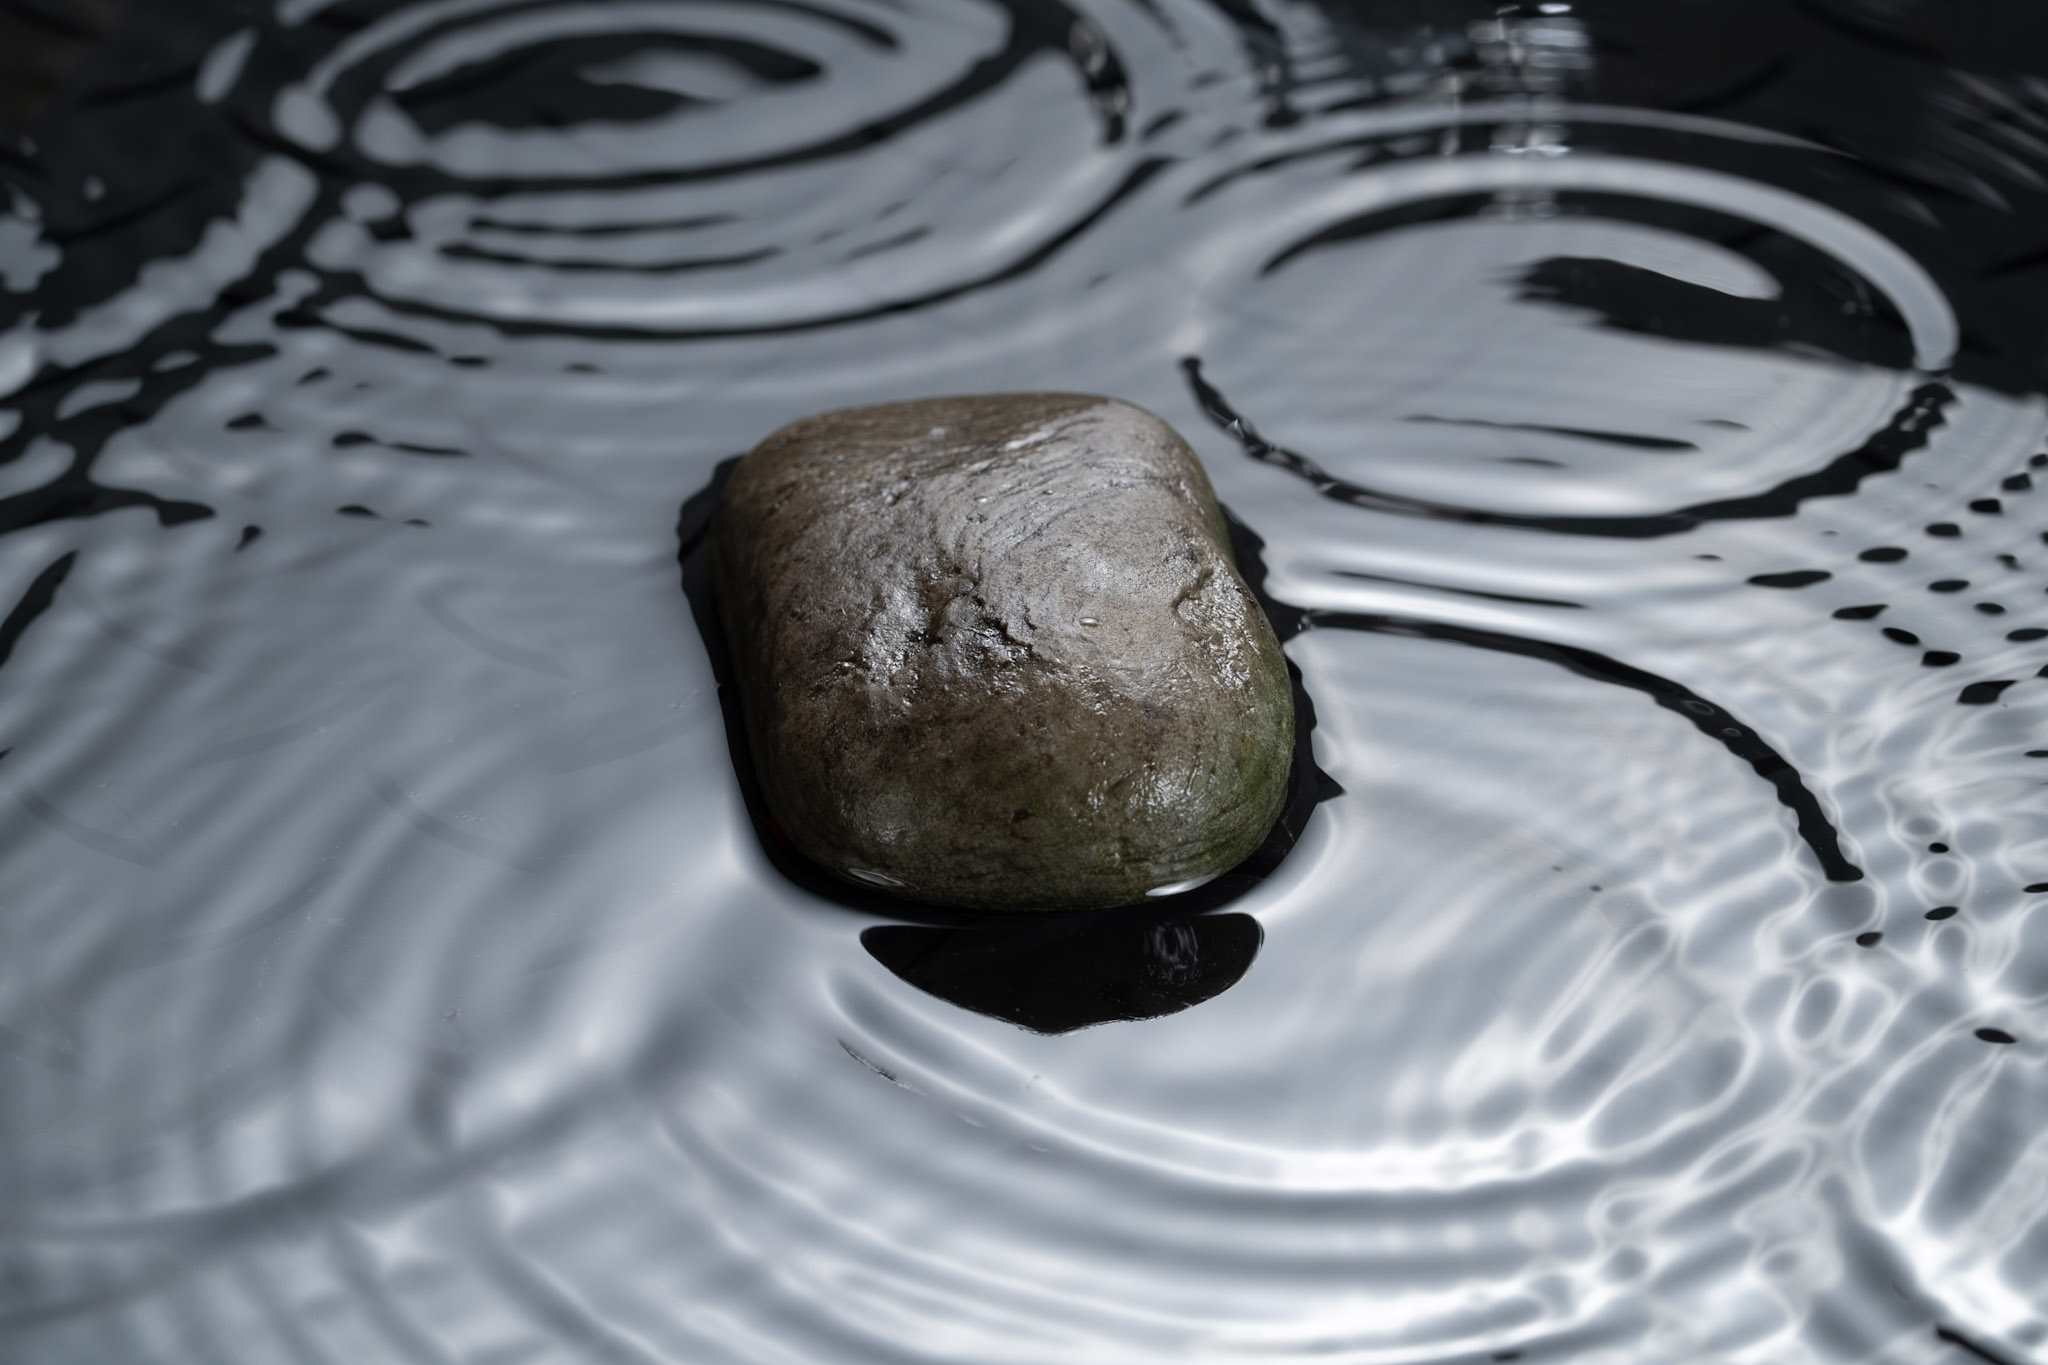
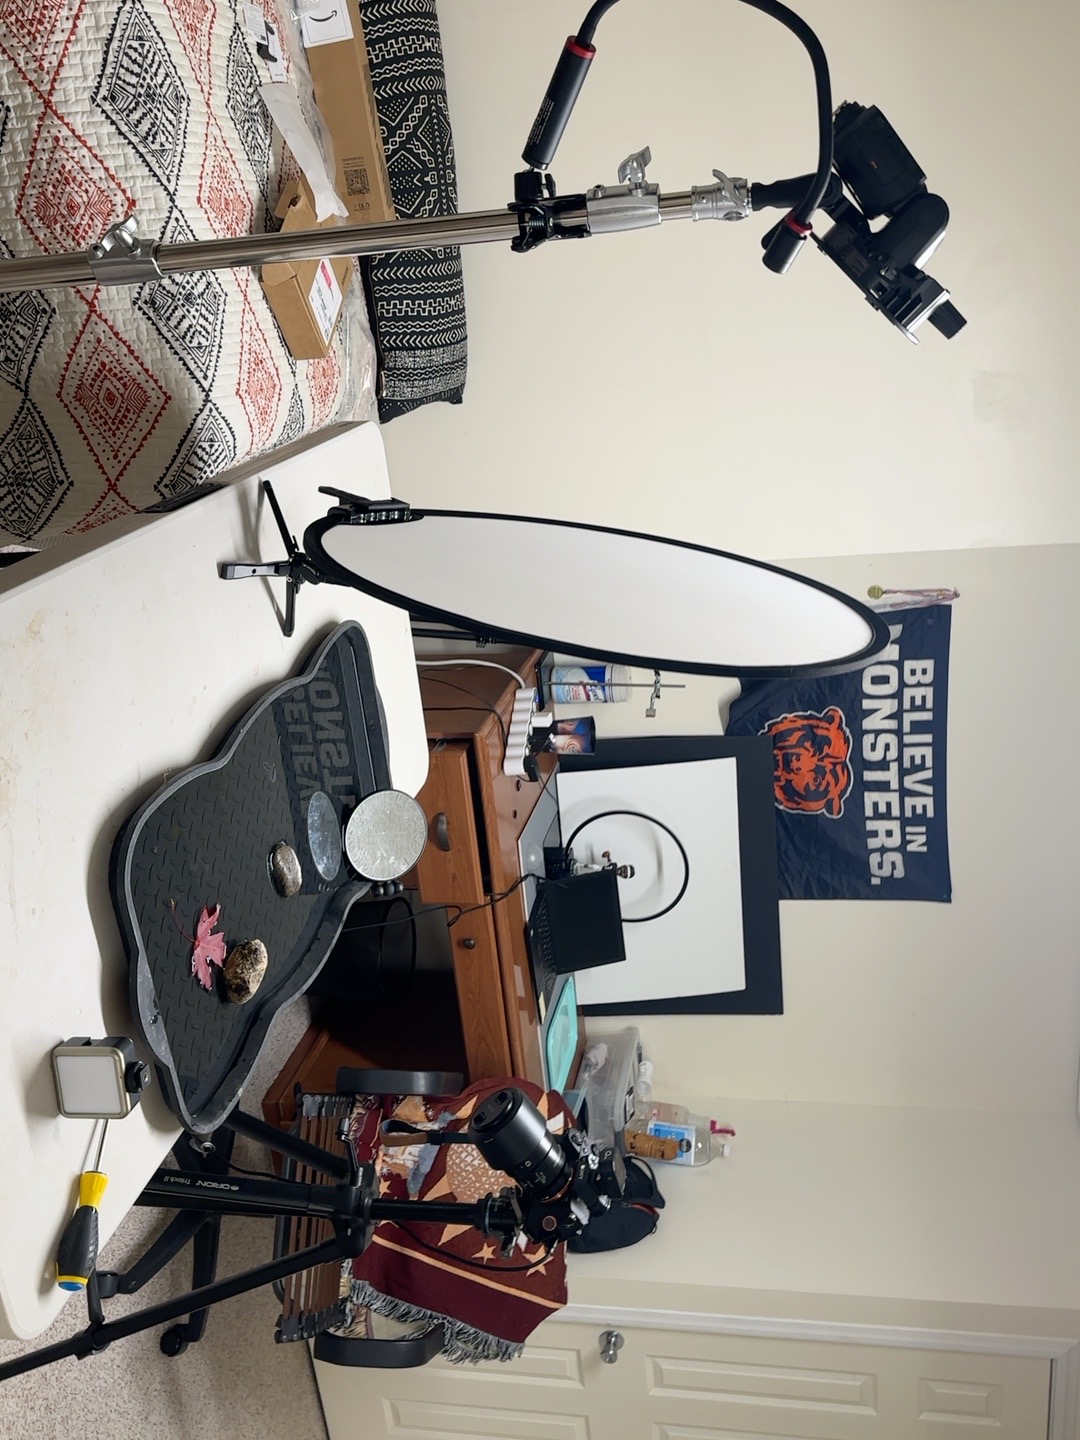
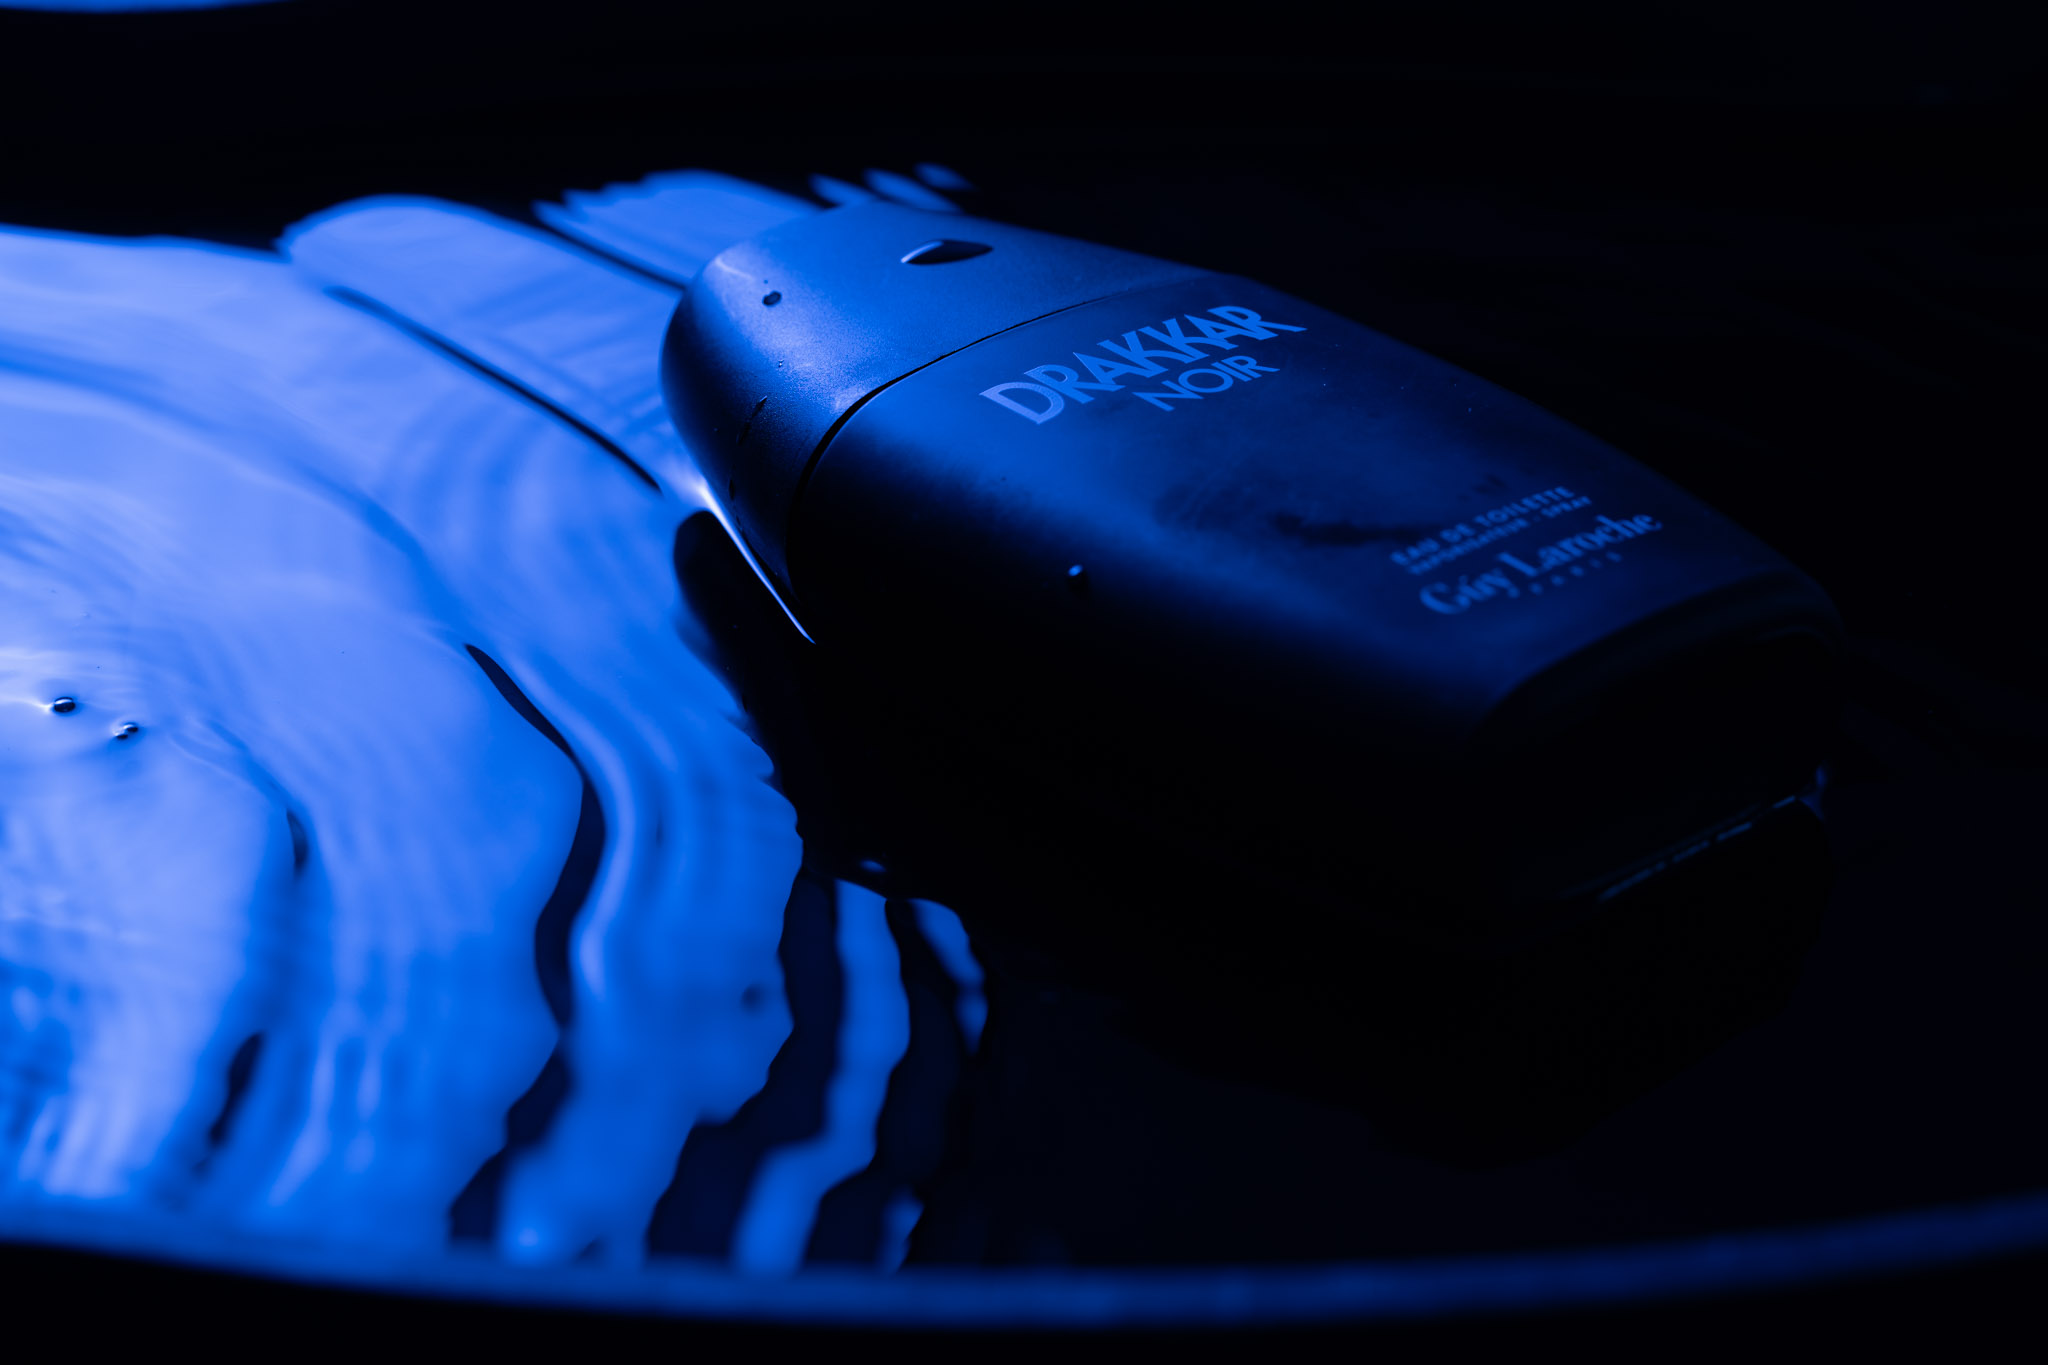

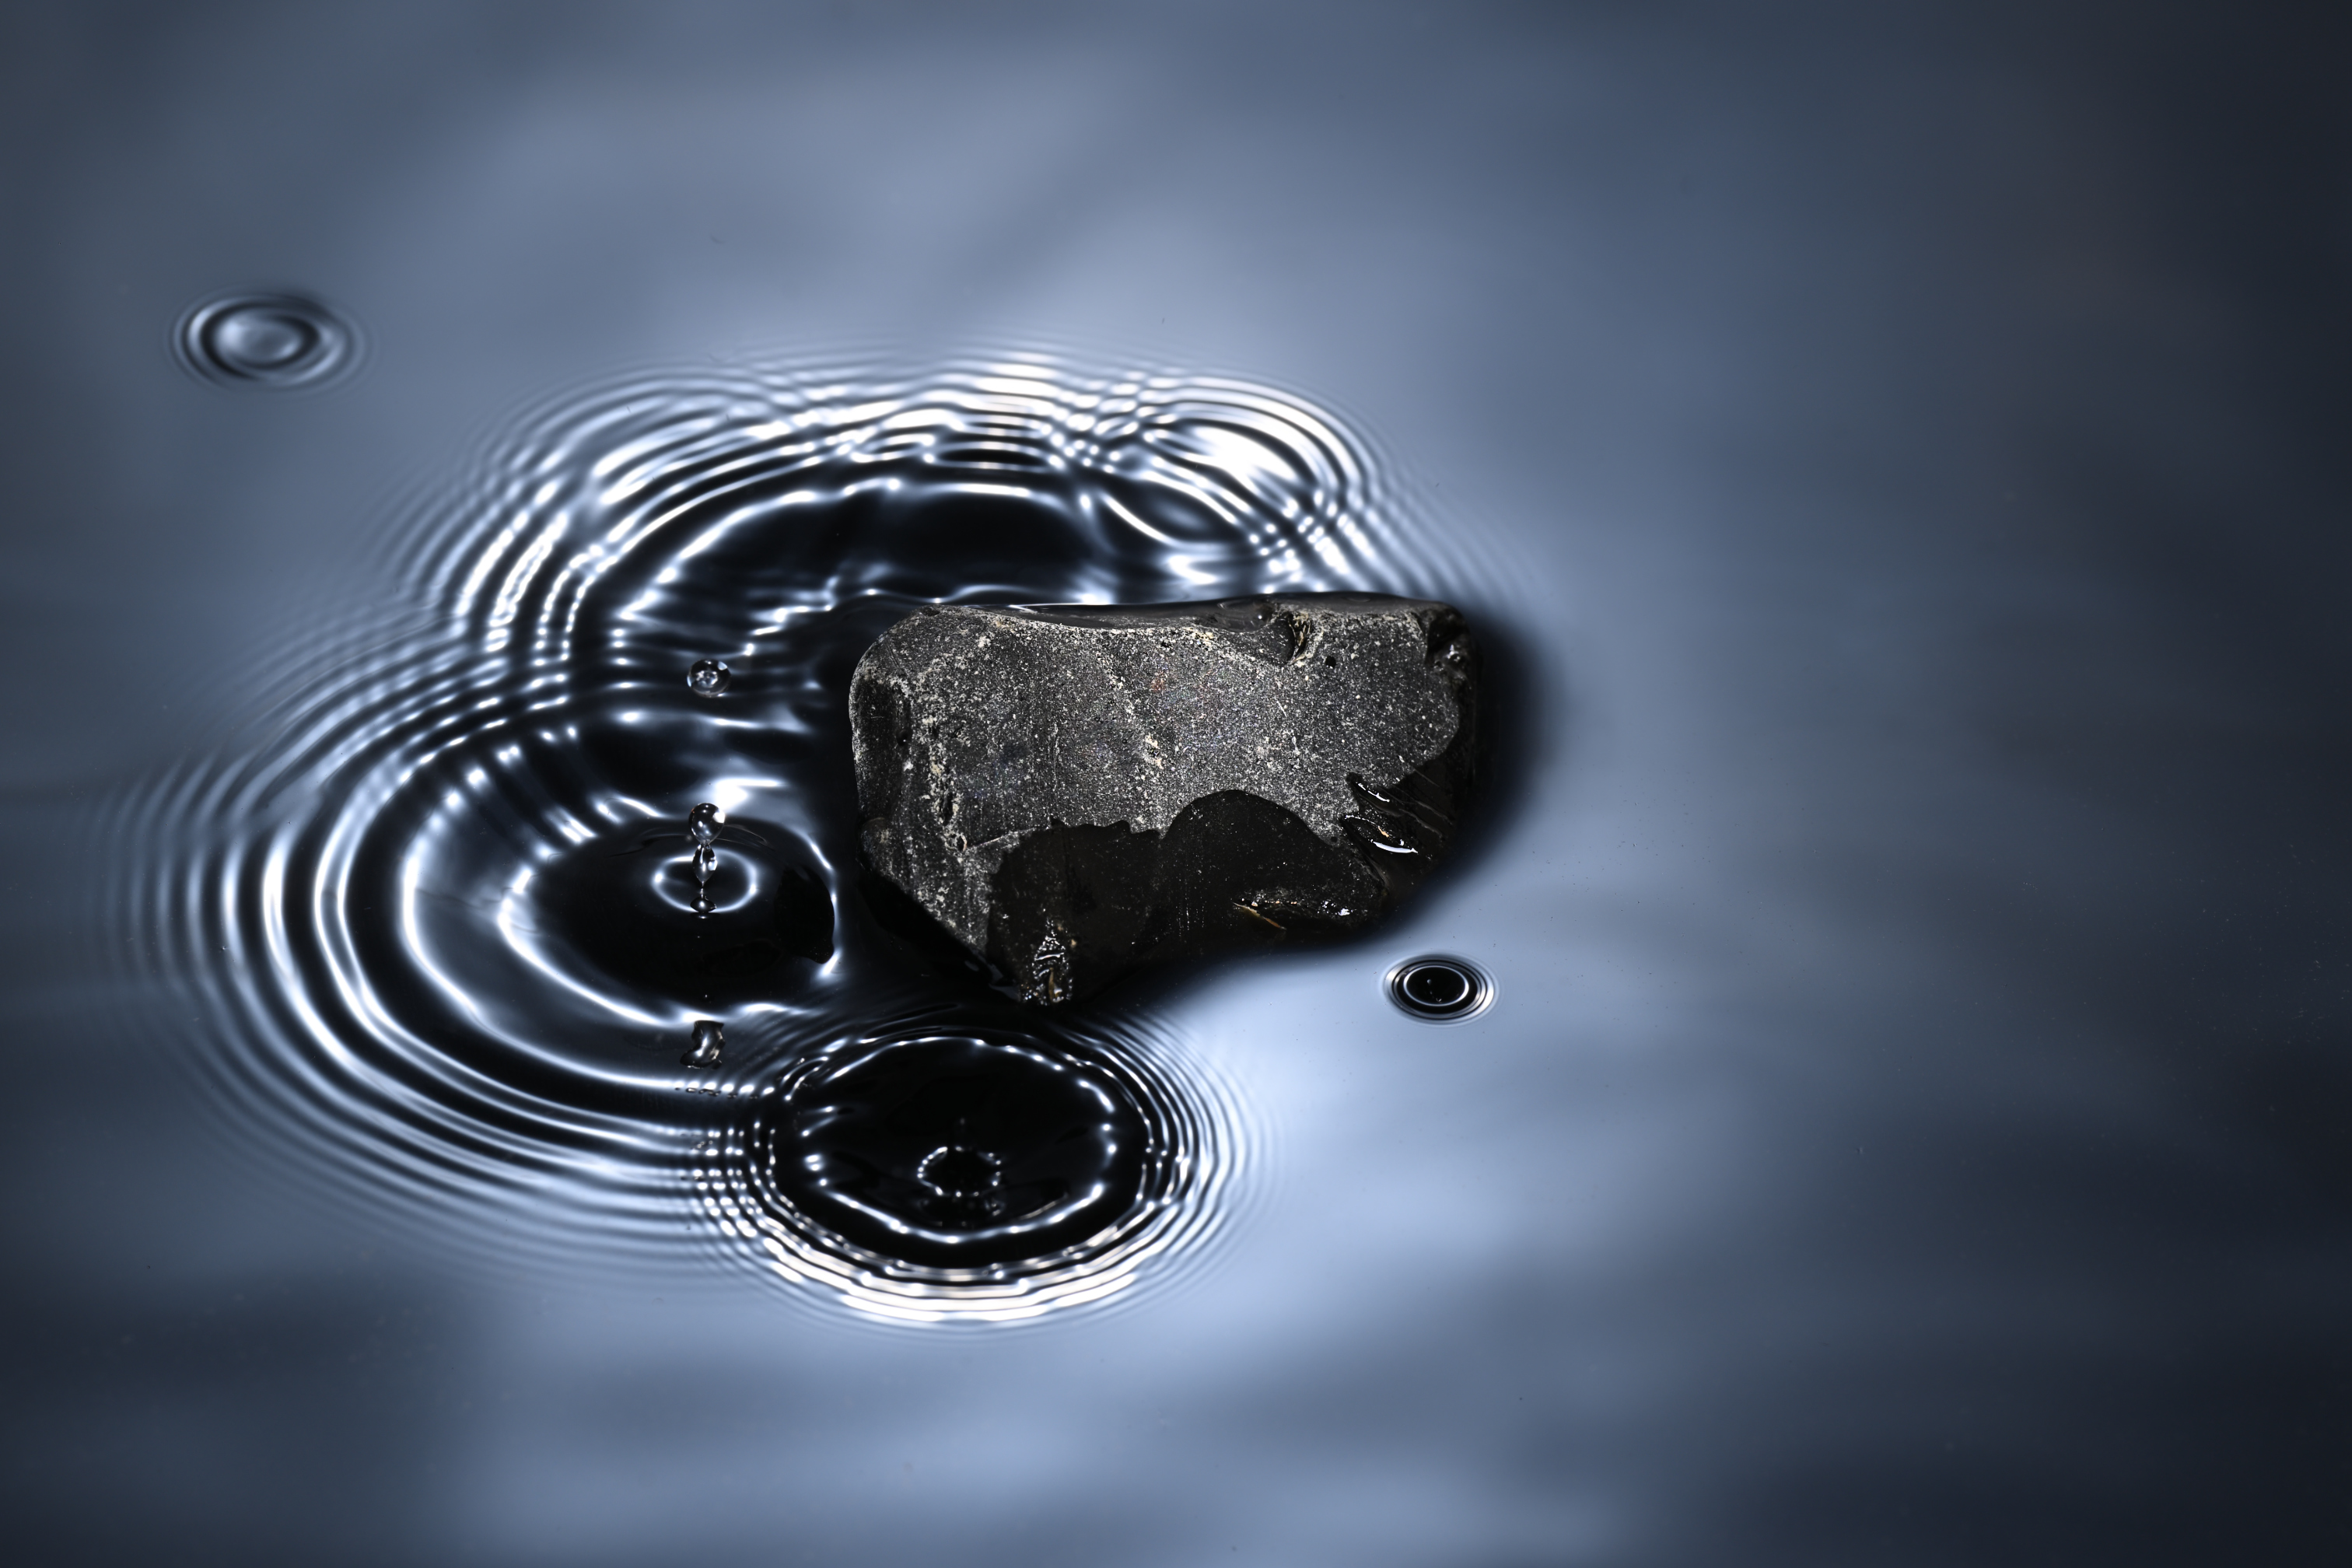
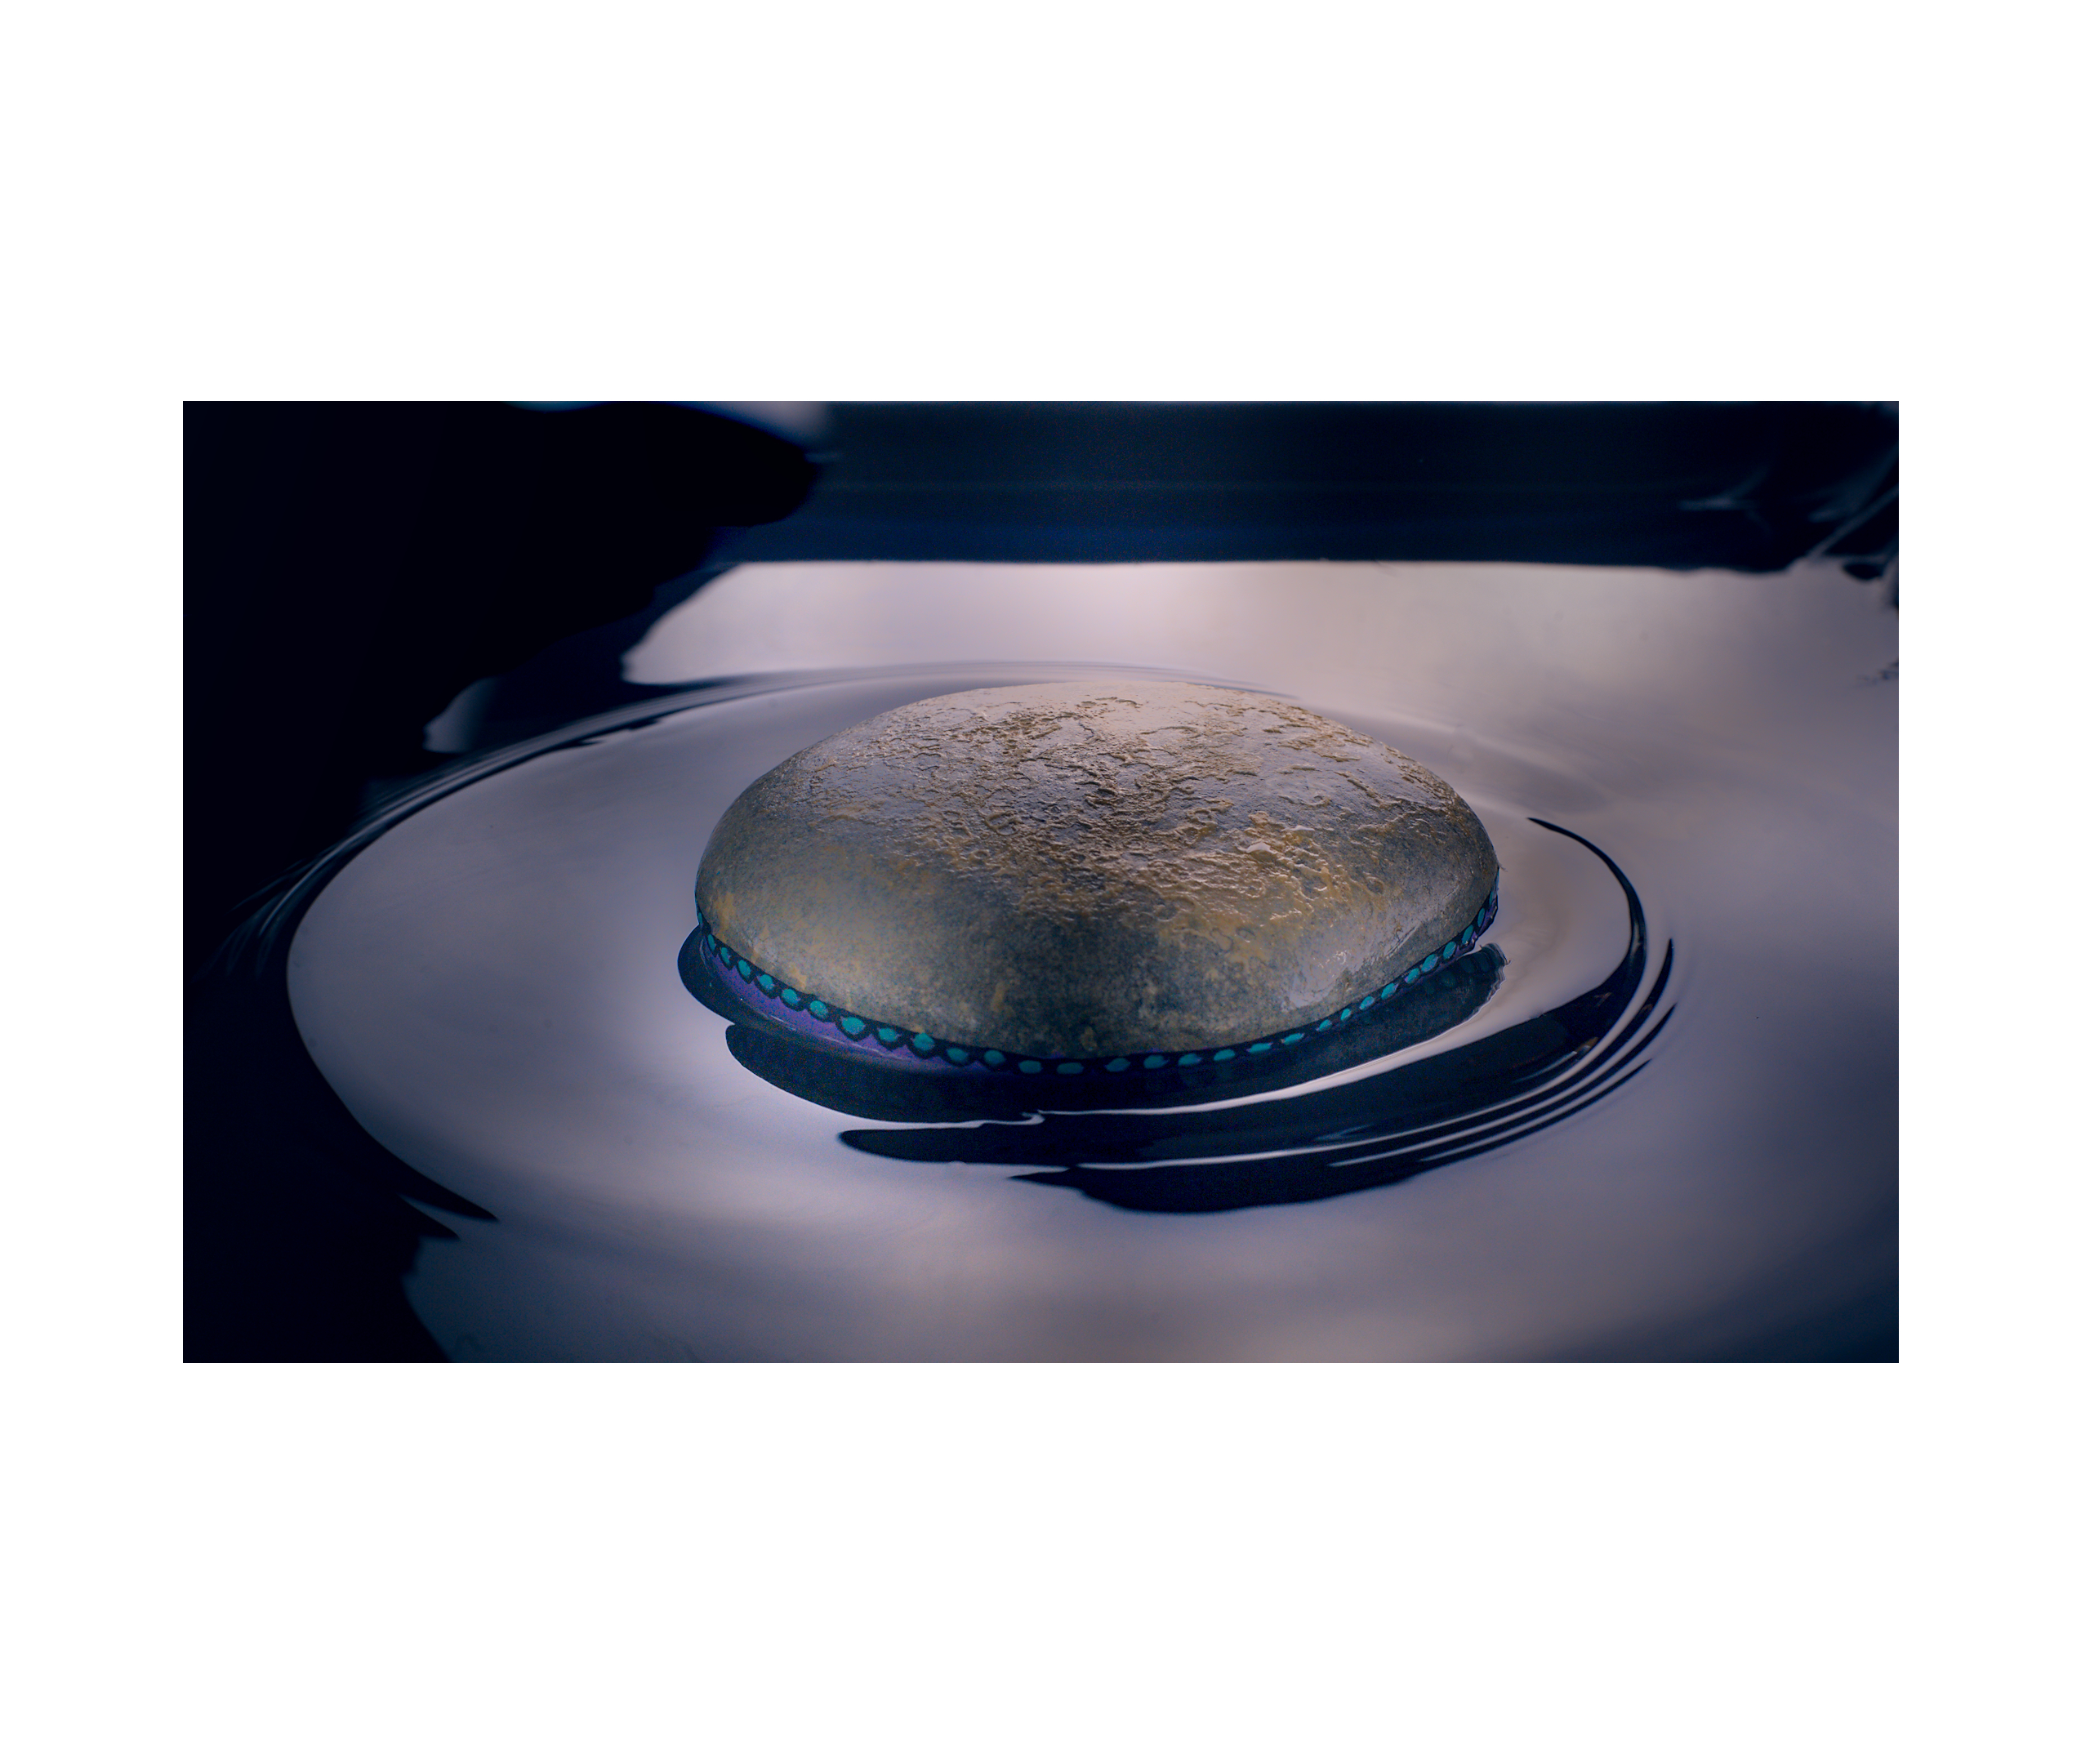
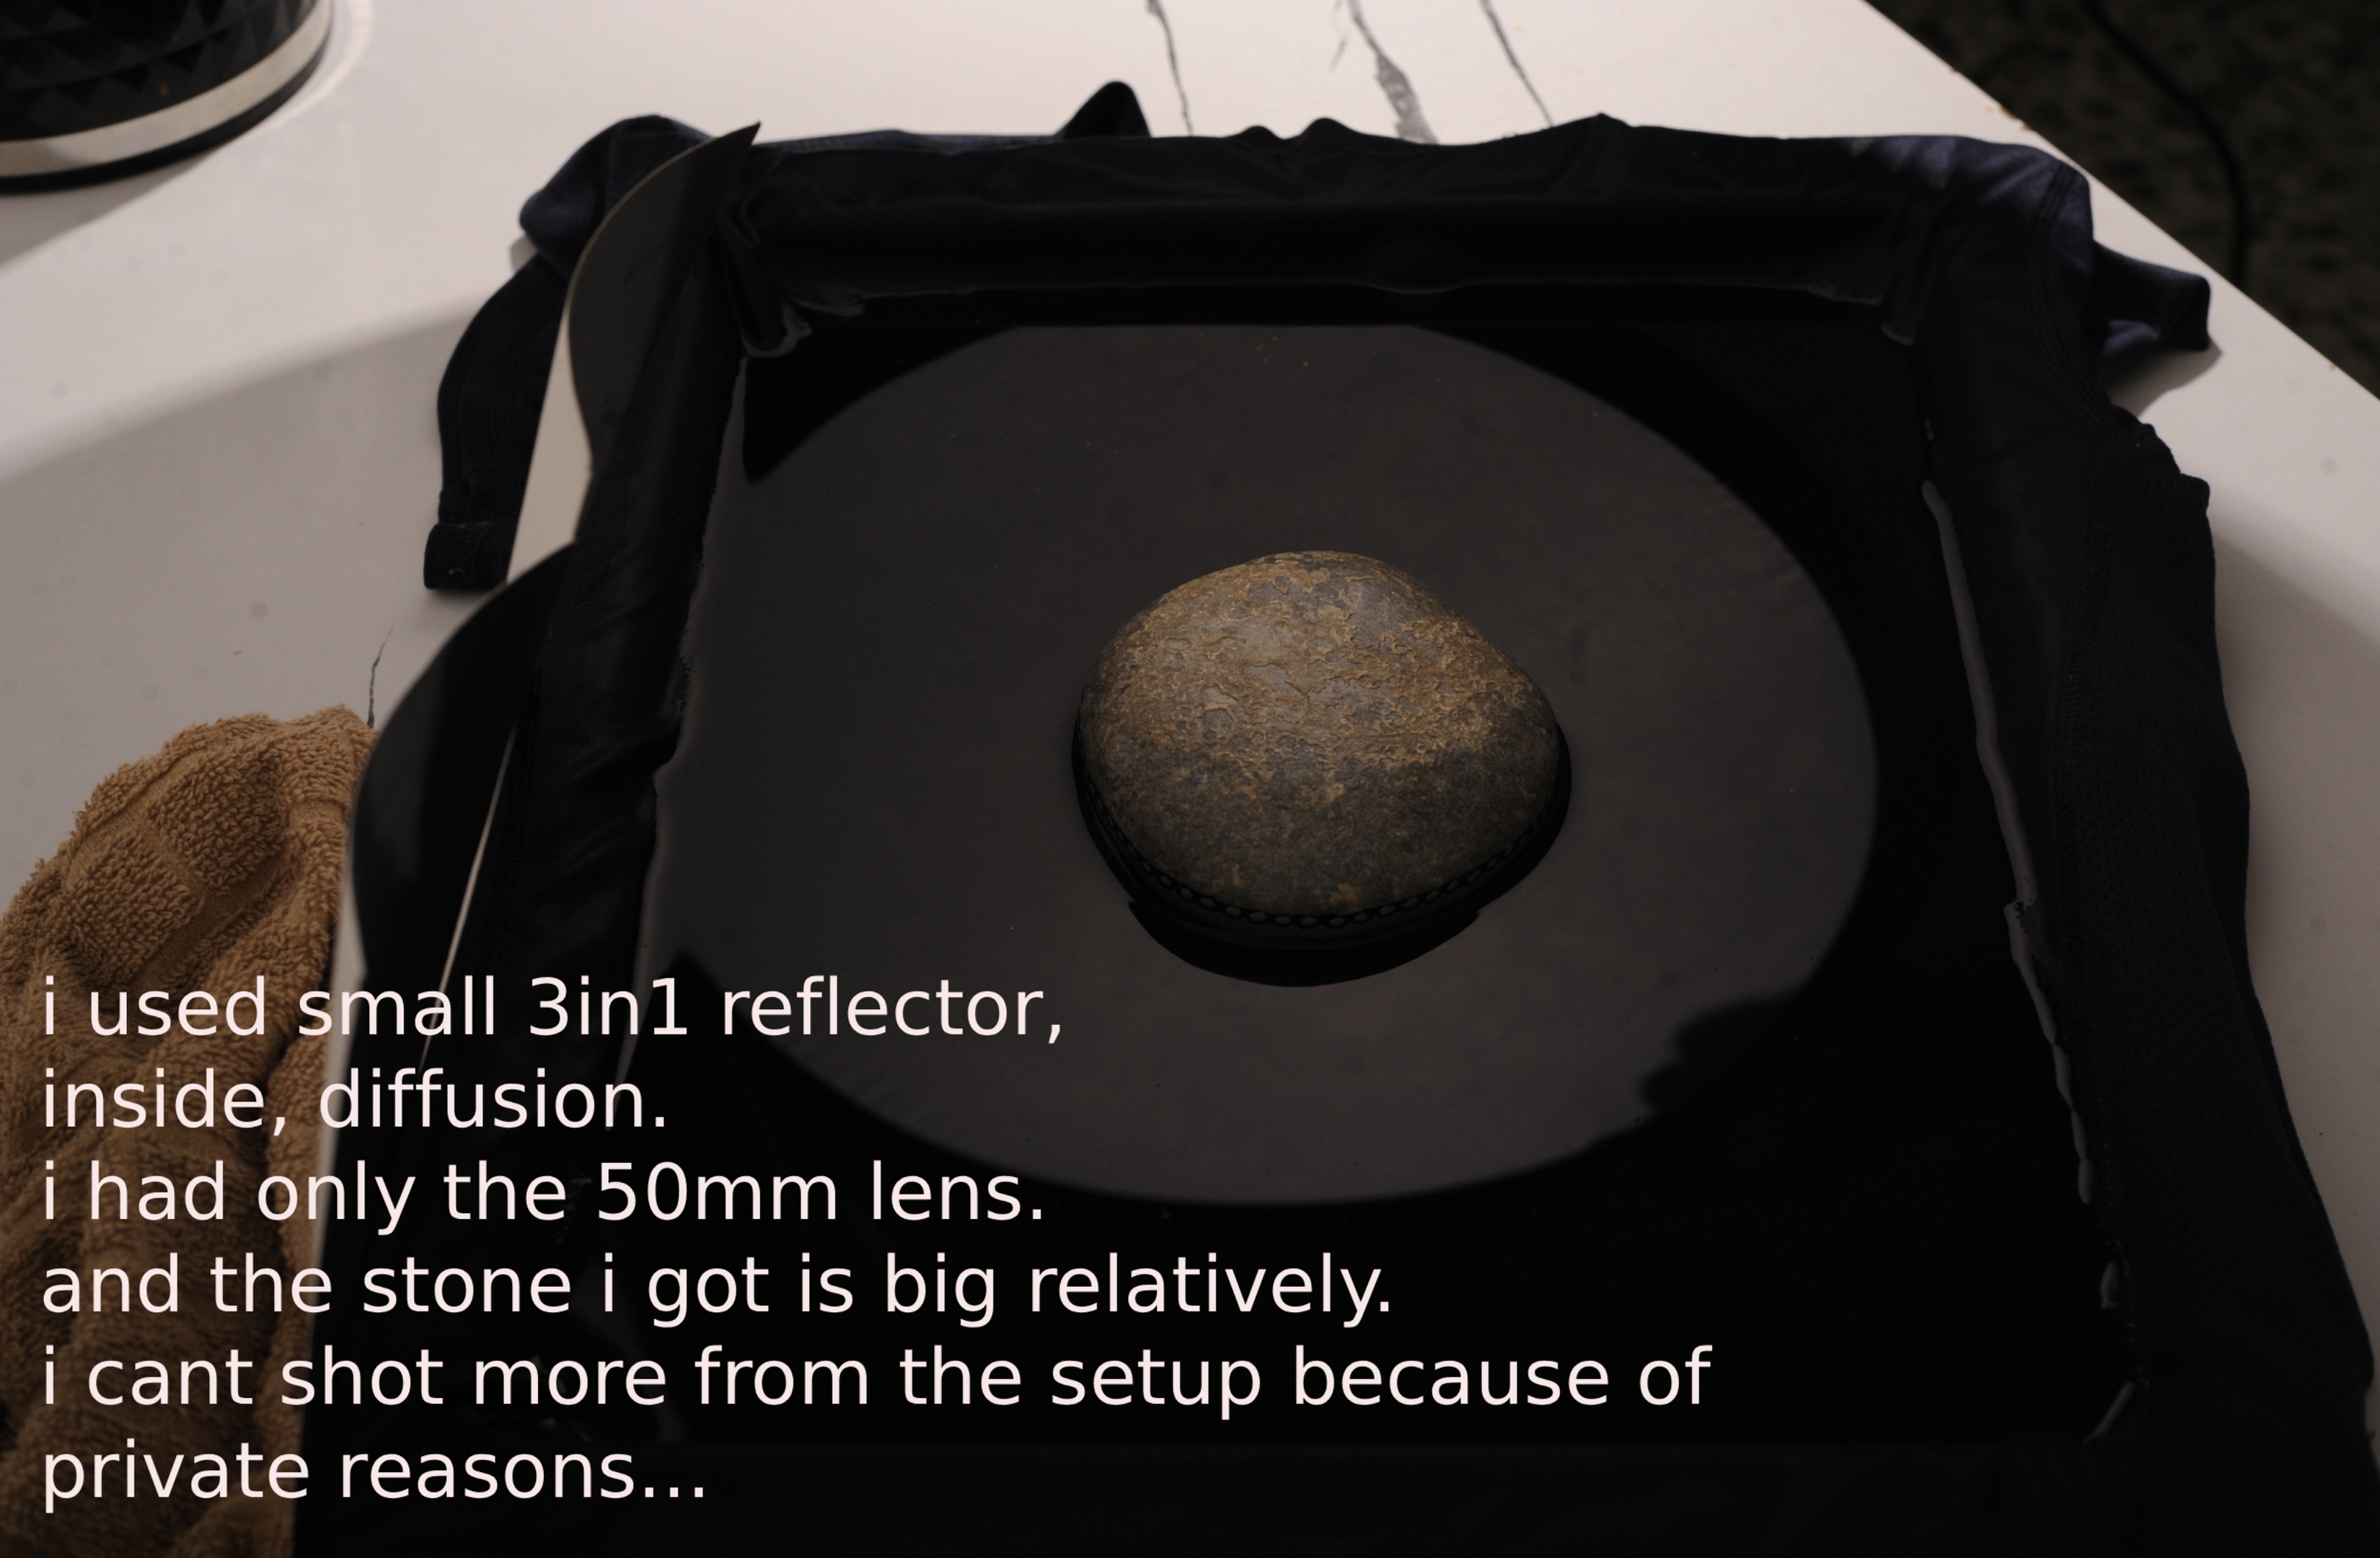
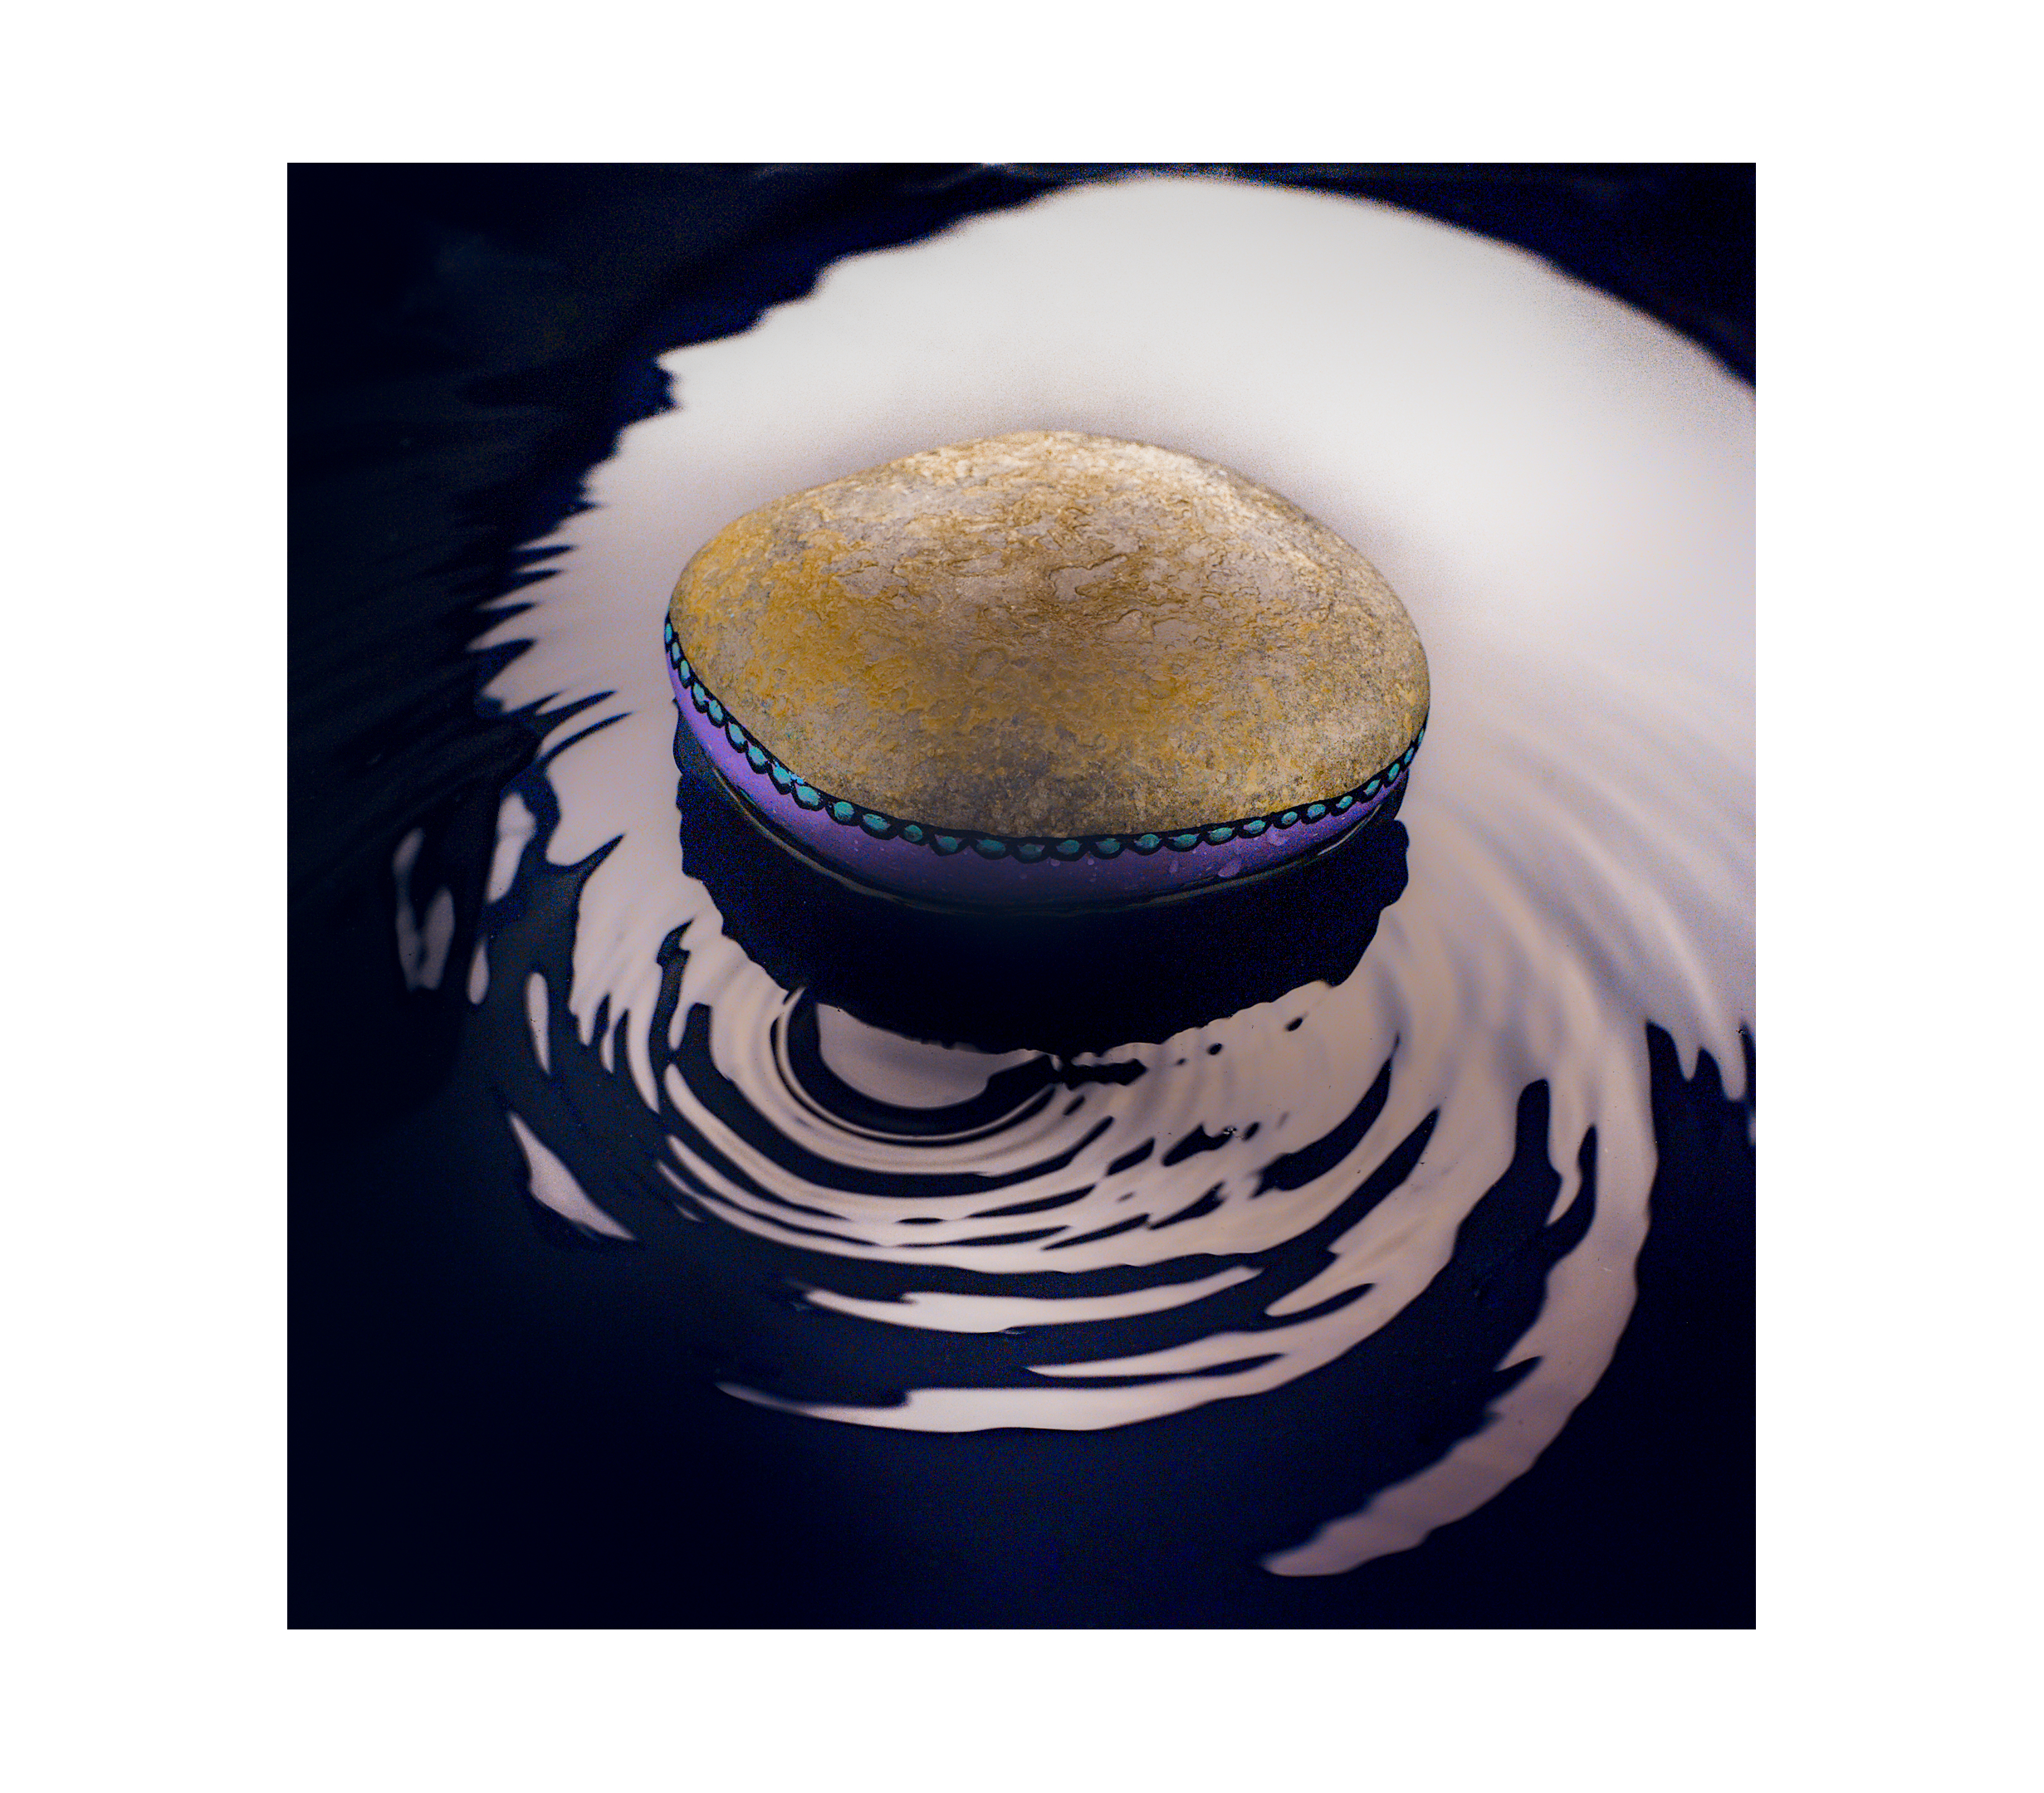
Comments
Hi Karl,
Thanks for the informative Project Progress Show. Sorry I couldn’t join live due to the current time-zone difference – 2 a.m. here in south-east Australia.
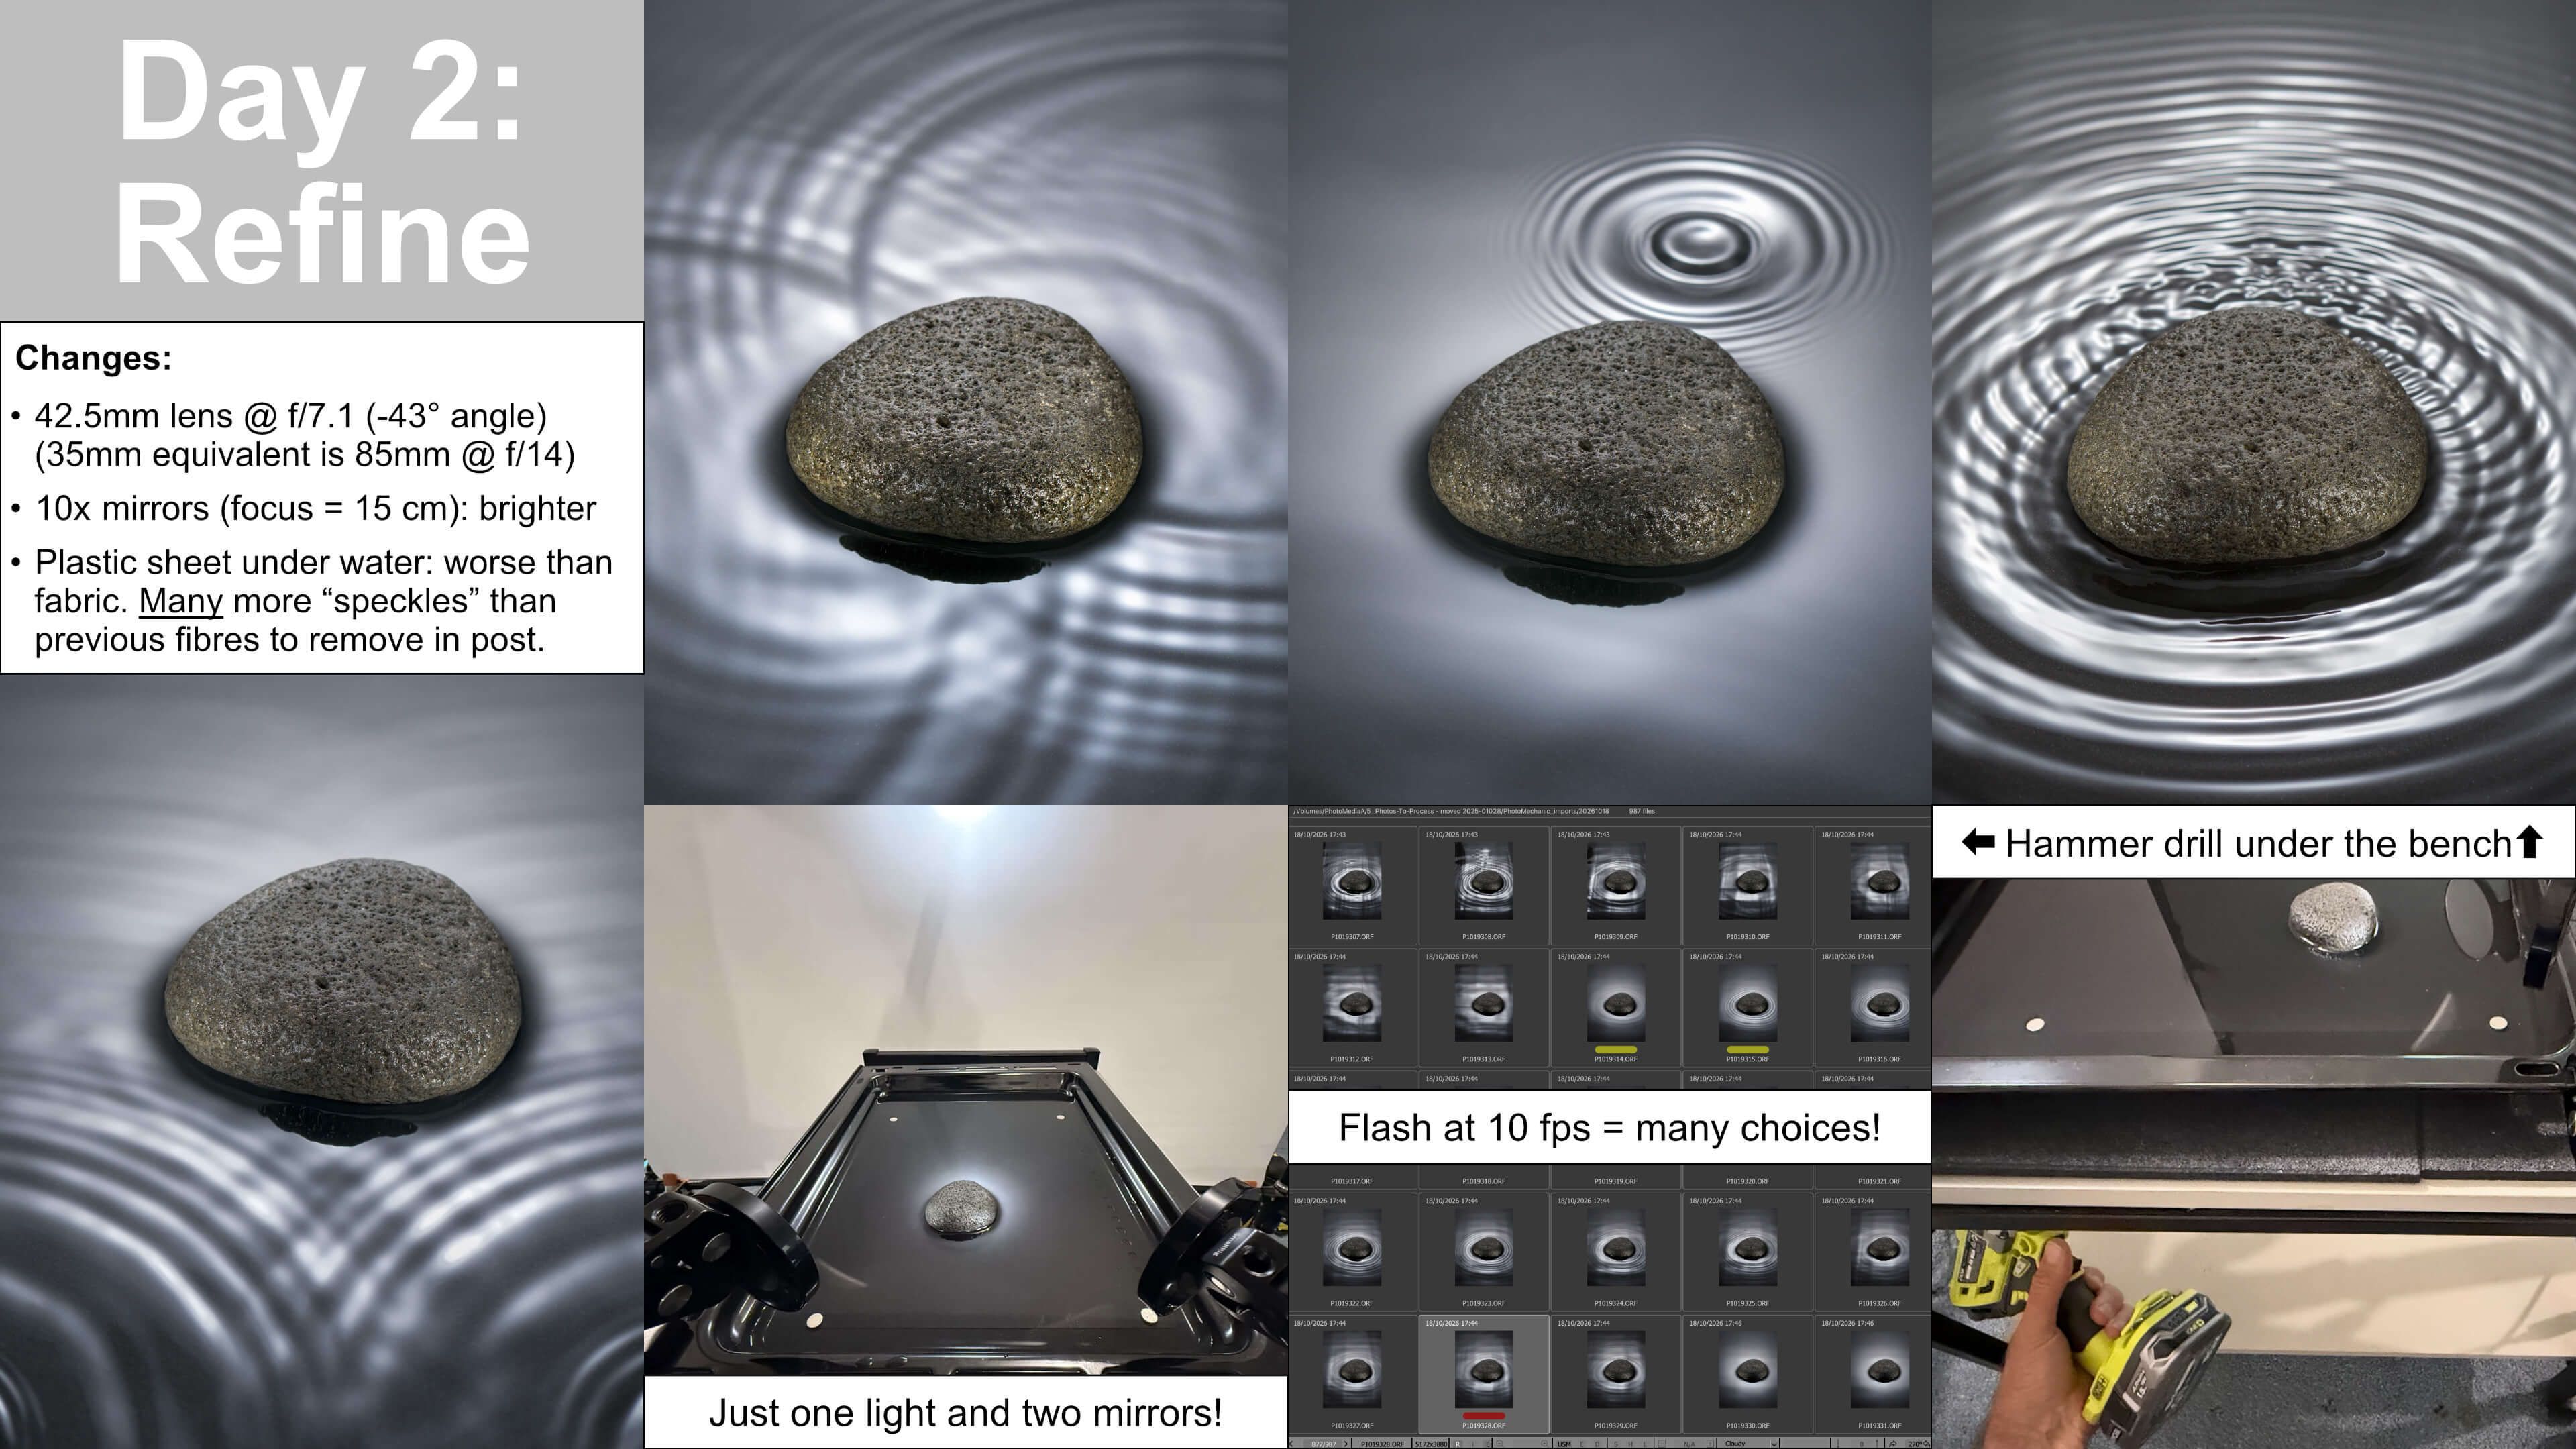
Regarding the vertical (and horizontal) lines that you mentioned mid-show when discussing “Hayes'” image, I have a similar effect in my final image. In my case I used Lee 216 and saw that the ripples come from all four sides of the small oven tray, due to applying a hammer drill underneath the table and essentially shaking everything up. This also created “wonky” ripples from the pebble – a surprising and unusual effect that led me to choose that image as my favourite.
*I have experienced the cross-pattern from fabric diffusion that you mention when backlighting a subject. It was very frustrating trying to work out what was happening at the time, and this project was what finally pushed me to buy a roll of Lee 216.
While I didn’t have the tilting-diffusion or tilted-light issue in this project, I am sure I have done that previously as well. Now I know WHY to avoid doing it (at least unintentionally). And this brings me to mention one of the things I like most about your shows: your crystal-clear explanations of cause and effect (on multiple topics). It makes all the difference!
Thanks again for your interesting and educational projects. I am very pleased I joined Visual Education mid-year.
Cheers,
Peter.
Hi Peter thank you for your kind comments and it’s great to hear the work you are putting in. And yes you are correct that with tray the ripples can bounce back from the sides causing unwanted lines, I try to capture the first ripples immediately after striking the object to avoid this but I’m glad you switched to using Lee 216 as you can now rule out the material being a problem in future! All the best Karl.
Hello Karl,
The website does not allow updating project photos.
For that reason, I sent them an email with the update photos.
Thank you.
Hi Karl
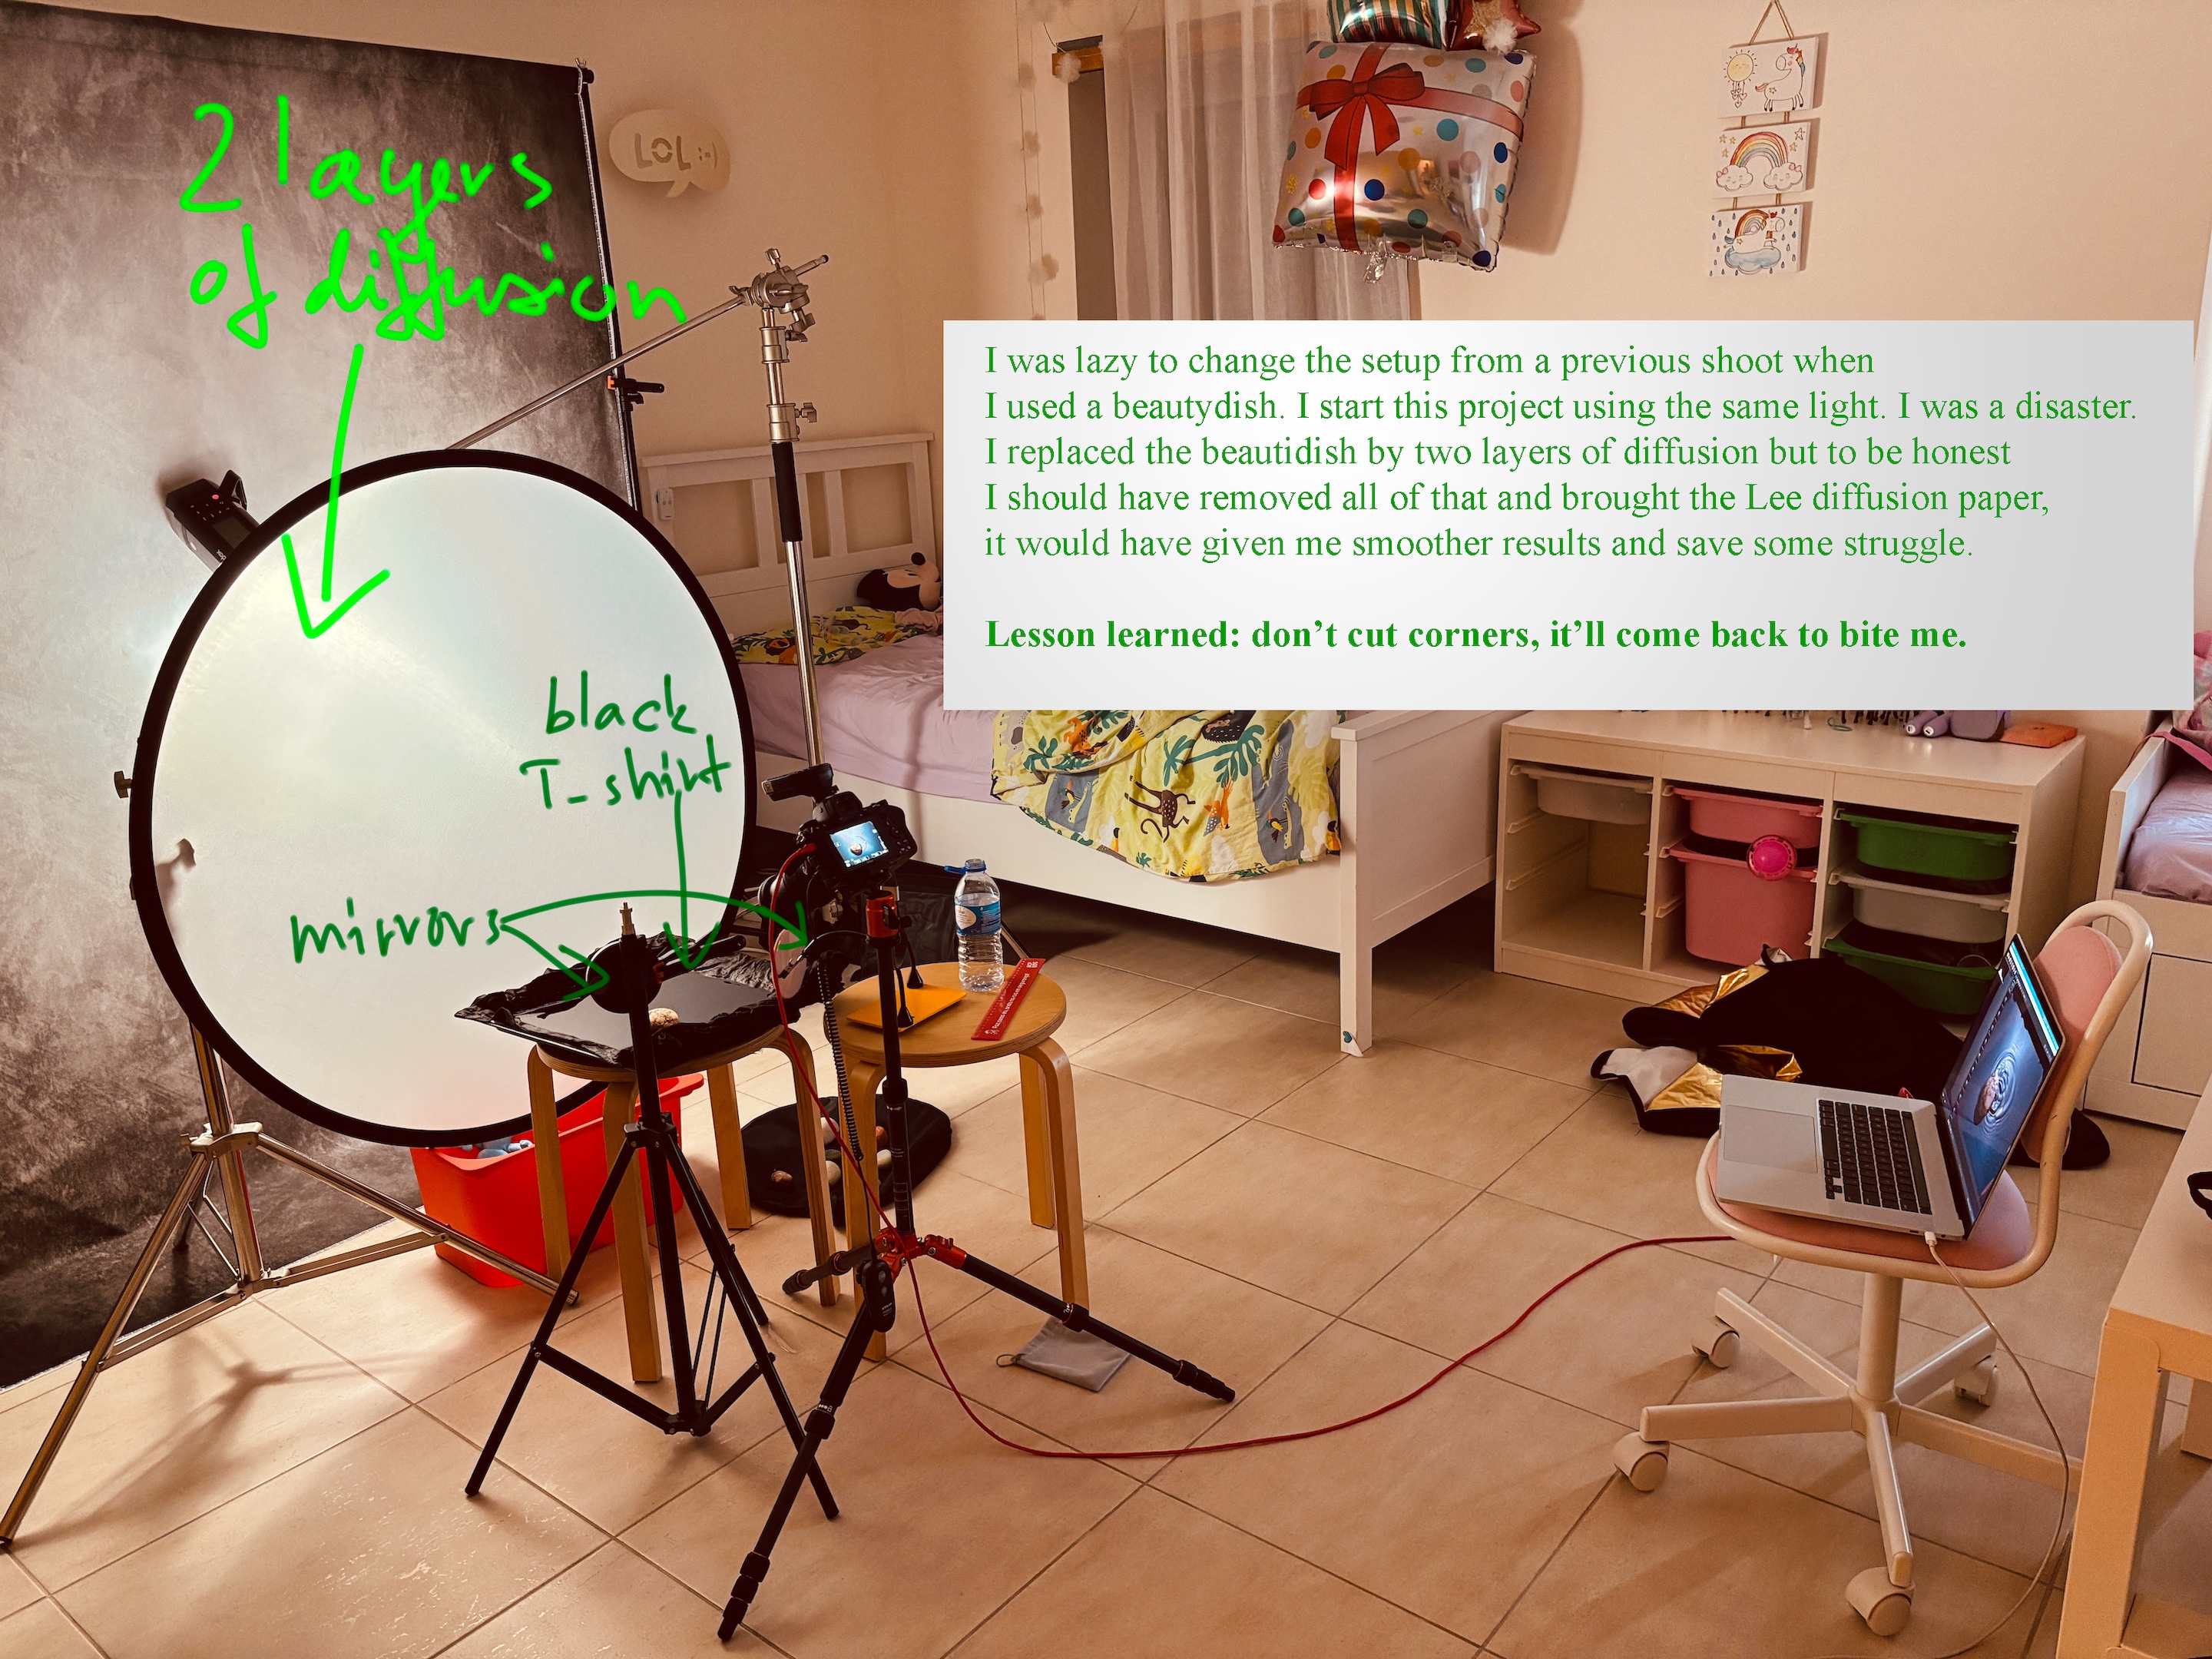
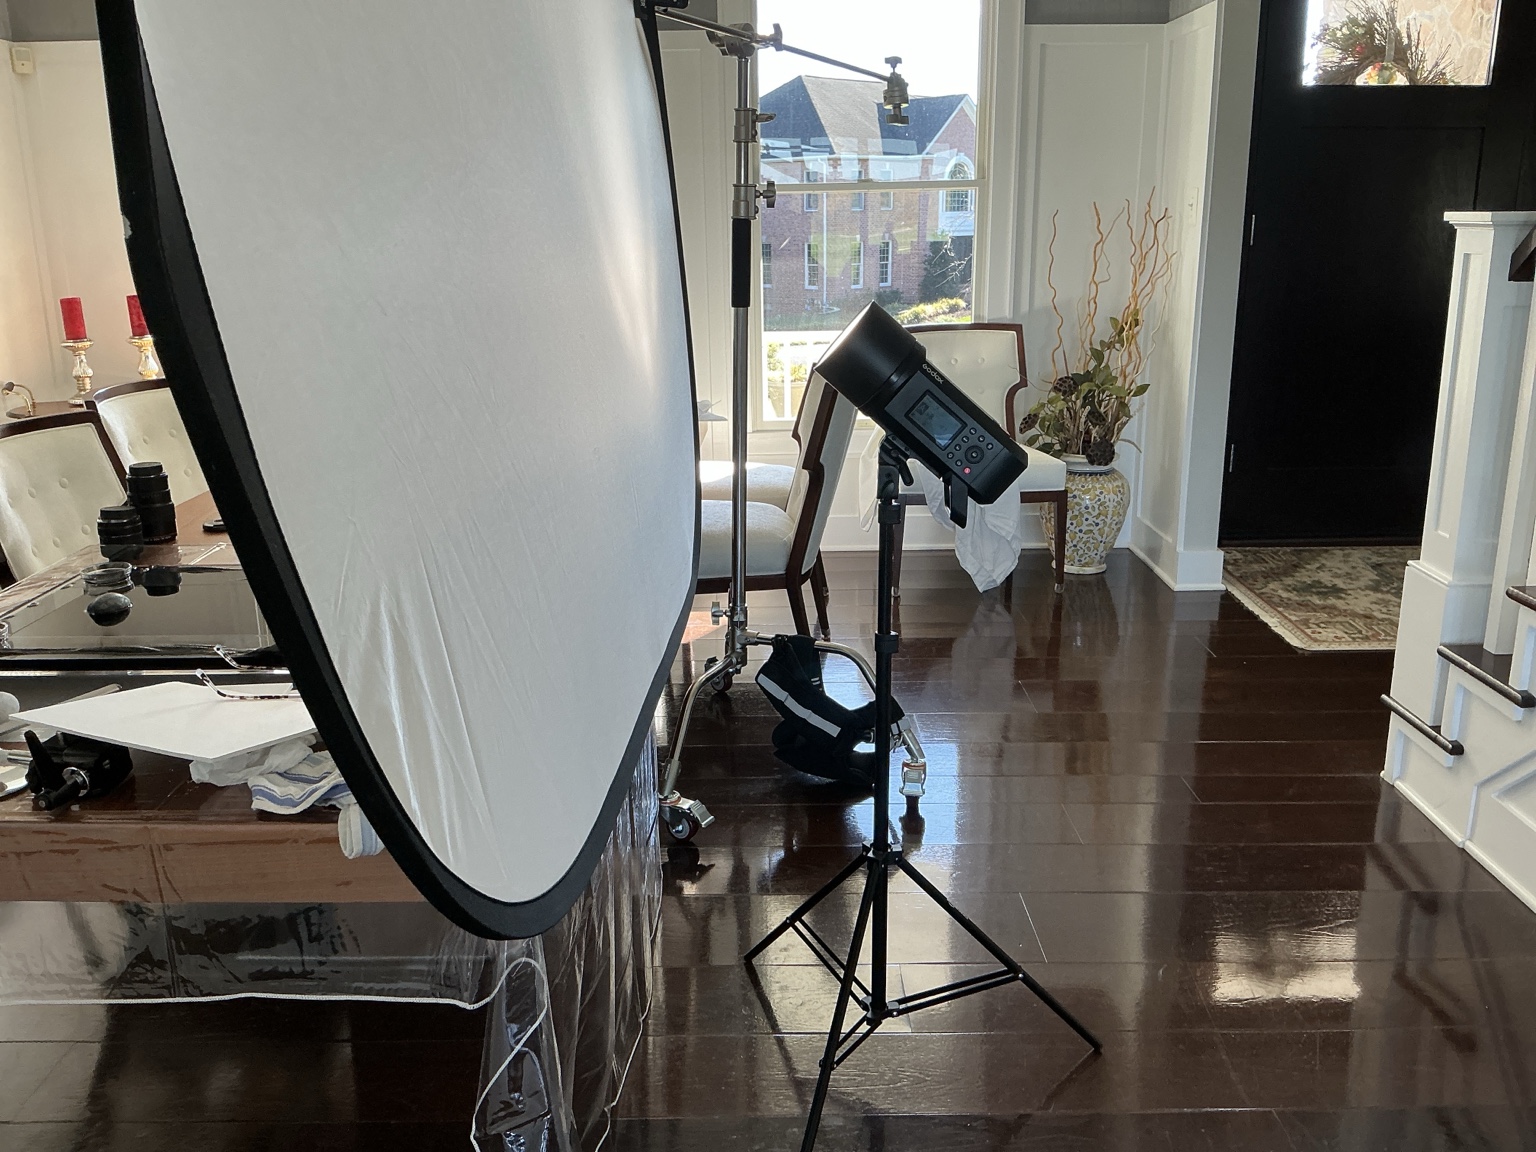
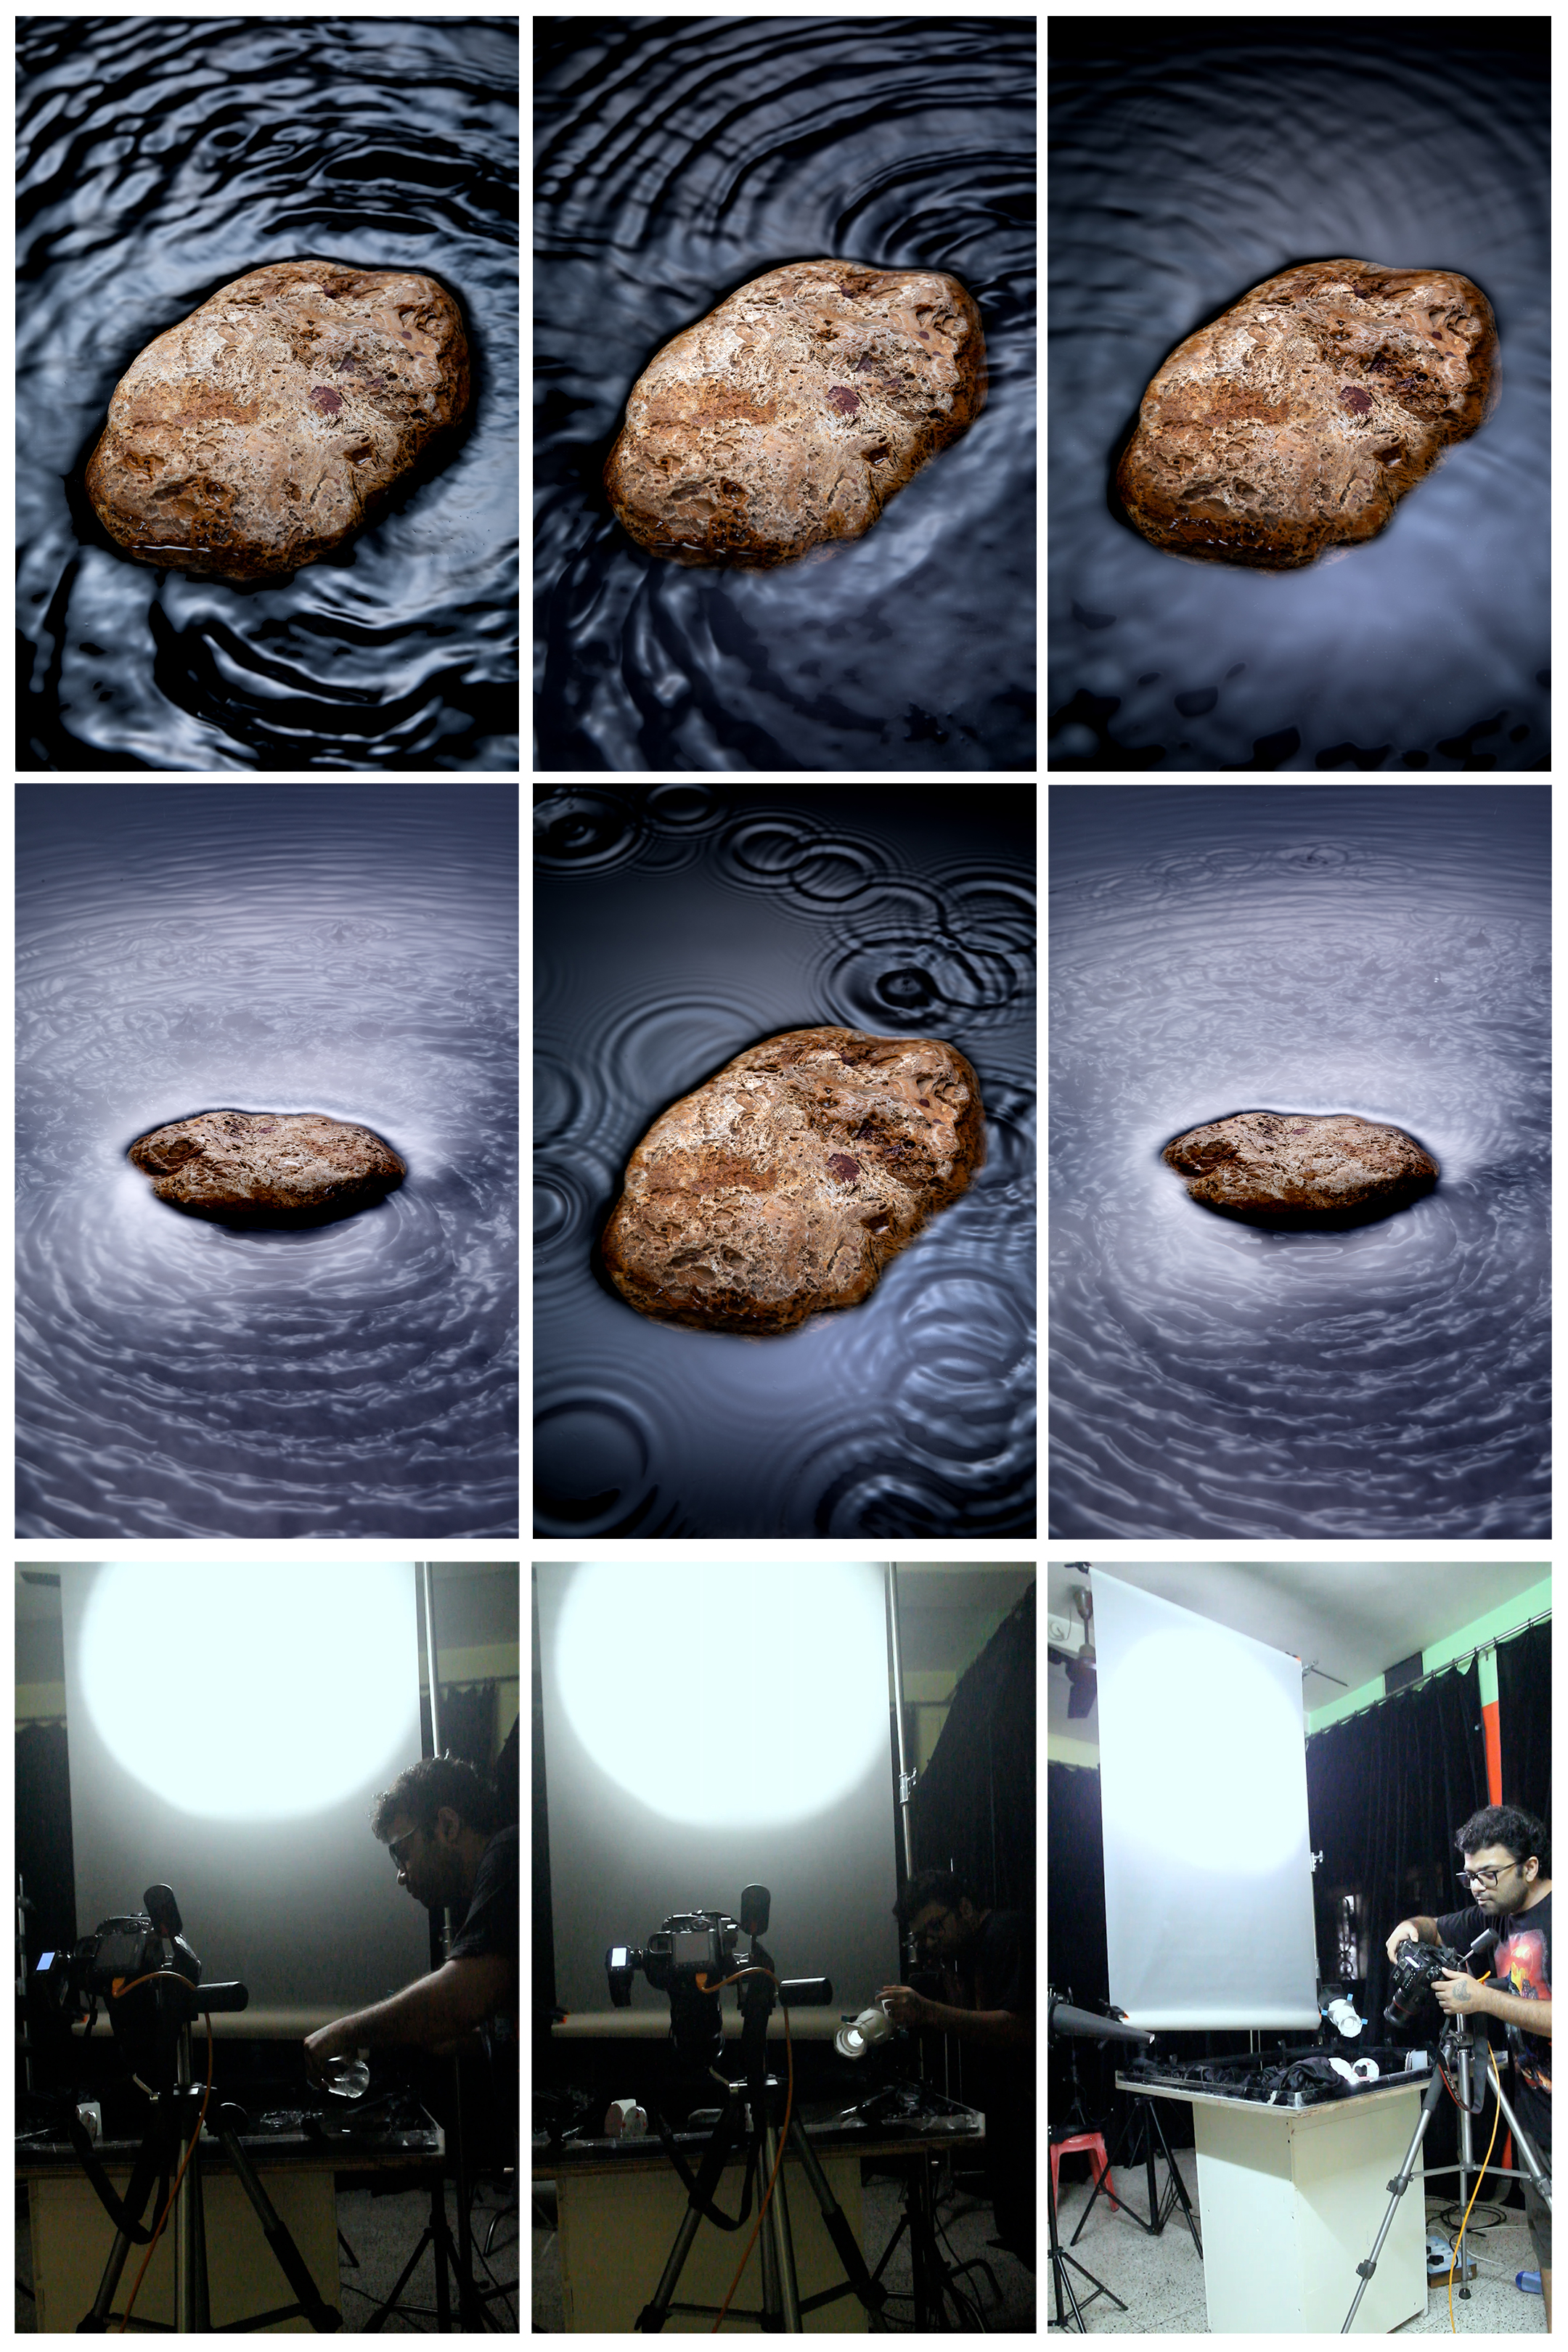
Really enjoying the project – used a pebble lying around and some darkroom trays and a black T shirt. Tapping the pebble or the table or just stomping on the wooden home studio gave different ripples. Getting the right angle and Perspective took some experimenting. Played a bit with a small portable air blower creating interesting waves.
Thanks Mark
Greetings everyone;
I am Alejandro Sautié; I joined Visual Education last Saturday, the 31st.
I’ve uploaded two photos of the project—they show the progress I’ve made. Now I need to figure out how to keep dust from falling onto my set.To continue making progress on the project.
Thanks, Karl
👍
I have tried repeatedly to change out/replace my images but keep getting an error message stating a critical error has happened on this site. Any advice would be greatly appreciated.
Hi AnneMarie, thanks for flagging this and sorry for the hassle! We found a bug that stopped images being deleted or replaced, and it’s now fixed. Please refresh the page and try again. If anyone still has trouble changing their images, just let us know here.
Hello. I just joined yesterday and this is the first project I participate in. I have just uploaded my first image, but I will keep trying and upload more before the project closes. First I was having issues with my oven tray, the way it looked in camera was not nice. So I put an old back t-shirt in the bottom and then was a game changer. So far I was not able to get good swirls by tapping the rocks, they just don’t wave enough and don’t look nice. So I just did some water drops for now. Maybe is my strobe Godox Sk-400 ii v that cannot freeze the swirls, I don’t know. I willl try again with a speed light. Thank you, Martin
Another issue I had is that I used the diffuser from my 5-in-1. However, all the wrinkles and some lines internal to the fabric were visible in the water. I had to apply a gaussian blur later in photoshop to remove those. Also, reflecting light back with the mirror I have was not good enough as the tutorial videos. So I struggled with that too.
Having a bit of difficulty uploading my images. Could you please give me the procedure. Thank you.
Joe
GOT IT !
One of the things I’ve learned doing this project is to experiment with different camera angles.
Not only using different light, whether it be hard or through a scrim. But the camera angle makes a big difference in the dynamic aspects of the image.
And another thing I’ve learned in this experiment is to not discount hard light right away.
I thought that hard light would not work, but I have some pretty interesting images that were done with just a hard light.
Those are just a couple of things that pop out to me. It’s another good experiment. It’s going to make some nice wall art. I like what I’ve done.
Great to hear Doug!
Hi Karl, This was a very challenging shoot for me. Took me two days to even get my lighting even close to what you demonstrated. I’m curious why my angle of my light was so much higher than yours. I’m trying to understand the angle of reflection. I like my photos but I wanted a glow like you had in the tutorial.
Hi, the ‘glow’ if you mean how the look of the spread of light looks and feels is down to two things, the material you used to diffuse the light source and the distance of the light source from the material. The position of the light source (height and left and right in this case) and the camera is what will dictate the angle of reflection. If you haven’t seen this class already I’d recommend it as it explains in detail angles of reflectance and the relationship to different focal length lenses: https://visualeducation.com/class/angles-of-incidence-and-reflection/
Was having a nightmare of a time with the brightness of the water.. Couldn’t figure it out, then went back and really paid attention to the lighting video, and found where you moved the light source right behind the rock… I already did a full series of images, but I’ll try and set it up again before the project ends and compare my first images with the next round.
hi, the Submissions aren’t open, can write date that you will open the Submissions ?
Hi Menashe, The entry form should now be open, any issues let us know 🙂
thanks, good weekend…
Karl, I have an acrylic tray I used for water shots, much like yours. It is quite large, about a metre square which I’ve used for these types of shots before. I can also do this with an oven tray if required, to keep it an even playing field. I have several stones with fossils which I might try, but I can go the zen mode simple pebble as well. I’m also curious about using colour.. they tend to look interesting with bi-colours or a gradient of colour.. while yours is very monotone.. very zen. I don’t mind if you allow some exploration or if you lock it down. It looks to be a nice afternoon diversion as a session.
Hi, if you’ve got a bigger tray then I’ve got no problem you using it as that’s not affecting the excersise.