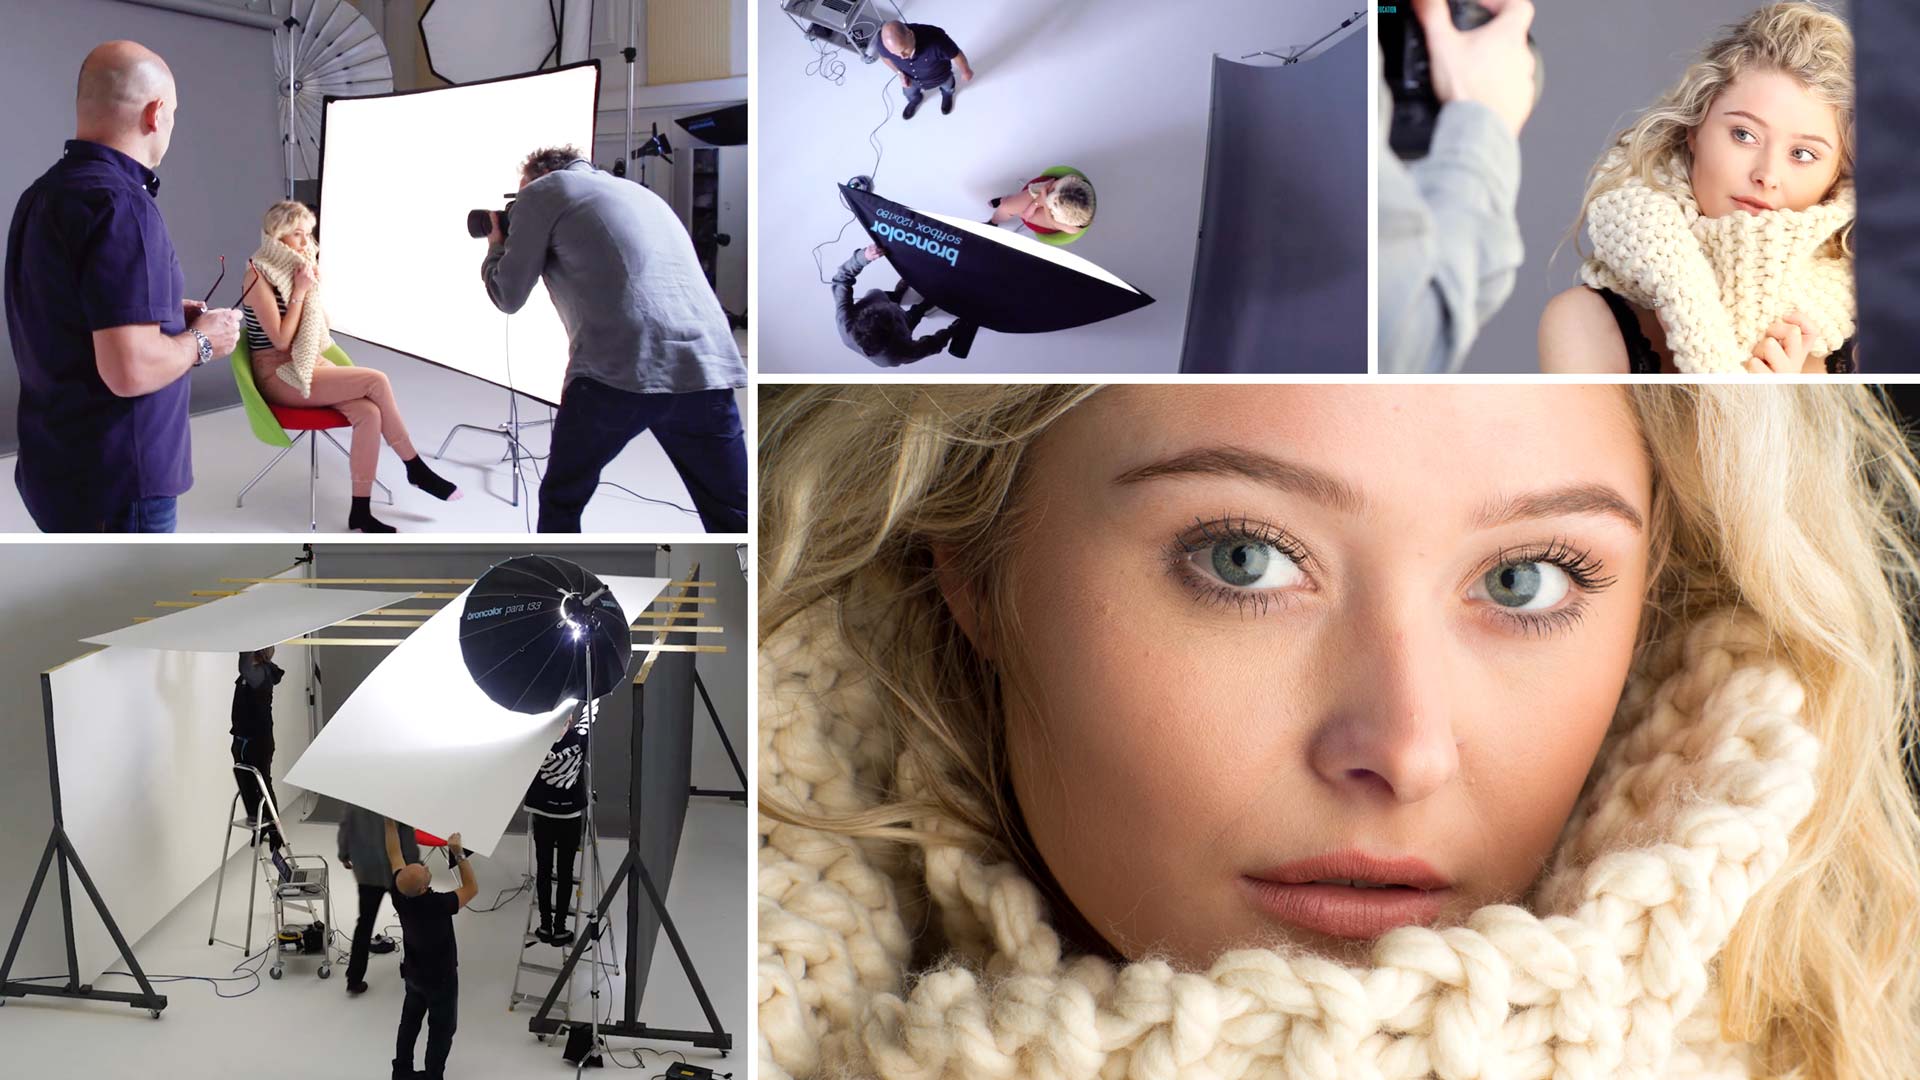

Soft Single-Light Portrait
Softly does it in this simple portrait setup.
In this portrait photography class, Karl and Urs explain how to create the softest light possible. Using a common modifier, they explain the importance of position, and demonstrate how to position your light for maximum effect. They also demonstrate common mistakes photographers make when using softboxes, and show how to correct these mistakes.
The pair also discuss how this setup would work in a smaller studio, before going on to create their own to demonstrate exactly how this setup would work and how simple changes to your studio can make a big difference.
In this class:
- Portrait photography using a single light
- How to achieve soft light using a large light source
- Common mistakes when using a softbox
- Camera lenses for portraiture photography
- The inverse square law
- How to photograph in a small studio
Questions? Please post them in the comments section below.
Comments
Another excellent video. I had a few aha moments there!
I’ve got a slightly larger 180×136 softbox, so going to have to give this a try as it’s a fantastic soft look.
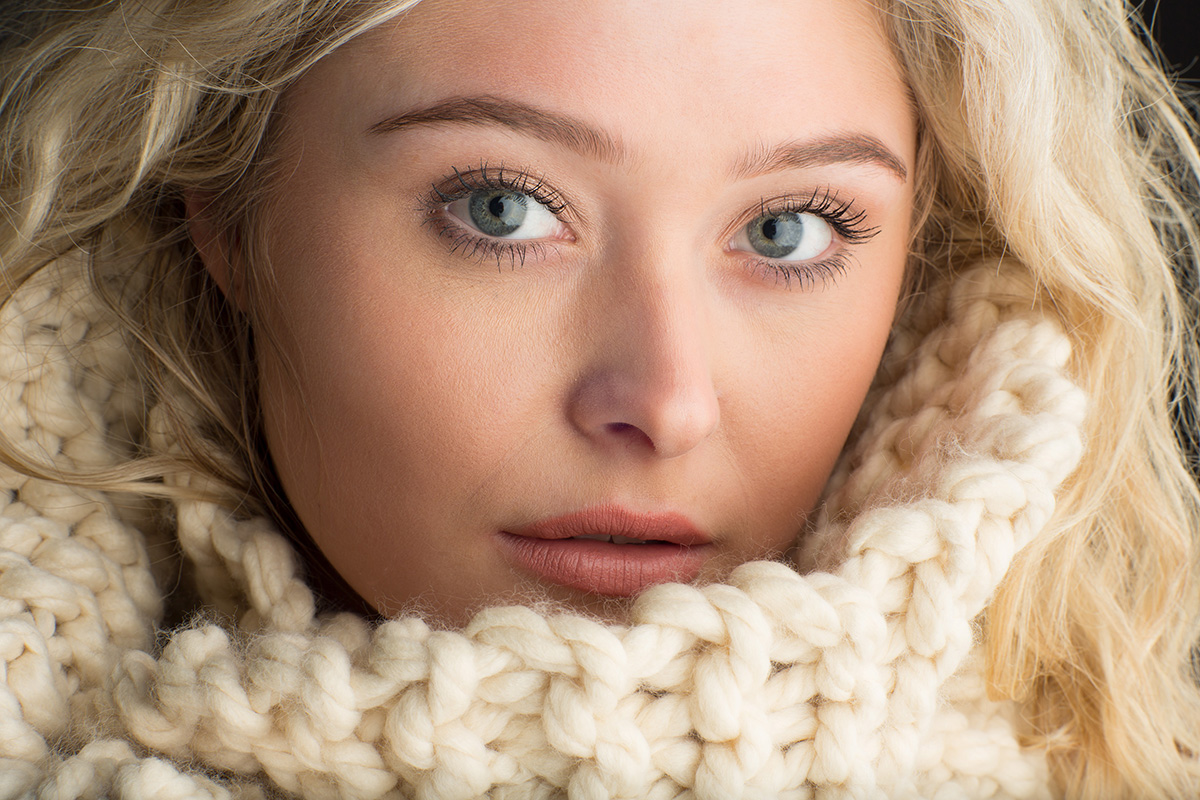
Karl, please do tell if your final shots are straight out of camera or a little retouched. Your lovely model has an awesome make-up and skin. But with my 100mm macro Tokina I always bring up the model’s face look like the surface of the Moon. I’m not talking here about the lights, I used them in the softest manner I could.
Hi Bogdan, apart from the removal of a couple of small pimples with is what it looked like straight out of the camera. Soft light used like this is usually quite flattering to models with good skin and make-up, harsh point lighting on close up on models would require more retouching though.
At last Karl I now know how to use a soft box correctly, and I am able to get beautiful soft light thank’s to understanding the inverse square law, thank’s Karl great tutorial.
Tony Leurs.
The information in these course videos is priceless.
It’s like getting the final piece of the jigsaw and then everything just suddenly clicks into place.
Thank you Karl and the team.
Thank you Darren, spread the word to help us bring you an even better service! 🙂
Love this light. Looks gorgeous.
I always had quite distinct highlights in the eyes. Now I understand, I need to bring the soft box even closer! Thanks! Nice to see Urs participate too.
Excellent tutorial again. I’ve made the mistake of soft box distance. And this explains the shiny skin and catch light difference between distances of the light. It’s amazing after you learn something and review your past work how glaring the mistakes are. I will definitely be producing better work from this tutorial alone.
I am so glad that this courses cover small studio comparisons as well, as I have the smallest studio in the world )) ..
Really helpful tips to consider..
Thanks.
Hi Karl,
I just want to ask a simply question.
I saw your video, when you shot portrait or beauty, you often shot as horizontal frame.
Can you give me some advice for when to shot horizontal or when to shot vertical more often?
Thanks
Hi Ryo, I’m afraid this comes down to personal preference. Study lots of photographs you like from lots of different photographers and make a note of when they are vertical or horizontal and see if you can start to build a ‘feeling’ for why and when they work. I’m afraid I can’t tell you why I go for one over the other it’s just a feeling of what will work and often I shoot both anyway.
Hi Karl, I have invested in few speedlights already, would it work as well as the lights you using in those excellent tutorials?
Hi Jonathan as long as you can diffuse the speedlite into a large light source then yes. For example putting a speedlite into this particular type softbox would work well.
The large soft source is my favorite as close as possible giving the wonderful wrap around soft feel
Outstanding. Very detailed and informative. Light distance ratios of the inverse square law as it applies to brightness of eye highlights or glossy skin is something I would never have thought of. It makes perfect sense to apply to specular reflections as well. Thanks. Great courses.
Excellent..:)
Excellent lesson and very useful with the examples in the smaller studio. I guess I will be able to replicate the settings from the shoot with my 150 Cm Octobox softbox?
Thank you Svein and yes no reason why not.
This is an excellent lesson. I have that same 85mm lens but would have never thought to incorporate an extension tube along with it and frame so closely. I’m very pleased with this course.
I was thinking the exact same thing!
This has been the most benifical single light video for me so far so thanks but could I ask what difference would it have, if any to use a 100 x 100 or 60 x80 soft box with out anything else changing?
Hi Scott, yes there is a difference based on the surface area size of the softbox. The 100×100 is bigger so the light will be softer. Check this chapter for a clear explanation https://visualeducation.com/course_video_page/introduction-and-understanding-light/ and also watch this chapter for further examples https://visualeducation.com/course_video_page/lighting-modifiers-and-their-effects/