


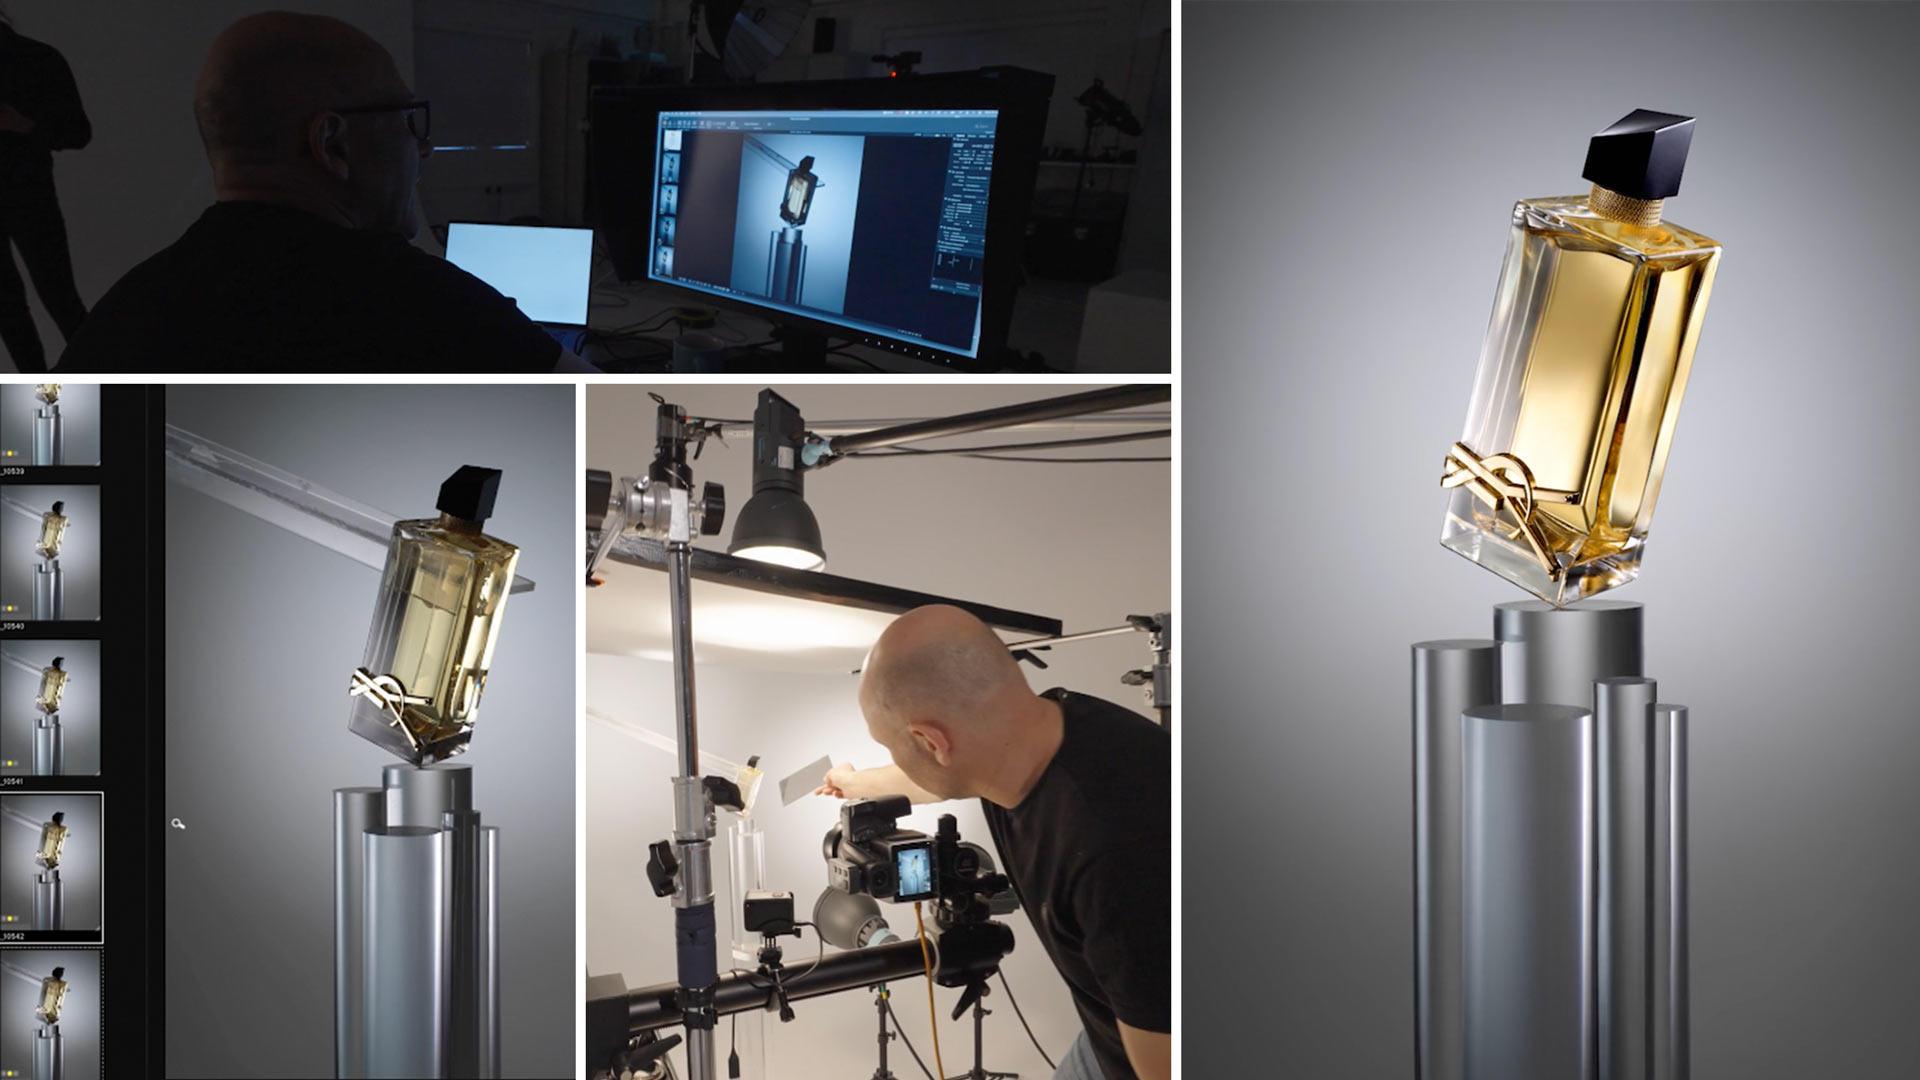
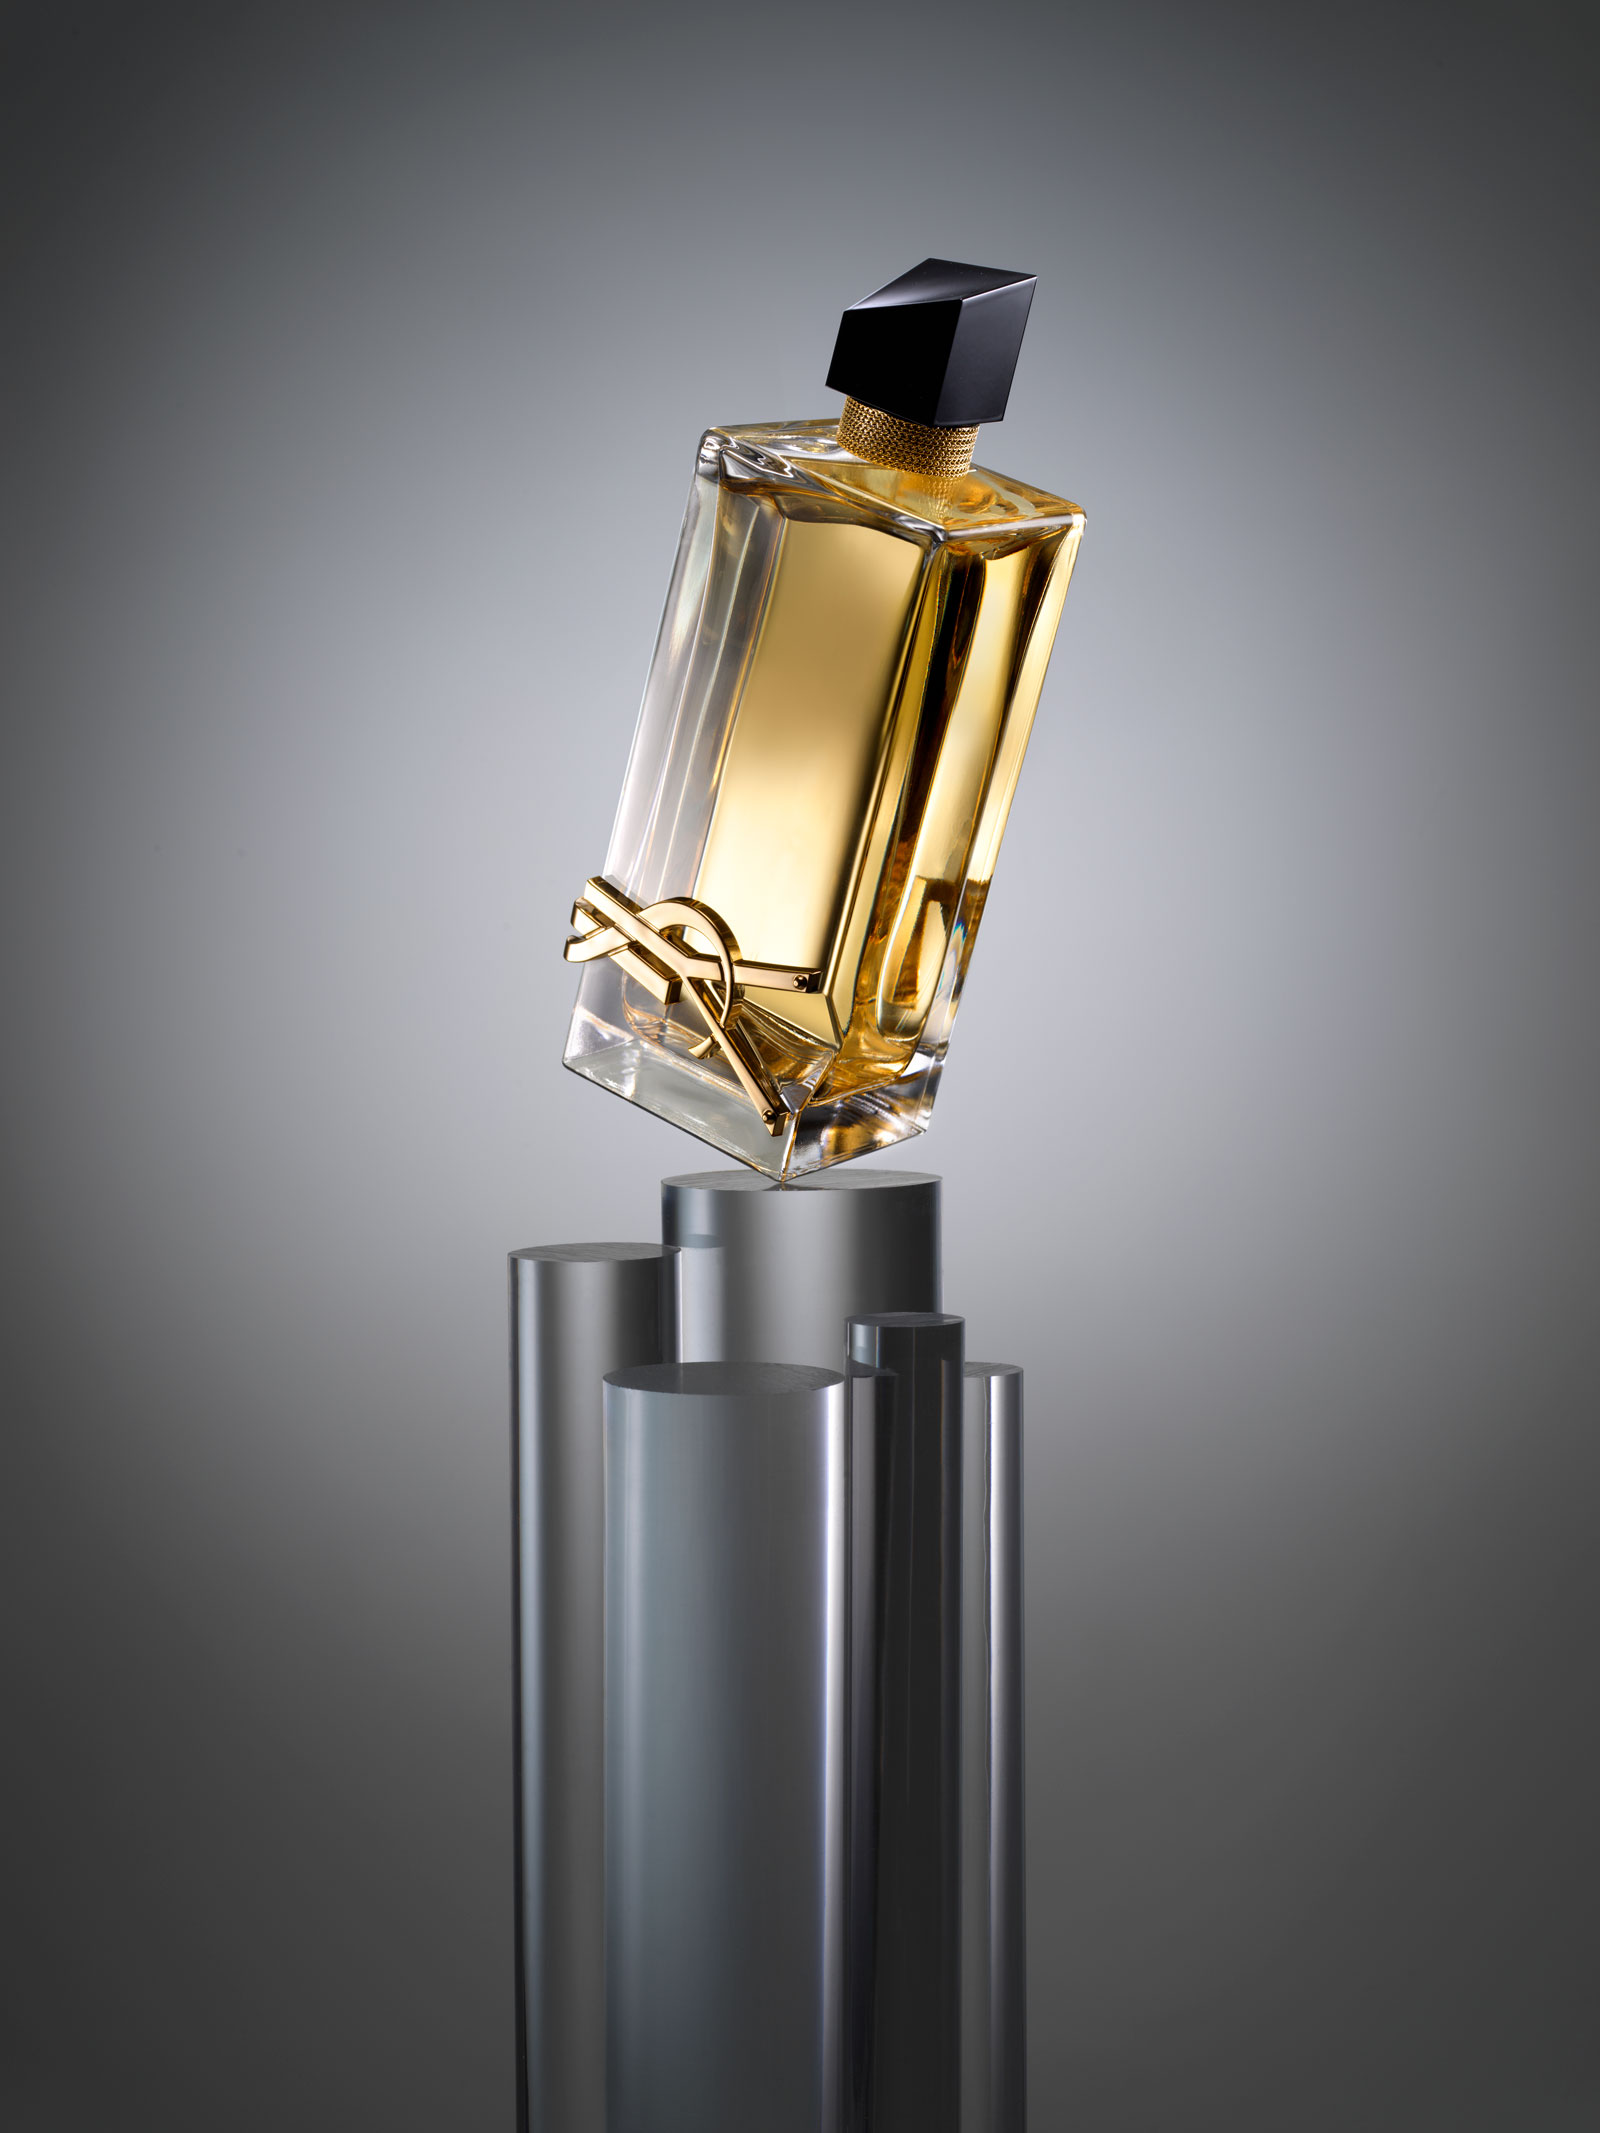
YSL Libre Product Shoot
Discover the precise lighting techniques behind this exquisite fragrance image.
Want to create high-end product shots that exude sophistication and luxury? In this class, Karl demonstrates the creativity and attention to detail you need to produce photos that really stand out.
This ambitious shoot presents numerous interesting lighting challenges, including the clear acrylic rods as well as the fragrance bottle itself, with its many reflective surfaces and asymmetric shapes. As Karl works methodically to perfect his lighting setup, you’ll deepen your understanding of key lighting techniques and pick up many useful tricks.
You’ll see Karl use numerous modifiers, including softboxes, scrims, and honeycomb grids, as well as simple accessories like handheld mirrors. Most importantly, you’ll see the different shots he captures, ready for compositing in post-production. In shoots like this, focus stacking is often required; you’ll learn how to avoid it.
By the end of the class, you’ll feel inspired to take your product photography to the next level using the powerful new skills you’ve acquired!
In this class:
- Lighting techniques for product photography
- Controlling light spill
- How to light the background
- How to use a scrim
- Capturing multiple images for compositing
- Achieving perfect focus without focus stacking
To discover the retouching and editing process behind the stunning final image, watch YSL Libre | Post-Production.
If you enjoy this class, check out Mugler Angel Product Shoot.
Questions? Please post them in the comments section below.
Comments
Very interesting tutorial and so complicated. But you nailed it as always.
Thanks for the information.
Thank you Aby.
Does phocus have an overlay feature for live view?
Hi, I don’t think it’s possible in live view. You just have to take test shots with the overlay view mode.
好好看,中文翻译会同步出来吗