
Creating and Using Custom Textures
Ready to ramp up the photorealism in your CGI renders? Tap into textures with this simple tutorial.
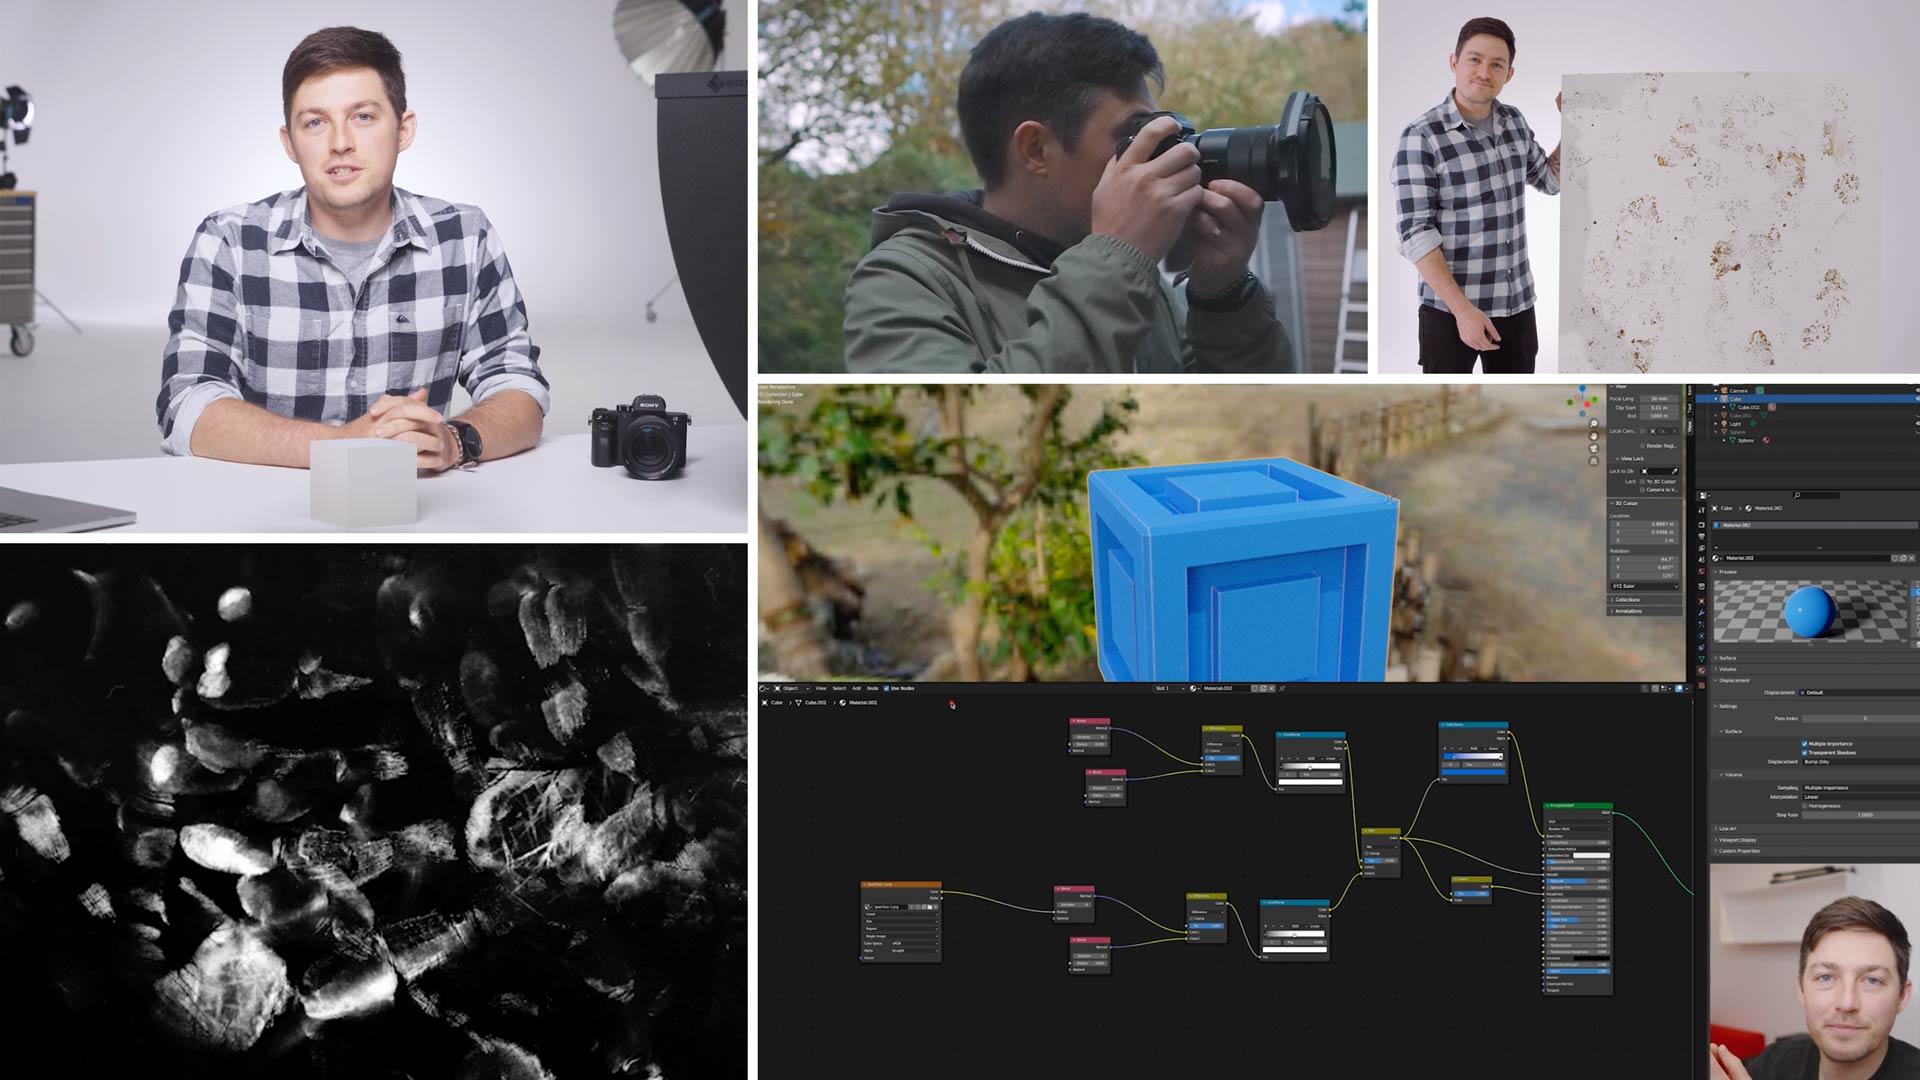
In the world of CGI, the textures you use can make or break a render. Texturing is key to achieving photorealistic results, especially when it comes to adding surface imperfections to your models. In this class, Corey shows you how to capture and create your own custom textures to help take your renders to the next level!
You’ll see Corey taking his camera outside to shoot a range of textures, from tarmac and wood to gravel and paint. He explains the best conditions, equipment and settings for capturing this kind of image. As he returns to the studio, you’ll cover some simple (if somewhat messy!) techniques for creating surface-imperfection textures.
Once he has all the images he needs, Corey shows you how to edit them in Photoshop, preparing them for use as CGI textures. Finally, he takes the images into Blender and begins using them as textures. You’ll discover the incredible power and infinite potential of Blender’s node-based system.
By the end of the class, you’ll be ready to create your own custom textures and put them to work in your CGI renders.
In this class:
- Photographing textures for CGI use
- Creating surface-imperfection textures in the studio
- Preparing your images for use as textures
- Texturing in Blender
- Working with node-based systems
If you enjoy this class, check out Texture Mapping and Texturing. For more of Corey’s teaching, watch 3D Animation in After Effects.
Questions? Please post them in the comments section below.
Comments
It’s a raised/embossed texture on a garage door. When there are no specular highlights you can’t see it, but when there is, it’s very obvious.
Hi, obviously I don’t know what it looks like or how raised it is but to reveal texture you need to put a hard light source as low as possible to the texture so that the light glances across the surface to create longer harder shadows. That on it’s own will look pretty poor so you either add a light from the front as shadow fill or add a reflector on the opposite side or both. Camera angle can also be a factor but again I don’t know what I’m looking at so I can comment on this. If it’s a garage door then you are going to have to overpower the natural ambient light with your flash lighting and/or use the ambient light as your shadow fill by controlling how much ambient light comes into your shot via your shutter speed. If the ambient light is a problem wait until just before twilight and then light it with your studio lights.
Here’s what I hear you saying: light the texture in a way that reveals the contours of the texture to show the bevel and depth of it. Is that correct?
Once I have that image, what’s the best way to use it to create a rendered surface that looks like it’s actually affecting the geometry of the object? Would I apply it as a displacement map? Bump map? both? Is there a way to create a normal map out of the image?
Hi, first of all apologies as I didn’t realise what class you were commenting on, my incorrect assumption was that this was a photography class comment and I’ve now realised your comment is on a video in our CGI section. (Our admin panel just shows us all the comments that need replying to in a list). Technically in the real world for photography lighting my comments are correct but I will ask one of the CGI tutors to reply to you further.
Hi Bleavitt, speaking generally, I would day that yes, it’s likely possible that could light the door in a way that reveals the texture, as Karl describes, whilst keeping the camera in the same position as your capture for the flat diffuse (colour) map. Take this lit image into photoshop and try going through the steps in this video around the 30 minute mark to generate a normal map. You could also try converting it to greyscale and increasing the contrast. Try combining these maps as normal and displacement maps to try and get the desired effect.
Remember that displacement will need a dense mesh to show the details, particularly if they are quite fine.
Hope that helps!
I have an industrial “wood grain” texture imprinted onto metal. It only shows up in reflections though. How would I capture a texture that’s basically a clear coat with no color values?
Hi, First of all we need to establish what it is you are photographing, is there actually texture? An actuall embossed or raised surface of the grain in the material or is it just an image that has no real texture?