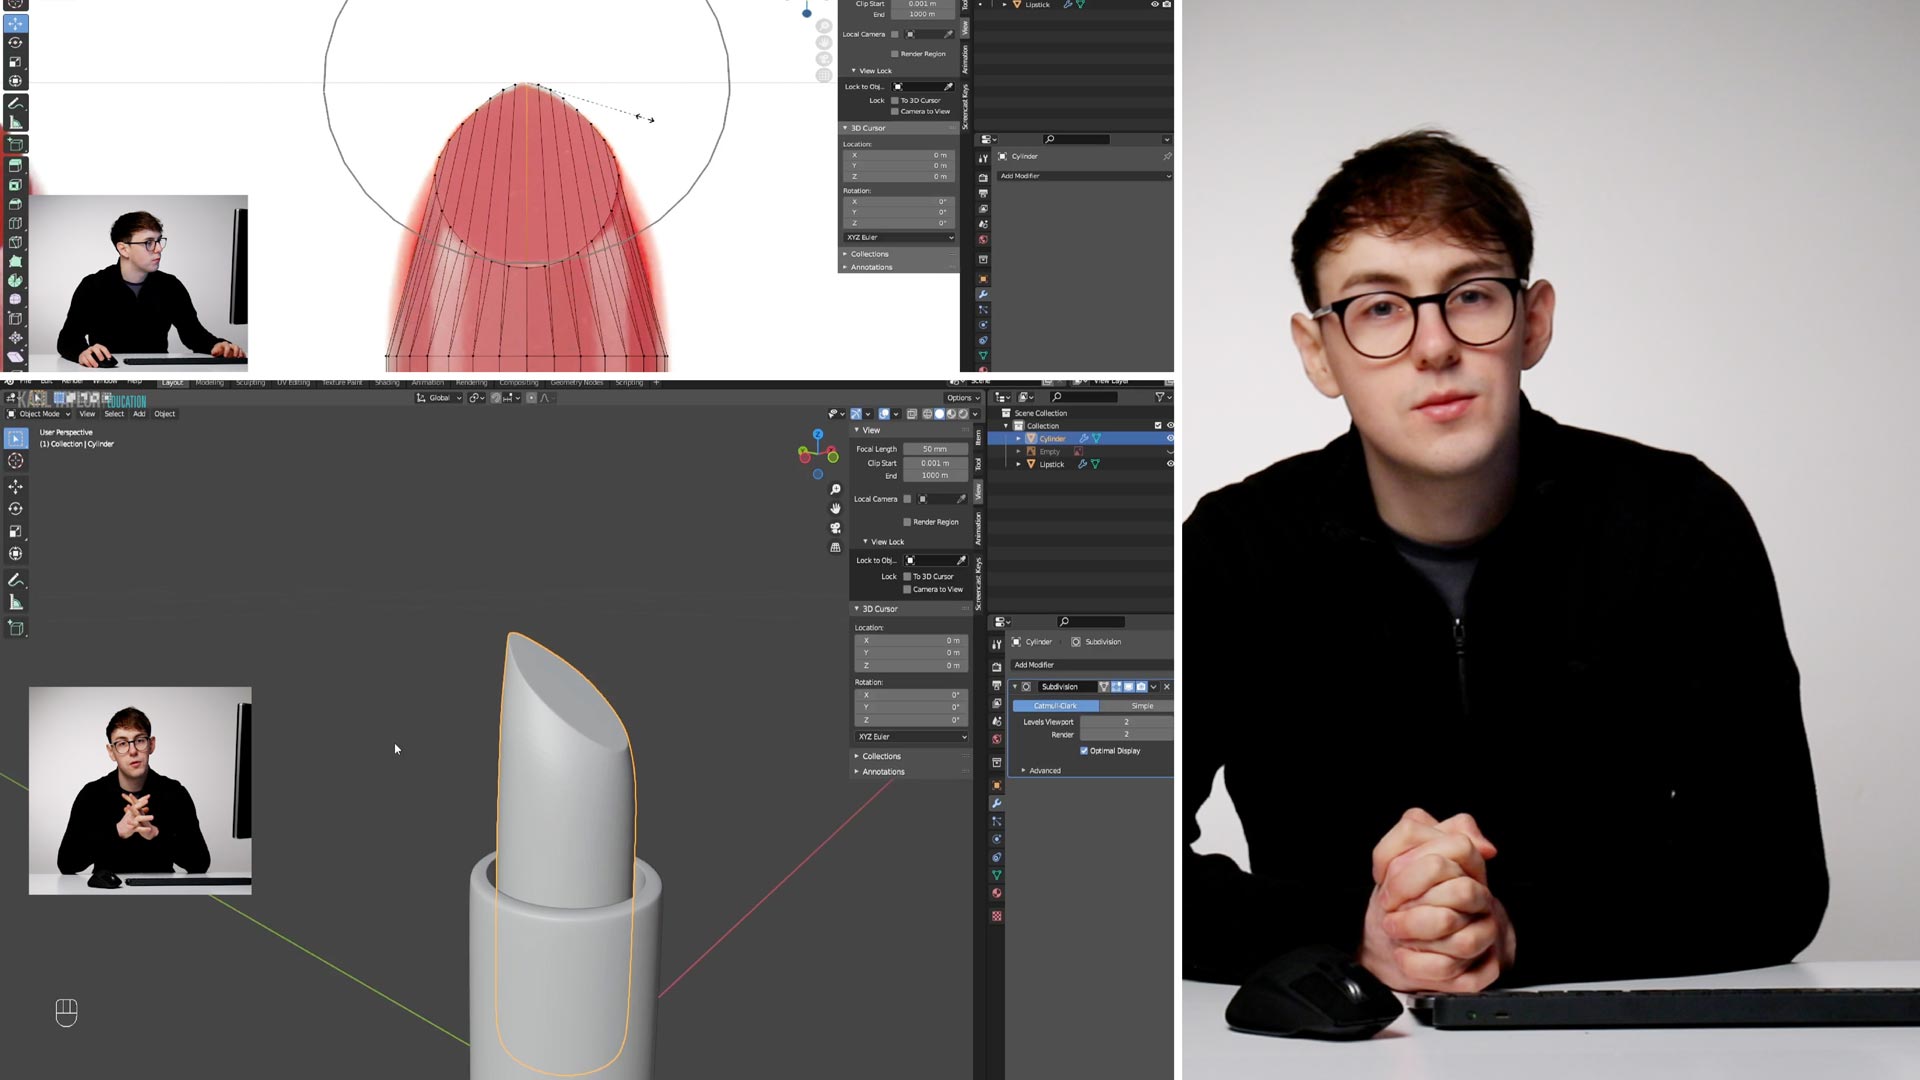

Modelling a Lipstick
In the third in our series of Blender 3D Basics classes, Ethan Davis begins modelling a lipstick.
As he works on his model, using a photograph of a lipstick for reference, Ethan demonstrates a range of modelling tools and techniques. These include the Inset, Loop Cut and Bevel tools, and the Proportional Editing function.
Following Ethan step-by-step, you’ll soon get the hang of the fundamental elements of the 3D modelling process.
You may also find it useful to refer to the Modelling entry in our 3D CGI Terminology A-Z.
Comments
At 19:45 the bevel option was only working on the horizontal part, but not distributed both horizontally and vertically. After googling for this behaviour I found out I had to select all (A) go to Mesh -> Merge -> By Distance, and only after that I was able to do the bevelling on both sides of the corner.
Hi Ethan
At 35:00 where you select the top vertex and then select that one point and scale using proportional editing, is there something else that we need to do? When I follow the steps I can see being:
1. select vertex
2. select the point at the top of the lipstick
3. select proportional editing
4. S to scale
My entire cylinder is being scaled and not just the top as in yours to create the point.
Hi Michele-Anne,
Sorry to hear you’re having trouble. This issue may be because your proportional editing radius is too large and is encapsulating the entire model. When you select the vertex selected and proportional editing on, a black circle surrounds the vertex, signifying the area of effect for proportional editing. This range can be scaled up or down using the mouse scroll wheel. If its too large, you may wish to zoom out first to see how large it is.
You can also press S to scale, but immediately click so as to not actually make any changes. This will however bring up a “Resize” panel in the lower left of the screen. Within that panel you will see “Proportional size”, change this to a much lower number and repeat the process and it should be closer to the desired size.
Hope that helps!
Corey
Hey Ethan – I’m stuck at 19:37 attempting to select the edge in order to bevel it. I notice that when you select it the entire edge gets selected with what seems to be one click, but only individual pieces are selected when I do it. If I go through and select them individually on the Y- axis the back view is not selected and therefore the bevel only happens on Y. Not sure what I am missing. I’m using a Mac with no numpad. Wondering if I may have accidentally reconfigured something. Also tried (shift +alt)/ (shift/Command – mac) but that did not work.
Hi Michele-Anne,
This is done using whats called a loop selection. You should be able to do this by going into Edge Select mode (middle icon to the left of your Object/Edit etc menu, top left) holding down the Alt key then clicking on an edge, you can also add a loop selection to your current selection by holding Shift+Alt, then clicking an edge.
Hope that helps!
Corey
Hi, I’m having a hard time here, as a complete beginner, I’m really not familiar with selection tools… At around 11:04 you select the “loop” and move it, but I just can select an edge, not the hole loop…. I tried many different keys, I can’t have it working…. I’m on Mac, so I now keys may be different… Anyone can help ?
Thanks !
Hi Stéphane,
This is done using what’s called a loop selection. You should be able to do this by going into Edge Select mode (middle icon to the left of your Object/Edit etc menu, top left) holding down the Alt key then clicking on an edge, you can also add a loop selection to your current selection by holding Shift+Alt, then clicking an edge.
Hope that helps!
Corey
Hi Ethan,
i´m familiar with fusion360 because im a little bit into 3d printing but i have no idea of textures, lightning and rendering. Now is it possible to do the modeling in fusion and import it into blender to just add the textures, the lights and the szene around the object or is it necessary for me to learn modeling in a different software like blender?
Hi Mario!
I’ve not used Fusion before, but as far as I’m aware, it has the capability to export your models as .obj or .stl files.
I would export to .obj, this file type can then be imported into Blender by going File>Import>Wavefront(.obj), and from there you should be able to texture, light, animate, and render your model however you like using Blender’s toolset.
Hope that helps!
Corey
perfect, thank you very much
At the 10:50 mark I am unable to select all faces when slecting SHIFT + ALT for (EXTRUDE REGION) many for the keys suggested do not work for me so unable to move on. I also had it befor select only Vertical and no option to select horizontal faces. Useing Windows 10 and Blender 3.3
Hi, need some help understanding the process at 18:00 scaling upwards & inwards. When I try to do the something, I am loosing symmetry. Is there an option that we need to select before doing this?
Hey Ethan,
I’ve got a question about modelling the circle.
How would you go about duplicating it symmetrically on four different sides? Would you do a shift select on the faces and then inset?
Many thanks,
H
Fighting my way through this, but quite a few things are not working on my end as expected. For instance, at around 5:40 while in edit mode the tutorial says to hit the “S” key then “Shift+Z” (if I understand correctly). When I do that in edit mode if I hit “S” then Shift+Z it toggles the cylinder between wireframe and solid modes? If I switch to Object Mode and do the “S” then Shift+Z, the cylinder behaves as in the video? I am finding workarounds for most of the discrepancies, but is this because I am using Mac Version 3.1.0 in Big Sur maybe on a 2019 Mac Pro?
It took me a while but I found the solution, you need to downscale the power window for this mode with the mouse wheel. It will take quite a few rolls to get there as the object is small.
1. Select the vertex
2. hit s or click on scale mode
3. click on the inner circle to see the black arrow coming out from the vertex
4. keep scrolling until your finger gets tired, you should see the ‘Proportional Size’ is getting smaller on the top left of the screen
Hey Light
this is just perfect, thank you so much, i have finally got it right ..
i did not select the vertex nor was i hitting the scale, and thank you for the tip about the finger has to get tired for you to see that circle, haha.
thank you once again
HI Graham, to increase segments in the bevel you can just increase the amount in the box on the bottom right or using the mouse wheel, scroll up to increase. Thanks 🙂
Thanks Ethan. I might come across as a bit short of a load, but I’m absolutely brand new to this. I’ll try not to bog you down with questions.
Hi Ethan,
At 13 minutes, you’re bevelling, and it breaks the bevel into 3, but when I do it, I’m only getting a single bevelled face? Any clue?
Thanks
No worries, I think I’ve done it. Increasing the segments to 3 in the dialogue box that appears once you’ve started the bevel?
HI Graham, to increase segments in the bevel you can just increase the amount in the box on the bottom right or using the mouse wheel, scroll up to increase. Thanks 🙂
Hey…
Can anyone please help me with one thing, i cant move forward been stuck at this one point since 2 days now.
at 35:00, when Ethan uses Proportionate Editing, he is increasing the size of this loop which is making the top end of the lipstick pointed, i cant get to increase the size of the loop and when i do scale it all of the top part of the lipstick moves not just the top circular part.
Thank you
Hi Lamia,
I’m stuck at the same point. Ethan seems to select a tool with a hotkey to manipulate the virtex but then doesn’t say what it is. From a total beginner point of view, this is a problem for me, as if I knew what the tool was, I could YouTube or Google it to see how to use it… maybe I’m missing something. Also, watching to the end, a minor point, as I’m sure Ethan would be able to achieve the correct shape, but that’s not the right shape for a lipstick. The back and front curve in in the same way as the sides, almost bullet like, with a flat plane on the front
Hey Graham,
i totally get you point, but I’m also a beginner like yourself and we are in this together, i have made that top part 4 times just to get that point right but it isn’t happening for me, i think now I’ll just go with the flow keep it as it is. however, if i do come across a way to make it happen, I’ll definitely let you know, right here.
cheers
Hi Lamia, to increase the size of the circle, you can just use the mouse wheel or + or – symbols on your keyboard, if you have any other questions let me know:)
Hey Ethan,
I figured that out by observing what your doing with the mouse, but it still didn’t work for me, and then i moved onto the Texturing part, and now, the lipstick is just like that.
Thank you so much for reaching out.
Regards
It took me a while but I found the solution, you need to downscale the power window for this mode with the mouse wheel. It will take quite a few rolls to get there as the object is small.
1. Select the vertex
2. hit s or click on scale mode
3. click on the inner circle to see the black arrow coming out from the vertex
4. keep scrolling until your finger gets tired, you should see the ‘Proportional Size’ is getting smaller on the top left of the screen
Hey there,
I saw your comment and I realised that I was stuck at the same point for literally weeks, trying to figure out, just to find out it was a small stupid thing to change…
So the solution: The effect radius might be too small/big as we work with an extremely small object compared with the default mesh size. In my case it was too big. Make sure you have proportional editing activated, then select any number of vertices/edges/faces, press G or R or S to transform those and then SCROLL the mouse wheel down. A circle should grow around your selected parts that indicates the effect range of the proportional editing.
I hope you figured it out in the meantime, otherwise it might help.
Cheers
Here Ethan, I have a quick doubt, at minute 3:52 while you’re comparing the size between the cylinder and the reference image, with my screen I have a totally different view with the “Front Orthographic” that said when I switch to “back Orthographic” then I have the same view as you, is something I have to change in settings? or I did something wrong in the process?
Thanks in advance
Are there any project files to support this? Reference image etc?
Hi Gareth, I’m sure there could be but I think the idea of this class is to teach you to model it?
Karl, I had the same question. The file I’d love to have is the reference image used in the tutorial.
Mike
You can find the reference I used at
https://follyfire.com/product/dressed-to-kill/
Hope this helps!
Hi Gareth, the image I used can be found at
https://follyfire.com/product/dressed-to-kill/
Thank you Ethan, super helpful!