
Retro Sci-Fi Fashion Shoot
Create a striking fashion image worthy of a classic sc-fi flick.
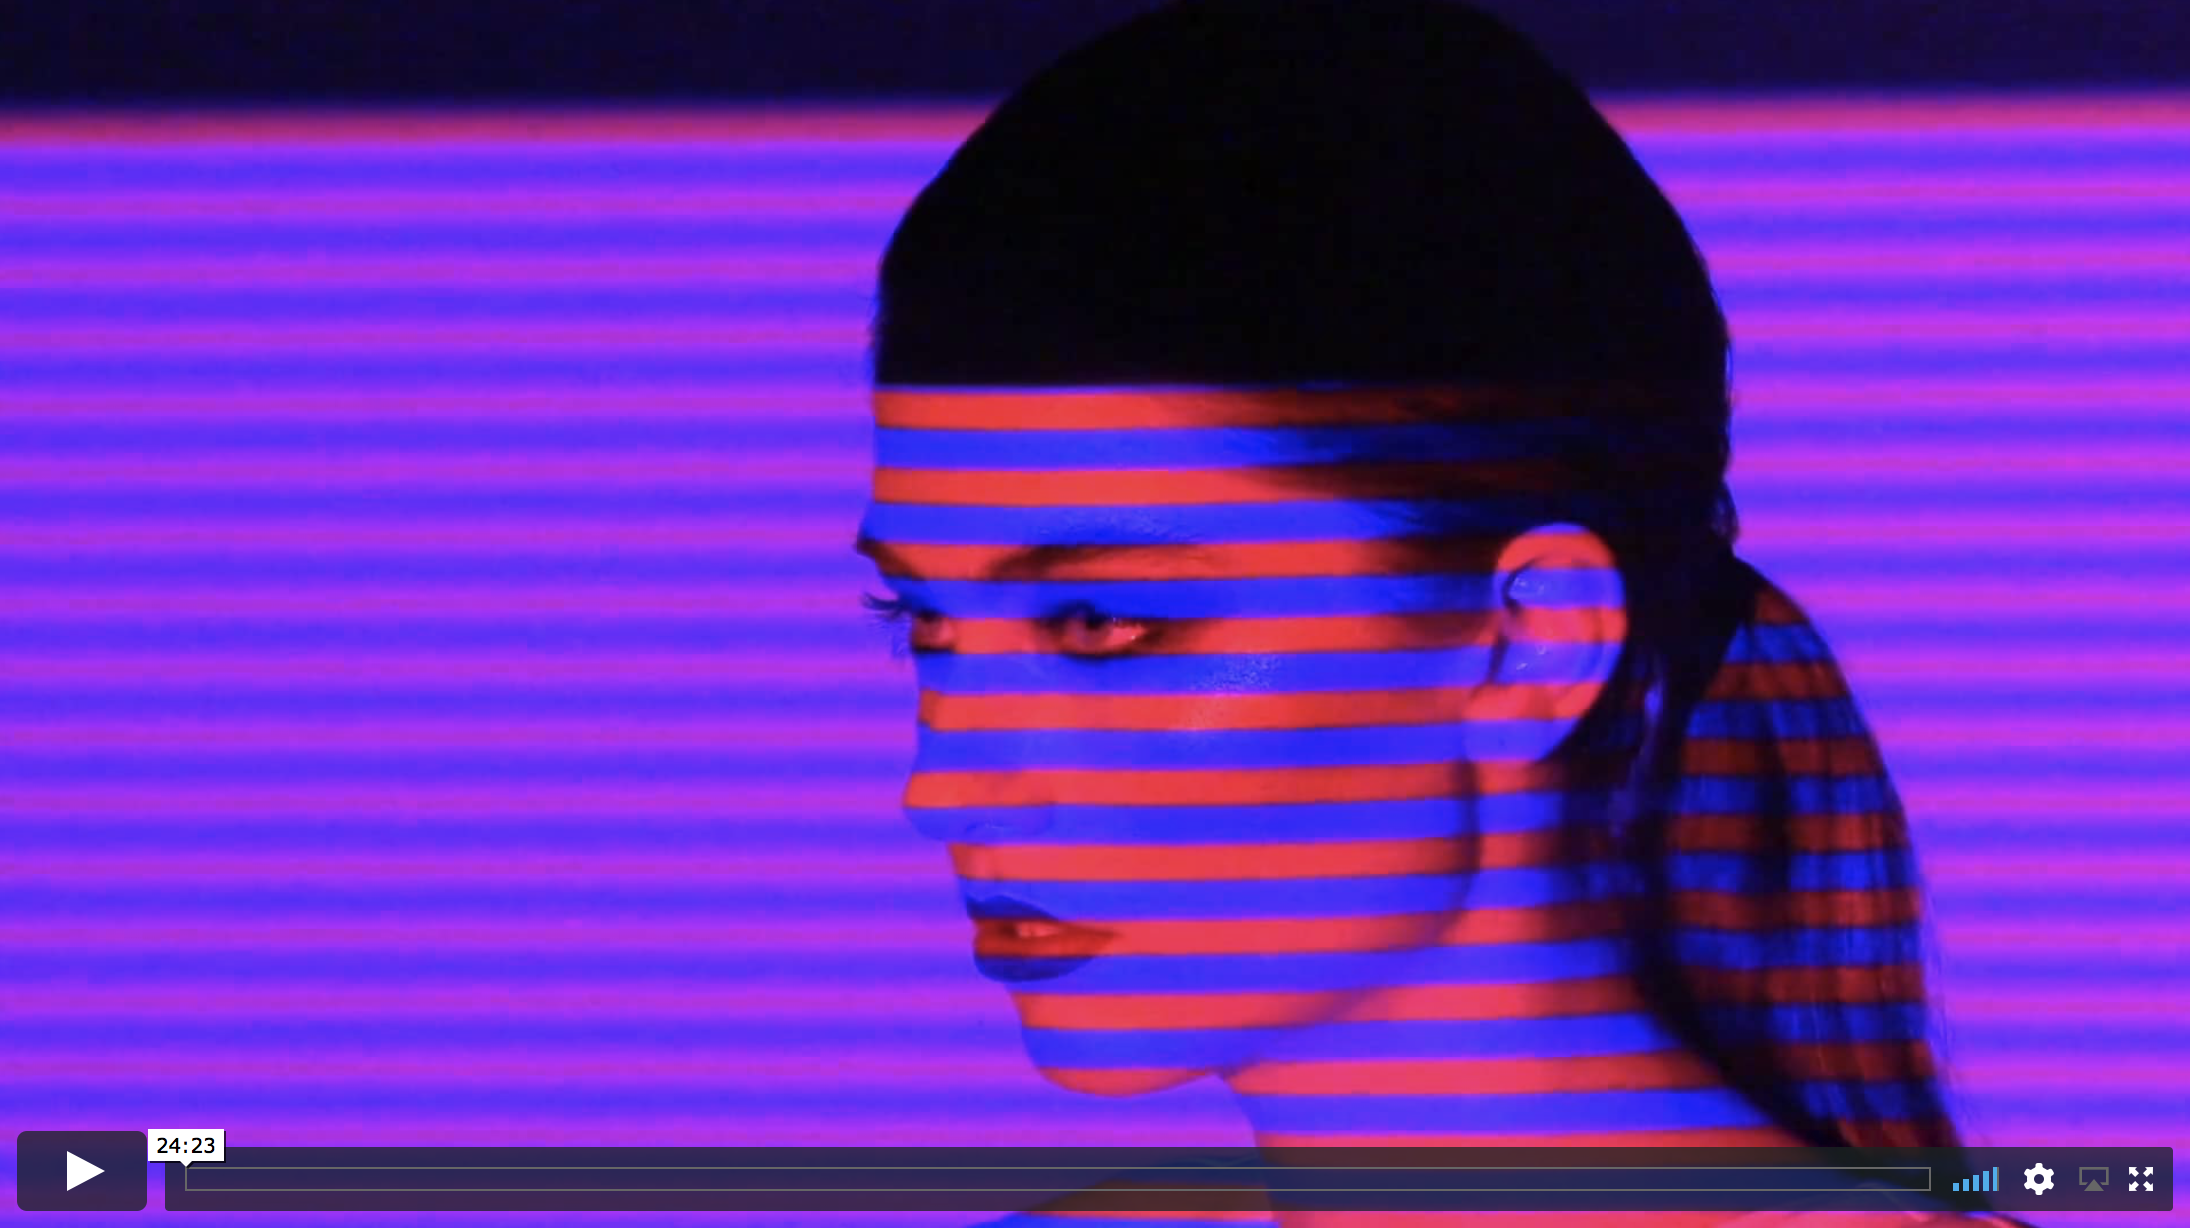
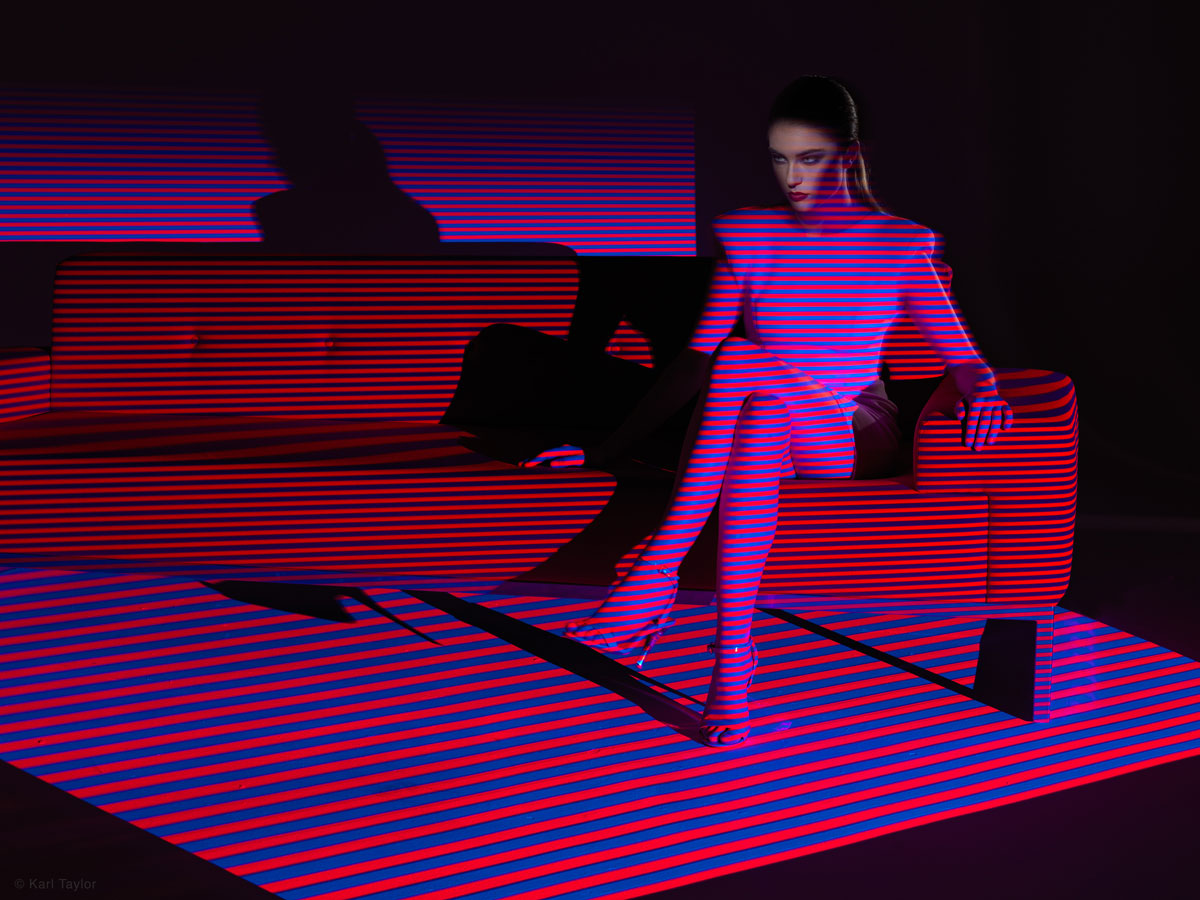
In this class, Karl takes inspiration from the movie Blade Runner to create an eye-catching science fiction-style image.
Through careful control of just two lights, he demonstrates the kind of results you can achieve with enough knowledge, patience, and attention to detail.
In this fashion photography class:
- Creative set creation
- Creative direction
- Posing
- How to achieve synergy between various elements
- Long exposure in fashion photography
- Precision lighting
- A simple two-light setup
- Controlling and balancing multiple light sources
- The importance of close attention to detail
- Analysing and making an adjustments mid-shoot
Questions? Please post them in the comments section below.
Comments
hi
is this posible to do without the broncolor Picolites and only th eprojector? i don’t think you use a flash because then the lines will go aaway i understand the broncolor Picolites is needed for the face and so . And do you btw have the red blue psd for a downoad 🙂
regards
HArm
Hi Harm, sorry for the late reply on this one it must have slipped the net and then I was away for Photokina and just got back. If I had only used the projector then she would also have lines across her face, so it was necessary to use the picolite with a projector attachment for the face only. There isn’t many accessories that can control light to such a specific space, also the Pulso 4 can. I’m afraid I don’t have the PSD anymore but if you read my reply to Paul Garland above then you should be able to solve it. Cheers Karl.
Thank you Karl
Hi Karl
Is the file you made for the projection available as a download?
If not can you please tell me how many pixels each stripe is in height?
And the overall image size?
Many thanks
Paul
I really enjoy your classes. Such an inspiration.
Hi Paul, I didn’t keep the file as it didn’t take very long to make and I didn’t think I’d need it again. The projector had a resolution of 2000px wide, so I made the image in photoshop about 2000×1000 and then just made lots of stripes, I had no specific height in mind because I could either zoom the image in or out to change the height of the stripes (by zooming either with the projector or the laptop image). I guess you could count the stripes and then divide the height by that number to get a rough idea?
What kind of projector did you use? how many lumen?
Hi Ryo, it was 6000lumen
Super……Love it, thx guys
Just awesome.
Is there a video on how you produced those brilliant images using fluorescent tubes in the frame w/the model?
Hello Karl, another great tutorial. I suppose the backlight with Fresnel is a flash in this case… Would it be possible to achieve this with a continous Fresnel light (Cremer type) also?
Thank you
Hi Bernard, yes the triangle and the backlight were both flash, you could achieve it with continuous light but as I was combining a long shutter speed in the shot the flash ensured the models face/eyes were sharp.
BRAVO KARL I lift my hat off sharp strong retro-avant aesthetic you have achieved
Thank you Rodrigo.
Another great composition and cool video effects intro!
Amazing, the wait was worth it a lot. Many thanks Karl, Ben and team. “It is addictive”
Thank you Alejandro.
Stunning, Karl.
Thank you.
This was a great one Karl; I’m a big Sci-Fi/Blade Runner fan myself. The small triangle of light and the kicker in the back really make the image complete, as opposed to straightup projector light. Not too long ago I never would have thought of that. Great emphasis on the details and planning as well. Many thanks!
Cheers Peter.
This is insanely good.
Thank you Dilesh.
Tick tack Ben… we are waiting…
There you go Rodrigo ??
YIJA!!
Hi Karl, What day of May?
When Ben has finished editing it! 🙂
Thursday 31st, just going to make it in time ?