
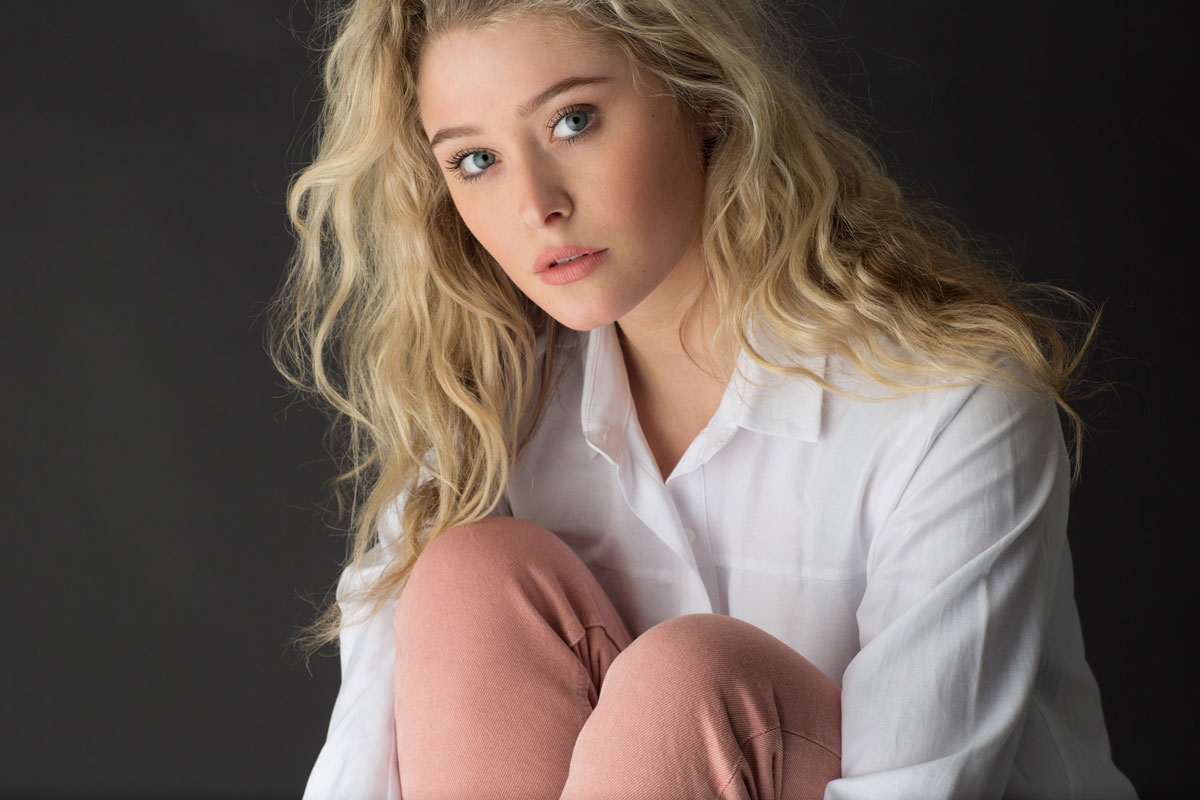
Contoured Single Soft-Light Portrait
Small adjustments, big changes – give this simple setup a try.
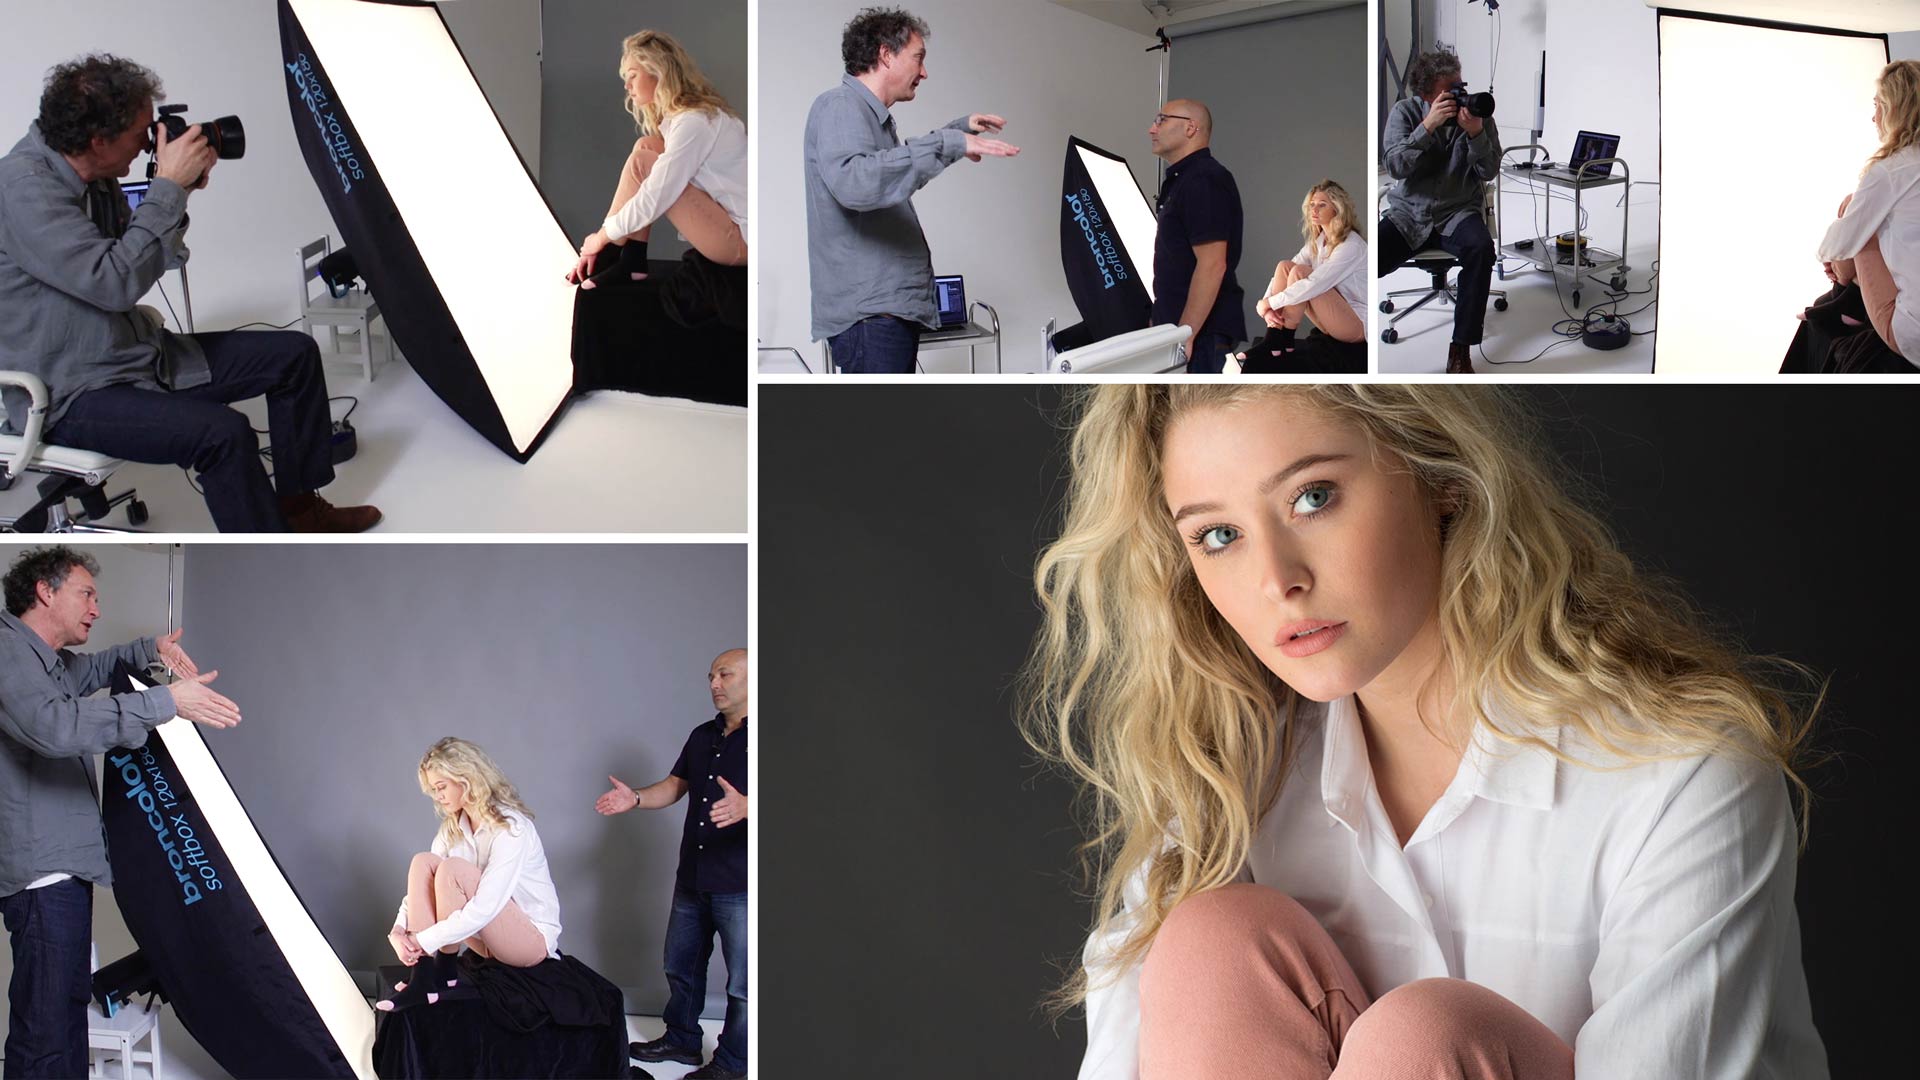
For this portrait photography class, Karl and Urs use a simple lighting modifier in an unusual position to create a beautiful, contoured soft light.
Working in a small, confined space, they show how this single-light setup is ideal for those working in a small studio, but, with minor adjustments, you can greatly change the outcome.
During this tutorial, Urs talks you through his lighting setup, power settings and the reflectors he uses, explaining the impact of each.
In this class:
- Creative portrait photography using a single light
- How to create soft, contoured light
- Photographing in small studio space
- How to use reflectors
- How to convey emotion in an image
Questions? Please post them in the comments section below.
Comments
Hi
i know ( i think) it is not posible to ask you how a photo is, but in my big studio 3 by 4 meter i wanted to show you my result on 1 softbox broncolor 120*180
https://puu.sh/BLjBE/958fb61c3e.png
i have the big studio 🙂 now 1 week and juse for the first time my own lamps
i just a polyboard on the right 1 by 2 meter whit in frond to bounce light
th eproblem i have maybe she is sitting to close to softbox that i get on the left in face to mutch light i think or what is your opinion or how can i make it better?
regards
Harm
Hi Harm, you are right we can’t judge work in this area only in critiques but having had a quick look it looks like the softbox should have been a lot closer and slightly more frontal and the reflector close on the other side. See this module again https://visualeducation.com/class/studio-lighting-setups-portraits-one-light-setup-21/
Just a quick question Karl,do you use different Lightroom Catalogues for your teaching projects,as per a catalogue for this series and a different catalogue for a new teaching project
Hi Robert, no i’m really lazy in that respect I only process the files in LR and that’s it, I’ve never created new catalouges.
simply amazing stuff.. lucky to have teacher like Karl who touching tiny things for us.
Man this is amazing, nice stuff here, congrats for this educational work,.
I have a comment, maybe the camera man can use a cheap stabilizer, I’m not kidding, I got dizzy watching just 2 videos, just saying..
That final close up was awesome, and the model is absolutely stunning. really enjoying the course thanks guys. That studio by the way is a dream for most photographers would be in my element with a studio like that.
Hi James, thank you, this studio is my 5th one and they’ve grown bigger each time over the last 25 years. My first studio was small! 🙂
I love it. Thank you very much Karl!
Such beautiful light.
If you are passing this deal up, shame on you! So much knowledge here. Thank you Karl for giving photographers what we need!!!
Thank you Anthony! 🙂
This is amazing wouldn’t of thought to box in the subject. These courses are great.
I’m really enjoying the course I have a question do interfit and bowens accessories have the same s type fitting ?
Hi Michael, they are both S mount but I’m not sure if they are exactly the same but interfit usually make their accessories or adaptors to fit major brands.
Evie looks very Icelandic to me. Nice setup thanks Karl and company!!
Yes I guess she does a little but she’s not. I always thought she looked a little like a young Sophie Loren too.
Videos i meant
I am enjoying the vidoes. Is there any other alternative softbox I can use no budged for this large softbox?
Simon
South Africa
Hi Simon, as you would have hopefully gathered from Chapter 1 and Chapter 7 of this course to achieve this effect does require a large light source, there are other ways of creating this but essentially it has to be a large light from the models perspective.
thank you Karl I will save up for one.
But would a large octa softbox give similar results. I do have 170cm octo
Hi Simon, the octa 170 is about 2/3rds of the size so it would be about 2/3rds as effective so the closer you can get it the better. You could also consider making yourself a large scrim and firing your ocatabox through that.
Thanks for that Karl
This answered my question also. Glad I bought some diffusion material too.
I now have a new use for my 137 x 183 soft box. At $14 a month, these videos are awesome.
This lesson should cause anyone to re-think “monster lighting”.