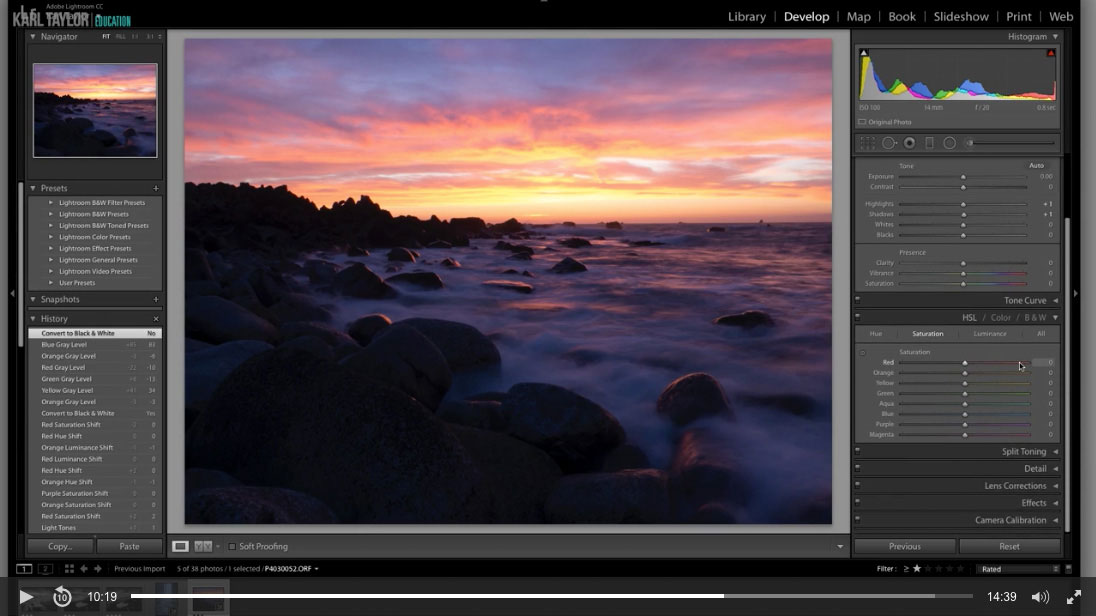
Understanding the LR6 CC Interface
After introducing you to Lightroom 6 in the previous class, Karl goes into more detail about how to use Lightroom to edit your photos.
He provides clear explanations and examples of how to use the various features to enhance color, increase sharpness and even add a vignette to your images. This class provides a complete guide of the Development module in Lightroom and how you can use it to further enhance your images.
In this class:
- How to use Lightroom 6
- Lightroom 6 interface and tools
- Lightroom Development features
- How to correct color using Lightroom
- How to sharpen an image in Lightroom
- Clarity vs Detail
- How to convert to black and white in Lightroom
If you have any questions about this class, please post them in the comments section below.


Comments
Thank you so much for the great tutorials
Thank you!
Hi, Karl,
Excellent tutorials. Extremely helpful, as always.
Thank you!
Allison
Thank you Allison.
hi, i tried to use the “color selection Tool” and i dragged on the image to change specific color on the image but when i did it , the whole image colors were changing in the same time …is there a way to isolate only the area that i want to modify the color on it ? thanks
Hi Peter, if the colours are similar then it will be hard to isolate them. Another way is to do this in photoshop on two layers and then use a mask to only let through the new colour in the area you want from the new adjusted layer or from a hue adjustment layer.
Great, thanks so much 🙂