
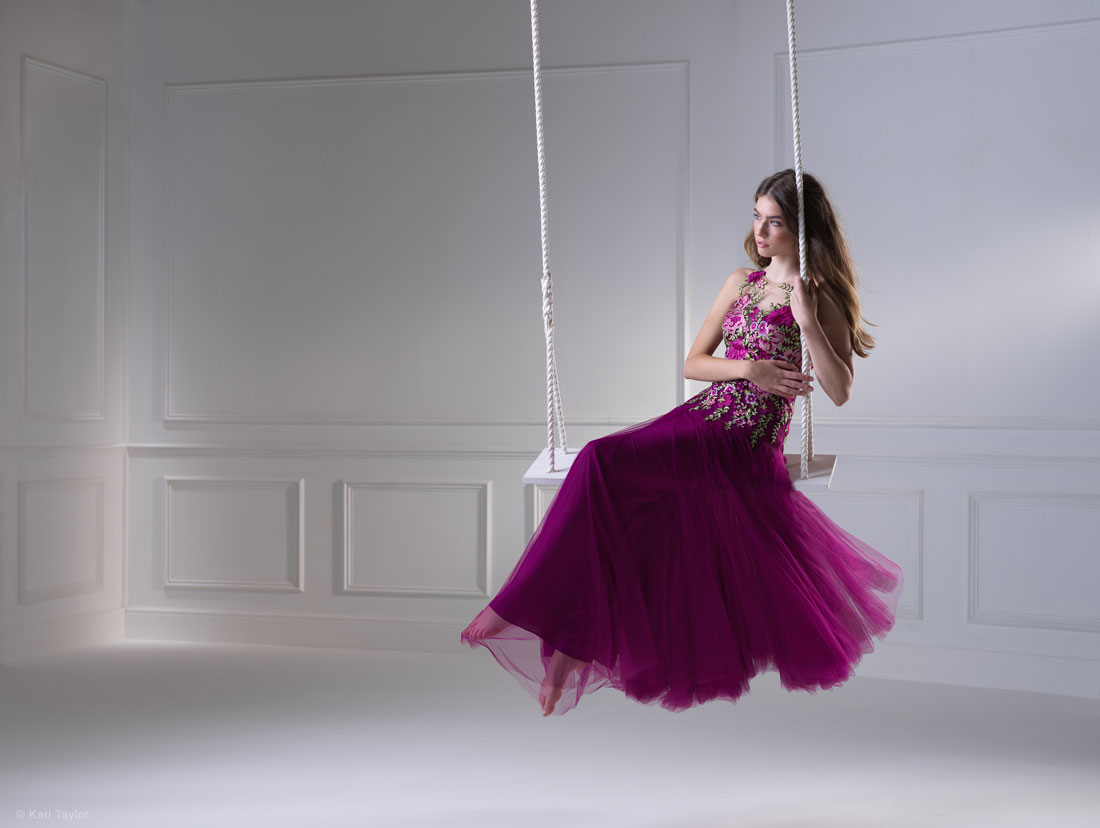
Innocence Fashion Shoot
Get your fashion photography swinging.
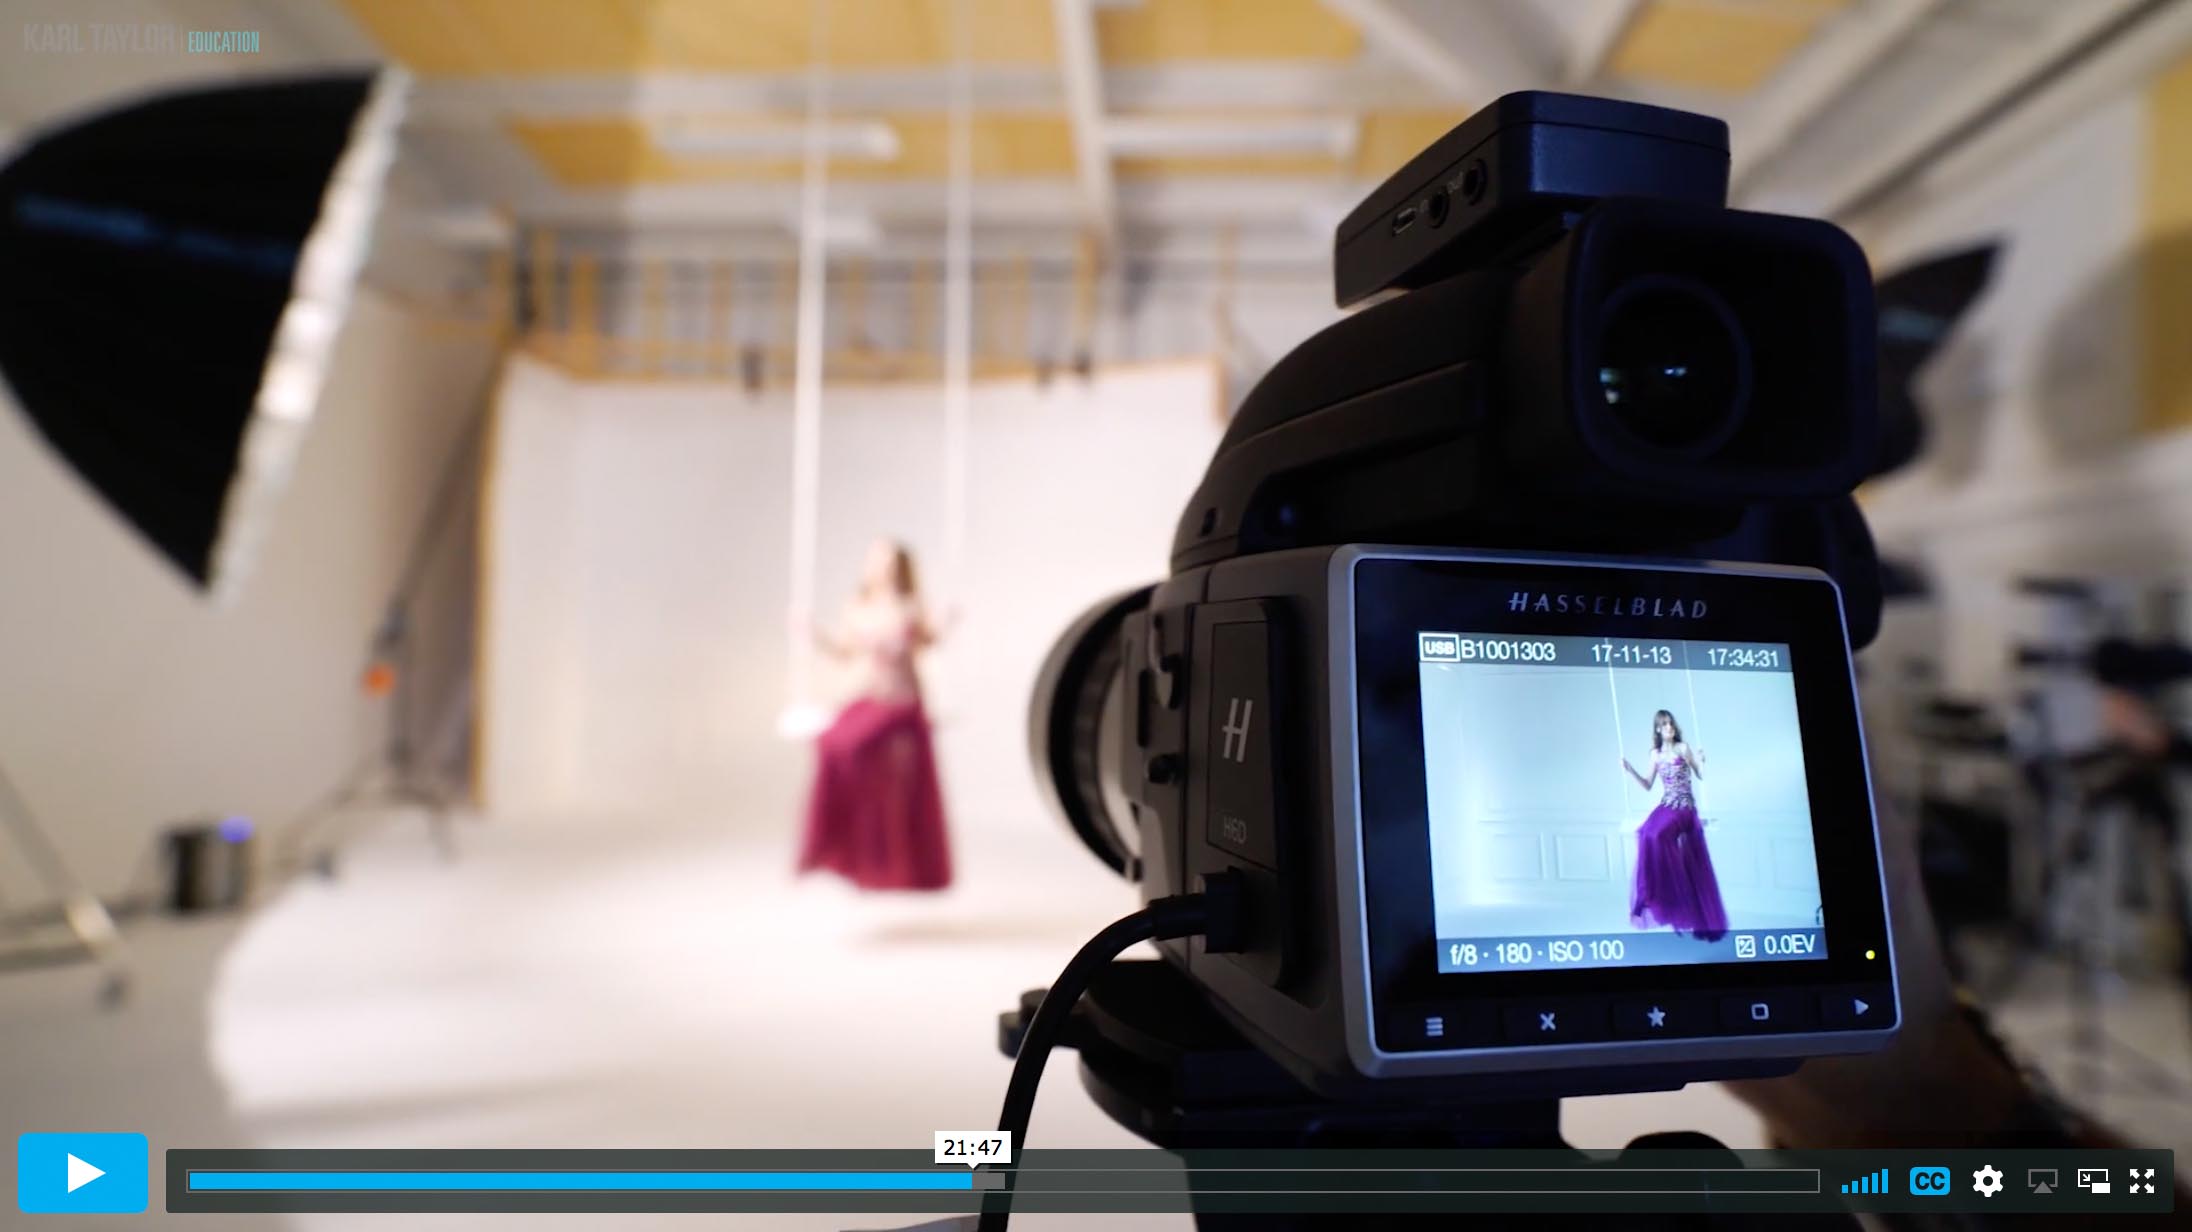
A touch of movement can often introduce an interesting and eye-catching element when it comes to fashion photography. However, it can be tricky (and very time consuming) to make this movement look natural. Creating the movement itself isn’t always the challenge — it’s making sure every other element comes together for that perfect moment.
In this two part fashion photography class, Karl works with model Kariss Craig to demonstrate how to work with multiple lights to achieve the perfect lighting and how a single set can be transformed to achieve completely different results.
In this series of fashion photography classes Karl teamed up with Next Model Management’s Kariss Craig, professional fashion stylist Bianca Swan and makeup artist and hair stylist Shanine Levrier for an intensive week of filming high-end fashion photography. The results form part of our newest fashion course, a new series, that details each and every step of fashion photography.
In this fashion photography class:
- How to use multiple lights — lighting your subject vs lighting your background
- Ideal lighting modifiers for fashion photography
- Parabolic modifiers and their effects
- How to create mood — influencing colour and tone
- How to work with, style and pose your model
- Inverse Square Law – what is it and what are the effects
- How to make the most of a single set
Questions? Please post them in the comments section below.
Comments
Hi Karl.
Great shot as usual. Could you share some info on the wood background panels? Did you make them or are they available as a finished product?
Hi Enrico, I think it’s in this chapter https://visualeducation.com/class/fantasy-fatale/ that you see Tim making the wall. It was constructed from timber frame and then plywood panels, then it was covered with a plain lining wallpaper and then we put the wooden trim decorations on it to make it look more ‘regal’.
Hello Karl,
Thank you for another amazing tutorial. I have been wanting to also suspend a swing from the I beam in my studio, can you share what mechanism you used to hang your swing?
Thanks again
Hi Jonathan, we didn’t do anything special, we just put a large carabiner clip on the end of each length of the rope, through it over the beam and then clipped it to the rope.
Great job. Really loved how your mind works during the shoot.
Thank you.
Another great tutorial; I am learning so much about the finer points of fashion photography! Cheers!
On a lighter note, I was watching this video and these shoots came to mind! 🙂
https://www.youtube.com/watch?v=CprfjfN5PRs
Very creative shoot. As I watched here are my ideas….
1. Create a different background without the wall texture maybe something simple with a complimentary gel.
2. Spray water behind her and light it up.
3. For the front water shot… have a an assist with a bucket on either side and have them create a bell of water over her head simultaneously. An powerful expression/pose would be great in that scenario.
Love your work and the fact that you are sharing your creative process!
Very beautiful video and great shot! Maybe for her to have her hands working easily in the pics a small clutch bag may do the trick. Also for the water throwing, you might need someone with less power, preferably a female to throw the water. His muscles are too much to do that delicate work!
great picture
Thank you.
Beautiful video.
Great shot and great model!
HI Karl,
A great shoot; love the overall mood of the lighting (and the model, of course!). About the Broncolor lights; do they hold that short flash duration throughout the range of stops or do you need to power down to use this feature?
Hi Peter, the power range is from 0.1 to 10.0 on the Scoro in one tenth stops. From power 6.0 and below you can achieve fast flash duration from power 4.9 and below the superfast flash duration.
Awesome module and what a beautiful dress your model had on for the water shoot! Its great to see the ideas bounced around to help achieve the shots. When on the swing, are you waiting for the highest point in the swing motion or just as she starts to descend? Which might be the best time for the shot to be taken. I’ve heard that in a jumping shot it would be the highest point.
Hi Geoff on jumping shots the highest point has the least movement so less need for super fast flash durations. But as in the swing shot and my jumping shots I prefer ‘on the fall down’ a bit as the dresses flow in a more aesthetically pleasing direction.
What a beautiful shot! Who cares that it was a three hour shoot or that 300 pictures were taken when you end up with a shot like that. Isn’t this what ‘real’ photography is about; keep going and evolving till you have nailed it?
I do hope you kept the swing for staff exercise and recreation time.
Karl….in the last shots of Caryss (?) standing…from your camera angle the vertical line of the background moulding drops straight through the back of her head. I was always taught that lines running into the head and/or body are a big NONO. Was this deliberate or an oversight by you??
Otherwise the whole shoot was fantastic…something to be proud of even tho you have been doing it for years
Hi Brian, it is neither deliberate or a mistake. I was certainly aware of what you are saying but the moulding behind her in the final shot is very soft in terms of the contrast and lighting, in fact the rope from the swing in front of her is far more apparent but this is part of the composition. In essence what you are saying is correct but it is only relative if it causes a significant distraction because that is all that matters. If their are elements in a background that cause distraction or the viewers eye to dramatically deviate from the main narrative then yes that would be wrong but otherwise it is not an issue. Cheers Karl.
Great video and thanks for mentioning how many shots it took you and how long it took as well.
I like the way you light your background. Adding the Fresnel lighting and highlighting the corner certainly adds depth and interest to your final images. Another wonderful video. Thank you!
Thank you Douglas
Guru it’s fantabulus, great shot
Thank you.