
Lighting Modifiers and Their Effects
So many modifiers, so many effects. Learn all about lighting from a seasoned pro.
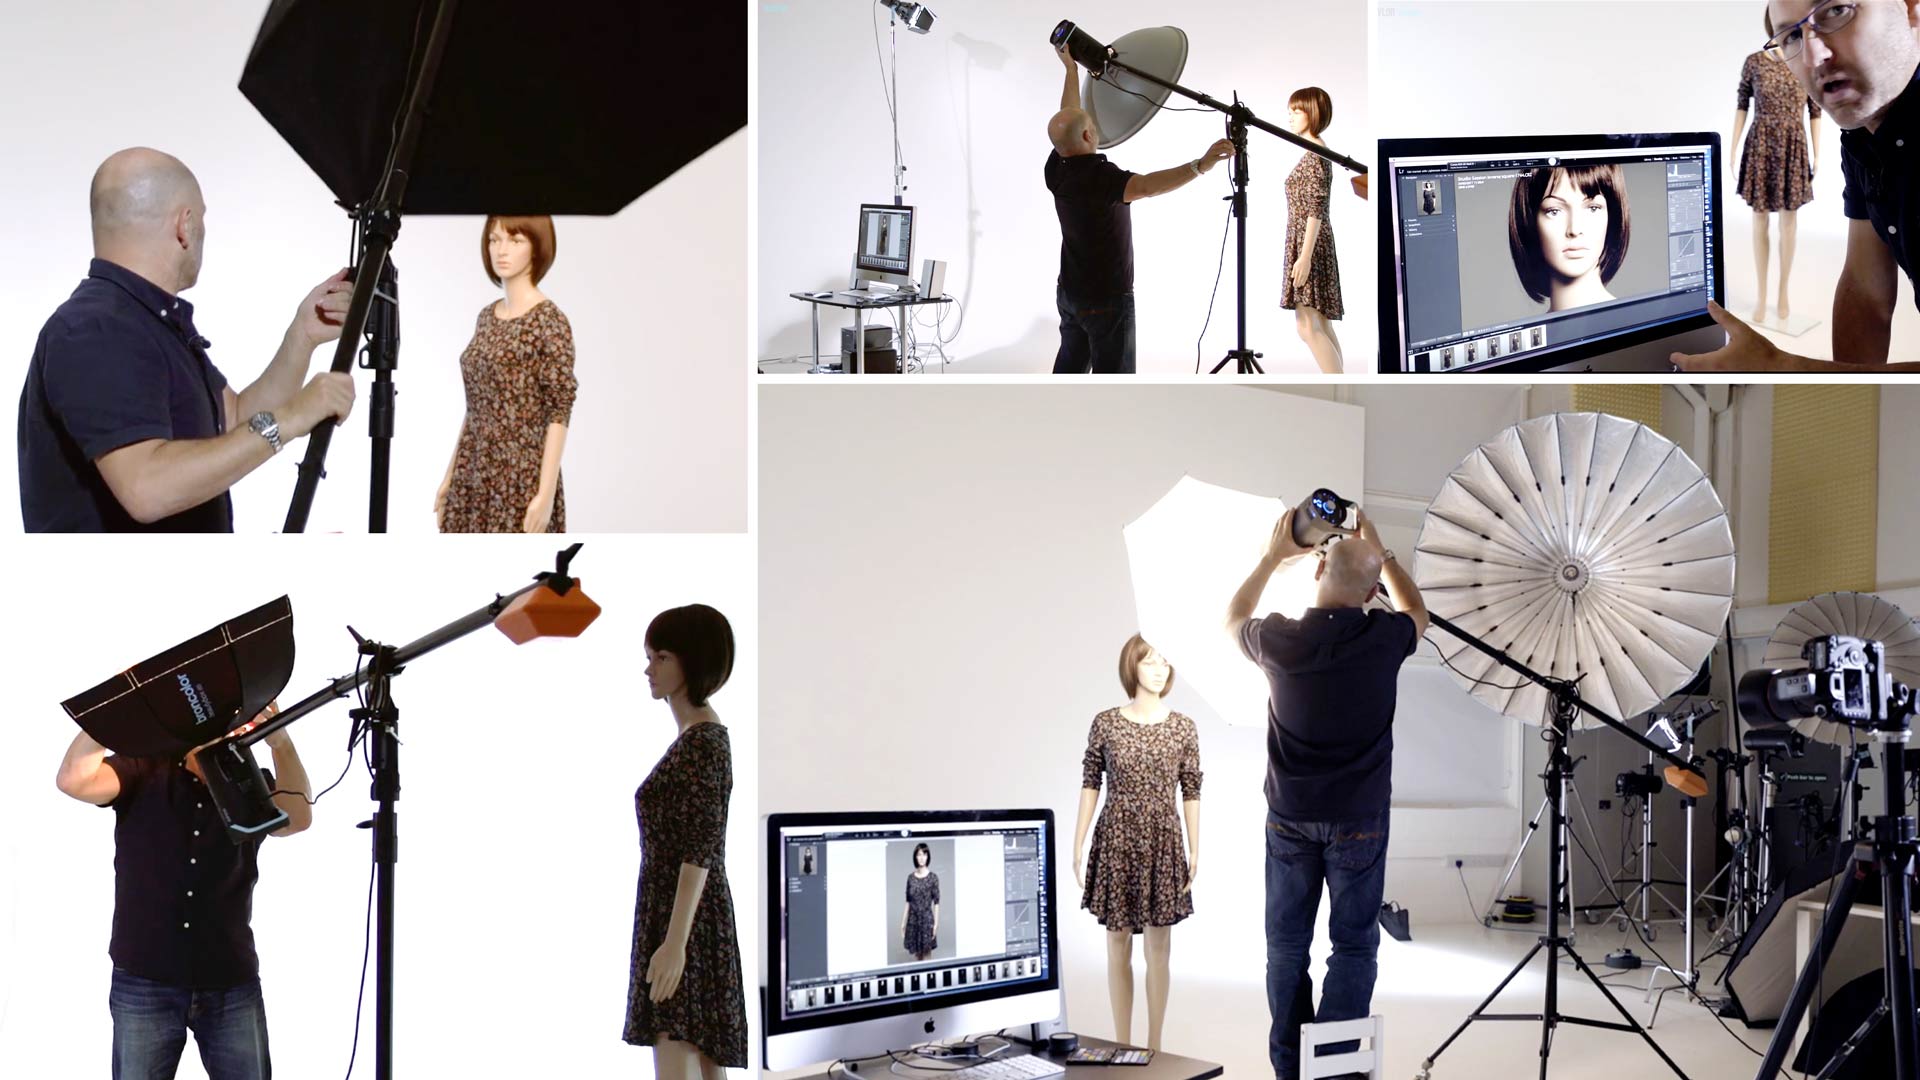
Have you ever wondered about the difference between a softbox and a snoot? Or whether to use an octabox or an umbrella? If so, this class is for you.
You’ll discover the crucial differences between a variety of lighting modifiers as Karl explains how they work, what effects they create, and when to use each one.
You’ll also cover the principles of hard and soft light and optimise your ability to control light.
In this class:
- Lighting modifiers
- Hard light and soft light
- Direction of light and the impact it has
- Size of a light source and its effect
- How to further modify certain modifiers
- Lens flare and how to reduce it
If you enjoy this class, to check out Precision Lighting: Modifiers and Techniques and Beauty Lighting Comparison.
Don’t forget to try our amazing Lighting Comparison Visualiser tool.
Questions? Please post them in the comments section below.
Comments
Hi Karl, Great series!
Have you considered making the photos available for download? This would make side by side comparison in high quality even easier. Sometimes you are switching the different views to quickly for me to really get all nuances of the different shots.
Thx, Oli
This is one of the best course I ever have seen yet simple and clear to understand
Thank you.
Thank you Afshin.
Hi Karl, loving the course! Can you give a recommendation for a basic set up for home portraiture with relatively limited space? Would you get a backdrop, couple of stands and lights with soft boxes ? If so, what power lights and what size soft boxes ? Or would you get speed lights and shoot through umbrellas etc? Many thanks, Andy
Hi Andy, any lights will do 400J or above is good, we recommend broncolor but if they are out of your price range then Elinchrom may be another to look at. You can do more with 3 lights but as you will see in our ‘Portrait’ section you can also do great stuff with one or two. Yes a background is essential again I’d refer you to our portrait section. Biggest softbox you can go for, again the reasons are explained in the Light Source course in the portrait section. Cheers Karl.
nice content like always! I’m learning a lot! I was just wondering of to achieve the punchy look of fashion shots and you explained very well the use of umbrellas and reflectors! Thank you!
Hi Karl,
I’m wondering if you recommend the deep 110 umbrella for outdoor locations ( portraiture / fashion ) and if not what would you suggest?
Aitken.
Hi Aitken, yes this is a really good economic modifier for fashion.
Hi Karl, please help. The videos are not loading as fast as they use to. I need to re-watch the videos and it is being really difficult. 3 minutes videos take over 30 minutes to watch and this particular 42 minutes video is taking hours to load.
I guess all the photographers in the world are subscribed here because the videos are so educational and that is why it is so slow!
Do something, i really need to watch the videos the videos again. You tube videos are loading just fine, so not my network.
Hi Laurenta, It does seem odd that your youtube videos are playing correctly so I will put a support note in to check but the amount of people on our platform watching would not be the issue. We use one of the best video services available and they encode our video in various resolutions to feed for different internet connections.
This course is awesome, everything what I needed is in the same place.
I wish I could spend a few days with you learning more things.
Hello.
Will you go over the para in another tutorial ?
I have heard a lot of good thing about them but I’m really curious to see how you use them in the field.
Hi Guillaume, I run a comparison on the paras in this video https://visualeducation.com/course_video_page/beauty-lighting-comparison/ and you will also see the para’s in action in the Fashion section. Cheers Karl.
Thanks Karl !
J,Jean-Claude Davilmar
Great comparaison,Thank you
Wow, that was fascinating! Thank you. With the snoot did it have a grid in it? And if it did could you tape over part of the grid to create a gobo like the one you used for the whisky bottle label on YouTube?
Hi Mark, you can hold grids in front of the snoot for similar effect. Check out the recent live food shoot in the ‘live shows’ archives to see this technique.
Thank you
For someone just starting out, what size soft box should one order to start with?
Hi Karen, get the biggest soft box you can, it is more versatile, a soft box needs to be really close to get properly soft light, so if you are wanting to shoot portraits the biggest is best, if you move the soft box further away it becomes a smaller harder light source
Hi Karl,
I see you use Grids to control the spillage of the light on the subject matter but I do not see the similar application of grids and hoods on Softboxes ? Any particualr reason for this ?
Regards
I love these videos. Great comparisons across a range of gear I dont have myself yet. This video confirms conclusions I have made with my own tests with diffused lighting. It seems for many people its a race to the largest, softest diffused light source possible and your done. I have found over-diffused lighting can look too flat and bland as it washes over the contours of the subjects surfaces too evenly instead of rendering or describing those contours with some degree of gradient shadow. Painting the subject with shadow is just as important as with light.
A good way of putting it Jason.
Great and useful comparison! Thanks a lot 🙂
Ps. Maybe it might be useful if you use compare option [C – button] in the lightroom – then would be more easier and clear to see the difference in pictures in future materials 🙂
FANTASTIC!!! This is EXACTLY what I was looking for and badly needed. Once again Karl, you nailed it perfectly!
Many thanks 🙂
Thank you Miz Universe 🙂
Stiffany number one!
Stiff as ever! What a hard-worker she is!
Followed you on youtube for sm time & i was just frustrated as my photos were becoming monotonous ..understood that i lack in area specifically understanding of light & the way u Teach is simply awesome ..
Thank you.