
Whisky Photography
Treat yourself to a dram of photographic magic.
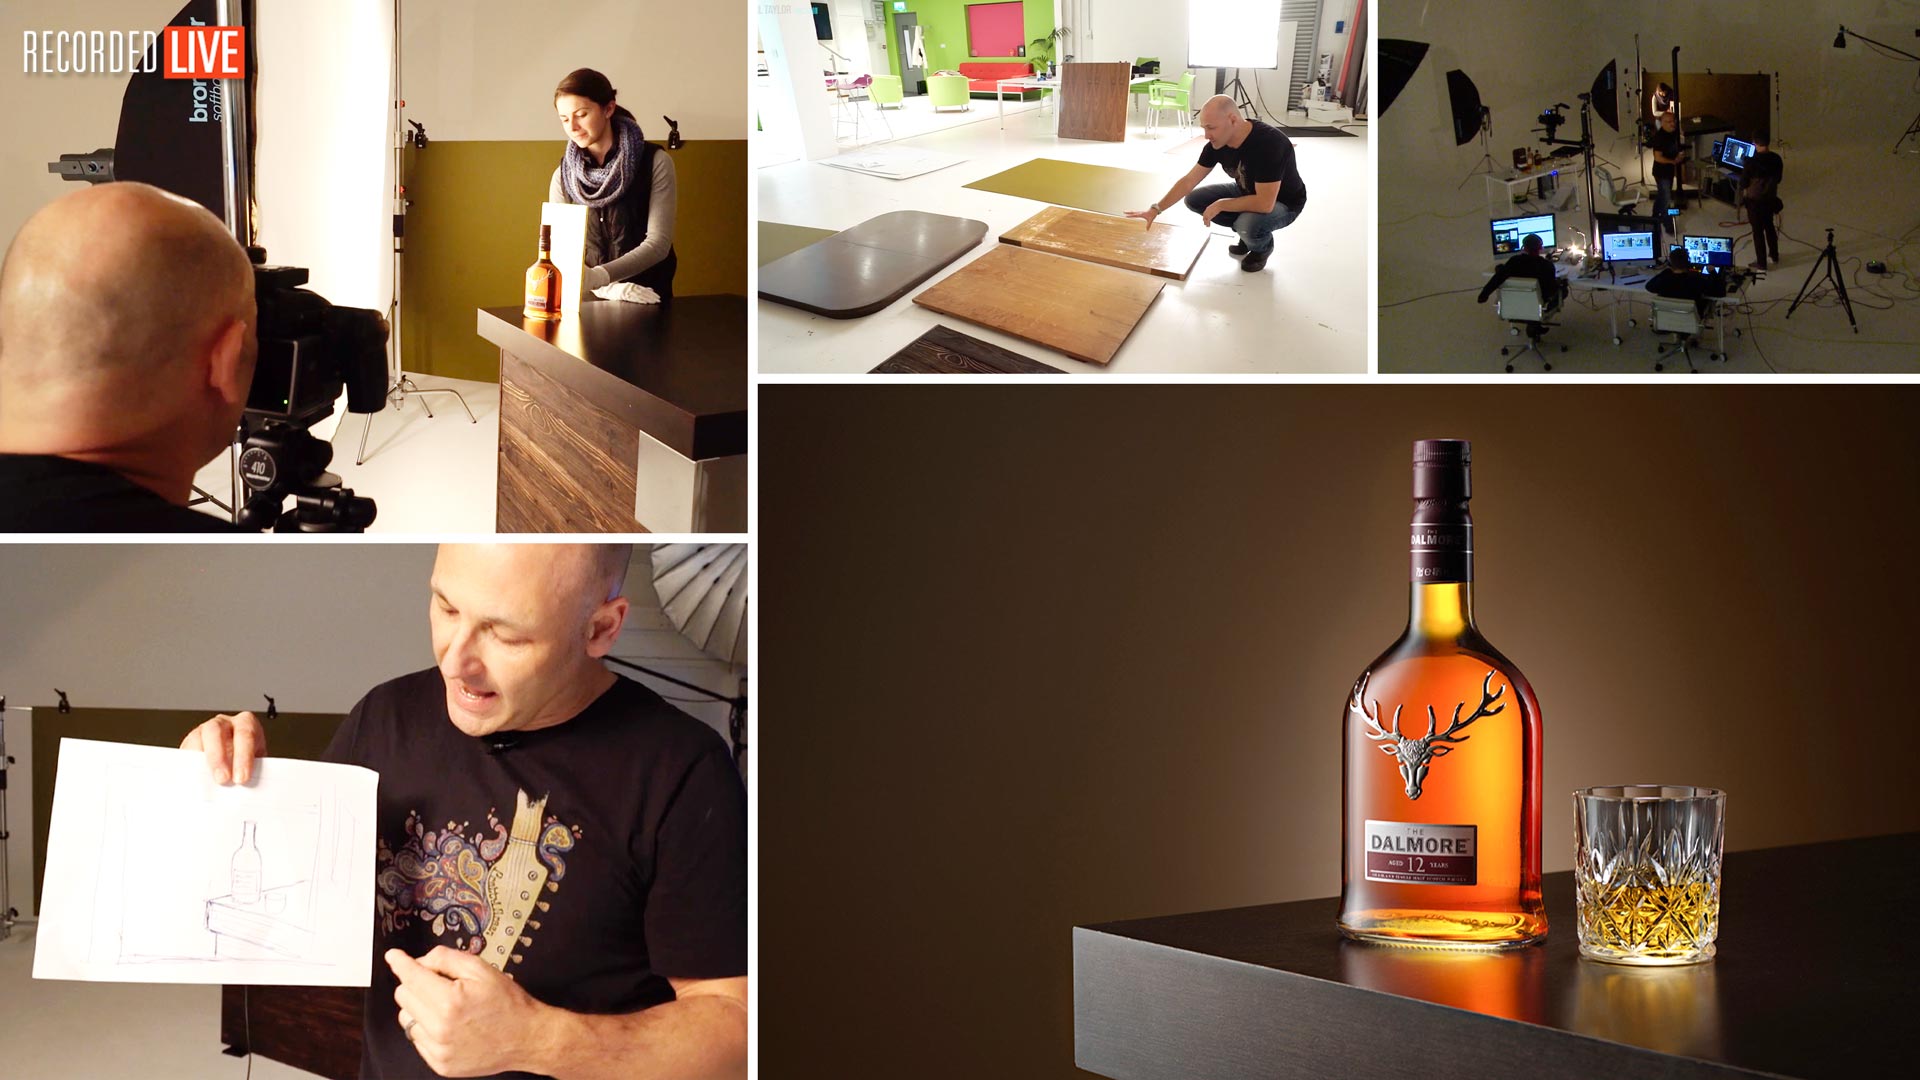
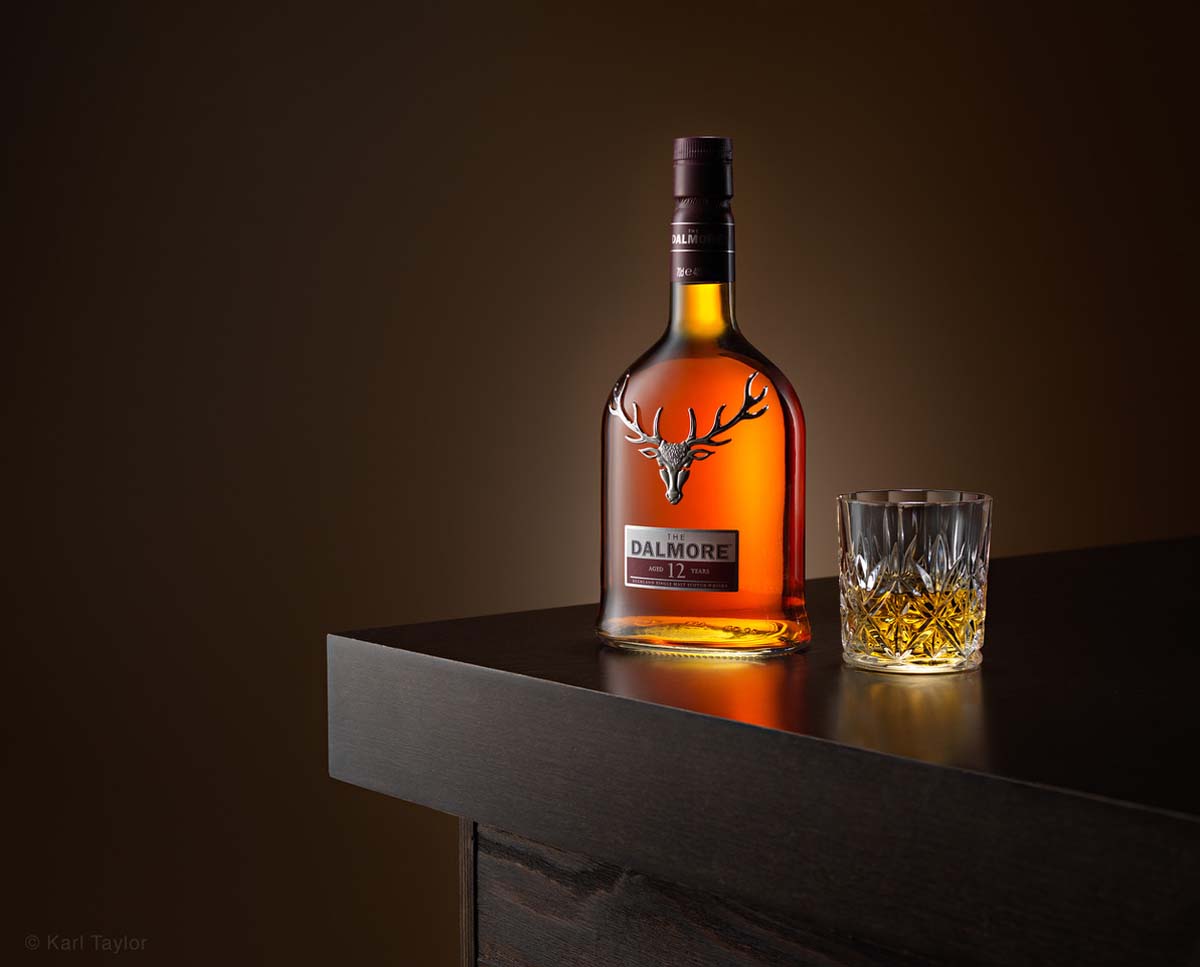
Recorded LIVE, this photography workshop covers the start-to-finish process of a product shoot, photographing a bottle of whisky to advertising standards, using a simple three-light setup.
Karl guides you through each step of the process, from planning and previsualization, to the retouching required to finish the shot.
How to light reflective surfaces, controlling gradient light, using reflectors and useful post-production techniques are all covered in this exciting shoot. Karl also shares a number of little-known industry secrets that help elevate a shot to advertising standard.
In this class:
- Product photography: How to photograph bottles
- Product photography lighting tips
- Lighting setups for bottle photography
- Photographing using multiple lights
- Useful post-production techniques for product photography
- Creating a composite image in Photoshop
Questions? Please post them in the comments section below.
Comments
Hi Karl,
Thank you, another great and inspiring video!
For this kind of shot may i use a 35×160 strip box that i already have?
Thank you, Andrea
Yes for the strip box side yes.
“Don’t use a teaspoon to dig your garden up” haha 🙂
Thanks for information.
Hi Karl,
Could you explain why very often you stick with F11 instead of 22F?
Thanks!
Hi Martynas, I like the look of that level of depth of field and f11 and f16 are the optimum quality of the lens before
a small level of diffraction might become apparent.
Well done, Karl. Learning heaps from your videos. Uploaded my first attempt to the forum but wanted to leave a thank you here. Looking forward to learning more and putting it all into practice.
Thanks again.
MM
Hi Karl. I have to shoot a special Vodka Bottle, I saw in your YT channel one on “how to ..” for the transparent bottles & liquids, but I can’t get all what I need.. This bottle is all matt covered except the one front hole (is like a window) where you can see one image in the back of the bottle (similar to beefeater, but here is only one hole not all the bottle), and all the labels and details are in gold.
So my questions are: how to get the back label illuminate where I can see it properly and how to get all the gold details illuminates and it looks like a gold (may be with a gold paper using as a reflector?)
I hope to get some idea if you can.
Thanks
What is KTE
Hi Vincent, KTE = Karl Taylor Education.
Hi Karl did you ever work with Philip Mccordall a top ad photography from the 60,s and 70,s who was responsible for many of the top ads,his methods are very similar to yours.
Regards Rob
Hi Robert, I worked for several different photographers and studios in the early days as an assistant and it is definitely one of the best ways to learn the craft. The next best way is here on KTE! but I didn’t work for that chap, many of the techniques in product photography though are similar as they are based on physics and problem solving as you will often see in my work.
Amazing tutorial Karl!
If you had to shoot a white wine would you use a gold reflector too?
Hi George, no silver instead.
This was such a bang on tutorial. Loved it! And you do have a very beautiful assistant 😉
Brilliant video Karl, appreciate all the work you put into these videos and the detailed explanations!
Thank you.
Thank you ! That’s what I was hoping to hear, but I couldn’t find a simple version. I’ll keep navigating for this kind of thing. I’m basically just “dumb” real estate photographer ?!?
https://www.ellenzaslawphotography.com/portfolio/G0000w8BozsWFkBs
This is all well and good, but not all of us can afford the kind of lighting equipment you are fortunate to be using.
Hi Ellen, this could have essentially been accomplished with any brand of studio lighting with the same softboxes. Note that the main component here was the diffusion material. The light on the back ground and from above was a standard reflector or with a grid, all of which are common low cost modifiers in most studio lighting ranges. I don’t consider myself fortunate to be using this type of kit, broncolor yes is a very good brand but for many years I was using Elinchrom and i’ve also used other brands over the years. If your interest is product photography then a certain amount of studio lighting will be necessary as they are the required tools for the job. However I do have an example in this website undertaking a wine shoot with just desk lamps.
Taht was outstanding!!
Thank you Karl and great team
Outstanding tutorial Karl…enjoying all you classes….loved the way you had constructed the shot…In reality how much post processing you do on a picture. in the tutorial you haven’t done much, only blended the shots in photoshop…
Hi Lal, I always try to minimise the photoshop work by maximising my photography lighting and techniques. Not that there is anything wrong with photoshop, it is an essential tool especially in fashion and beauty but I just prefer the ‘look’ of achieving as much of the shot in camera as possible. To me it always looks more clean, accurate and authentic if you can solve the problems in camera. That said blending shots together is sometimes necessary or just far more efficient. You just have to look at all the tools available to you and consider what is going to do the best job.