
Packshot Product Photography
Want to perfect your packshots? Find all the tips you need in this comprehensive tutorial.
Discover how to achieve a clean white background, photograph reflective surfaces, control unwanted reflections and shadows on your products, and much more!
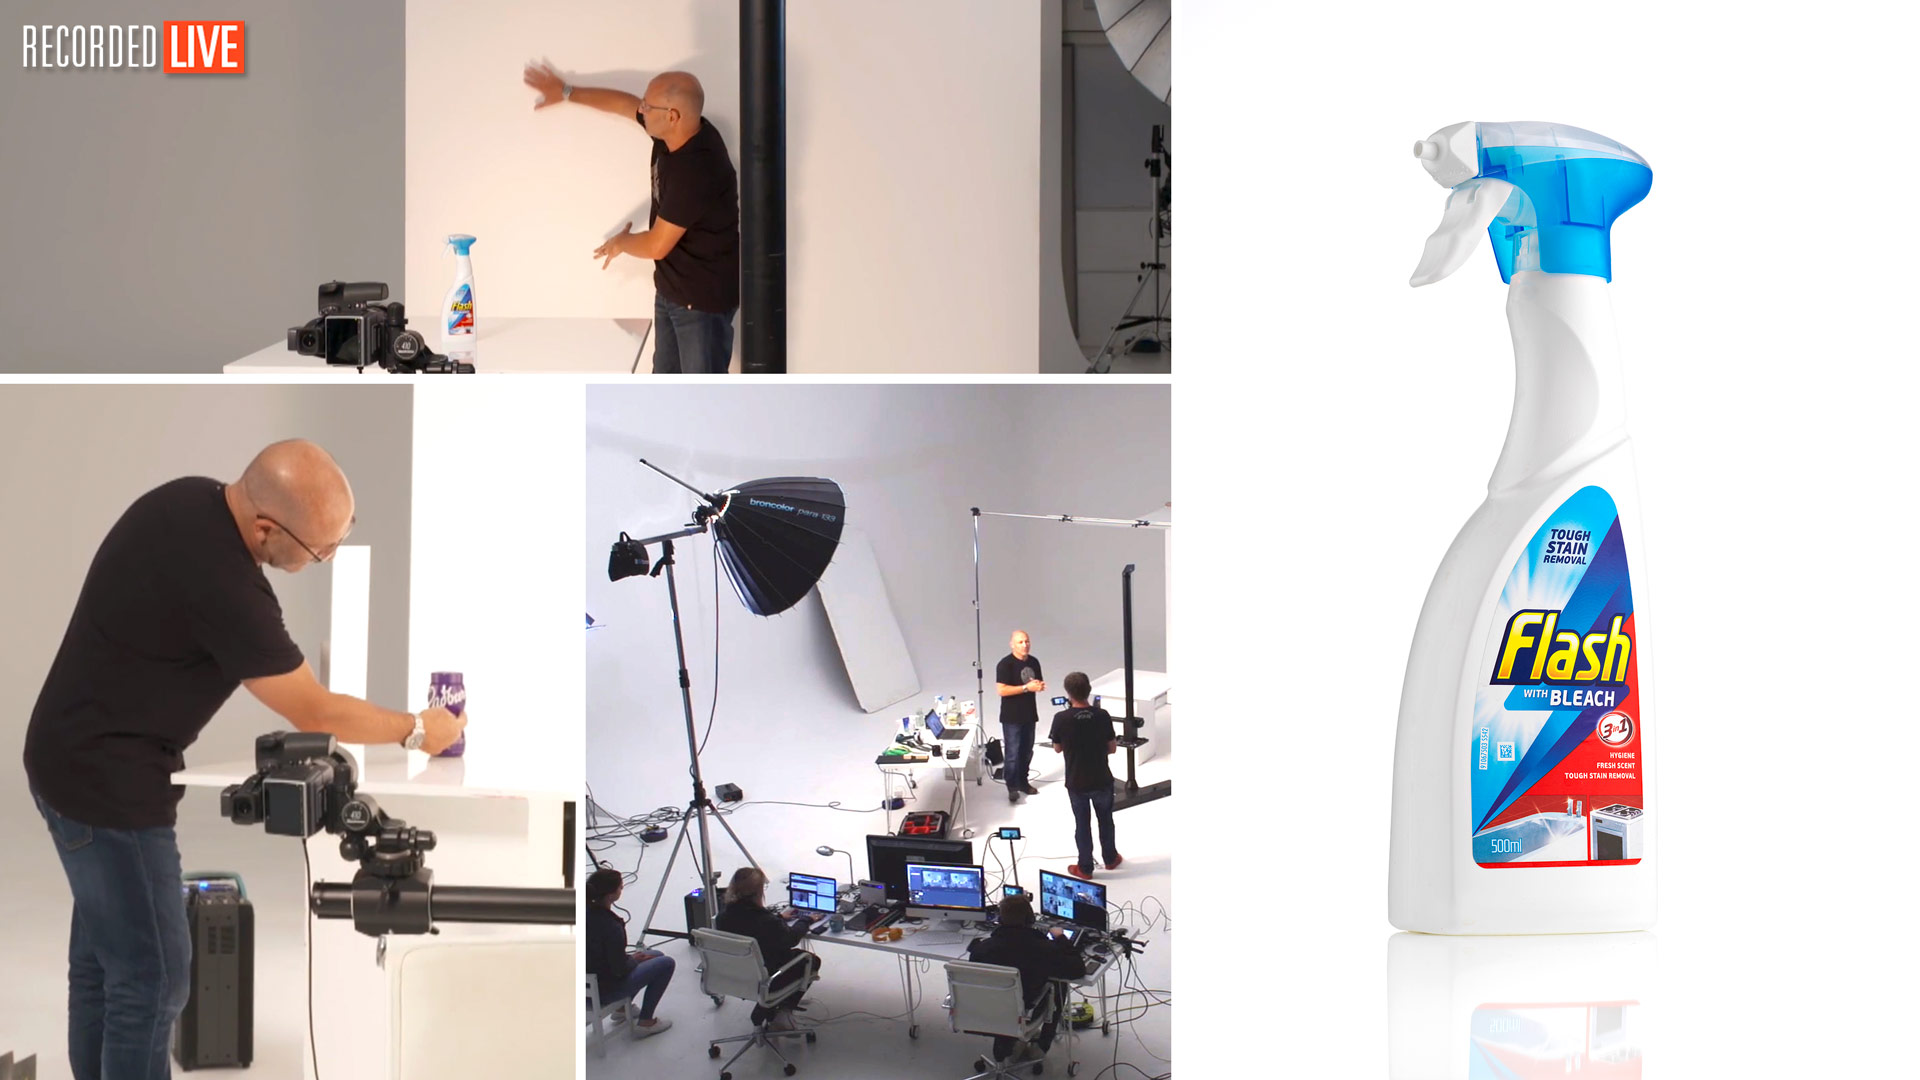
When you’re shooting packshots, speed and efficiency are key. That’s why it’s essential to have a lighting setup that’s both suitable and simple.
In this class, recorded LIVE, you’ll learn how to set up, light and and capture successful packshots.
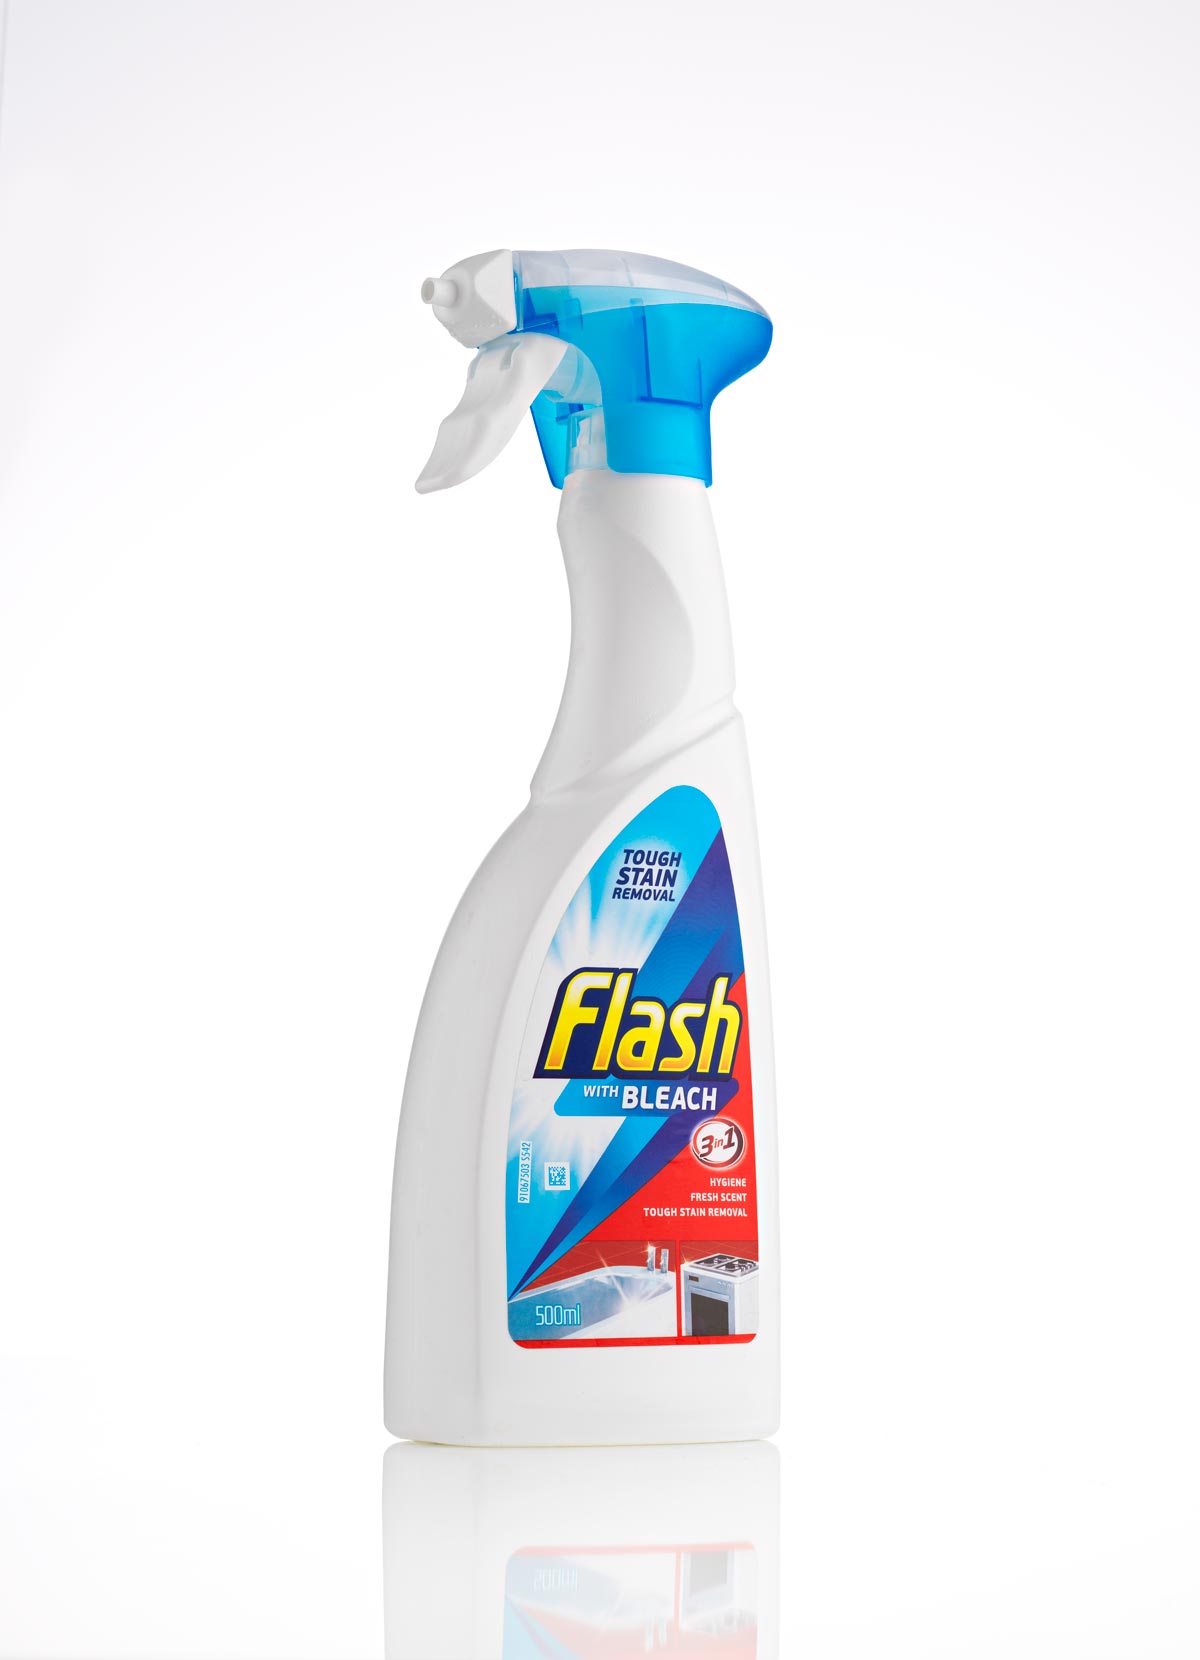
Working through multiple products, Karl demonstrates just how important perfecting your lighting setup is. Starting with a simple two-light setup, he shows you how to achieve a professional result quickly – even if you’re working in a small studio and using basic modifiers.
In this class:
- Product photography: Packshots
- How to photograph packshots
- Studio lighting setups for packshots
- How to achieve a pure white background
- Small studio photography
- How to control shadows
- Controlling reflections on shiny objects
If you enjoy this class, check out Packshots: White Background Product Photography.
Questions? Please post them the comments section below.
Comments
Hi Karl
What does MDF stand for as I like those blocks.
Currently I use milk crates which are also useful as you can vary the height with ease.
Hi Elizabbeth, I think it stands for Medium Density Fibreboard. It’s basically a type of wood made from other bits of wood and sawdust.
Hi Karl,
What size did you make the MDF boxes please, (or did you buy them)?
Bob
Hi Bob we made them, they are 40x40cm by 70cm.
Thanks Karl. Awesome.
Sorry, another question please. Did you paint them gloss or matte?
bob
Hi Bob, the base surface is gloss acrylic (perspex, plexiglass, makralon) it also comes in matt. Some suppliers do gloss one side and matt the other.
Always love watching your very informative videos. I have learned a LOT on them. I find myself many times fascinated by the gear and equipment that I see on your videos! Granted I know not all of it is NEEDED, but some is very interesting. I was curious the brand, and if possible the product number of the camera “stand” you used in this video for the Hasselblad camera. It is enormous and I am almost affraid to find out how much one of those things costs. However it seems to be so much easier to set up minor changes in height and camera angle, and I am thinking that a series of Pack Shots that it would be invaluable.
Hi William, it’s called a Manfrotto Super Salon studio stand.
Hi. I’m using this set up successfully for the background light but having some contrast issues with a shampoo bottle.
It’s light grey with white writing – all matt, nothing shiny.
When I light it with a softbox the white writing comes out grey and the grey bottle comes out too light. Any ideas why this might happen? Thank you.
Amazing as usual!
One thing, I would LOVE, if possible, to get links with where I can buy the materials you are using in your tutorial (and not only this tutorial, but in general) here in US. I find it so hard to find them…
Thanks!!
Hi Marius, in the USA it’s called Plexiglass, very easy to find from Sign Companies or plastic suppliers.
Hi Karl, Thank you so much for the great effort you are exerting here, really appreciated. one question please, can we reach the same result with a different type of white material other than the reflective one (i am talking about the table on which you place the packs). thanks
Hi Yassin, a white gloss table would be needed or you wouldn’t get a good white. There are alternative ways with a matt white but then you have to also light the table from behind with another light.
Hello Karl… i have a customer that he want to shooting some prodacts, but the problem is he has glass cup for shooting and that is transparent… he want to fix menu, also he want with white backround… that is little bit difficult…. because the glass disappeared… i need some help…. thanks…
Hi Christopher, try the opposite of what you see happening in this shoot https://visualeducation.com/class/wine-bottle-product-lighting-with-karl-taylor/
Hi Karl
While doing the Clinique shot you put a foam board with a hole for lens in front to illuminate the “C”. You mentioned that if one wants the “C” to be more brighter then one would bounce light of the board, but to be careful with flare.
1. How can one know if flare is present in the shot, and
2. How would you prevent flare? the only thing that I can think of is to bring the light source as close to the board as possible and to use a reflector (P7 or snoot) to limit the ball of light to a specific area on the board, will that work? any other way to control flare?
Thanks a lot for your advice.
Amit
love your work mate as always
Thank you Mark.
What an excellent informative session!
Thanks Geoff.
Good evening Karl. I tried to shoot a sculpture which was one of the hardest I ever had. It was a sculpture of 2 people sitting on a ball, the whole item is made from inox, it’s like shooting a mirror. I spent 3 hours trying to adjust the light and camera angle. In the end I was left with one black whole in the centre and some small areas to retouch. How, woud you light it. I can email you a photo of the sculpture if you wish to see it.
Many many thanks for all your hard work.
Hi Aby, I’m afraid we can’t give individual advice on a particular shot or set up. From what you are saying though it sounds like you were along the right lines and shooting through the hole like I did in this live show. At the end of the day you just have to think about the physics. We have a new jewellery and rings tutorial coming soon and I think you will find the lighting setup used for the rings useful, look out for that one soon.
Wish I had seen this two years ago – had to figure all this out the hard way! Great video.
Thanks John, it’s good to work it out yourself too though 🙂
Hi, what if I use photography table and use bottom strobe and 2 for the background? Could you advise the best way how to set up lighting?
Hi Martynas you could use a photography table with the acrylic rise at the back and then light through this but I fear that you could easily end up lighting the product by mistake in this smaller working space. Personally I don’t like the photography table option.
Karl,
You ARE the best Photography education channel in the World. There is no comparison. Others do not have the passion to teach nor do they know or can explain basics like you do. No one even have the courage to do live shows.
Your live courses and tutorials are well planned and you break complex scenarios in digestible bites. The best thing I like is how you use everyday objects as tools to assist.
If you do take request, then please do tutorials on shooting Jewelry with Diamonds/Gemstones, it is quite challenging and no one has a clue how to get it done and explain the steps logically.
Amit
Thank you Amit very kind. We have some new jewellery tutorials coming soon.
Un saludo desde Colombia …
No hablo el Ingles, pero he tratado de comprender paso a paso … muy valioso tu trabajo
Thankyou
Hola Carlos! te recomiendo ampliamente que busques cursos de inglés y lo practiques, te lo digo como fotógrafo, el mejor contenido en educación está en inglés y los tutoriales de Karl son de lo mejor que he encontrado en 13 años de estar en esto.
Saludos!!
Thank you.
Hi Karl, greetings from Germany.
Please can you tell me the size of your mdf standing block.
Best wishes Martin
I like all your videos, I find them so valuable, but…I like the live shows the most because your in the thick of it. It can go wrong and we see you become more human and then the way you answer live questions can be hilarious!
Ha ha I hope I don’t offend anyone 🙂
Hi Karl i followed this video with so much intention and try all your tips and i have to admit that it changed my life lol sometimes we stay focus on different things and forgot let say the basics …. Thank you for this video (Michael)
Thank you.