Sports Footwear Photoshoot
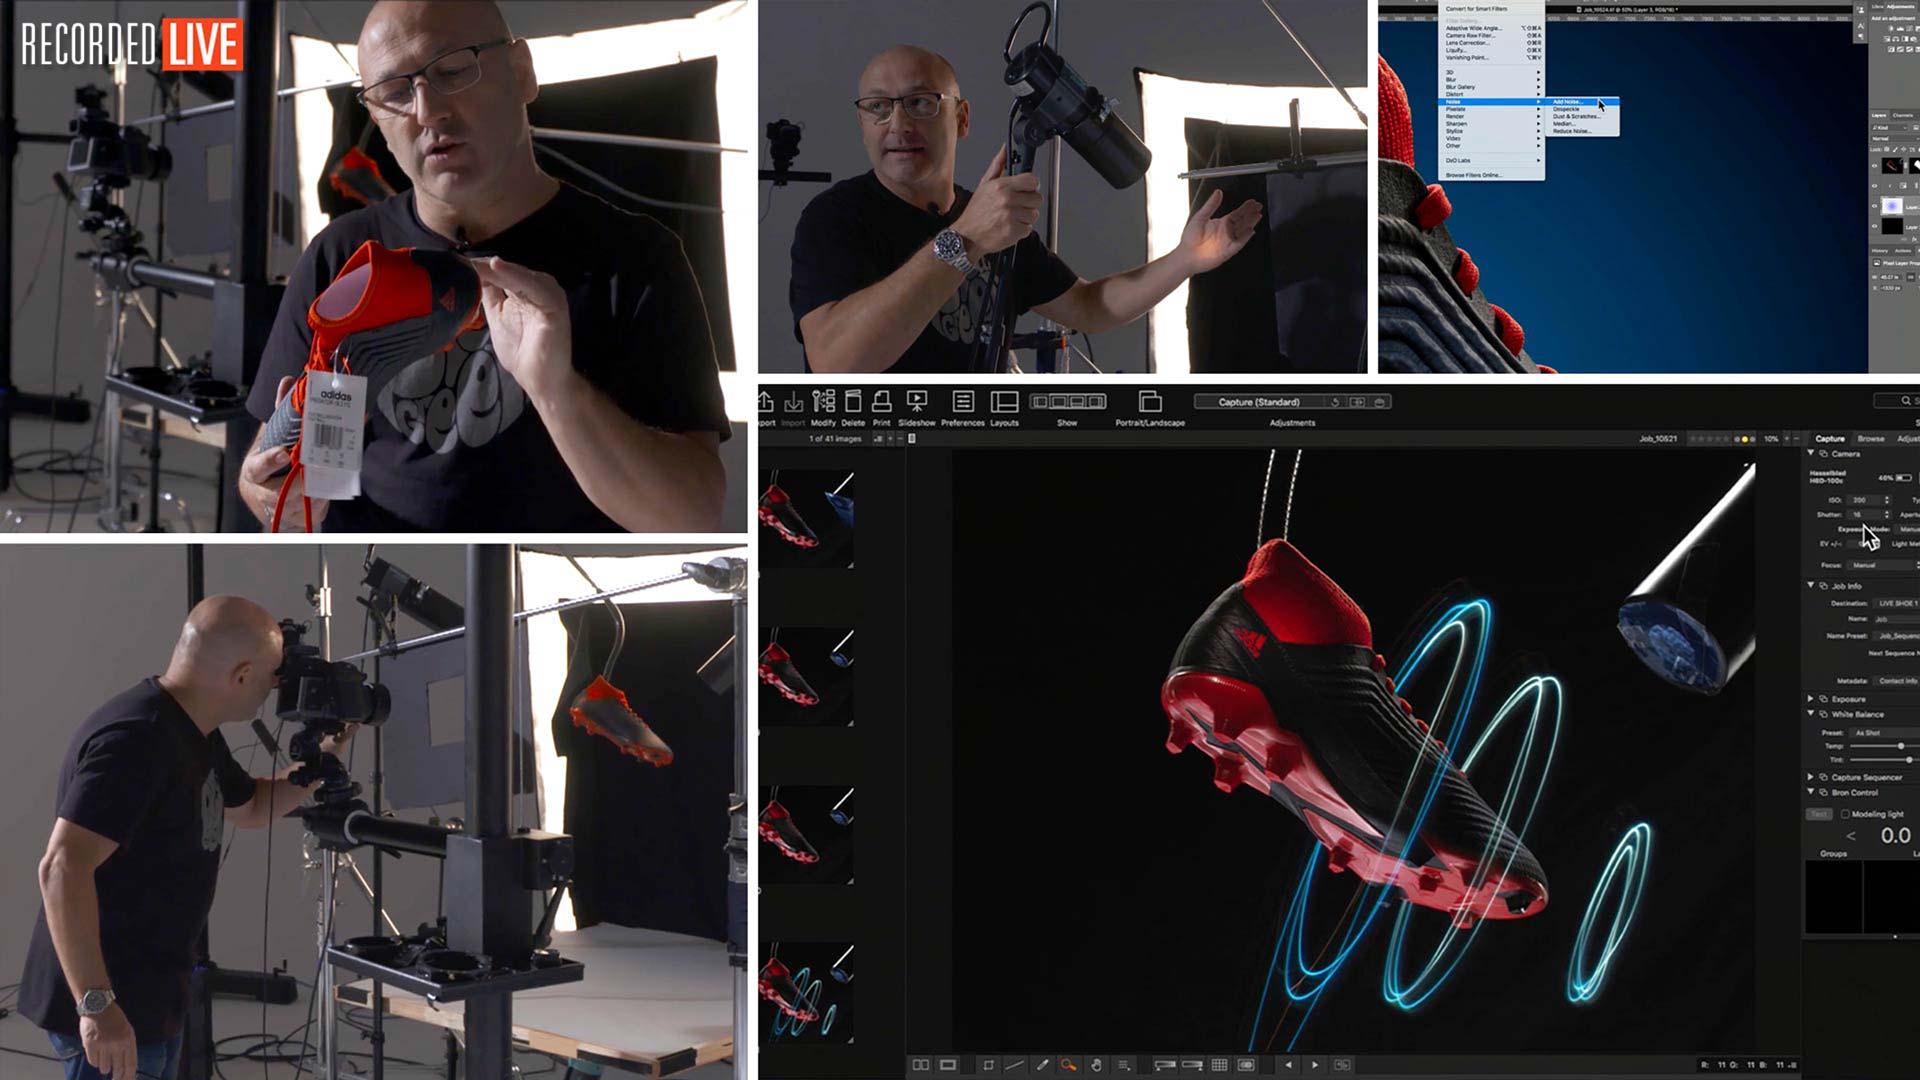
In this live footwear photography workshop, now available to watch as a replay, Karl demonstrates how to light and photograph footwear, in this case a football boot.
Starting with a single light, Karl shows you how to create a rim light before gradually building to his final setup.
A high-end product shoot such as this requires precision and attention to detail. Karl explains key elements to highlight and demonstrates how to subtly but effectively use your studio lighting to draw attention to the most important areas. He then takes it a step further and demonstrates how you can introduce a different light source for a greater creative effect using long exposure.
He ends the show by demonstrating how to retouch a product image like this. Making use of a ‘ready made’ mask, he shows you how to quickly and effectively polish the image to product advertising standard.
In this class:
- How to photograph footwear
- Product, shoe photography tips
- How to create a rim light
- How to retouch product images in Photoshop
- How to quickly create mask selections in Photoshop
- How to change background color
- How to create a graduated background
If you have any questions about this class, please use the comments section below.


Comments
Thanks Karl for this.
I have a ‘Make a wish’ shoot coming up for a young boy who’s been given some special athletic shoes that he designed and the foundation want me to shoot the shoes so he has something to hang on his wall.
The client wants a standard shoe shot (profile shot with white background) but I’m pushing for something a bit more exciting similar to your example
Thanks again
Aaron
Hi Aaron, best of luck with it!
Hi Karl,
Thank you for the lesson!
I’m just curious about how well would fit the Image with the longer exposure and led light in the final image with the blue light ball in the background, and which photoshop techniques you would use to compose the 2 images.
Hi ff, glad you enjoyed it. This wouldn’t be difficult as we have an image of the shoe isolated that we could use as a mask and we could also set the parts of the LED light image blend into ‘lighten’ blend mode and then mask those through. The graduated ball of blue could even be created as an artificial one directly in PS if necessary. I cover that technique in this class https://visualeducation.com/class/luxury-watch-retouching/ the other techniques are covered in our post production section. If you’re new to post production then I’d suggest you work through this course: https://visualeducation.com/post-production/#photoshop-for-photographers
What did you use to make circle lights around shoes
Hi Haidi, I thought that was explained in the video?
Hi Carl … Thank you so much
I’m very happy with all that I learned..
Can I use Octa Studio if I don’t have a big soft box?
Hi, yes if it is a similar size.
Hi Karl. great tutorial as usual. Absolutely brilliant. Could you tell me how to calculate the measurements of the flare shield hole. How do you calculate it in relation to you lens focal length. You touched the subject just a little without going into detail.
Thank you!!!!
Hi, thank you. You just calculate the shape ratio of the hole based on the ratio shape of your sensor. Then make 3 different sizes, small, medium and a large one and then you can use one of those with any lens in a variety of lighting situations and choose which one suits best. They only take 5-10mins to make.
holy cow this whole tutorial is great but the silhouette and gaussian blur tricks were worth the price of the membership alone.
Thank you.
Brilliant thank you. I loved the edit at the end and how getting it right in shot makes life so much simpler in post. The simple mask using silhouette 😃 just a simple thought at the end again getting the ‘make your life easy’ in post. I joined your classes as I had mental blocks (self imposed) to lighting beyond off camera speed lights and photoshop. Working through your site and your real hands on teaching method is so helpful and my walls are coming down finally………thank you.
Great to hear Jan and thank you. Any questions just let us know. Also make sure to work your way through the ‘Lighting Theory & Equipment’ section as this is the fundamental grounding for everything else on this site. All the best Karl.
This is one of the best practical lighting demos I have seen yet, great work Karl and Ashley!
Thank you.
very interesting technique
Hi Karl,
I’m starting my career as a product photography and at the moment I can only have 2 studio flashes.
I really like the theme of using Scrim and doing it myself with diffuser paper and not so much modifier, everything is very nice.
The query is, for a set like this as used I think I remember 4 or 5 lights. Can it be done with two?
And create different photos where the light falls on different areas and then compose in PSD ??
Or will the overall light change a lot?
Many Thanks!
Hi Daniel, it can be done with two but it is difficult. My minimum lighting solution would be 4 lights for professional work.
It’s okey!!!
I understand..time to improve.
Many thanks!!
Thank you Karl. This video taught me a lot, even the post production. Glad I watched.
👍
Dear Karl,
Fantastic as always. what’s your comment if you shoot another shot by same setting, just without shoe and with background light to use it as illuminated background for final image?
Thanks
Reza