


Moody Two-Light Control
Are you in the mood for precision?
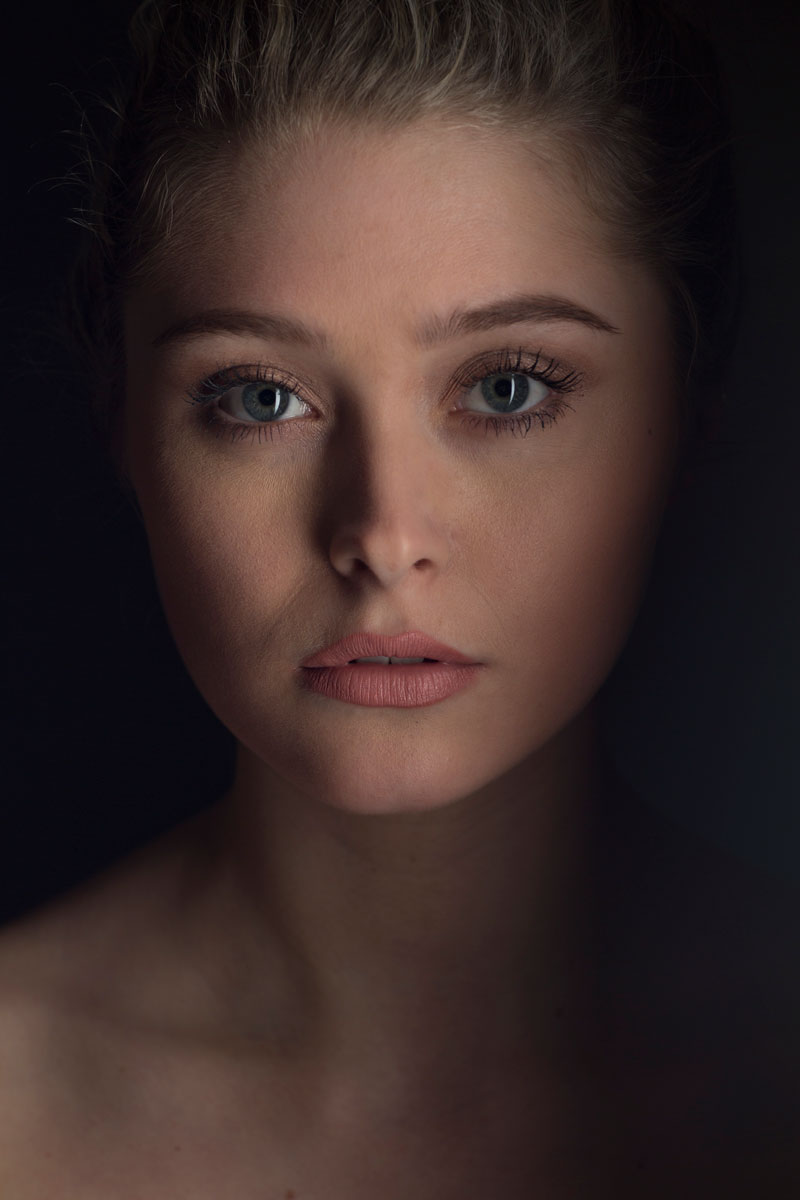
Karl is joined by broncolor’s Urs Recher for this precise photography lighting demonstration. Together, they show what’s possible using just two lights.
In this photography class, Urs guides us through one of his lighting setups, where, unusually, he makes use of hard light to achieve this stunning beauty image. Throughout this demonstration he also reiterates the importance of precision and control.
In this class:
- Studio Lighting: How to set up multiple studio lights
- Two light setup for beauty photography
- How to create hard light using a softbox
- Using reflectors and fill light in photography
If you enjoy this class, you may also like to watch Soft Single-Light Portrait.
Questions? Please post them in the comments section below.
Comments
I really like these courses because you photograph a model as a product. And that’s exactly what it is. It doesn’t take away from the humanity of the girl being photographed but it puts the emphasis on lighting a volume (a product) and then the expression, the humanity, comes. It seems to me to be the right way to work and it teaches me a lot.
I like that thought process Karim!
To Karl Taylor
Do you ever come to American and do photoshops? Would love to meet you.
Hi, thanks but no it has been several years since I have been to the USA.
Hi Karl, Again my great compliments for your website and tutorials, it’s awesome. I am learning each time I check your videos. Thanks for that. Still practicing portraits with my Stiphanie doll ( maybe you remember, daughter was against me as model and I now bought a puppet, with your help, thanks), I noticed this video and I have two small questions: is there any particular reason why the backlight is set on the side of the model, pointing at an angle, instead of just behind her? Secondly, the backlight was used to separate her from the background, but in the final image as depicted on the tutorial, it appears it has been significantly darkened in post production. I assume this is simply a choice made in post, to match it to your taste and emphasize the light on the front of the model? ( it makes a more powerful and interesting photo for me this way)
Thanks and all the best, Andre
Hi Andre, thank you and I’m glad you found a subject to sit still for you! In answer to your questions the backlight had a grid so it was OK to the side as it still makes a reasonable ball of light. Urs took some test shots without it off and after the shooting he decided he preferred it with it off so that’s the shot he wanted me to post. All the other techniques of the lighting for the face and front remain the same. Cheers Karl.
Hi Karl, and above all: a model that can’t scream: are we done yet? 😁
Thanks for the prompt reply, appreciated, and it’s clear.
Thanks and all the best, André
Hi Karl. I have watched a few of your videos now and I am really enjoying them and picking up a lot of tips. Thank you for that. I can see where this is going to improve my work.
Now for my question.
I have noticed so far I have not seen you use any scrims. Scrims that allow you to adjust the light by a certain amount stops. Do you use them or do you feel just using foam-core gets you the results you want?
Hi Kevin, I adjust the power of my lights only by changing the power of the light itself or by adding ND gels on the lights. I use scrims for a different purpose all the time as you will see in the Product Photography section and I also have a good video on how and why I use them here – https://visualeducation.com/class/gradient-light-for-products/
Thanks, Karl, I appreciate the reply. I have seen some notable photographers use 1/2 stop scrims to just take a little bit of light off the hair that was coming from one of the other lights that was positioned properly when doing a portrait. I have seen your use of flags, in the videos.
I like the little details that you add to the videos, things I have not seen anywhere else. It’s refreshing!!
Hi Karl
Thanks for your clear explanation notes on how shadow runs down in both setups, you mentioned that “the light is further feathered by use of the card flag”, here is another question that isn’t it true that the card flag is being use as light fill in ? how and why does it contribute to the lights feathering ? thanks
Rgds
Alex
Hi Alex at around 4:07 when Urs is running through it you can see how it is also creating a feathered shadow on the left side of the model by opening and closing it like a door as well as acting as a flag to reduce flare into the camera.