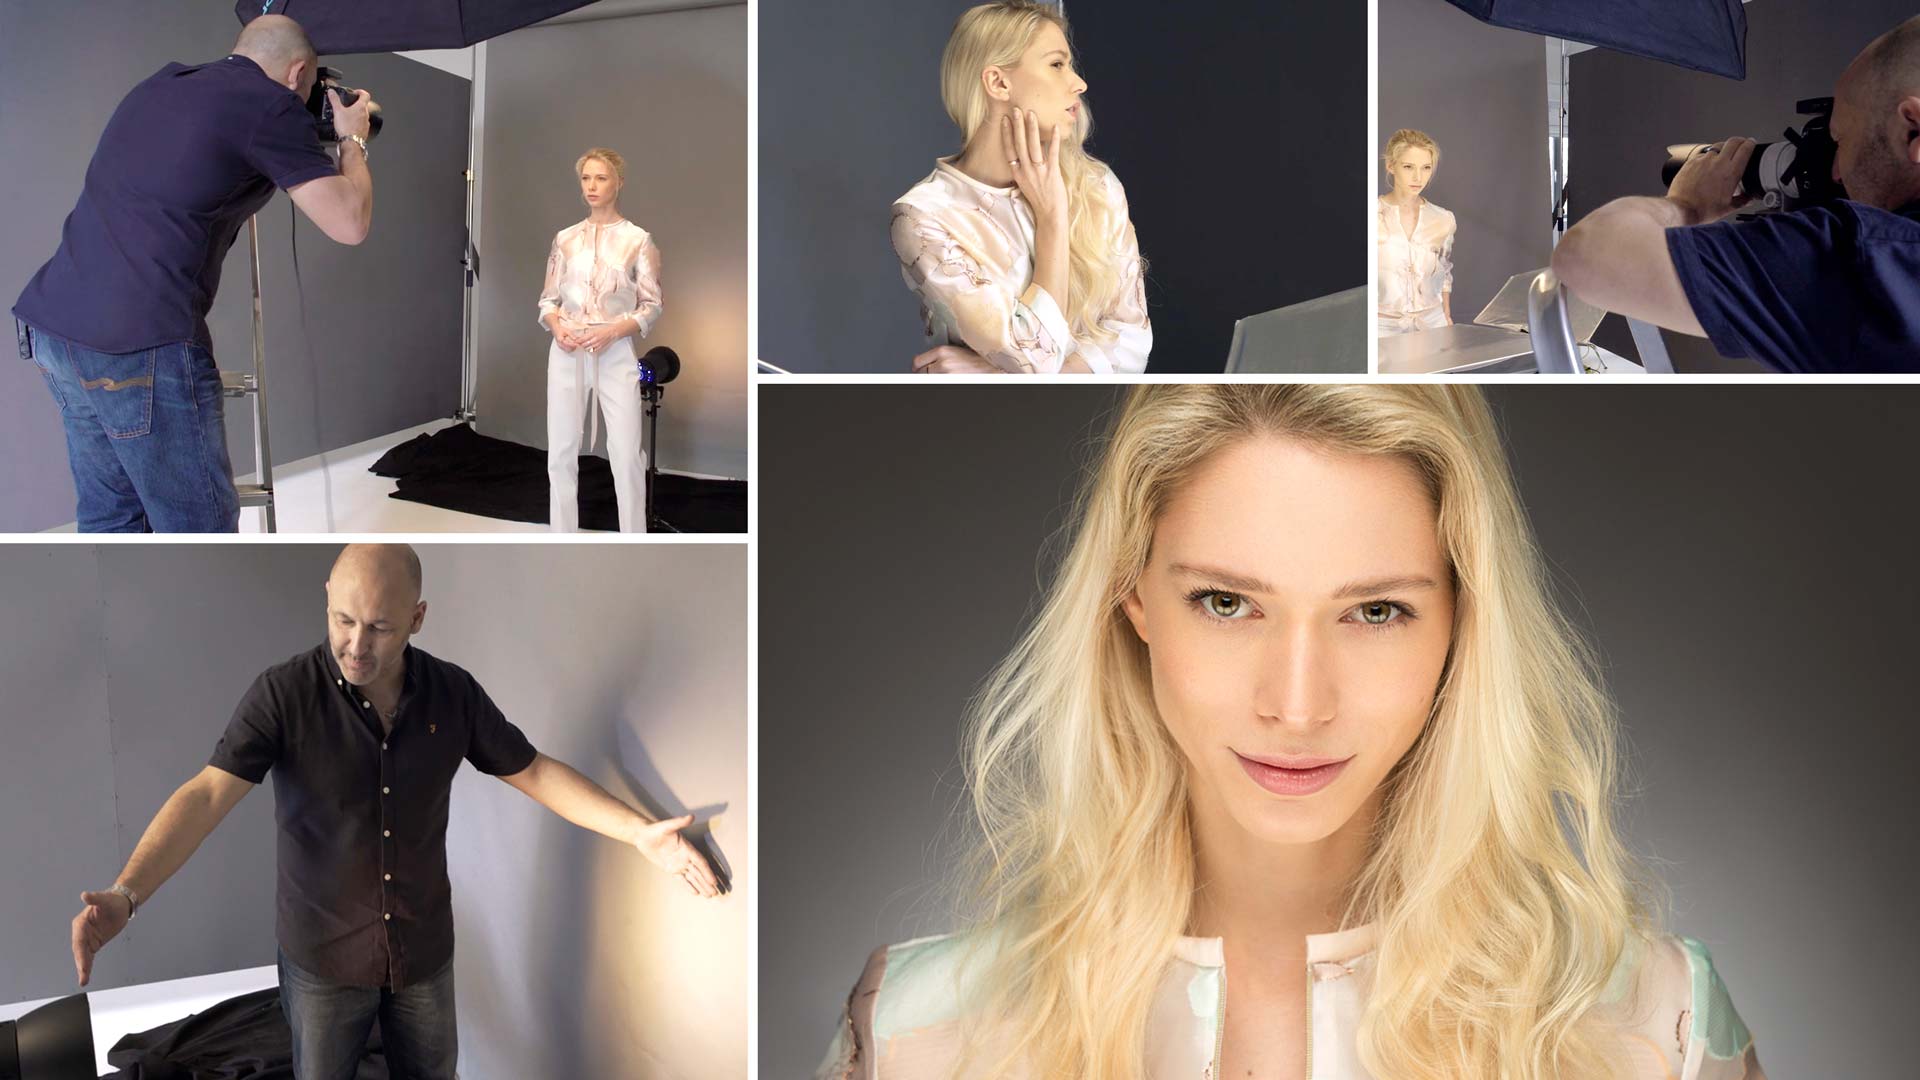

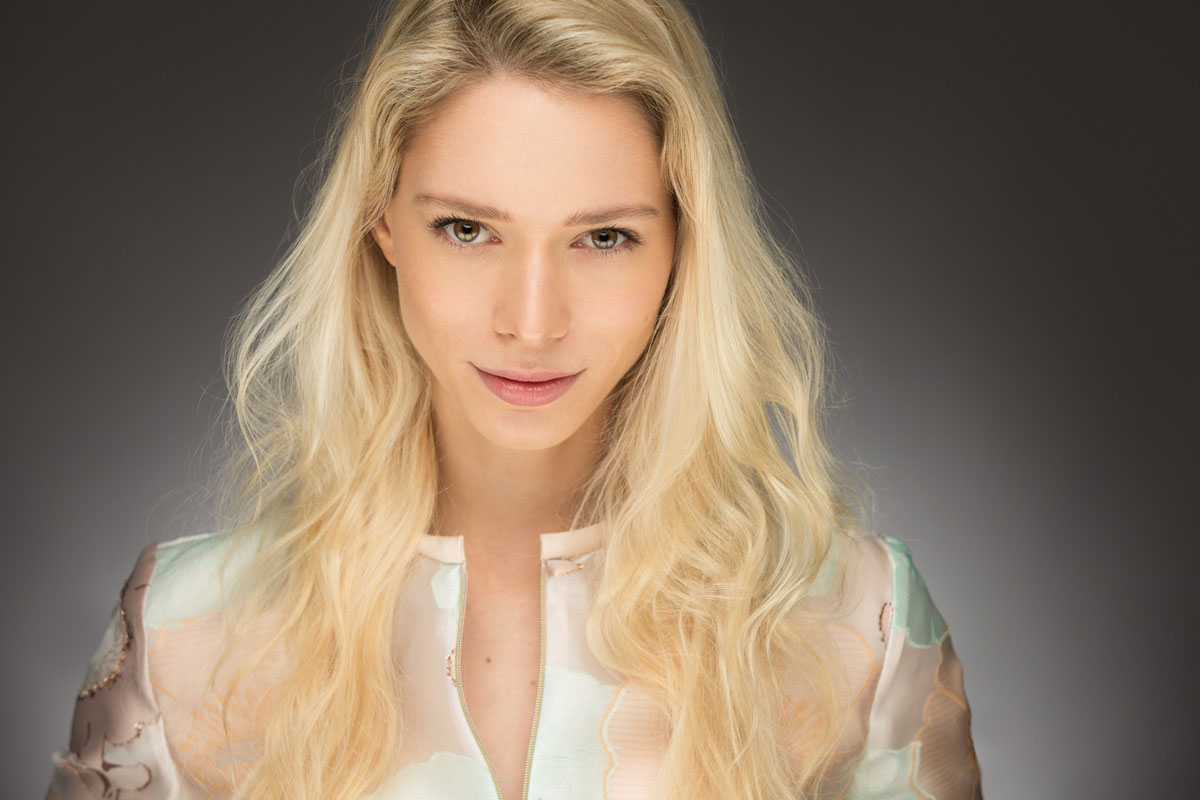
Stunning Two-Light Beauty Set
Two lights are all you need to produce perfect portraits like these.
In this easy-to-follow portrait photography class, you’ll learn how to capture incredible beauty-style portraits images with just two studio lights, using a setup that is as simple as it is effective.
As Karl walks you through his shooting process, he first shows you how to set up the simple background light. Next, he demonstrates how to position your key light and adjust its power settings to achieve the right exposure. As the shoot unfolds, he also explains why positioning the camera, subject and lights correctly is crucial.
In this class:
- Studio Lighting: How to set up multiple studio lights
- Two-light setup for beauty photography
- Background light for portrait photo
- Basic modifiers for studio lighting
- How to control light in a small studio
- Portrait photography tips
If you enjoy this class, check out Enchanting Two-Light Result.
Questions? Please post them in the comments section below.
Comments
Hi Karl,
I really appreciate the way you explained.
Thanks
Hi karl:
I am experiencing banding problems in the gradient zone of the background, similar to Mark Glancy.
I use a nikon d810 and bowens strobes.
The problem gets worse when I export to jpg (photoshop does a better job here than Lightroom, but not perfect).
Could you help me please?
Best regards
Hi Javier, some important tips. First ensure your light graduation is smooth. Second export your files as 16bit tiffs (expect banding in 8bit jpegs). Thirdly use a calibrated monitor, some of the banding you see may not even be there it may be your monitor. Finally if banding still exists then follow the very important tip in the Photoshop for Photographers course in the ‘Post Production’ section. All the best Karl.
Great tutorial Karl, very simple yet very effective, nice way to begin and learn the art of learning how to control the light.
Thanks Anthony
Great lesson Karl, i do some times get strange greeny/blue lines on the grey background sometimes any tips on how to reduce this?
Hi Mark, are you seeing these lines from your lights or only in the photo? Is it banding in the graduation in the file or actually on the background? It sounds very odd.
Karl I saw on the video screen that you were shooting at 5.6 at 160 of a second, can you tell us what was the difference between the background light and the main front light on that shoot, in terms of exposure ??
Thank you Karl.
It’s fantastic watching you build your lighting. I learn so much watching you do, what to you is, everyday tasks. I have never worked with professional models, but are Debora’s skills, level of professionalism and the ability to portray almost a different person on each set the norm? I find it amazing what she can convey with her stance, facial expressions and hand movements.
Hi Mark, Deborah is a good model and one who worked very hard during her week with us. But I would expect most professional models that cost a reasonable fee or from an agency to be able to accommodate a variety of poses and nuances. Working with professional models does make a huge difference on commercial shoots for obvious reasons as productivity is much higher.
Is it ok to use bckground light on white background or a black background with some color gel?
If you have a white background and your main lights and model are close to it then I’m afraid it will look an unpleasant dirty grey/white. If you are a long way from the white background (big studio/big background) then it will look mid grey and you can light a patch of it for a glow. Black backgrounds are obviously good if you want black and they can saturate coloured gels very well but in a defined area where the light hits. My recommendation is a mid to dark grey background in a smaller studio space.
Hi Karl,
do you retouch catchlights in the eyes?
In this case: The catchlights of the tri-reflector are a bit “funky” for my personal taste.
Hi Karl,
At 6:19 you added a second light octabox on the model. Can we not use the Grids/ Hood to prevent light spilling from the Octabox to the background ?
Hi Lightman, yes you can but grids on softboxes will increase contrast on your subject and make them less ‘soft’ so I avoid using them unless I have to.
oooooh Loved the results of this one. Cannot wait to try it out!! Thanks Karl
Kisses XO
I do not have a tri-reflector as in the lesson. Can 2 smaller reflectors in an angle or a bigger one somewhat curved do an approx similar job?
Yes but I definitely recommend investing in a tri-reflector if you can as they are more versatile for lighting under the chin and the sides of the face at various levels of brightness as each panel can be controlled independently.
Thank you, Karl. Now I really hope Santa Claus see this. Because I have just invested in a Canon 5Ds (50Mp) and still have no ordinary studio. 🙂
U r depending on ur monitor only . Are ur monitor and camera synced for the colours ?
Hi Mohan, I know that the camera records the colours accurately so I don’t need to worry too much about the colour at the capture stage. I would only need to worry about it at the post processing or retouching stage when I wanted to change something. When I do my post process work I then move to my office where I use an Eizo color calibrated monitor.
Many thanks. Sorry for late response
I appreciate the time you spend on the background lighting. It was a great lesson.
In commercial shoots do you work with model in similar way as shown in video or do you set it up with an assistant prior the model arrives?
Hi, no I work in this way, you are paying the model so you take as long as you want to get the shot set right. It’s good practise to let the model know what you are doing and why and that you are just testing etc. If it was a client business portrait then I would do or the testing on an assistant.