


Tennis Racket Photoshoot
Learn how to create stand-out product images with this detailed class, as Karl demonstrates a number of useful techniques while shooting a Wilson tennis racket.
Throughout this class, you’ll see how Karl shoots two separate images to create the final shot (and what compositional considerations that entailed). As the shoot progresses, you’ll see the lighting techniques for photographing black products on a black background; how to capture motion using fast flash duration; different triggering devices and their advantages and disadvantages; and how to use long exposures for creative effect.
Class objectives:
- How to freeze motion using flash
- Product photography tips
- Triggering devices for photographing motion
- How to photograph black products on a black background
- How to avoid flare
- Using reflectors to add additional light
To learn more about fast flash duration and how to freeze motion, take a look at our ‘Understanding flash duration’ photography class.
If you enjoyed this class, other related tutorials you may find useful include:
If you have any questions about this class, please post in the comment section below.
For this shoot, I wanted to create a high-energy image with a strong sense of motion, one that you could imagine being used in any sports magazine to promote Wilson sports equipment.
To achieve this image, capturing some element of motion was key. I knew I wanted to freeze the flying tennis ball, so I would need to use fast flash duration. However, I also wanted to incorporate a sense of motion, so I used powder on the ball, which, with a slightly longer exposure, added the movement I was looking for.
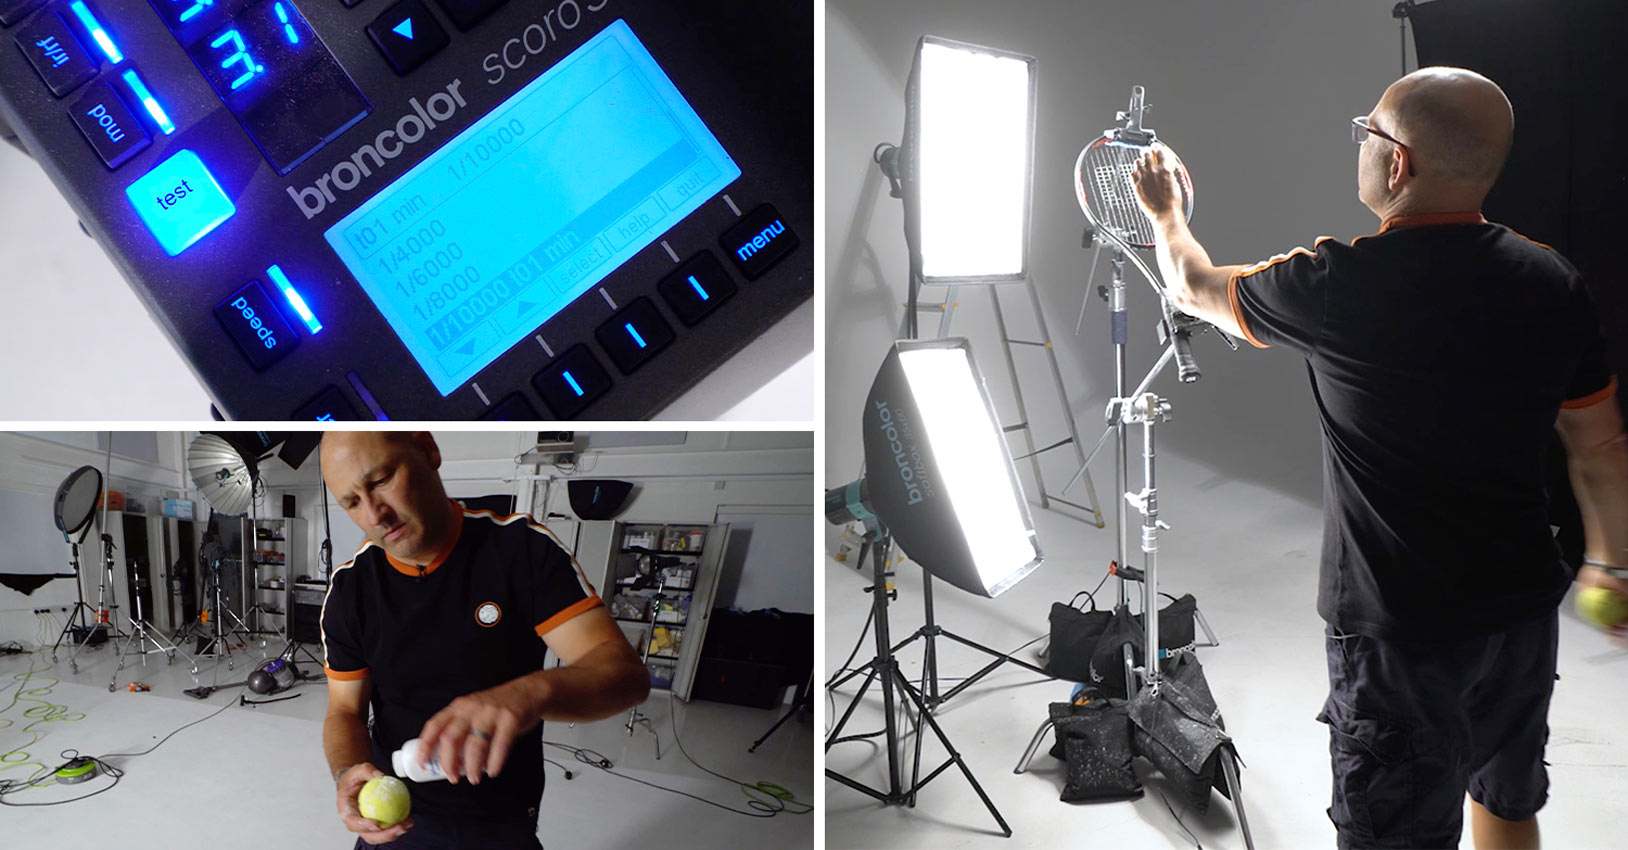
This shoot used fast flash duration with a slow shutter speed.
To capture all of this, the timing was key. The initial trigger method I used didn’t give the instant capture I needed, so I switched to a different method that gave much more precise results.
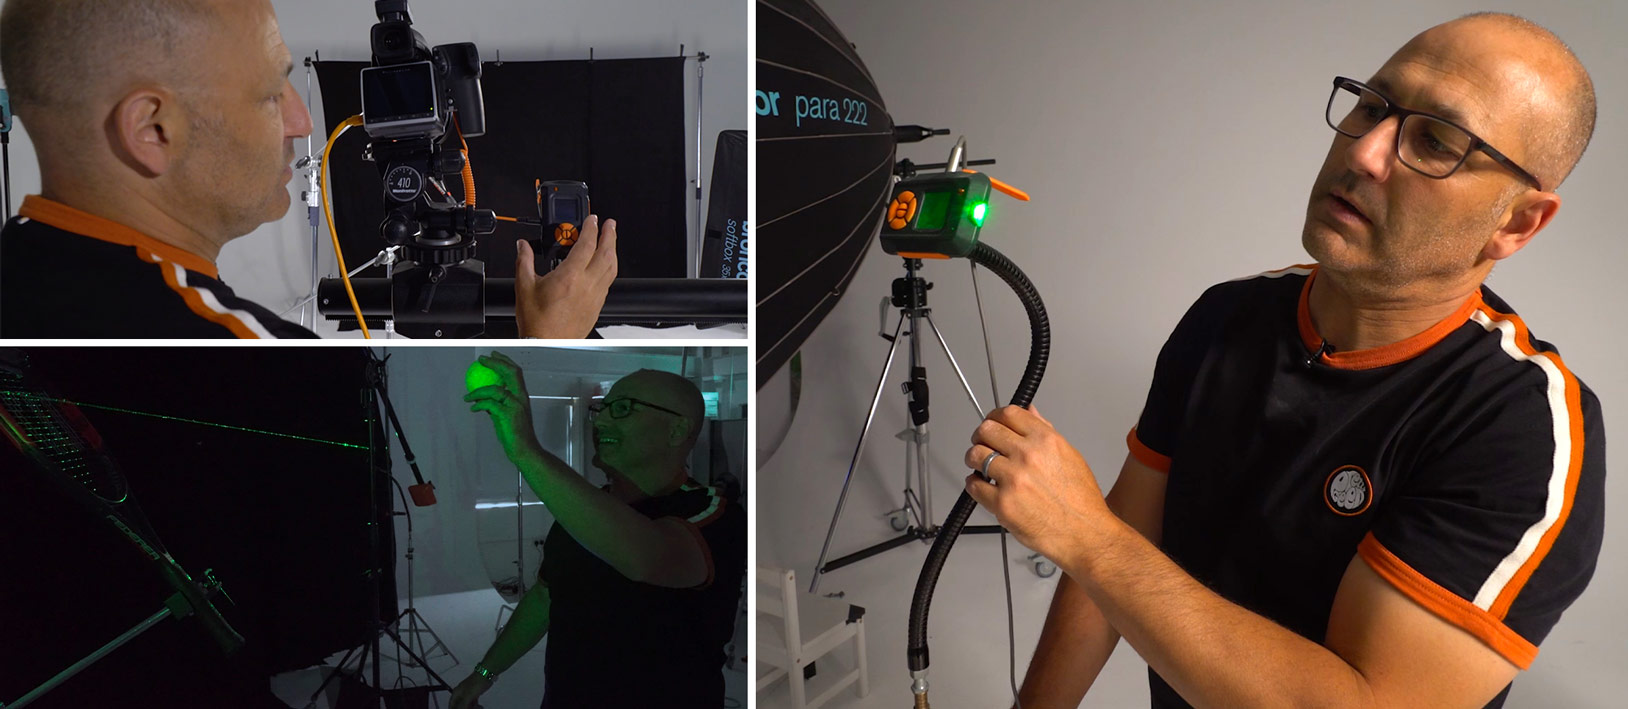
A camera trigger was used to capture the ball as it hit the tennis racket.
Overall, this image combined fast flash duration (used to freeze the ball) with a slightly long exposure (to capture the motion on the powder) to achieve the final result. By combining two images I was able to create a really eye-catching product image that still showed off the best features of the product.

The final image of the Wilson tennis racket.
Comments
A lot of hard work with great results, Karl. Question: Since you linked the MIOPS trigger to the pack, why you did not keep it to trigger on sound and move it closer to the racket? Maybe it would work then?
Hi, in our tests we tried the sound and it was very ‘hit and miss’ excuse the pun! The sound of us throwing the ball seemed to trigger more than the sound of the racket so we switched to the laser instead.
Like your style, especially how you getting ready for a main shot. All the set up part and test shots . You putting big job in start and thats make perfect results.
Thank you Ventis, preparation, planning and pre-visualisation is a big part of how I work.
Karl.. have you ever had a need to photograph something on a green screen to aid selection and cut out of foreground objects? I once did a composite class and with software the teacher cut out a woman wearing a clear plastic raincoat.. quite astonishing. Just thinking in terms of cutting out that foreground racket with all those strings.
Hi Gary, yes that can work absolutely fine if you know that’s what you’re going to need but often even a plain white will do the job.
you are good 👍
Very kind thank you.
AWESOME! BEAUTIFUL ❤ THANK YOU VERY MUCH 😁
Hello Carl, I don’t understand how the miops device connected to the flash triggers the camera shutter? If it is connected to the camera, I know how it works.
Hi, yes a cable can go from the camera into the trigger and then another cable can go into the flash itself. Or you can already have the camera shutter open (in a dark room) and then just have the trigger connected to the lights so that when sound or laser are activated the flash goes off but the camera shutter is already open. Or you simply have the camera going into the trigger and use the normal flash trigger ontop of your camera to activate your lights but this might be slightly slower response time.
my understanding of photography and flash went a step up with this class. Karl, if you provide us with downloadable assets/pics (not all a selected few) to have a go thru too will be incredible helpful for understanding and it will be valuable for practise in PS too!
Hi Anjay, thank you and glad you enjoyed the lesson. This one is quite a complicated shoot I hope you have worked your way through the ‘Lighting Theory’ section before watching this one! Also please can you tell me what you mean by downloadable assets/pics? Cheers Karl.
Yes I went to ‘Lighting Theory’ classes ,they good. First basics then tough ones, went through a linear pattern haha. Karl by ‘downloadable assets/pics’ I meant along with with the classes if we are able to download some of the pics you shoot, it be very helpful to understand what you teach a bit better, especially in the post production classes.
Hi Anjay, I’m afraid for copyright protection reasons I can’t make images available in that way in high resolution. You can see many of the images in greater detail though on my commercial site at http://www.karltaylor.com
Great result!
Thanks John.
Didn’t quite get it, Karl. How moving the sensor a bit to the side made the laser beam less visible at 30:20 into the video? Is it because the angle of perspective from the point of view of your camera changed and therefore the particles of dust hit by the beam are more dispersed so to speak?
Hi, yes that was partly it. We also changed the laser to a less powerful one that had a much weaker beam. The other problem was that where the laser was to start with (and the trigger) light was bouncing off of the trigger sensor back on to the racket so we moved it and that solved the problem.