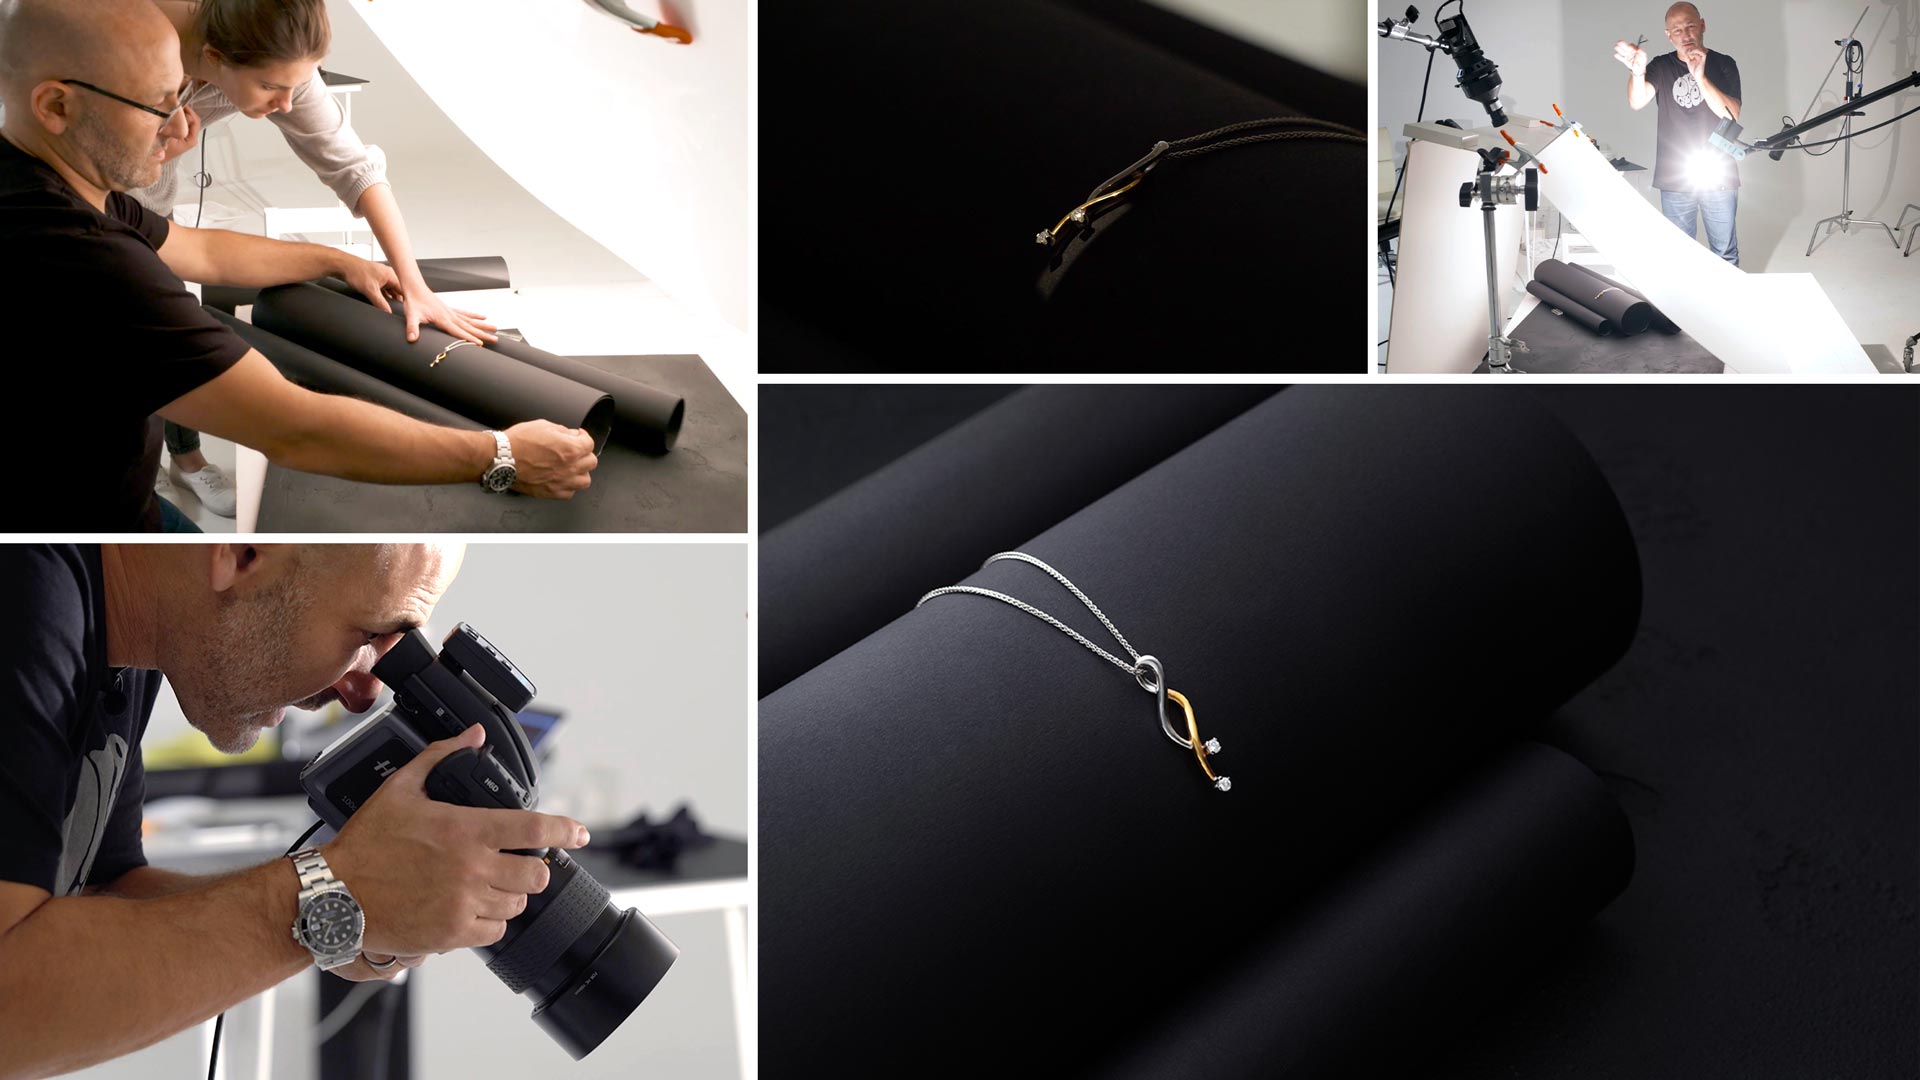

Diamond Necklace Photoshoot
Karl photographs a diamond necklace for the second class in our series of jewellery photos shoots.
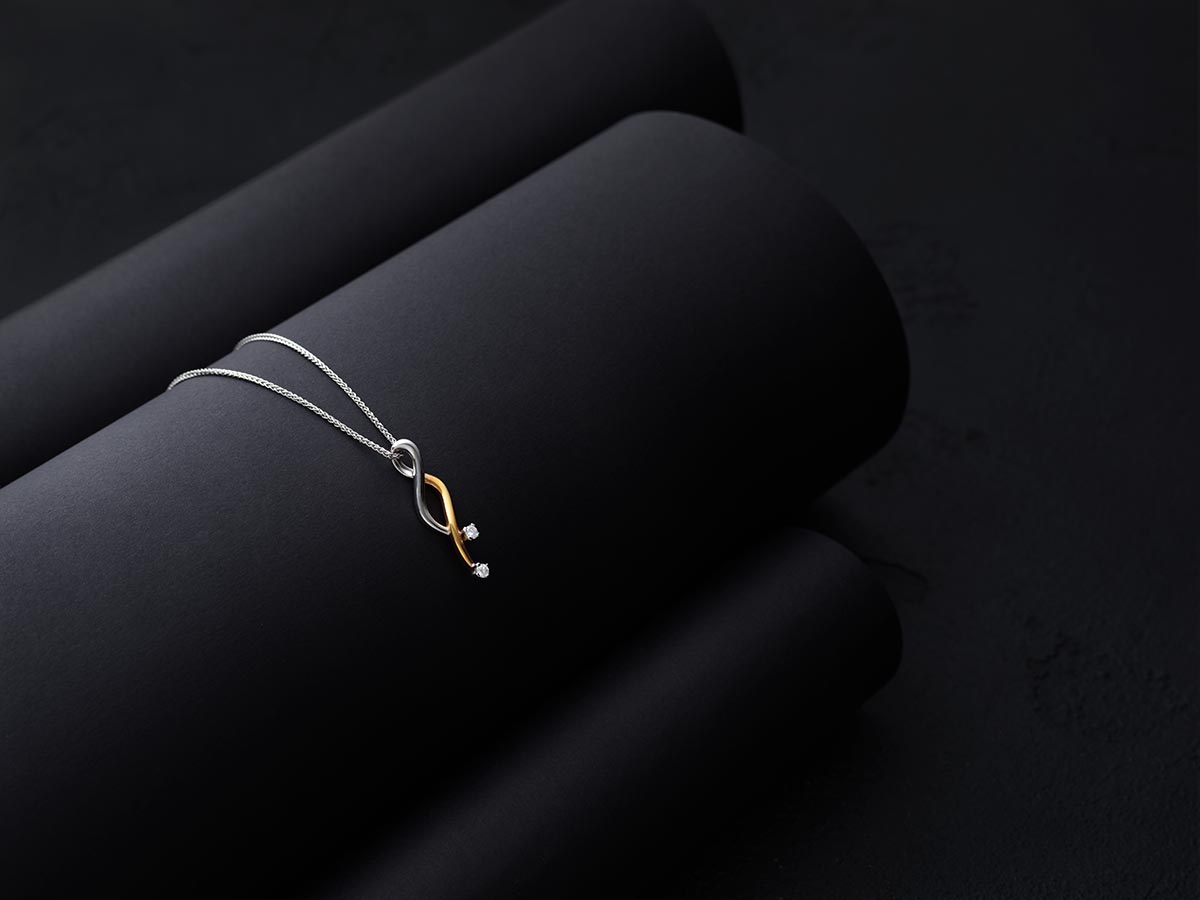
Using a simple lighting setup, Karl demonstrates how to light shiny metal surfaces and highlight important details in precious gems such as diamonds. Using one bare bulb, Karl shows you how to make use of reflectors to create a soft wraparound light, a technique that was key to achieving this stunning image.
You’ll be able to follow each step as Karl tests his individual lights, experimenting with lighting ratios and positions before reaching the final shot. You’ll also learn a few simple tricks that will help you make products such as diamonds truly sparkle.
In this class:
- Product photography: How to photograph jewellery
- Jewellery photography tips
- How to photograph shiny metal surfaces
- How to create soft wraparound light
- Using reflectors for product photography
- Selecting backgrounds and props for jewellery photography
If you enjoy this class, be sure to check out Gemstone Necklace Photoshoot and Diamond Rings Jewellery Photography.
Questions? Please post them in the comments section below.
© Karl Taylor
Comments
Great information Karl
Thank you.
It’s interesting that some of the most important pieces are the ones you don’t see! Great tutorial Karl.
Thank you
Hello, I am Ali from Saudi Arabia, and I am not good at English. I have benefited greatly from your scarce. Thank you
Hi, thank you. Also please note that most of our courses have subtitles in English if that helps.
Hey Karl, I was wondering that what will be the light setup for a job where the client wants to showcase his/her jewelry on a model (maybe a portrait-length shot). I’m stuck with this please help. Thank you.
Hi, this is a course that we will be doing in the future. In the meantime try this https://visualeducation.com/class/studio-lighting-setups-portraits-two-light-34/
Hi, I am new to photography and started with gold coated stuff. It is hard obviously but trying make something out of it. I see that you are using white acrylic as a light diffuser instead of lee 216 diffuser for jewels. So I search but there lots of thicknesses and versions of acrylic. Can you be a bit more specific ? Thanks
Hi, it comes in 3 or 5mm thick usually. Both work well it just depends how stiff you want it, so if you are using it horizontally you might want the thicker one.
Hi,
is there a certain good clamp bran you’re using, what is the size of the orange ones plz..hank you
Hi, I find many of my clamps at DIY and hardware stores, they are often cheap and sometimes break so I keep a whole box of them. For the more serious and important clamps watch this chapter please https://visualeducation.com/class/grips-and-clamps/
Thanks, I didn’t get to that video yet, it’s my first month here and i’m watching one video after the other, i’m overwhelmed with knowledge :))
the reason i ask is because the clamps I go ton ebay keep breaking too, i guess then it happens to all of us
Hi Karl!
Thank you so much for beautiful explanation on shooting jewelry.
My question in how to light jewelry when you shoot for E-commerce where you need pure white background and same result for like 20-40 jewelry with minimum post processing?
Bhavik
Hi Bhavik, then I would imagine a set up more similar to our ‘Rings’ example would be suitable and possibly with the use of an electronic turntable below so that you can easily turn the objects. Also look at the shoot with did on the ‘kettle’ as a similar but larger setup.
Thank You So Much 🙂
Hi Karl,
Can I use acrylic sheet when shooting wine bottles or any other products? Or there is a reason why you are choosing the diffusion paper fro Lee?
Regards,
Alex
Hello Karl, really nice result.
But what are you using to diffuse the main light coming from behind?
tsk
Thomas Tebet
Hi Thomas, acrylic sheet.
Hi Karl
If one was to shoot only jewelry, what would be the minimum scrim size would you recommend?
On you other product photography courses, you have recommend using large scrims , 4ftx4ft and even larger. But considering that jewelry is small and in a home studio environment manipulating large scrims and a whole bunch of c-stands could be a challenge, what will be your suggestion?
Amit
Hi Amit, no for jewellery you can work with much smaller as you can see in this chapter and also in the rings.
Thanks Karl.
Hi Karl.
I would like to clarify my point about the possible use of laser light to create specular highlights and also to add a common sense warning.
Laser can damage the camera sensor just as it can damage ones eyes if it either shines directly into the camera sensor or reflects off something like the diamond facet.
My question above therefore is not about about shining the laser only at the diffusion material to create a very hard light source on the diffusion material but NOT to ever use it as a direct light source onto the product.
I apologise for not making that clear in my previous question.
Looks really nice Karl and also loved your graduated light over the black card as a background.
My question is, would a white small laser light(s) aimed at the diamonds with a long exposure and main flash firing on first shutter curtain work to create the sparkle instead of using the pico light and having to combine the shots after in post?
Hi Peter, any small point light source that you can focus to a specific point should work. As you said you can combine a longer exposure with continuous light to achieve it, you may just need to gel your light source.
Looking forward to this one as well.
Can not wait for this one! Diamond Jewelry is seriously one of the hardest things I’ve photographed.
Hi Keith, yes jewellery is notoriously difficult but hopefully these new modules will help simplify things.