
Rim Lighting for Product Photography
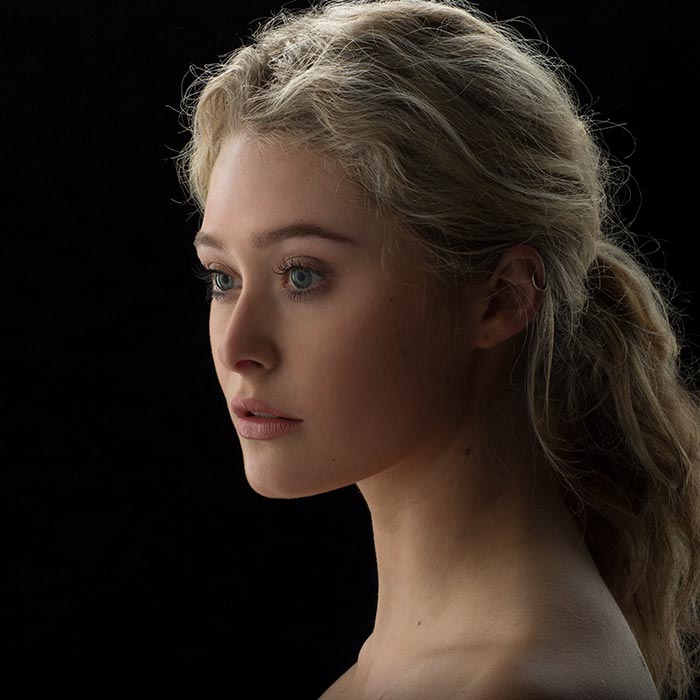
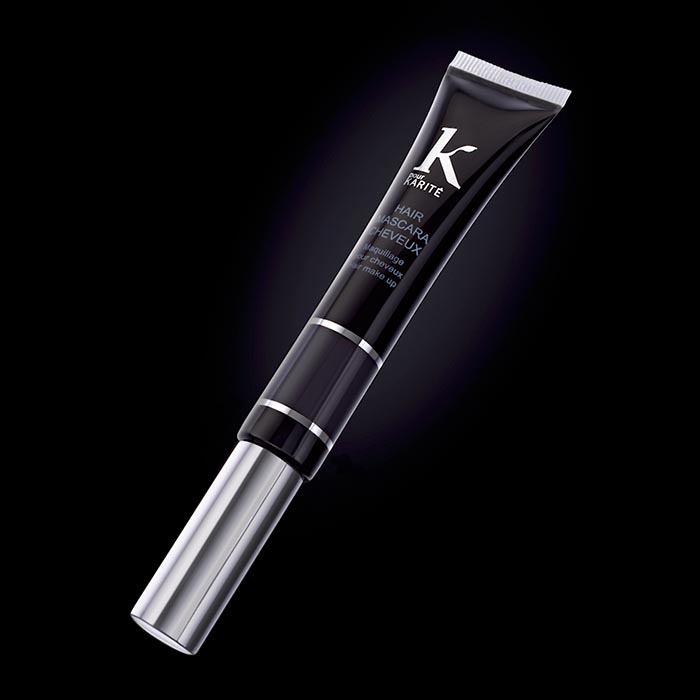
Rim lighting is a crucial skill to master for product photography, and can also be very useful for portrait and fashion work. It can produce some lovely effects, and is actually simpler than it looks – once you know how it’s done.
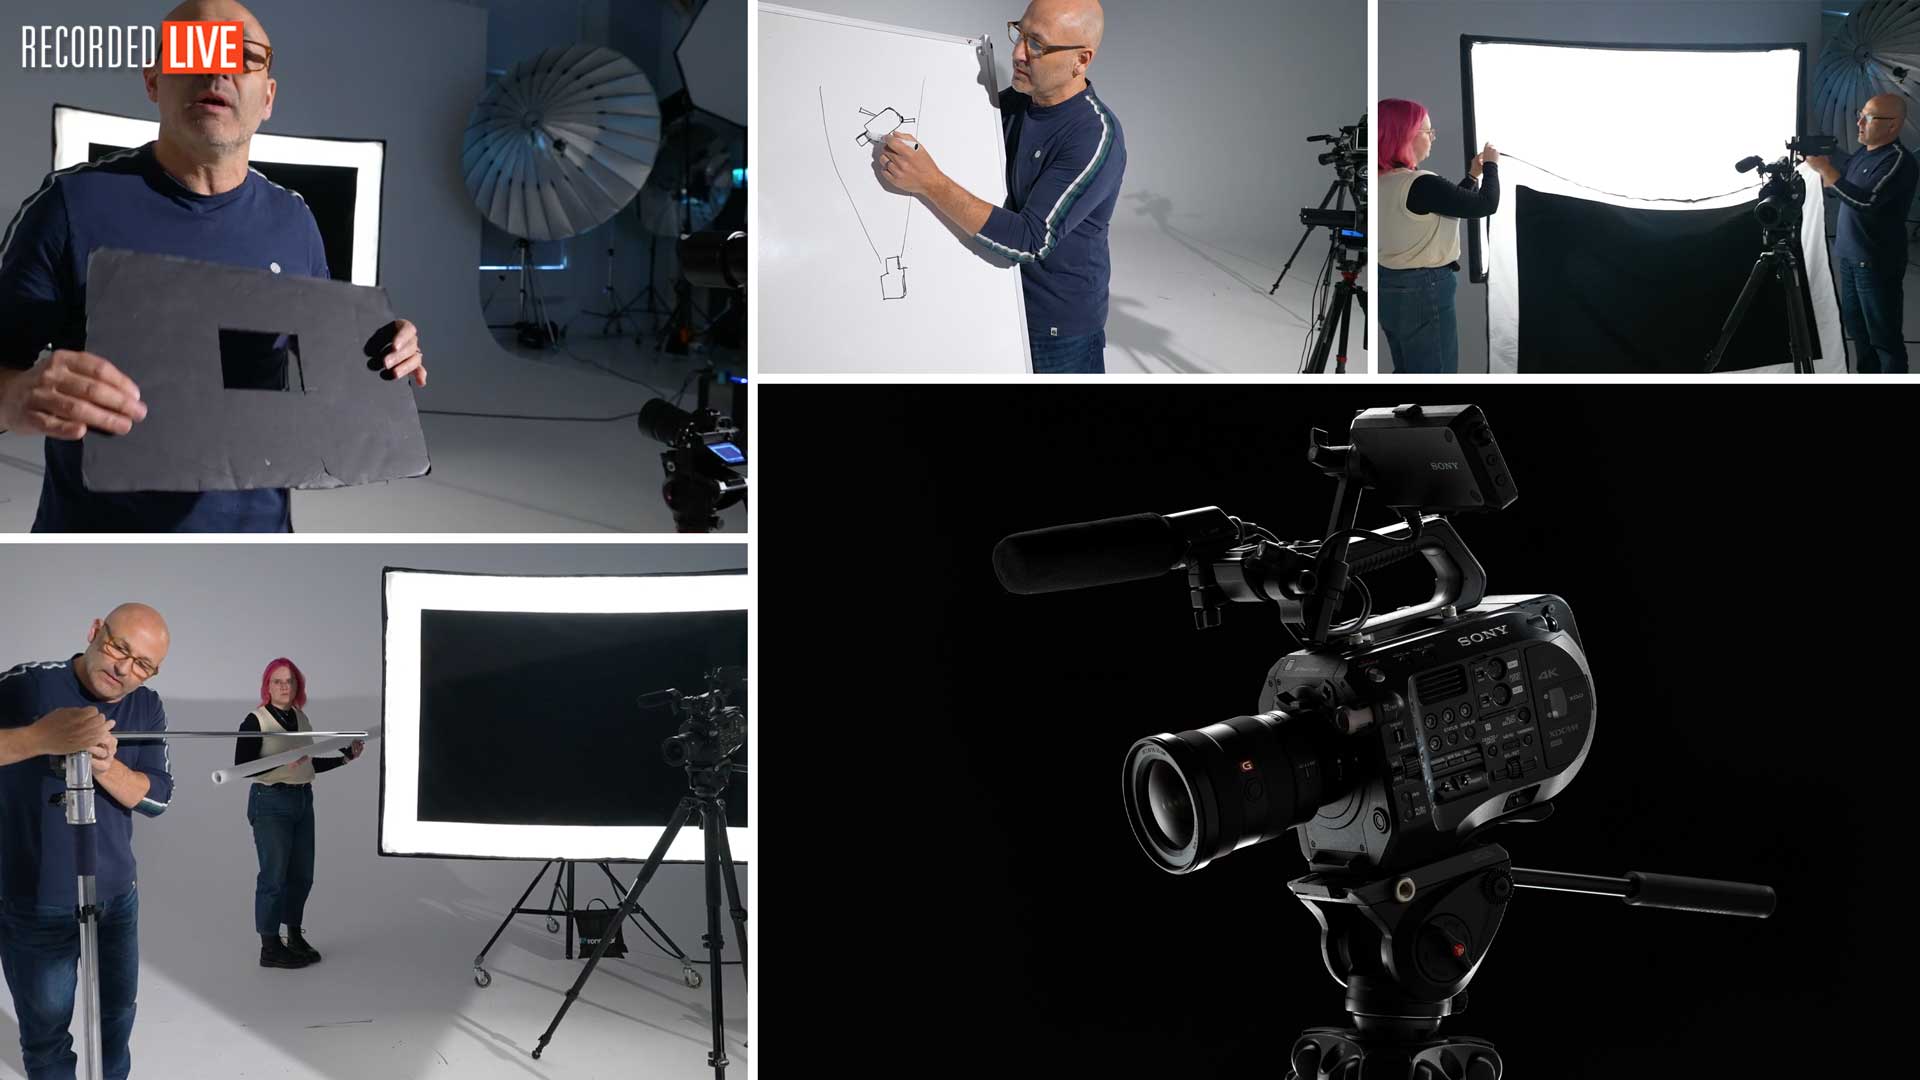
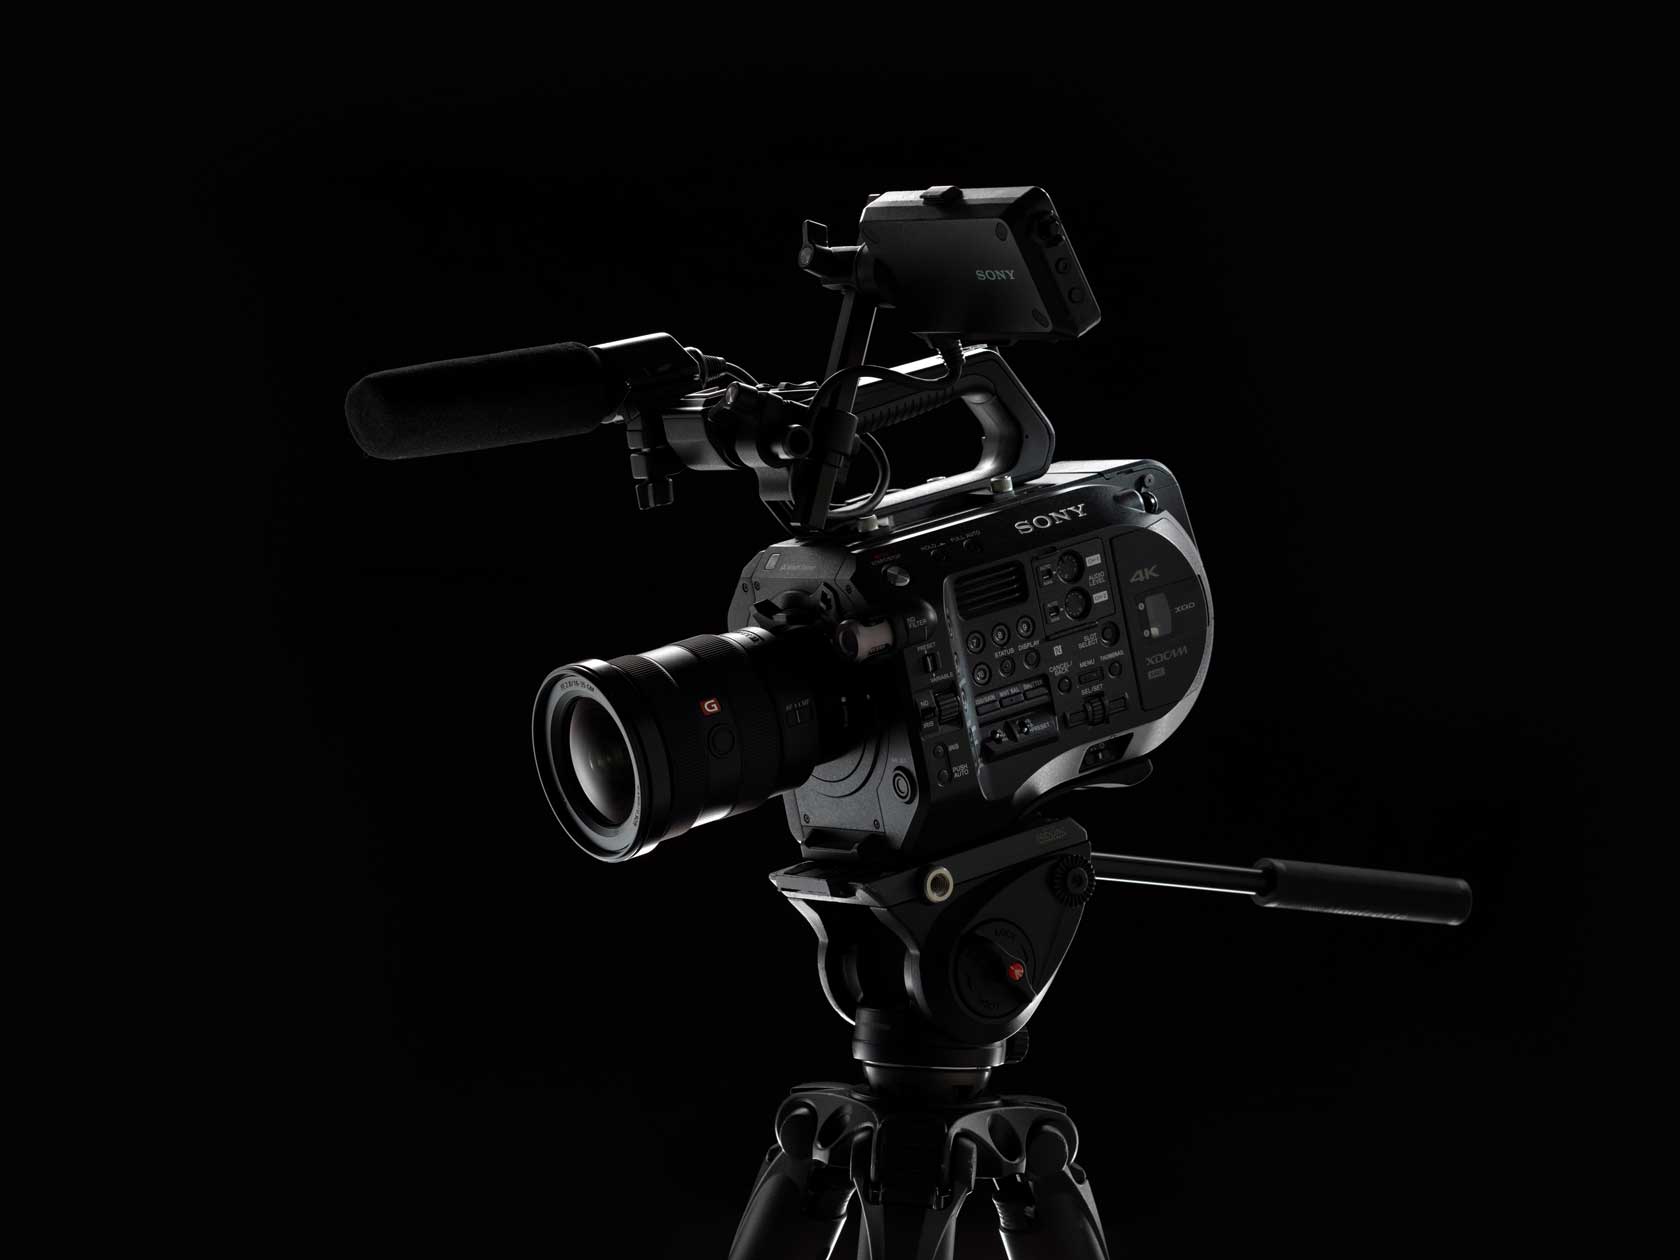
In this shoot, recorded live and now available to watch as a replay, Karl uses just one softbox and one speedlight to create a stunning final image of a Sony video camera.
You’ll learn how to reduce flare with a window mask, plus how to diffuse and reflect light for optimum results.
When Karl introduces a simple speedlight, he combines a range of ingenious techniques with some spontaneous creative thinking. In doing so, he achieves an effect with just two lights that could easily have required five or six!
It’s a true masterclass in creating incredible results with minimal equipment. As you watch Karl work, you’ll discover how to transform everyday objects into objects of desire with meticulous lighting and precise attention to detail.
In this class:
- Rim lighting techniques for product photography
- Softbox photography
- How to reduce flare in your image
- How to diffuse and reflect light
- Speedlight product photography
- Using edge masks and window masks
Questions or comments? Please post them below.
© Karl Taylor

Comments
Hi,
Please excuse my lack of maths, I’m still not sure how to determine the correct measurements for creating a window mask.
Sure no problem. First you need to know the exact dimensions of your sensor. Then you match that same ratio but make it bigger so for example if your sensor was 24mm x 36mm then you could say multiply each of those by 5 and you would have 120mm x 180mm and that would be a potential window size. I usually have a few window sizes so I can choose different distances to use them so just multiply by different amounts.
Thanks Karl
When can I add subtitles
Hi Louie, we’re working on getting our most recent classes subtitled and translated as quickly as possible. If you would like to be notified when this particular class is ready, please send us a message in the live chat including your email address and the URL of this class. Thanks! 🙂
Hi Karl,
How can I cut a window mask that’s not too big or too small to match the distance of a lens to stop the flare? also, why cut rectangular/square shapes and not circular shapes?
Thank you.
Thanks Karl & team for another great lesson! Quick tip re. creating that silo mask: Command-click on the layer from which you want to use to create a mask. That will create a selection based on that source layer’s luminosity. Then go to the layer on which you want to add a mask (make sure there isn’t already a mask on that layer). With the selection from the source layer still active, click the create mask icon. It’s a quick two-step process and you have your mask!
I’m sorry, This is not correct. Please feel free to delete. I would if I could. *What does work is choosing Select -> Color Range from the source layer to create the selection you want, and then create mask on the desired layer while that selection is still active. Sorry for the incorrect posting.
Thank you for the lesson. Glad to see you have trouble remembering all the steps to making the layers work just like I have trouble. Lucky for you, you have a trusty assistant with that skill.
This is a great lesson on how to be versatile. That there are multiple ways to achieve the desired result. I especially like watching you experiment to get the shot. I learn so much from each of your sessions.
Thank you Jerry, much appreciated.
Another excellent tutorial and very timely. I had just completed my first product photo project of old cameras using one light, an overhead scrim and mirrors, however, with some of the images I was getting insufficient separation from a black background and insufficient fill. After viewing the rim lighting tutorial I retook some of the images implementing the rim lighting technique. Instead of using a white reflector board and a scrim I used two scrims as I was getting insufficient fill. I also used nanlites (continuous lights) instead of studio flash. Separation was improved and I also like how the scrims sculpt and gradate the light on the camera bodies.
I had most problems making a photo of the Canon Powershot SD800 camera, it has an all chrome finish, in my image I was able to accentuate some of the chrome but not all and would appreciate a future tutorial demonstrating how this might be achieved.
https://www.neilnathanphotography.com/product/product-cameras
Thank you again.
Neil.
Hi Neil, good to hear you giving it another go and adopting new techniques. I’ll keep in mind what you said about the chrome but the reason for this is simply down to science and it can be calculated using the knowledge in this class – https://visualeducation.com/class/angles-of-incidence-and-reflection/
Hi Karl, just wanted to know where you can get the edge masks. Does anyone do them other than Broncolor
Hi John, to be honest I’m not sure. I would imagine others would do them as they are not very complex. If not you could always purchase a spare front diffuser and then have a seamstress sew black fabric into it. Otherwise a piece of black foamboard on a lighting stand will do the trick. Cheers Karl.
I haven’t been on the site for a while but glad I watched this what a fantastic result thank you Karl. 10/10
Thank you John.
Hello Karl,
My name is Danielle and I’m from New York. I want to make a image sensor board for my Canon 90D camera. How do I make one and what is the calculations to cut out the correct frame?
Sensor size APS-C (22.3 x 14.9 mm)
Thank You
Hi Danielle, do you mean a window mask to reduce flare? If so then multiply the dimensions of your sensor my ten and that would give you 223mm x 149mm – if that is too big then multiply those sizes by 1.5 or reduce by 1.5 etc etc.
Great stuff really enjoyed the approache which reminded me a little of the earphones challenges on a larger scale for the product – Im looking forward to incorporating some of this into a product reveal for a new training shoe shoot I need to concept and put together this week
👍
Always pick up something new to consider!
Cheers John.
hi!
thank you for the super interesting show (as usual ;-))
could you tell me which clamps you’re using to hold the cardboard, the ones with as far as i can see one flat and one curved part?
thanks, erik
Hi thank you, they were ‘cokle’ clamps by Foba.
Hi Karl, Thank you so much for this course again, more information to absorb. So amazing talent..
Thanks again
Thanks Aby.
GregK
Hi Karl, Just got done watching the class on Rim Lighting, outstanding as always. I was very impressed with the use of the speedlite and multiple pops. I always wanted to try this technique but was unsure on how to go about it. I do have a few questions. First as of now my biggest soft box is 31×47. Will this be adequate? Second I am working in a small space at home which is 14 x13 will this suffice? I just need to figure out how to block out all the window lights, or shoot at night. Again Karl THANKS
Hi Greg, thanks. The size of your softbox will only restrict you to the size of the product you shoot, the technique will be the same otherwise. Yes you’d have to do this at night in the dark if you have no way of blacking out the room, remember to use a snoot on the speedlite, you can make one out of cardboard and put the speedlite on a manual power setting of about 1/4 or 1/8th to start with and then adjust from there.
Have been looking forward to this video on the calendar as Rim Lighting is one my favorite techniques. Specific Thank You for this example on flare and the window mask. I understand the concept and other rim light videos Karl uses the mask and talks about flare but I never quite saw the difference–this example illustrates it quite effectively.
Thank you again Karl and Team for this video, am sure will be coming back to it many times.
Thanks Ken, glad you enjoyed it.