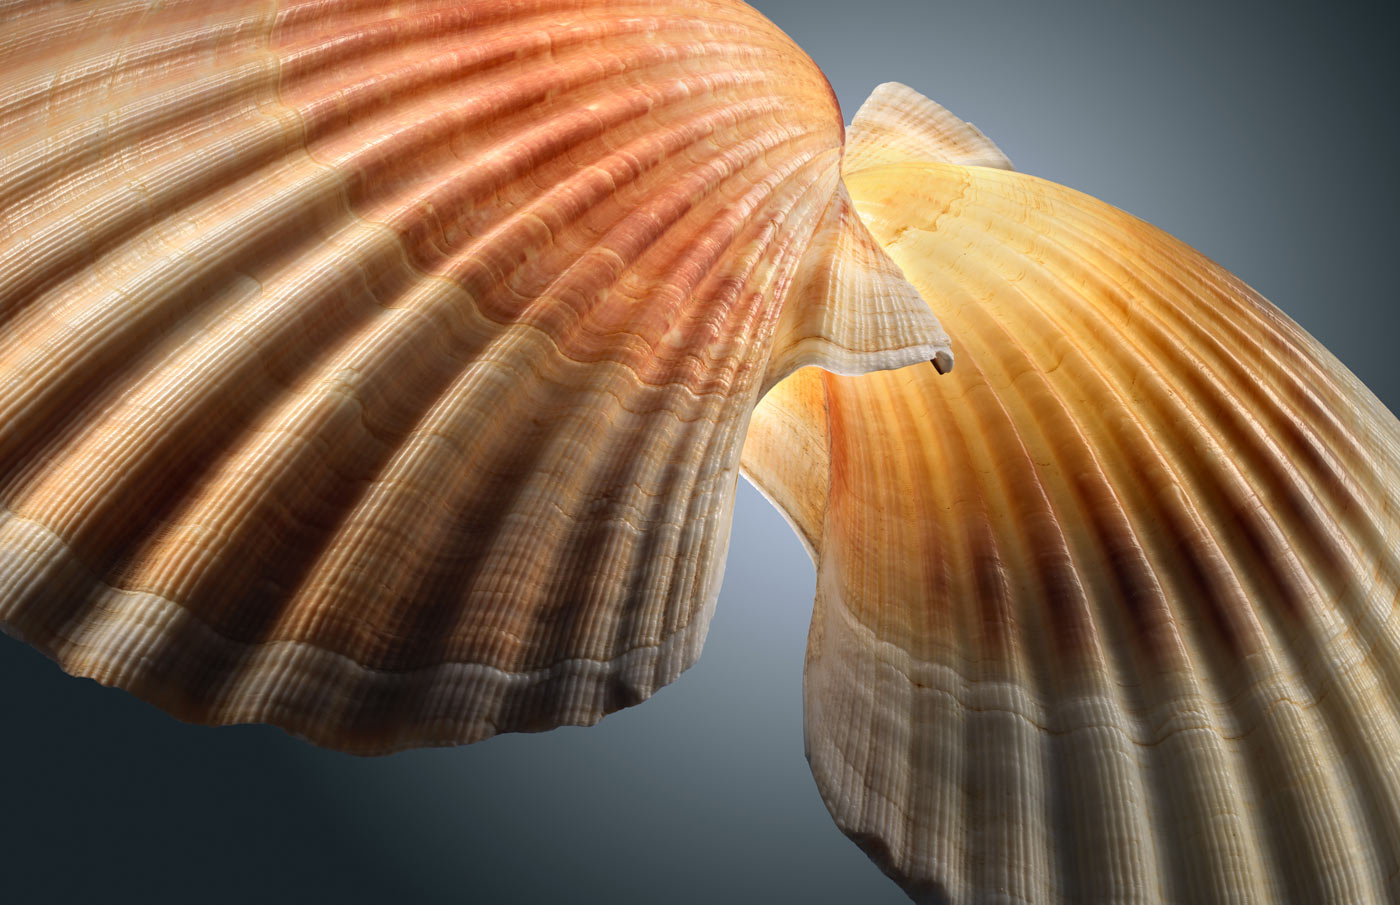

Wall Art Shells: Macro | Post-Production
Create natural perfection with these Photoshop tools and techniques.
Follow professional photographer Karl Taylor through his post-production workflow as he shows you how to edit and retouch the images you captured in Wall Art Shells: Macro.
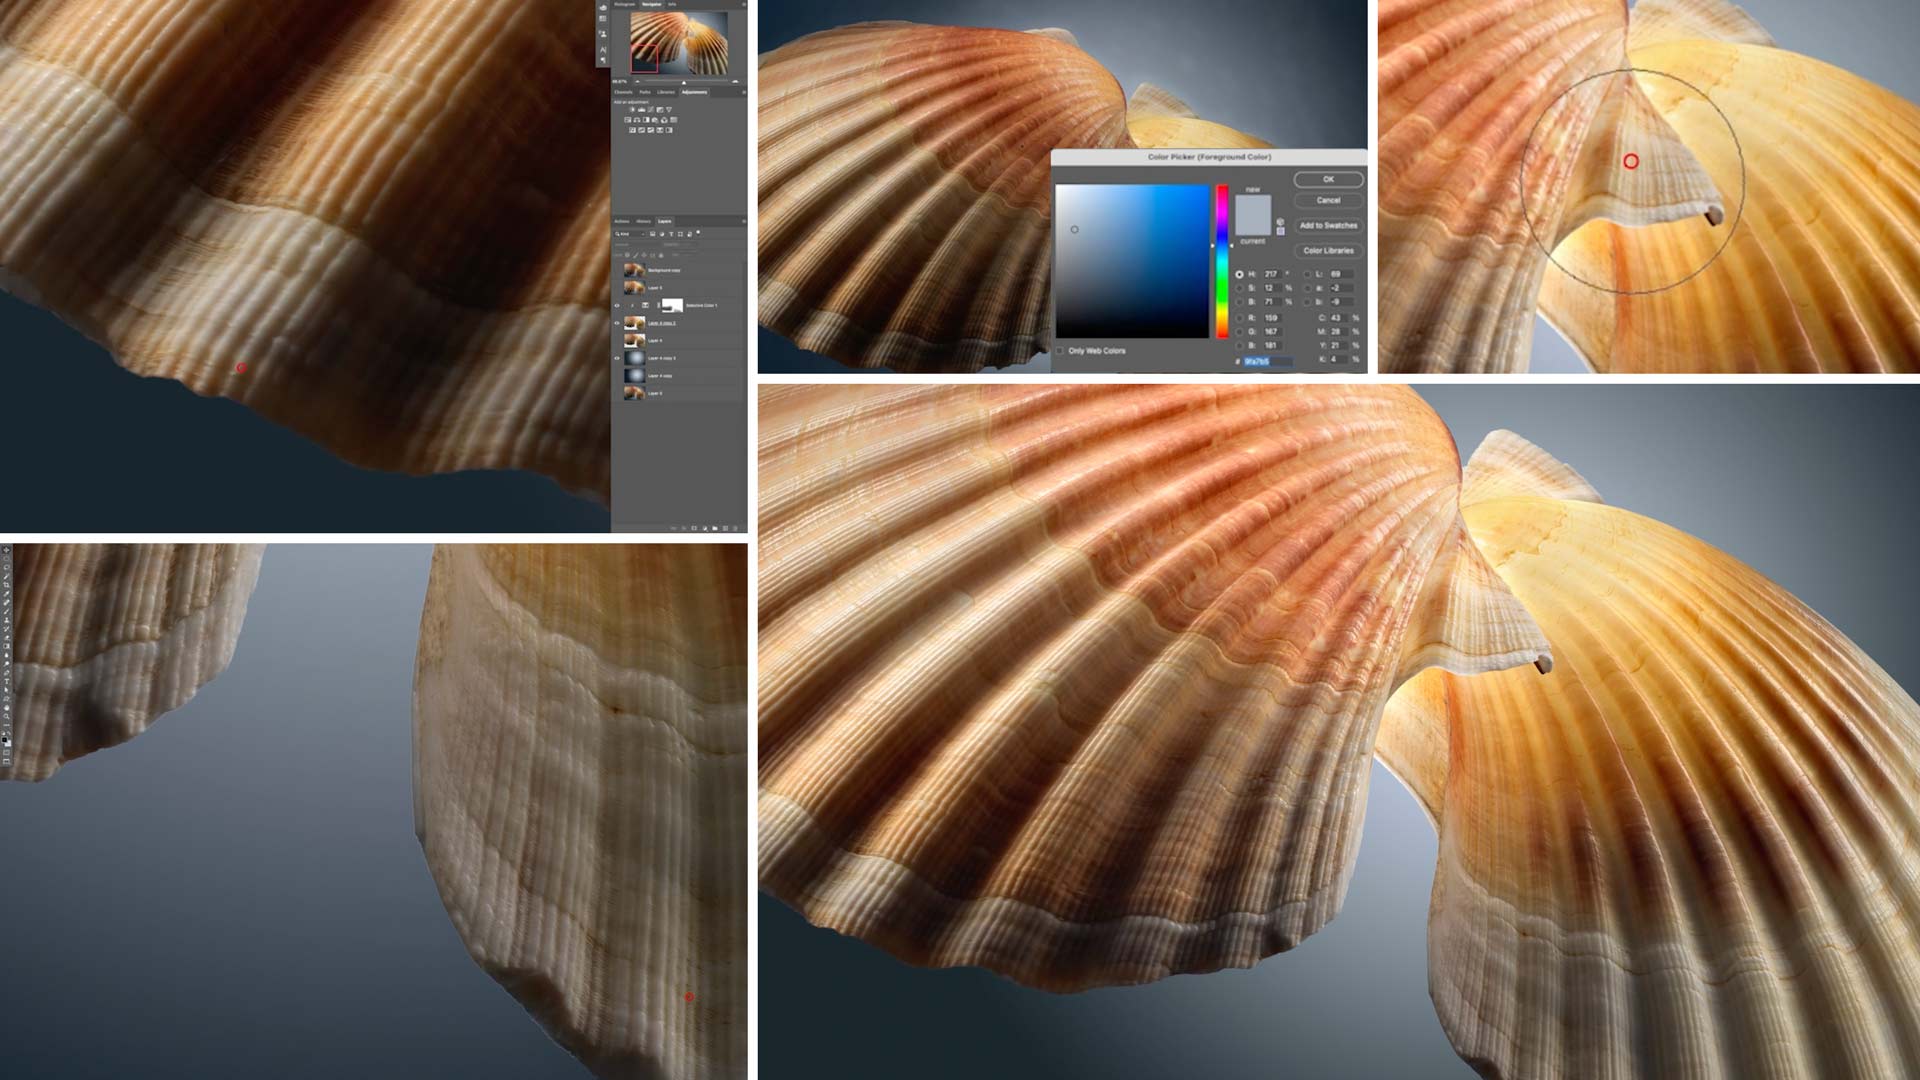
You’ll begin by using your software of choice (Karl uses Helicon) to complete the automatic focus stacking process for the multiple images you captured with you camera. Then you’ll move into (or continue in) Photoshop to start making some crucial adjustments.
As you tweak the background gradient and the shells themselves, you’ll use a variety of tools including the Clone Stamp tool, Gaussian blur, and the Liquify filter, plus Curves and Hue Saturation adjustments.
Key to the success of this image is perfecting the colours and contrast across the different areas of the shells. Once you’ve made the necessary fixes, all that remains is to clean up and specks of dirt and other imperfections using the Healing Brush tool.
This easy-to-follow post-production demonstration will show you how simple adjustments can transform a good photo into one that is truly breathtaking.
In this class:
- Post-production techniques for still life photography
- Common Photoshop tools and how to use them
- How to use layer masks in Photoshop
- Burning and dodging in Photoshop
- Making curves adjustments in Photoshop
- Making hue saturation adjustments in Photoshop
- Focus stacking
To learn how to capture the shots you’ll work on in this class, watch Wall Art Shells: Macro.
Want to master the essentials of post-production? Start with Photoshop For Photographers.
If you enjoy this in-depth Photoshop tutorial, check out Wall Art Shells: The Black Pearl | Post-Production.