
Zenith Watch Product Shoot
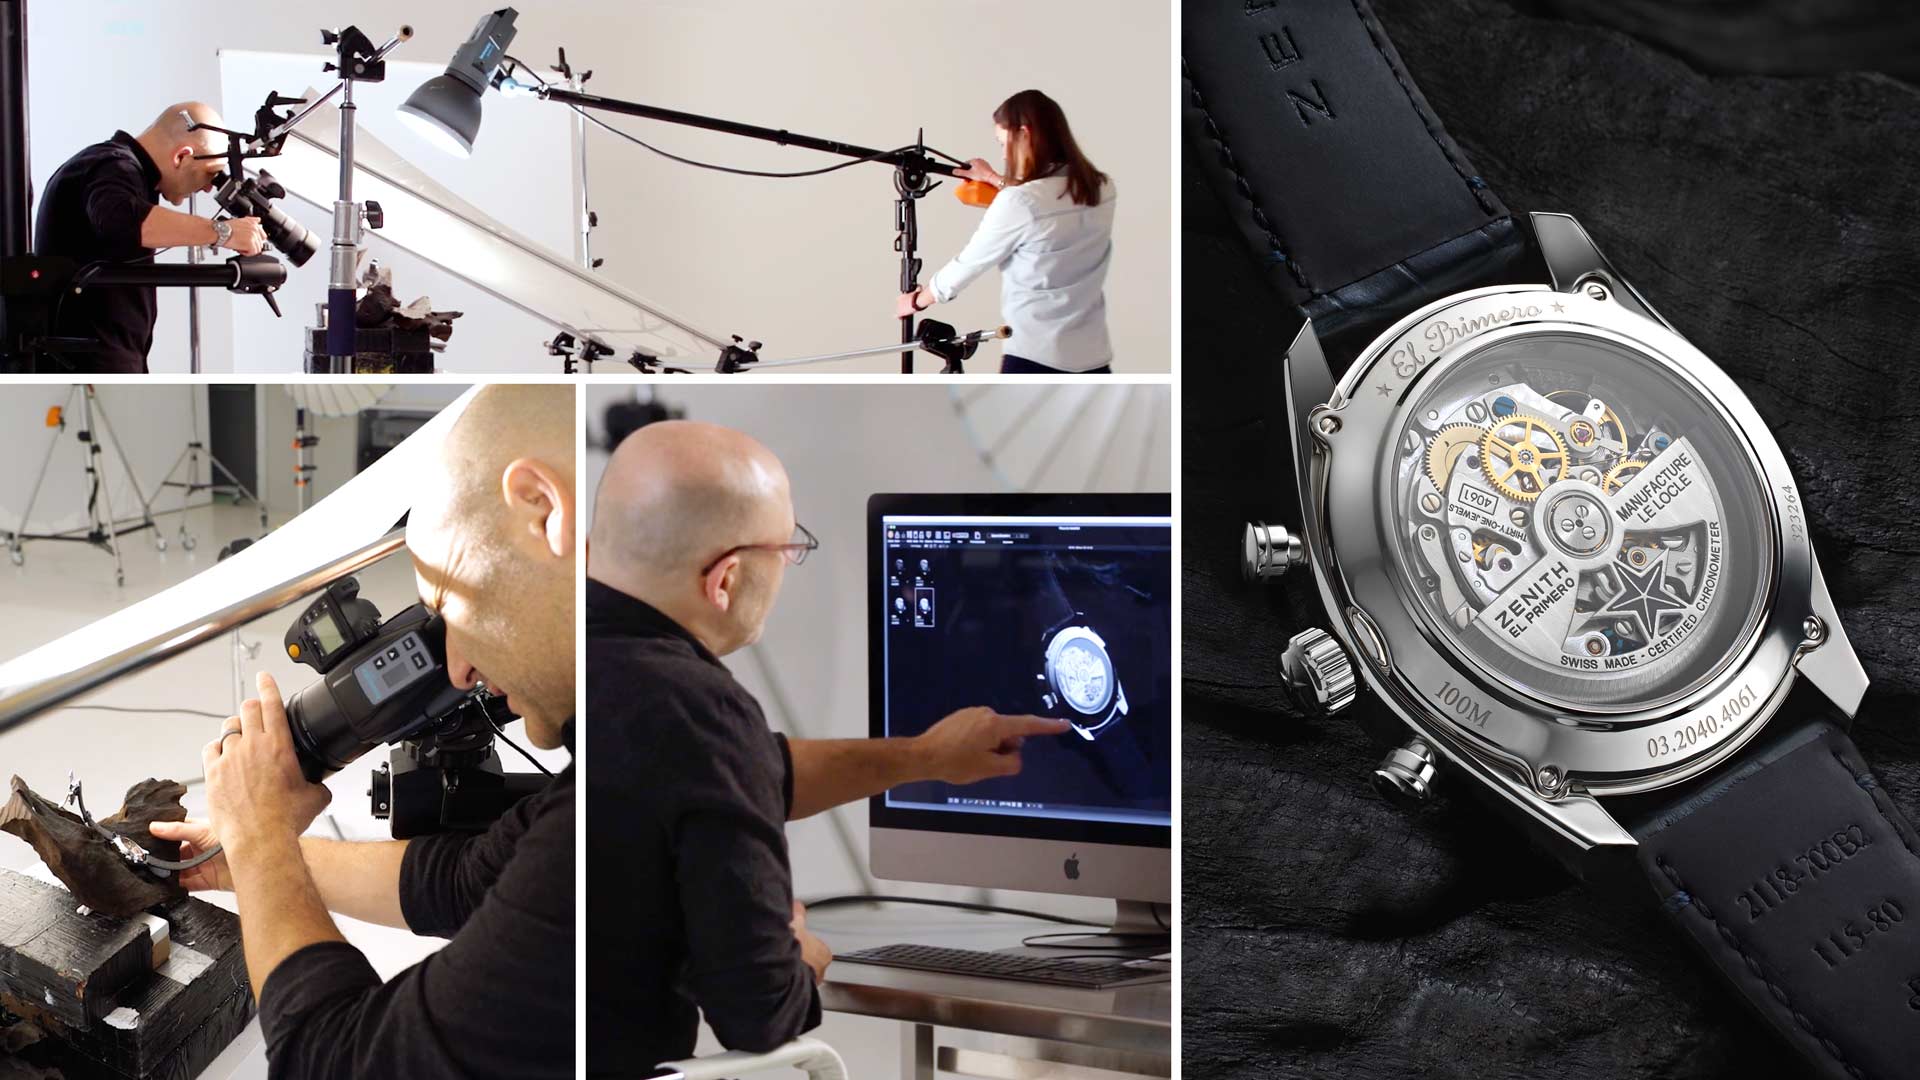
In this product photography class, Karl photographs the detailed inner workings of a luxury Zenith watch.
Karl highlights the common difficulties one might face, including how to photograph shiny metal surfaces, how to achieve sufficient depth of field when photographing small items and how to balance multiple lights.
This detailed photography class addresses each of these challenges and clearly shows you simple but effective techniques to overcome them. Karl details each step, from selecting his props to how to balance his lights. See the result from each stage and follow along as he guides you through this intricate high-end product shoot.
In this class:
- Product photography: How to photograph a watch
- Macro photography: How to photograph small objects
- Equipment for product photography
- How to focus stack an image
- How to balance multiple studio lights
- Lighting modifiers for detailed product photography
- How to use reflectors for product photography
- Live view function in Phocus software
To see how Karl retouches this image, check out production process for this image, Zenith Watch Post-Production 1: Focus Stacking and Compositing.
If you enjoy this class, you may like Luxury Watch Photography Using One Studio Light or TAG Heuer Luxury Watch Shoot.
Questions? Please post them in the comments section below.

© Karl Taylor
Comments
Hi Karl, this is Miou from China. Other videos on the site can be played well without any issues besides this one. Could you check the video?
Hi Miou, OK thanks, it’s running well at this end but we will look into it further.
So worth the wait! This is my favorite tutorial you have done. The fact that you show all the trials, errors and how you work through them is huge! Many teachers show the tools, talk about the method, and then show the final results but in their videos, they want to be “Professional” so they skip all the troubles they ran into along the way and then suddenly like magic their photos are perfect. Bravo, love, love, love, this tutorial!!!
Thanks Keith.
Super, thanks Karl
Another great tutorial… looking forward to the post-work!
Karl, I’m really glad to see this tutorial up. Great job! I am noticing the audio is out of sync on the video, and I wonder, do you shoot audio and video separate? If so, I also wonder if you’re recording audio at 41,000hz, rather than 48,000hz. This could be the cause of the sync issue in post. I’ve also noticed it on several other videos.
Actually, it appears to be happening in the stream, as I can refresh the page and it syncs up. Anyway, keep up the good work! Thanks for sharing the knowledge.
Hi Jessie, we’ve just checked this video and we can’t see any sync problems?
Thanks you Karl for another great tutorial. Can’t wait to see the more.
I have just answered my own question Karl, Canon EOS Utility does exactly this – https://www.flickr.com/photos/28356703@N02/45083981002/in/dateposted-family/
Not the best example, the watched was scratched and I only used natural light but it was more of an experiment to do a stack. This was 21 images.
Great video once again Karl, I shoot with a Canon 5D3 can I use the Phocus software so I can use the stack facility or is there any other software that enables me to do this on screen with Canon please?
Hi Gary, the stacking was done in Photoshop. You’d have to shoot your shots either into the Canon software or Lightroom and just manually adjust the focus slightly forwards each shot (which is what I was doing just via the Phocus software) the next part of this tutorial is coming soon which shows the focus stacking process in Photoshop. Cheers Karl.
Many thanks for the informative answer once again, Rgds Gary
Hi Karl,
Thank you for yet another fantastic tutorial! Just wanted to ask about the opal acrylic, could you also have used a frosted acrylic sheet instead, or would that have produced a different kind of feel to the gradient? Many thanks. Best Will
Hi Will, the frosted acrylic should have worked equally as well.
Thanks Karl, for your fast answer. I really looking forward to it. Have a nice time.
Hello Karl, I only joined the subscription again in June for this video. So please let us know when we could expect it or what means soon? Thanks for all your shared experience. Greeting Rene
Hi Rene, I’m expecting this one before the end of the month.
So, this has been coming for 3 months now, any news?
when is this one coming ?
How soon is now?
Also this one,
when should we expect it ?