
Still Life Pasta: Long-Exposure Lighting Techniques | Post-Production
This class is full of accessible tools and techniques to help you retouch your own still life photos. You’ll learn how to uses layer masks in Photoshop to combine the strongest elements from your selection of original files.
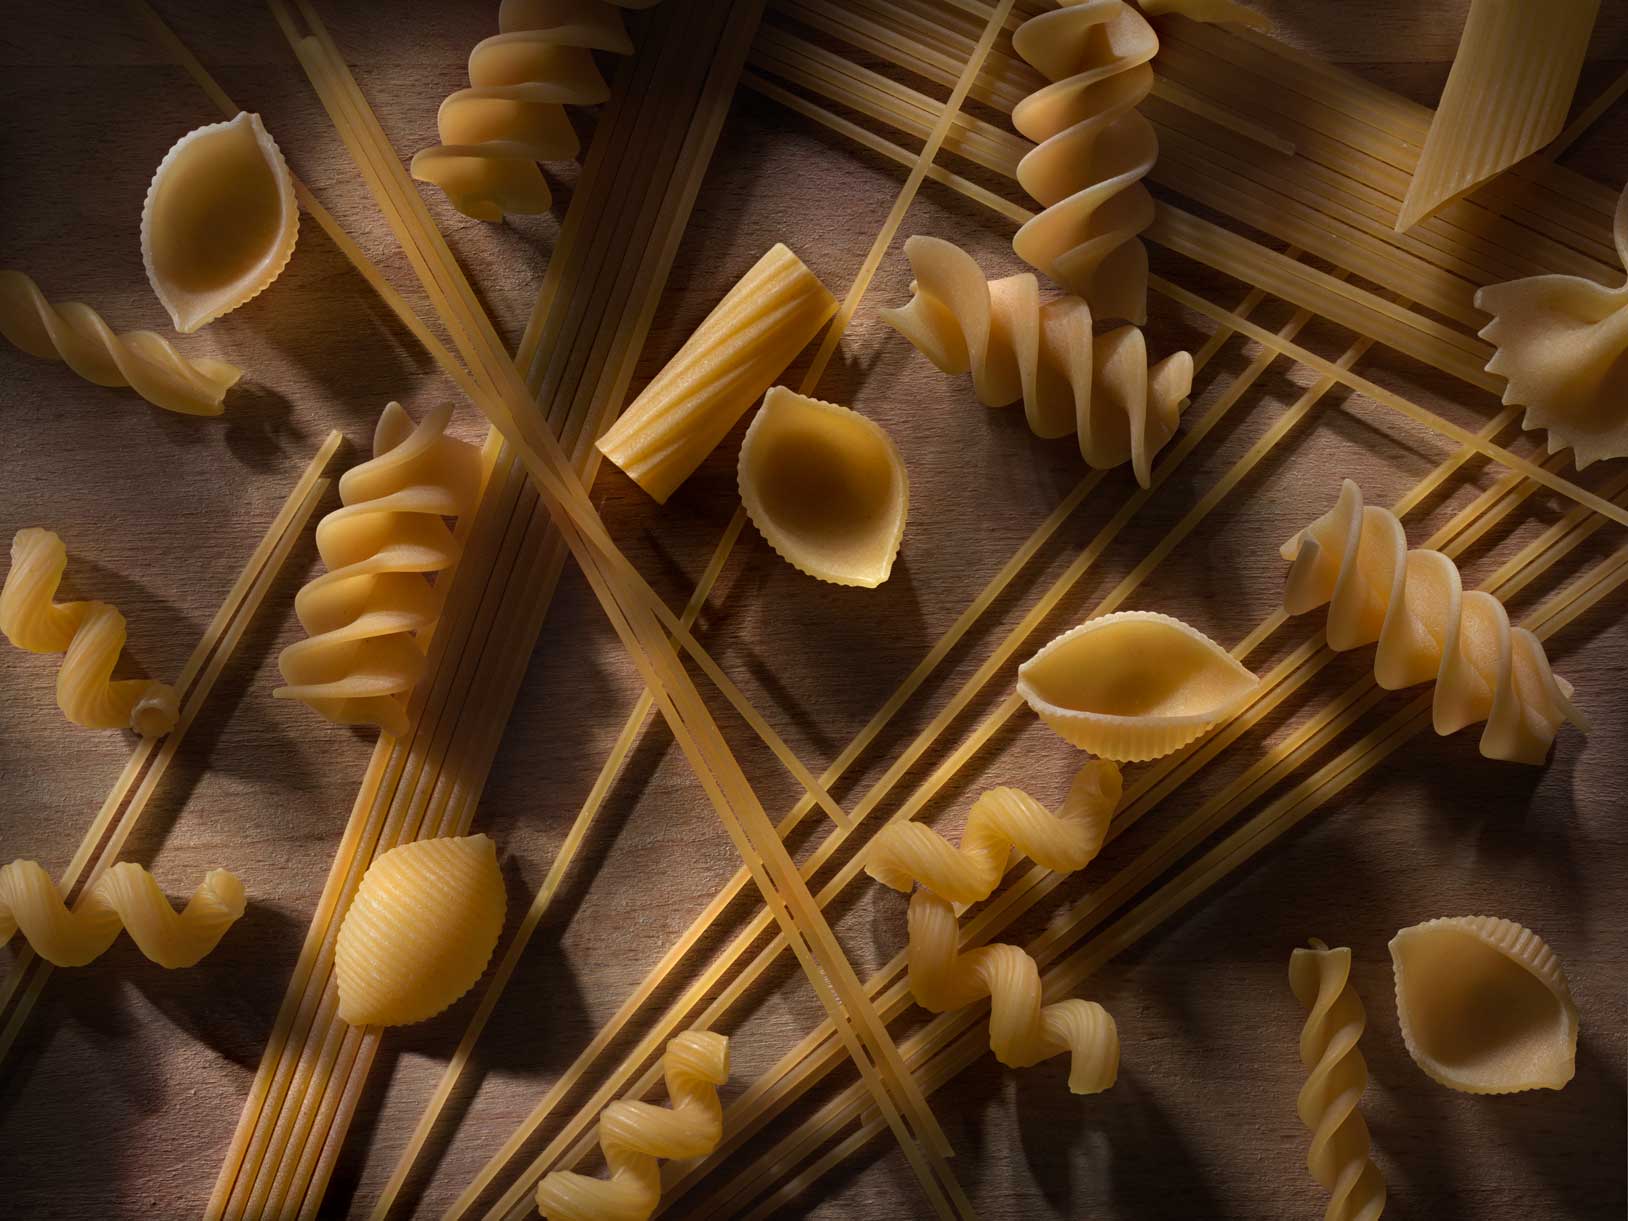
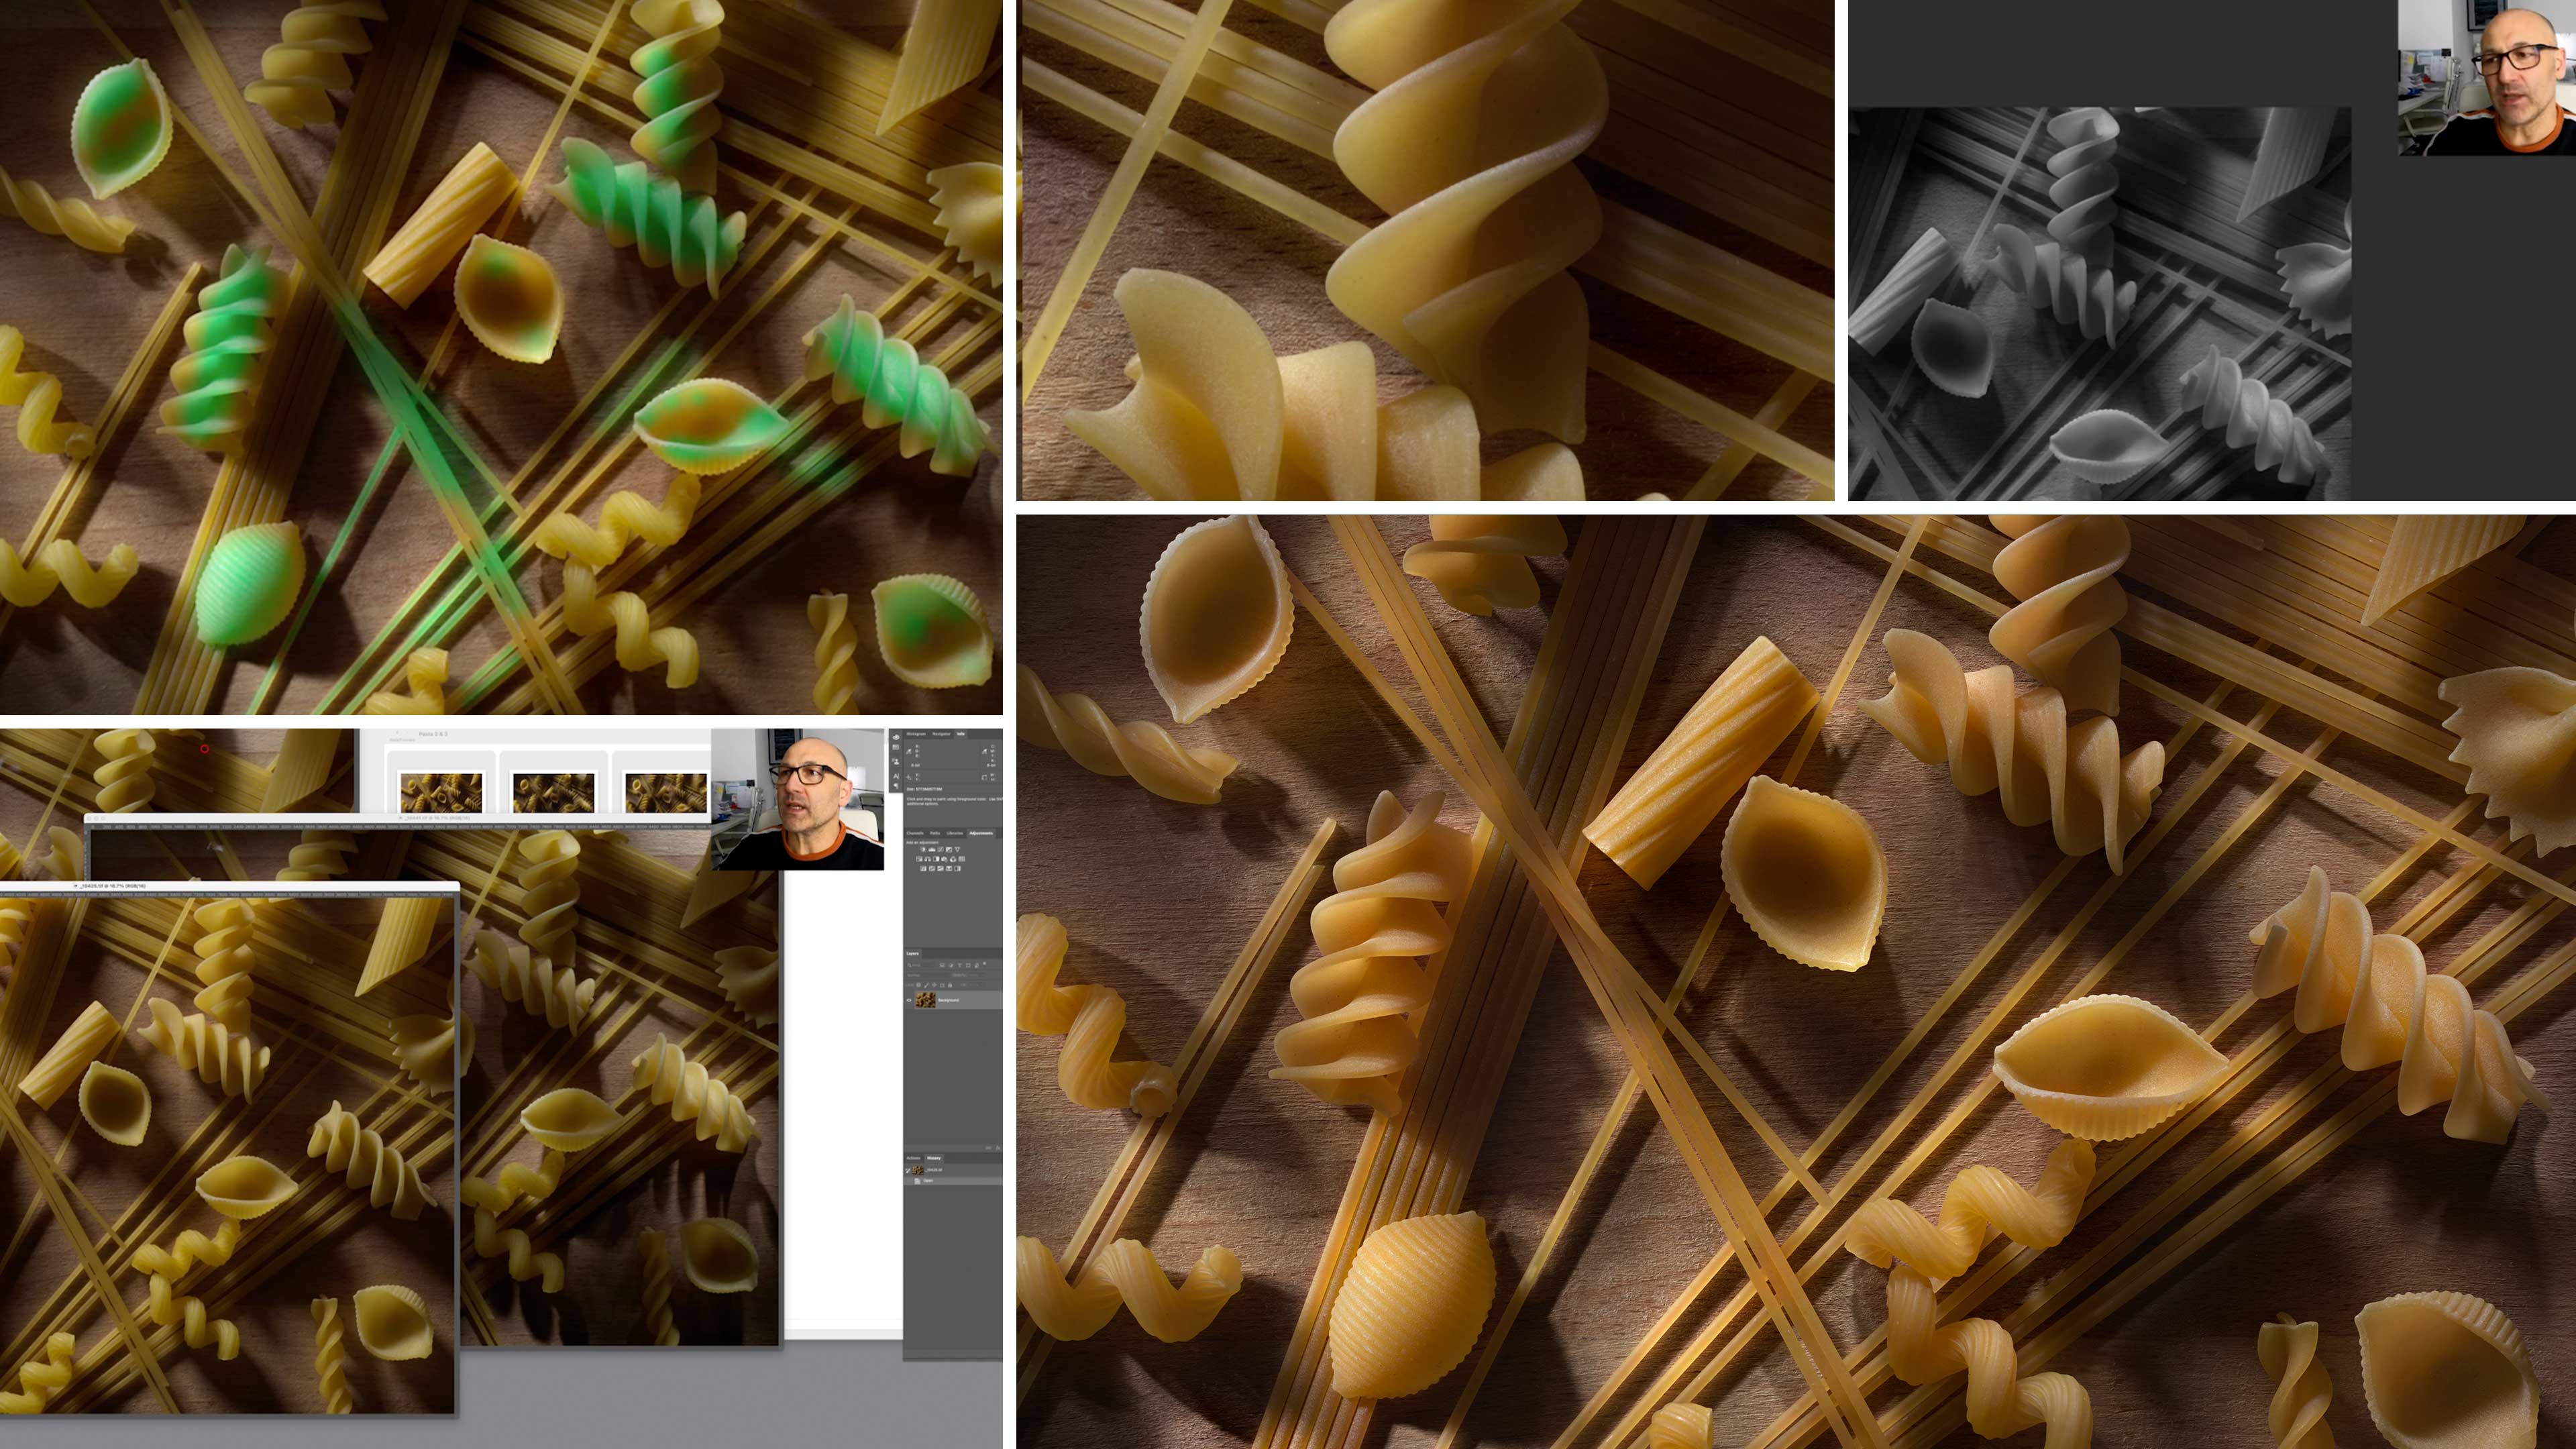
Beginning with three shots captured during his experiments with light painting, Karl uses a range of editing and retouching techniques to produce the polished final image. Much of his work is devoted to perfecting the contrast and colouration across a variety of textures.
You’ll see Karl demonstrate the Polygonal Lasso, Clone Stamp and Healing Brush tools as he removes anomalies and imperfections. He also carries out curves adjustments in different areas of the frame to get the contrast correctly balanced. As he does so, he reveals a handy trick for assessing contrast without being distracted by colour.
Karl goes on to play with the Hue/Saturation tool before undertaking some extensive burning and dodging. The result is a distinctive final still life image with lovely tones and pleasing shadows.
What you’ll learn:
- How to retouch photos in Photoshop
- How to use the Polygonal Lasso Tool in Photoshop
- How to use the Healing Brush in Photoshop
- How to use the Clone Stamp Tool
- Using Curves adjustment in Photoshop
- How to dodge and burn in Photoshop
- Adjusting contrast in Photoshop
For more in our pasta series, check out the first instalment: ‘Still Life Pasta: Simple One-Light Shoot’.
You may also enjoy some of our other post-production classes, such as ‘Luxury Watch Retouching’, ‘Electric Guitar Post-Production’ and ‘Wall Art Shells: Imitating Golden Hour in the Studio | Post-Production’.
Have questions or comments? Feel free to post them below.