ISO in Photography: Understanding the Basics for Better Images
ISO is an important concept in photography and a key setting on your camera. Understanding ISO, and learning when and how to adjust it, will help you to improve the quality and clarity of your images.
In this blog post, we’ll explain ISO and help you understand the basics of this essential camera setting.
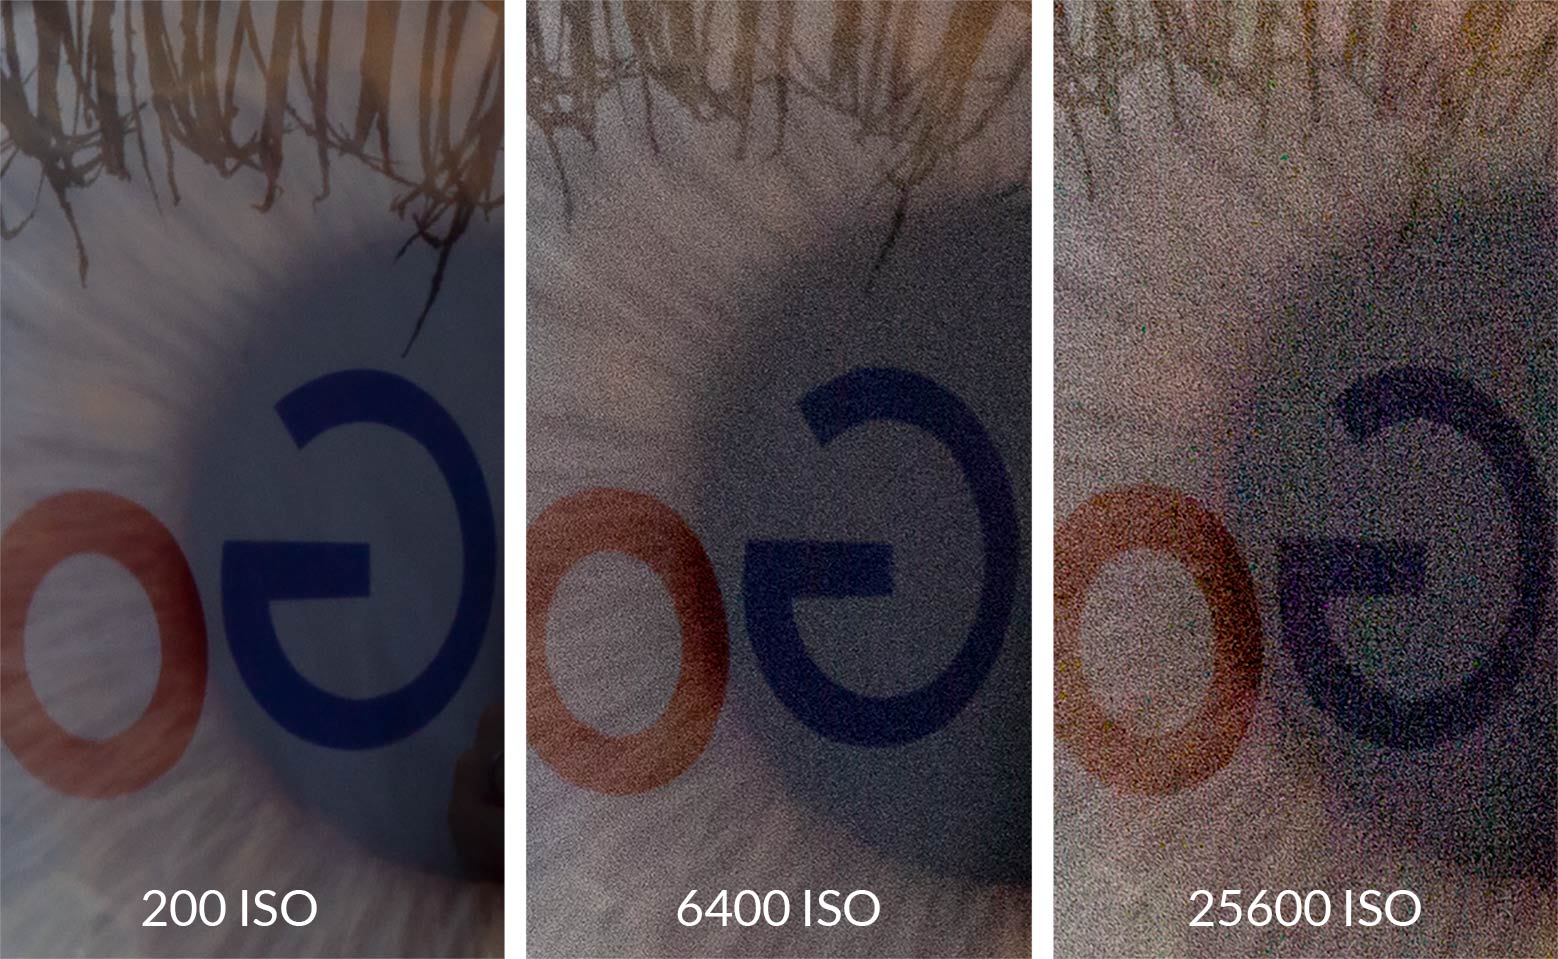
Higher ISOs can introduce noise intro your image.
What Does ‘ISO’ Stand For?
ISO stands for International Organization for Standardization. Confused? You’re not alone! So what do those three words have to do with photography?
The answer lies in the history of photography. To ensure consistent standards across the industry, producers of photographic film like Kodak and FujiFilm were required by the International Organization for Standardization to establish uniform sensitivity ratings for film.
The lower the ISO number, the lower the film’s sensitivity to light. For example, film with an ISO number of 100 is less sensitive to light than ISO 500 film.
So how does this apply to digital photography? In this case, ISO is a setting on your digital camera that allows you to adjust the how much ‘gain’ the camera applies to the image recorded by the sensor. In other words, the camera is able to mimic a change in sensor sensitivity.
What is ISO in Photography?
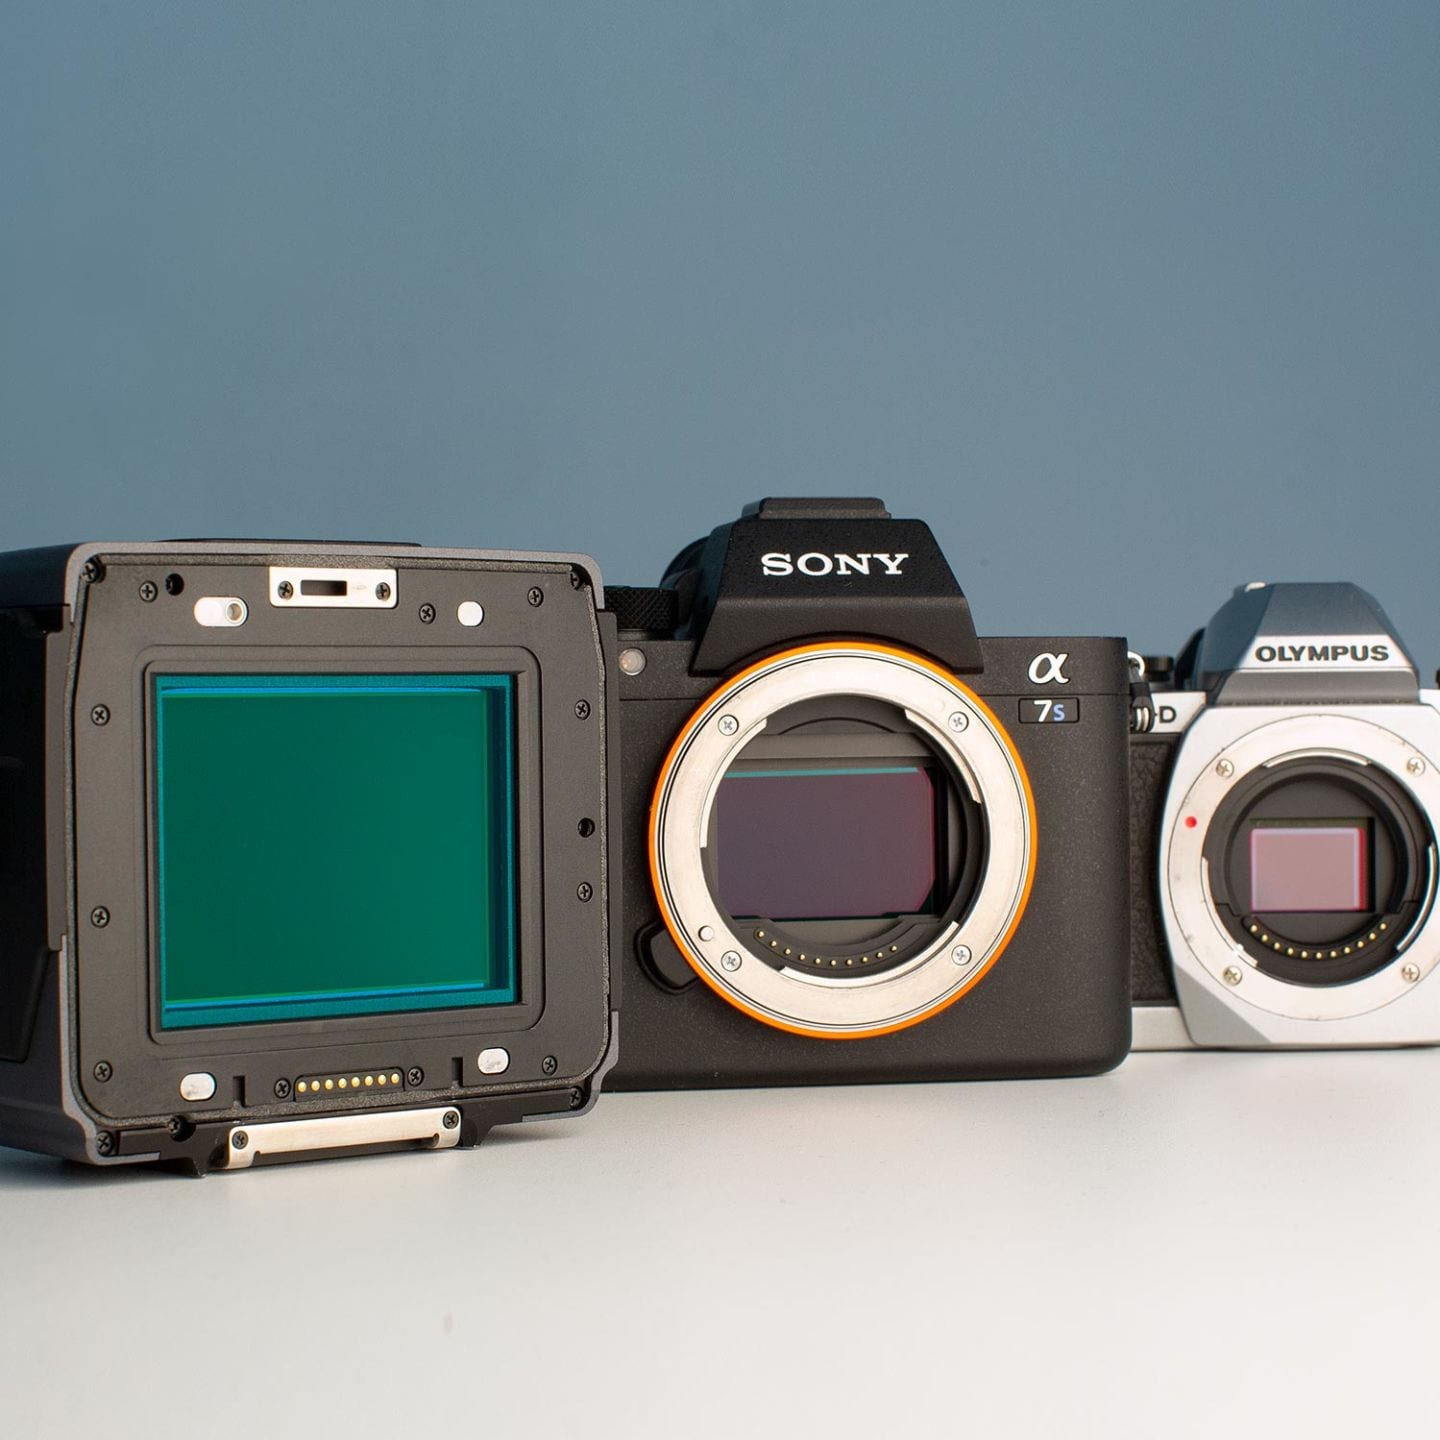
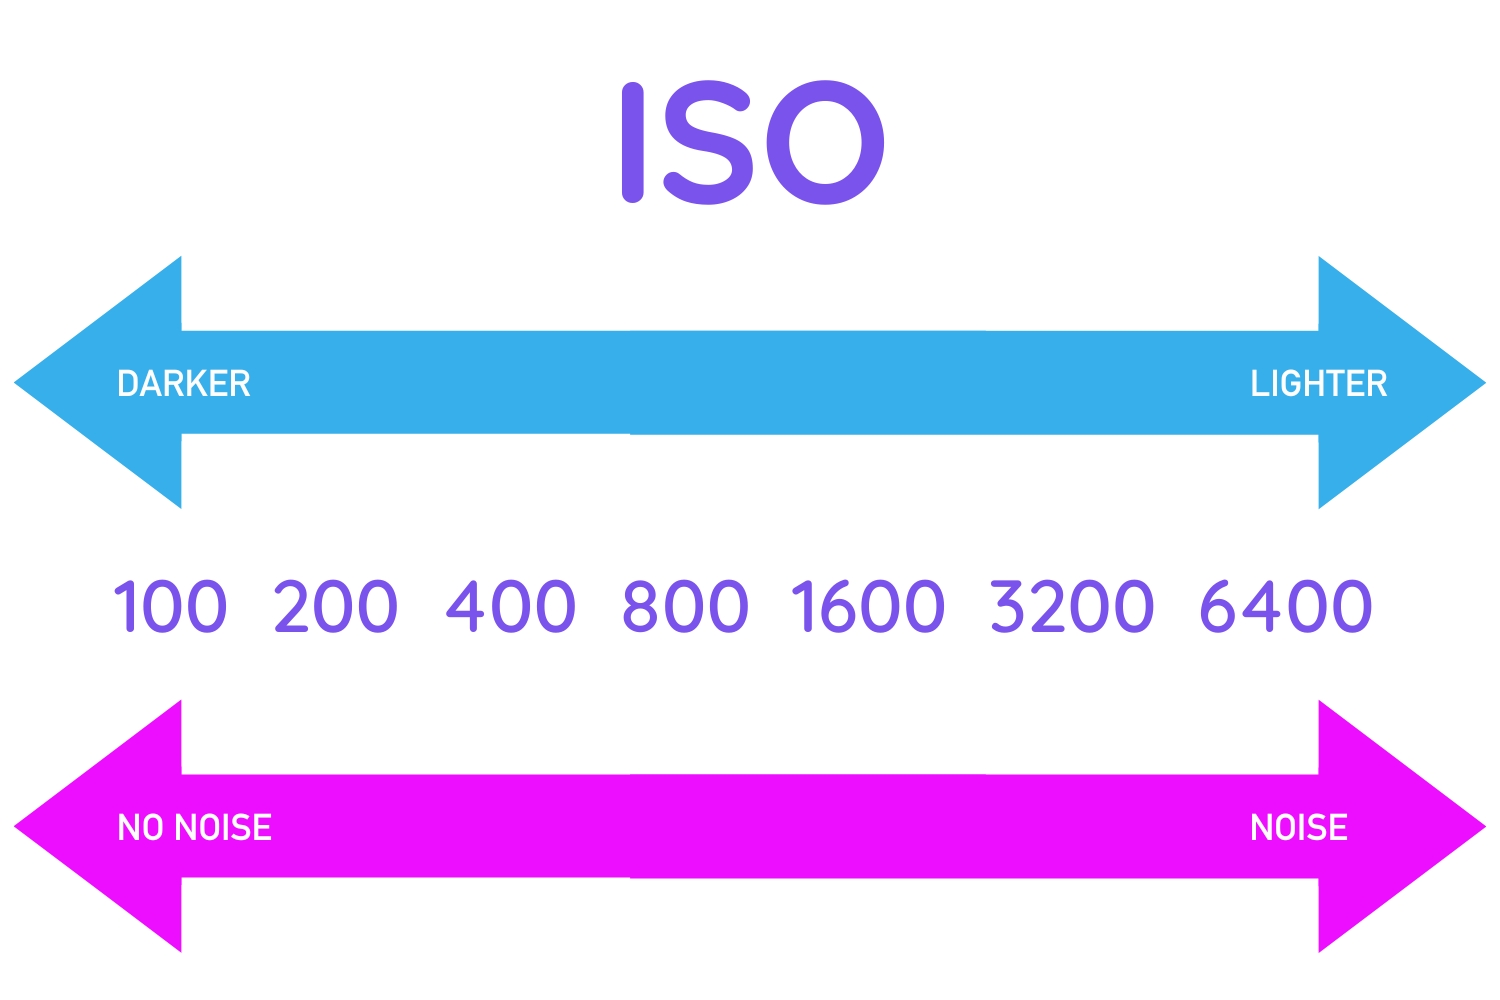
The simplest way to understand ISO is as a measure of the sensitivity of your camera's sensor to light. The lower the ISO, the less sensitive the sensor is to light, and the higher the ISO, the more sensitive it is. (Again, as explained above, the sensitivity of the sensor doesn’t actually change, but the camera will adjust its output to create that effect.)
A low ISO is ideal for bright lighting conditions, while a higher ISO may be necessary for darker situations where you need more light to reach the sensor.
ISO and the Exposure Triangle
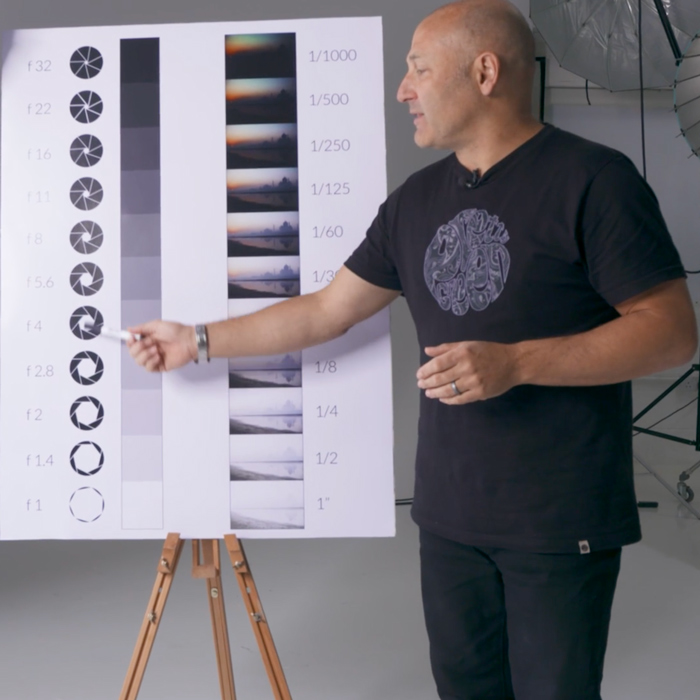
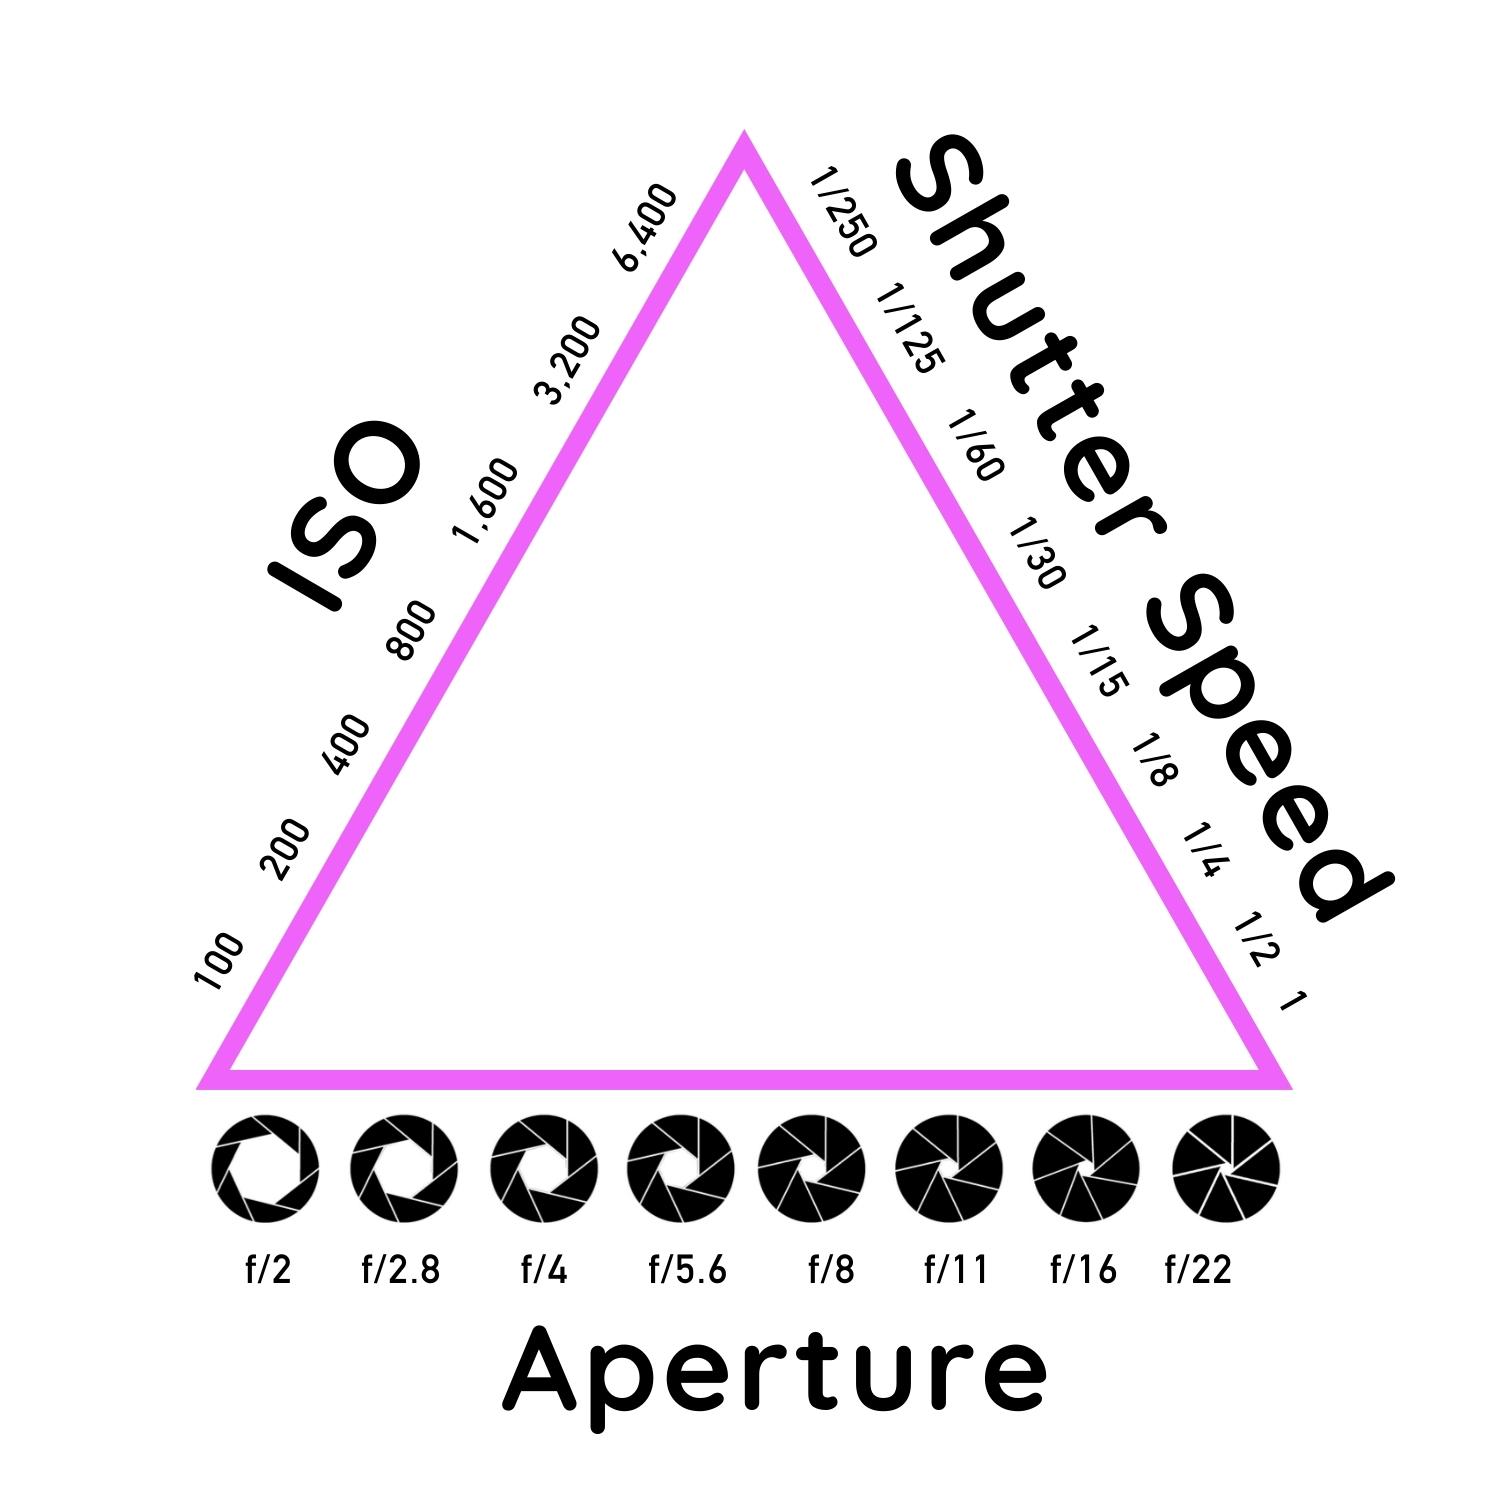
Because it controls the camera's sensitivity to light, ISO plays a crucial role in the exposure triangle. You need to carefully balance ISO with aperture and shutter speed to achieve the desired exposure and image quality.
For example, in low-light situations, a higher ISO may be necessary to capture a properly exposed image, but puts you at risk of noise (see below for more). In well-lit situations, you can use a lower ISOs to maintain image quality, but may need longer shutter speeds or wider apertures to avoid underexposure.
It's important to find the right balance between ISO, aperture and shutter speed to minimize noise while still capturing the necessary amount of light.
Pros and Cons of High ISO
The main advantage of a high ISO is that it allows you to shoot in low-light situations without a flash or a longer exposure time – great for capturing motion blur.
However, high ISO can also lead to more noise or graininess in your images, which can impact the sharpness and clarity of your shots.
When Should You Use High or Low ISO?
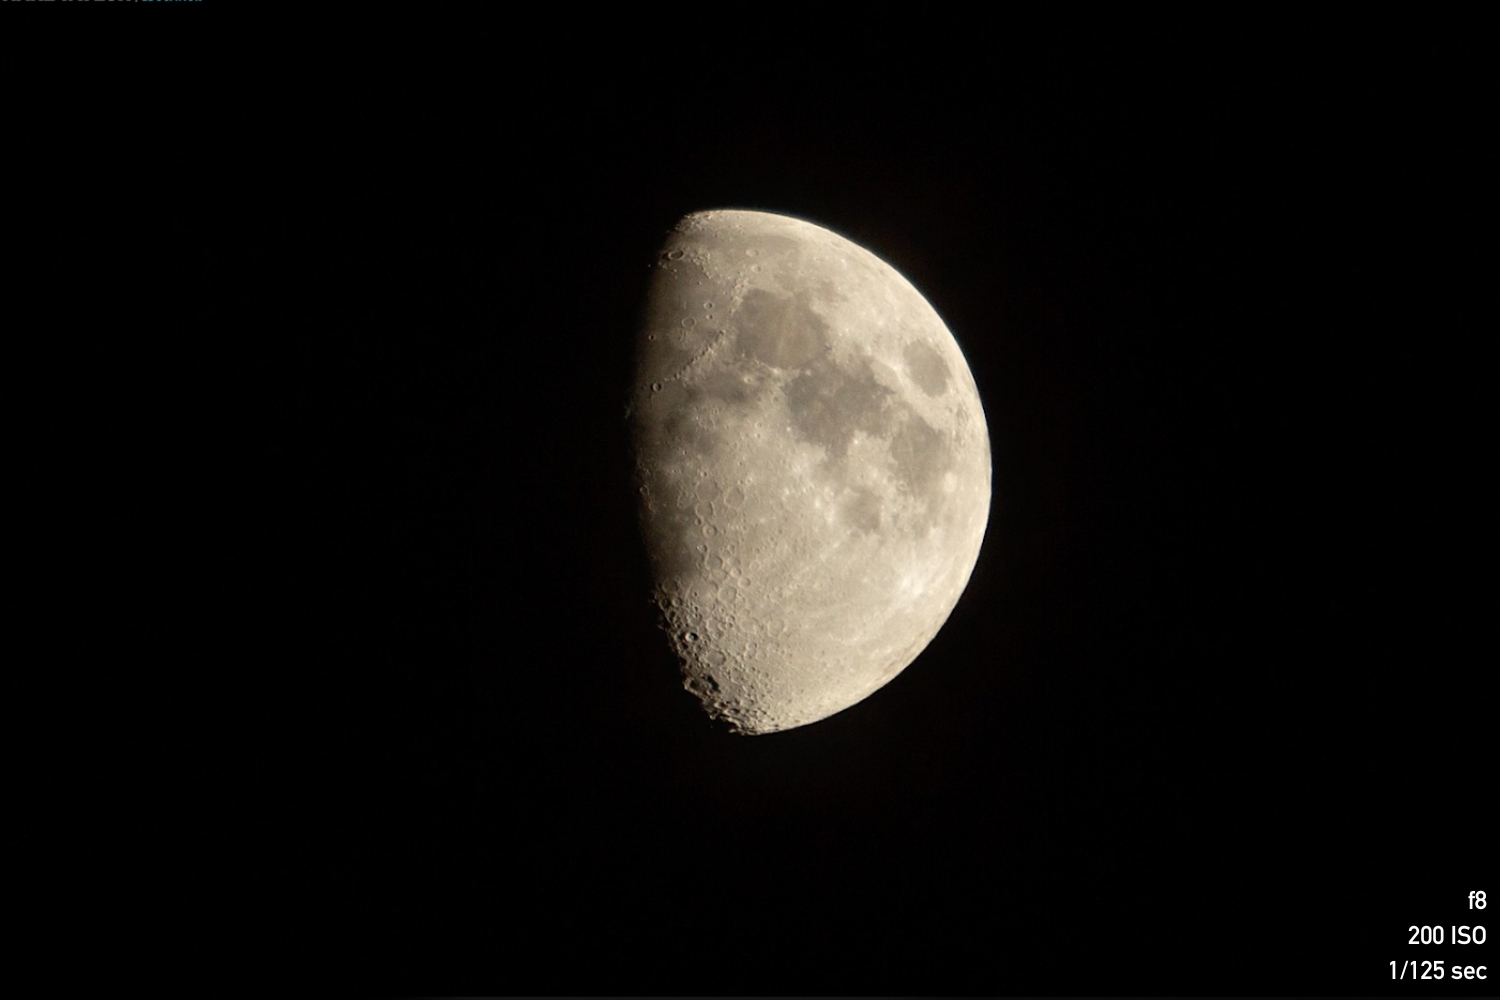
Choosing the right ISO setting depends on the lighting conditions and the effect you want to achieve in your photos. A low ISO of 100 or 200 is ideal for bright, well-lit situations, while a higher ISO of 800 or more may be necessary for low-light or nighttime shots.
Keep in mind that high ISOs can reduce the quality of your images, so you should use them only when necessary.
The Recording Medium: ISO, Megapixels and Sensors
How to Adjust ISO in Your Camera
Summary
Understanding ISO is essential if you want to take your photography skills to the next level. Increasing the ISO setting on your digital camera will prompt the camera to generate images as if you have increased the sensor’s sensitivity to light.
Using a high ISO can reduce the quality of your images due to noise, so it's essential to find the right balance between ISO, aperture, and shutter speed to achieve the best results.
With these tips in mind, you'll be able to master the basics of ISO and take better photos in any situation.
To learn more about ISO, download our free 90-page eBook, An Introduction to Photography.
