Handy Photography Lighting Hacks: Different Modifiers, Similar Effects
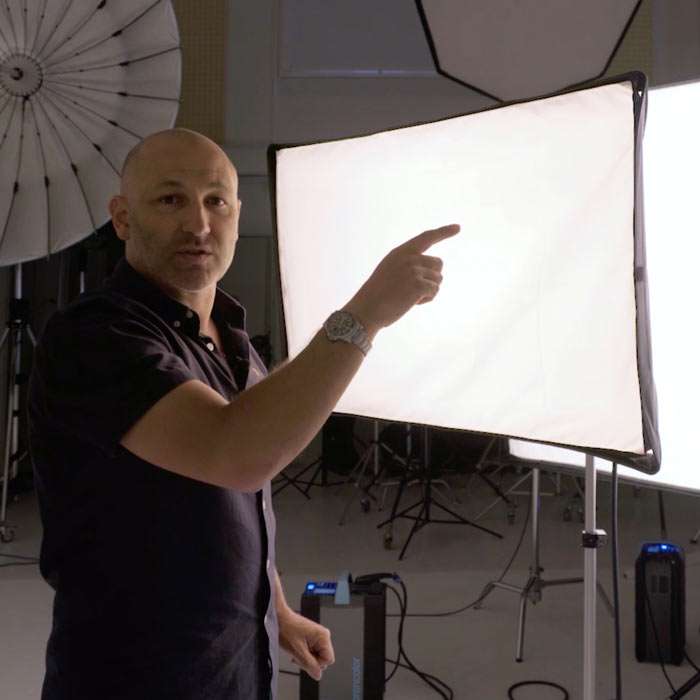
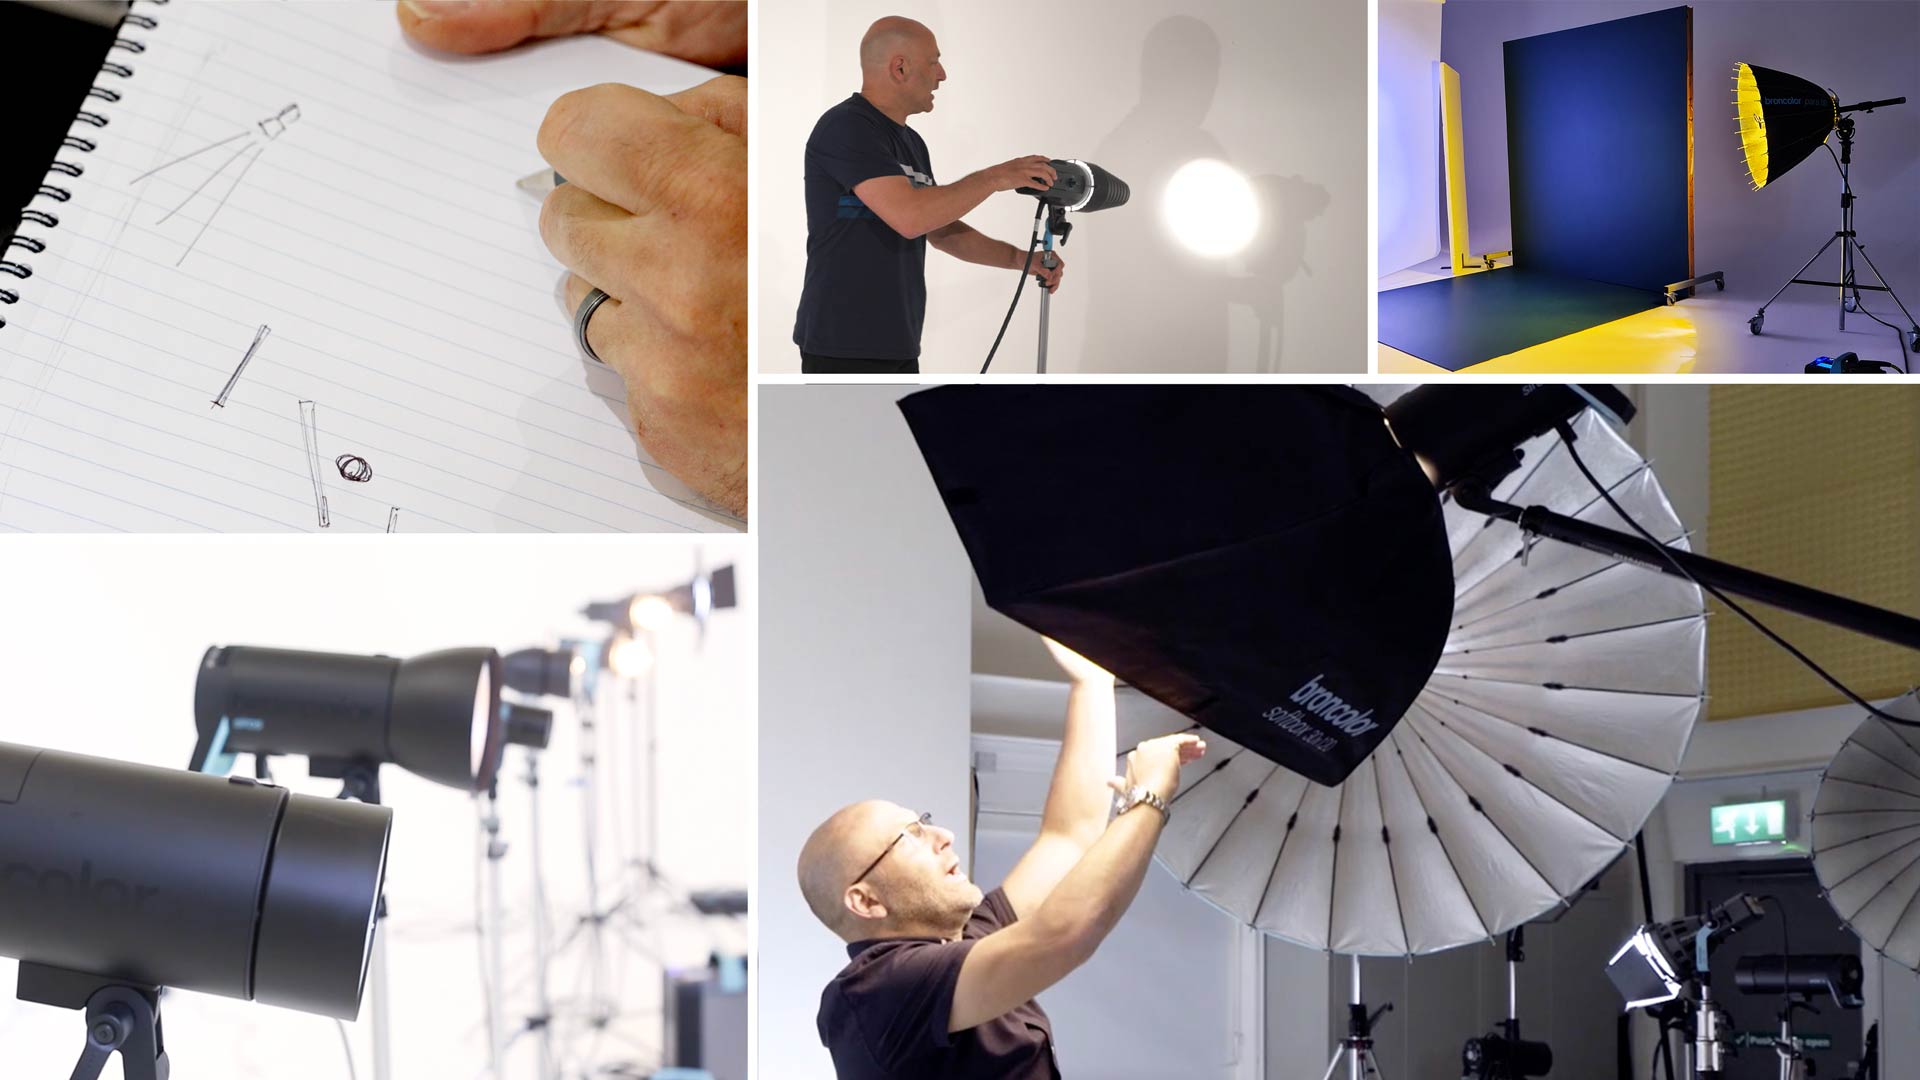
Here at Visual Education, we’re lucky enough to have a big studio filled with awesome equipment, including top-level cameras, lights, modifiers and more. But we know that not everyone has access to the same kit.
Regardless of their price tags, all lights produce pretty similar light – what matters is how you modify and control it. Budget lights typically work just fine for portraits, product shots, and any other kind of photography that doesn’t require fast flash (though the consistency and accuracy of their power output will degrade more quickly than that of more expensive models).
If you’re working with limited and/or basic equipment, you may be wondering how you can imitate some of the effects Karl achieves in his photography classes. If so, read on for a host of lighting hacks that will help you achieve professional-quality results on an amateur’s budget!
Here’s how it works. Under each light, modifier or other piece of lighting equipment, you’ll find suggestions for how to imitate its effect using fewer and/or more affordable bits of kit. You’ll even find some links to classes where Karl uses one or more of the hacks himself.
You don't need a studio full of expensive gear to capture great photographs. What counts is your knowledge of light.
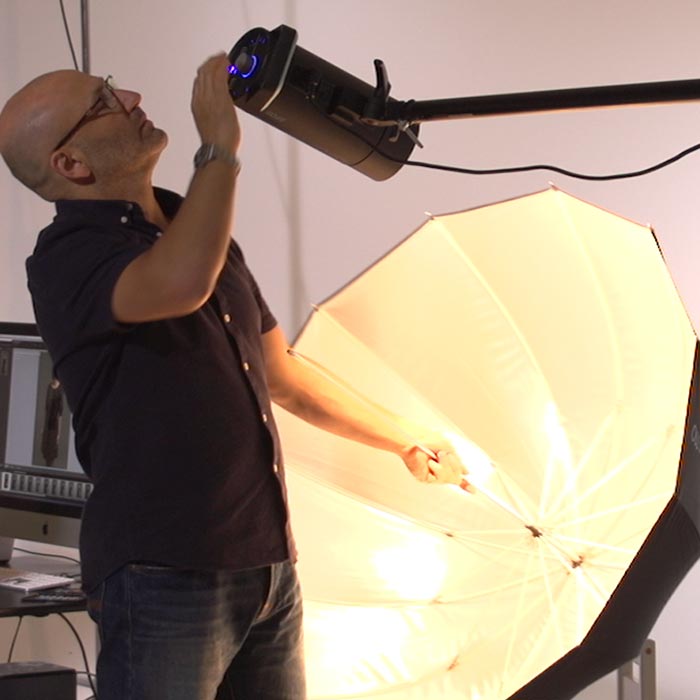
Multiple studio lights
In many of our photography classes, you’ll see Karl using more than one light to get the image he wants. But in some cases, he demonstrates how to mimic the effect of multiple lights using just one. So if you only have one light to work with, try these tricks.
For product and food photography, once all elements of the subject are fixed in place, you can capture multiple exposures while moving your light, modifying it differently, or altering its power. You can then bring all of the shots together in post-production (a process known as compositing) to create a beautifully lit final image that appears to have been shot using multiple lights.
You can watch Karl demonstrate this technique in One-Light Challenge Product Photoshoot, where he achieves a three-light effect using just one, in conjunction with various accessories.
Another option when your subject is fixed is to trigger multiple or continuous bursts of flash from different positions during a single long exposure. Learn how to pull off this hack by watching Floral Fine Art Photography or Professional Car Photography – Side View.
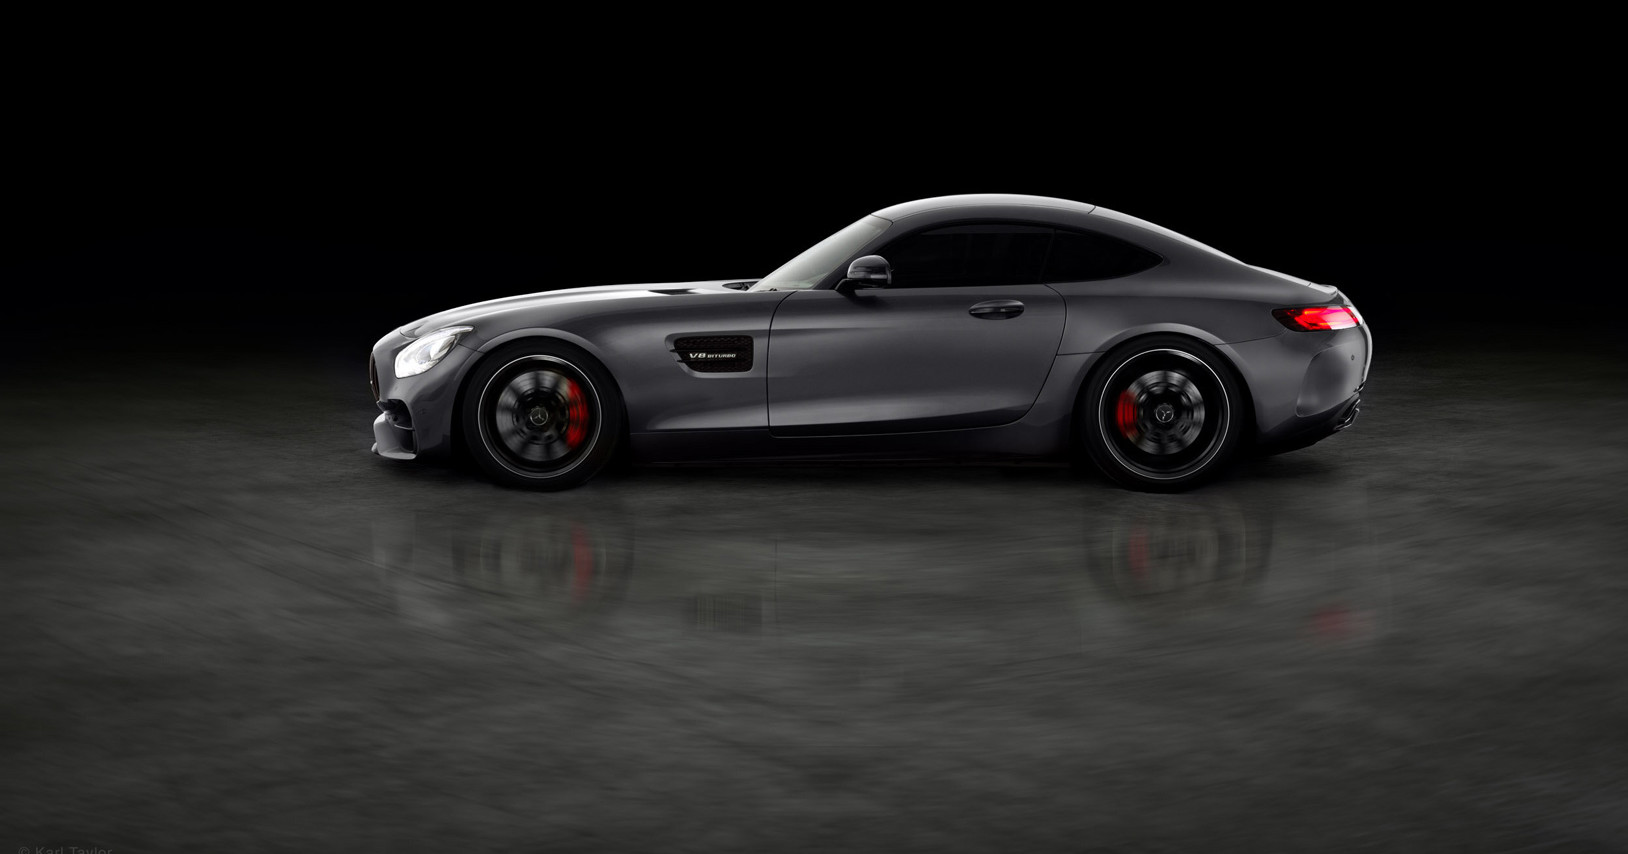
This car shot was captured using a long exposure.
Fast flash
Of course, not all of your subjects can be fixed in place. Some will be in motion, and when it comes to freezing movement, flash duration is key – specifically, fast flash. ‘Fast flash’ refers to a very short and precise burst of light, which is just as important as shutter speed and aperture when you want to freeze movement. Unfortunately, fast flash lighting comes with a high price tag, which may push it beyond your budget.
A handy hack if you can’t afford fast flash-capable studio lighting is clustering speedlights. Speedlights are low-cost off-camera flash units (sometimes also called flashguns) that offer fast flash duration. By clustering a few speedlights together, you can imitate the power and effect of a studio light (AKA strobe), as Karl demonstrates in Sports Product Shoot With Paint Splash.
This hack will be most useful if you already own multiple speedlights. If not, keep in mind that buying multiple speedlights may not save you much money (if any) compared with buying a budget studio light!
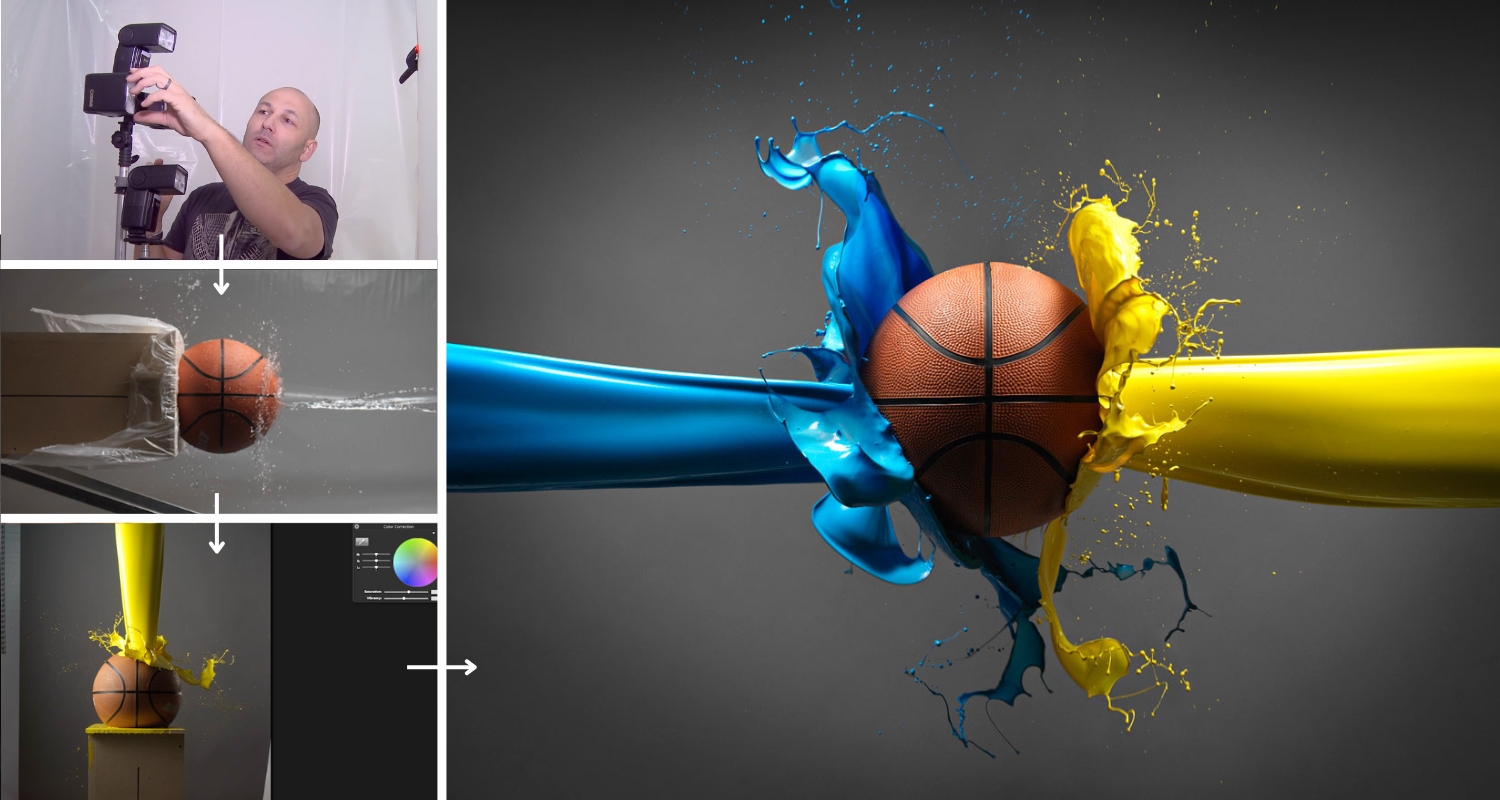
This shot was created using clustered speedlights.
ONLINE PHOTOGRAPHY CLASS
Sports Product Shoot With Paint Splash
Would you like to create an explosive image like this one? This class shows you how.
Watch Now
Small Fresnel lens on picolight
Picolights are very small studio lights with a flat front face. They’re great for squeezing into small spaces, which makes them particularly useful for product photography.
Fresnels (also found in lighthouses!) have a ridged or stepped glass lens that creates a strong, concentrated beam of light. This beam of collimated light becomes a ball of light when it strikes a surface. The beauty of the fresnel is the flattering light it produces, and the fact that it is adjustable. It is, however, an expensive modifier – even the small version for modifying a picolight.
If you don’t have a Fresnel lens for your picolight, try using a snoot instead. A snoot is a cone-shaped accessory that attaches to your light, creating a beam that produces a ball of light, much like a Fresnel. To further control the beam, trying using a grid. You could even put tinfoil over the end of the snoot and punch a hole in it!
Though this will approximate the effect of a Fresnel, the ball of light from a snoot will have a softer, fuzzier edge. For a more defined edge to your ball of light, try replacing the snoot with a projection attachment. This accessory (which can also be used on a regular studio light) features blades that allow you to adjust the shape of its aperture. You can see Karl use this hack in Creative Portrait Lighting 2.0.
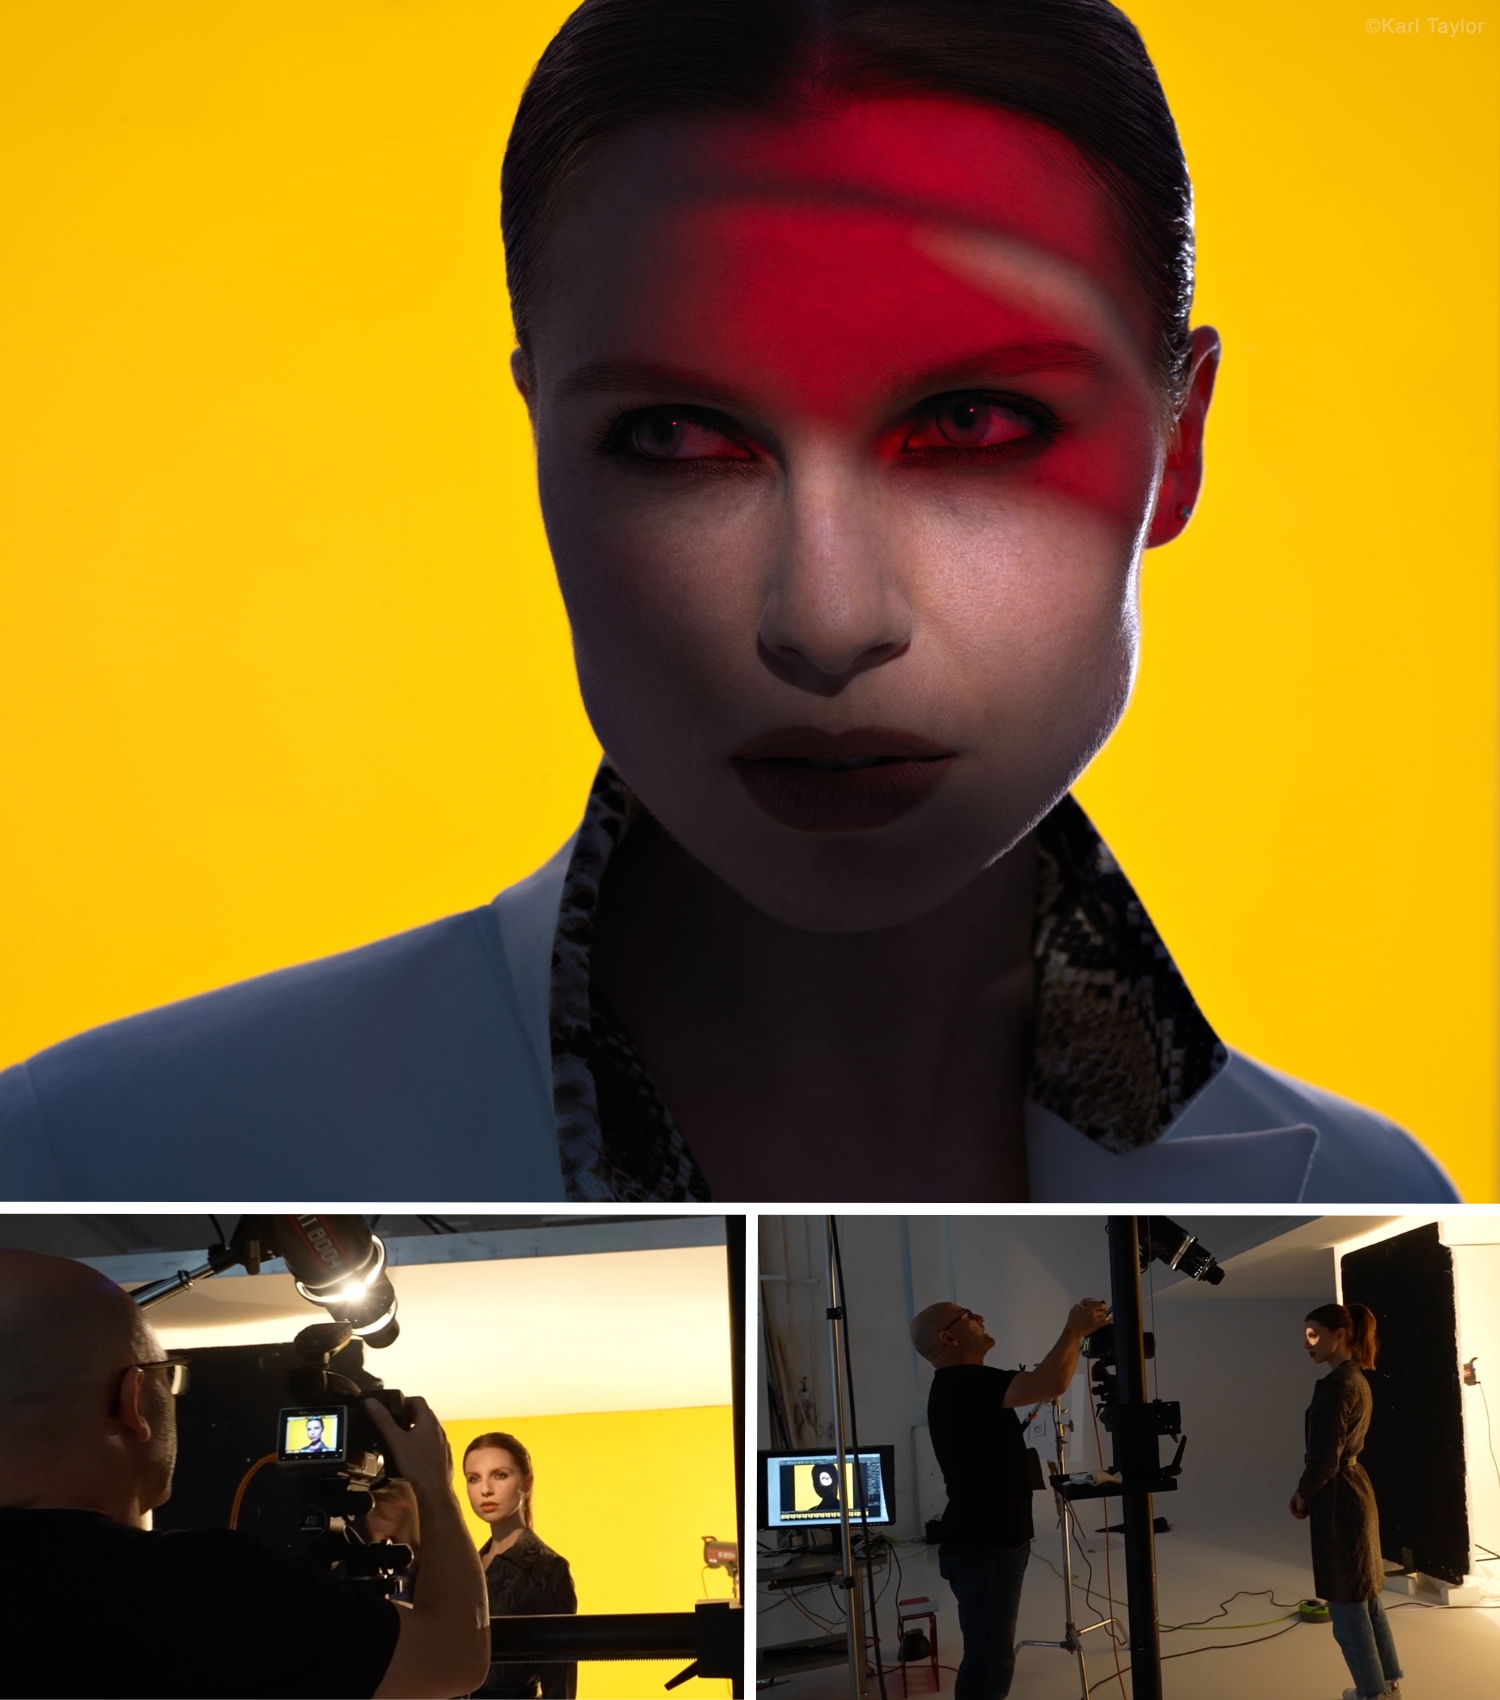
Creative portraiture lighting using a projection attachment.
Large Fresnel lens
Large Fresnel lenses are big, heavy, difficult to transport and, most importantly, very expensive. If you don’t have a big Fresnel, don’t worry – you can probably achieve similar results with a parabolic reflector. Why? Because Fresnels and paras both produce beautiful collimated light.
With a para, you direct the light away from your subject, into the reflector, rather than towards your subject through the Fresnel. Because of the parabolic shape, the reflector then reflects out collimated (i.e. parallel) beams of light onto your subject.
Collimated light from a para is more flattering than that from a Fresnel because it is softer. And the bigger the para, the softer the light. This is partly due to size, and partly to the fact that larger paras (222s for example) have a glossier, sparklier finish than smaller ones such as 88s.
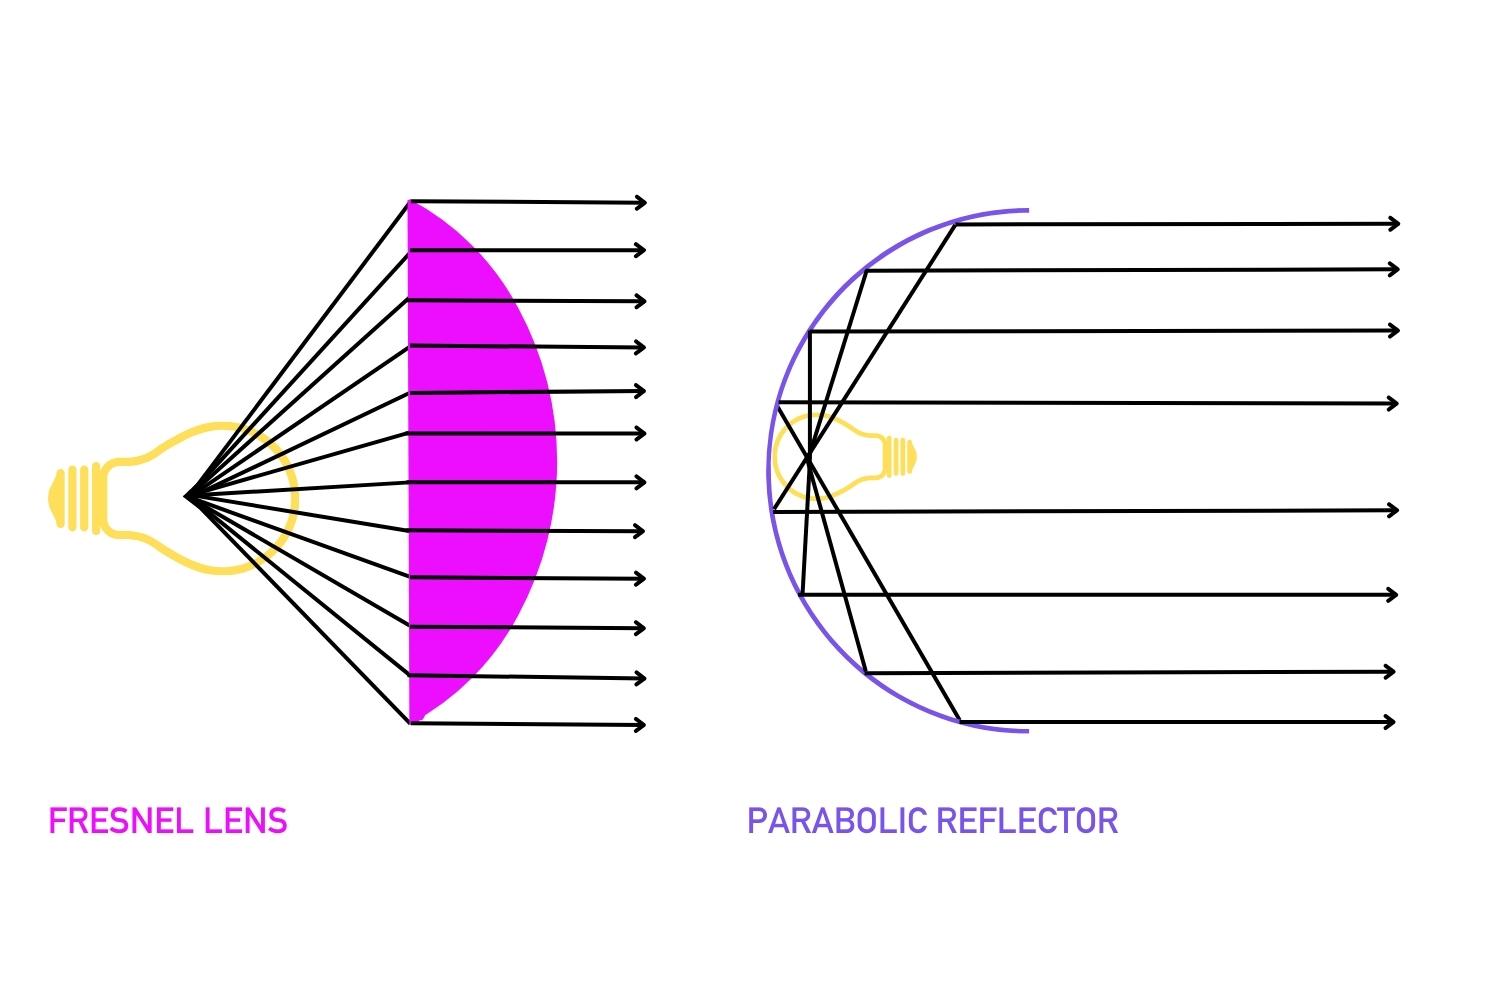
Light collimation with a Fresnel Lens and a Parabolic Reflector.
Large parabolic reflector (Para 222)
If you don’t have a large parabolic reflector or a Fresnel, imitating a para with a different modifier can be tricky. The crisp lighting you get using a para as your key light is difficult to imitate fully. But you can still achieve similar results if you’re strategic.
For example, you could try using a Focus 110 ‘deep’ umbrella instead. This modifier is much more affordable than a full-size para, but still has the crucial parabolic shape, producing directed, homogenous light. You can watch Karl experiment with this low-cost modifier in Deep Umbrella Techniques.
When it comes to edge lighting, it’s easier to get away without a large para. Though you won’t achieve quite the same crispness, using a deep umbrella or even a softbox should do the trick.
The deep umbrella produces directed, homogenous light, much like a para.
ONLINE PHOTOGRAPHY CLASS
Deep Umbrella Techniques
You'll learn how to create looks that shine in front of the lens, ensuring your artistry translates beautifully in photographs and videos.
Watch Now
Small parabolic reflector (Para 88)
Smaller paras are great for portraits. The Para 88 is the smallest in the broncolor range, but still comes with a price tag that will put it out of reach for some photographers. If you don’t have a Para 88, what are your options?
Your best bet is to try using a 70cm silver beauty dish instead. Though the effect won’t be quite the same (as you can see when you compare the two modifiers using our Lighting Comparison Visualiser tool), the beauty dish is an acceptable substitute – especially when you consider its affordability. You can learn all about using beauty dishes in Master Beauty Dish Lighting.
Large softbox (120cm x 80cm)
Softboxes are useful for all kinds of photography, and many photographers regard them as essential. But if you don’t have one, all is not lost. Here are some hacks to help you imitate the soft, forgiving, homogenous light of a softbox.
The first is to simply shine a studio light through a piece of diffusion material or a scrim. The downside of this approach will be excess light bouncing around your studio, which you’ll need to catch and control using white polyboards or similar. The light also won’t be quite as homogenous as that produced by a softbox.
The second hack will be useful if you have a parabolic reflector, which you can convert into a makeshift softbox by covering the front of it with diffusion material.
If you don’t have a softbox or a para, you can create soft, homogenous light by directing a bare-bulb studio light at two large white boards arranged in a V shape. This is effective, but does require a fair bit of studio space. You can see Karl and Urs Recher demonstrating this technique in Very Soft Single-Light Portrait With White Background.
If you can’t get your hands on large white polyboards, any large white wall or panel will do. For example, in White Blocks Fashion Shoot, Karl uses the white studio wall to create a broad, soft light.
Finally, if you don’t have any studio lights at all, you can imitate a softbox by pointing speedlights through diffusion material. You can watch Karl use this technique in Product Photography With Speedlights, where he uses semi-transparent white acrylic (AKA plexiglass) to diffuse the light.

This portrait was created using two large white boards arranged in a V shape.
Small softbox
Maybe you have a softbox, but it’s too big, and you don’t want to buy a smaller one. What can you do?
The simplest hack is to mask your large softbox to make it smaller. Masks (typically edge masks or strip masks, depending on the shape of the softbox) are accessories that attach to the front of your softbox, reducing the size of homogenous light source. You can also mask an octabox to make it round.
In Wall Art Shells: The Black Pearl, you can watch Karl mask his softbox using a simple piece of black card to create a ‘picobox’ that enables him to achieve the perfect lighting effect for his still-life shot.
HANDY ONLINE TOOL
Lighting Comparison Visualiser
Compare more than 40 lighting effects created using 25+ modifiers.
Try Now
Other lighting hacks and tips
Here are a few other clever hacks and tricks you can try when you want to get creative with your lighting without spending a fortune.
- Need to create small, targeted patches of light? Try using makeup mirrors (also known as compact mirrors). These small, handheld mirrors are curved, which means they reflect light a bit like paras do.
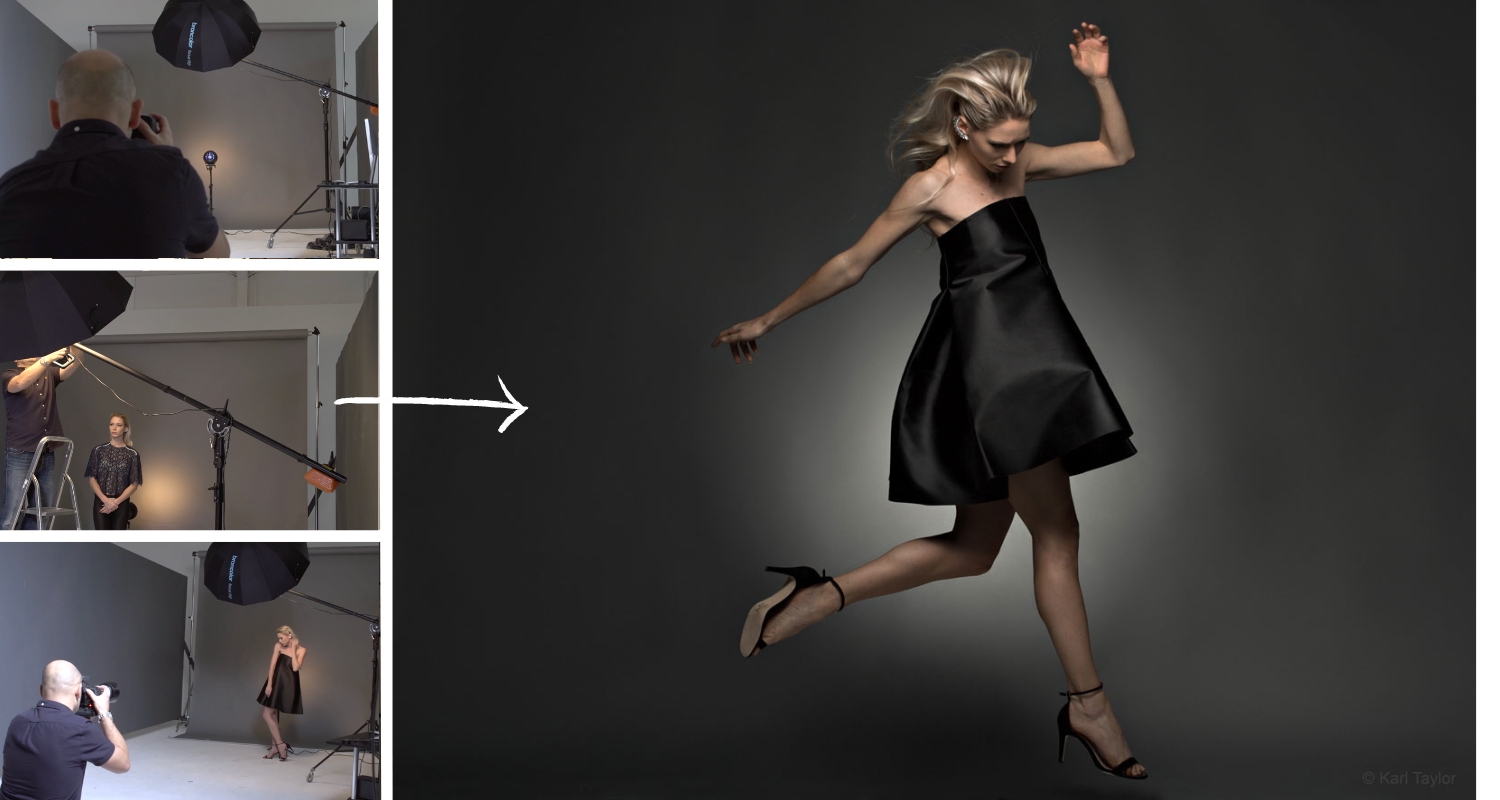
- Need harder light in the middle of a fashion shoot? Take the front off your softbox. Removing this layer of diffusion material will instantly give you harder light and stronger contrast, perfect for defining the angles and textures of your model and their garments more emphatically.
- Need to make your lighting softer or harder without switching modifiers? Use your understanding of the Inverse Square Law to move lights closer or further away respectively.
- Need a parabolic spot light on a budget? Try using a solar cooker! Though they are not intended to be used by photographers (except for al fresco cuisine, that is), these concave devices have a highly reflective mirrored surface. This enables you to use them in the same way you might use a makeup mirror, mentioned above – albeit on a much larger scale.
- Need to darken the sky when shooting long-exposure on location, but don’t have an ND filter to hand? Try waving black card around in the upper region of your frame. The effect won’t be quite as smooth, but it will probably the close enough!
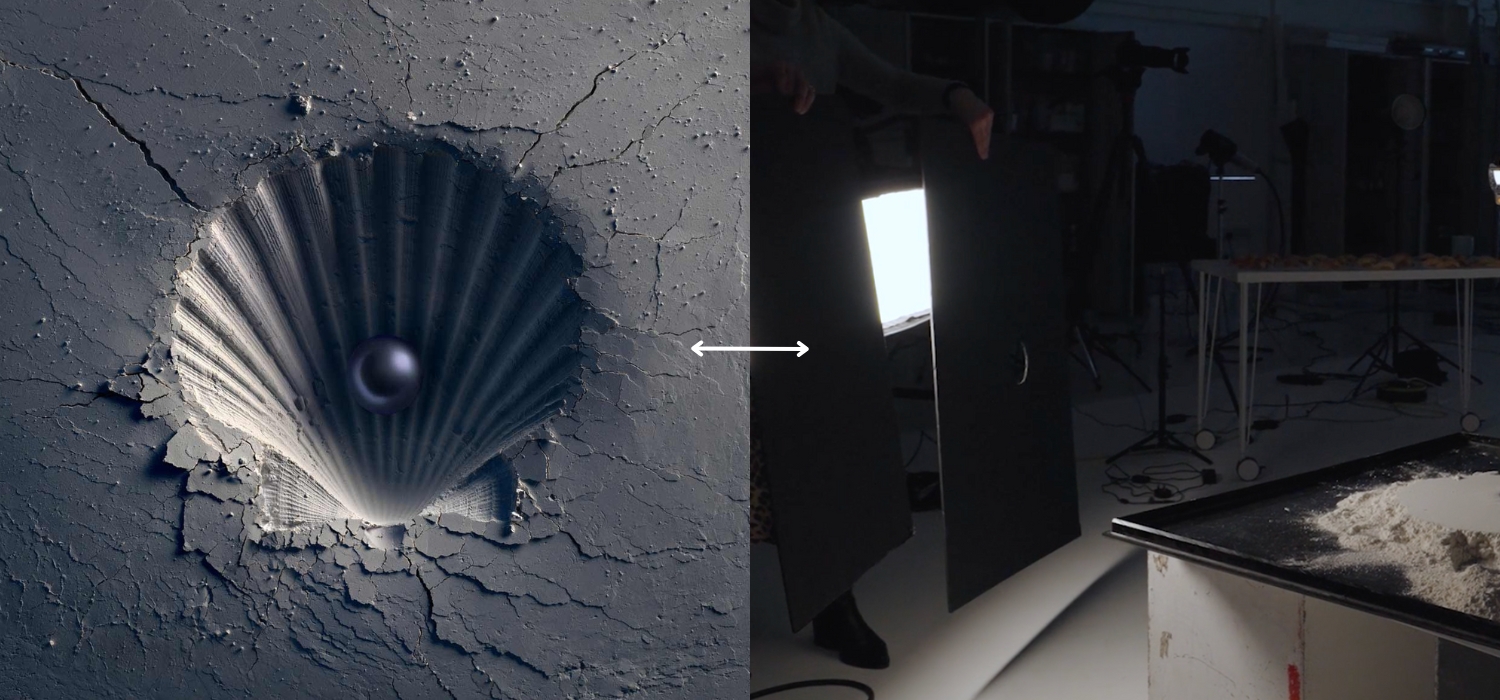
To light this image, Karl masked his softbox to create a 'picobox'.
The best hack of all is knowledge!
As we mentioned up top, mastering photography lighting isn’t about acquiring every light, modifier and accessory on the market and simply trying your luck. It’s about developing a deep understanding of how light works so that you can harness its power to achieve your creative goals.
At Visual Education, we’ve got hundreds of classes designed to teach you all you need to know about light, from Angles of Incidence and Reflection to The Emotion of Light and everything in between. So if you want to ‘hack’ your way to photography mastery, a great place to start is our Photography Lighting section.
Once you understand how to work with light, there’s no limit to what you can achieve.
Do you have any lighting hacks to share? Let us know in the comments!
© Visual Education. All rights reserved. No content on this page may be used or shared by third parties.